
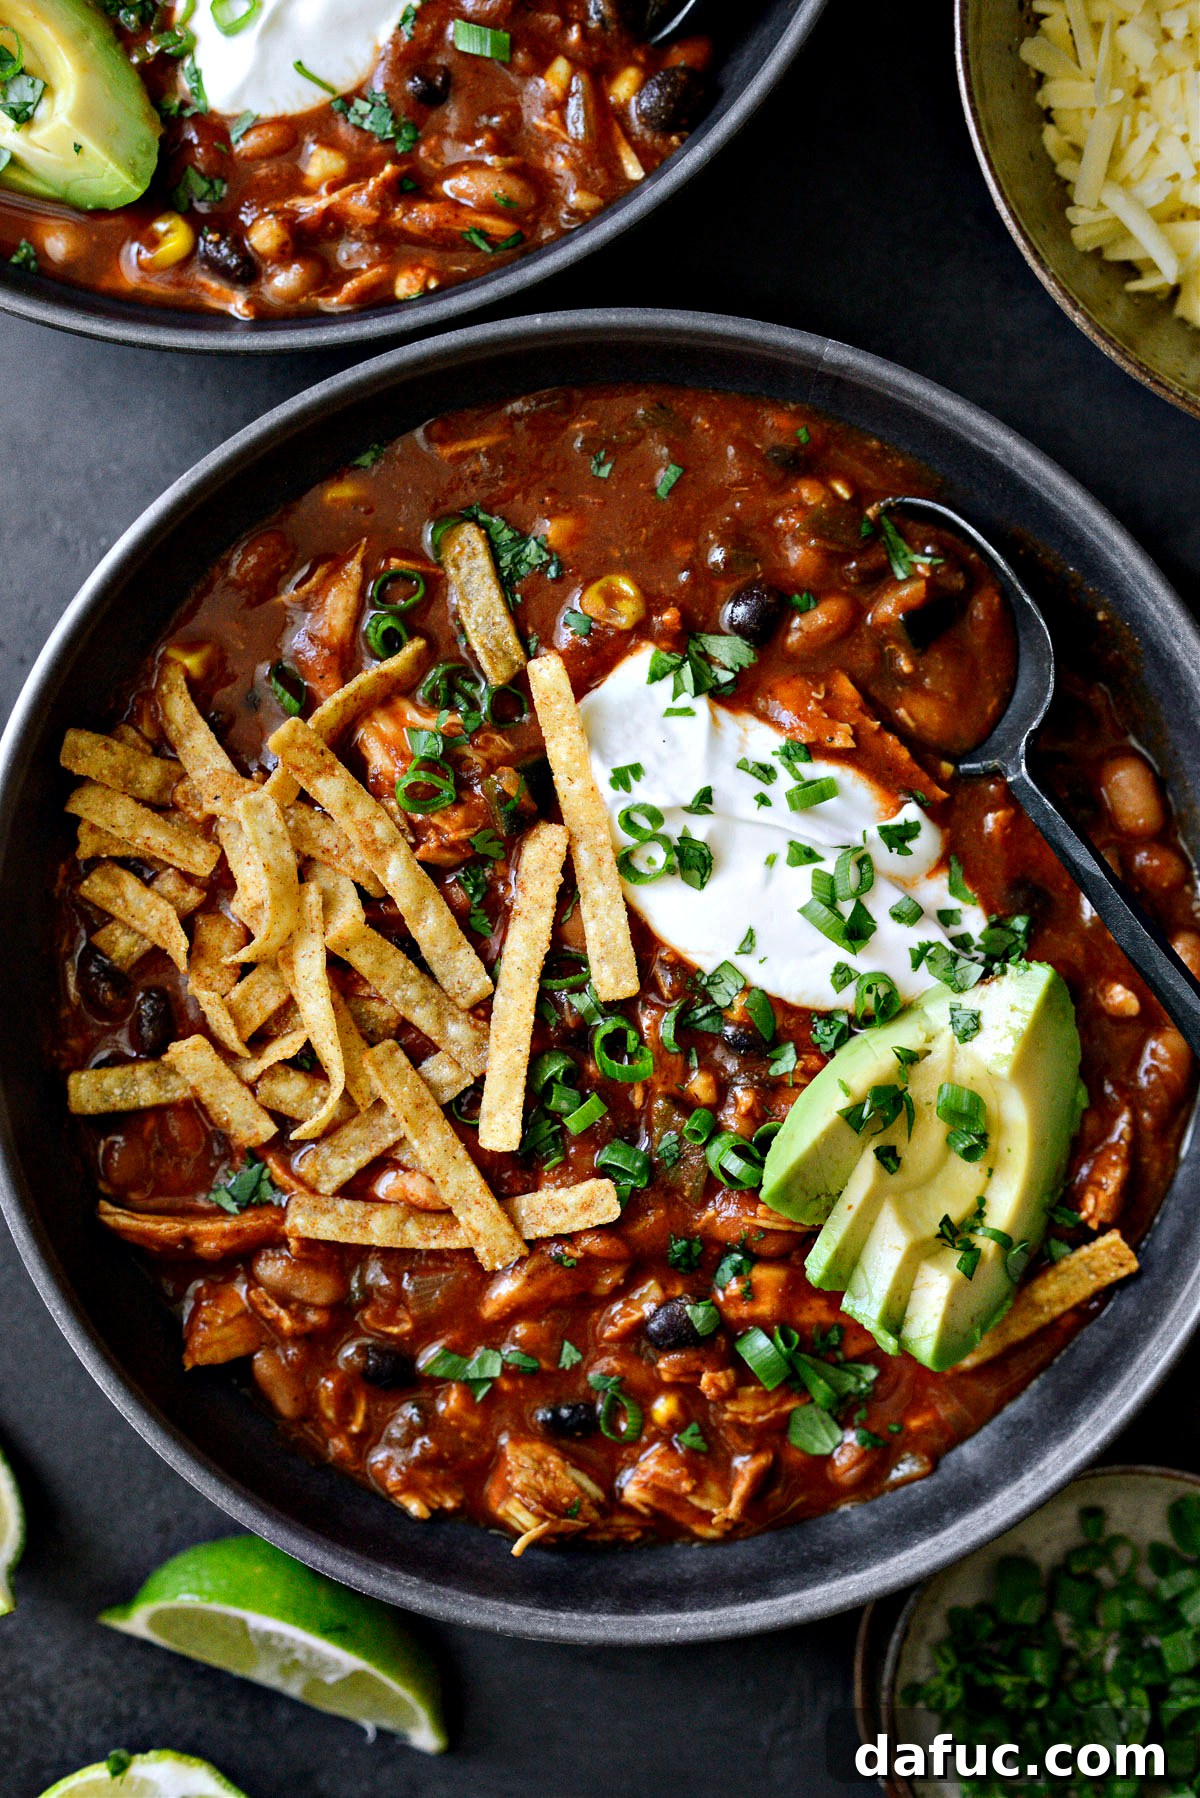
Hearty & Healthy Southwest Chicken Chili: Your New Go-To Recipe
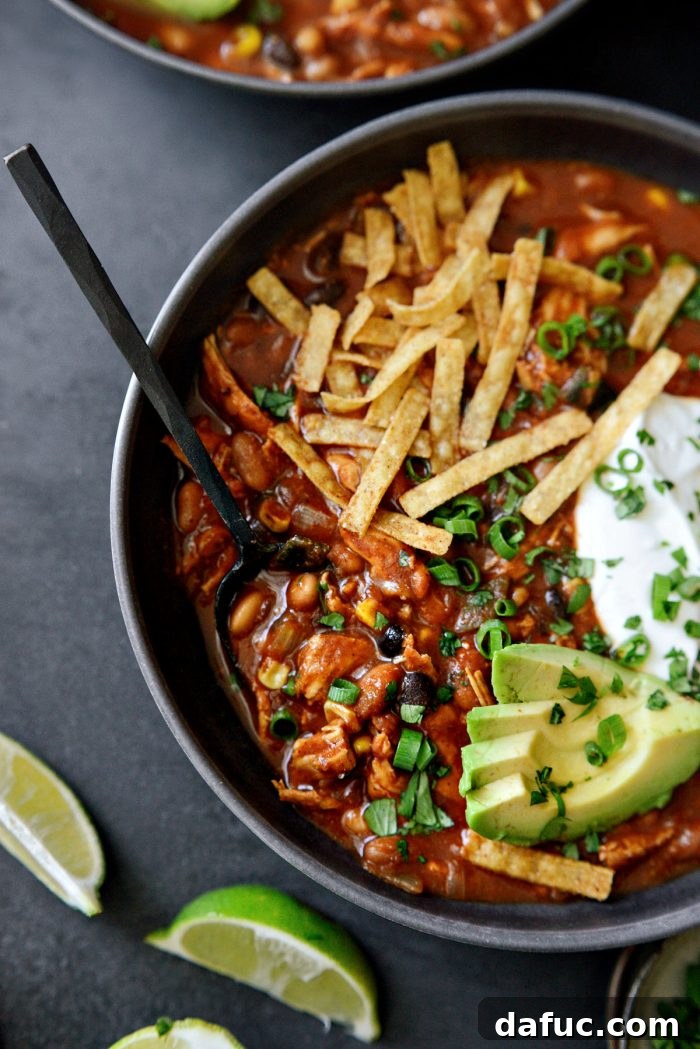
Prepare to discover your new favorite comfort food: this incredibly flavorful and healthy Southwest Chicken Chili. Packed with bold, vibrant ingredients like succulent shredded chicken, smoky roasted poblano peppers, sweet charred corn, and a blend of pinto and black beans, all swimming in a rich, ancho chile-spiced tomato sauce. This recipe isn’t just delicious; it’s a wholesome meal that generously serves a crowd and tastes even better as leftovers the next day. It’s perfect for meal prepping, entertaining, or simply enjoying a cozy night in.
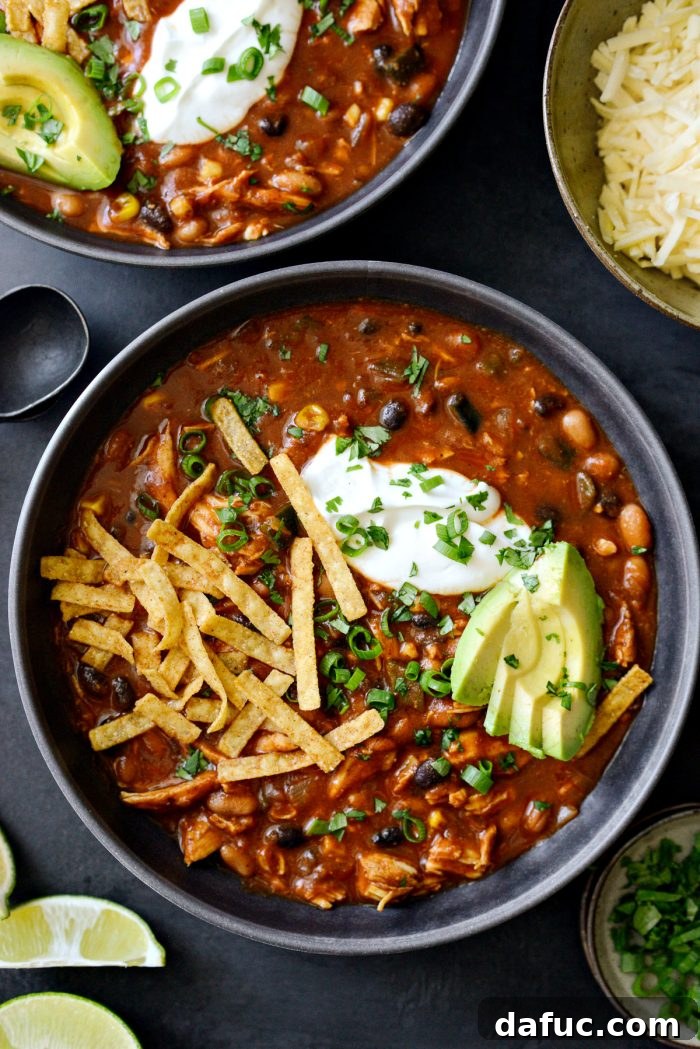
The Inspiration: A Quest for Perfect Chicken Chili
My culinary journey with this Southwest Chicken Chili began years ago, during my time working at a bustling hospital in Southeast Michigan. Nestled within the concourse was a small satellite market of Papa Joe’s, a local gourmet gem. While they offered a delightful array of soups and salads, it was their chicken chili that truly captivated my taste buds. It was so incredibly good that if I had the choice, I would have savored a bowl every single day of my shift. You can imagine the profound disappointment I felt on the rare occasions they didn’t have it available.
Working twelve-hour shifts, typically three to four days a week, meant my days off were precious. One particular long weekend, a persistent craving for that specific chicken chili struck. The idea of driving 30 minutes to the nearest Papa Joe’s — let alone venturing all the way back to the hospital on my much-needed day off — seemed utterly impractical. That’s when I decided it was time to take matters into my own hands. I was determined to recreate that beloved chili at home, ensuring I could enjoy its comforting flavors whenever the craving hit. And so, this recipe was born out of a simple, powerful desire for a taste of pure comfort.

Why This Southwest Chicken Chili Will Become Your Favorite
Beyond its delicious taste, there are numerous reasons why this Southwest Chicken Chili stands out:
- Unbeatable Flavor Profile: It masterfully balances smoky ancho chile, earthy cumin, sweet corn, and a subtle tang from tomatoes, creating a complex yet harmonious flavor.
- Wholesome & Healthy: Loaded with lean chicken, fiber-rich beans, and an abundance of vegetables, this chili is a nutritious choice that doesn’t compromise on taste.
- Surprisingly Simple to Make: Despite its gourmet taste, the steps are straightforward, making it accessible for home cooks of all skill levels. It’s largely a one-pot meal, minimizing cleanup.
- Meal Prep Dream: This recipe yields a generous batch, perfect for feeding a family or enjoying throughout the week. It reheats beautifully and can be frozen for future meals.
- Customizable: Easily adjust the spice level, swap out vegetables, or experiment with different toppings to make it truly your own.
- Cozy Comfort Food: There’s nothing quite like a warm bowl of chili to soothe the soul, especially on a chilly evening.
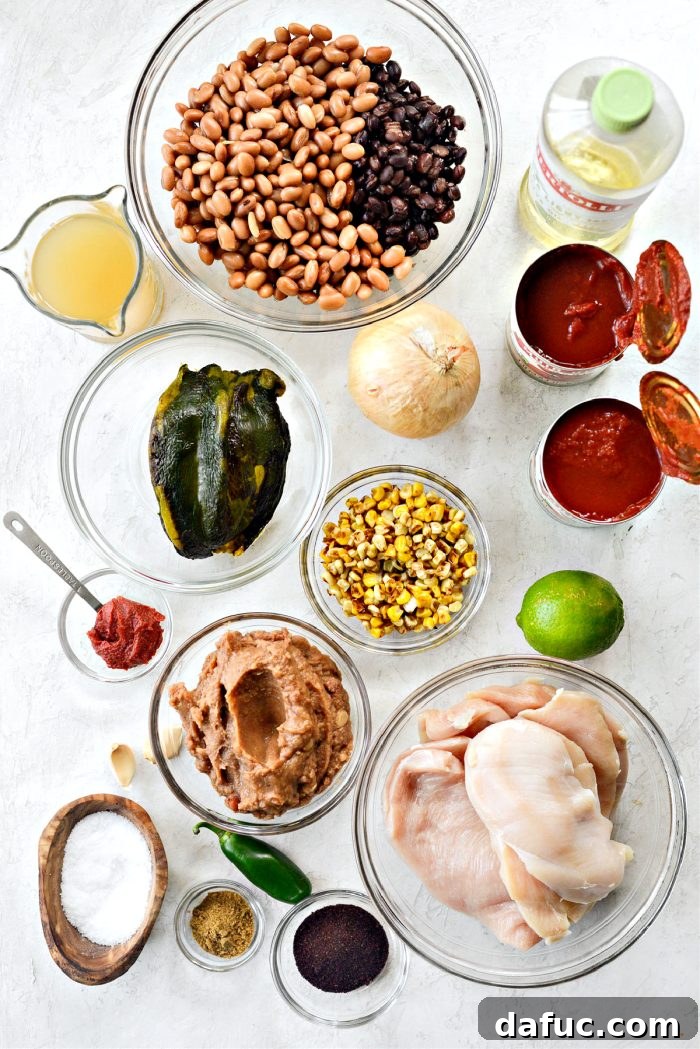
Key Ingredients for an Authentic Southwest Experience
Crafting this incredible Southwest Chicken Chili starts with selecting the right ingredients. Each component plays a crucial role in building the chili’s signature depth and zest:
- Extra Light Olive Oil: Essential for sautéing our aromatics. Avocado oil makes a great substitute if preferred.
- Yellow Onion: Provides a foundational sweetness and aromatic base when softened.
- Jalapeño: Adds a kick of heat. For a milder chili, simply remove the seeds and white ribs before dicing.
- Garlic: Infuses the chili with its distinctive, pungent flavor, rounding out the savory notes.
- Kosher Salt: Not just for seasoning, salt helps draw out and enhance the natural flavors of all the ingredients. Adjust to your personal preference.
- Tomato Paste: A small but mighty ingredient that deepens the tomato flavor and adds a rich umami complexity to the broth.
- Ancho Chili Powder: This is the star spice, lending a beautiful smokiness and a deep, earthy flavor. Ancho chilies are typically mild to medium in heat, contributing warmth without overwhelming spice.
- Ground Cumin: Adds an essential earthy warmth with a hint of citrusy brightness, characteristic of Southwest cuisine.
- Thin-Cut Chicken Breasts: We cook these directly in the chili and then shred them, ensuring they absorb all the fantastic flavors of the broth. Boneless, skinless chicken thighs also work wonderfully for an even more tender result.
- Tomato Sauce: Forms the tangy, robust base of our chili, providing acidity and body.
- Low-Sodium Chicken Broth: The liquid foundation that brings everything together. Use your favorite store-bought brand or homemade for best results.
- Pinto Beans & Black Beans: A hearty combination that adds texture, protein, and fiber. Canned beans are perfectly convenient – just remember to rinse and drain them thoroughly.
- Poblano Pepper: Charring this pepper beforehand is key! It introduces a wonderful smoky depth and a mild, earthy spice. After charring, the skin, stem, and seeds are removed for a cleaner texture.
- Charred Sweet Corn: This adds another layer of smoky sweetness and a delightful pop of texture. You can char your own fresh or frozen corn, or easily find pre-charred frozen corn in many supermarkets.
- Fat-Free Refried Beans: These are a secret weapon! They help to thicken the chili and add a creamy, smooth consistency without adding extra fat. Feel free to use an easy homemade recipe or a good quality store-bought variety.
- Lime Juice: A squeeze of fresh lime juice at the end brightens all the flavors, adding a zesty acidity that cuts through the richness.
Mastering the Method: Step-by-Step Southwest Chicken Chili
Creating this flavorful chili is a rewarding process. Follow these detailed steps to achieve a rich, authentic taste every time:
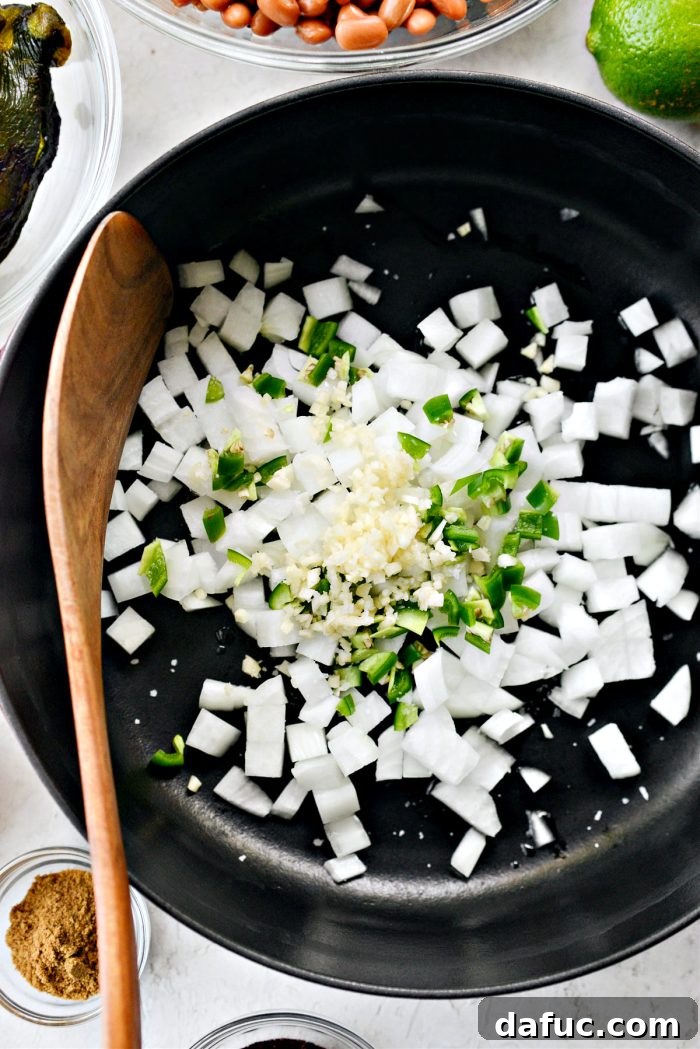
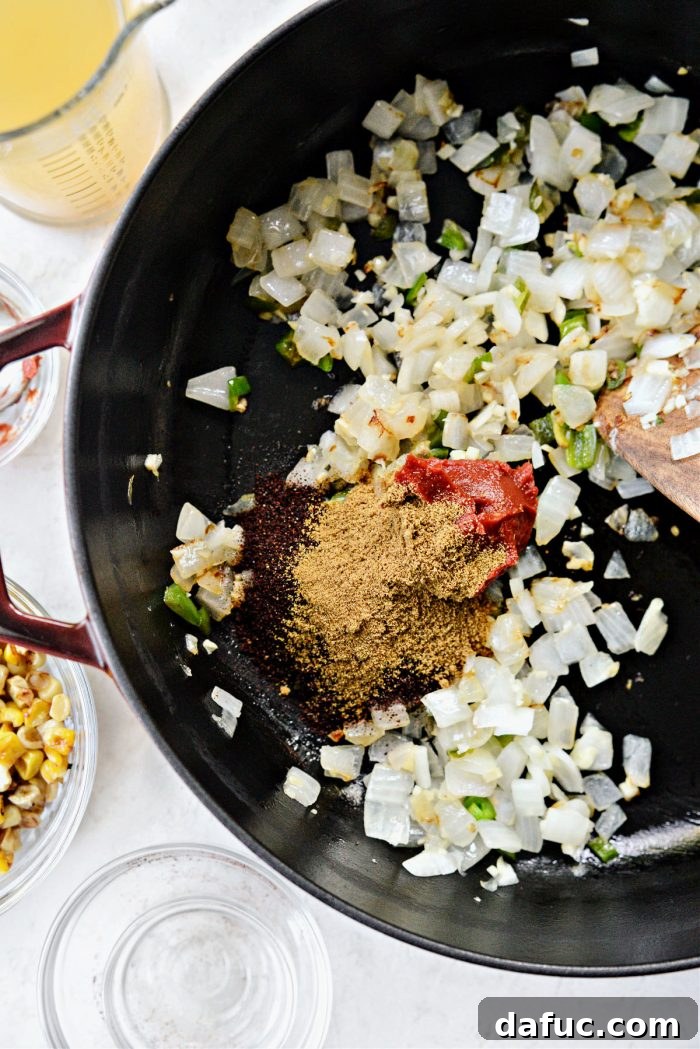
- Sauté the Aromatics: In a large, heavy-bottomed pot or a Dutch oven, add 2 teaspoons of extra light olive oil. Heat it over medium-low heat, then add 1 large chopped yellow onion, 1 diced jalapeño (seeds and ribs removed for less heat, if desired), and 3 cloves of minced garlic. Sprinkle in a pinch of kosher salt. Cook, stirring occasionally, until the onions become soft and translucent, and the peppers are slightly tender, which should take about 8-10 minutes. This slow sautéing process develops a crucial flavor base.
- Bloom the Spices: Once your aromatics are softened, stir in 1 tablespoon of tomato paste, 4 teaspoons of ancho chili powder, and 2 teaspoons of ground cumin. Cook for another minute, stirring constantly. This brief “blooming” of the spices in the hot oil helps to release their full aroma and flavor, making your chili more robust.
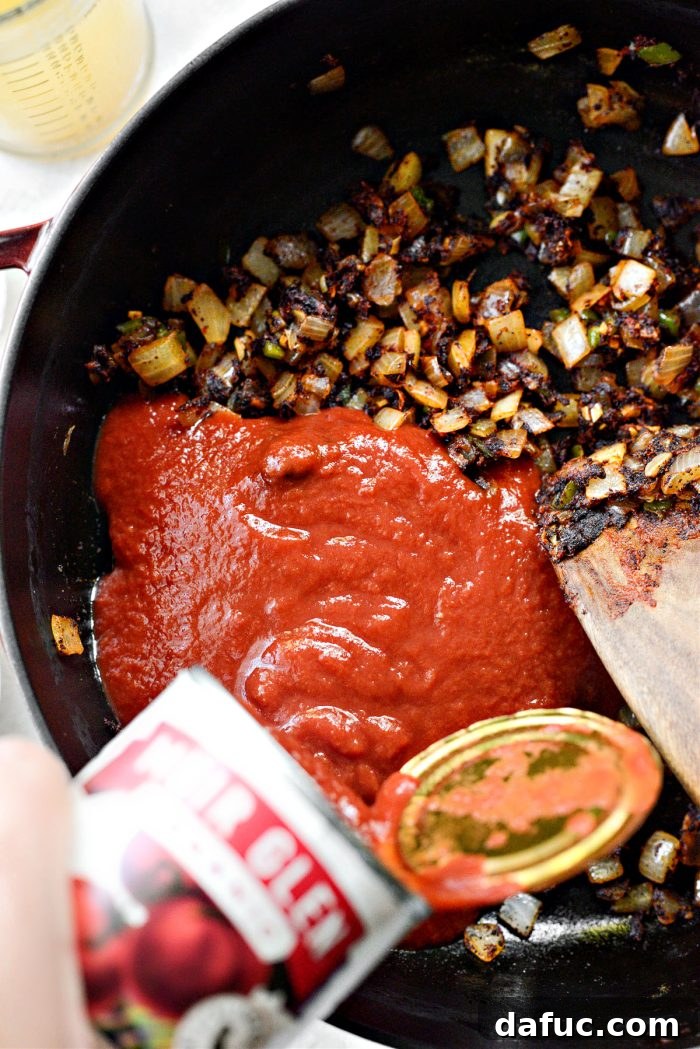
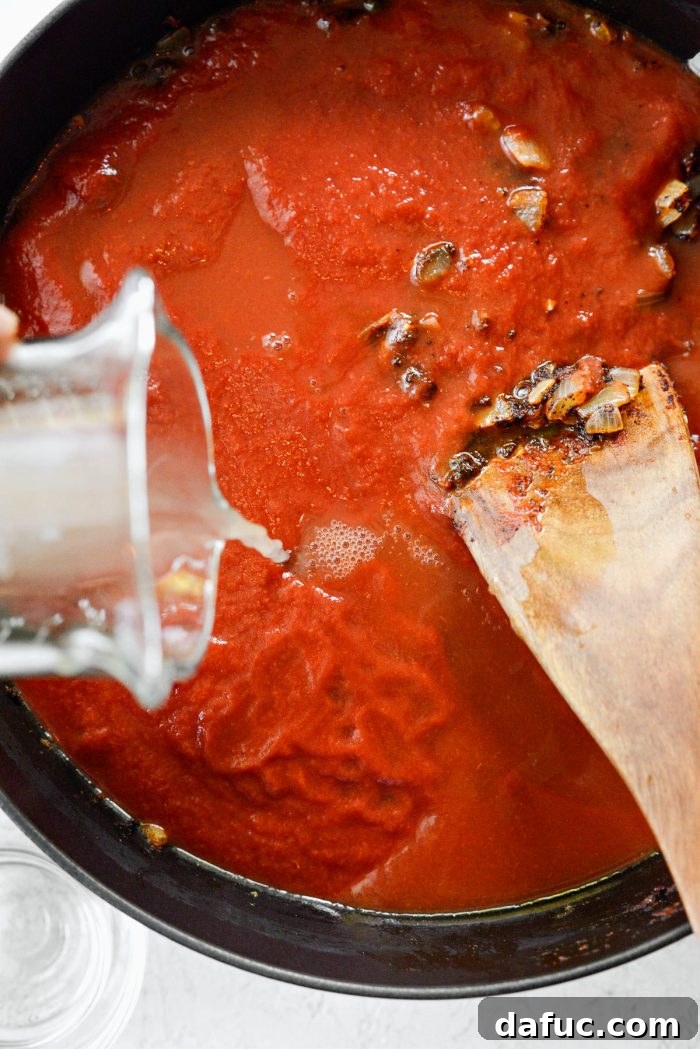
- Add Tomato Sauce: Carefully pour in two 15-ounce cans of tomato sauce. For an extra flavorful broth, you can add a splash of chicken broth to the empty tomato sauce cans, swish it around to capture any remaining sauce, and then pour that into the pot. Stir to incorporate the tomato sauce fully.
- Introduce Broth: Now, pour in 2 cups of low-sodium chicken broth. Stir well to combine all the liquid ingredients and spices, creating a rich base for your chili.
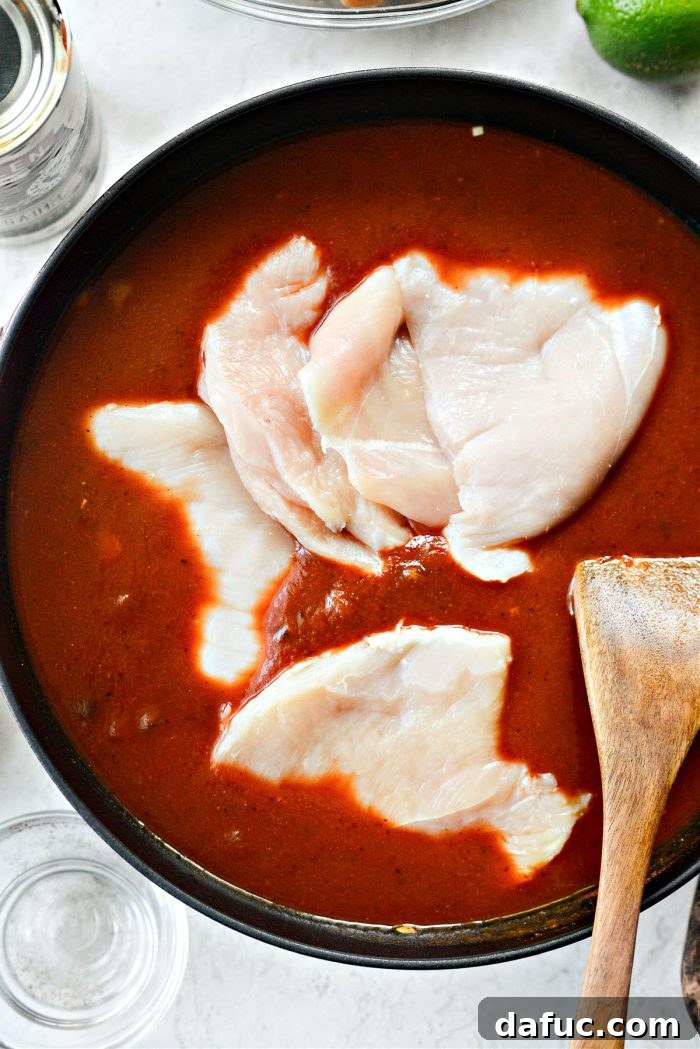
- Add and Cook Chicken: Carefully nestle 1¾ pounds of thin-cut boneless, skinless chicken breasts into the liquid, ensuring they are mostly submerged.
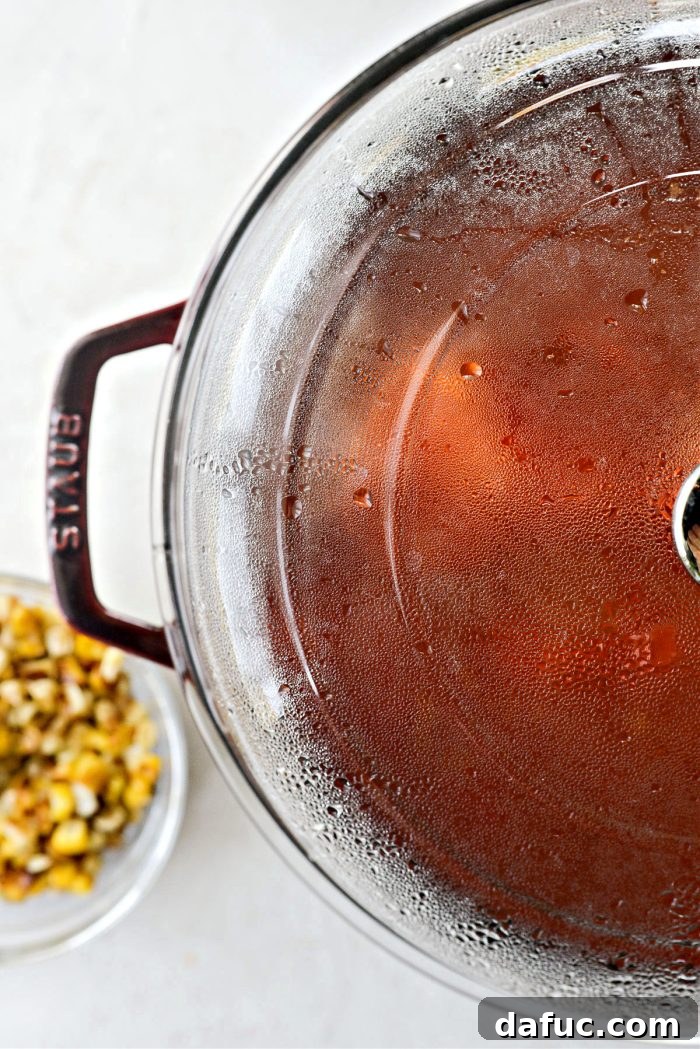
- Simmer and Cook: Cover the pot and bring the chili to a low boil over medium heat. Once boiling, reduce the heat to low and let it simmer for 20-25 minutes, or until the chicken is fully cooked through and easily shreddable. Cooking the chicken directly in the chili infuses it with maximum flavor.
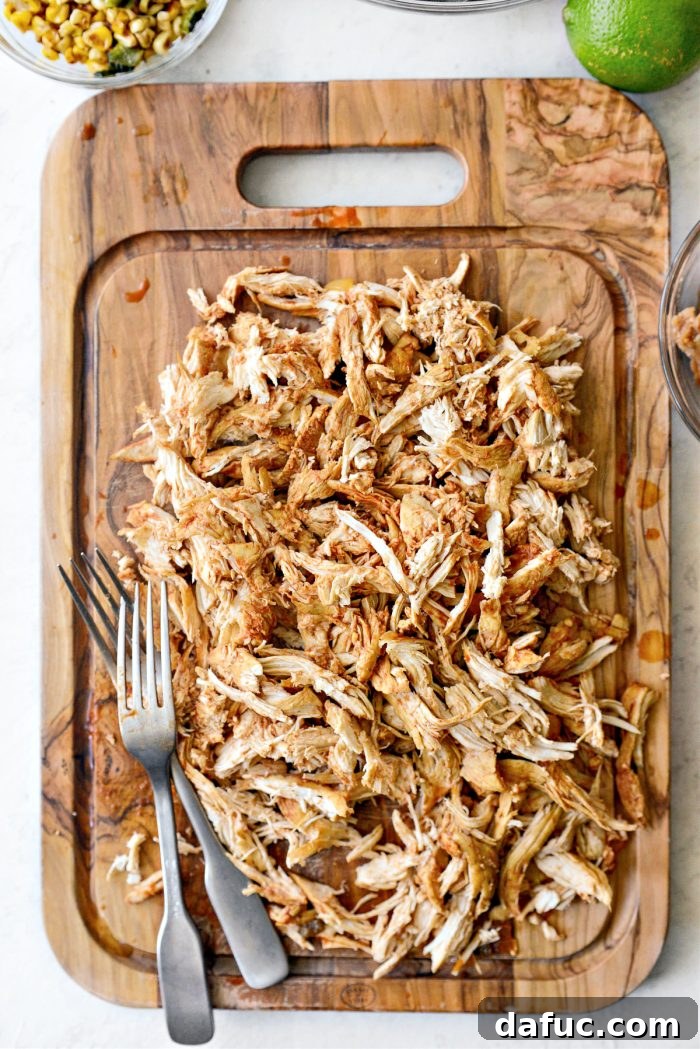
- Shred the Chicken: Carefully remove the cooked chicken breasts from the pot and place them on a cutting board or shallow dish. Using two forks, shred the chicken into bite-sized pieces. If you’re using pre-cooked rotisserie chicken or leftover shredded chicken, you can add it directly in the next step, ensuring it heats through.
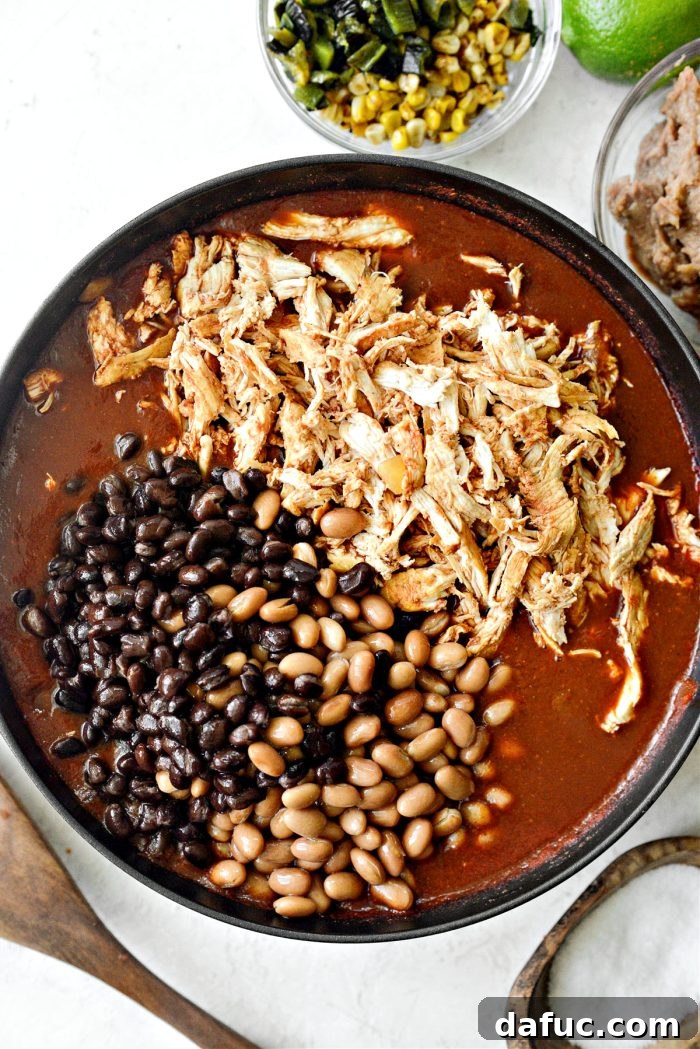
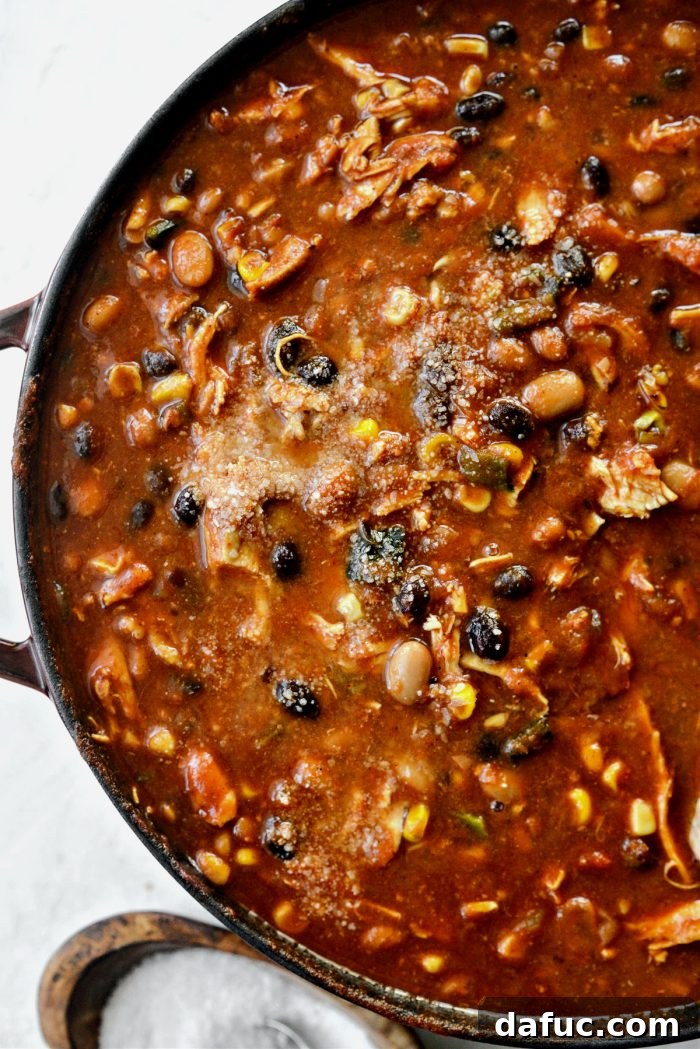
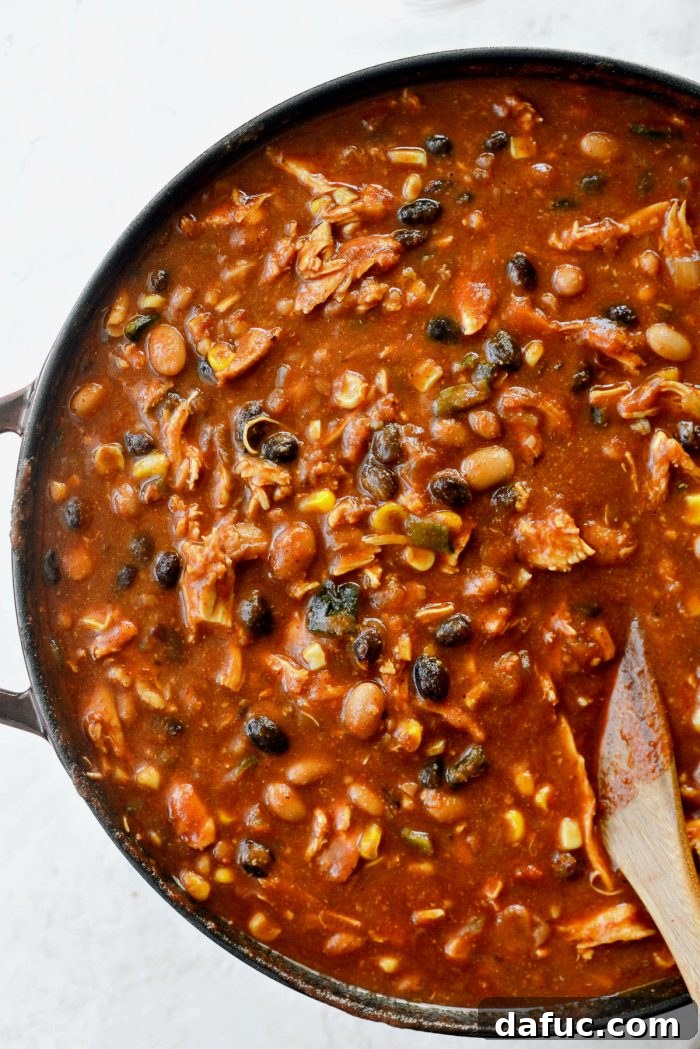
- Combine with Beans: Return the shredded chicken to the pot. Add two 15-ounce cans of pinto beans (rinsed and drained) and one 15-ounce can of black beans (rinsed and drained). Stir everything well to combine, ensuring the beans are fully mixed into the chili.
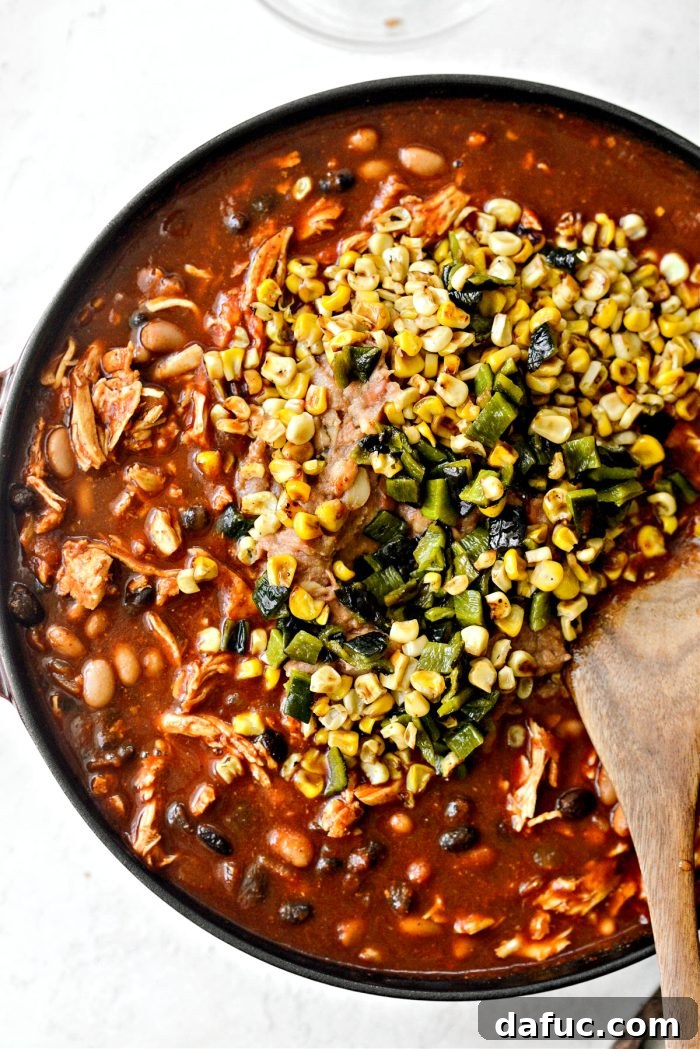
- Final Flavor Builders: Next, add one 15-ounce can of fat-free refried beans, 1 cup of charred sweet corn, and 1 charred poblano pepper (skin, stem, and seeds removed, then diced). Stir again until all these wonderful ingredients are evenly distributed throughout the chili. Simmer for an additional 5-10 minutes, allowing all the flavors to meld and the beans to heat through.
- Season and Brighten: Taste the chili and season with kosher salt to your liking. I typically find 2 teaspoons to be perfect, but always adjust based on your preference and the saltiness of your broth. Finally, squeeze in the fresh juice from 1 large lime. This bright, citrusy finish is crucial for balancing the rich, savory flavors.
- Serve Hot: Give the chili one last good stir and ensure it’s heated through. It’s now ready to be served!
The Art of Topping: Elevate Your Chili Experience
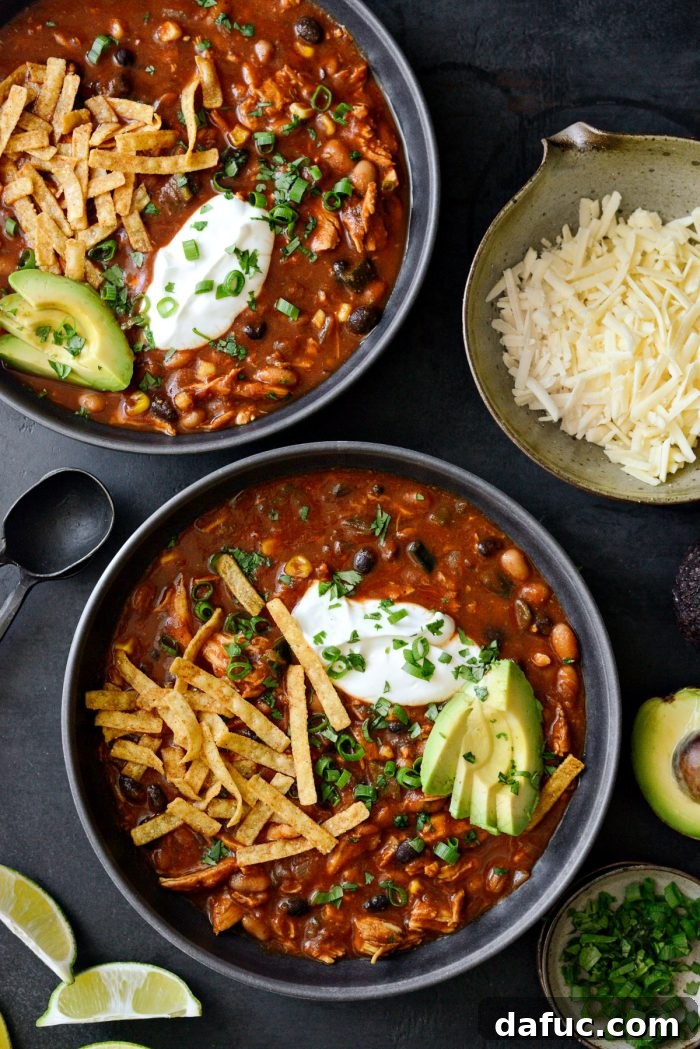
A bowl of Southwest Chicken Chili is delicious on its own, but the right toppings can transform it into an extraordinary meal. Get creative and customize each serving to suit individual tastes. Here are some highly recommended additions:
- Creamy Goodness: A generous dollop of sour cream or plain non-fat Greek yogurt is essential. It adds a cooling creaminess that perfectly contrasts the chili’s spice and richness. My family and I can attest, this is a must-have!
- Crunchy Texture: Thin corn tortilla strips provide a fantastic crunch. We love sprinkling them on top and mixing them in as we eat. Tortilla chips or even cornbread can offer a similar textural delight.
- Cheesy Indulgence: Grated white cheddar cheese, Monterey Jack, or a Mexican cheese blend melts beautifully into the warm chili, adding a savory, tangy note. My daughters always insist on this!
- Fresh & Zesty: A sprinkle of fresh minced cilantro or sliced green onions adds brightness and a pop of color.
- Healthy Fats: Diced avocado provides a creamy, rich texture and a boost of healthy fats.
- Extra Heat: For those who love more spice, a dash of your favorite hot sauce, like Cholula (my husband’s choice!), or a few slices of fresh jalapeño can be a welcome addition.
- Beyond the Basics: Consider adding a squeeze of extra lime, some crumbled cotija cheese, or even a spoonful of salsa for added complexity.
The sky truly is the limit when it comes to customizing your chili bowl. Experiment with what you have on hand and discover your perfect combination!

Meal Prep & Freezing: Enjoy Your Chili Anytime!
One of the best features of this Southwest Chicken Chili is how wonderfully it adapts to meal prep and freezing. Make a large batch and enjoy healthy, flavorful meals for days or weeks to come.
How to Freeze Chili for Later:
- Cool Completely: Before freezing, it is absolutely crucial that your chili is completely cool. Never place hot or very warm food directly into the freezer (or even the fridge), as it can raise the temperature of other frozen items, potentially leading to spoilage.
- Portion Smartly: Once cooled, divide the chili into desired portions. Whether you prefer single servings, or portions for two or four people, use freezer-safe bags or air-tight containers. I highly recommend using freezer-safe bags and pressing out as much air as possible before sealing; this helps prevent freezer burn and makes for more efficient storage.
- Flatten for Storage: If using freezer bags, lay them flat on a rimmed baking sheet and freeze for a few hours. This allows the chili to freeze into a thin, flat slab, which saves significant freezer space and thaws more quickly. You can then stack these flat portions vertically or horizontally.
- Store Duration: Properly stored, your Southwest Chicken Chili can remain in the freezer for up to 6 months without losing quality.
Reheating Frozen Chili:
There are several convenient ways to reheat your frozen chili:
- Overnight Thaw: My preferred method is to transfer the frozen chili from the freezer to the refrigerator overnight. It will be mostly thawed by morning.
- Quick Thaw (Water Bath): For a quicker thaw, place the sealed freezer bag of chili into a sink filled with lukewarm water for 20 to 30 minutes. Flip the bag occasionally and change the water once or twice to maintain its temperature.
- Microwave Defrost: You can also defrost the chili in the microwave until it is mostly thawed.
- Stovetop Reheat: Once thawed (or mostly thawed), transfer the chili to a saucepan or Dutch oven. Heat gently over medium-low heat, stirring frequently, until it is thoroughly heated through and simmering. Add a splash of broth or water if it seems too thick.
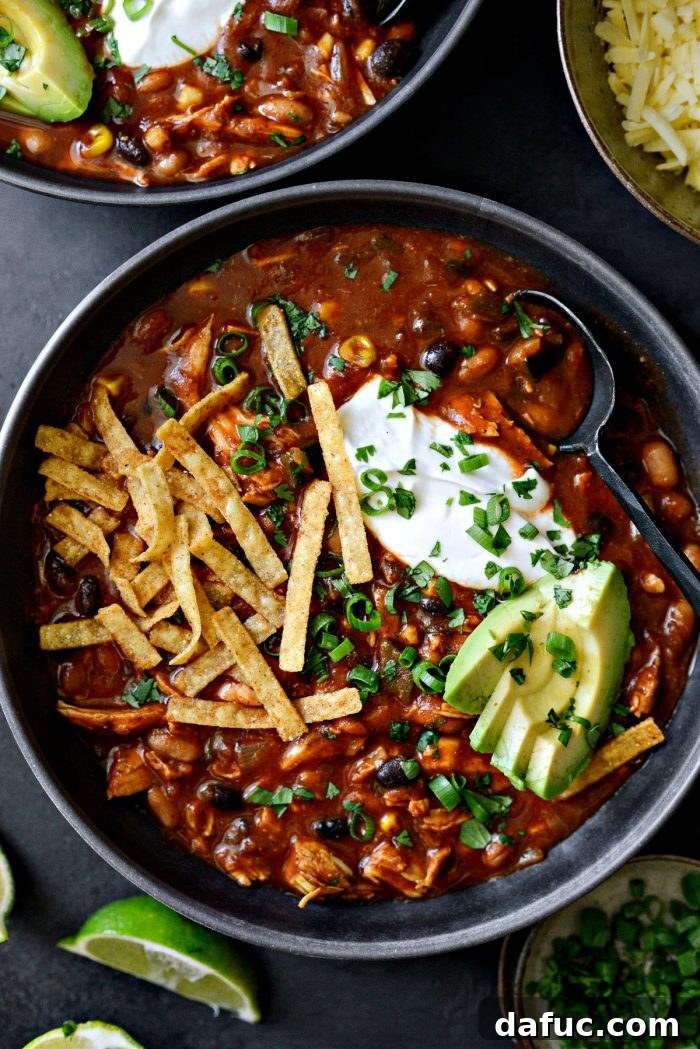
Enjoy! We truly hope you love this Southwest Chicken Chili recipe as much as we do. If you give it a try, please share your experience! Snap a photo and tag me on Twitter or Instagram!

Pin Recipe
Leave a Review »
Southwest Chicken Chili
Ingredients
- 2 teaspoons extra light olive oil, or avocado oil
- 1 large yellow onion, diced
- 1 jalapeño, diced (remove seeds and ribs for less heat)
- 3 cloves garlic, minced
- 1 tablespoon tomato paste
- 4 teaspoons ground ancho chili powder
- 2 teaspoons ground cumin
- 30 ounces canned tomato sauce
- 2 cup low-sodium chicken broth
- 1¾ pound boneless skinless chicken breast halves
- 30 ounces canned pinto beans, rinsed and drained
- 15 ounces canned black beans, rinsed and drained
- 1 cup charred corn, char your own or buy frozen charred corn
- 1 poblano pepper, charred with seeds and stem removed, then chopped
- 15 ounces fat-free refried beans, homemade or store-bought
- 1 lime, juiced
- 2 teaspoons kosher salt, more or less to taste
OPTIONAL TOPPINGS FOR SERVING:
- plain nonfat greek yogurt or sour cream
- avocado
- minced cilantro
- sliced green onion
- grated white cheddar cheese
- tortilla strips, I like the Fresh Gourmet Sante Fe strips
Equipment
-
Lodge EC7OD13 Enameled Cast Iron Oval Dutch Oven, 7-Quart, Oyster White
Instructions
-
In a Dutch oven, add olive oil, onion, jalapeño, and garlic with a small pinch of kosher salt. Stir and cook over medium to medium-low heat until the onions are soft and translucent, about 10 minutes.
-
Once soft, add in tomato paste, ancho chili powder, and cumin. Stir and cook for 1 minute to bloom the spices.
-
Pour in both cans of tomato sauce. Use a little chicken broth to rinse out any sauce left in the cans, then add that liquid and the remaining broth to the pot. Stir to combine.
-
Add the chicken breast halves and ensure they are submerged. Cover and bring to a low boil, then reduce the heat to low and simmer for 20-25 minutes, or until the chicken is fully cooked.
-
Carefully remove the fully cooked chicken breasts and shred them with 2 forks before returning them to the pot.
-
If using rotisserie or previously cooked shredded chicken, add it to the pot at this stage and continue to simmer for 20 minutes to allow flavors to meld.
-
Add in the pinto beans, black beans, refried beans, charred corn, and diced poblano pepper. Simmer for 5-10 minutes or until all ingredients are heated through.
-
Before serving, squeeze in the juice of 1 whole lime and season with kosher salt to taste.
Notes
This recipe was originally posted on January 17, 2012, and has been thoughtfully updated with clearer and more concise instructions, new photography, and helpful information to enhance your cooking experience.