
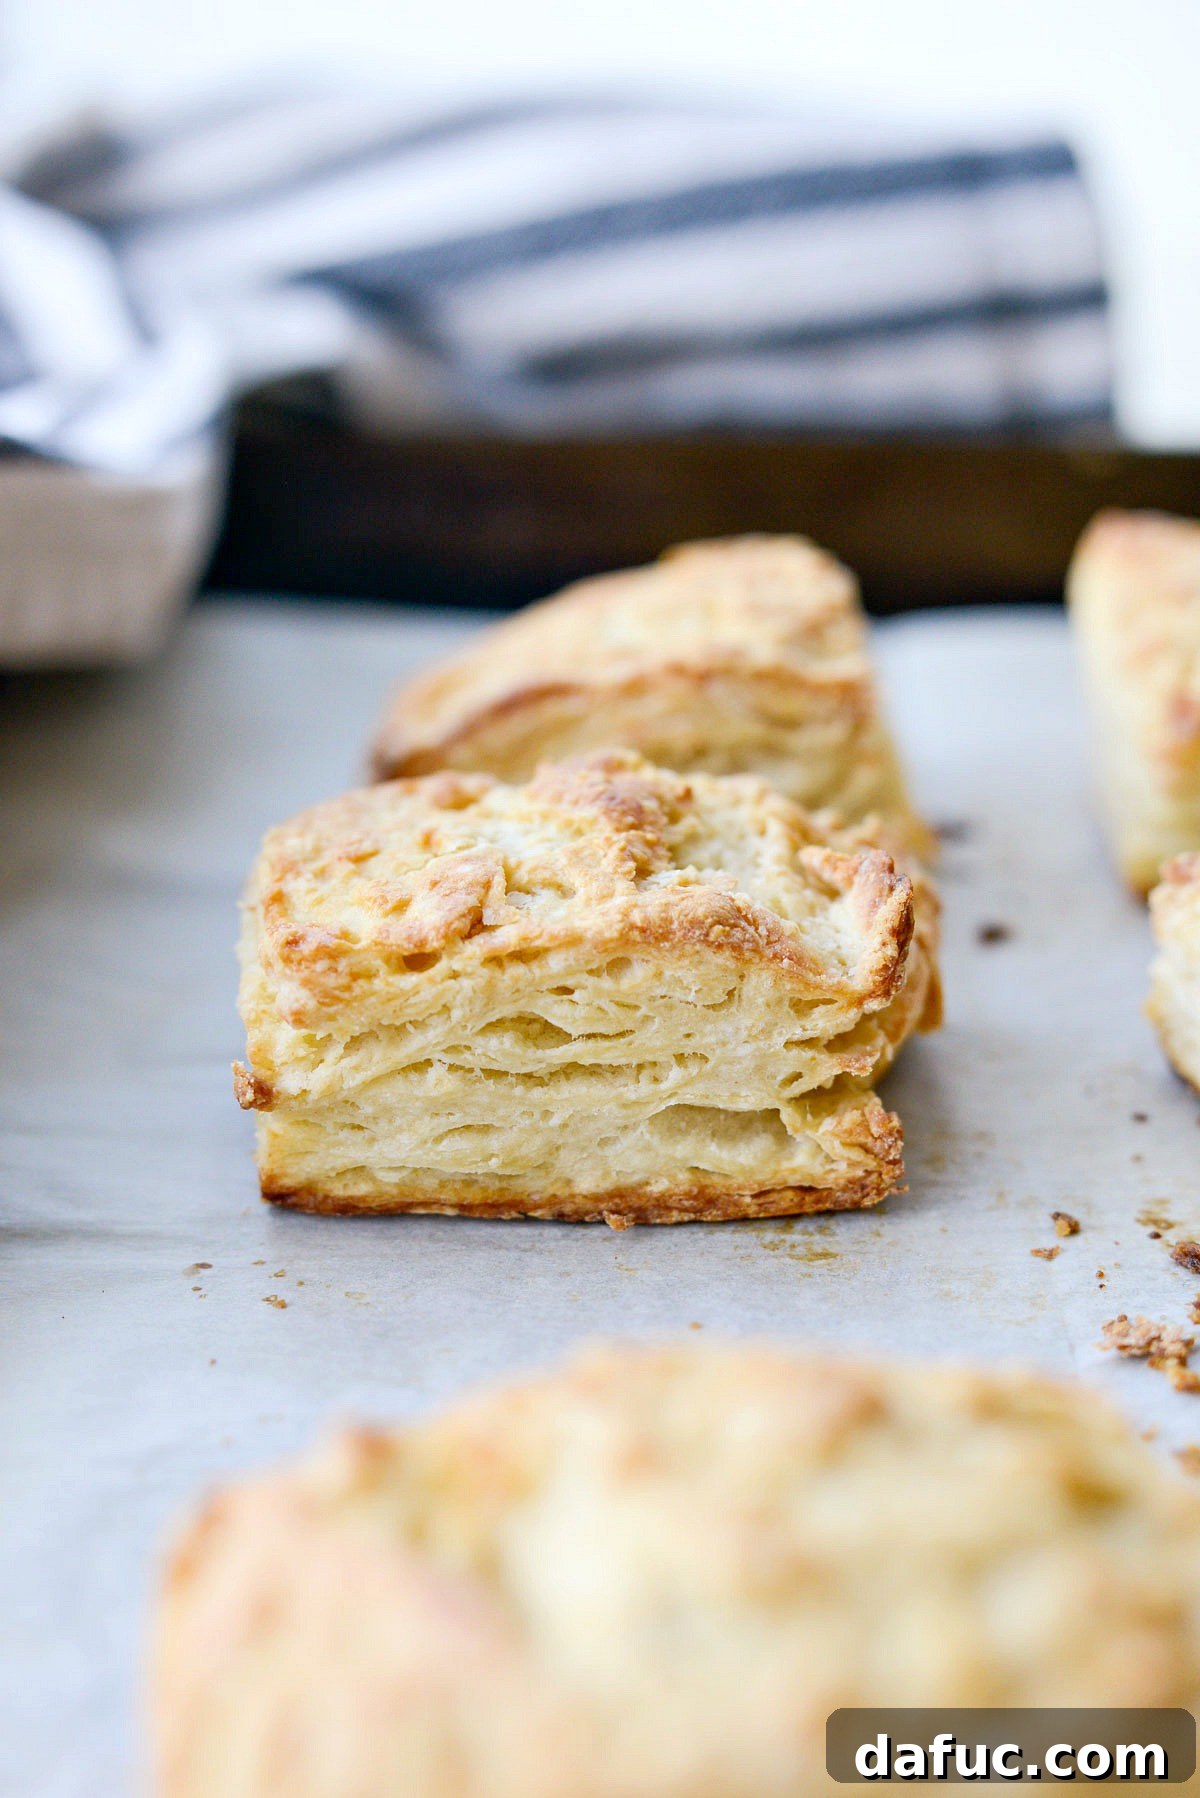
Irresistible Greek Yogurt Biscuits: Flaky, Flavorful, and Half the Fat!
Imagine a warm, fluffy biscuit, golden-brown and perfectly flaky, ready to be slathered with butter and jam or become the foundation of a savory breakfast sandwich. What if we told you that this dream biscuit could also be incredibly simple to make, quick to prepare, and surprisingly healthier than its traditional counterparts? Welcome to the world of Greek Yogurt Biscuits! These delightful treats leverage the power of plain nonfat Greek yogurt to significantly reduce the butter content, offering a lighter alternative without compromising on that coveted flaky texture. In approximately 35 minutes, you can have 8 delicious biscuits ready to elevate any meal or snack occasion.
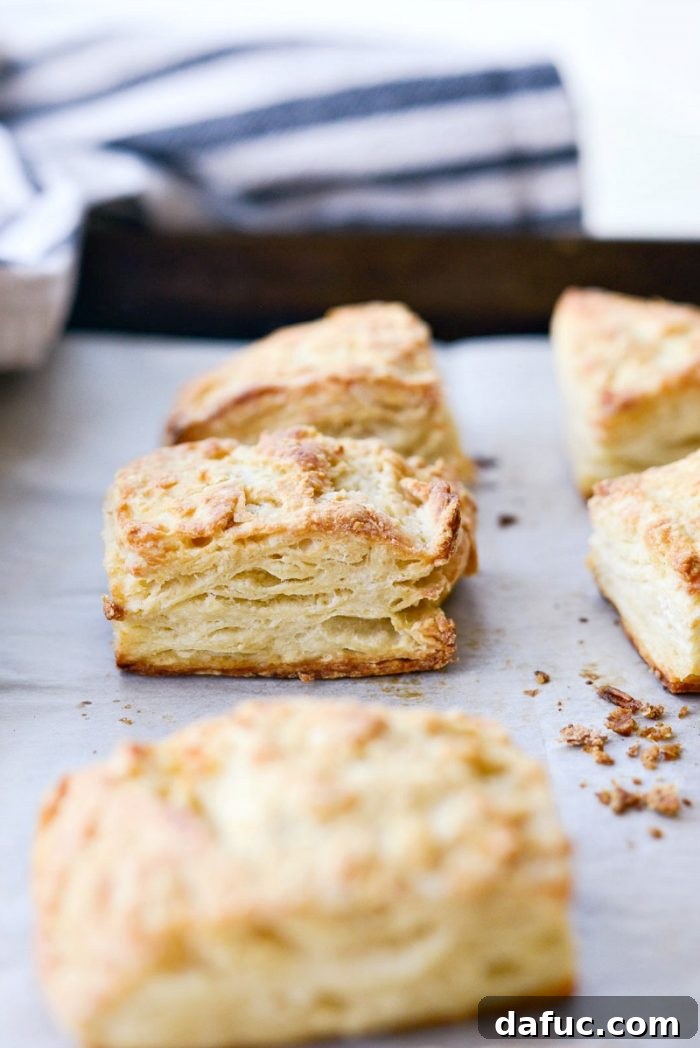
My journey into Greek yogurt baking started with experiments like these fantastic Air Fryer Everything Bagels and even a brilliant Greek Yogurt Pizza Dough. After experiencing such success in making traditionally indulgent foods lighter and simpler, it only felt natural to apply the same principle to biscuits. I’ve always adored a good biscuit, but the sheer amount of butter typically required for true flakiness often made me pause.
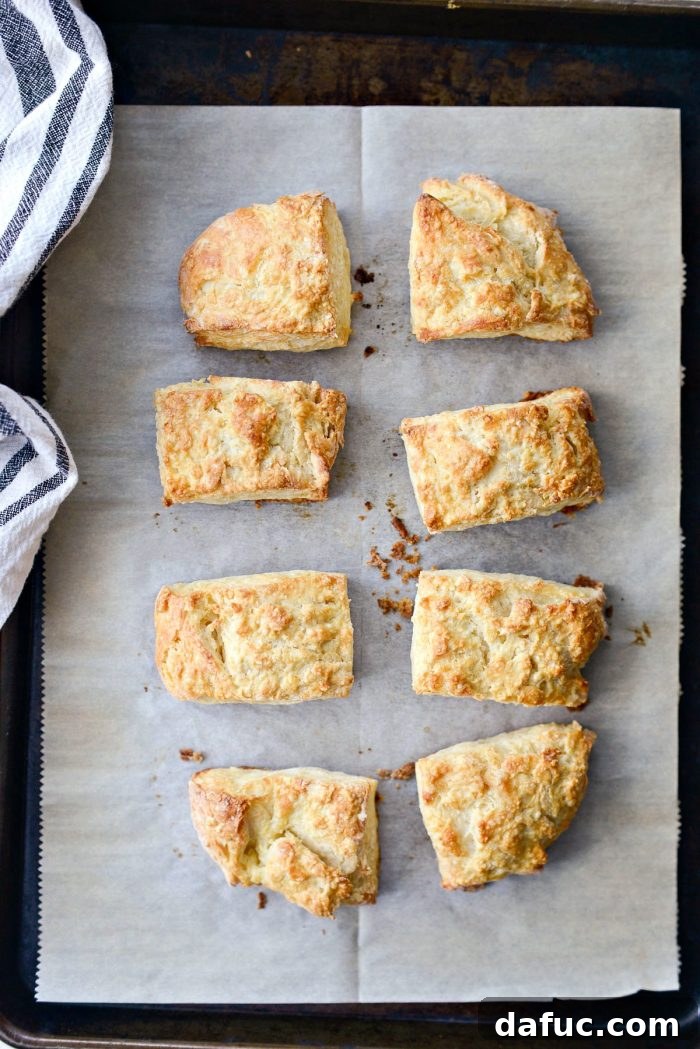
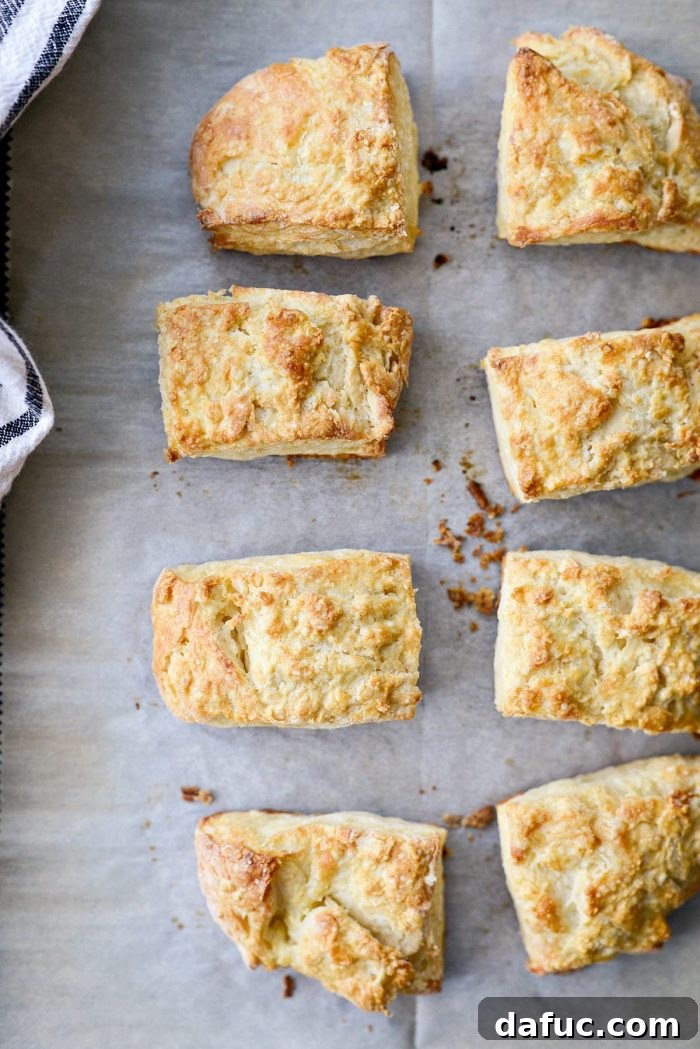
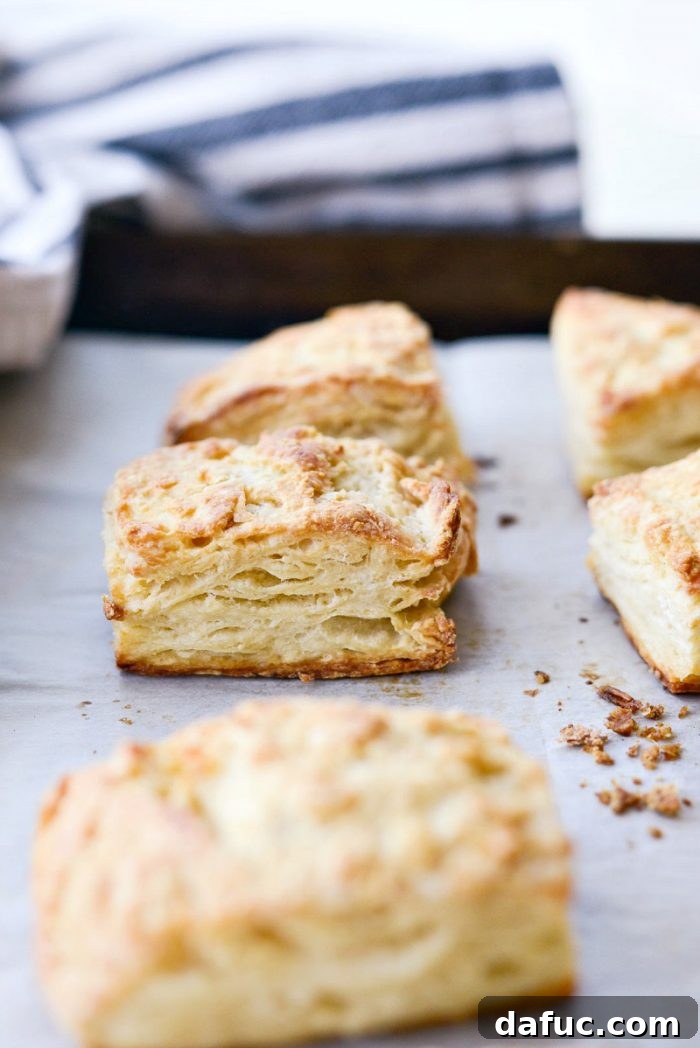
One busy morning, facing a limited butter supply but a strong craving for fresh biscuits, I decided to put Greek yogurt to the test. The result? Gorgeously flaky biscuits that were not only lower in fat but also packed with flavor. While they might not possess the exact melt-in-your-mouth softness of a biscuit made with copious amounts of butter, they certainly aren’t dense “hockey pucks.” Instead, they strike a perfect balance: sturdy enough to hold up to hearty fillings, yet wonderfully flaky and tender within. They offer that quintessential biscuit taste, only with a lighter feel.
The Secret Ingredient: Why Greek Yogurt Works Wonders
Greek yogurt is a phenomenal ingredient for baking, especially when you’re looking to cut down on fat without sacrificing moisture or texture. Its thick, creamy consistency and inherent tang make it an excellent substitute for some of the butter, buttermilk, or even sour cream found in many baked goods recipes. Here’s why it’s the star of these biscuits:
- Reduced Fat Content: By replacing a significant portion of the butter with nonfat Greek yogurt, we drastically cut down on saturated fat. This makes for a healthier biscuit that you can enjoy without guilt.
- Added Moisture: Greek yogurt is rich in moisture. This helps keep the biscuits tender and prevents them from drying out, even with less butter. The moisture also contributes to their structure and helps them bake evenly.
- Tangy Flavor Profile: The subtle tanginess of Greek yogurt adds a depth of flavor that complements both sweet and savory toppings. It’s a nuanced taste that elevates the biscuit beyond plain flour and butter.
- Protein Boost: Nonfat Greek yogurt is packed with protein. While biscuits aren’t typically a protein powerhouse, the addition of Greek yogurt gives them a slight nutritional edge, contributing to a more satisfying snack or meal component.
- Flakiness Retention: Despite less butter, the magic of cold butter combined with the yogurt’s acidity helps create pockets of steam during baking, leading to those desirable flaky layers. The acidity in the yogurt also reacts with the baking powder, providing an excellent lift.
My family, always my toughest critics, were put on taste-testing duty, and these Greek Yogurt Biscuits received a resounding two thumbs up from everyone. This recipe truly proves that you don’t need excessive butter to achieve delicious, home-baked goodness.
Essential Ingredients for Your Greek Yogurt Biscuits
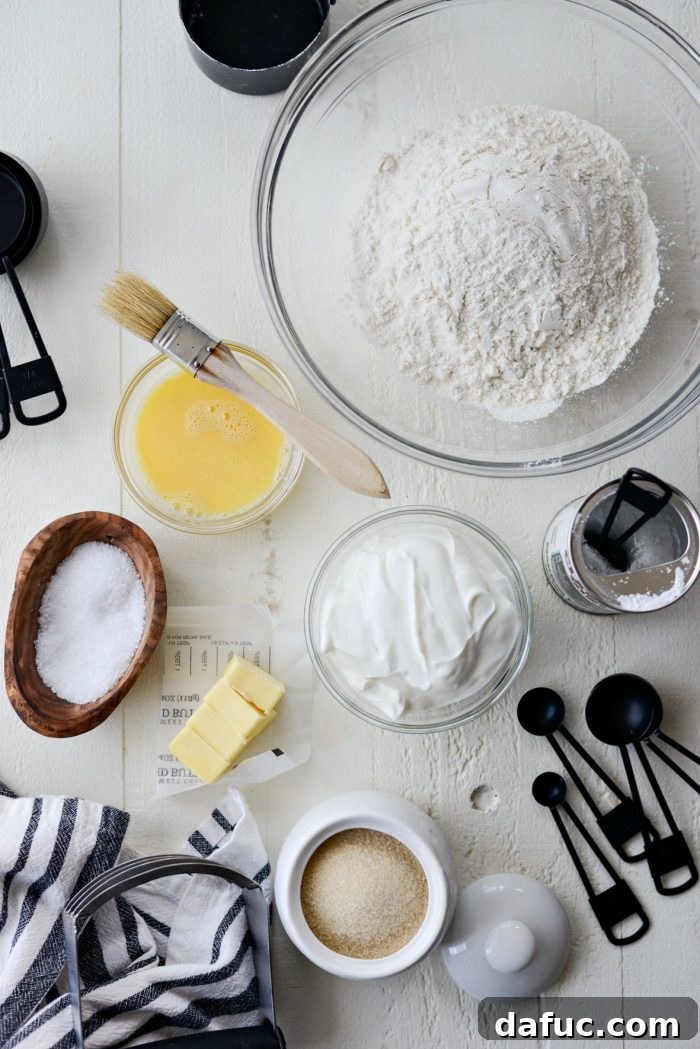
Gathering your ingredients is the first step to baking success. For these light and flaky Greek yogurt biscuits, you’ll need just a few simple pantry staples. Quality ingredients, especially cold butter and fresh Greek yogurt, will make all the difference in the final product.
- Unbleached All-Purpose Flour: The foundation of our biscuits. Unbleached flour has a slightly higher protein content and often produces a more tender crumb. Make sure to measure it correctly by spooning it into your measuring cup and leveling it off.
- Baking Powder: Our primary leavening agent. It reacts with the moisture and acidity in the yogurt to create carbon dioxide gas, which makes the biscuits rise and become light and airy. Ensure your baking powder is fresh for optimal lift.
- Kosher Salt: Essential for balancing the flavors and enhancing the sweetness of the sugar. Don’t skip it, as it prevents the biscuits from tasting bland.
- Sugar: Just a touch of granulated sugar adds a hint of sweetness and helps with browning, giving the biscuits a lovely golden crust.
- Plain Nonfat Greek Yogurt: The star ingredient! Use plain, unsweetened, nonfat Greek yogurt for the best results. Its thickness and tang are crucial for this recipe. Avoid flavored or sweetened varieties unless you’re intentionally making a sweet biscuit variation.
- Cold Unsalted Butter: Even though we’re using less, cold butter is still vital for flaky biscuits. The tiny pieces of butter melt in the oven, creating steam that separates the dough into layers. Unsalted butter allows you to control the overall salt content of the recipe.
- Egg Wash: A simple mixture of a beaten egg and a splash of water. This creates a beautiful golden sheen on top of your biscuits and helps them achieve that appealing bakery-style finish.
Step-by-Step Guide to Flawless Greek Yogurt Biscuits
Making these biscuits is surprisingly straightforward, perfect for even novice bakers. Follow these steps for flaky, delicious results every time.
- Preheat Your Oven and Prepare Your Pan: Begin by preheating your oven to 375℉ (190℃). While it heats, line a rimmed baking sheet with parchment paper. This will prevent sticking and make for easy cleanup.
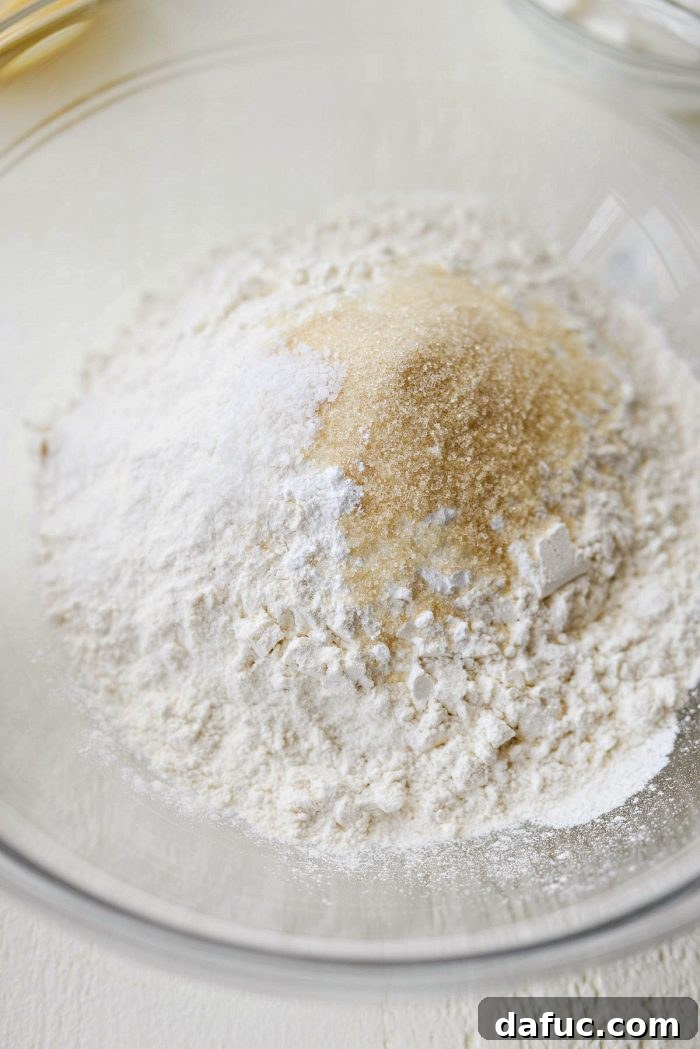
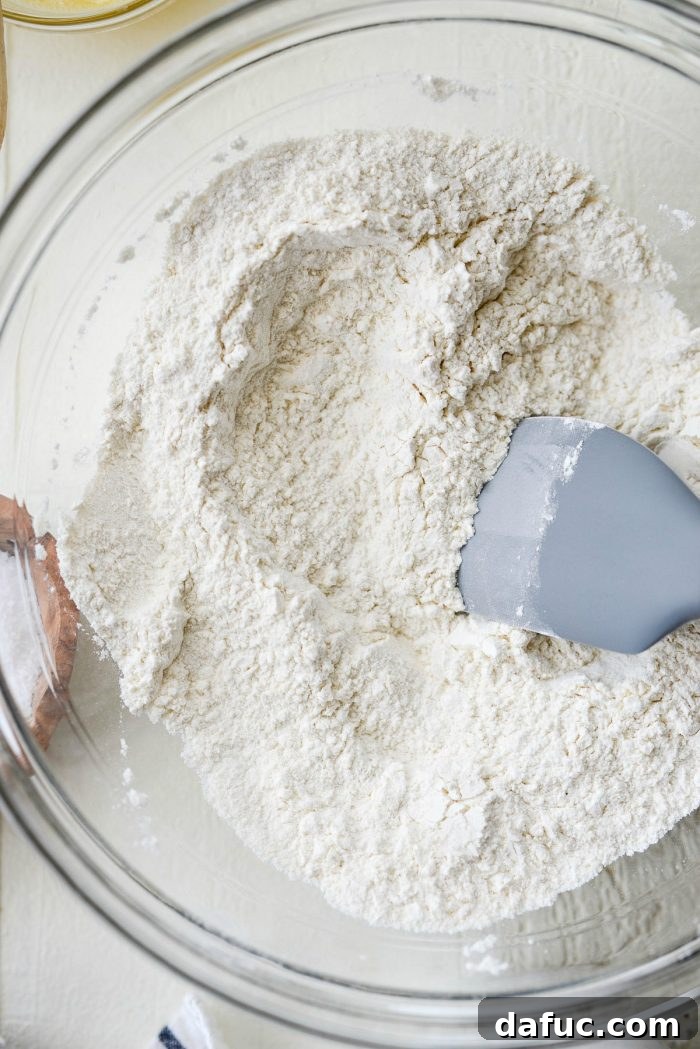
- Combine Dry Ingredients: In a large mixing bowl, measure out 2 cups of unbleached all-purpose flour. Add 2 teaspoons of baking powder, 2 teaspoons of granulated sugar, and 1/2 teaspoon of kosher salt.

- Stir to Combine: Using a rubber spatula or a whisk, gently stir the dry ingredients together until they are well combined. This ensures that the leavening agent and seasonings are evenly distributed throughout the flour.
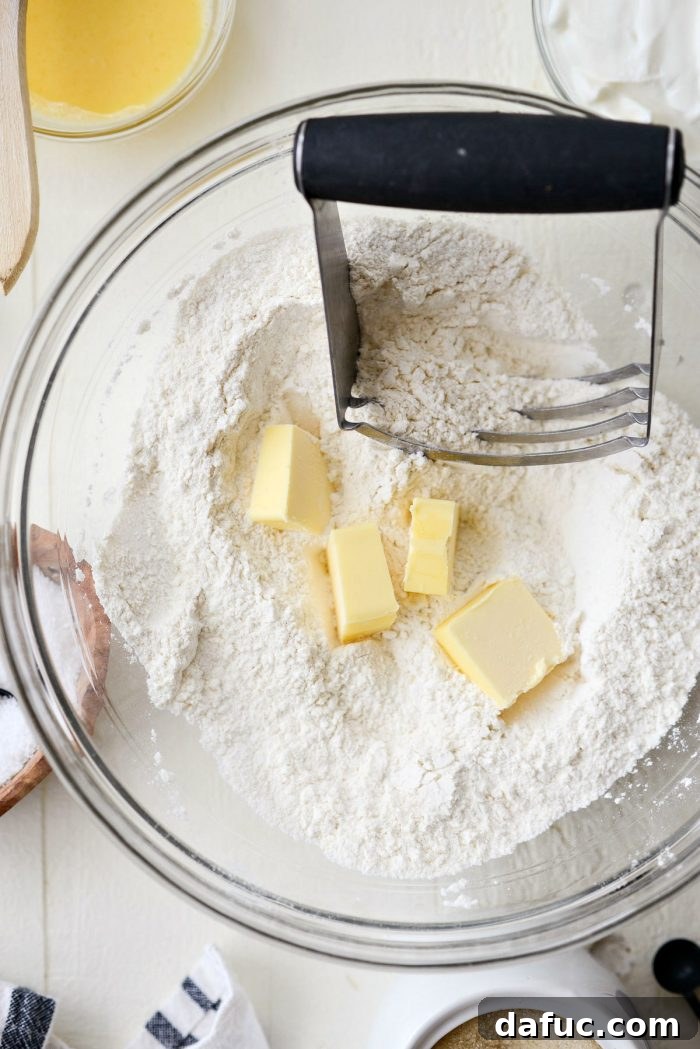
- Incorporate the Cold Butter: Take 4 tablespoons of unsalted butter, ensuring it’s ice cold and cut into small cubes. Drop these butter pieces into the dry ingredients.
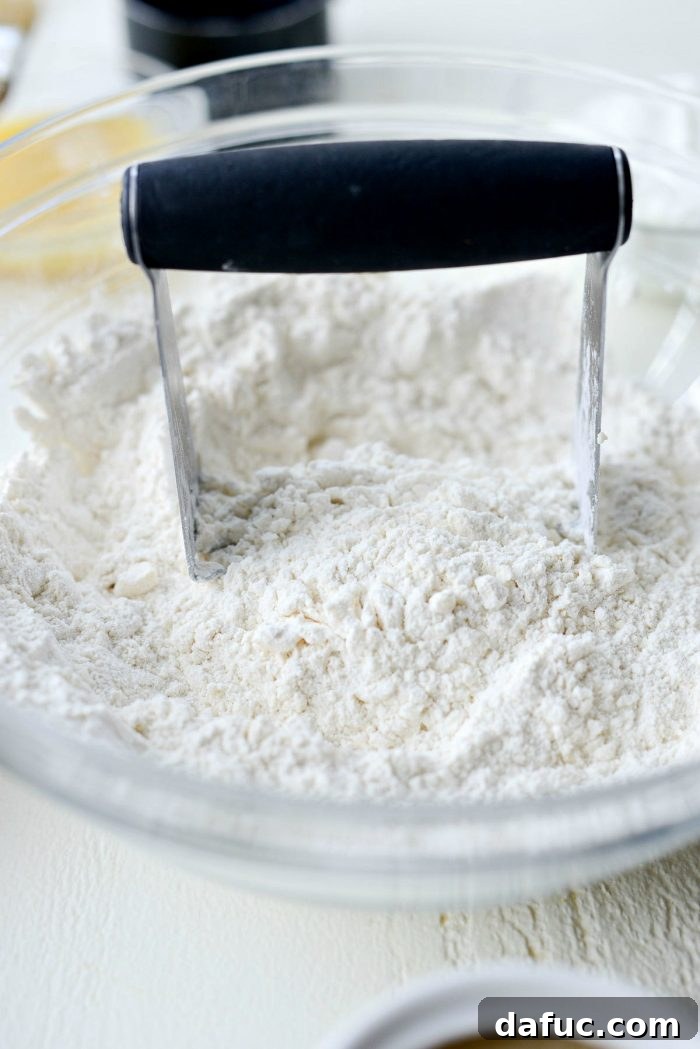
- Cut in the Butter: Using a pastry cutter, or two forks if you don’t have one, cut the butter into the flour mixture. Work quickly to prevent the butter from warming up. Continue until the mixture resembles coarse sand with small, pea-sized pieces of butter still visible. These tiny butter pockets are key to flakiness.
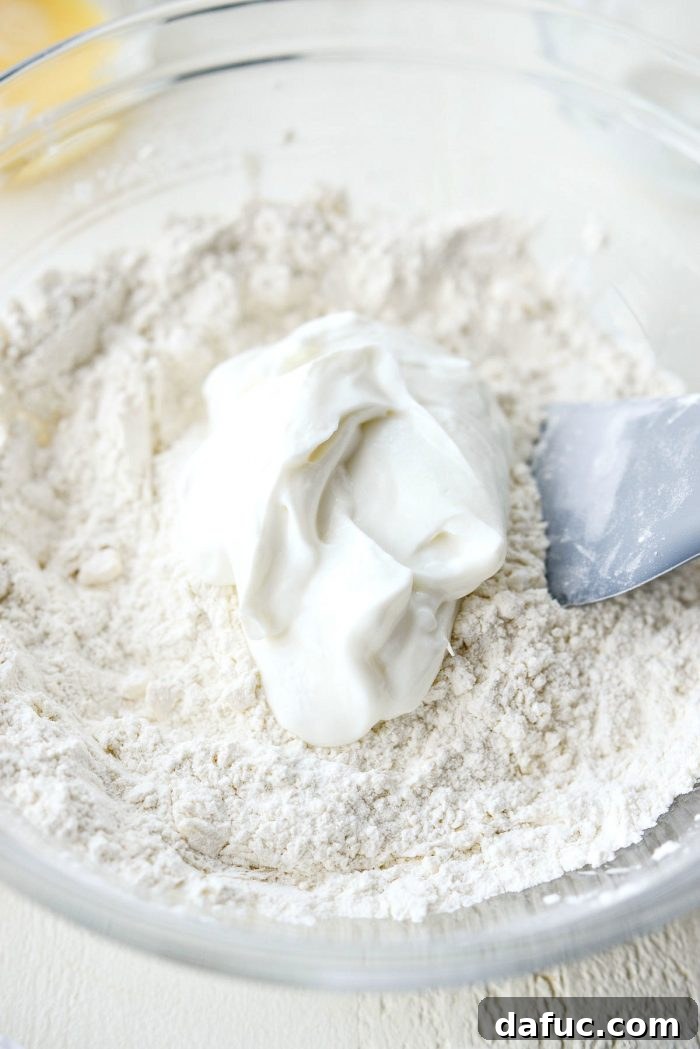
- Add the Greek Yogurt: Pour in 1 cup of plain nonfat Greek yogurt into the flour and butter mixture.
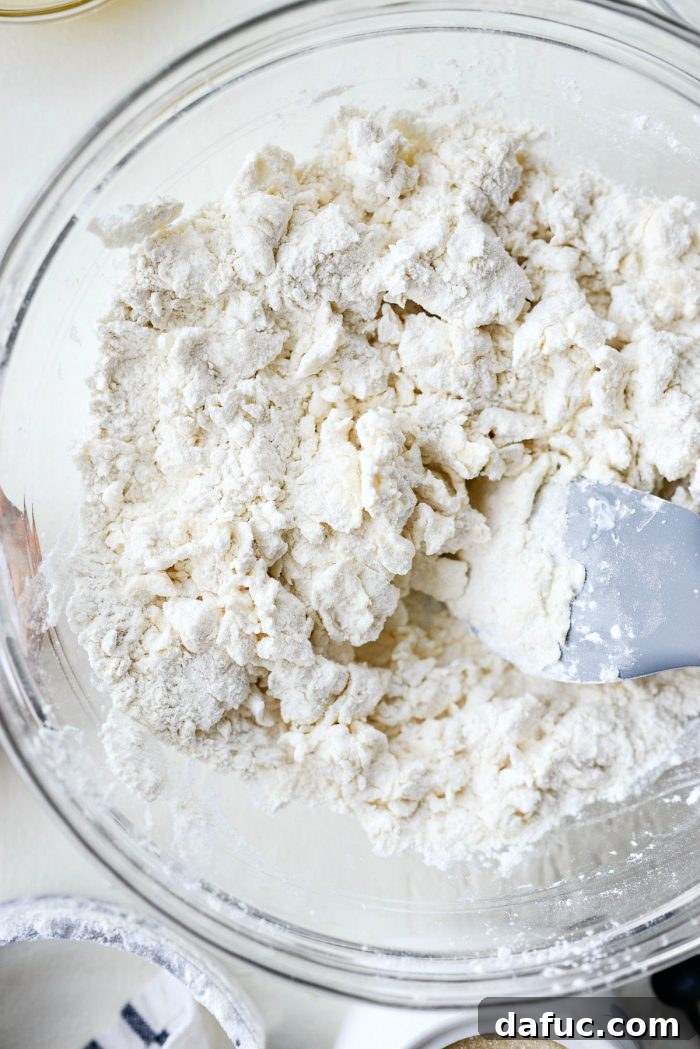
- Form the Dough: With your rubber spatula, stir the ingredients until a shaggy dough forms. The flour and butter should be fully incorporated into the yogurt, but avoid overmixing. A slightly rough, sticky dough is perfectly normal and desired.
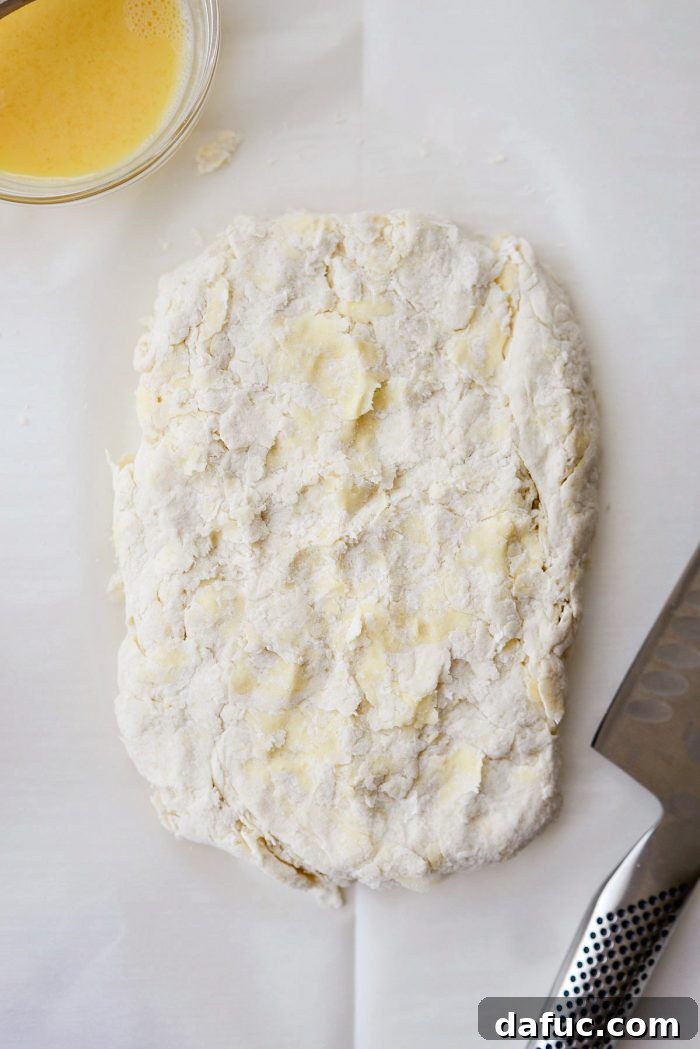
- Shape the Dough: Transfer the dough onto the parchment paper you prepared earlier. Gently press and form the dough into a rectangle, about 1-inch thick. You can use your hands or a rolling pin if needed, but avoid excessive handling.
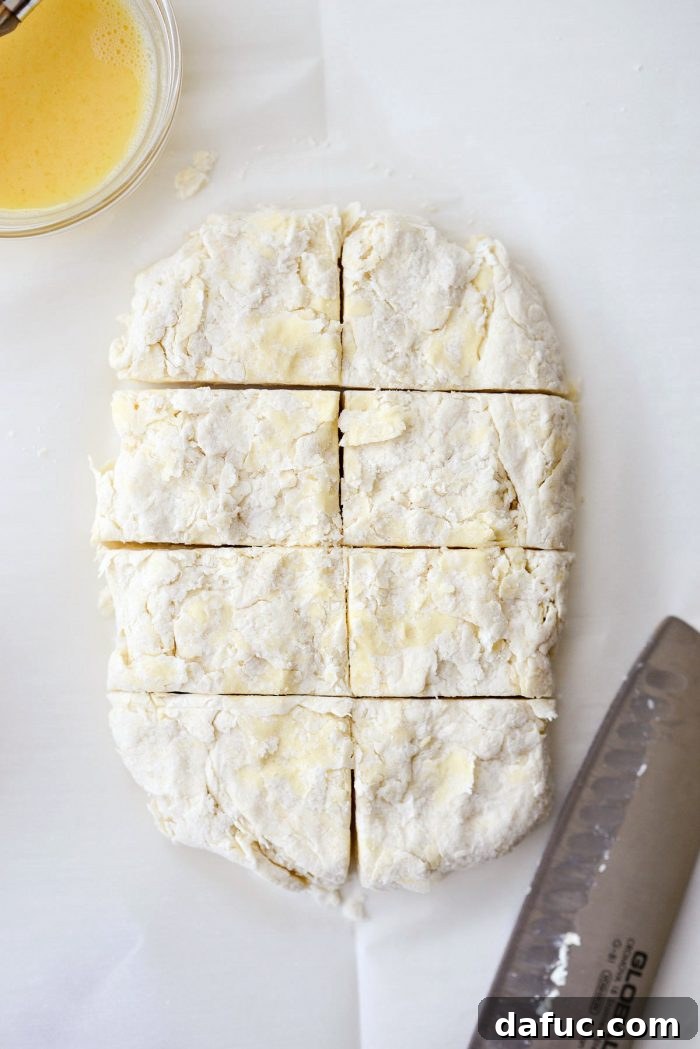
- Cut the Biscuits: Using a sharp knife or a bench scraper, cut the dough into 8 equal squares. For even baking, try to make the squares as uniform in size as possible.
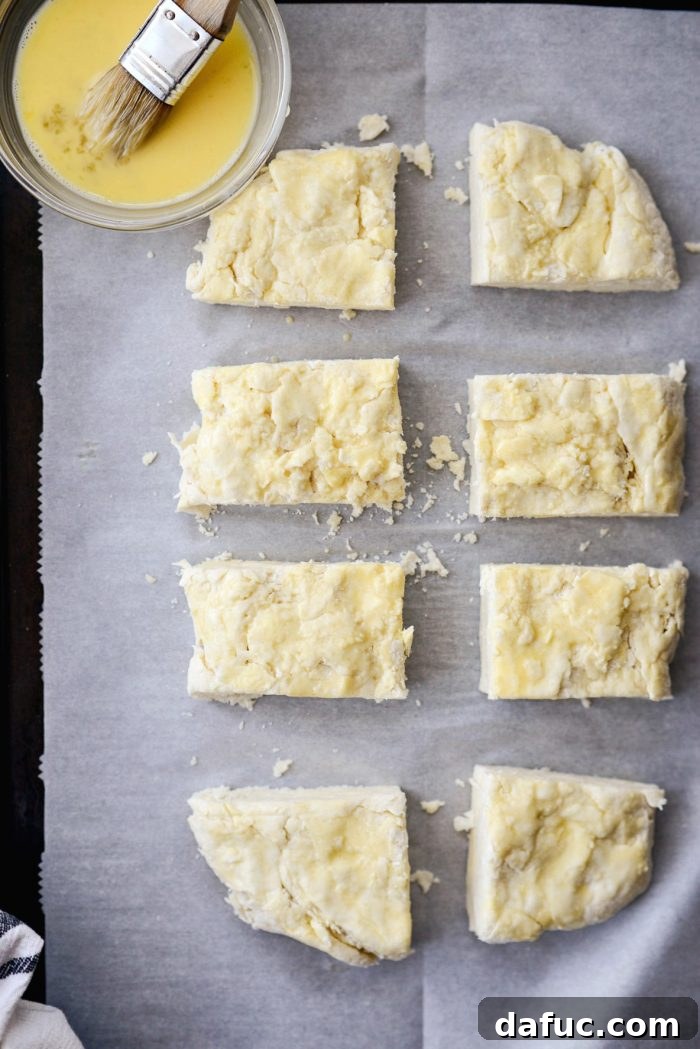
- Transfer and Apply Egg Wash: Carefully transfer the parchment paper with the cut biscuits onto your rimmed metal baking sheet. In a small bowl, whisk one large egg with a splash of water to create an egg wash. Lightly brush the tops of each biscuit with this mixture. This will help them turn beautifully golden brown.
- Bake to Golden Perfection: Place the baking sheet on the middle rack of your preheated oven. Bake for 15 to 18 minutes, or until the biscuits have puffed up significantly and their tops are a deep golden brown. For even browning, you might rotate the pan halfway through the baking time.
- Serve Warm: Once baked, remove the biscuits from the oven and let them cool for a few minutes before serving. The internal steam helps keep them moist.
Serving Suggestions and Creative Pairings
One of the best things about homemade biscuits is their incredible versatility. These Greek Yogurt Biscuits are no exception, perfectly complementing both sweet and savory dishes. Here are some ideas to inspire your next meal:
- Classic Sweet Toppings: Split them warm and spread with your favorite fruit jam, marmalade, or fruit butter. A drizzle of honey or maple syrup is also divine.
- Hearty Breakfast Companions: Pair them with scrambled eggs and crispy bacon for a wholesome breakfast. They are also fantastic with a side of sausage gravy, creating a comforting and filling meal.
- Breakfast Sandwiches: Their sturdy yet flaky texture makes them ideal for building breakfast sandwiches. Fill them with egg, cheese, and your choice of breakfast meat for a portable and satisfying option.
- Savory Sides: Serve them alongside a bowl of chili, a hearty stew, or even fried chicken. Their simple flavor makes them a great absorbent companion for rich sauces and gravies.
- Mini Pizzas or Appetizers: For a creative twist, split the biscuits, top with a little sauce, cheese, and your favorite toppings, then bake until bubbly for quick mini pizzas.
The possibilities are truly endless when you have a batch of these wonderful Greek Yogurt Biscuits on hand!
Tips for Biscuit Baking Success
Even with a straightforward recipe, a few tips can ensure your Greek Yogurt Biscuits turn out perfectly every time:
- Keep Ingredients Cold: This is paramount for flaky biscuits. Cold butter creates steam pockets during baking, resulting in those desirable layers. Ensure your Greek yogurt is also cold directly from the fridge.
- Don’t Overmix the Dough: Overmixing develops gluten, which can lead to tough, dense biscuits. Mix just until the ingredients are combined and a shaggy dough forms. A light touch is key.
- Measure Flour Correctly: Too much flour can make your biscuits dry. Spoon the flour into your measuring cup and level it off with a straight edge rather than scooping directly from the bag.
- Work Quickly: The less you handle the dough and the quicker you work, the colder the butter will stay. Warm butter will integrate too much into the flour, resulting in a less flaky texture.
- Don’t Twist Your Cutter: If using a round biscuit cutter, press straight down and lift straight up. Twisting the cutter can seal the edges of the biscuit, preventing them from rising properly and forming distinct layers.
- Even Thickness: Aim for a consistent 1-inch thickness when shaping your dough. This ensures all biscuits bake evenly.
- Don’t Open the Oven Door: Avoid peeking during the initial baking phase. Fluctuations in oven temperature can affect the biscuits’ rise.
Variations to Explore
Once you master the basic Greek Yogurt Biscuit, don’t hesitate to experiment with different flavors to suit your taste:
- Herbed Biscuits: Add 1-2 tablespoons of finely chopped fresh herbs like rosemary, chives, thyme, or dill to the dry ingredients for a savory twist.
- Cheesy Biscuits: Fold in 1/2 cup of shredded cheddar, Parmesan, or your favorite cheese after the butter is cut into the flour.
- Garlic & Herb: Incorporate garlic powder along with dried herbs for a flavorful side dish, perfect for soups or Italian meals.
- Sweet Cinnamon Sugar: For a sweeter breakfast treat, add 1-2 teaspoons of cinnamon to the dry ingredients, and sprinkle a mixture of cinnamon and sugar on top before baking instead of an egg wash.
- Dried Fruit: Mix in a handful of dried cranberries, raisins, or chopped apricots for a fruitier biscuit.
- Whole Wheat Flour: For a heartier biscuit, you can try substituting up to half of the all-purpose flour with whole wheat pastry flour. Be aware that this may result in a slightly denser biscuit.
Greek Yogurt Biscuits Recipe Card
Pin Recipe

Greek Yogurt Biscuits
Greek Yogurt Biscuits are simple, quick to throw together and half the fat! Thanks to plain nonfat greek yogurt, the butter is significantly reduced and yet still produces a flaky biscuit! This recipe yields 8 biscuits in about 35 minutes.
Yield: 8 servings
Prep Time: 15 mins
Cook Time: 18 mins
Total Time: 33 mins
Ingredients
- 2 cup unbleached all-purpose flour
- 2 teaspoons baking powder
- 2 teaspoons sugar
- 1/2 teaspoon kosher salt
- 4 tablespoons unsalted butter, ice cold
- 1 cup plain nonfat greek yogurt
- 1 large egg, beaten (for egg wash)
Instructions
- Preheat your oven to 375℉ (190℃).
- In a mixing bowl, measure and add the flour, baking powder, sugar, and salt. Stir to combine.
- Add in the cold butter and use a pastry blender (or two forks) to cut it into the flour until it resembles coarse sand with small, pea-sized pieces of butter.
- Add in 1 cup of plain nonfat Greek yogurt.
- Use a spatula to mix until a shaggy dough forms and the ingredients are combined. Avoid overmixing.
- Shape the dough in the bowl before transferring it to a piece of parchment paper. Further shape the dough into a rectangle that is about 1-inch thick. Cut the dough into 8 biscuits.
- Transfer the parchment paper (with the biscuits) to a rimmed metal baking sheet.
- Beat the egg with a splash of water to create an egg wash, and brush the tops of the biscuits.
- Bake for 15 to 18 minutes or until the biscuits are golden brown and puffed. Rotate the pan halfway through baking to ensure even browning.
Nutrition Facts (per 1 biscuit serving)
Serving: 1 biscuit, Calories: 192kcal, Carbohydrates: 26g, Protein: 7g, Fat: 7g, Saturated Fat: 4g, Polyunsaturated Fat: 1g, Monounsaturated Fat: 2g, Trans Fat: 1g, Cholesterol: 40mg, Sodium: 271mg, Potassium: 79mg, Fiber: 1g, Sugar: 2g, Vitamin A: 210IU, Calcium: 96mg, Iron: 2mg
Author: Laurie McNamara
Course: Breads & Baked Goods
Cuisine: American
Ready to Bake? Your New Favorite Biscuit Awaits!
These Greek Yogurt Biscuits are more than just a recipe; they’re an invitation to enjoy a classic comfort food with a thoughtful, healthier twist. They’re proof that mindful eating doesn’t mean sacrificing flavor or that comforting homemade touch. Whether you’re whipping them up for a weekend brunch, a quick breakfast, or a delightful side with dinner, these biscuits are sure to become a cherished part of your culinary repertoire. Their ease of preparation and delicious outcome make them a perfect choice for busy home cooks and experienced bakers alike.
For more innovative and delicious Greek yogurt recipes, be sure to explore our collection here!
Enjoy! We absolutely love seeing your culinary creations. If you give this Greek Yogurt Biscuits recipe a try, don’t hesitate to share your results! Snap a photo and tag us on Twitter or Instagram!