
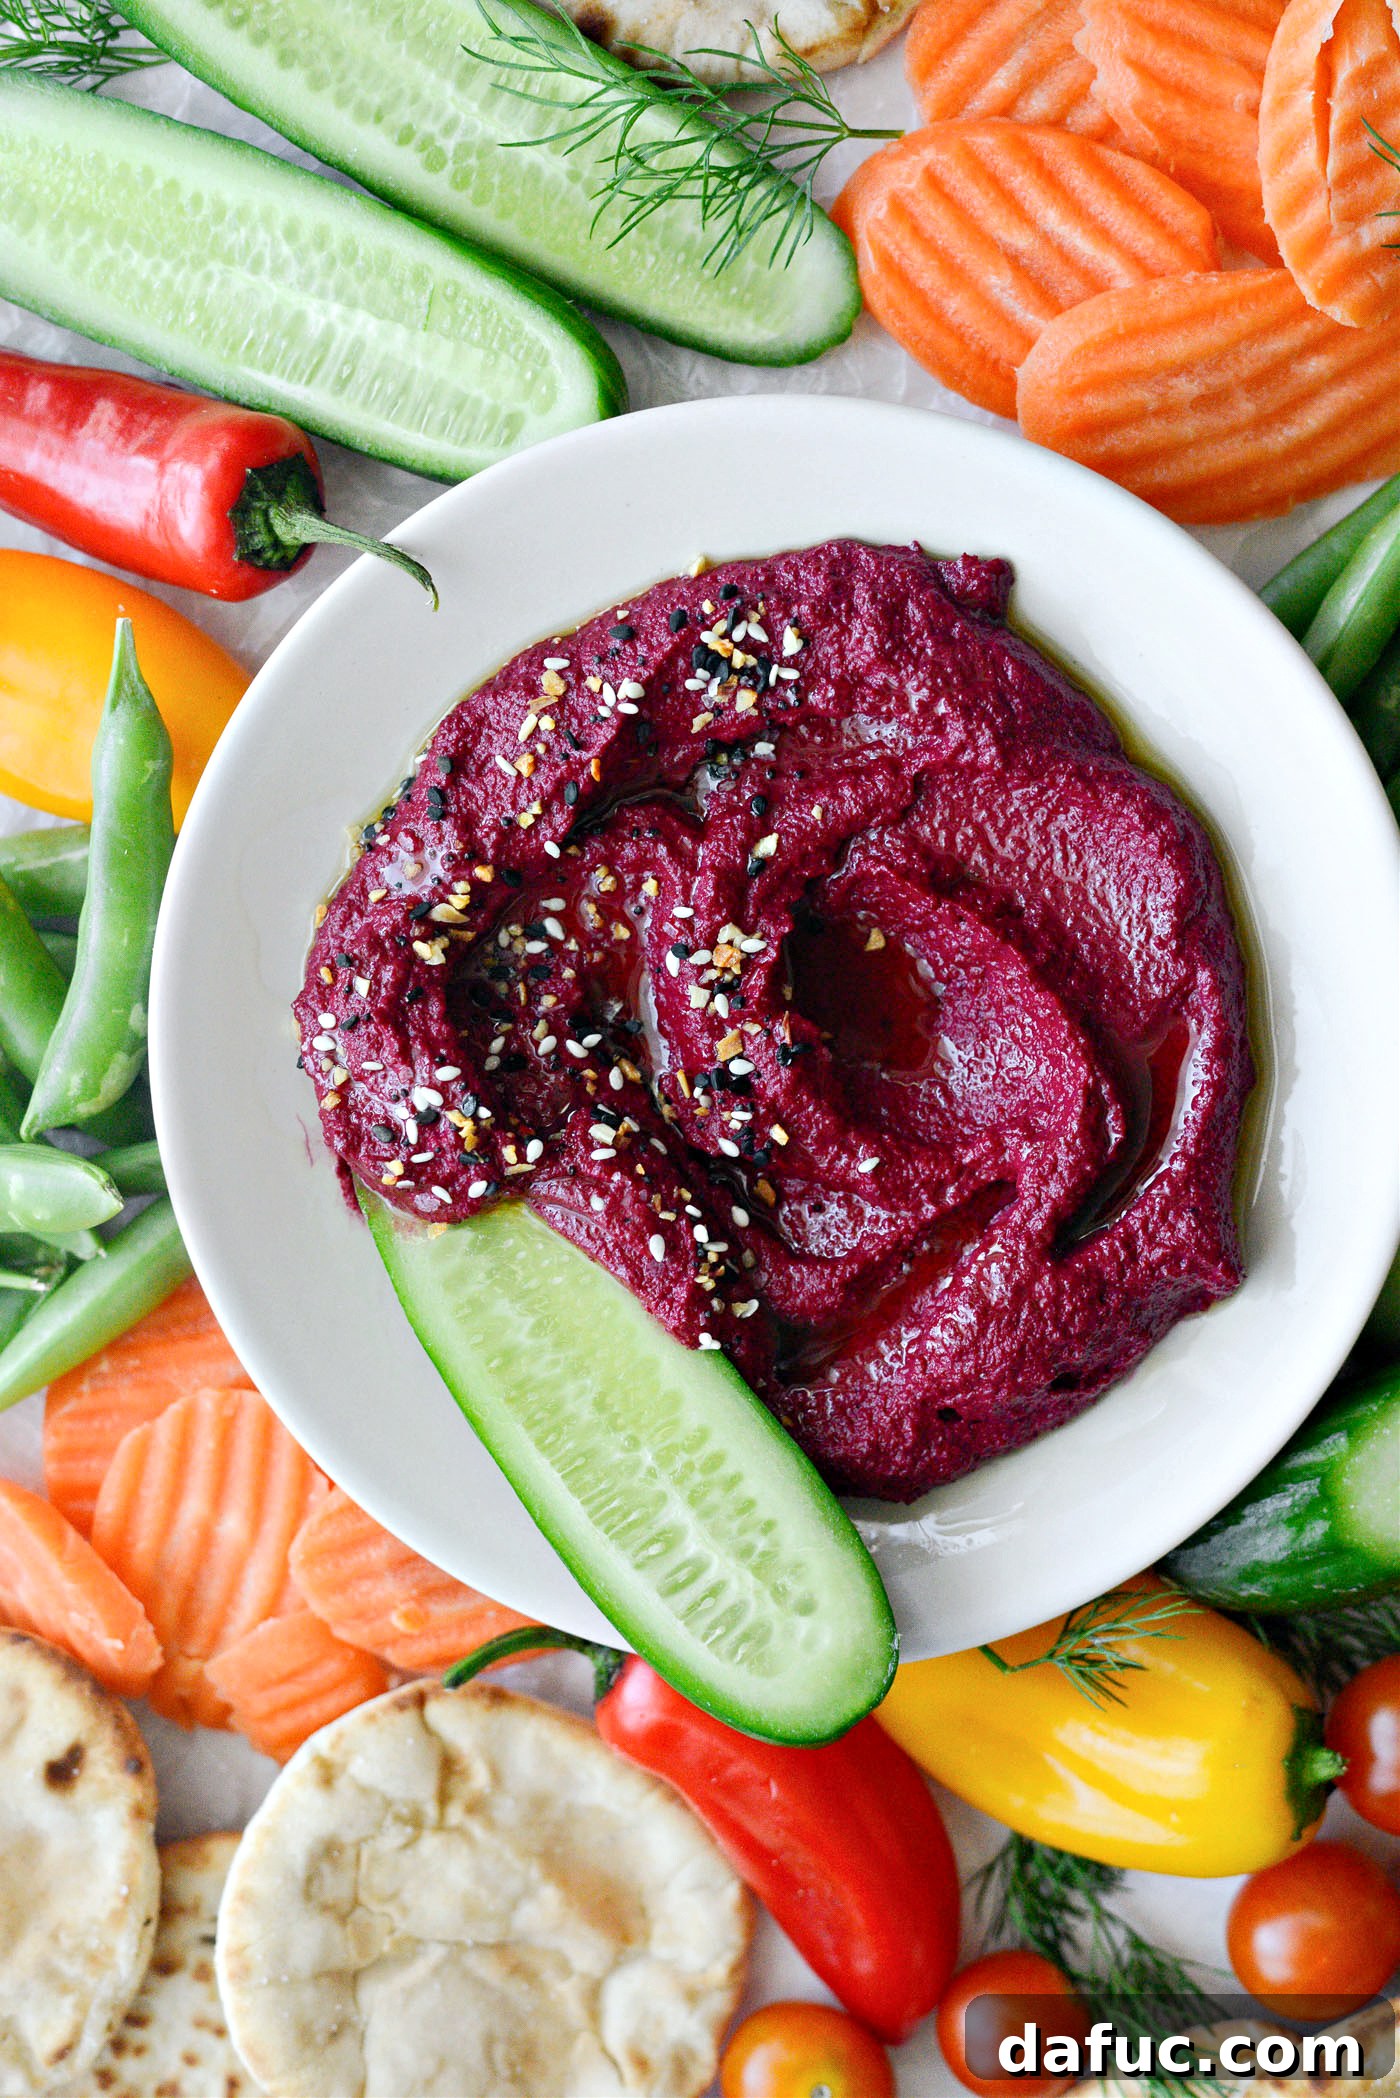
Vibrant & Healthy Roasted Beet Hummus: A Legume-Free Delight
Prepare to be captivated by the stunning color and sensational flavor of this homemade Roasted Beet Hummus. Far more than just a dip, this recipe offers a fresh, legume-free take on a classic, making it an ideal choice for those seeking alternative healthy options or simply a burst of natural goodness. Crafted with simple, wholesome ingredients like tender roasted beets, fragrant garlic, creamy tahini, and a splash of lemon, this vibrant hummus is not only a feast for the eyes but a treat for your palate. Whether you’re looking for an eye-catching appetizer, a nutritious spread for sandwiches, or a versatile addition to your meal prep, this colorful dip promises to elevate any culinary creation.
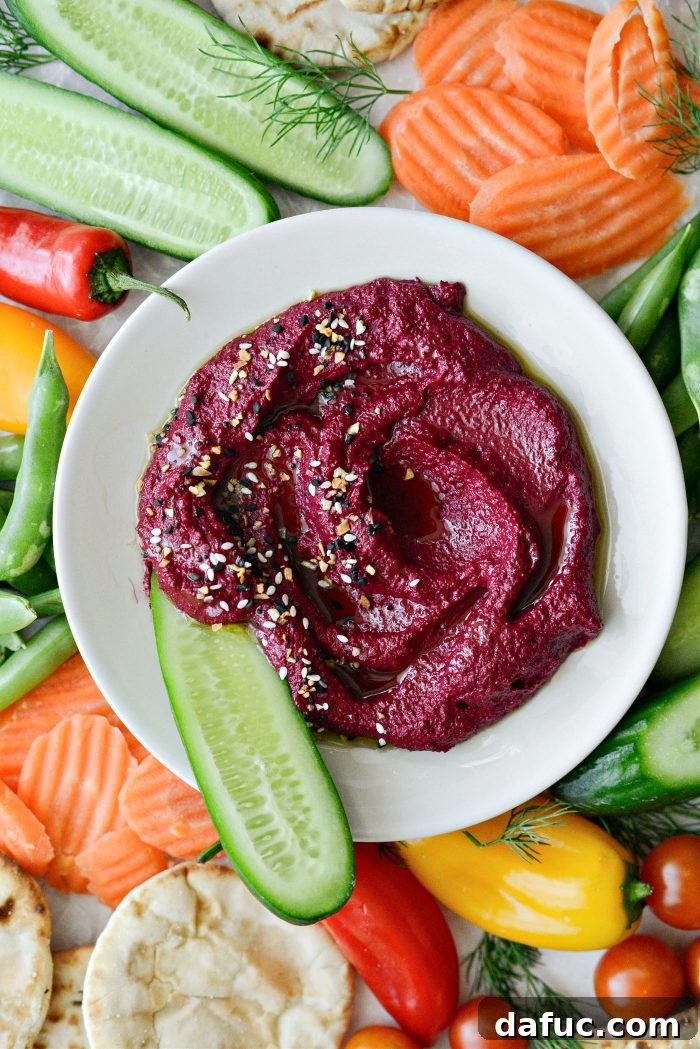
Unlocking the Magic of Roasted Beet Hummus
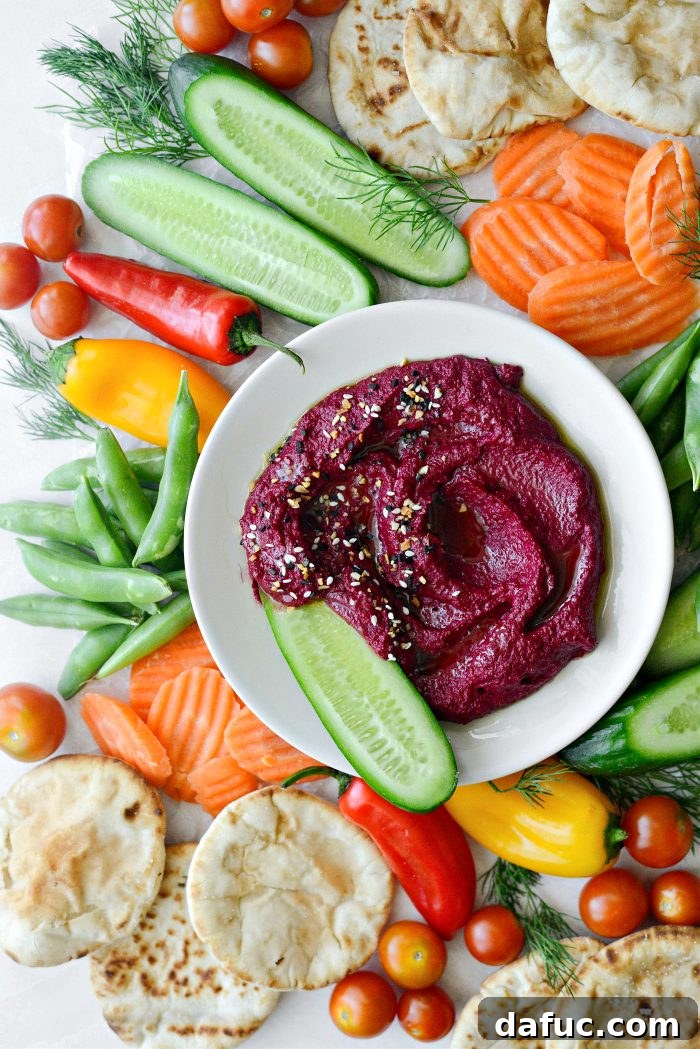
The moment you lay eyes on this bowl of healthy, wholesome goodness, you’ll understand its immediate appeal. It’s almost unbelievable that not a single artificial food coloring is involved in achieving such a rich, deep hue. This is Mother Nature at her finest, showcasing the incredible natural tinting abilities of beets. Beyond its visual allure, this beet hummus brings a wonderfully earthy and deliciously nuanced flavor profile to the table, distinguishing it from traditional chickpea-based hummuses. It offers a unique sweetness and a smooth, luxurious texture that will surprise and delight your taste buds.
A Culinary Revelation: My First Encounter with Beet Hummus
My own journey with beet hummus began a few years ago, specifically in 2016, during a memorable blogging retreat nestled in the beautiful landscapes of Park City, Utah. I was instantly smitten by its incredibly vibrant color. It possessed an almost magical quality that effortlessly brightened every appetizer spread and vegetable platter it graced. But it wasn’t just the aesthetics; the flavor was equally enchanting – a delightful earthiness complemented by a smooth, creamy texture. I found myself repeatedly dipping crispy naan points and fresh vegetables into it, savoring every bite. Personally, I discovered my favorite way to enjoy it was as a generous spread on a hearty sandwich or creamy avocado toast. It’s a truly versatile condiment that transforms everyday meals into something special, adding both visual appeal and a nutritional boost.
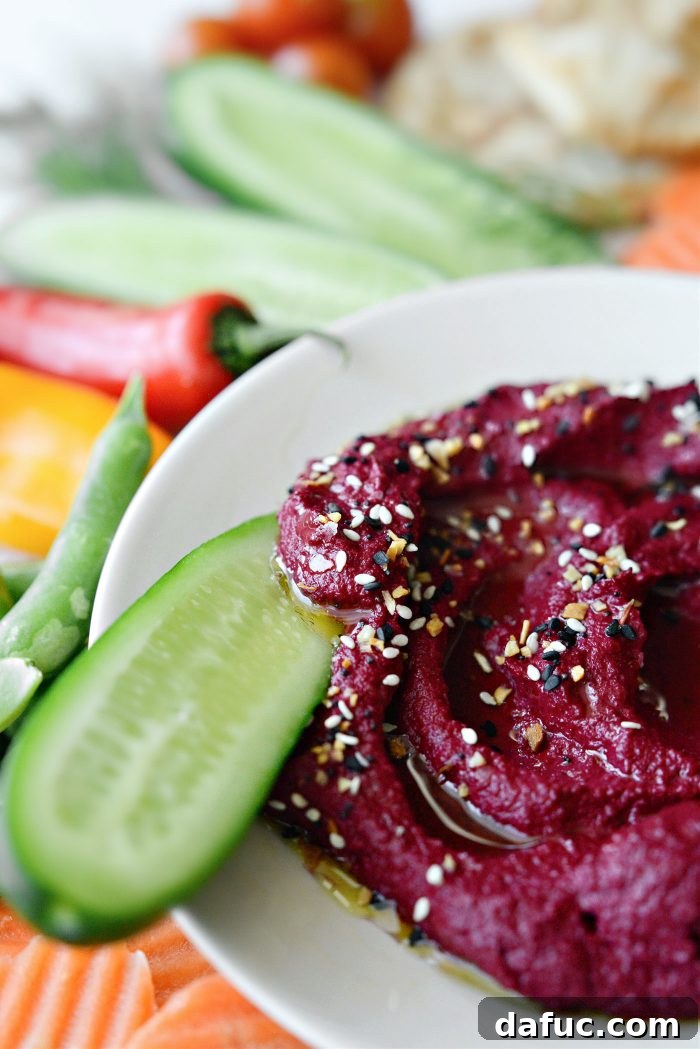
This particular recipe yields approximately 1-1/4 cups, which translates to about 10 (2 tablespoon) servings. This makes it perfect for a small gathering, a healthy snack throughout the week, or an impressive addition to any meal prep. Its legume-free nature also makes it a fantastic option for those with specific dietary restrictions or anyone looking to diversify their plant-based protein sources beyond traditional options like chickpeas.
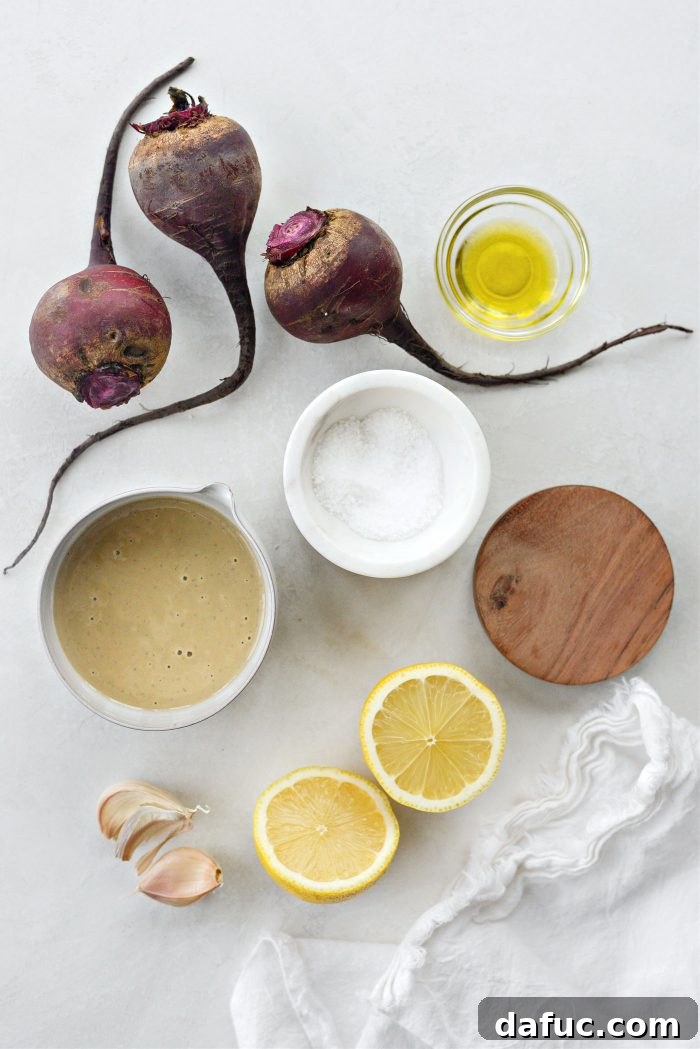
Essential Ingredients for Your Perfect Roasted Beet Hummus
Crafting this incredibly flavorful and visually striking beet hummus requires only a handful of fresh, high-quality ingredients. Each component plays a crucial role in achieving the desired taste, texture, and vibrant color that makes this dip so unique and appealing. Here’s a closer look at what you’ll need to gather:
- Beets: The undisputed star of this recipe! Opt for fresh, firm red beets to ensure that glorious, natural bright pink or deep magenta color. Beyond their stunning visual contribution, beets are a nutritional powerhouse, rich in fiber, vitamins (like Vitamin C and folate), and essential minerals (such as potassium and manganese). Roasting them is key, as it softens their texture and intensifies their natural sugars, leading to a richer, more complex, and subtly sweet flavor that forms the foundation of this exquisite hummus.
- Garlic: We use whole, unpeeled garlic cloves for roasting. This method is superior to raw garlic for hummus, as roasting transforms its sharp, pungent notes into a subtly sweet, mellow, and caramelized depth. This gentle flavor profile beautifully complements the earthiness of the beets and the richness of the tahini, adding aromatic complexity without being overpowering.
- Olive Oil: A good quality extra virgin olive oil is indispensable for this recipe. It’s used both for roasting the vegetables, helping them to cook evenly and preventing sticking, and for enhancing the overall richness and silky smoothness of the final hummus. It contributes a delightful, sometimes peppery or fruity, note that harmonizes all the flavors.
- Tahini: This creamy paste, made from ground sesame seeds, is the soul of any authentic hummus, and it’s equally crucial here. Tahini provides that signature rich, creamy texture and a distinct, slightly nutty flavor that beautifully balances the sweetness of the beets and the tang of the lemon. For the best results, choose a smooth, runny tahini without any bitter aftertaste.
- Lemon Juice: Freshly squeezed lemon juice is paramount for brightness and balance. It introduces a vital acidity and a subtle tanginess that cuts through the richness of the tahini and the earthy notes of the beets. This lifts all the flavors, preventing the hummus from tasting heavy or flat, and adds a refreshing zest.
- Kosher Salt: More than just a seasoning, kosher salt plays a critical role in enhancing and drawing out the natural flavors of all the ingredients. Its coarse texture allows for easy measurement and even distribution. Always add salt incrementally and taste as you go to achieve perfect seasoning, as individual preferences vary.
- Everything Seasoning (Optional, for serving): While entirely optional, a sprinkle of “everything but the bagel” seasoning adds a wonderful textural contrast and an extra layer of savory, garlicky, and oniony flavor that truly complements the beet hummus. Its blend of poppy seeds, sesame seeds, dried garlic, and dried onion provides an appealing crunch and depth. Other delightful garnishes include fresh herbs (like parsley or dill), a final swirl of extra olive oil, or a pinch of sumac for a lemony twist.
Mastering the Roasting Process for Flavor Perfection
The secret to truly outstanding roasted beet hummus lies in the meticulous roasting of your beets and garlic. This crucial step isn’t just about cooking them; it’s about transforming their inherent flavors and textures, making them incredibly sweet, tender, and effortlessly blendable. The caramelization achieved through roasting adds a depth of flavor that raw beets simply cannot provide. Here’s how to achieve that perfect roast:
Step-by-Step Roasting Guide:
- Preheat Your Oven: Begin by preheating your oven to a consistent 400°F (approximately 200°C). This temperature is ideal for roasting, ensuring the beets and garlic caramelize beautifully on the outside while becoming tender on the inside, without burning.
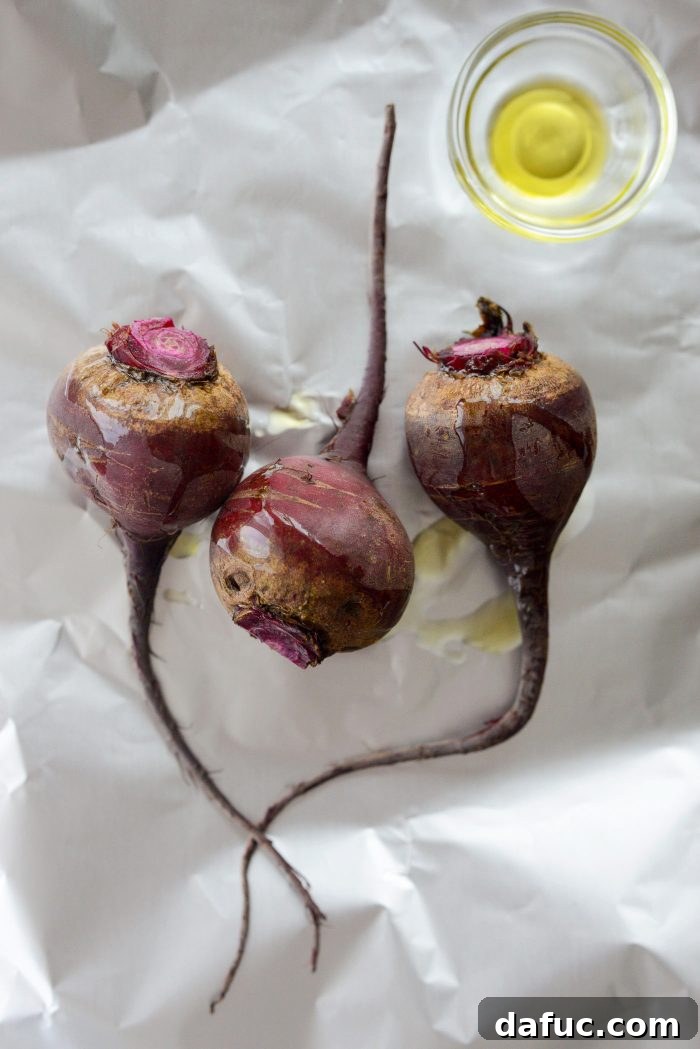
- Prepare the Beets: Take 8 to 10 ounces of fresh beets. Start by trimming off the leafy green ends and the thin root tail, leaving just the rounded beet root. Wash them thoroughly under cold running water to remove any soil or debris, then pat them completely dry with a clean towel. This step is important for even roasting and ensures a clean flavor. Place the cleaned beets on a large piece of sturdy aluminum foil. Drizzle them generously with about 1½ teaspoons of olive oil. The oil helps them to soften and develop a delicious roasted flavor.
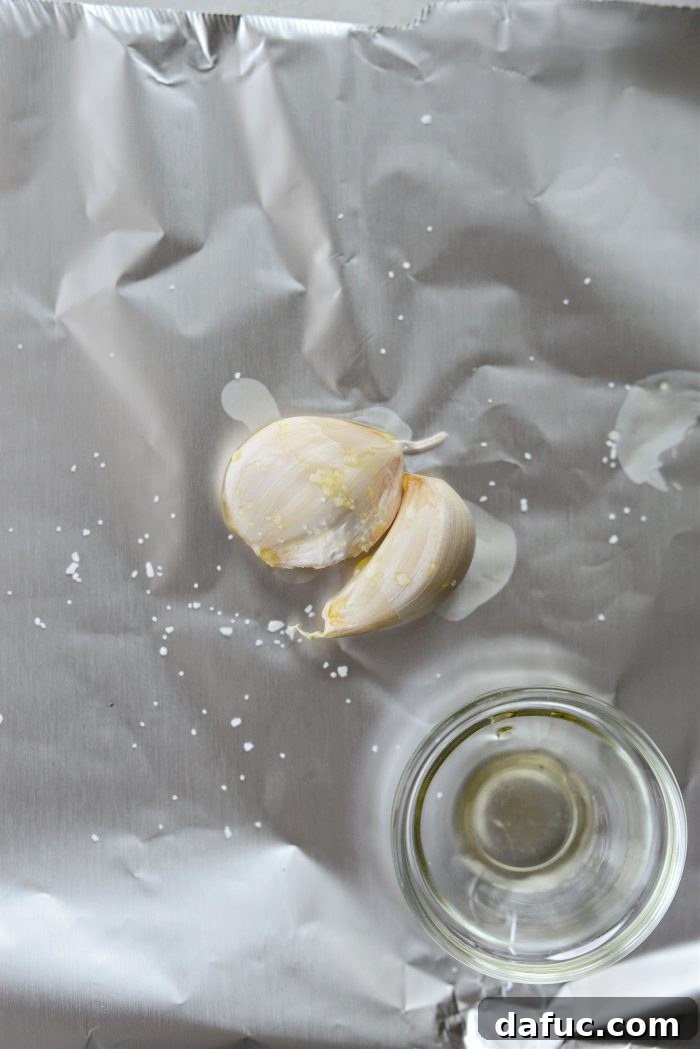
- Prepare the Garlic: On a separate, smaller sheet of aluminum foil, place 2 cloves of unpeeled garlic. Keeping the skin on is crucial for roasting, as it acts as a protective layer, preventing the garlic from burning and allowing it to steam gently. This results in incredibly soft, sweet, and mellow garlic. Drizzle the garlic cloves with the remaining ½ teaspoon of olive oil.
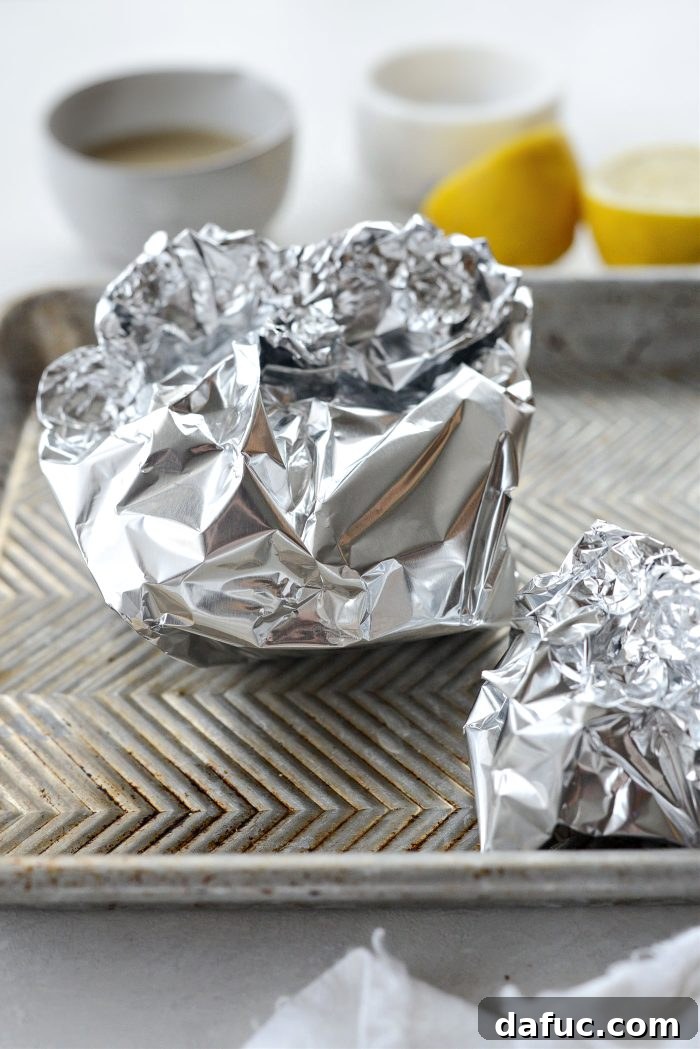
- Create Foil Packets: Carefully gather and fold up the edges of both foil sheets, crimping them tightly to form sealed “purses” or packets. This traps the steam and ensures that the vegetables roast gently rather than drying out, which is essential for achieving incredibly tender beets and perfectly soft, spreadable garlic.
- Roast to Perfection: Place both foil packets onto a rimmed baking sheet. This sheet not only makes it easier to transfer them in and out of the oven but also contains any potential juices that might escape. Slide the baking sheet onto the middle rack of your preheated oven.
- Timing is Key: The beets, being denser, will require a longer roasting period, typically 40 to 50 minutes, or until they are completely fork-tender. You should be able to easily pierce them with a fork. The garlic, being smaller and more delicate, requires less time; it will be perfectly roasted in just about 25 minutes. If roasting them together, remove the garlic packet after 25 minutes and allow the beets to continue roasting until done.
- Cool Down: Once roasted, carefully remove both the beet and garlic packets from the oven. Allow them to cool completely at room temperature before you attempt to handle and peel them. Cooling makes handling much easier and prevents burns from the hot vegetables.
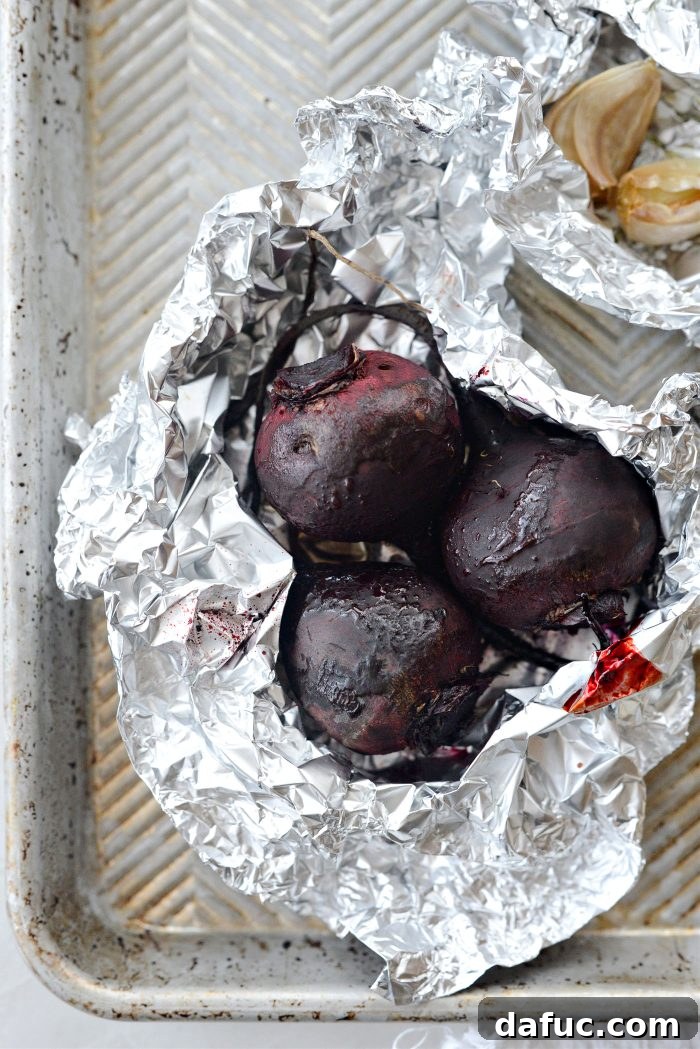
Expert Tip for Peeling Beets: Peeling roasted beets is surprisingly easy! Once they are cooled, the skins should slip off with minimal effort. You can use a dedicated kitchen towel (be warned, beet juice can stain!), paper towels, or even nitrile gloves to gently rub the skins away. The slight friction aids in the process, and wearing gloves prevents your hands from getting stained by the beets’ vibrant pigments.
Assembling Your Silky Smooth Beet Hummus
With your perfectly roasted beets and garlic cooled and ready, the next exciting step is to transform these delicious ingredients into a luscious, creamy hummus. This is where your food processor truly shines, bringing all the wonderful flavors and textures together into a harmonious blend. Follow these steps for a perfectly smooth consistency:
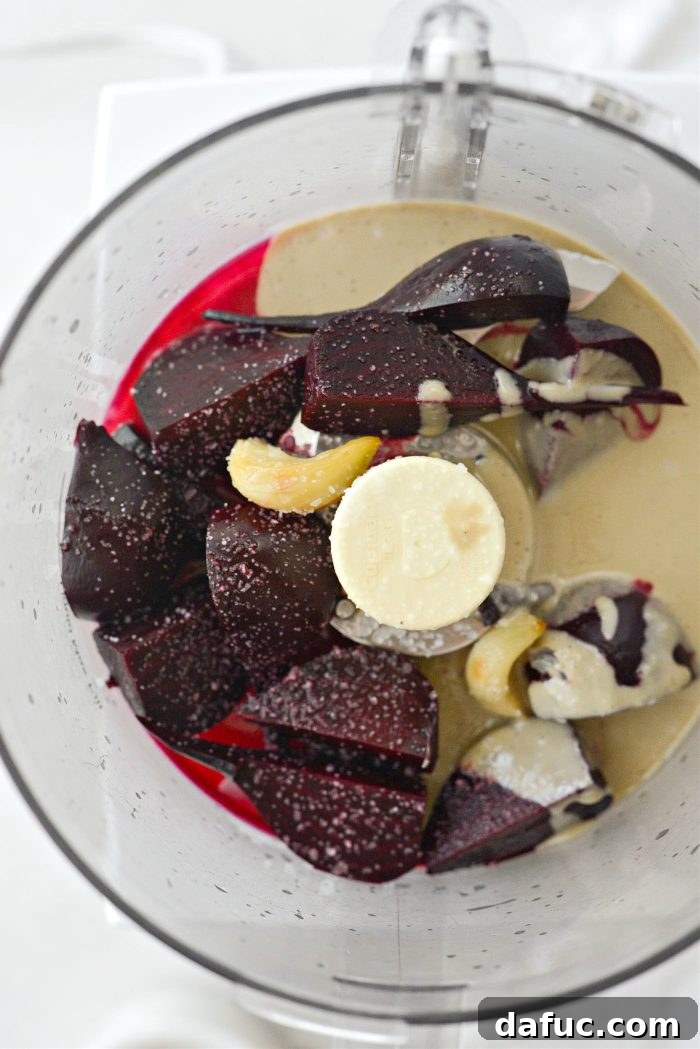
- Prepare for Blending: Once the roasted beets are peeled, cut them into quarters. This makes them easier for the food processor blade to handle and ensures quicker, more efficient blending. Add the quartered beets into the bowl of your food processor, which should be fitted with its sharp blade attachment.
- Add Remaining Ingredients: Gently squeeze the soft, caramelized flesh of the roasted garlic cloves from their skins and add them to the food processor with the beets. Pour in the freshly squeezed juice of one lemon (approximately 2-3 tablespoons) and ¼ cup of tahini. Add a few pinches of kosher salt to start; remember, you can always adjust this later.
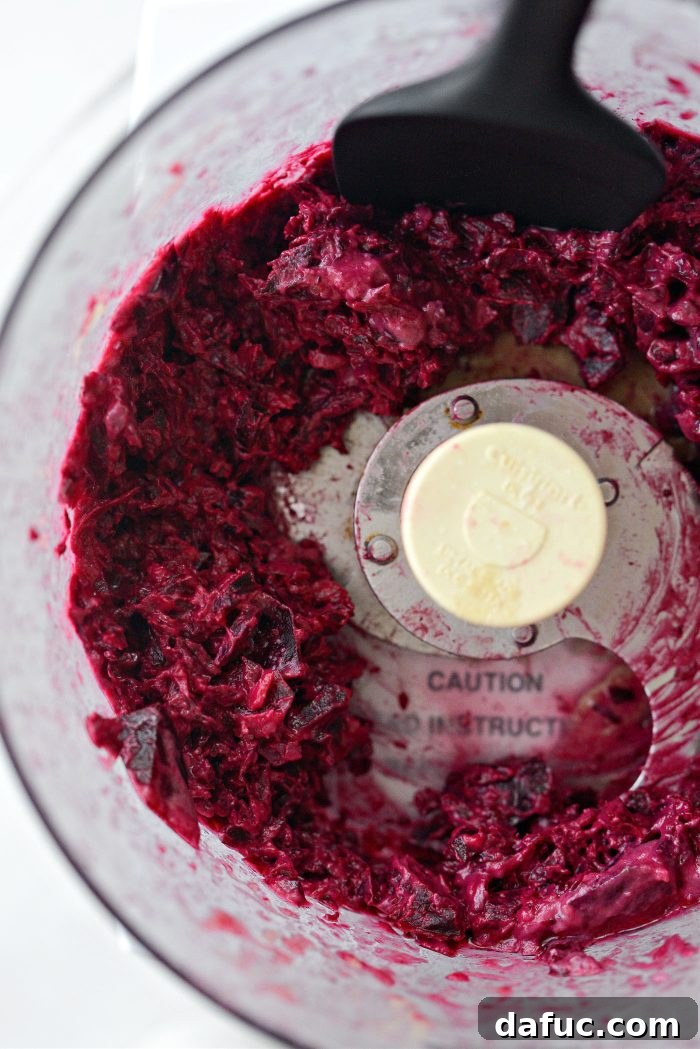
- Initial Blending: Secure the lid of your food processor firmly. Give the mixture several long pulses. This initial blending helps to break down the larger pieces of beet and garlic, and starts the process of combining all the ingredients into a rough paste.
- Scrape and Continue Blending: After the initial pulses, turn off the food processor and use a rubber spatula to meticulously scrape down the sides of the bowl. This ensures that all ingredients are thoroughly incorporated and that no unblended lumps remain, especially those stuck to the sides. Continue to blend, stopping periodically to scrape down the sides again, until the hummus is incredibly smooth, creamy, and uniform in texture. The consistency should be luxurious and free of any gritty bits.
- Taste and Adjust: This is a crucial step for personalized perfection! Taste the hummus. Does it need more salt to brighten the flavors? Perhaps a little more lemon juice for an extra zing, or a touch more tahini for added richness and creaminess? Adjust according to your preference, blending briefly after each addition to fully incorporate the new flavors.
The Final Touch: Garnishing Your Hummus
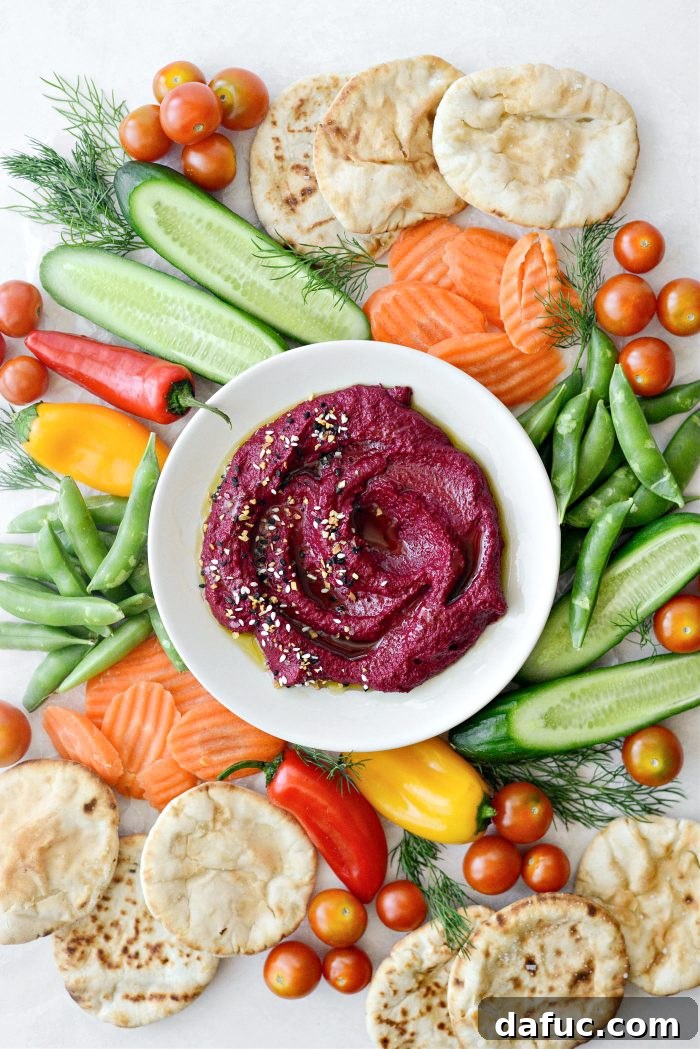
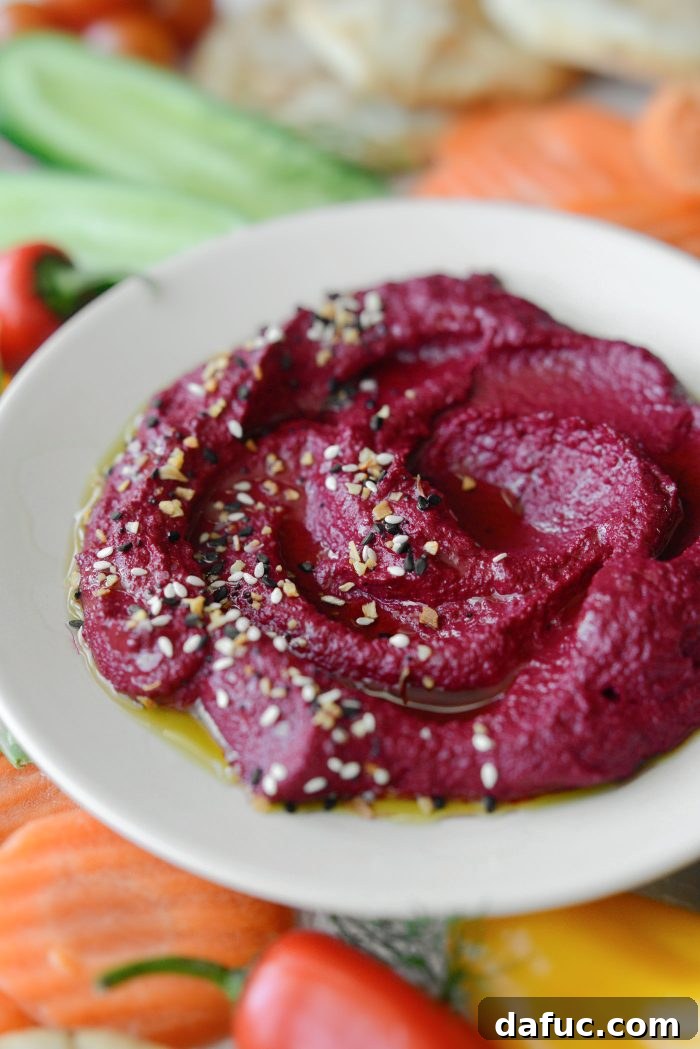
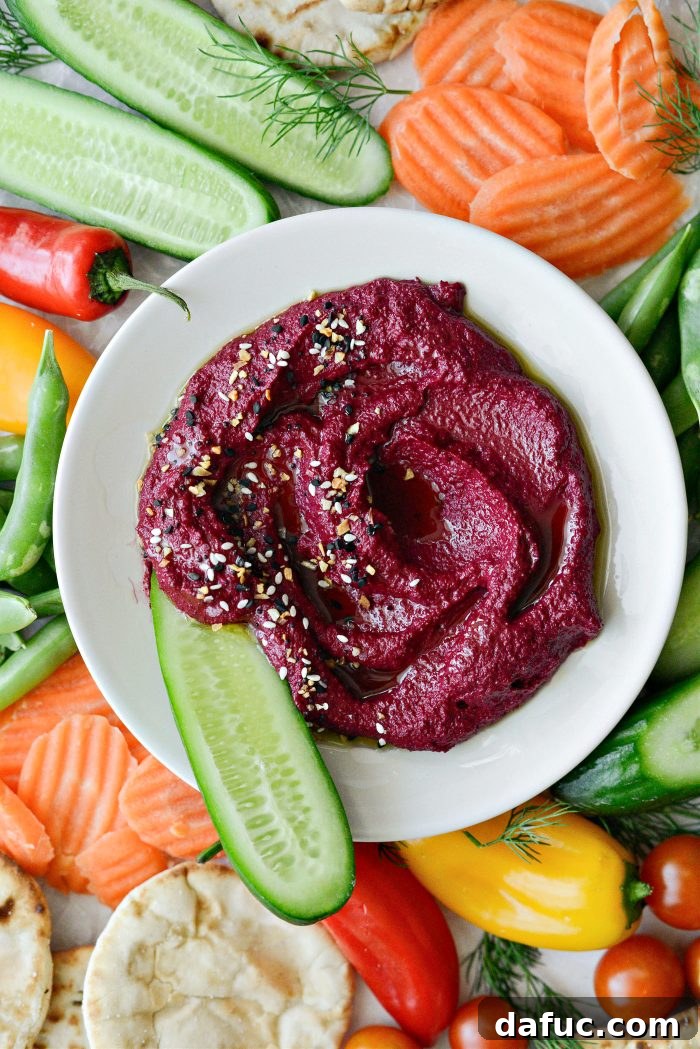
Once your roasted beet hummus reaches its perfect consistency and flavor, it’s time for the final, equally important, presentation step. Spoon the hummus into a shallow serving bowl, creating a slight well in the center with the back of a spoon if desired. I particularly love to garnish mine with a generous sprinkle of everything but the bagel blend. The combination of poppy seeds, sesame seeds, dried garlic, and onion flakes adds a wonderful textural contrast and an extra layer of savory, aromatic dimension that perfectly complements the smooth, earthy dip. A final drizzle of high-quality extra virgin olive oil before serving adds a luxurious sheen, enhances the flavor even further, and completes the elegant presentation.
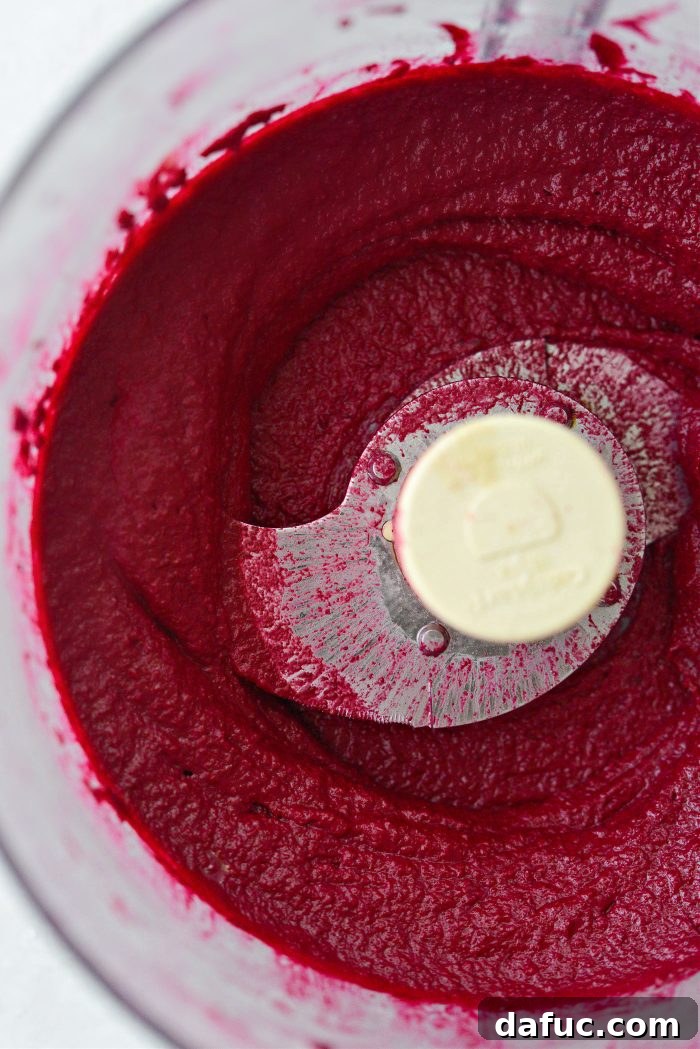
This roasted beet hummus is more than just a recipe; it’s a delightful culinary experience – earthy, buttery-smooth, and utterly delicious! Its vibrant, natural color alone makes it a showstopper at any gathering, while its nutritious profile ensures you’re indulging in a healthy, wholesome way.
Creative Ways to Enjoy Your Homemade Beet Hummus
One of the most appealing qualities of this roasted beet hummus is its incredible versatility. It’s far too delicious and vibrant to be limited to just a dipping sauce! Get creative and incorporate this stunning spread into various meals and snacks, adding both flavor and a beautiful splash of color:
- The Classic Dip: Serve it proudly as a delightful dip with an assortment of crisp, fresh cut vegetables like carrot sticks, cucumber slices, bell pepper strips, and celery sticks. It’s also absolutely fantastic with warm toasted pita bread, fluffy naan points, or crunchy pita chips.
- Elevated Appetizer Centerpiece: Use it as the creamy, colorful base for a 7-layer loaded hummus dip. Add layers of fresh, complementary ingredients such as finely chopped tomatoes, cucumbers, Kalamata olives, crumbled feta cheese, and fresh herbs for an impressive and flavorful party dish that will surely be a conversation starter.
- Spread it On Everything: Transform your everyday toast, sandwiches, and wraps into gourmet delights. This hummus makes a fantastic, healthy, and flavorful alternative to mayonnaise, mustard, or other spreads. For a particularly indulgent yet nutritious treat, try it generously spread on avocado toast, or use it inside burgers, falafel wraps, and even quesadillas for a burst of flavor and moisture.
- Boost Your Bowls: Add a generous dollop to your favorite grain bowls or fresh salads for a welcome touch of creamy texture and a burst of savory flavor. It helps bind ingredients together and adds a satisfying richness, turning a simple bowl into a hearty and complete meal.
- Innovative Dressings: Whisk a spoonful or two of this beet hummus into your homemade salad dressings to create a creamy, flavorful emulsion. It’s a fantastic and easy way to add depth, richness, and the unique taste of beets and garlic to simple vinaigrettes or yogurt-based dressings.
Tips for Perfecting Your Beet Hummus and Storage
Achieving the perfect roasted beet hummus is simple with a few helpful tips:
- Don’t Skimp on Roasting Time: The roasting process is absolutely critical for flavor and texture. Ensure your beets are fully tender and your garlic cloves are soft and slightly caramelized. If they are undercooked, your hummus might turn out grainy or lack the desired sweetness and depth of flavor.
- Fresh Lemon Juice is a Must: While convenient, bottled lemon juice simply doesn’t compare to the bright, zesty flavor of freshly squeezed lemon. Fresh juice provides an authentic tang that truly elevates the hummus and balances the earthy notes of the beets.
- Adjust Consistency Carefully: If your hummus turns out too thick after blending, you can slowly add a tablespoon of cold water or a little more olive oil while the food processor is running until you reach your desired creamy and spreadable consistency. If it’s too thin, unfortunately, it’s harder to correct, so always start with less liquid and add gradually.
- Storage Best Practices: Store your homemade roasted beet hummus in an airtight container in the refrigerator. It will stay fresh and delicious for up to 5-7 days. To help prevent it from drying out and oxidizing (which can sometimes dull its vibrant color slightly), you can pour a thin layer of olive oil over the surface before sealing the container.
- Excellent Make-Ahead Option: This hummus is a fantastic make-ahead dip! Its flavors tend to meld and deepen even further over time, often making it taste even more delicious the day after it’s prepared. This makes it ideal for meal prepping or preparing for parties in advance.
Roasted Beet Hummus Recipe

Roasted Beet Hummus
This roasted beet hummus is a vibrant, legume-free delight, bursting with natural color and flavor. Made with tender roasted beets, sweet garlic, creamy tahini, and bright lemon, it’s a healthy and versatile dip perfect for any occasion. Enjoy it with toasted naan, pita chips, or as a flavorful spread on avocado toast or sandwiches. Yields approximately 1¼ cups.
Yield: 10 servings (approx. 1¼ cups)
Prep Time: 5 minutes
Cook Time: 50 minutes
Additional Time (Cooling): 20 minutes
Total Time: 1 hour 15 minutes
Ingredients
- 8 to 10 ounces beets, trimmed (about 2-3 medium beets)
- 2 cloves garlic, skin on
- 2 teaspoons olive oil (divided: 1½ tsp for beets, ½ tsp for garlic)
- 1 lemon, freshly juiced (about 2-3 tablespoons)
- 1/4 cup tahini
- Kosher salt, to taste
- Everything seasoning, for serving (optional)
Equipment
- Food processor (e.g., Cuisinart DLC-8SY Pro Custom 11-Cup Food Processor)
- Aluminum foil
- Rimmed baking sheet
- Kitchen towel or paper towels (for peeling beets)
Instructions
- Preheat your oven to 400℉ (200℃).
- Place the trimmed beets on a large piece of aluminum foil and drizzle with 1½ teaspoons of olive oil. Fold and crimp the edges tightly to create a sealed “purse” or packet.
- Place the unpeeled garlic cloves on a small piece of aluminum foil and drizzle with ½ teaspoon of olive oil. Fold and crimp the edges to create another sealed “purse.”
- Place both foil packages on a rimmed baking sheet. Slide the baking sheet onto the middle rack of your preheated oven.
- Roast the beets for 45 to 50 minutes, or until they are completely fork-tender. Roast the garlic for only 25 minutes, at which point you can remove its packet and allow the beets to continue cooking until done.
- Remove both packets from the oven and allow them to cool completely at room temperature before handling.
- Once the beets are cool enough, gently rub their skins off using a kitchen towel or paper towels (gloves can prevent staining). Cut the peeled beets into quarters and place them into the bowl of your food processor, which should be fitted with its blade attachment.
- Peel the soft, roasted garlic cloves and add them to the food processor along with the freshly squeezed lemon juice, tahini, and a pinch or two of kosher salt.
- Secure the lid and process until the mixture is completely smooth and creamy. Stop periodically to scrape down the sides of the bowl to ensure even blending and prevent any lumps.
- Taste the hummus and adjust seasoning with more salt or lemon juice as desired, blending again briefly after each addition to fully incorporate the new flavors.
- Serve the roasted beet hummus in a shallow bowl, optionally drizzled with extra olive oil and sprinkled generously with everything seasoning for a perfect finish.
Notes
Storage: Store leftover hummus in an airtight container in the refrigerator for up to 5-7 days. A thin layer of olive oil on top can help preserve freshness and vibrant color.
Make Ahead: This hummus is fantastic when made a day in advance, as the flavors have time to deepen and meld beautifully.
Nutrition Disclaimer: All information presented on this site is intended for informational purposes only. I am not a certified nutritionist and any nutritional information shared should only be used as a general guideline. Exact nutritional values can vary based on specific ingredients, portion sizes, and preparation methods.
Nutrition Information (per 2 tablespoons serving)
- Serving: 2 tablespoons
- Calories: 54 kcal
- Carbohydrates: 4g
- Protein: 1g
- Fat: 4g
- Saturated Fat: 1g
- Polyunsaturated Fat: 1g
- Monounsaturated Fat: 2g
- Sodium: 20mg
- Potassium: 107mg
- Fiber: 1g
- Sugar: 2g
- Vitamin A: 12 IU
- Vitamin C: 3mg
- Calcium: 13mg
- Iron: 0.5mg
Author: Laurie McNamara
Course: Appetizers & Snacks
Cuisine: American
This recipe was originally posted on November 15, 2016, and has been thoughtfully updated to provide clearer, more concise instructions, new photography, and additional helpful information for an even better culinary experience.
Looking for more delightful dips and spreads? Explore our extensive collection of hummus recipes!
Enjoy! We hope you absolutely love this vibrant and healthy Roasted Beet Hummus. If you give this recipe a try, we’d be thrilled to hear from you! Please snap a photo and share your beautiful creation, tagging us on Twitter or Instagram. Your culinary adventures inspire us!