
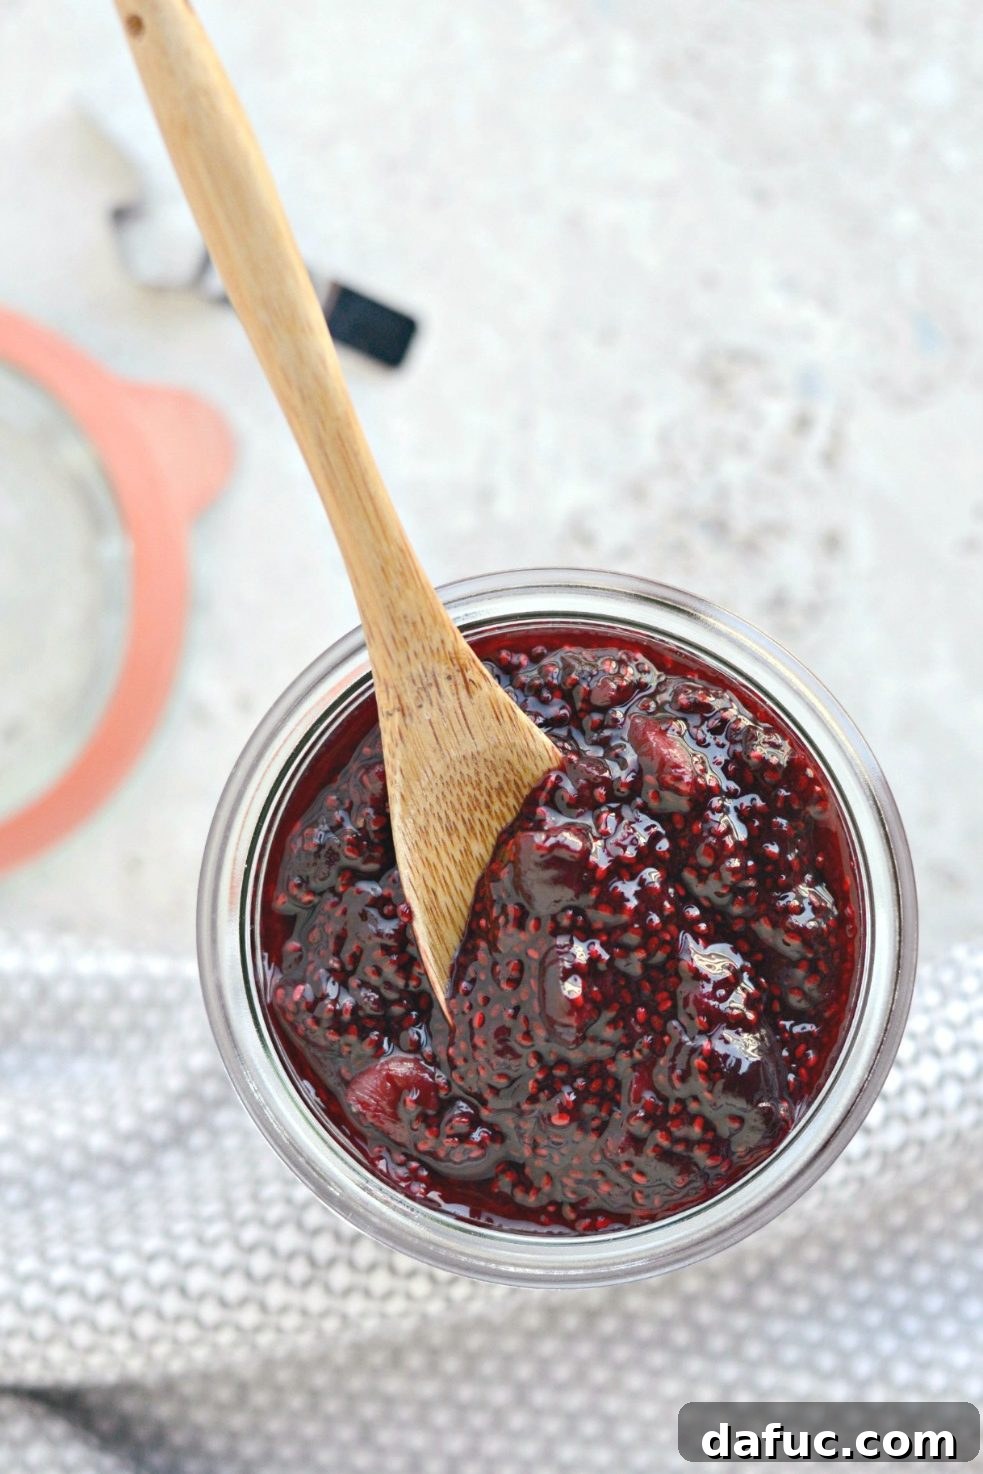
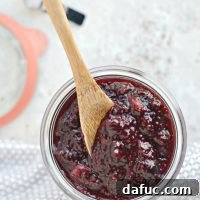
Welcome to the delightful world of homemade jams, where fresh, vibrant flavors come to life with incredible ease! If you’re tired of store-bought jams loaded with excessive sugar and artificial ingredients, then get ready to discover your new favorite kitchen creation: Homemade Cherry Chia Jam. This luscious spread is a testament to how simple and healthy truly delicious food can be. It’s crafted from a harmonious blend of sweet and tart cherries, infused with natural maple syrup, a hint of vanilla, and a bright splash of lime juice, all thickened to perfection with the magic of chia seeds. Whether you slather it on warm toast, swirl it into your morning oatmeal, or dollop it onto a muffin, this jam promises a burst of fresh, fruity goodness that will elevate any meal.
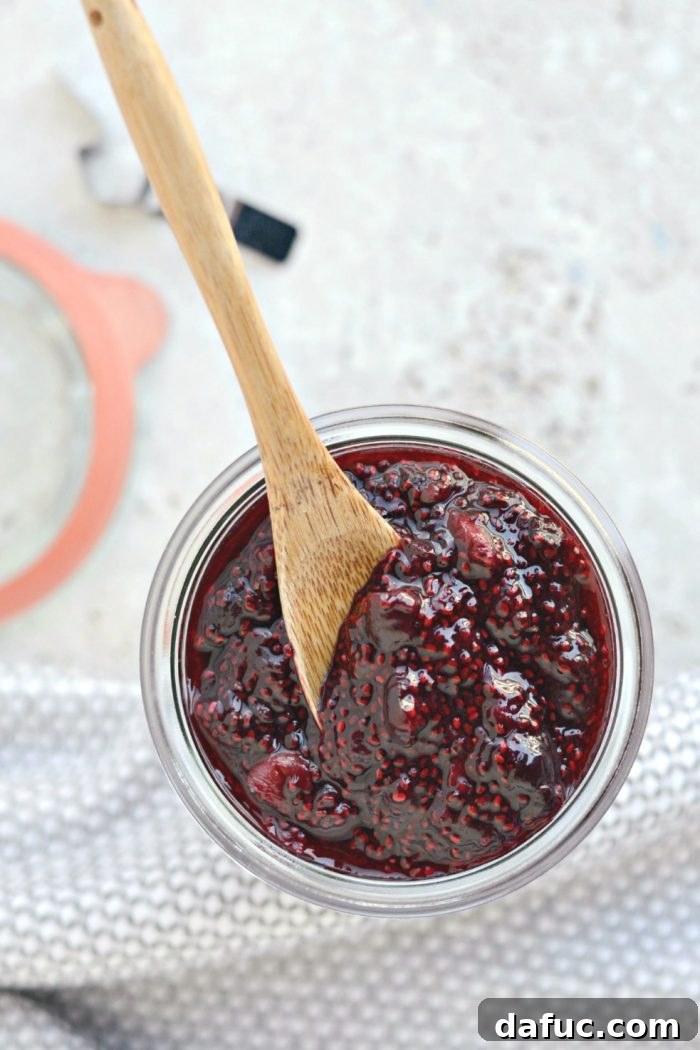
Embrace the Joy of Simple, Sunny Mornings (and Jam Making!)
There’s something incredibly uplifting about waking up to clear, sunny skies. It’s a natural motivator, inspiring productivity and a sense of optimism. On such days, my to-do list seems to tackle itself with effortless grace. However, not every day greets us with sunshine. Picture this: a chilly, overcast morning, the sound of freezing rain drumming against the windowpane, compelling one to stay cocooned under a warm blanket with a steaming mug of coffee. It’s on these unexpected, less-than-spring-like days that the memory of a bright, sun-drenched day and a rewarding kitchen project becomes even more cherished.
Just yesterday, for instance, felt like a perfect spring day, even if the thermometer disagreed. The sun was out, creating a wonderful illusion of warmth and renewal. This vibrant energy was all the motivation needed to tackle household chores, laundry, a trip to the grocery store, and finally, to embark on a culinary adventure: making this incredible Cherry Chia Jam. And the best part? It took me a mere 30 minutes from start to finish. This recipe is a perfect example of how you can create something truly special without spending hours in the kitchen, proving that even on a cloudy day, a little bit of sunshine can be bottled and savored.
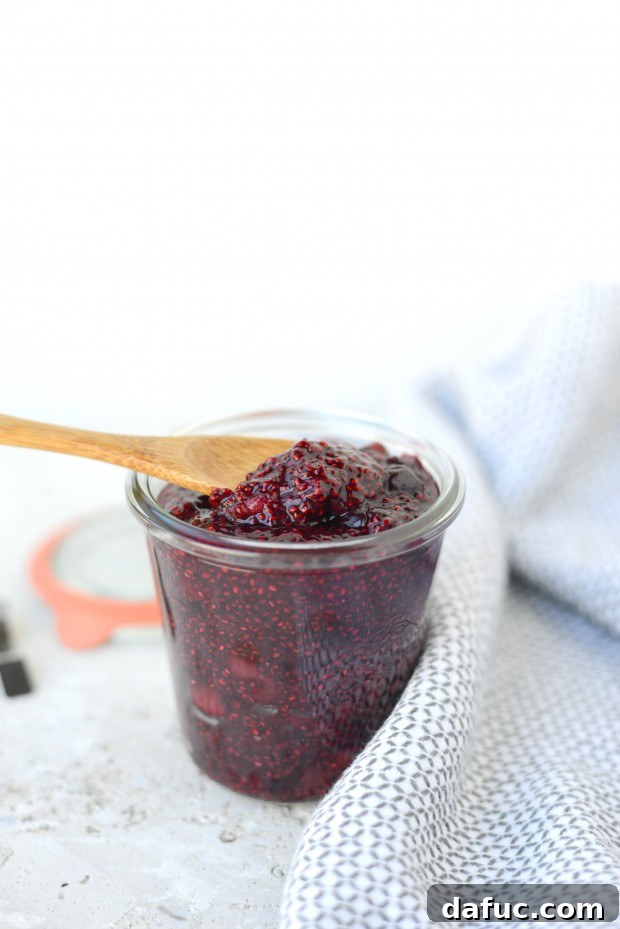
The Modern Jam Revolution: Chia Seeds vs. Traditional Canning
For many home cooks, the idea of making jam often conjures images of complex canning processes, sterilized jars, and hours spent hovering over a hot stove. As someone who prefers quick and rewarding recipes over lengthy, laborious endeavors, traditional canning has never been my forte. That’s precisely why this Cherry Chia Jam recipe is an absolute game-changer, especially for those who share a similar sentiment!
Traditional jams typically rely on large quantities of sugar and often pectin to achieve their signature thick consistency. While delicious, this can lead to a jam that’s overly sweet and requires specialized canning equipment. This is where the mighty chia seed steps in to revolutionize the jam-making process. These tiny, unassuming seeds possess an incredible ability to absorb liquid – up to 10-12 times their weight – forming a gel-like substance that naturally thickens fruit into a beautiful jam. This eliminates the need for pectin and significantly reduces the amount of added sugar required, making for a much healthier and simpler alternative. The discovery of chia seeds as a natural thickening agent has transformed my approach to jam-making, allowing for homemade goodness without the fuss. It’s truly a less-sugar, less-time, and far better-for-you jam experience!
Crafting Your Perfect Cherry Chia Jam: A Simple Ingredient List
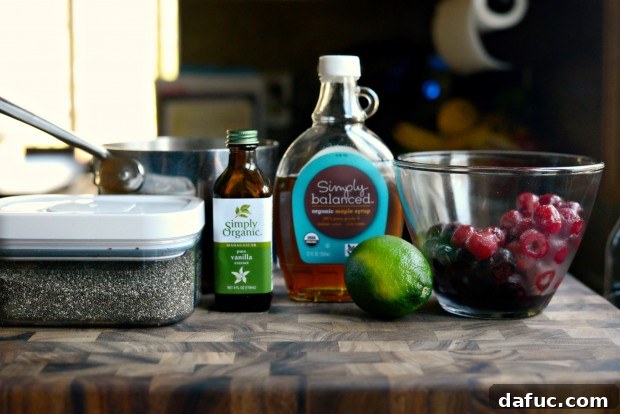
One of the beauties of this recipe lies in its simplicity and reliance on wholesome ingredients. To create this vibrant and flavorful cherry chia jam, you’ll need just a handful of staples, most of which you likely already have in your pantry or freezer:
- **Cherries:** The star of our show! I highly recommend using a mix of frozen tart and sweet cherries to achieve a balanced flavor profile. Frozen cherries are not only convenient but often come pre-pitted, saving you precious time and effort. While fresh cherries can certainly be used, the ease of frozen ones makes this recipe even more accessible.
- **Lime Juice:** A crucial component that adds a bright, tangy counterpoint to the sweetness of the cherries and maple syrup, enhancing the overall flavor complexity.
- **Maple Syrup:** Our natural sweetener of choice, providing a rich, nuanced sweetness without the need for refined sugars. Honey is also an excellent alternative if you prefer its distinct flavor.
- **Vanilla Extract:** A splash of pure vanilla extract deepens the flavor and adds a warm, inviting aroma to the jam.
- **Chia Seeds:** The magical ingredient responsible for thickening our jam, delivering a dose of healthy fats, fiber, and protein.
Having explored the wonderful convenience of frozen cherries (especially after using them in various recipes, like the cherry pie in my cookbook!), I can confidently say they are a fantastic choice for this jam. The combination of tart pie cherries and sweet dark cherries creates a stunningly gorgeous and equally delicious spread. Get ready to become as obsessed with homemade chia jams as I am; there are certainly more delightful variations to explore in the future!
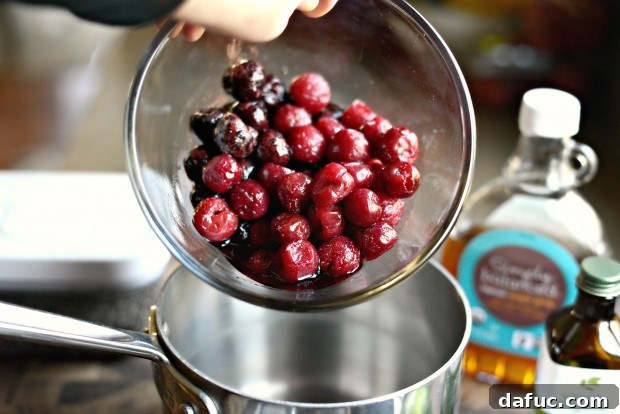
Step-by-Step Guide to Making Your Own Cherry Chia Jam
Let’s dive into the incredibly straightforward process of making this luscious jam. You’ll be amazed at how quickly you can transform simple ingredients into a gourmet spread.
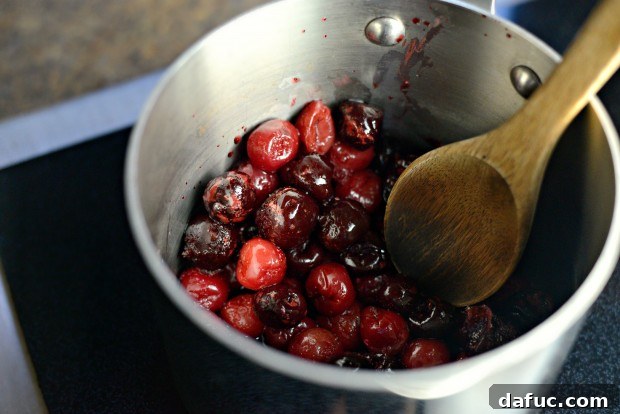
1. Prepare Your Cherries
Begin by adding two rounded cups of cherries to a heavy-bottomed saucepan. If you’re using frozen cherries, ensure they are at least partially thawed. I personally love the depth of flavor that comes from combining both tart pie cherries and sweet dark cherries, using about a cup of each. However, feel free to use your preferred type of cherry – whether all sweet, all tart, or any combination you enjoy. The accumulated juice from thawing frozen cherries should also be added to the pan, as it contributes to the liquid base of the jam.
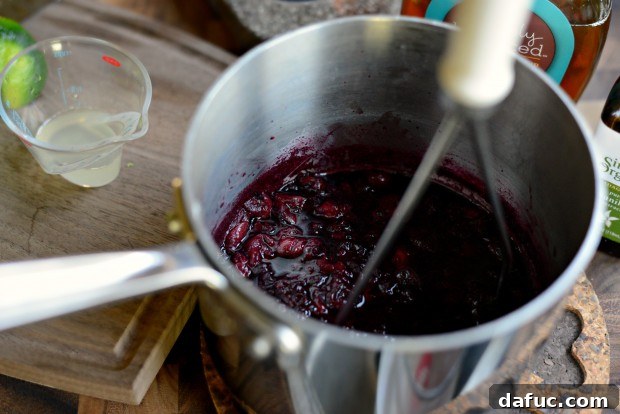
2. Simmer to Perfection
Place the saucepan over medium heat. Bring the cherries and their juices to a gentle simmer, then reduce the heat to low. Allow the fruit to simmer for approximately 20-25 minutes, or until the cherries are beautifully softened and release their juices. Stir occasionally to prevent sticking. This simmering process allows the flavors to meld and the fruit to break down, creating a rich base for your jam.
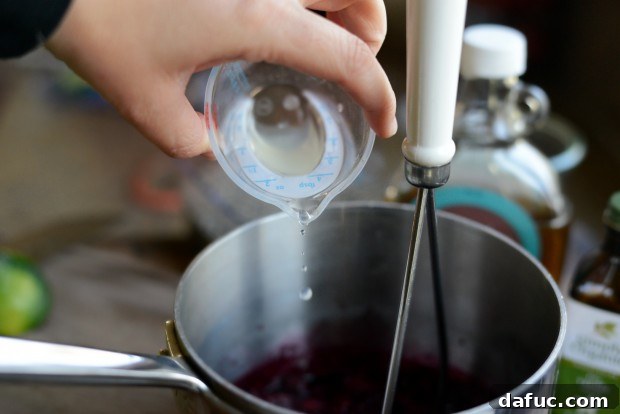
3. Mash the Cherries
Once the cherries are tender, remove the pan from the heat. Using a potato masher, gently mash the cherries to your desired consistency. Some prefer a chunkier jam with visible fruit pieces, while others might opt for a smoother texture. You can mash them thoroughly for a finer jam or leave some larger pieces for added texture. This step allows you to customize the mouthfeel of your final product.
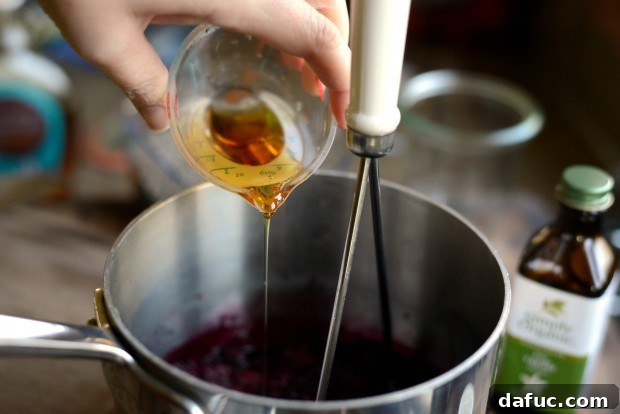
4. Infuse with Flavor: Lime Juice
Now, it’s time to add the flavor enhancers. Pour in 1 tablespoon of freshly squeezed lime juice. The lime juice provides a bright, acidic lift that beautifully balances the sweetness of the cherries and will help to bring out their natural vibrancy.
5. Sweeten Naturally: Maple Syrup
Next, add 1 tablespoon of pure maple syrup. Maple syrup is a wonderful natural sweetener that contributes a subtle, caramel-like note without overpowering the fruit. If you prefer, a tablespoon of honey would also work beautifully, offering a different but equally delicious depth of sweetness.
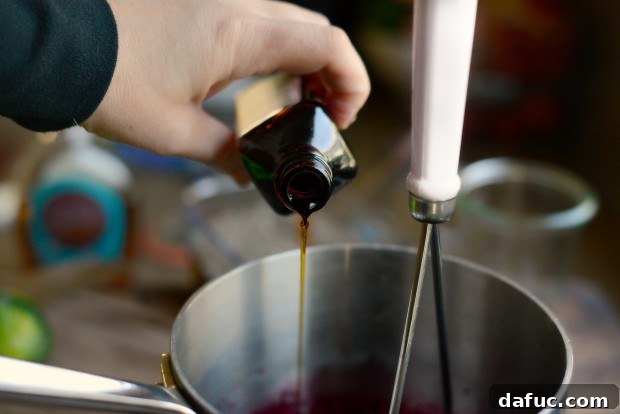
6. Aromatic Touch: Vanilla Extract
Follow with a generous splash of real vanilla extract. Vanilla is a surprisingly versatile ingredient in fruit preserves, adding a comforting warmth and an aromatic complexity that elevates the entire jam. It’s often the subtle notes that make the biggest difference.
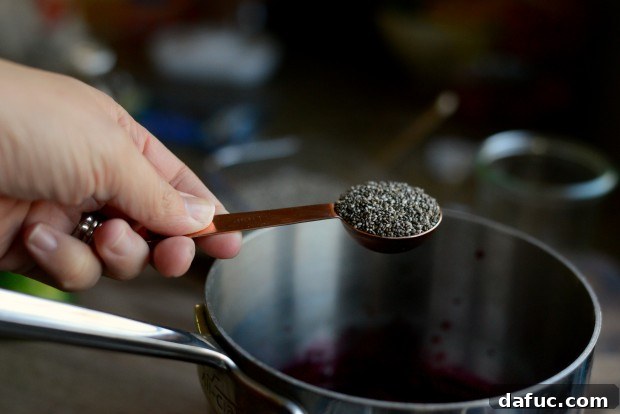
7. The Magic Thickener: Chia Seeds
Finally, sprinkle in two tablespoons of chia seeds. These tiny powerhouses are what will transform your fruit mixture into a perfectly set jam. They absorb the liquid and swell, creating a natural thickening agent that eliminates the need for any artificial pectin or excessive sugar.
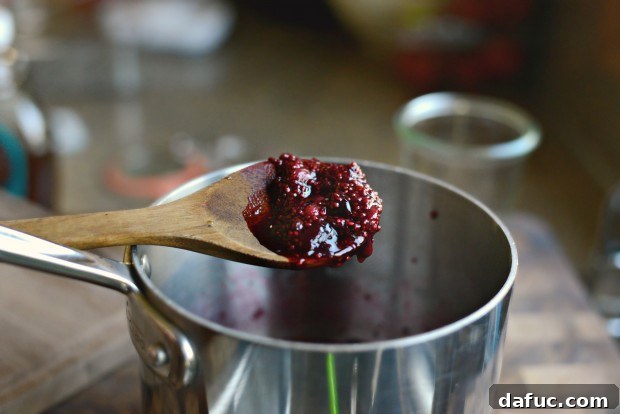
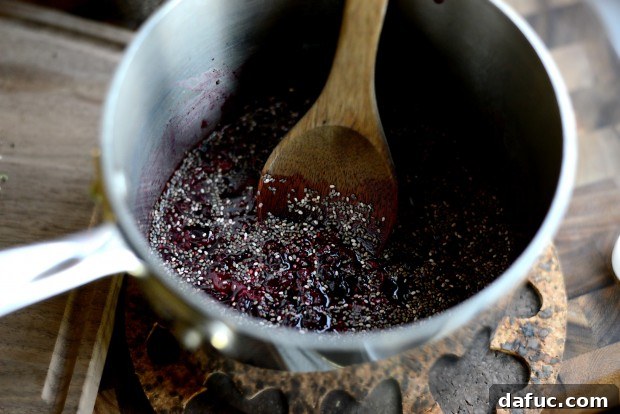
8. Stir, Rest, and Adjust Consistency
Stir all the ingredients together thoroughly until well combined. Let the mixture sit for a minute or two. The chia seeds will begin to absorb the liquid almost immediately. After a short rest, you’ll be able to gauge the consistency. If you prefer a thicker jam, add an additional half teaspoon of chia seeds at a time, stirring well after each addition, and allowing them a few minutes to swell before deciding if more are needed. This allows you to customize the texture to your personal preference. Once satisfied, you’ll have a vibrant, sweet, and tart jam that is truly out of this world beautiful! The color alone is so stunning, it makes you want lipstick, shoes, and a matching clutch in the same gorgeous hue.
Pro Tip for a Smooth Jam: If you prefer a completely smooth jam without any visible chia seeds, you can easily achieve this by pureeing the finished jam in a high-speed blender or with an immersion blender once it has cooled slightly. This will break down both the fruit pieces and the chia seeds, resulting in a silky-smooth spread.
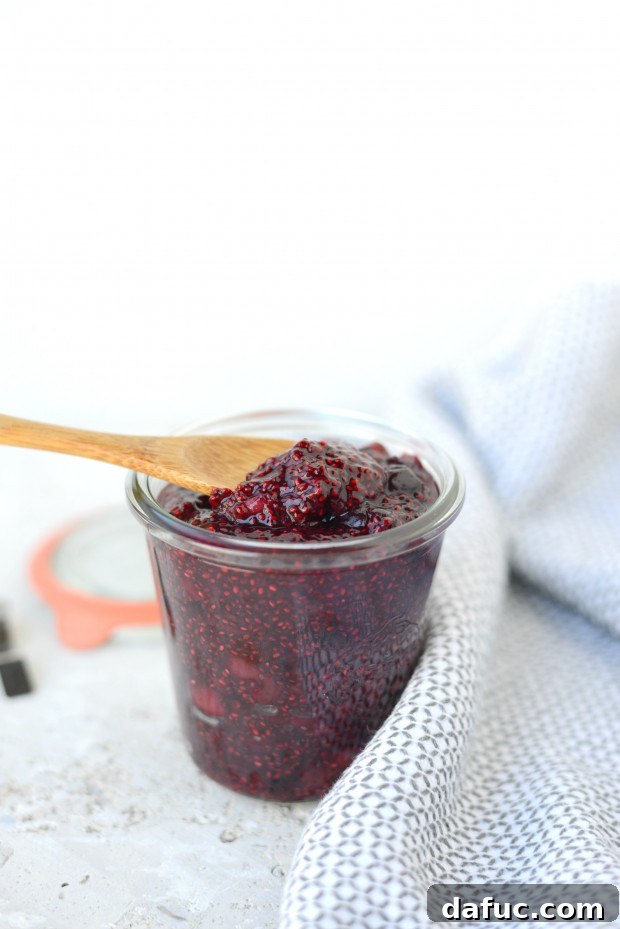
Storage and Shelf Life of Your Homemade Cherry Chia Jam
Once your exquisite Cherry Chia Jam has cooled completely, transfer it to an airtight container. Store it in the refrigerator, where it will maintain its freshness and delicious flavor for up to 7 days. This quick jam is designed for immediate enjoyment and short-term refrigeration, making it perfect for enjoying throughout the week. While not intended for long-term pantry storage like traditional canned jams, its speedy preparation means you can whip up a fresh batch whenever the craving strikes!
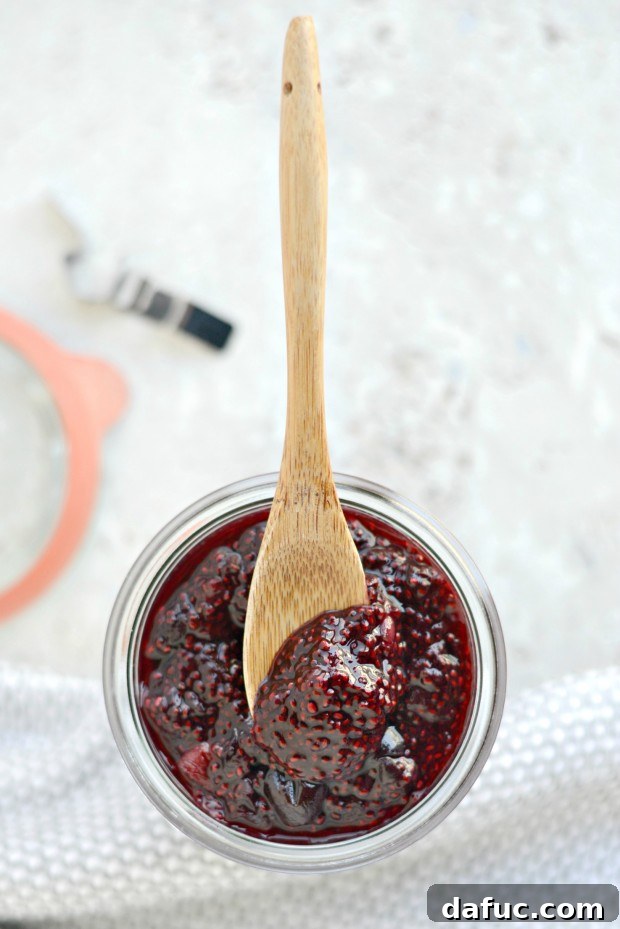
Enjoy every spoonful of this delightful homemade cherry chia jam! If you decide to give this recipe a try, don’t hesitate to share your culinary creations. Snap a photo and tag me on Twitter or Instagram! I love seeing your delicious results.
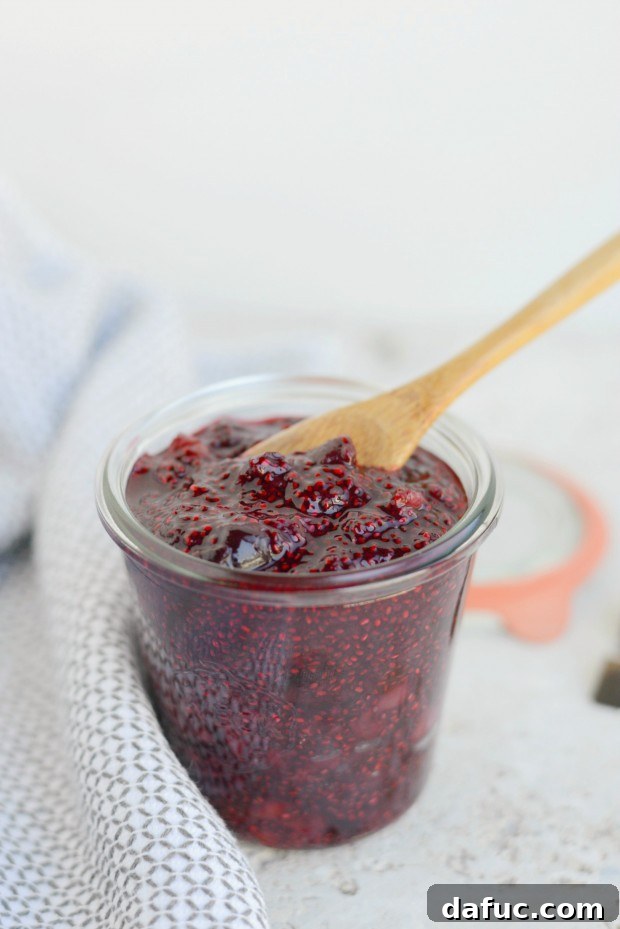
Print Recipe
Pin Recipe
Leave a Review »
Cherry Chia Jam
Ingredients
- 2 (heaping) cups frozen cherries, partially thawed (see notes)
- 1 tablespoon lime juice
- 1 tablespoon maple syrup
- 1 splash pure vanilla extract
- 2 tablespoons chia seeds
Instructions
-
Add the cherries to a heavy bottom sauce pan. Bring to a bubble over medium-high heat, reduce to low and simmer for 25 minutes.
-
Remove the pan off of the heat and mash the cherries with a potato masher. Stir in the lime juice, maple syrup, vanilla and chia seeds.
-
Stir it all together and let it sit for a minute or two. After a while you’ll be able to gauge if you need more chia seeds or not.
Notes
– If you do not wish to see the chia seeds in your jam then you can puree it in a high-speed blender.