
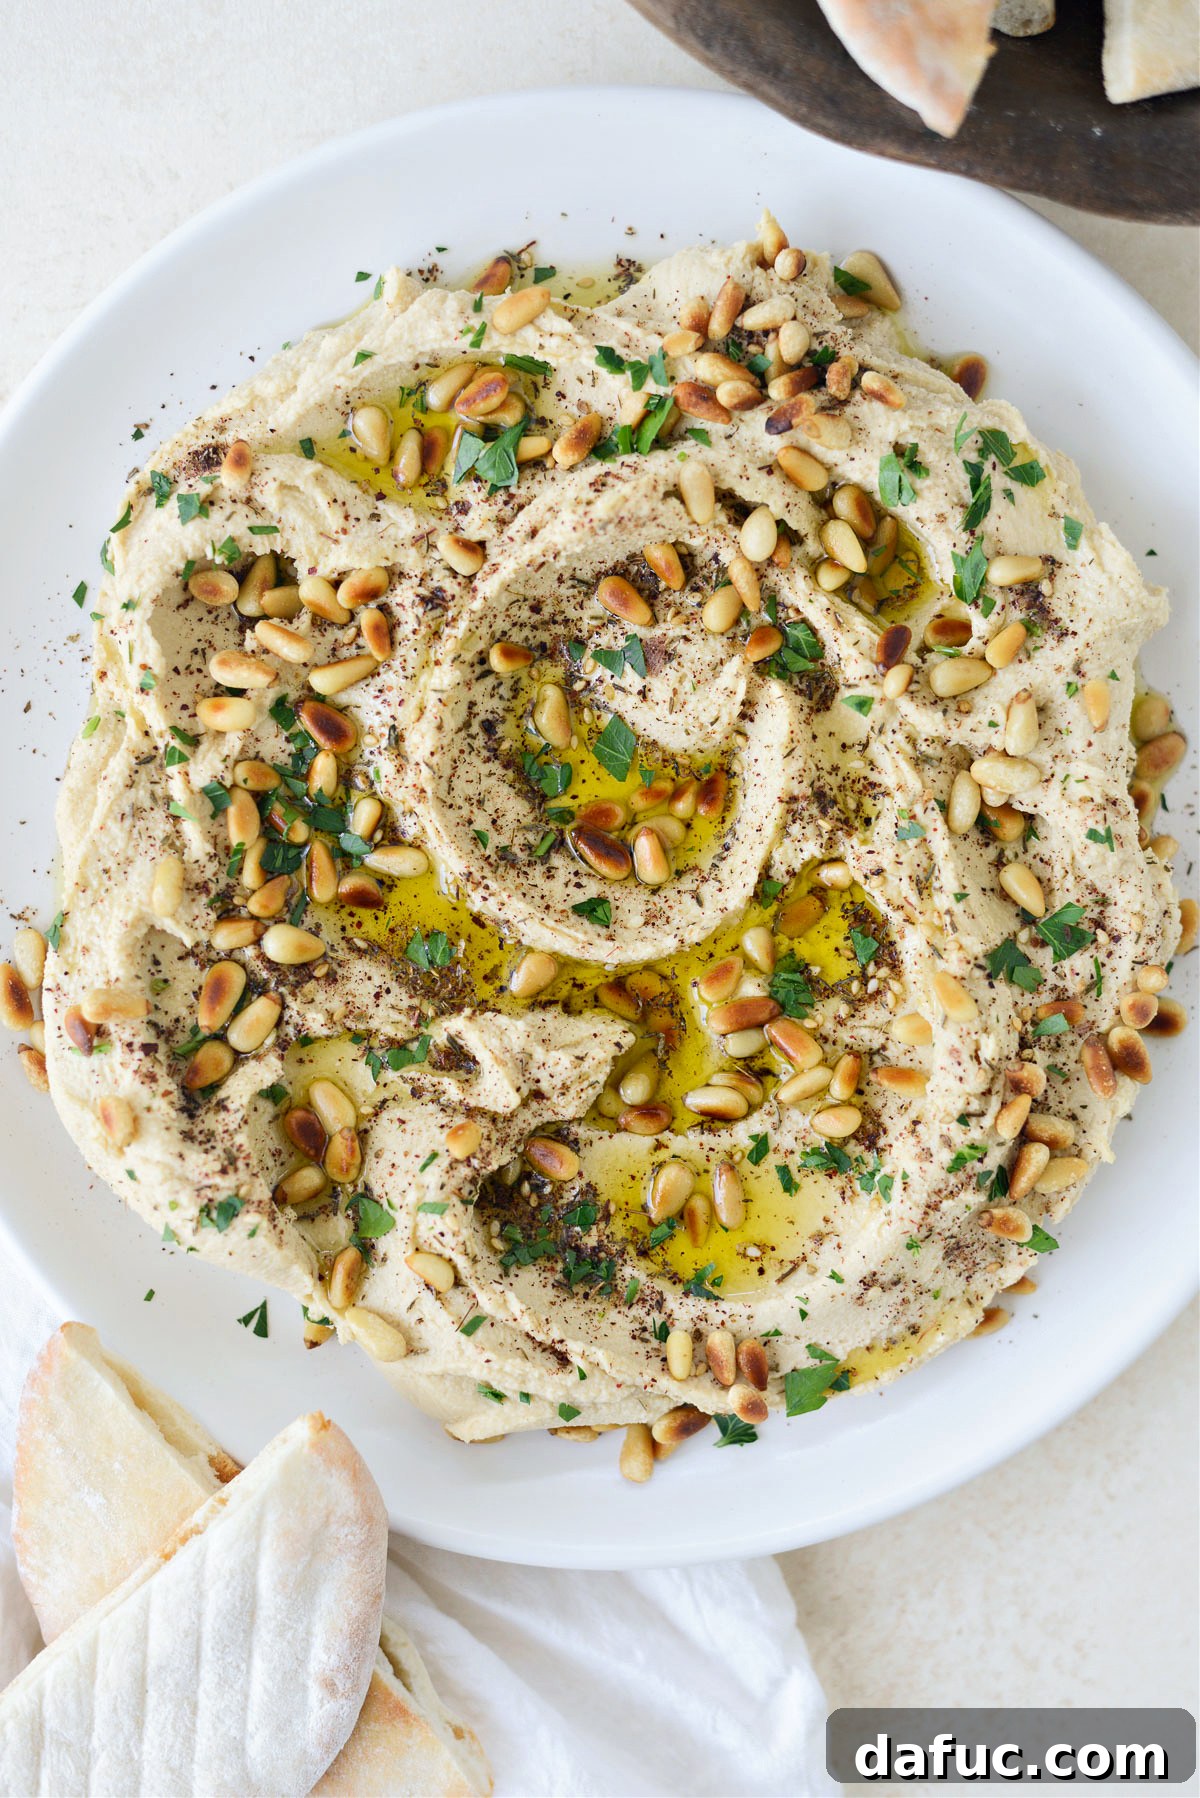
Prepare your favorite fresh vegetables and warm pita bread for an unforgettable culinary experience with the Creamiest Blender Hummus you’ll ever make! Forget those store-bought tubs and complicated recipes; this guide reveals a simple, game-changing trick to achieve restaurant-quality hummus right in your own kitchen. It’s so effortlessly smooth and bursting with flavor, you’ll wonder why you haven’t made it this way sooner. This recipe generously yields approximately 3 cups, perfect for entertaining or enjoying throughout the week.
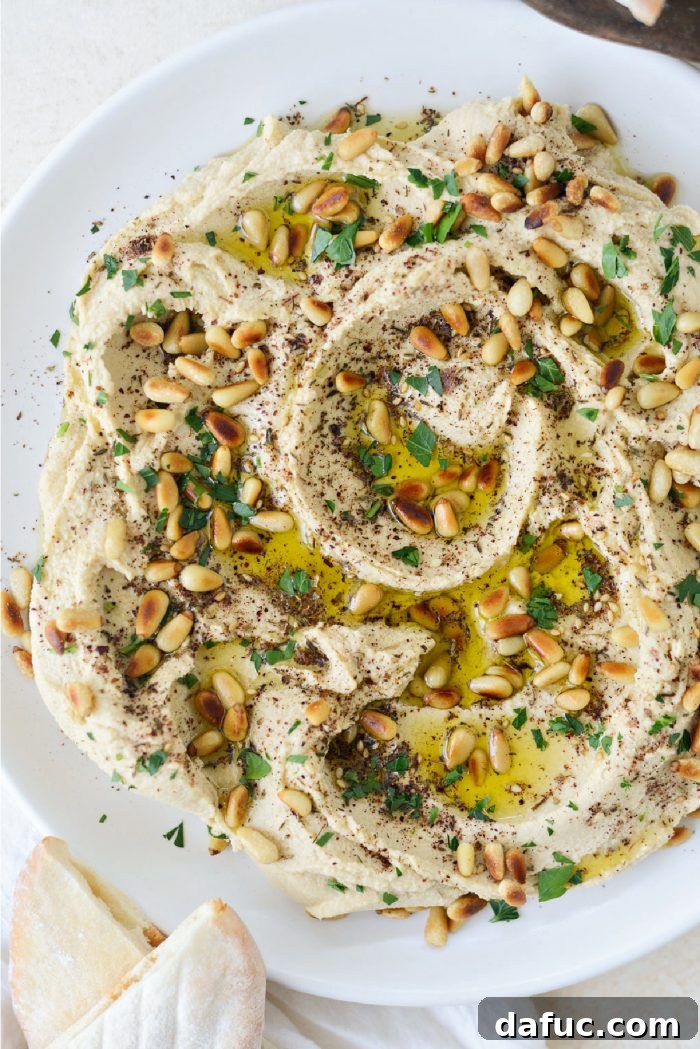
Unlock the Secret to Unbelievably Smooth Homemade Hummus
If you’ve ever dreamt of recreating that perfect, velvety hummus from your favorite Mediterranean restaurant at home, your quest ends here. We’re about to share a little secret that transforms humble canned chickpeas into a luxuriously creamy dip that’s truly addictive. This isn’t just another hummus recipe; it’s *the* go-to method for achieving unparalleled texture and robust flavor with minimal effort.
The magic lies in one simple, yet incredibly effective technique: simmering canned chickpeas with a touch of baking soda. Yes, you read that right – baking soda! A mere 25 minutes on the stovetop renders the chickpeas incredibly tender, allowing them to blend into the smoothest, most delectable hummus you’ve ever scooped with a piece of pita. This method eliminates the need for peeling individual chickpeas, a tedious task many home cooks dread, making this recipe not only delicious but also wonderfully convenient.
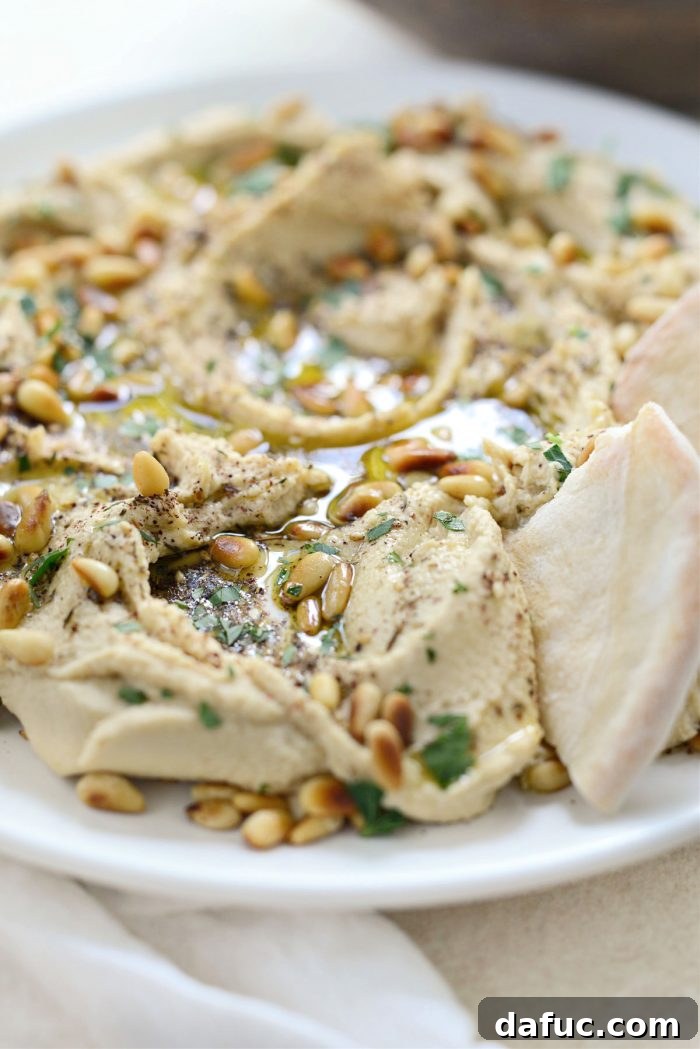
Whether you serve it as a standalone dip, topped with a generous drizzle of olive oil and your favorite garnishes, or as a delightful accompaniment to dishes like roasted cauliflower tabbouleh, this hummus is guaranteed to be a crowd-pleaser. Its rich, garlicky profile and ethereal texture make it an instant classic.
Why Homemade Hummus Reigns Supreme
Beyond the simple satisfaction of creating something delicious from scratch, making your own hummus offers a multitude of benefits. For starters, you have complete control over the ingredients, ensuring freshness and avoiding unwanted additives or preservatives often found in commercial products. The flavor is undeniably superior – brighter, more vibrant, and customizable to your exact preferences. Plus, it’s often more economical to whip up a batch at home than to repeatedly purchase store-bought versions, especially given how quickly it disappears!
The Essential Ingredients for Your Best Hummus
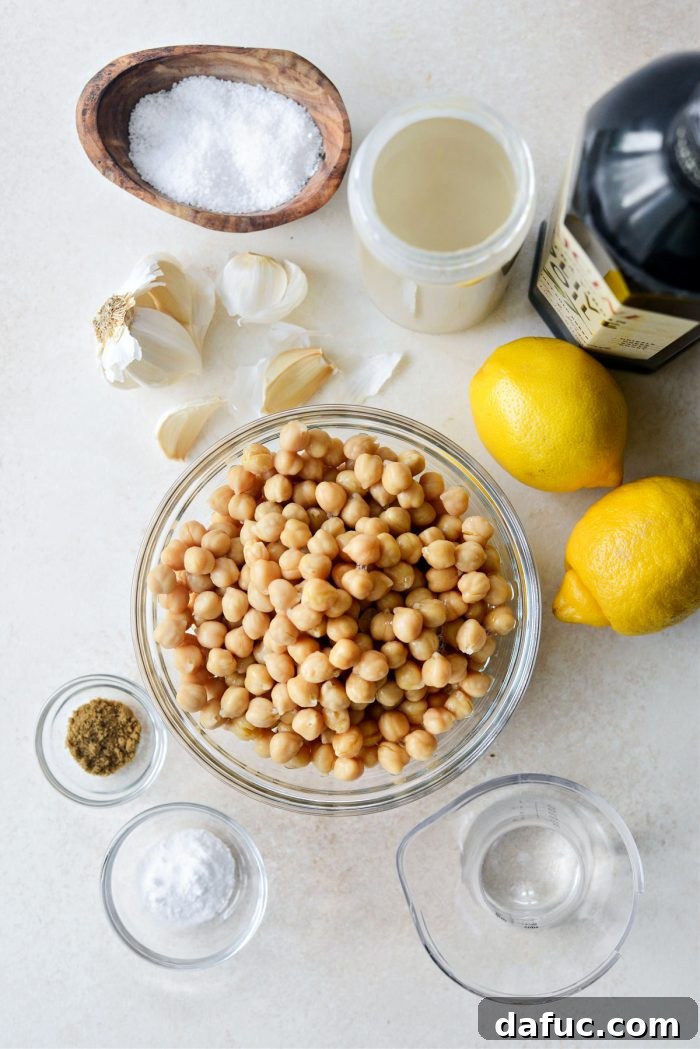
Creating this dreamily smooth hummus requires a handful of pantry staples. Quality ingredients truly shine in simple recipes like this one, so opt for the best you can find.
To Make This Creamy Blender Hummus You Will Need:
- Canned chickpeas (or garbanzo beans)
- Baking soda
- Tahini
- Lemon juice
- Water
- Olive oil
- Garlic
- Cumin
- Salt
A Closer Look at Key Hummus Components
Each ingredient plays a vital role in the final flavor and texture of your homemade hummus:
- Chickpeas (Garbanzo Beans): The foundation of any good hummus. While dried chickpeas can be used (requiring overnight soaking and longer cooking), canned chickpeas offer unmatched convenience without sacrificing quality, especially with our secret baking soda trick. Always remember to drain and rinse them thoroughly before use.
- Baking Soda: Our star secret! This simple leavening agent is the key to unlocking an incredibly smooth texture by helping to break down the chickpea skins and soften their structure.
- Tahini: A rich, nutty paste made from ground sesame seeds, tahini is indispensable for authentic hummus flavor and contributes significantly to its creamy consistency. Opt for a good quality, runny tahini for the best results.
- Lemon Juice: Freshly squeezed lemon juice brightens the hummus, adding a zesty tang that balances the richness of the tahini and earthiness of the chickpeas.
- Garlic: Provides a pungent, aromatic kick. The amount can be adjusted to your personal preference – some like a subtle hint, while others prefer a bold, garlicky punch.
- Cumin: This warm, earthy spice is a classic addition to hummus, deepening its flavor profile and adding a touch of traditional authenticity.
- Salt: Essential for enhancing all the other flavors. Kosher salt is often preferred for its clean taste. Always season to your liking.
- Water (or Ice Water): Crucial for achieving the perfect consistency. Adding cold or ice water during blending helps emulsify the ingredients and contributes to that desired light, airy, and ultra-smooth texture.
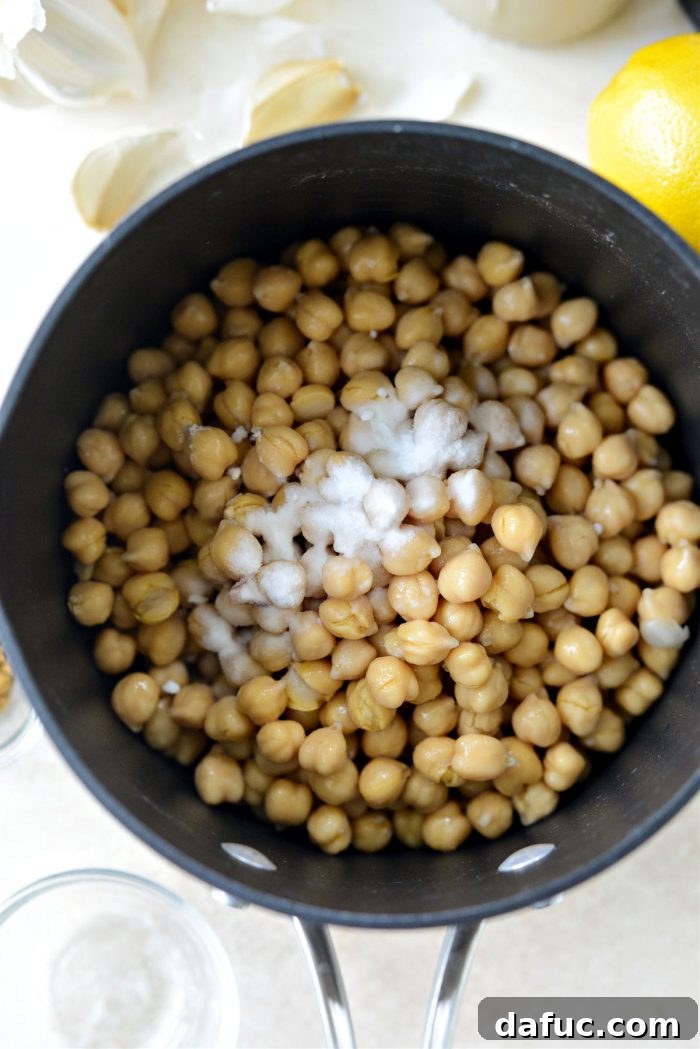
The Magic Behind the Creaminess: Simmering Chickpeas with Baking Soda
This is where the transformation happens! Start by draining two (15-ounce) cans of chickpeas in a colander. Transfer them to a medium saucepan and add 1 teaspoon of baking soda. This small addition makes all the difference.
What Does Simmering Beans in Baking Soda Do?
Baking soda, or sodium bicarbonate, is a remarkable natural tenderizer. If you’ve ever used it in a marinade for chicken to improve its texture, then its power won’t come as a surprise. When added to water, baking soda increases the pH and alkalinity of the liquid. This alkaline environment helps to break down the pectin in the chickpea skins and structure much faster than water alone. The result? Incredibly soft, almost mushy chickpeas that blend into an exceptionally smooth and silky hummus, completely free of grainy texture.
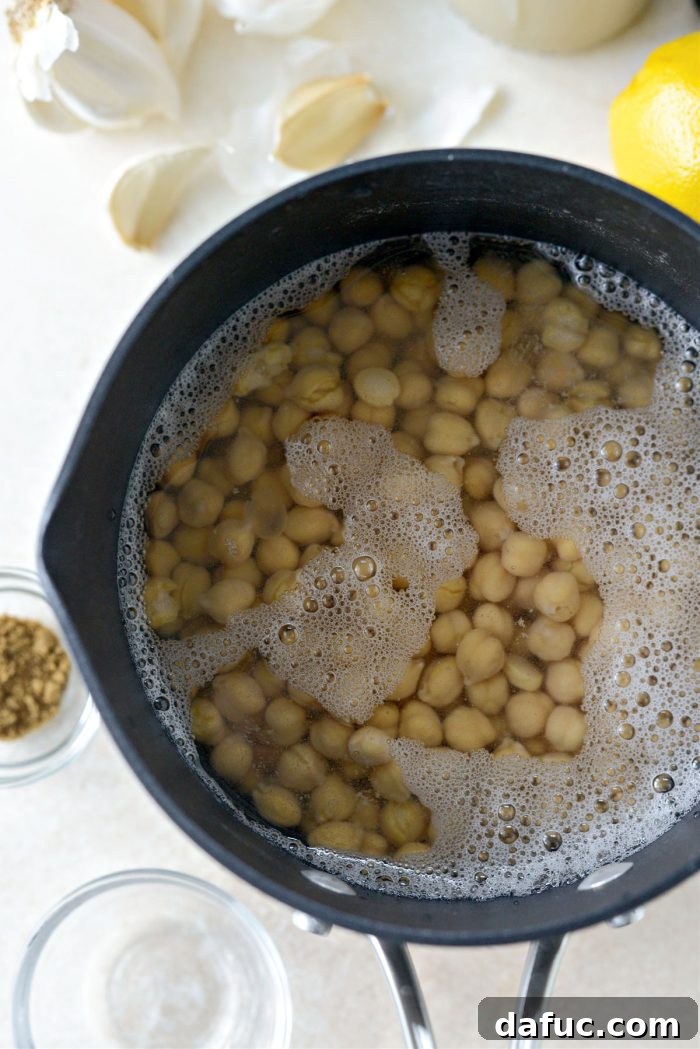
Next, cover the chickpeas completely with water, ensuring they are fully submerged. Bring the mixture to a vigorous simmer over medium-high heat.
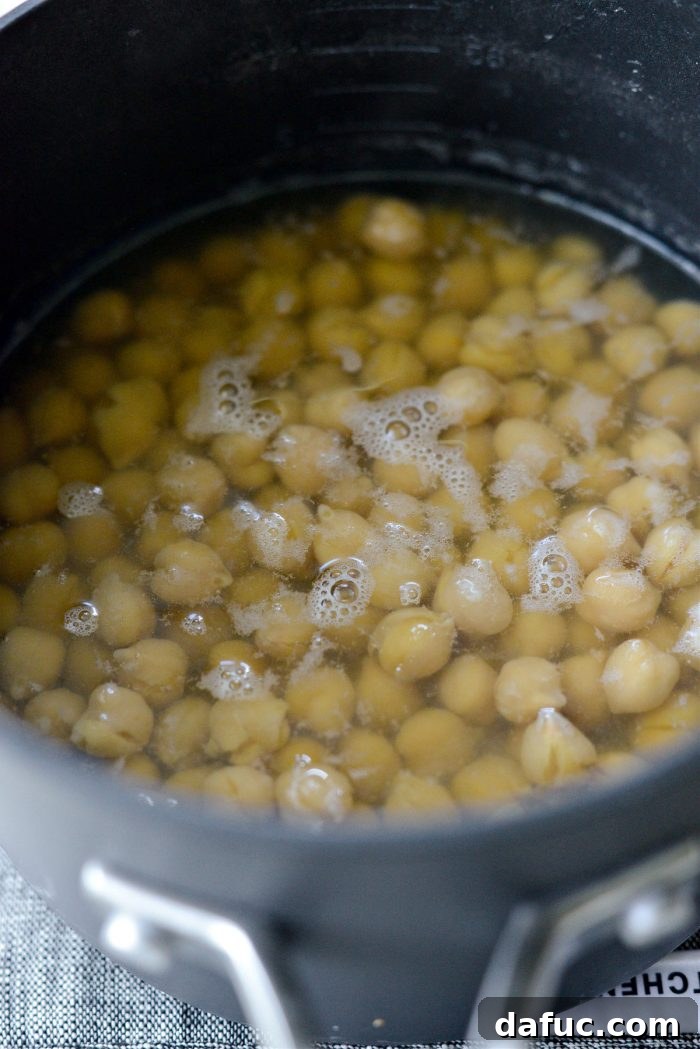
Once simmering, reduce the heat to medium-low, cover the saucepan, and let the chickpeas gently simmer for a full 25 minutes. During this time, the baking soda works its magic, ensuring every chickpea is perfectly tender.
Blending for Perfection: Achieving Velvety Smoothness
After the 25-minute simmer, carefully remove the saucepan from the heat and drain the chickpeas thoroughly. Transfer the incredibly soft, warm chickpeas directly into your blender. While a good food processor will work, a high-powered blender (like a Vitamix) is truly the secret weapon for achieving the smoothest, most luxurious results.
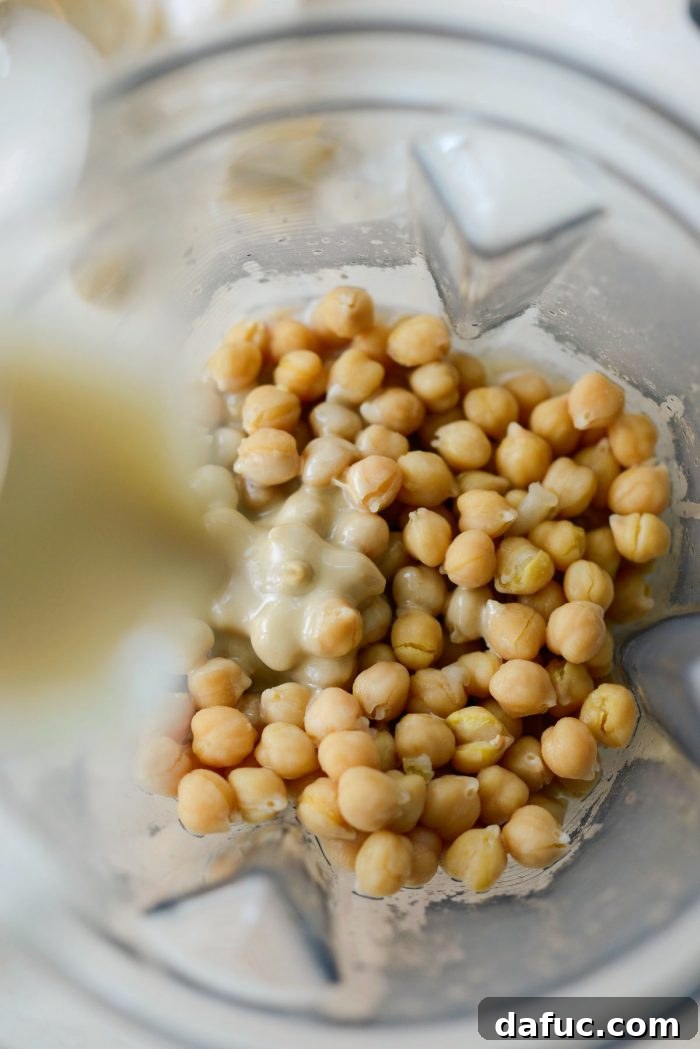
Now it’s time to add the other essential ingredients. First, pour in 1/2 cup of quality tahini. This will give your hummus its characteristic richness and depth.
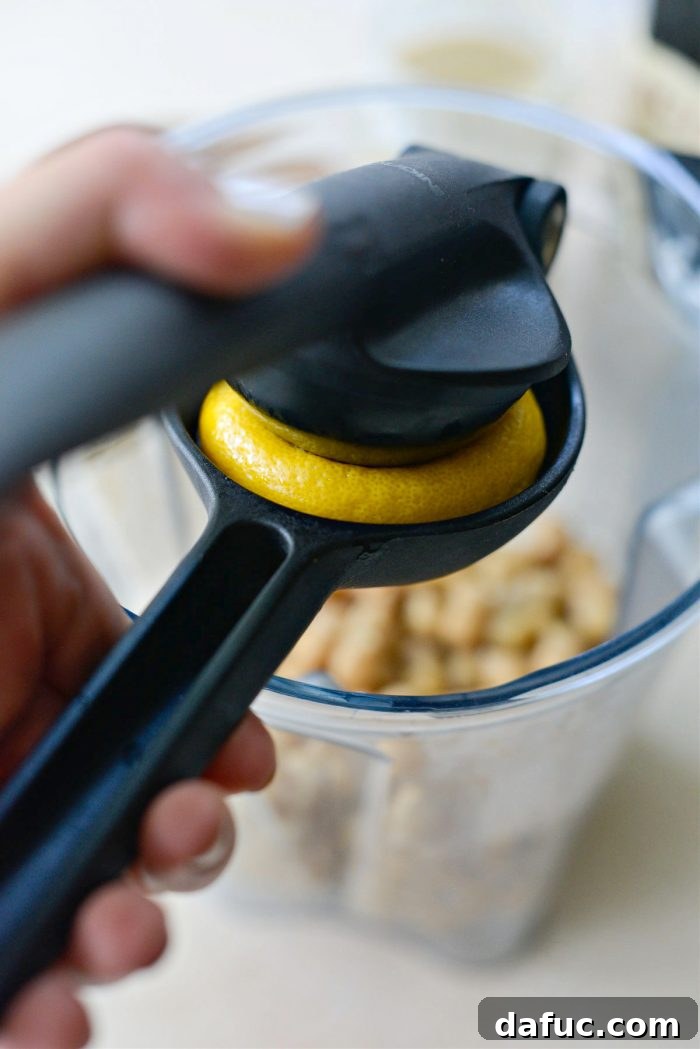
Next, squeeze in the fresh juice from two generously sized lemons. Freshly squeezed lemon juice is paramount here; it provides a bright, acidic counterpoint to the creamy base.
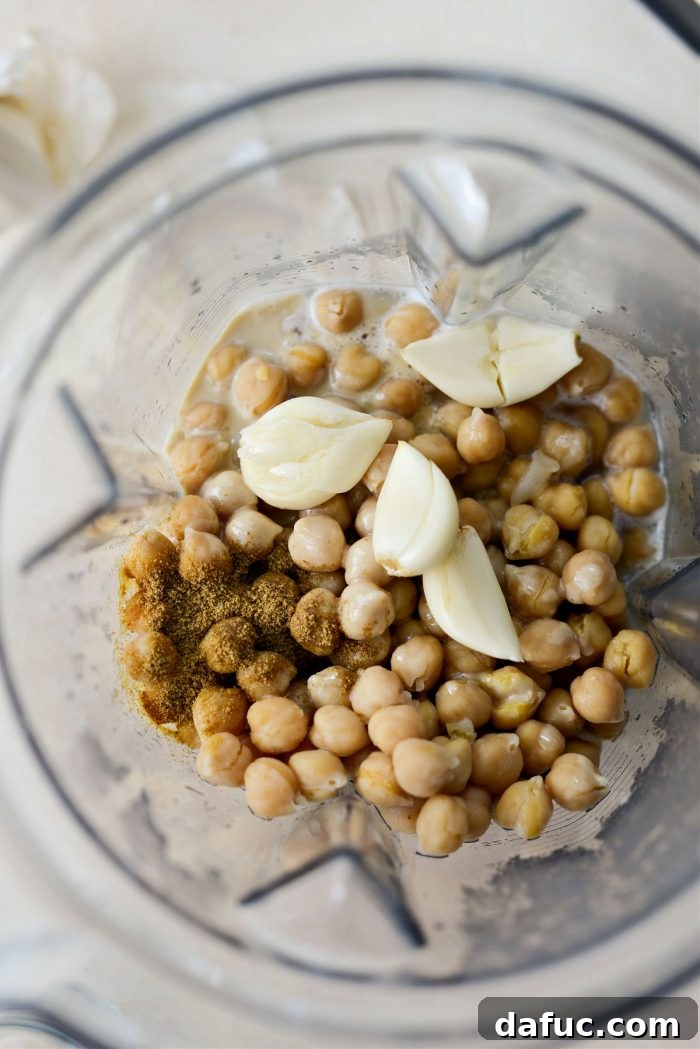
Add 3/4 teaspoon of ground cumin for that authentic Middle Eastern flavor. For the garlic, measure out 2 to 4 large cloves, depending on how intensely garlicky you prefer your hummus. If you’re a true garlic lover, don’t shy away from adding more!
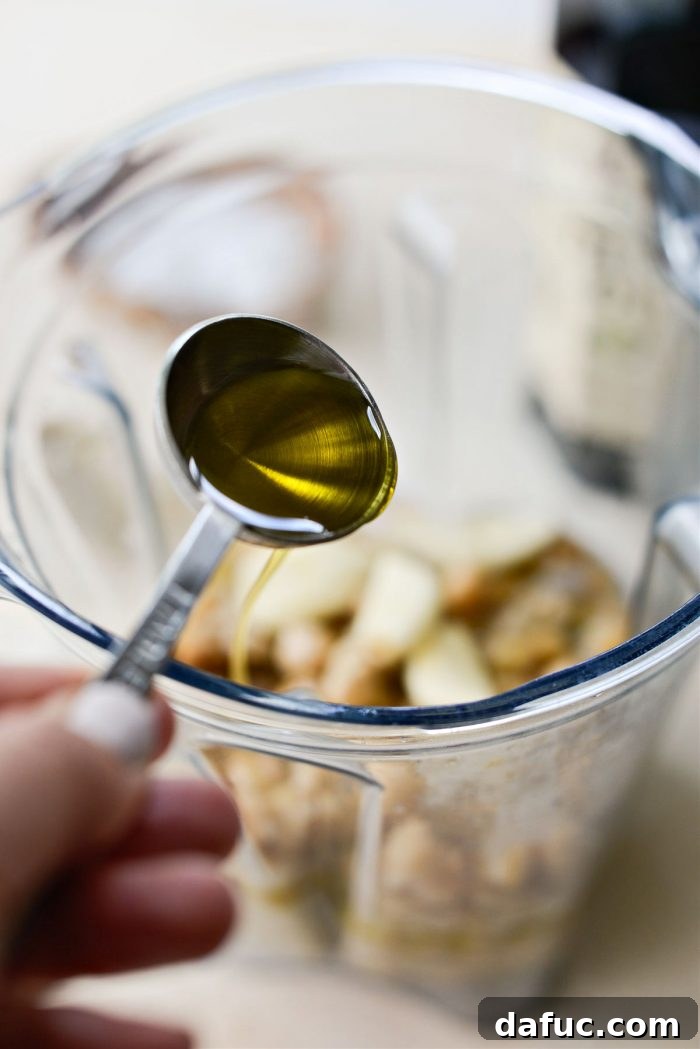
Drizzle in 2 tablespoons of good quality olive oil. This adds another layer of richness and helps the blending process.
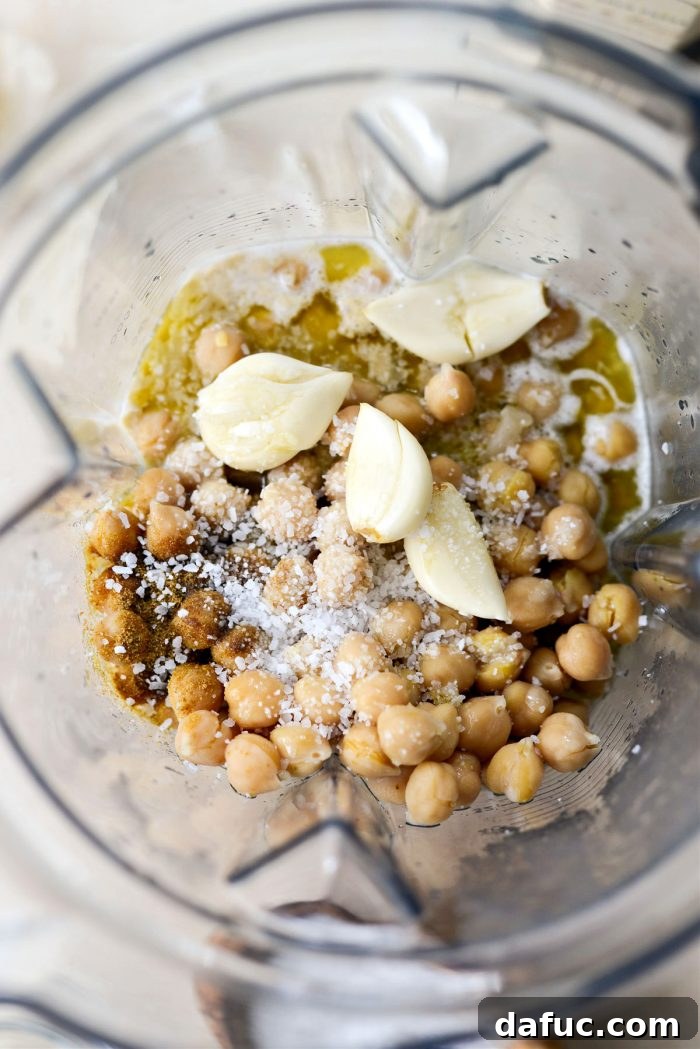
Season generously with kosher salt. We recommend starting with 1-1/2 teaspoons, but always taste and adjust to your personal preference. Salt is crucial for bringing out all the flavors.
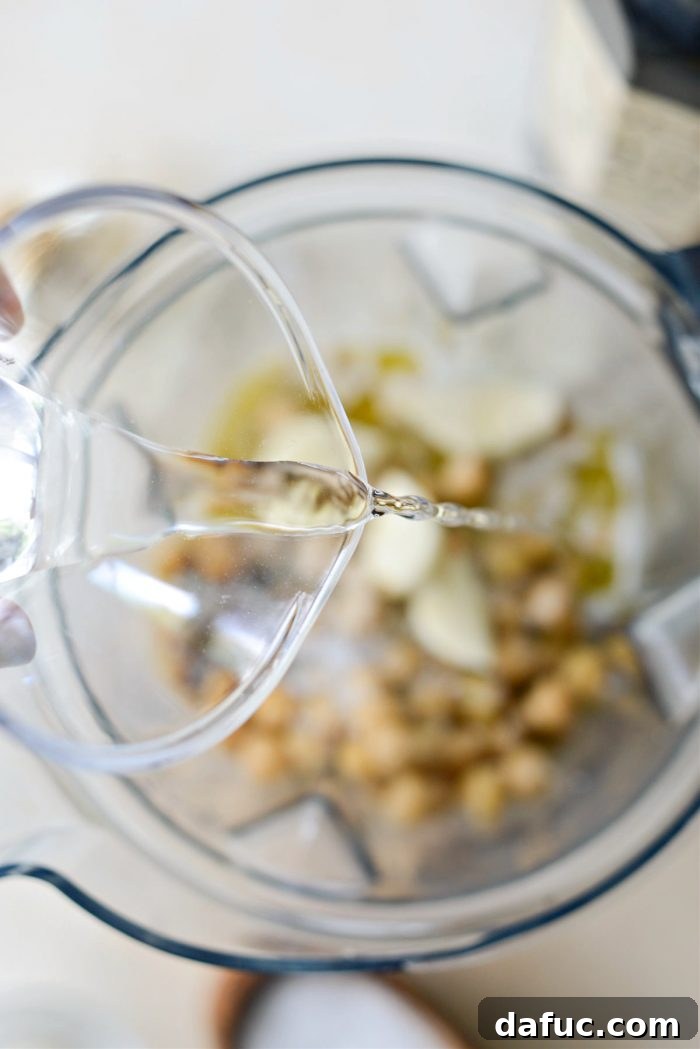
Finally, pour in 1/4 cup of cold water. This initial amount helps get the blending started, but you may need to add more in increments as you blend to achieve your desired consistency.
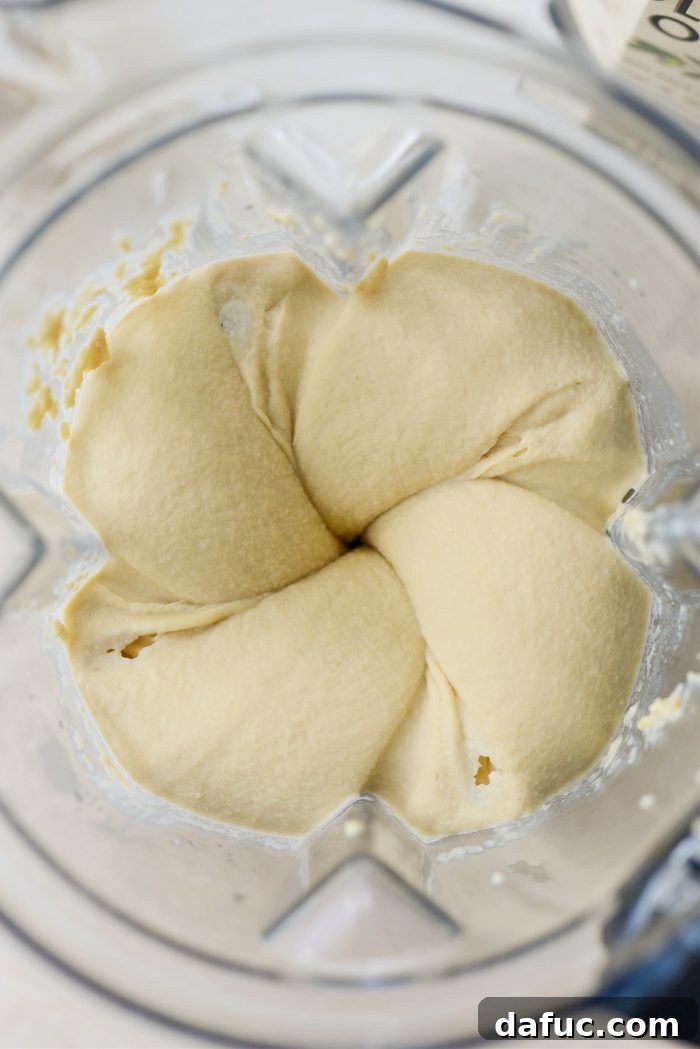
Secure the lid and blend on high speed until the hummus is ultra-smooth, creamy, and velvety. This may take a few minutes, so be patient. If the hummus appears too thick or the blender struggles, slowly add an additional tablespoon or two of cold water at a time until the desired consistency is reached. Scrape down the sides of the blender periodically to ensure everything is incorporated.
Serving and Enjoying Your Masterpiece
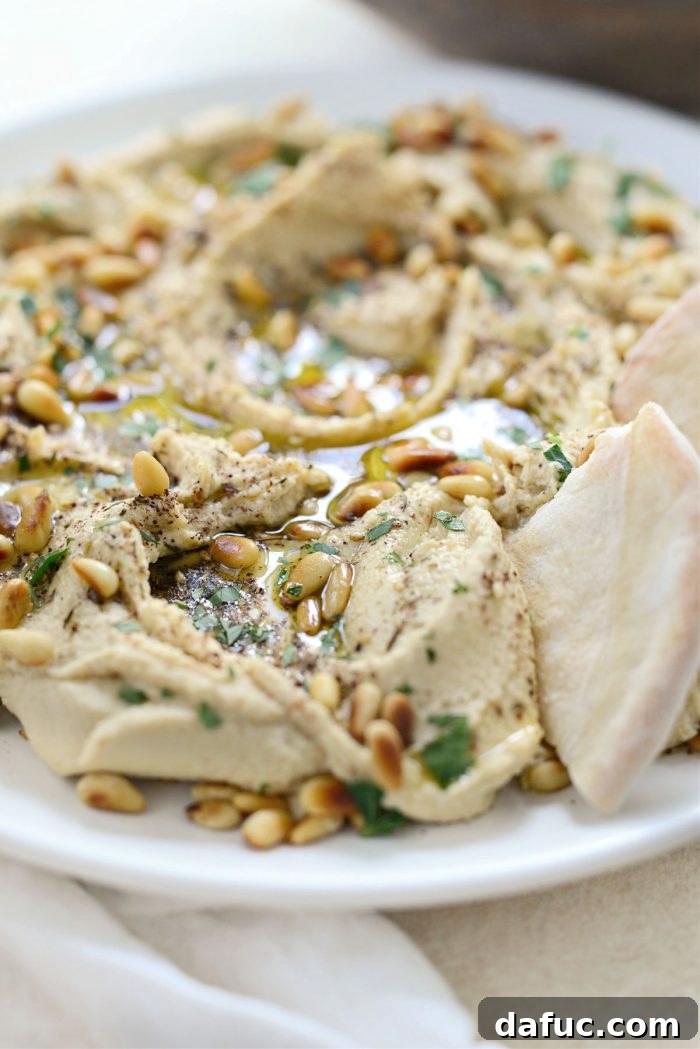
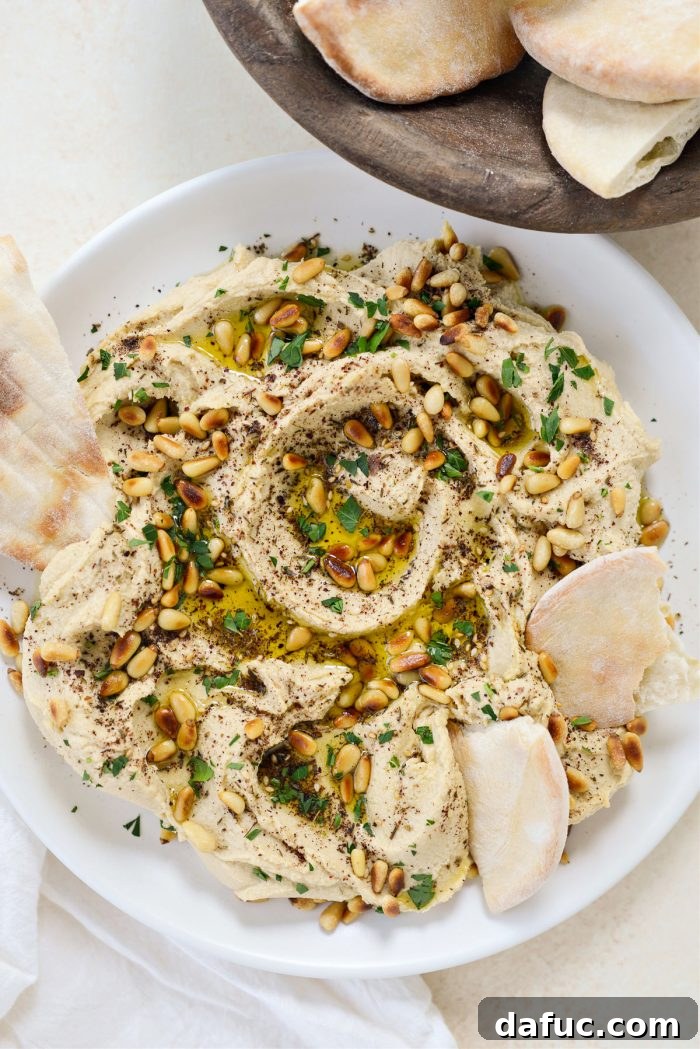
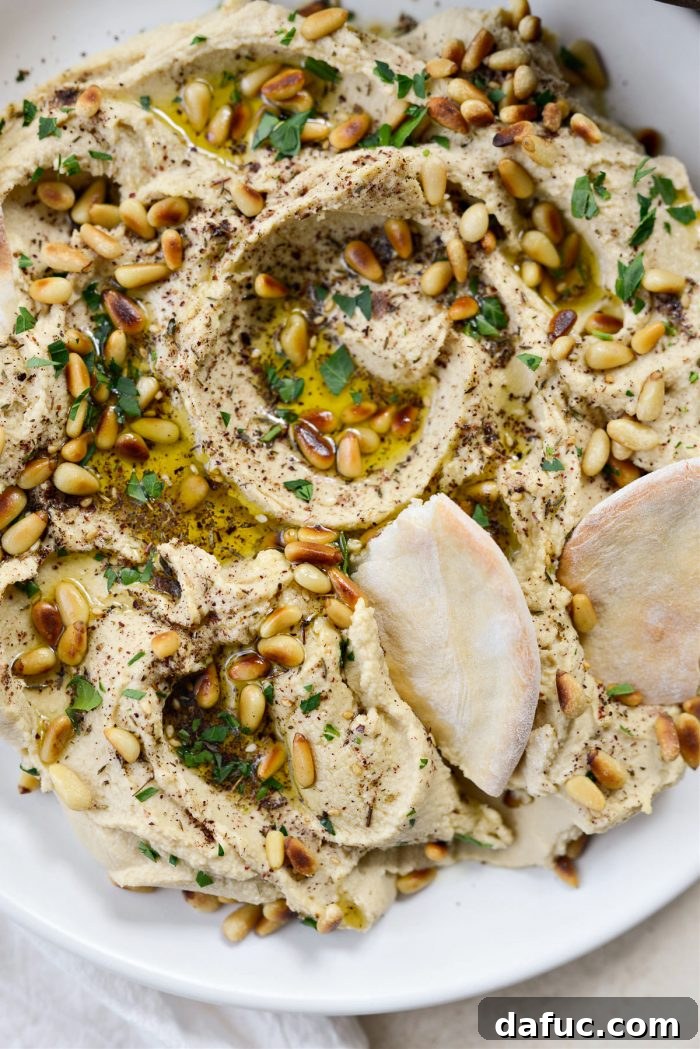
Once your hummus reaches that perfect, dreamy texture, it’s ready to be served! Spoon this luscious, velvety smooth hummus onto a serving platter or shallow bowl. Use the back of your spoon to create inviting swoops and swirls – this not only looks beautiful but also creates little pools for your olive oil. Drizzle generously with a little more high-quality extra virgin olive oil. For an extra touch of elegance and flavor, sprinkle over toasted pine nuts, a dash of aromatic za’atar, and finely minced fresh parsley.
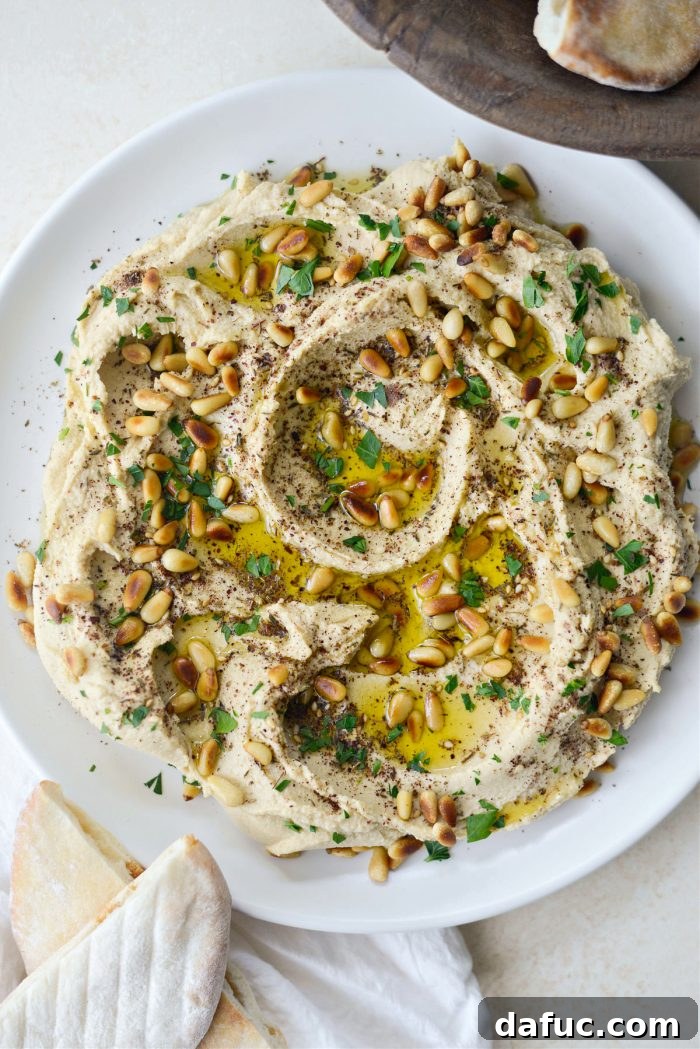
If you’re looking for a quick, impressive dip or craving that silky texture for your pita, don’t hesitate! MAKE THIS HUMMUS. You absolutely will not be disappointed. Its fresh, bright, and garlicky flavors are simply irresistible.
Serve with pita bread and dip, eat and repeat.
Endless Possibilities: Creative Ways To Use Hummus
Hummus is far more versatile than just a dip! Its creamy texture and rich flavor make it a fantastic addition to countless meals:
- As a Dip: The classic way! Serve with an assortment of crisp, cut vegetables like cucumber, carrots, bell peppers, celery, or warm, toasted pita bread and naan shards.
- Seven-Layer Dip Base: Use it as the creamy foundation for a flavorful seven-layer dip, adding layers of fresh salsa, guacamole, cheese, olives, and more.
- Sandwich and Wrap Spread: Ditch the mayonnaise! Hummus makes a healthier, more flavorful spread for sandwiches, burgers, or wraps, adding moisture and a Mediterranean twist.
- Salads and Grain Bowls: Dollop a spoonful into your salads or grain bowls for an instant boost of creaminess, protein, and flavor. It binds ingredients beautifully.
- Mix into Salad Dressings: Whisk a tablespoon or two of hummus into your vinaigrettes for a thicker, richer, and more satisfying dressing.
- Breakfast Bowls: Spread it on toast or a bagel, topped with sliced tomatoes, avocado, and a sprinkle of everything bagel seasoning.
Hummus Flavor Variations to Try
Once you’ve mastered the basic recipe, feel free to get creative! Hummus is incredibly forgiving and adapts well to various flavor additions:
- Roasted Red Pepper Hummus: Blend in 1/2 cup of roasted red peppers (from a jar, drained) for a sweet and smoky twist.
- Spicy Hummus: Add a pinch of cayenne pepper, a dash of hot sauce, or a few pickled jalapeños during blending.
- Herbaceous Hummus: Incorporate fresh herbs like cilantro, basil, or mint for a vibrant, aromatic flavor.
- Sun-Dried Tomato Hummus: Blend in 1/4 to 1/2 cup of oil-packed sun-dried tomatoes (drained) for an intense, savory profile.
- Beet Hummus: Add a roasted beet for a beautiful pink hue and an earthy sweetness.
Storing Your Homemade Hummus
To keep your homemade hummus fresh, transfer it to an airtight container. If you plan to store it for more than a day, drizzle a thin layer of olive oil over the top before sealing the container. This creates a barrier that helps prevent the hummus from drying out and maintains its fresh flavor. Stored properly in the refrigerator, your creamy blender hummus will stay fresh for 3-5 days.
The Wholesome Goodness of Hummus: Health Benefits
Beyond its incredible taste, hummus is also packed with nutritional benefits, making it a healthy choice for a snack or meal component. Chickpeas are an excellent source of plant-based protein and dietary fiber, promoting satiety and aiding digestion. Tahini contributes healthy monounsaturated fats, and lemon juice provides a boost of Vitamin C. Garlic is well-known for its immune-boosting properties. It’s a truly guilt-free indulgence!
Enjoy! And if you give this Blender Hummus recipe a try, we’d love to hear from you! Snap a photo of your creation and tag us on Twitter or Instagram!
Print Recipe |
Pin Recipe
Leave a Review »
Creamiest Blender Hummus
Get your veggies and pita ready for the Creamiest Blender Hummus! No fancy ingredients required, all you need is this one simple trick to make restaurant quality hummus at home!
Ingredients
- 30 ounces canned chickpeas (garbanzo beans), drained
- 1 teaspoon baking soda
- 1/2 cup tahini
- 2 lemons, juiced
- 2 to 4 cloves garlic
- 3/4 teaspoon ground cumin
- 1½ teaspoons kosher salt
- 1/4 to 1/2 cup water
Equipment
- Vitamix 7500 Blender, Professional-Grade, 64 oz. Low-Profile Container, White (or similar high-powered blender/food processor)
Instructions
- Drain chickpeas and add to a saucepan with baking soda. Cover with water and bring to a simmer, reduce heat to medium-low and simmer for 25 minutes. Drain and add to blender.
- To the chickpeas in the blender, add your desired amount of garlic (2 to 4 large cloves), tahini, lemon juice, salt, cumin, and water (start with 1/4 cup water and add more as needed).
- Secure the lid and blend until ultra smooth and velvety. If the hummus is too thick, gradually add more water, a tablespoon at a time, until it reaches your desired consistency.
- Spoon the finished hummus onto a platter or a shallow bowl, create swoops and swirls with the back of your spoon. Drizzle with a little more olive oil and sprinkle with desired toppings (like toasted pine nuts, za’atar, or fresh parsley). Serve immediately with fresh veggies and warm pita bread.
Nutrition Information
Serving: 1 (2 tablespoons), Calories: 49kcal, Carbohydrates: 5g, Protein: 2g, Fat: 3g, Polyunsaturated Fat: 2g, Sodium: 87mg, Fiber: 1g, Sugar: 2g