
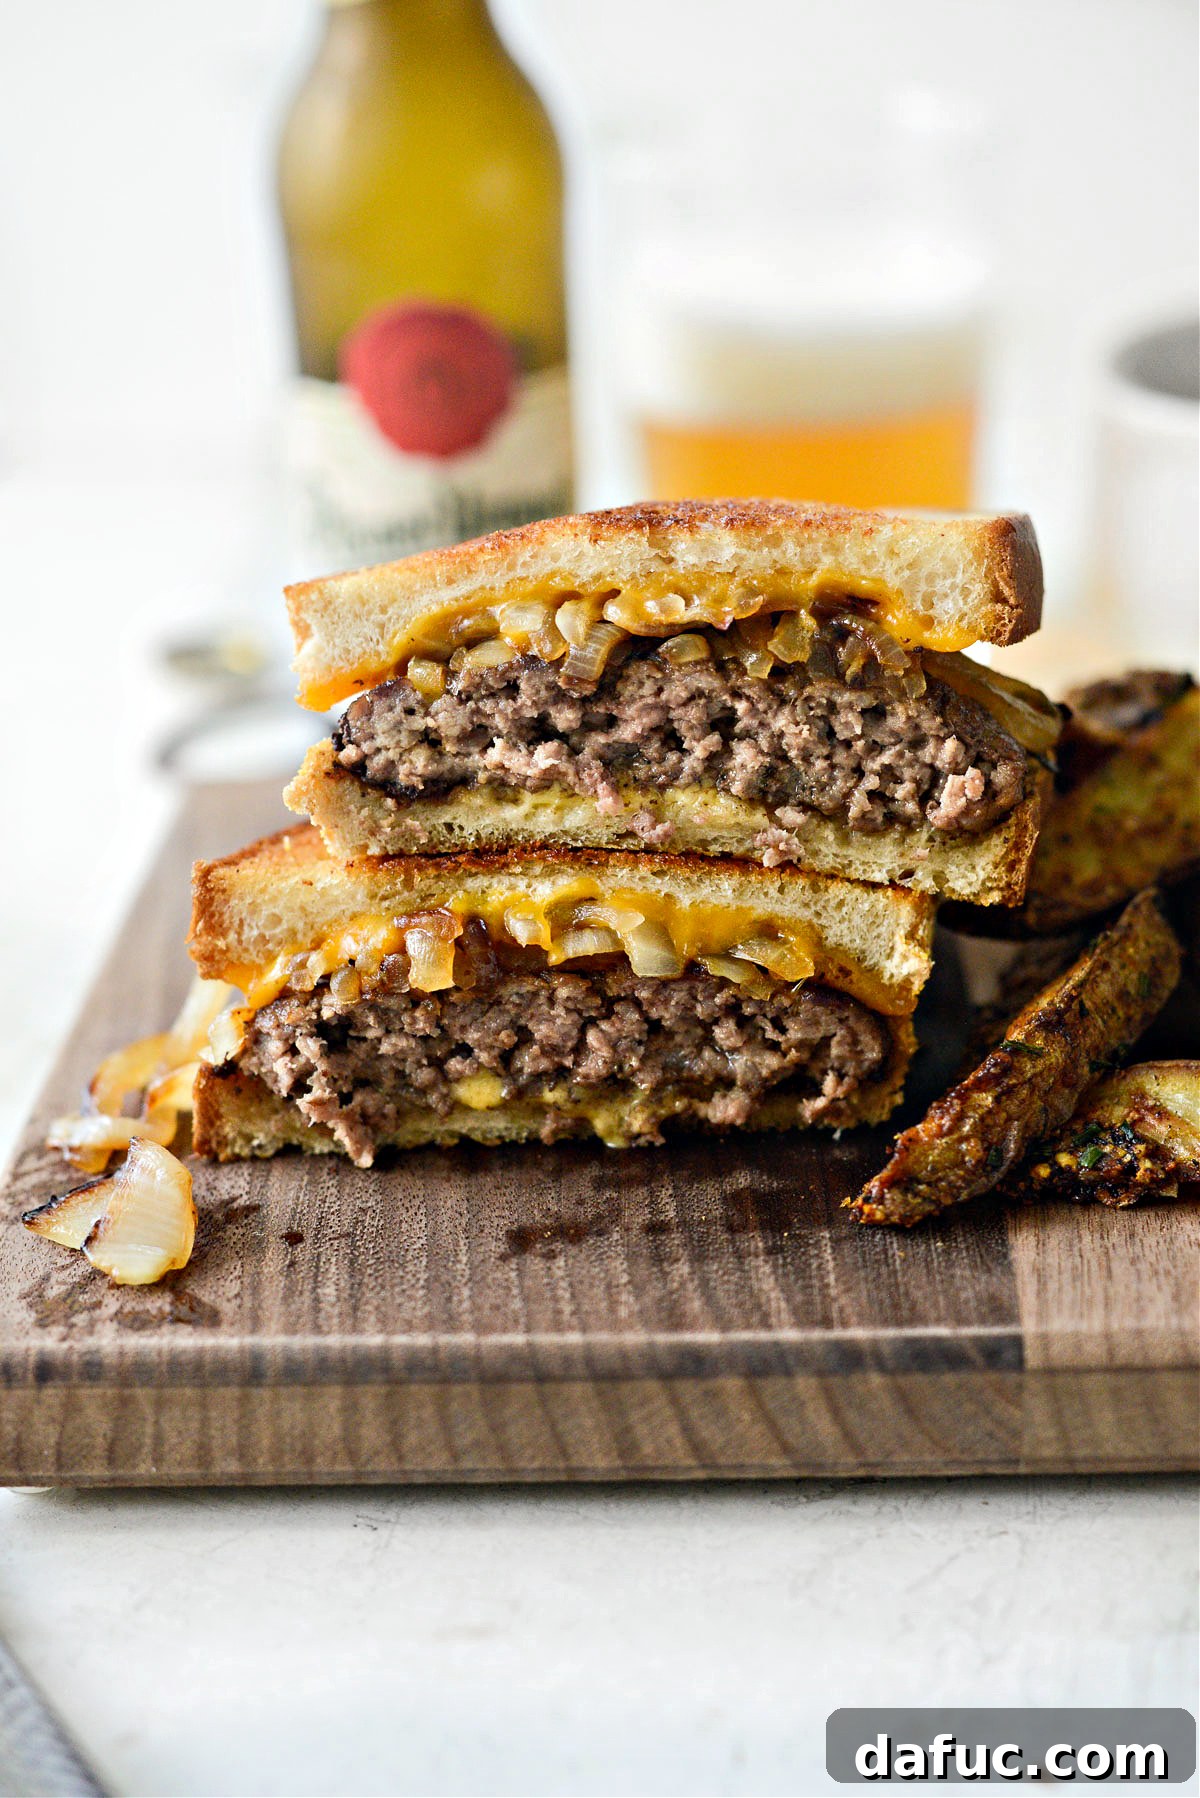
Classic Beef Patty Melt: Mastering Diner Comfort in Your Kitchen
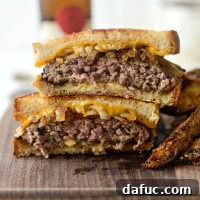
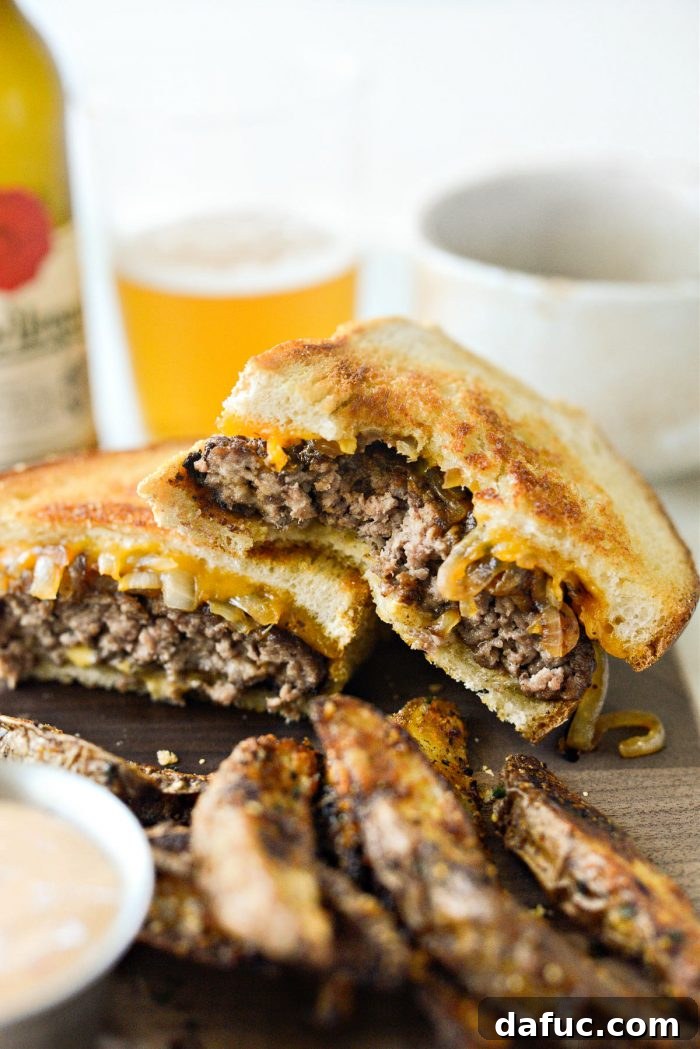
Are you craving that iconic, satisfying taste of a true American diner classic? Look no further than the Classic Beef Patty Melt. This culinary marvel is a symphony of textures and flavors, expertly bringing together a thin, savory ground beef patty, deeply sweet and tender caramelized onions, layers of irresistibly melty cheese, all embraced by slices of buttery, perfectly griddled rye bread. It’s more than just a sandwich; it’s a warm, comforting embrace, a nostalgic trip to simpler times, and the ultimate comfort food experience that consistently delights. Whether you’re aiming to recreate a beloved retro diner dish or simply seeking a profoundly delicious meal, this comprehensive guide will lead you to patty melt perfection, yielding four fantastic sandwiches.
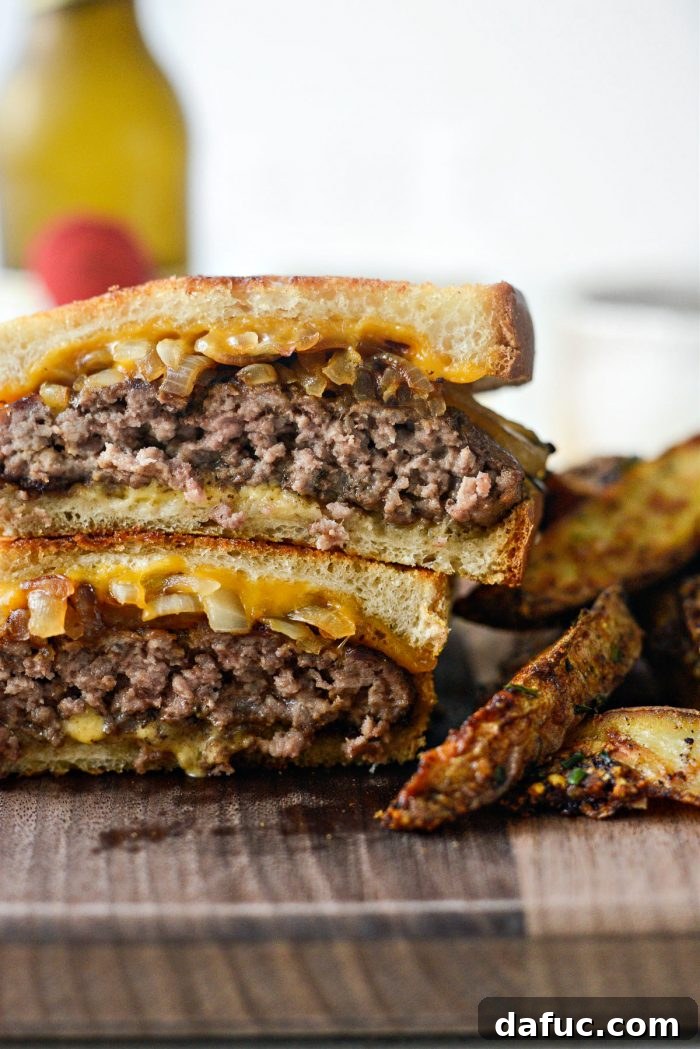
The Irresistible Allure of a Timeless Classic
The Patty Melt holds a cherished place in the pantheon of American comfort cuisine. Its origins trace back to the bustling diners and lunch counters of California in the 1950s, where it quickly rose to prominence. It’s essentially a sophisticated take on the humble cheeseburger, reimagined as a grilled sandwich that offers a unique combination of crispy, gooey, and tender elements. The undeniable magic of a patty melt lies in how the robust, beefy flavor of the patty harmonizes with the distinct, slightly tangy taste of rye bread. This exquisite pairing is further elevated by the luxurious sweetness of slow-cooked caramelized onions and the rich, gooey texture of melted cheese, all creating a harmonious blend that’s truly unforgettable.
My own journey into the world of patty melts began quite unexpectedly last year. I found myself with a generous supply of ground beef and a quest for inspiration. A quick search for ground beef recipes led me directly to the patty melt, and from that moment, I knew precisely what I had to create. The concept was beautifully simple: gently caramelize onions until golden and soft, season and sear thin beef patties to perfection, then lovingly sandwich all these components between slices of cheese and griddled bread. The outcome was nothing short of pure, unadulterated deliciousness.
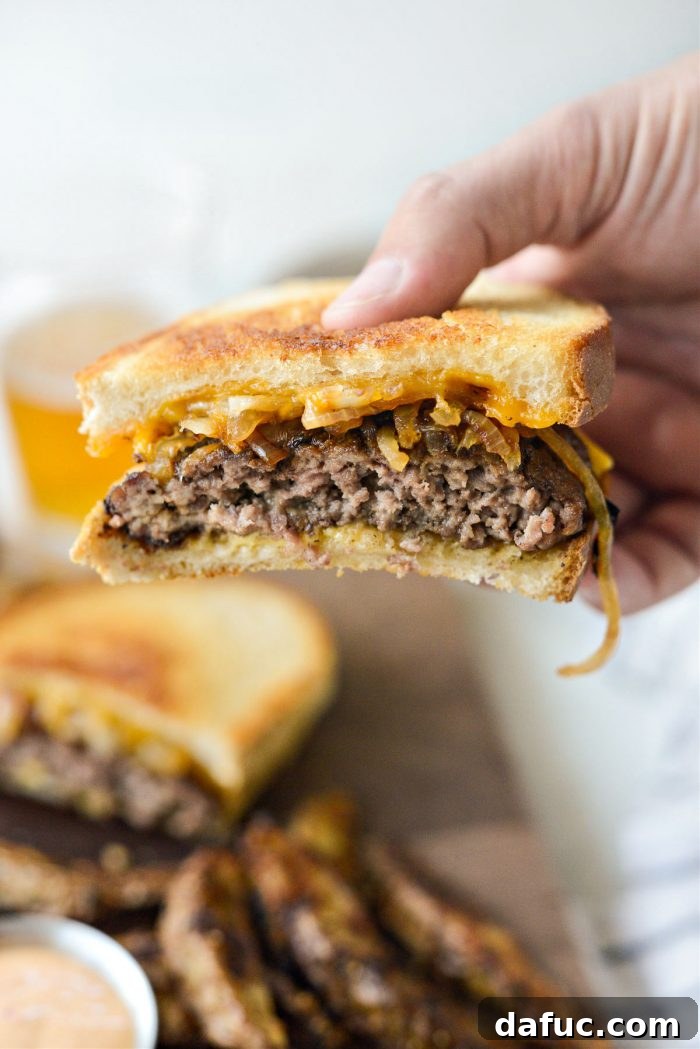
It was incredible. The sheer delight of this sandwich stems not only from its exceptional taste but also from the straightforward and rewarding cooking process. Each ingredient plays a crucial role, contributing its unique character to a magnificent whole that is both deeply satisfying and wonderfully memorable.
Essential Ingredients for Your Perfect Patty Melt
To embark on your patty melt creation, selecting the right ingredients is paramount. While the recipe is relatively simple, the quality of your components will significantly impact the final taste. Here’s a detailed look at what you’ll need to construct this quintessential diner delight:
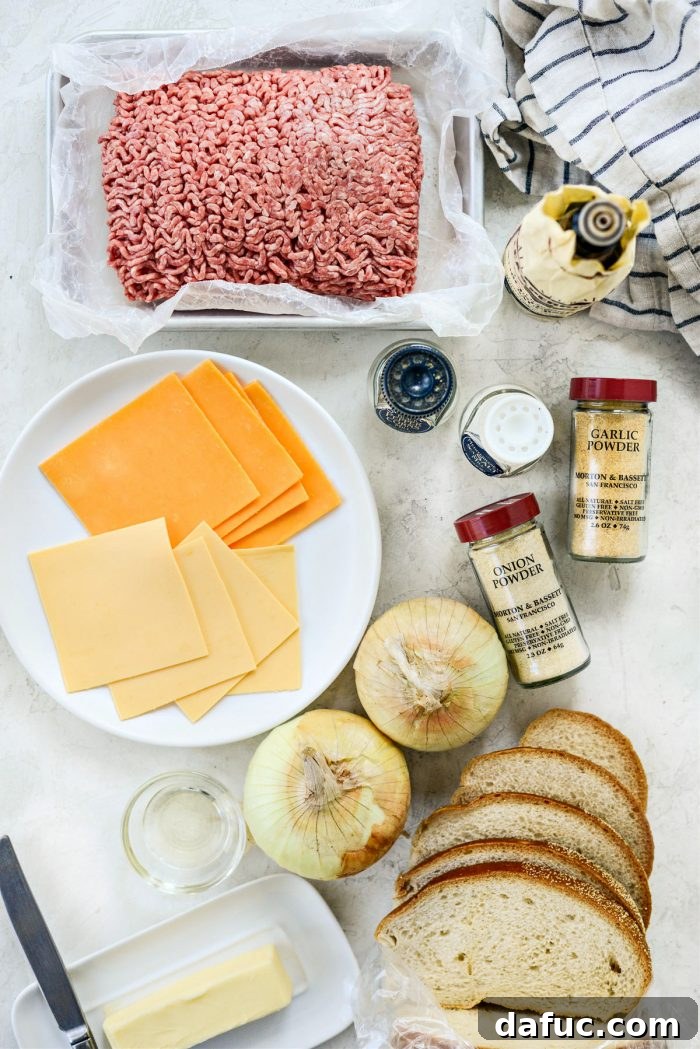
- 80/20 Ground Beef: This specific fat-to-lean ratio is absolutely crucial for a juicy, incredibly flavorful patty. A leaner cut might result in a dry patty, while too much fat could make it overly greasy. The 80/20 blend strikes the perfect balance for succulence.
- Extra Light Olive Oil: This mild-flavored oil is ideal for sautéing your onions. It allows their natural sweetness to shine through without imparting any strong, competing flavors.
- Sweet Onions: Varieties like Vidalia or Walla Walla onions, thinly sliced, caramelize beautifully. They transform during cooking, adding a rich depth of sweet and savory notes that are essential to the patty melt’s character.
- Kosher Salt: A fundamental seasoning that enhances the natural flavors of both the onions and the beef, bringing out their best qualities.
- Onion Powder & Garlic Powder: These provide an additional layer of aromatic complexity and savory depth to your beef patties, perfectly complementing the fresh caramelized onions.
- Black Pepper: Freshly ground black pepper offers a pungent kick and a subtle warmth, rounding out the seasoning profile of the beef.
- Worcestershire Sauce: Often considered a secret ingredient for beef, a few dashes of Worcestershire sauce add an incredible umami depth and a subtle tang that elevates the patty’s flavor. You can opt for a high-quality store-bought version or even craft your own homemade sauce for an extra special touch.
- Rye Bread: The traditional and most authentic choice for a patty melt. Its distinctive flavor and robust texture are perfect for holding up to the grilling process and the rich fillings. Sourdough bread is also a fantastic and popular alternative if rye isn’t available or preferred.
- Cheese: While Swiss cheese is often considered the classic choice, we highly recommend a combination of both sharp cheddar and American cheese. American cheese offers that iconic, ultra-gooey diner pull, while sharp cheddar introduces a wonderful, deep flavor complexity.
- Butter: Generous amounts of butter are absolutely essential for griddling the bread. It’s what gives the rye bread that enviable golden-brown, irresistibly crispy exterior.
Your Step-by-Step Blueprint to the Ultimate Patty Melt
Follow these meticulously detailed instructions to construct your very own patty melt masterpiece. Remember, a little precision and patience, particularly with the onions, will yield the most deliciously rewarding results.
Phase 1: Preparing Your Flavorful Beef Patties
The core of any exceptional patty melt is a well-prepared beef patty. We’re aiming for thin, oblong patties that not only fit perfectly on the bread but also cook quickly and evenly.
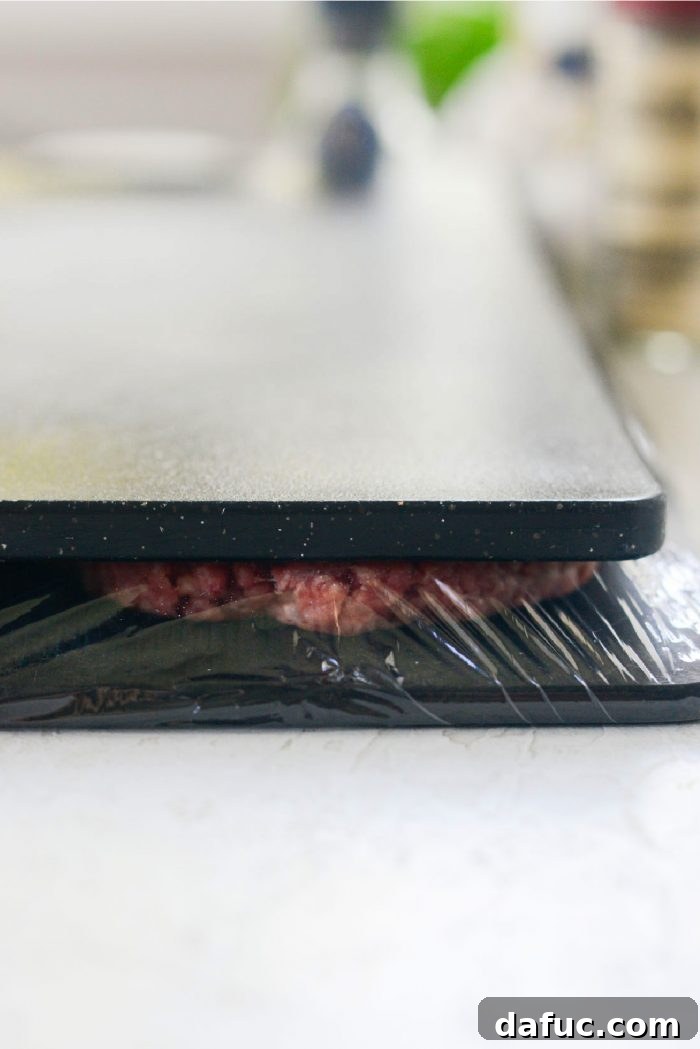
- Divide and Shape the Beef: Start by dividing your 1-1/2 pounds of 80/20 ground beef into four equal portions, with each piece weighing approximately 6 ounces. Gently, but firmly, shape each portion into a thin, oblong patty. Aim for a shape that will closely match your rye bread slices.
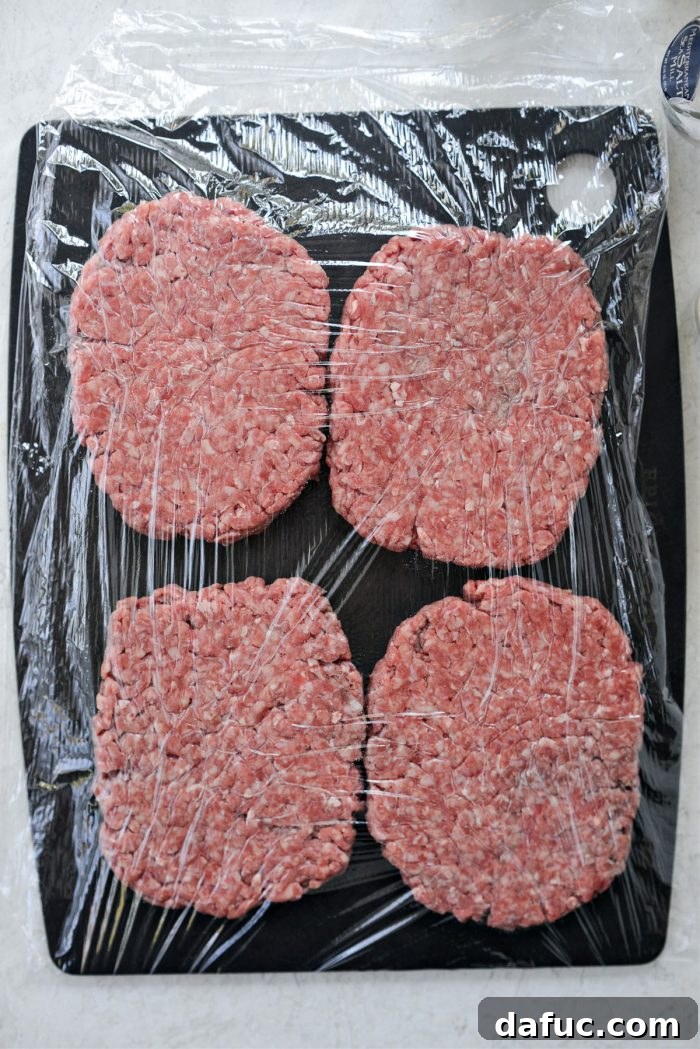
- Achieve Optimal Thinness: For uniform and truly thin patties, place each raw patty between two cutting boards. Alternatively, you can use a sheet of plastic wrap or parchment paper on either side of the patty. Press down firmly to flatten them. This technique is key for even cooking and helps develop those delicious crispy edges when seared.
Phase 2: Crafting the Sweet Caramelized Onions
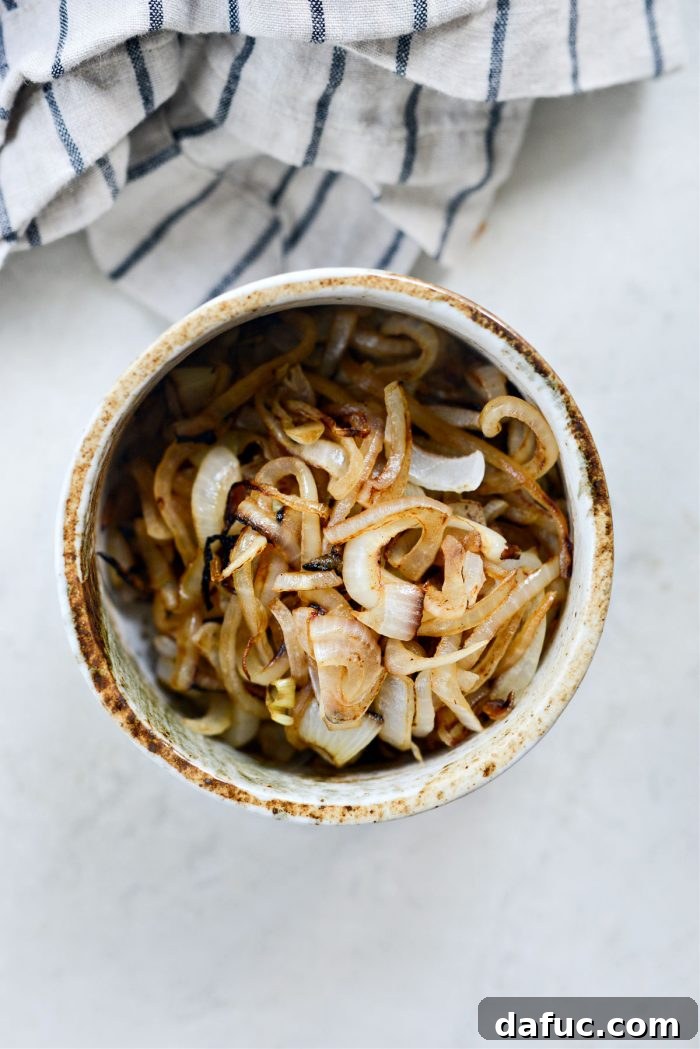
These sweet, tender, and savory onions are a cornerstone of the patty melt, contributing an immense depth of flavor. While true, slow caramelization can take upwards of 45 minutes, we’re aiming for a quicker version here that still achieves a beautiful softening and deep golden color, delivering a fantastic burst of sweetness. For those seeking the traditional, extended slow-caramelization process, you can refer to a dedicated guide.
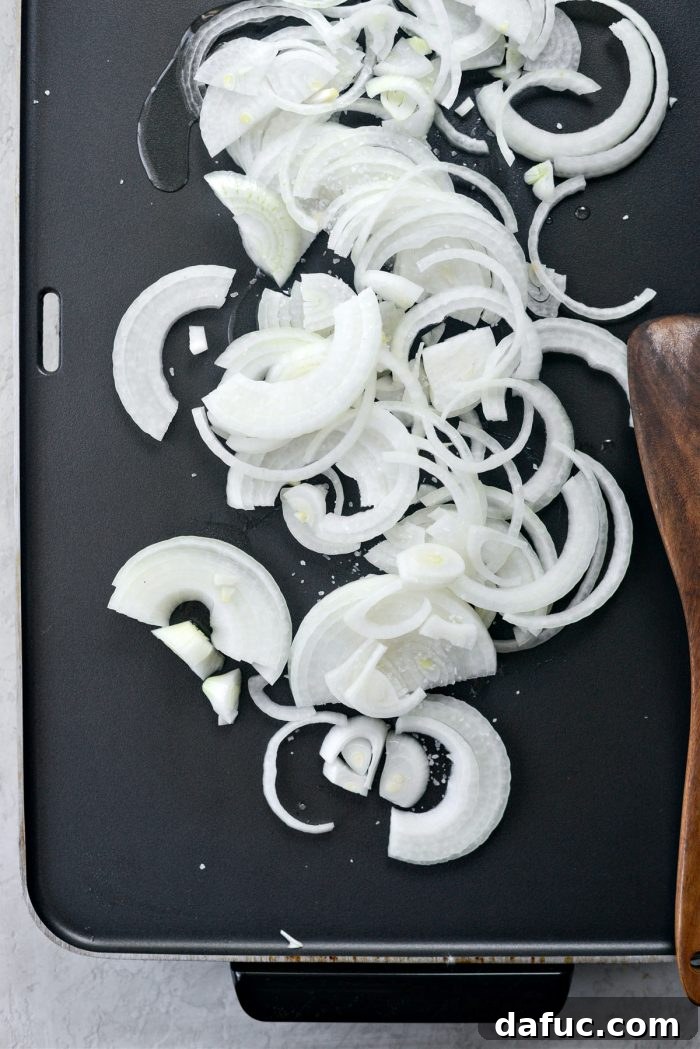
- Preheat and Prepare Onions: Preheat your griddle to a steady medium-low heat, aiming for a temperature between 300-350℉ (150-180℃). Drizzle 1 tablespoon of extra light olive oil evenly across the griddle surface. Add your 2 medium-sized sweet onions, which should be halved and thinly sliced. Season them generously with a pinch of kosher salt.
- Sauté to Perfection: Stir the onions frequently to ensure even cooking. Continue to cook them until they become wonderfully soft, translucent, and their edges begin to turn a delightful golden-brown, indicating initial caramelization. This process for a quick sauté with good caramelization should typically take about 10-15 minutes.
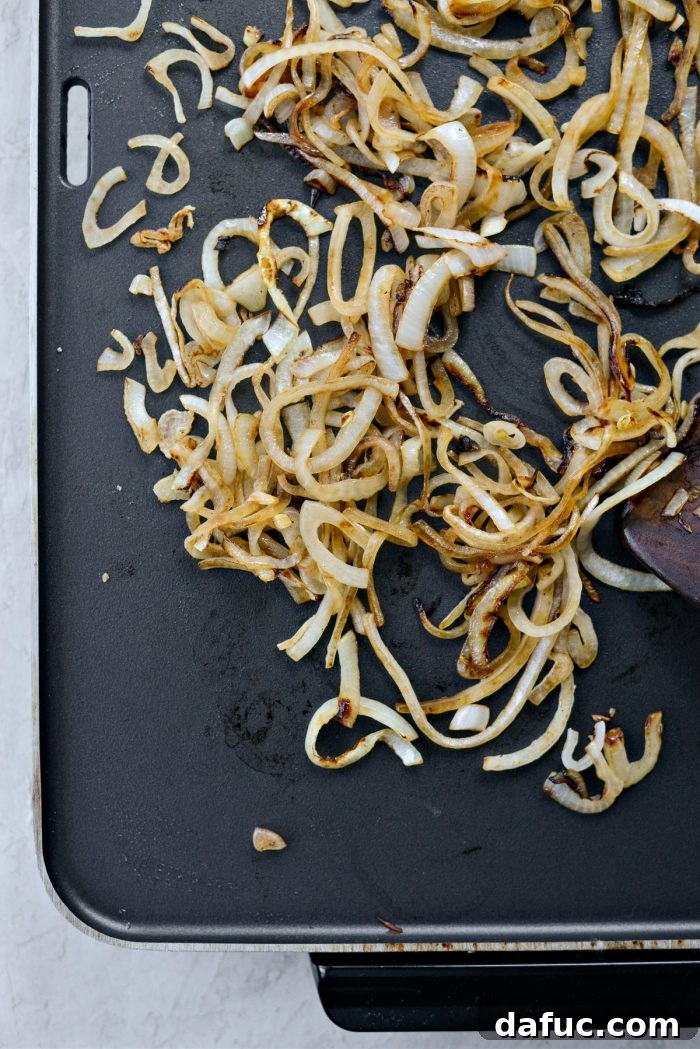
- Rest the Onions: Once your onions have achieved the desired softness and golden hue, carefully transfer them from the griddle to a clean dish. Set them aside; they will patiently await their moment to crown your beef patties.
Phase 3: Grilling the Succulent Beef Patties
With the onions prepared, it’s now time to give those beef patties a beautiful, flavorful sear, which locks in their juices and develops a rich, savory crust.
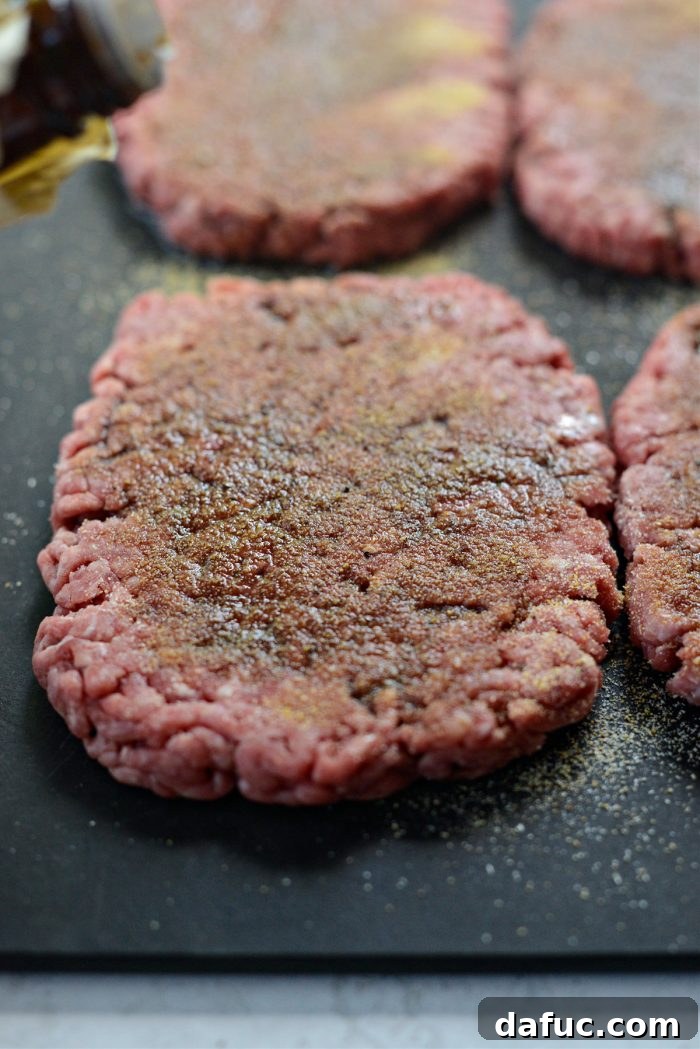
- Season the Patties: While the griddle is still warm (or as you adjust its temperature), generously season each of your prepared beef patties. Sprinkle them liberally with onion powder, garlic powder, kosher salt, and freshly ground black pepper. Don’t be shy with the seasonings! Finish by adding a few dashes of Worcestershire sauce to the top of each patty – this is a crucial step for boosting umami.
- Sear to Create a Crust: Increase the griddle heat to medium-high, specifically targeting 350-375℉ (180-190℃). Carefully place the seasoned patties onto the hot griddle. Sear them for approximately 3 to 5 minutes on the first side, allowing a beautiful, flavorful crust to form.
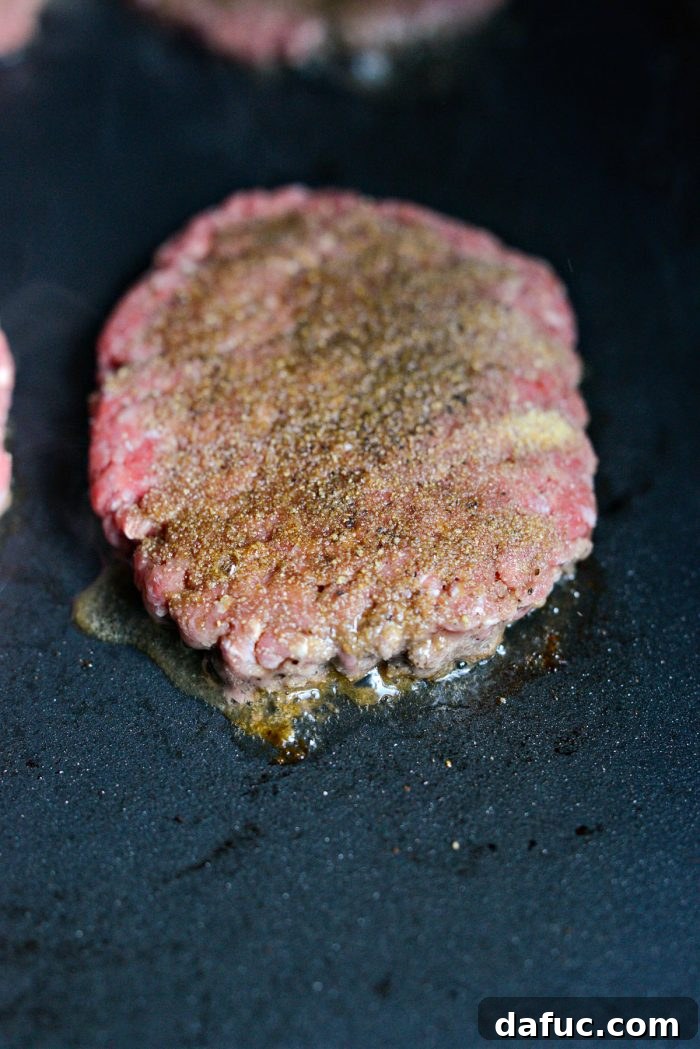
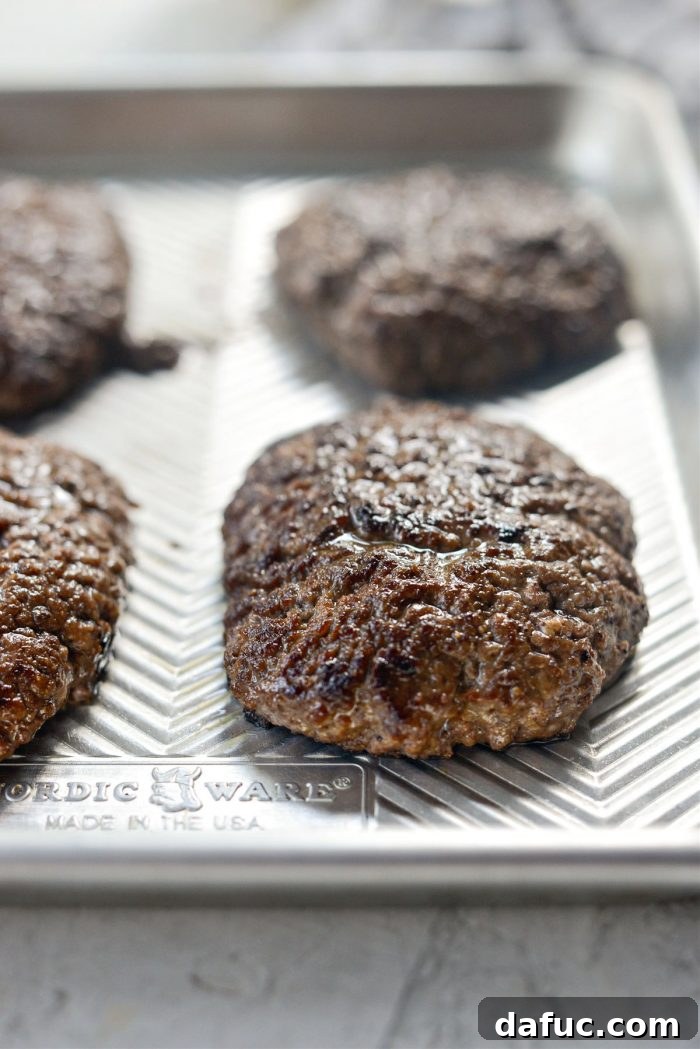
- Flip and Finish Cooking: Using a spatula, flip the patties to cook the second side. Continue cooking for an additional 2 to 3 minutes, or until the patties reach your preferred level of doneness. Because they are thin, these patties cook relatively quickly.
- Keep Warm for Assembly: Once cooked through, transfer the beef patties to a clean platter. Loosely tent them with aluminum foil. This will help retain their warmth and juiciness while you prepare the bread and cheese for assembly.
Phase 4: Assembling and Griddling the Patty Melts to Perfection
This is the moment everything comes together – the grand finale of bringing all the delicious components into one gloriously gooey and crispy sandwich.
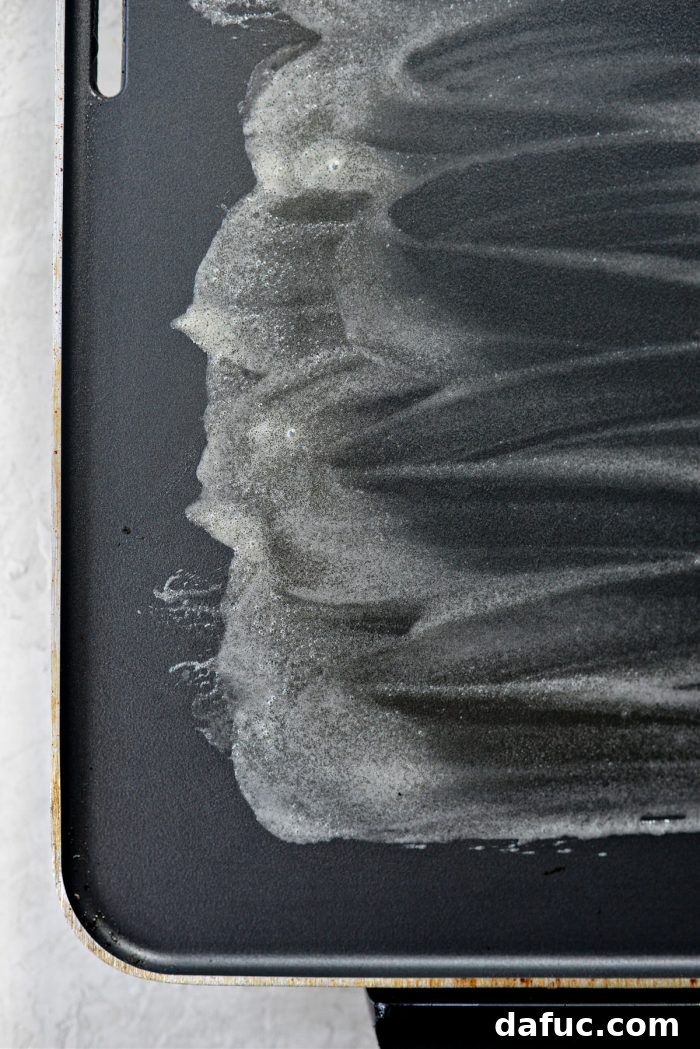
- Clean the Griddle and Butter: With precision, carefully wipe away any excess grease or residual bits from the griddle surface using a paper towel. Discard the paper towel. Reduce the griddle temperature back down to a moderate 300℉ (150℃). Add a generous 4 tablespoons of butter to the griddle and allow it to melt and spread evenly across the cooking surface.
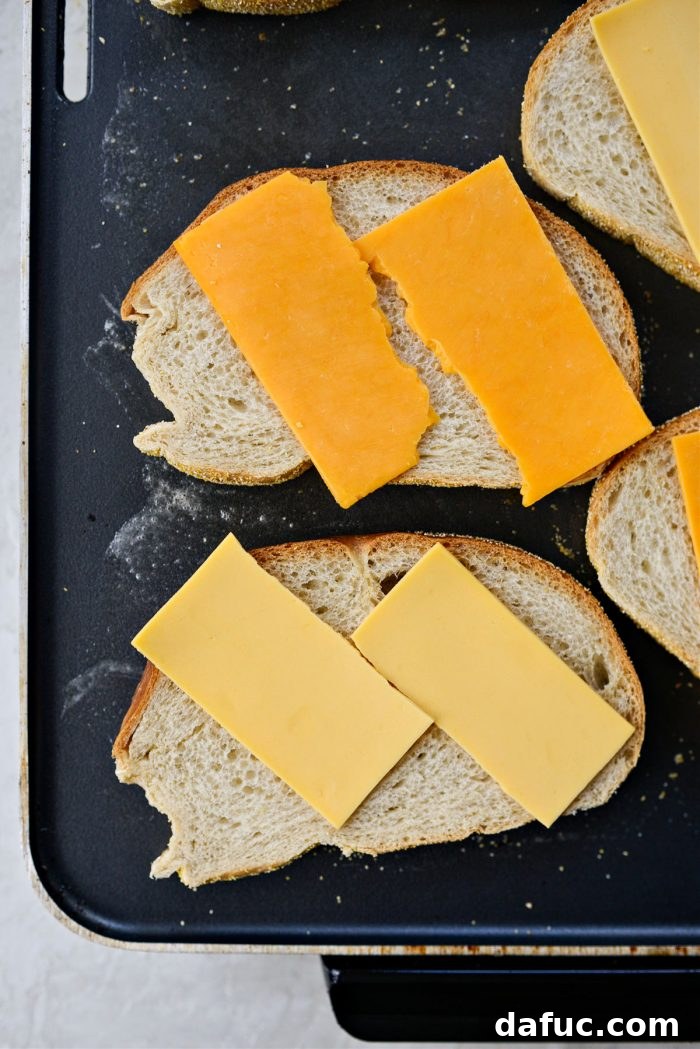
- Lay Out Bread and Cheese: Arrange all 8 slices of rye bread (or your chosen sourdough) onto the buttered griddle. Place one slice of American cheese on top of four of the bread slices. On the remaining four bread slices, place one slice of sharp cheddar cheese.
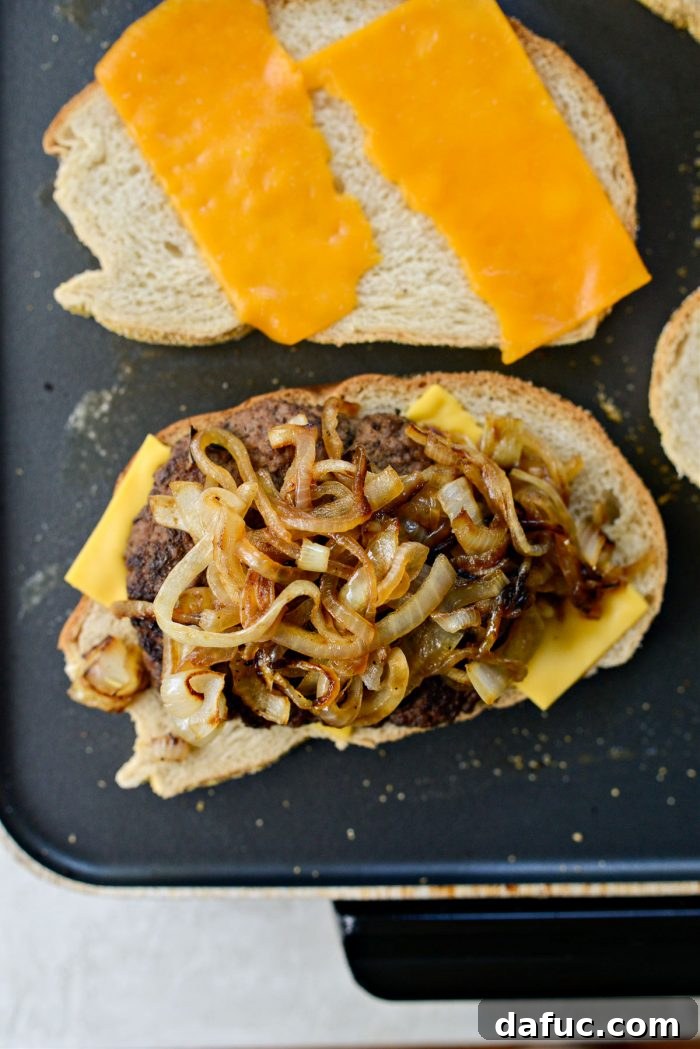
- Begin Assembly: As the cheese on each slice begins to melt and the bread starts to turn a beautiful, light golden color, begin to assemble. Take the four bread slices topped with American cheese. On each of these, carefully place a cooked beef patty. Then, generously divide the flavorful caramelized onions evenly over each beef patty.
- Complete the Sandwich: Gently take the remaining four slices of bread (those topped with cheddar cheese) and place them carefully on top of the patties, completing each sandwich. This ensures that each patty melt benefits from both the classic gooiness of American cheese and the sharper flavor of cheddar.
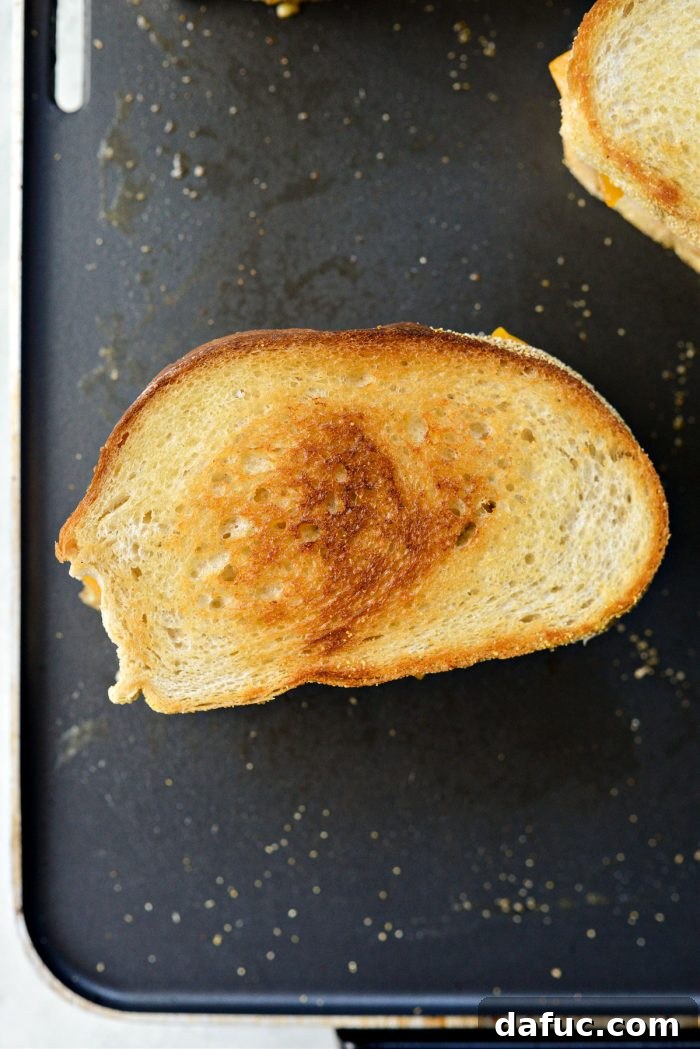
- Griddle to Golden Perfection: Continue to griddle the assembled patty melts. Flip them occasionally to ensure even browning. Keep cooking until the bread is a deep, appealing golden brown and wonderfully crispy, the cheese is entirely melted and oozing, and the entire sandwich is thoroughly heated through. This final griddling ensures all the flavors meld together beautifully and the textures are just right.
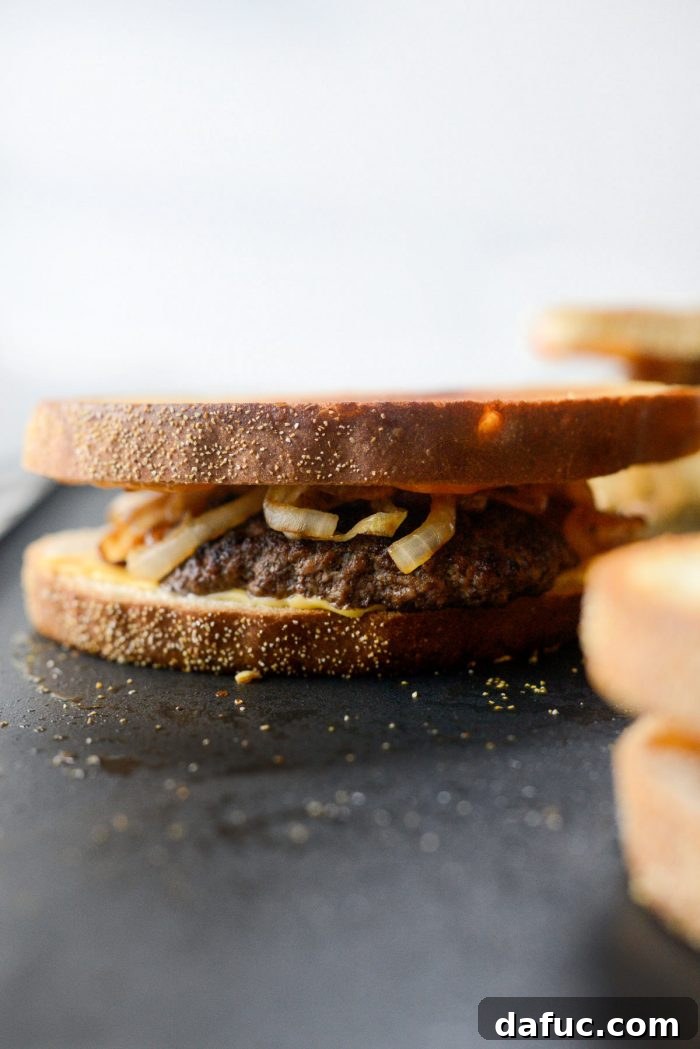
Serve and Savor Your Masterpiece
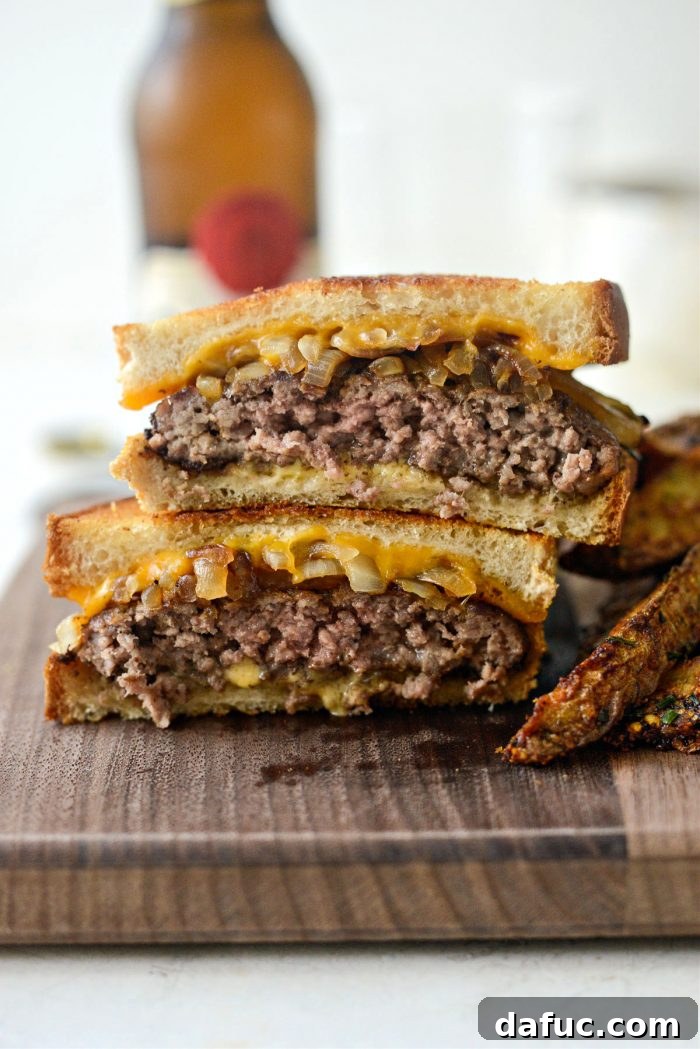
- Slice and Enjoy: Once your patty melts are cooked to absolute perfection, slice them in half. A diagonal cut not only looks fantastic but also makes them easier to handle and eat. Serve them immediately to experience them at their best!
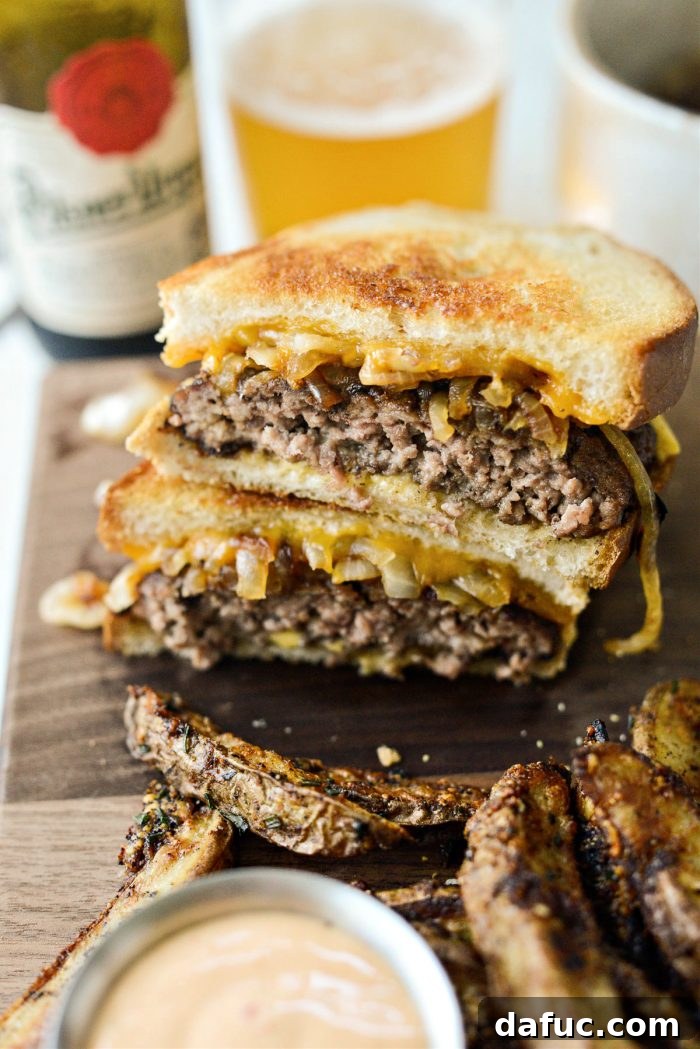
I genuinely hope your mouth is watering right now, because the tantalizing aroma and visual appeal of these patty melts are truly irresistible! They instantly transport you to a cozy retro diner.
Expert Tips for Crafting the Best Homemade Patty Melt
To ensure your homemade patty melt reaches its full potential, keep these essential tips in mind:
- Patience with the Onions is a Virtue: Even when aiming for a quicker caramelization, resist the urge to crank up the heat too high. Cooking the onions on medium-low heat allows their natural sugars to slowly develop, resulting in that crucial rich, sweet flavor.
- Thin Patties are Non-Negotiable: The key to a balanced patty melt is thin beef patties. This ensures they cook evenly and quickly, matching the delicate thickness of the bread and preventing a chewy, overly dense center.
- Don’t Be Shy with Butter: Butter is your best friend when griddling the bread. A generous amount is essential for achieving that sought-after, unbelievably crispy, golden-brown crust that defines a great patty melt.
- Embrace the Cheese Combo: The strategic combination of American cheese for its incredible meltiness and cheddar for its robust flavor is a winning strategy that delivers both texture and taste.
- Master Griddle Temperature Control: Adjusting the griddle temperature for each stage—lower for onions, higher for beef, then back to moderate for the bread—is vital. This technique prevents burning and ensures each component cooks optimally.
Serving Suggestions & Creative Variations
A classic beef patty melt is a culinary delight on its own, but it also pairs wonderfully with a variety of side dishes and lends itself beautifully to creative customizations.
Enjoy your homemade patty melt as is, perhaps accompanied by a generous serving of perfectly crispy French fries or a refreshing, tangy coleslaw. For an extra layer of indulgence and a nod to traditional diner fare, consider dipping your patty melt in a creamy Thousand Island dressing or a tangy, homemade special sauce. It’s truly delicious and adds another dimension of flavor!
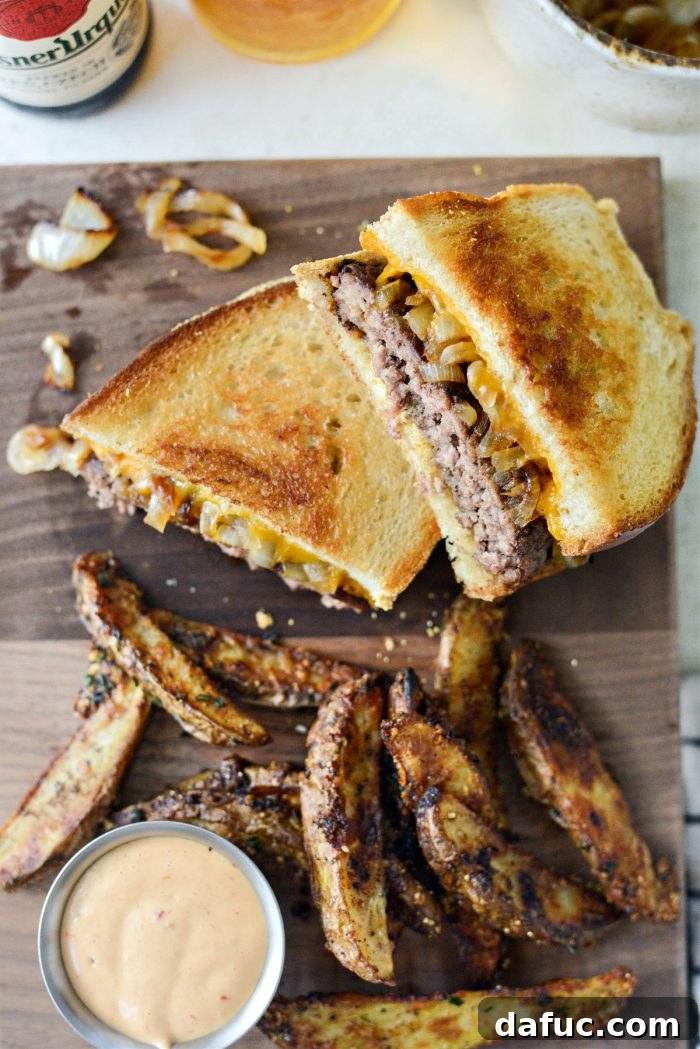
Exciting Patty Melt Variations to Explore:
- Cheese Swaps: Don’t limit yourself to American and cheddar. Experiment with Monterey Jack for a milder melt, provolone for a sharper Italian flair, or even a smoked gouda for a rich, complex flavor.
- Bread Alternatives: While rye is the traditional choice, feel free to explore other robust breads. Challah, brioche, or even a hearty whole wheat bread can provide an interesting texture and flavor base.
- Savory Add-ins: Elevate your sandwich by incorporating a slice or two of crispy bacon, tender sautéed mushrooms, or a sprinkle of fresh herbs like thyme or chives for an aromatic touch.
- Spice It Up: If you enjoy a bit of heat, consider adding a dash of cayenne pepper to your beef seasoning, or tuck in a few thinly sliced jalapeños for a welcome kick.
Print Recipe
Pin Recipe
Leave a Review »
Yield: 4 sandwiches
Classic Beef Patty Melt
This Classic Beef Patty Melt consists of a thin ground beef patty topped with caramelized onions and sandwiched between melty cheese and griddled rye bread.
Prep Time: 15 mins
Cook Time: 15 mins
Total Time: 30 mins
Ingredients
- 1½ pounds (80/20) ground beef
- 1 tablespoon extra light olive oil
- 2 medium sweet onions, halved and sliced
- Kosher salt, to taste
- 4 shakes onion powder
- 4 shakes garlic powder
- ½ teaspoon freshly ground black pepper
- 8 dashes Worcestershire sauce, store bought or homemade
- 8 slices rye bread, or sourdough
- 4 slices American cheese, like deli or deluxe American
- 4 slices sharp cheddar cheese
- 8 tablespoons butter
Equipment
- Presto 7072, Black Slimline Griddle, 22″
Instructions
- Divide the ground beef into four (6 ounce) pieces and shape into oblong patties. Place them onto a cutting board, cover with plastic wrap and press between another cutting board to flatten into thin patties. Set aside.
- Preheat a griddle to 300 to 350℉ (150-180℃). Drizzle the griddle with the olive oil, add the sliced onions and season with a pinch of kosher salt. Stir, and cook the onions until soft and edges caramelized, about 10-15 minutes.
- Transfer the onions to a dish and set off to the side.
- Season the patties with onion powder, garlic powder, salt, pepper, and add a few dashes of Worcestershire sauce to each one. Adjust seasoning to your preference.
- Using the same griddle, increase heat from 350° to 375℉ (or 180°-190℃). Sear and cook the patties about 3 to 5 minutes per side, until a crust forms and desired doneness is reached. Transfer to a platter and tent with foil to keep warm.
- Use a paper towel to wipe any grease from the griddle and discard. Reduce the griddle temperature to 300℉ (150℃) and melt 4 tablespoons of butter, spreading it evenly.
- Lay down 8 slices of rye bread. Add 1 slice of American cheese to four slices of bread, and 1 slice of cheddar cheese to the remaining four slices.
- Once the cheese starts to melt on each slice and the bread is lightly golden, top each of the American cheese slices with a beef patty, then divide the caramelized onions evenly over each patty.
- Place the cheddar-topped bread slices on top of the patties to complete the sandwiches. Flip occasionally, and continue to griddle until the patty is heated through, the cheese is fully melted, and the bread is deeply golden and crispy.
- Slice and serve immediately.
Nutrition Information
Serving: 1 sandwich, Calories: 680kcal, Carbohydrates: 45g, Protein: 24g, Fat: 46g, Saturated Fat: 24g, Polyunsaturated Fat: 17g, Trans Fat: 2g, Cholesterol: 124mg, Sodium: 1076mg, Fiber: 5g, Sugar: 12g
Author: Laurie McNamara
Course: Mains & Entrees
Cuisine: American
Conclusion: Your New Favorite Comfort Food Awaits
The Classic Beef Patty Melt stands as a delicious testament to the fact that some of the greatest culinary delights are often born from straightforward, high-quality ingredients and a thoughtful, well-executed cooking process. From the juicy, deeply savory beef patty to the sweet, tender caramelized onions, the gloriously gooey melted cheese, and the perfectly griddled, crispy rye bread, every single bite is an experience to truly savor. It’s a dish that effortlessly evokes feelings of warmth, profound satisfaction, and the comforting essence of a homemade meal.
So, why delay? Roll up your sleeves, fire up your griddle, and treat yourself, your family, or your friends to this incredible sandwich. It’s absolutely perfect for a relaxed weekend lunch, a satisfying casual dinner, or indeed, whenever you find yourself in need of a generous boost of pure, unadulterated comfort. You’ll be absolutely amazed at how easily you can bring this legendary diner classic right into the heart of your own kitchen, creating memories with every delicious bite.
Enjoy your magnificent homemade Classic Beef Patty Melt! We would absolutely love to see your culinary creations. If you decide to give this recipe a try, please don’t hesitate to snap a photo and share it with us on Twitter or Instagram! Happy cooking!