
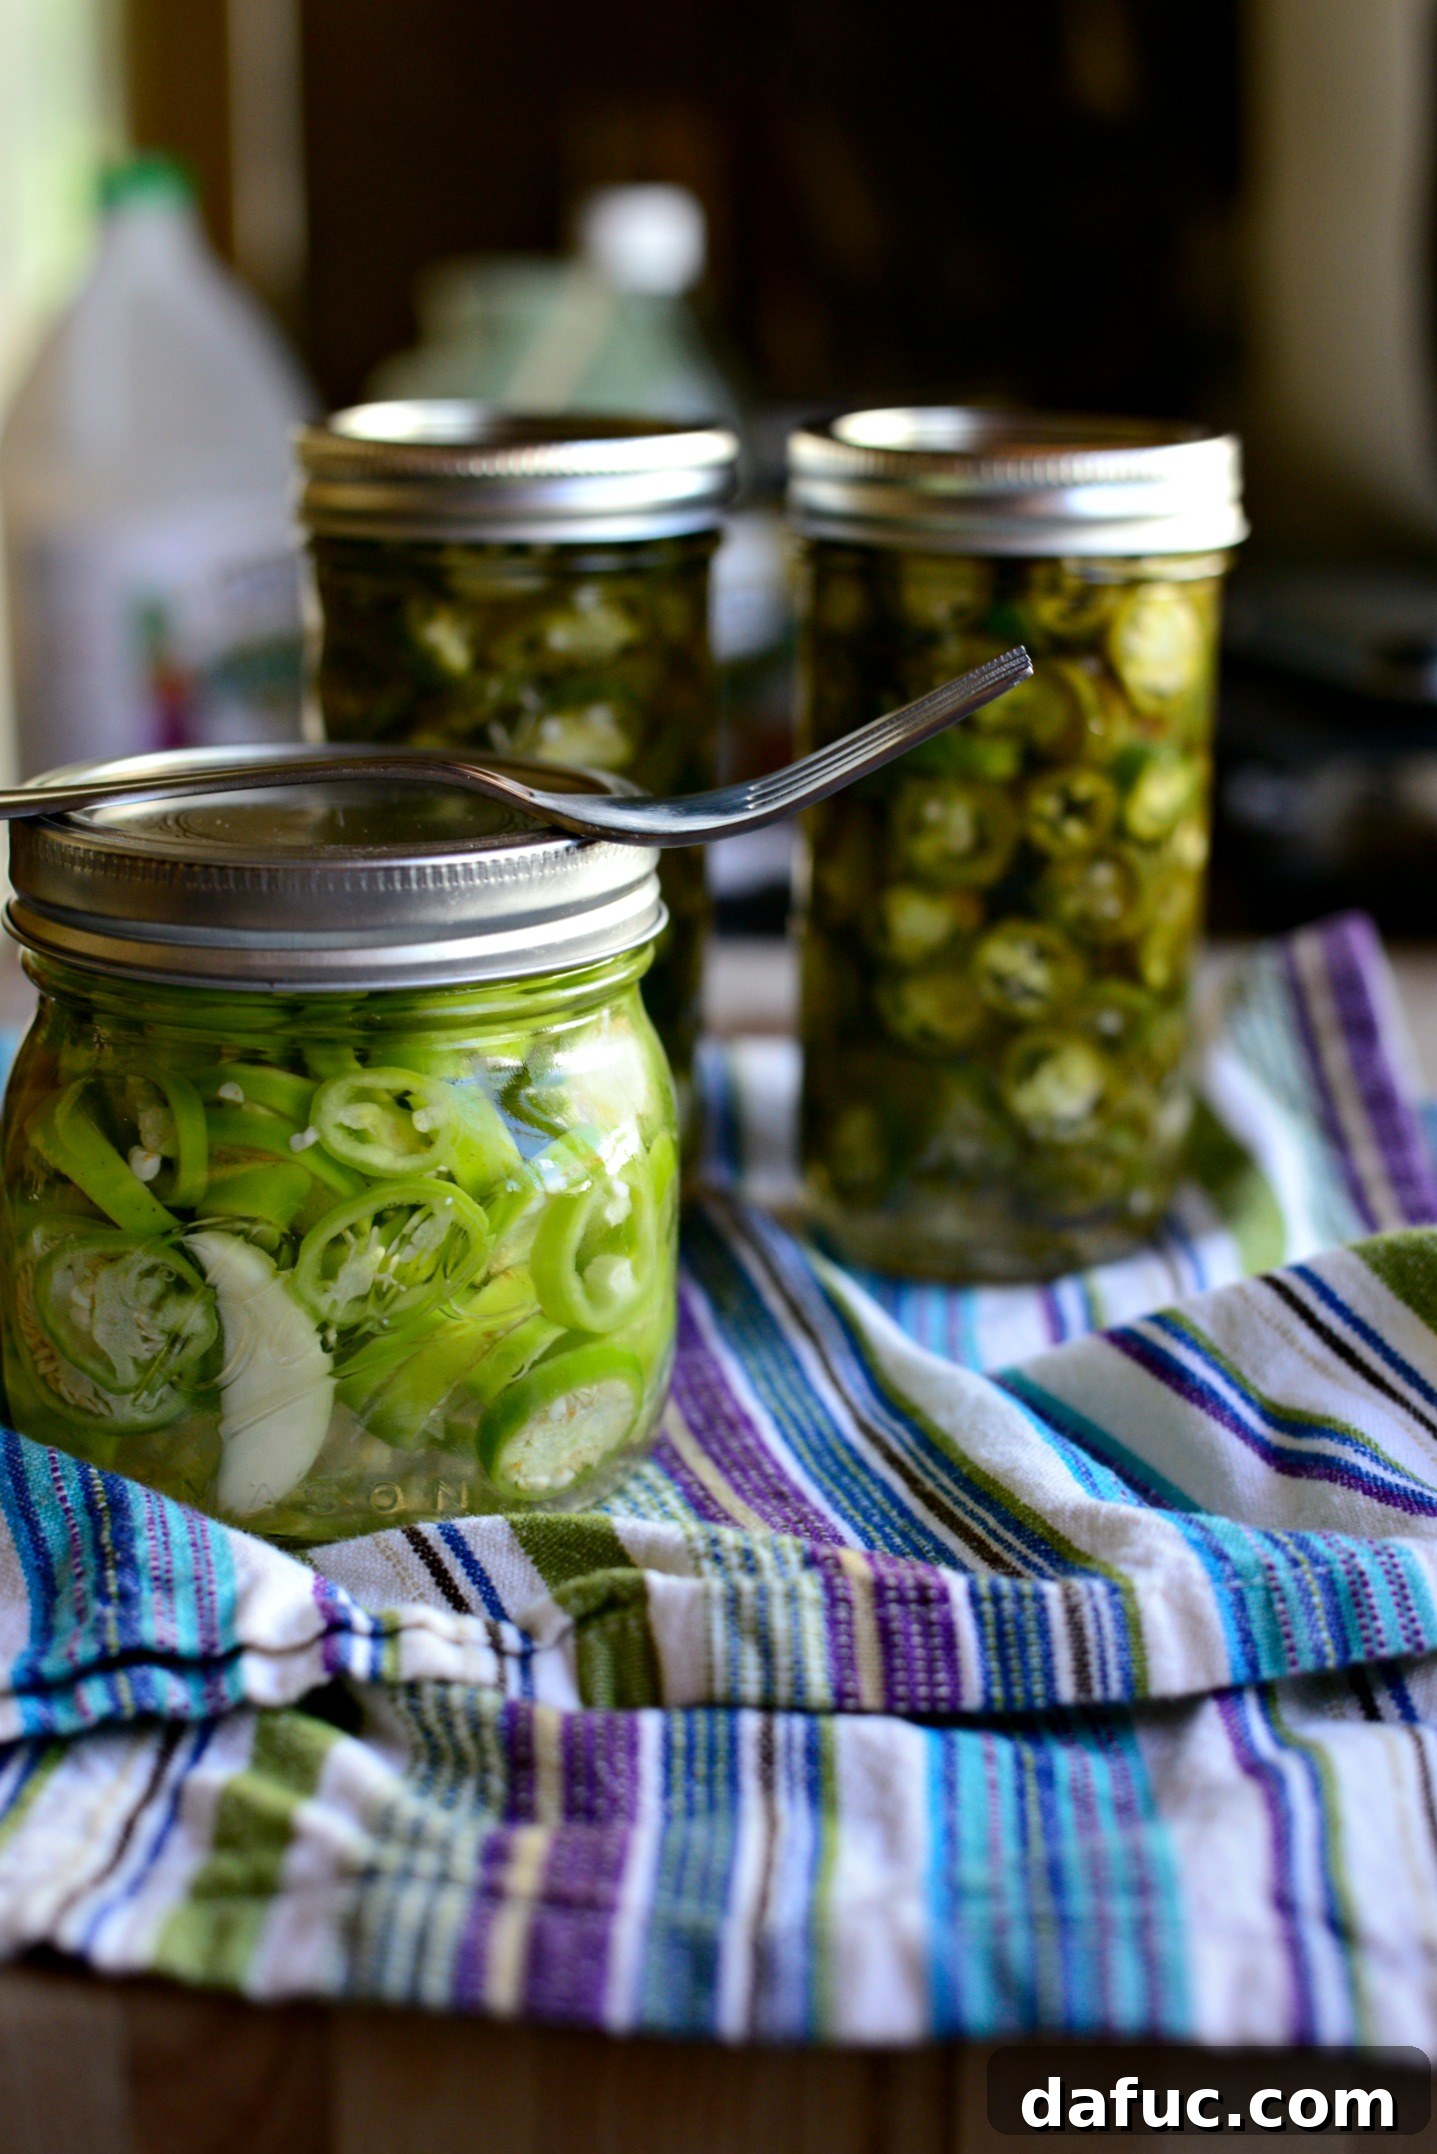
Do you find yourself with an abundance of garden-fresh peppers? There’s no better way to savor that harvest than by making your own homemade pickled banana peppers. This simple recipe transforms ordinary peppers into a tangy, crisp, and slightly spicy condiment that elevates countless dishes.
Embracing the Bounty: A Season of Garden Goodness
There’s a special kind of joy that comes with a bountiful garden harvest, even if it means your kitchen counters disappear under a mountain of fresh produce. Friends and neighbors often share their generous yields, turning kitchens into vibrant hubs of seasonal ingredients. From oversized zucchinis to colorful peppers, the sheer volume can be overwhelming, but it also sparks creativity in the kitchen.
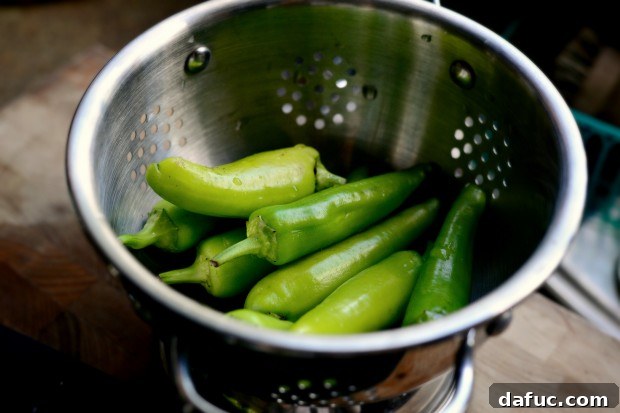
This year, my counter space has been particularly challenged by a delightful influx of peppers, gifted from generous friends. These peppers, characterized by their appealing greenish-yellow hue, quickly became the star of my latest culinary experiment.
Understanding Your Peppers: Banana or Hungarian Wax?
Upon receiving these lovely peppers, a quick online search revealed a common confusion: are they banana peppers or Hungarian wax peppers? It turns out, both varieties share similar appearances when young, leading to frequent misidentification. Banana peppers are generally milder and sweeter, while Hungarian wax peppers typically pack a bit more heat. The good news is, for this pickling recipe, either variety works beautifully. In fact, a mixed batch can offer a delightful spectrum of flavor and subtle spice.
After a taste test, I found my peppers offered a pleasant, mild warmth – enough to add a kick without being overwhelmingly spicy, certainly not a searing heat like a jalapeño. This versatility means you can confidently use whatever yellow or green mild-to-medium heat peppers you have on hand from your garden or local market. Don’t stress over the exact classification; just grab your favorite variety and let the pickling magic begin.
Why Make Homemade Pickled Banana Peppers?
Making your own pickled banana peppers isn’t just a fun kitchen project; it’s a rewarding experience that offers numerous benefits:
- Superior Flavor: Homemade pickles often boast a fresher, more vibrant flavor than store-bought versions, free from artificial preservatives.
- Customizable Heat and Sweetness: You have complete control over the spice level and the balance of sweet and tangy flavors. Want them hotter? Add a pinch of red pepper flakes or use spicier peppers. Prefer them milder? Stick to classic banana peppers.
- Cost-Effective: If you have a garden producing peppers or find them on sale, pickling is an economical way to preserve them.
- Healthy Snacking: Pickled peppers are a low-calorie, flavorful addition to meals, packed with vitamins and antioxidants from the fresh peppers.
- Kitchen Confidence: Mastering a simple pickling recipe builds confidence in the kitchen and opens the door to experimenting with other pickled vegetables.
- Food Preservation: It’s an age-old method of extending the life of seasonal produce, allowing you to enjoy summer’s bounty all year long.
Essential Ingredients for Your Pickled Peppers:
- Banana or Hungarian Wax peppers (or a mix!)
- Fresh garlic cloves
- Distilled white vinegar
- Water
- Kosher salt
- Granulated sugar
Crafting Your Crispy Pickled Peppers: A Step-by-Step Guide
The process of making these delightful pickled peppers is straightforward and incredibly satisfying. Begin by thoroughly washing and drying about one pound of your chosen peppers. Then, slice them into uniform rings. The uniform slices ensure even pickling and a consistent texture throughout your jar. While the full recipe below is for a pound of peppers, feel free to adjust the quantities based on the amount of peppers you have. Don’t be afraid to scale up or down as needed.
Next, prepare your canning jar. For an extra layer of flavor, add a smashed and peeled garlic clove to the bottom of the jar. Smashing the garlic helps release its aromatic oils, infusing the pickling liquid with its pungent goodness. If you’re working with a smaller batch or don’t have a large jar readily available, two smaller jars will work just fine. Just divide the garlic and peppers accordingly.
Once the garlic is in place, carefully pack the sliced peppers into the jar. Try to pack them relatively tightly without crushing them, ensuring there’s enough room for the pickling brine to circulate and cover all the peppers. The goal is to maximize the pepper-to-brine ratio for optimal flavor. This initial setup is key to the success of your pickled peppers.
Now, let’s prepare the pickling brine, the heart of this recipe. In a medium-sized pot, combine three cups of distilled white vinegar with two cups of water. This creates the essential acidic base for your pickles. The ratio of vinegar to water is crucial for both flavor and preservation, so measure carefully.
To this mixture, add two tablespoons of kosher salt and one tablespoon of granulated sugar. The salt is vital for flavor and acts as a natural preservative, while the sugar balances the tartness of the vinegar, creating a well-rounded and delightful brine. Don’t worry, the peppers won’t taste overly sweet, just perfectly balanced.
Bring the brine mixture to a boil over medium-high heat, stirring continuously until both the sugar and salt have completely dissolved. Once dissolved, immediately remove the pot from the heat. For deliciously crisp pepper rings, it’s essential to allow the pickling liquid to cool down completely before pouring it over the peppers. Pouring hot brine over fresh peppers can cook them, resulting in a softer texture than desired. Patience here is key to achieving that satisfying crunch!
Once the brine has cooled to room temperature, carefully pour it over the sliced peppers in your jar, ensuring they are fully submerged. If you initially used smaller jars, this is the perfect moment to consolidate them into a larger jar if you found one, making sure the peppers are neatly arranged and covered by the flavorful liquid. Secure the lid tightly on the jar, and your homemade pickled banana peppers are almost ready for their flavor journey.
The Transformation: From Green to Golden Goodness
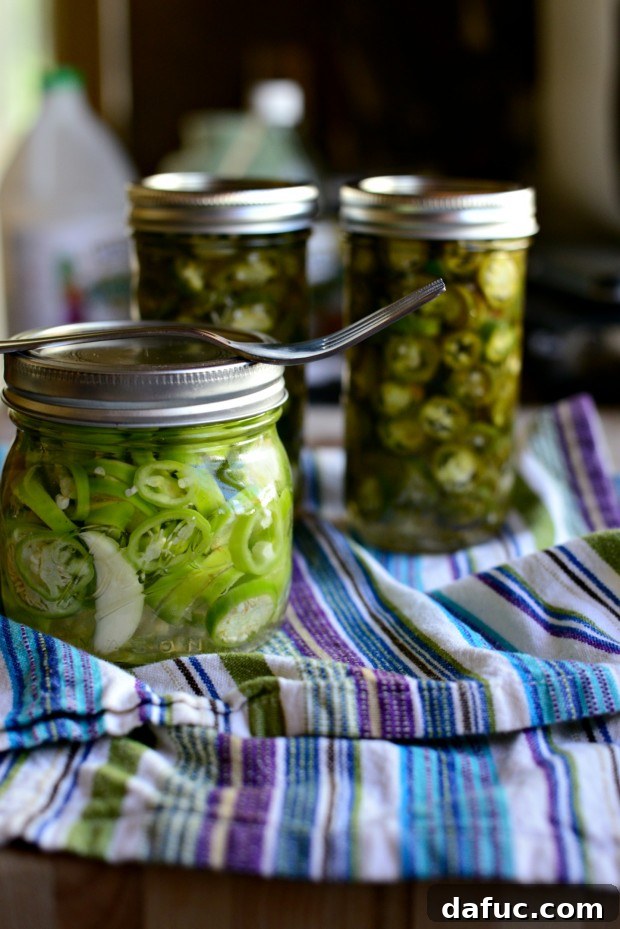
Initially, your freshly pickled peppers may retain a somewhat greenish hue. However, as they sit and mingle in the refrigerator, they will gradually transform into that classic, appetizing yellow color. This color change signifies that the pickling process is well underway, and the flavors are deepening and melding beautifully. The waiting period is often the hardest part!
Enjoying Your Pickled Treasures: Endless Culinary Possibilities
These homemade pickled banana peppers are truly a culinary delight – sweet, tangy, and with just the right amount of kick. Their versatility means they can enhance a vast array of dishes. Imagine them piled high on your favorite pizza, adding a bright counterpoint to rich cheeses and savory toppings. They’re fantastic scattered over fresh salads, lending a zesty crunch, or nestled into hot dogs and burgers for an extra layer of flavor.
Beyond the usual suspects, try incorporating them into deviled eggs, chopping them into a vibrant salsa, or even blending them into a creamy dip. For a simple pleasure, enjoy them straight out of the jar with a fork – a testament to their irresistible taste. Just like my beloved pickled jalapeño recipe, these refrigerator pickles are best enjoyed fresh to retain their optimal pungency and heat.
Storage and Shelf Life for Your Homemade Pickled Peppers
How To Store Homemade Pickled Banana Peppers:
Always store your homemade pickled banana peppers in an air-tight container, preferably a glass mason jar, and keep them refrigerated. This method is for “refrigerator pickles,” meaning they are not processed for long-term shelf stability at room temperature.
How Long Will Homemade Pickled Banana Peppers Last?
When stored properly in the refrigerator, your homemade banana peppers will maintain their quality and flavor for approximately 2 to 3 weeks. While they might still be edible beyond this period, their crispness and vibrant flavor will diminish over time.
Pro Tip: For crispier peppers, ensure your pickling brine is completely cool before pouring it over the sliced peppers. This prevents the peppers from softening too much.
Homemade Pickled Banana Peppers Recipe
Quick refrigerated pickled banana peppers. Crisp, delicious with a smidgen of heat!
Yield: 1 jar
Prep Time: 1 hr
Total Time: 1 hr
Ingredients
- 1 pound banana or Hungarian wax peppers, washed and sliced (about 10-12 peppers)
- 1 large clove fresh garlic, smashed and peeled
- 3 cups distilled white vinegar
- 2 cups water
- 2 tablespoons kosher salt
- 1 tablespoon sugar
Instructions
- In a medium pot, combine the vinegar, water, salt, and sugar. Bring to a boil, stirring until the sugar and salt dissolve. Allow to cool completely.
- Meanwhile, add the smashed and peeled garlic clove along with the pepper slices into a pint-size glass mason jar or whichever sized jar fits best.
- Ladle the cooled pickling liquids over the peppers, ensuring they are fully submerged, and secure the lid. Refrigerate for 18 to 24 hours before using.
Notes
Please remember that I am not a canning expert. For traditional canning and long-term storage, always follow the USDA guidelines to ensure food safety.
FOR CANNING (Advanced Users): To safely can these peppers for pantry storage, begin by following standard canning procedures. This includes sterilizing jars and lids by boiling them for at least 5 to 8 minutes. Carefully place the garlic clove and tightly pack the sliced peppers into the hot, sterilized jars. Pour the hot brine over the peppers, leaving a 1/2 inch to 1 inch headspace from the top. Use a clean knife or plastic utensil around the inside perimeter of the jar to remove any trapped air bubbles. Wipe the rim clean, center the lid, and screw on the band until fingertip tight. Place the jar(s) into a water bath canner, ensuring the jars are fully covered by water (at least 1 inch above the lids). Bring the water to a rolling boil and process for 10-15 minutes (adjusting for altitude as necessary). Carefully remove the jars and allow them to cool undisturbed on a towel for 12-24 hours. Check seals; lids should be concave and not flex when pressed. Any unsealed jars should be refrigerated and consumed within 2-3 weeks.
Nutrition Information
Serving: 1 jar, Calories: 188kcal, Carbohydrates: 28g, Protein: 0.2g, Fat: 0.1g, Polyunsaturated Fat: 0.01g, Sodium: 18782mg, Potassium: 30mg, Fiber: 0.1g, Sugar: 12g, Vitamin A: 0.3IU, Vitamin C: 92mg, Calcium: 74mg, Iron: 9mg
Author: Laurie McNamara
Course: Condiments
Cuisine: American
Enjoy! We encourage you to try this delightful Pickled Banana Pepper recipe. It’s a fantastic way to preserve your garden’s goodness or simply enjoy a fresh, tangy condiment. Share your creations and let us know how much you love them!