
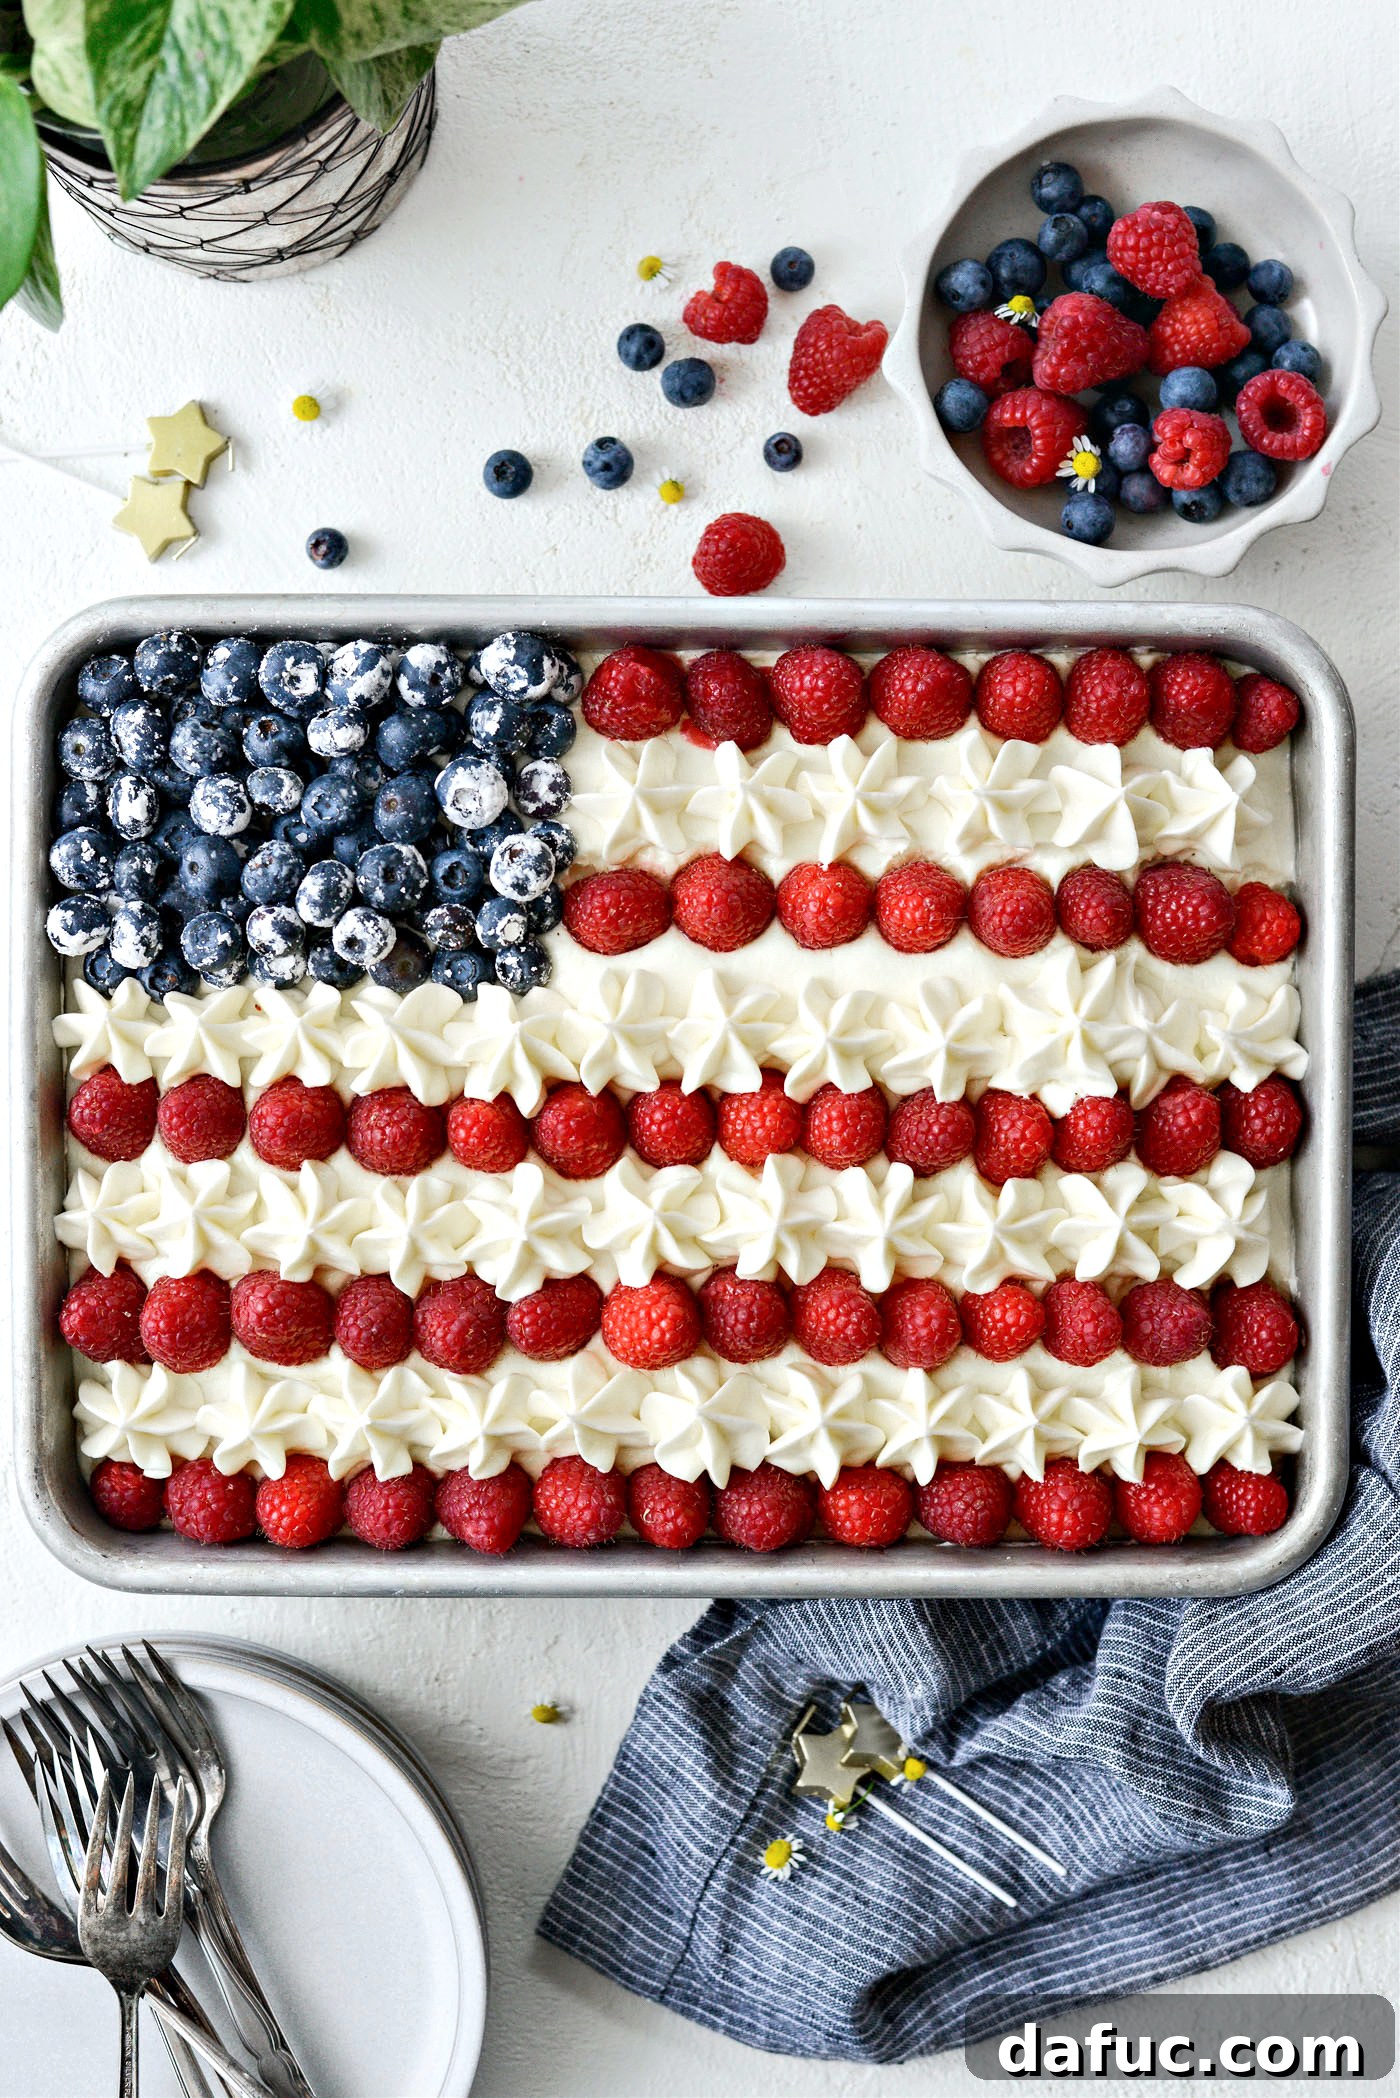
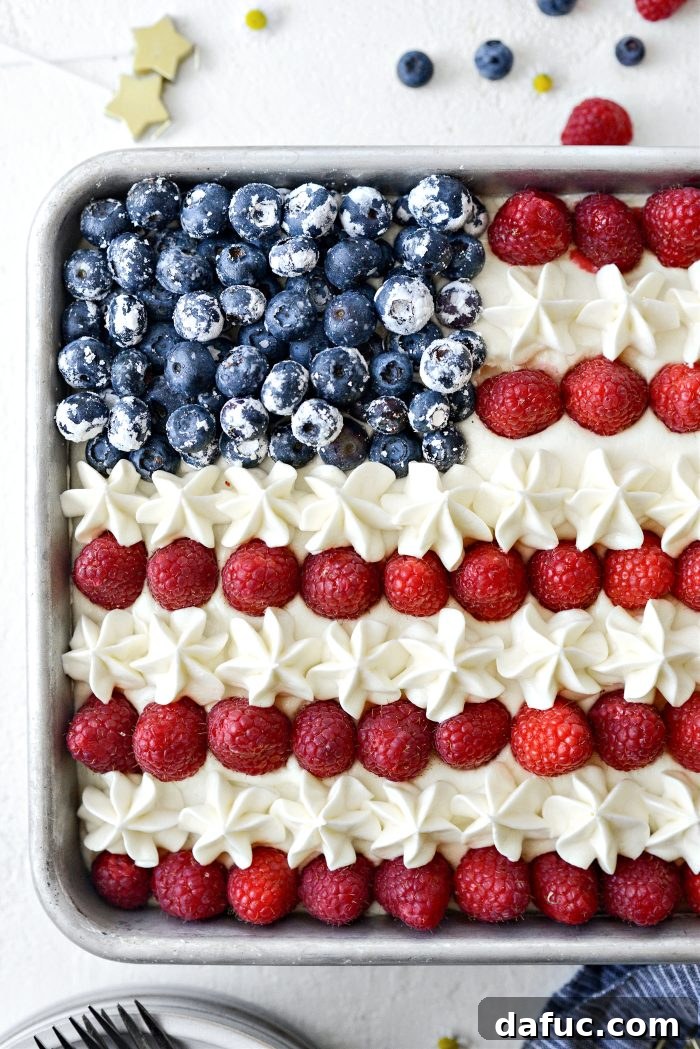
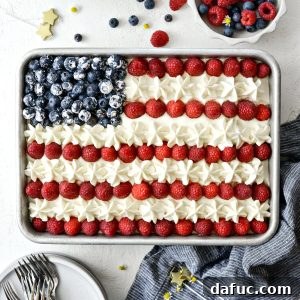
Get ready to celebrate Independence Day in the most delicious way possible with this show-stopping American Flag Cake! This isn’t just any dessert; it’s a vibrant, patriotic centerpiece crafted from a luscious homemade white cake, generously topped with a silky vanilla buttercream frosting, and artfully decorated with an abundance of fresh, juicy raspberries and blueberries to form the iconic stars and stripes. Perfect for your 4th of July festivities, summer gatherings, or any occasion that calls for a touch of American pride, this cake promises to be a memorable treat for everyone. Designed to yield a generous 12 to 16 servings, depending on how you slice it, it’s ideal for sharing with friends and family.
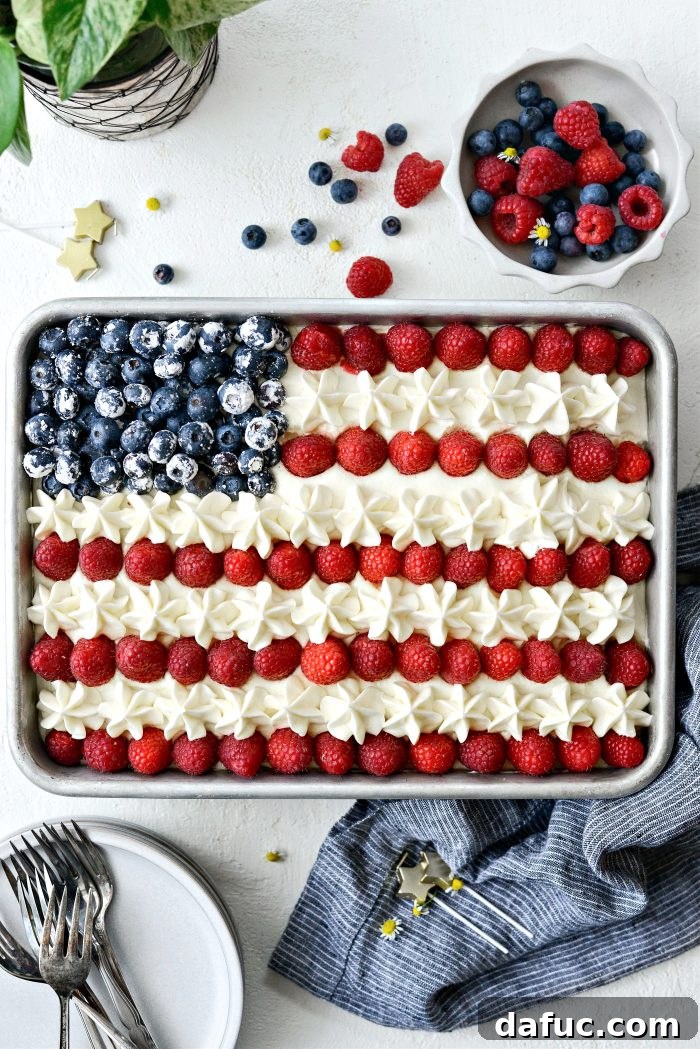
Celebrate Independence Day with a Spectacular Homemade Flag Cake
As the 4th of July approaches, anticipation for fireworks, barbecues, and festive desserts builds. And what could be more fitting for this national celebration than a stunning American Flag Cake? This recipe elevates the classic sheet cake into a true masterpiece, yet remains surprisingly simple to prepare. Forget complicated techniques; this dessert embraces the charm of homemade baking, proving that you don’t need professional decorating skills to create something truly spectacular. The beauty of a homemade cake lies in its perfectly imperfect nature, adding a touch of rustic authenticity to your celebration. While I may not be known for my perfectly straight lines when decorating, the joy of creating something by hand—sometimes with a little help from the family—is what truly makes it special!
The Heart of the Holiday: Why the American Flag Cake Reigns Supreme
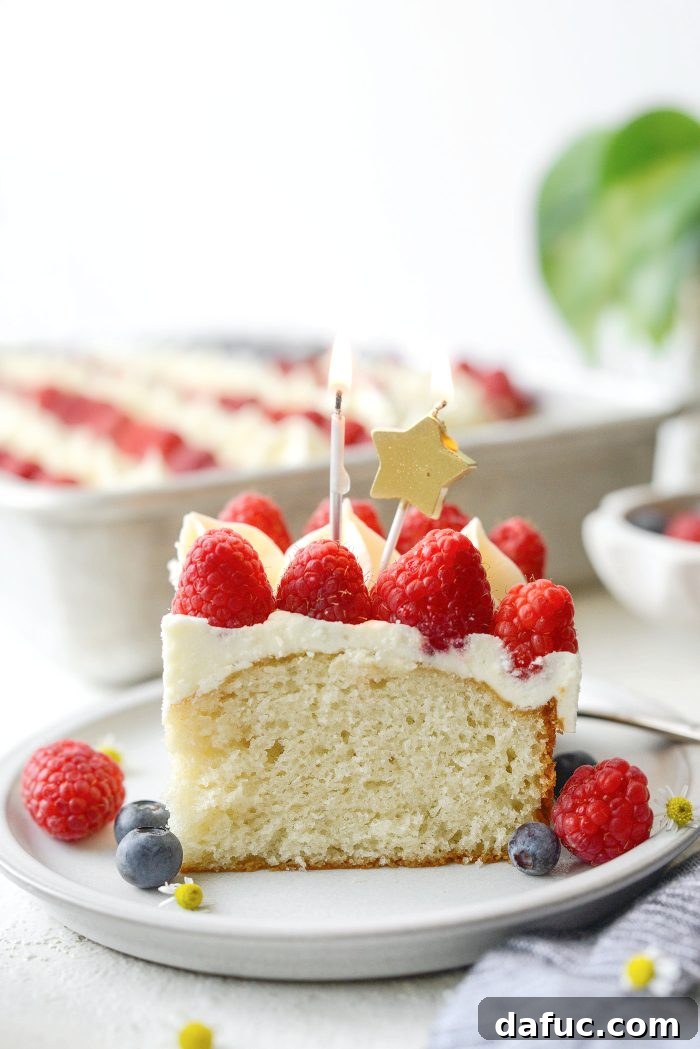
The American Flag Cake is more than just a dessert; it’s a culinary symbol of patriotism and celebration. Its vibrant red, white, and blue colors evoke the spirit of the 4th of July, making it an essential part of any Independence Day spread. The simplicity of using fresh berries for decoration means that even novice bakers can achieve a visually striking result, embodying the accessible joy of home baking. Imagine the smiles when you present this edible flag—a testament to national pride and the sweet memories created around the dinner table. This cake truly captures the essence of summer festivities, providing a refreshing and delightful conclusion to any patriotic meal.
Essential Ingredients for Your Patriotic Masterpiece
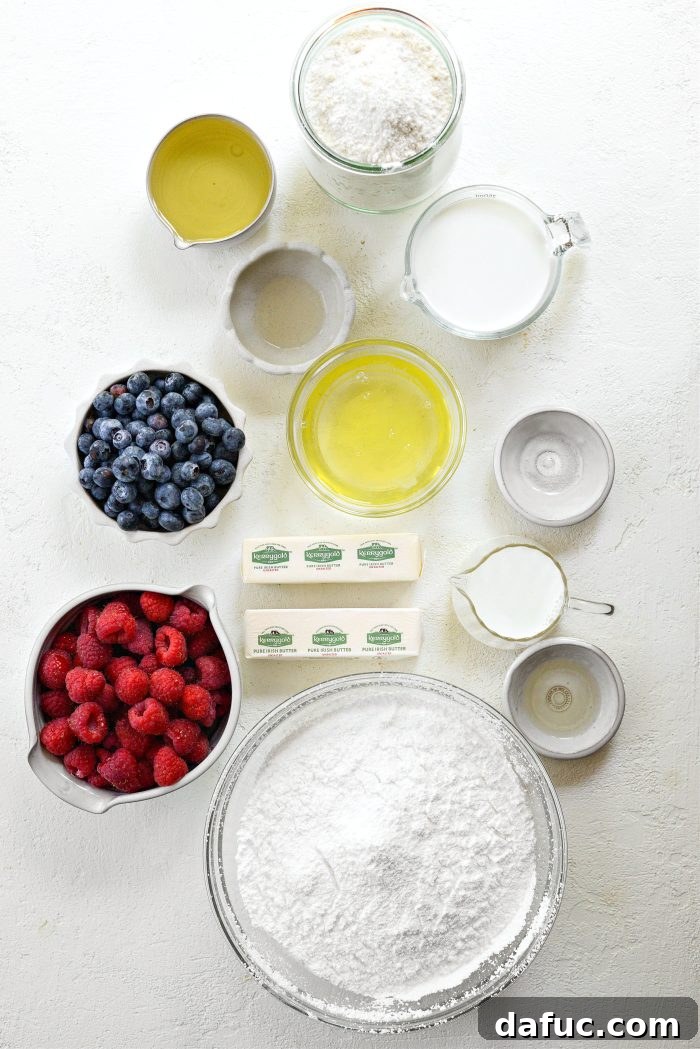
Creating this magnificent American Flag Cake starts with selecting the right ingredients. Opting for homemade components, like a white cake mix and vanilla buttercream, ensures a superior flavor and texture that truly stands out. Here’s what you’ll need to gather:
Crafting Your White Cake Base:
- Nonstick spray with flour: Essential for ensuring your cake releases cleanly from the pan. This specialized spray creates a reliable barrier, preventing any sticking disasters.
- Homemade white cake mix: The foundation of our cake. Making your own mix from scratch yields a much richer flavor and a finer crumb than any boxed variety, offering a delightful texture that’s worth the extra step.
- Whole milk: While other milk types can be used, whole milk contributes to a richer, moister cake due to its higher fat content. It provides a tender crumb and an enhanced flavor profile.
- Neutral oil: Such as extra light olive oil or grapeseed oil. Neutral oils add moisture to the cake without imparting any distinct flavor, ensuring the delicate vanilla notes shine through. They also contribute to a wonderfully tender texture.
- Vanilla extract: The soul of the cake’s flavor. For a pure white cake, especially important for the “white” in our flag, consider using clear vanilla extract. Otherwise, high-quality pure vanilla extract will provide a deeper, more aromatic flavor.
- Egg whites: By using only egg whites and omitting the yolks, we maintain the cake’s bright white color, which is crucial for the visual appeal of a flag cake. They also contribute to a lighter, airier texture.
Perfect Vanilla Buttercream: The Frosting Foundation:
- Homemade vanilla buttercream frosting: The crowning glory! This rich, creamy frosting provides the perfect canvas for our berry decorations. Homemade always tastes superior, offering a fresh, buttery flavor that complements the cake beautifully.
Fresh Berries: The Iconic Red, White & Blue:
- Fresh raspberries: You’ll need about 12 ounces for the vibrant red stripes. Choose firm, plump berries for the best appearance and flavor. Using fresh berries not only looks stunning but also adds a burst of tart-sweetness to each bite.
- Blueberries: Approximately 1 cup will form the blue field of stars. Opt for fresh, firm blueberries. For an extra touch of sweetness and a slightly frosted appearance, tossing them lightly in powdered sugar before arranging them on the cake is a delightful, yet optional, step.
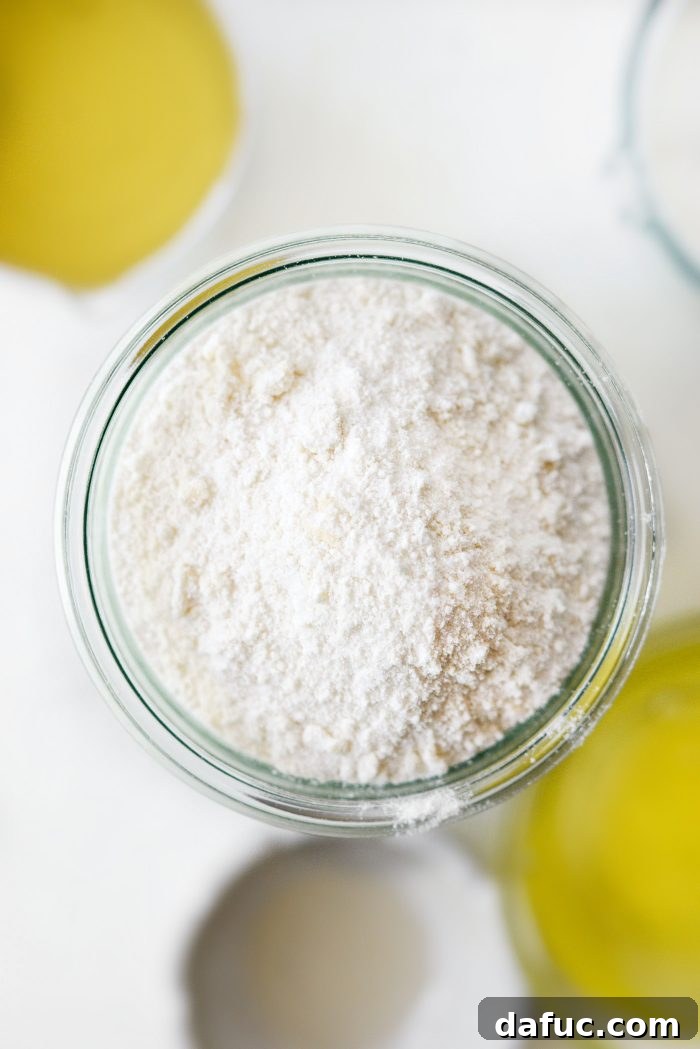
The base of this cake begins with my easy-to-make homemade white cake mix. This simple blend of flour, sugar, salt, and baking soda, enriched with softened unsalted butter, creates a superior starting point for your cake. You’ll find the detailed recipe for both the cake mix and the vanilla buttercream frosting conveniently linked above and within the printable recipe card at the end of this post.
Step-by-Step Guide: Baking Your American Flag Cake
Baking this patriotic treat is a straightforward process. Follow these steps for a perfectly baked and beautifully decorated American Flag Cake.
Preparing Your Pan & Oven
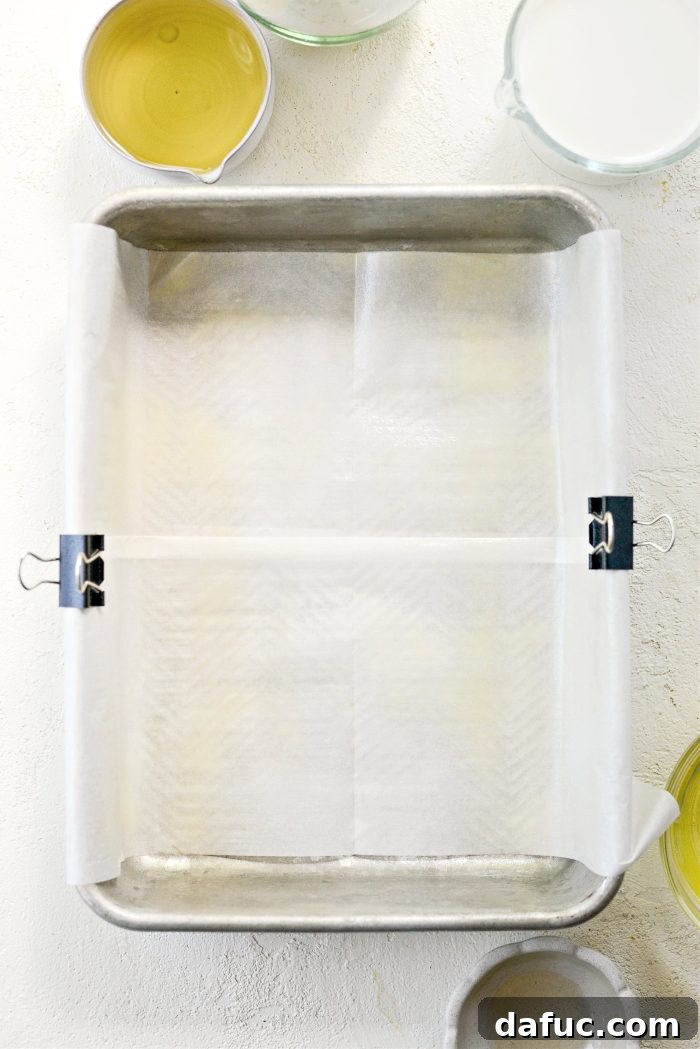
Preheat your oven to 350°F (or 180°C). Proper preheating ensures even baking from the start. Line a 9×13 inch baking pan with parchment paper, allowing some overhang on the sides to create “handles” for easy removal later. Then, liberally spray the parchment and exposed pan sides with a nonstick spray that contains flour. This dual approach guarantees your cake will effortlessly lift out of the pan once cooled, preventing any sticking.
Mixing the Perfect White Cake Batter
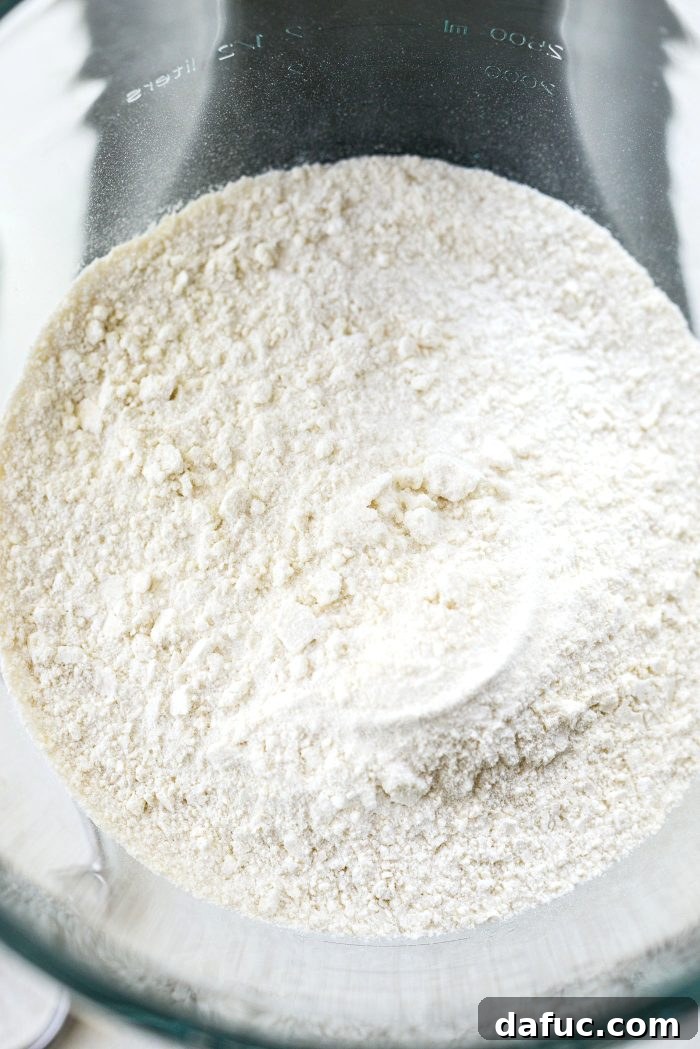
In the bowl of your stand mixer, fitted with the paddle attachment, add the entire contents of your homemade white cake mix. Next, pour in 1 cup of rich whole milk and 2/3 cup of your chosen neutral oil, such as extra light olive oil or grapeseed oil. These liquid components are crucial for the cake’s moistness and tender crumb. Add 2 teaspoons of vanilla extract. Remember, for the purest white cake, opt for clear vanilla extract; otherwise, a good quality pure vanilla extract will offer a deeper flavor and a slightly off-white hue.
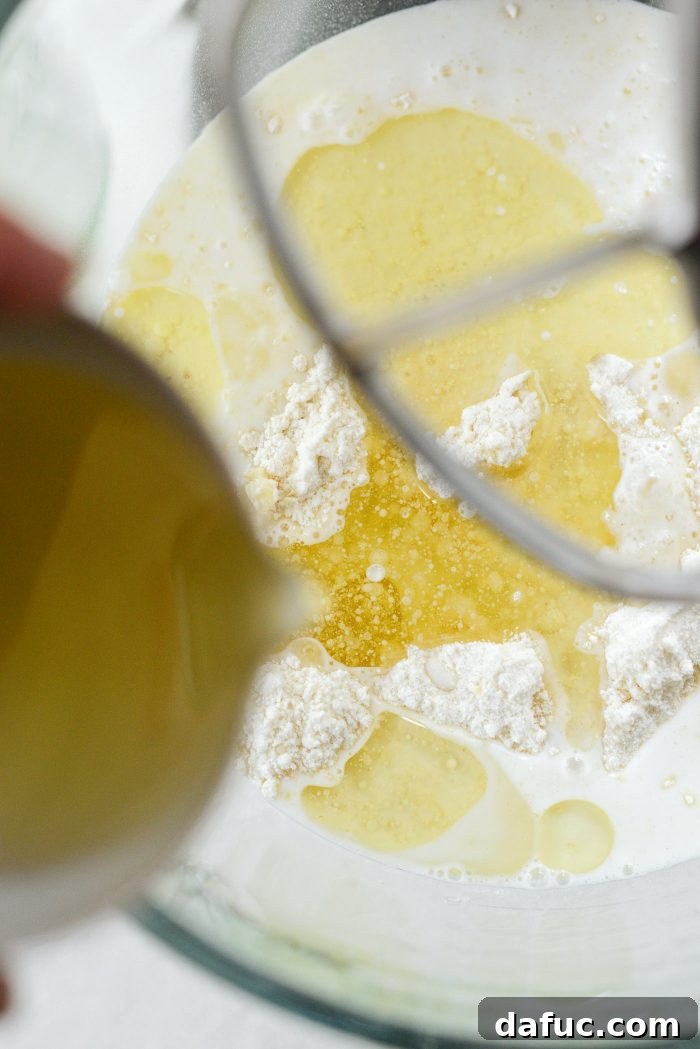
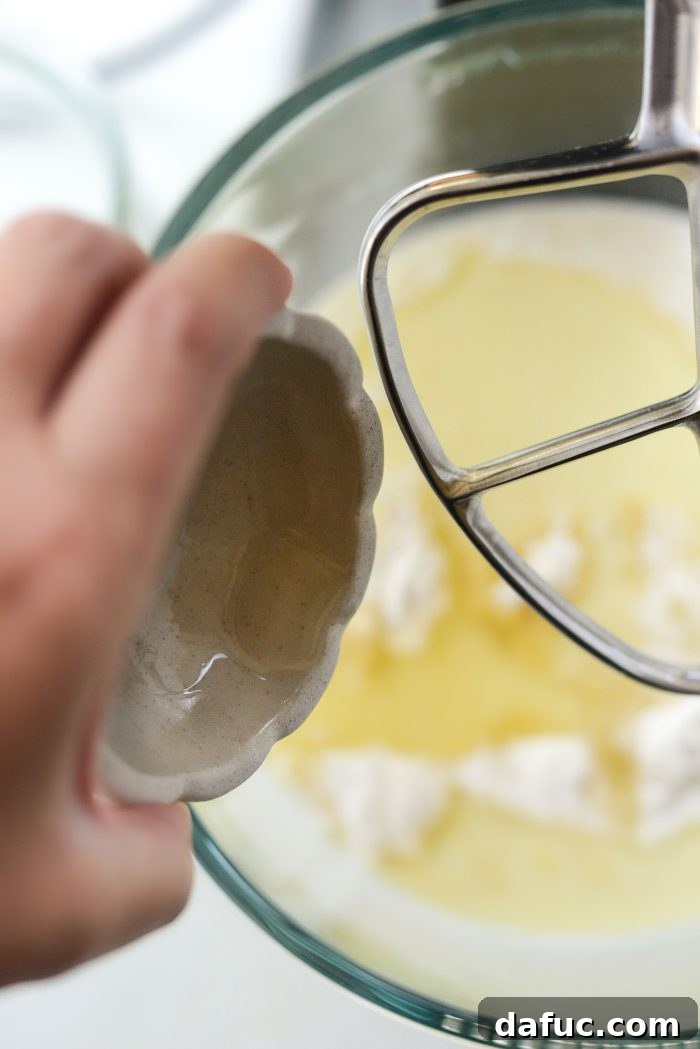
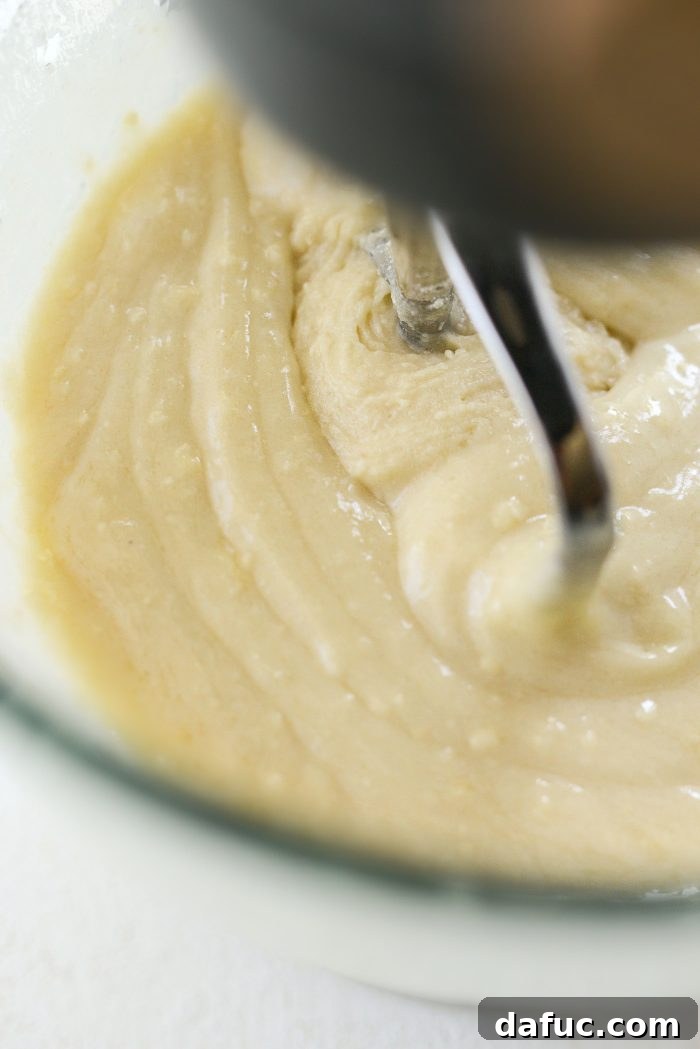
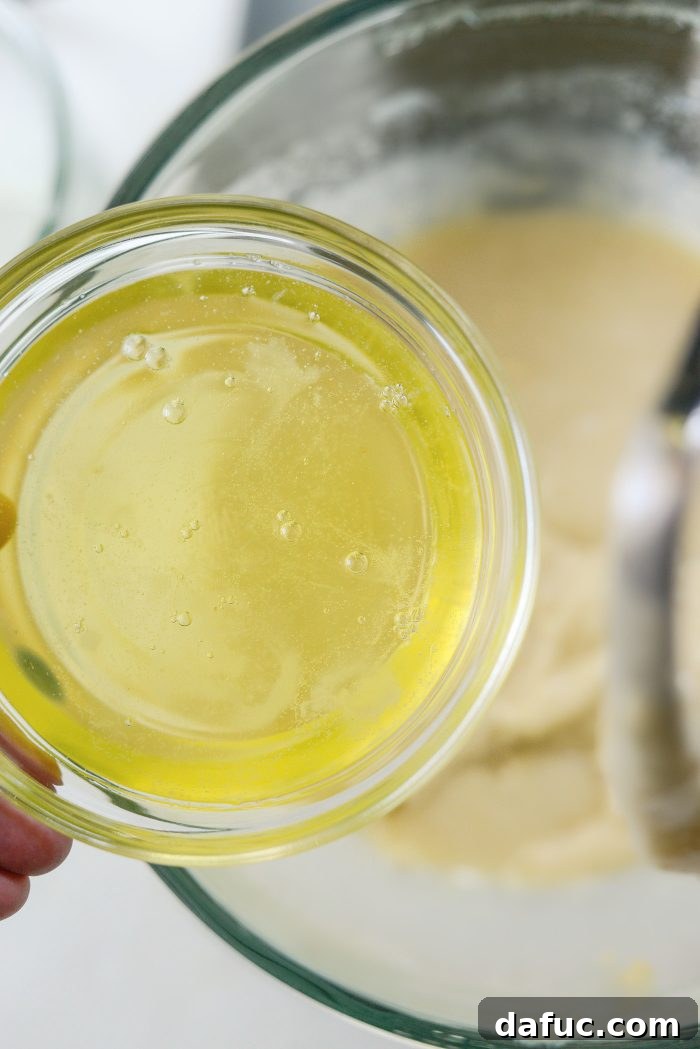
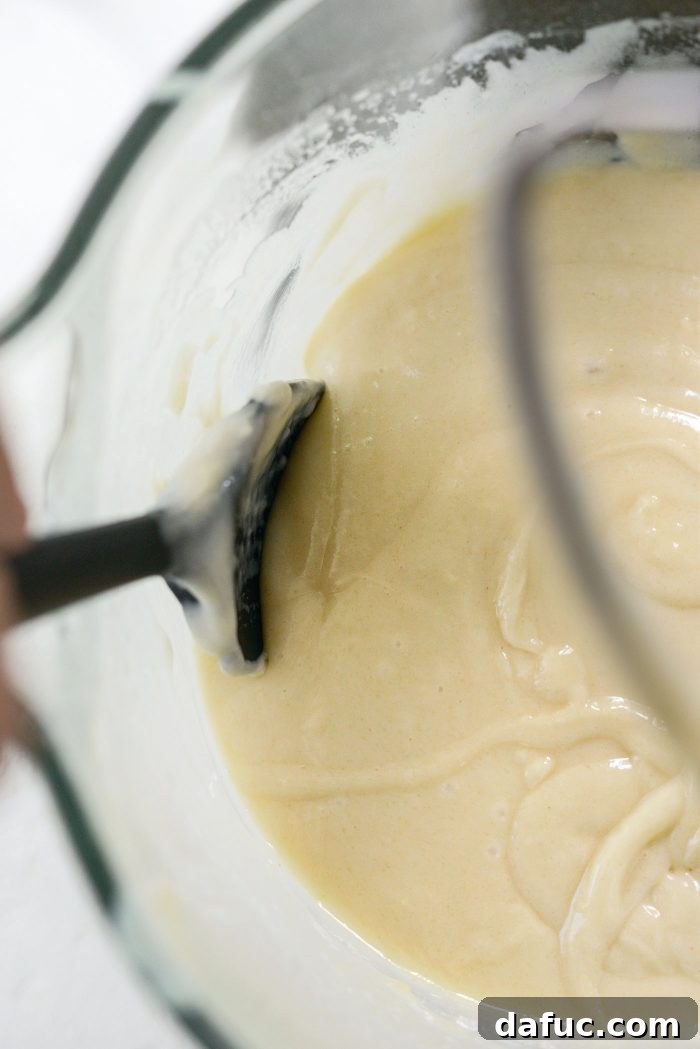
Mix all these ingredients on medium-low speed until they are just incorporated. Overmixing can lead to a tough cake, so mix only until no dry streaks remain. Finally, add in the 4 egg whites. Mix again on low speed until just combined. The egg whites are key to maintaining the cake’s light color and contributing to its delicate structure. Be sure to stop and scrape down the sides and bottom of the bowl thoroughly with a spatula, ensuring all ingredients are fully integrated, then give it one last quick mix.
Baking to Golden Perfection
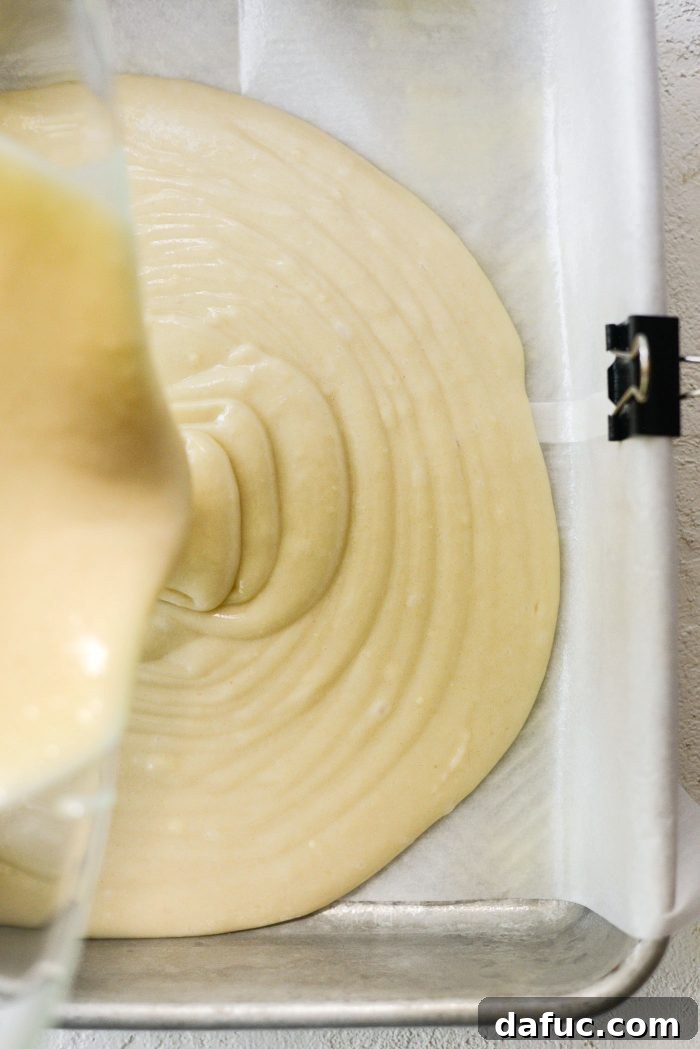
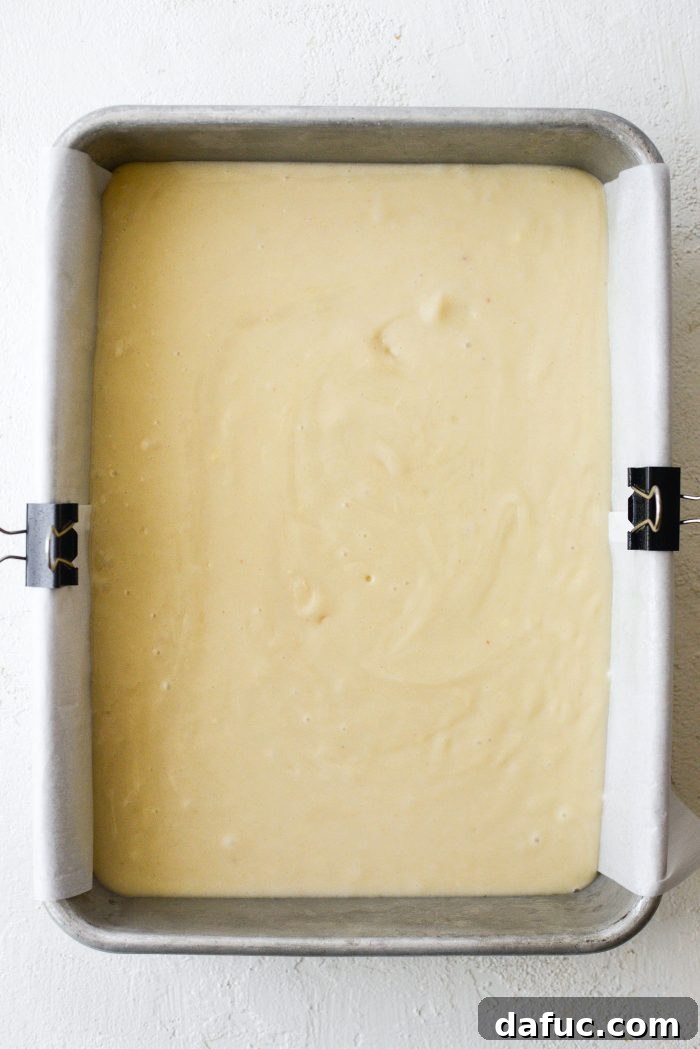
Carefully pour the prepared cake batter into your lined 9×13 inch pan. Use an offset spatula to spread the batter evenly across the pan, ensuring a consistent thickness for uniform baking. Bake on the middle rack of your preheated oven for approximately 28 to 30 minutes. The cake is done when a wooden skewer or toothpick inserted into the center comes out clean, possibly with a few moist crumbs attached, indicating it’s perfectly baked but not dry.
Once baked, remove the cake from the oven and allow it to cool in the pan for about 30 to 45 minutes. This crucial cooling period helps the cake firm up, making it easier to handle. After this initial cooling, use the parchment paper overhang as handles to gently lift the cake out of the pan. Transfer it to a wire rack to finish cooling completely. The cake must be entirely cool before frosting to prevent the buttercream from melting.
Mastering the Silky Vanilla Buttercream
A homemade vanilla buttercream is the secret to a truly decadent American Flag Cake. Its smooth, creamy texture and rich flavor provide the perfect complement to the light white cake and fresh berries.
Creaming Butter to Fluffy Peaks
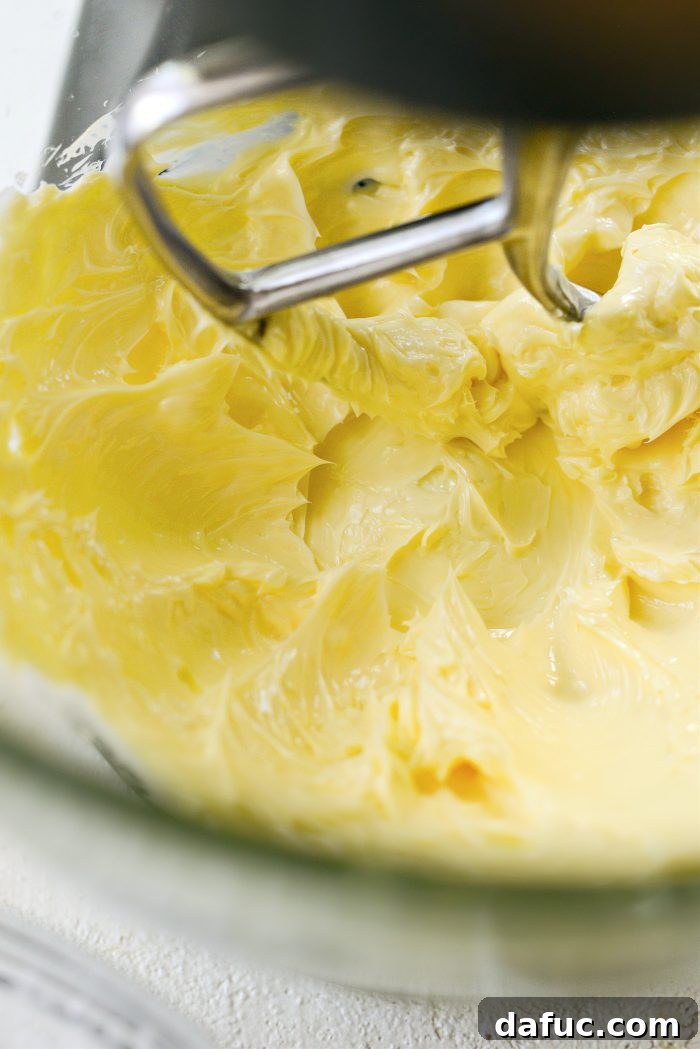
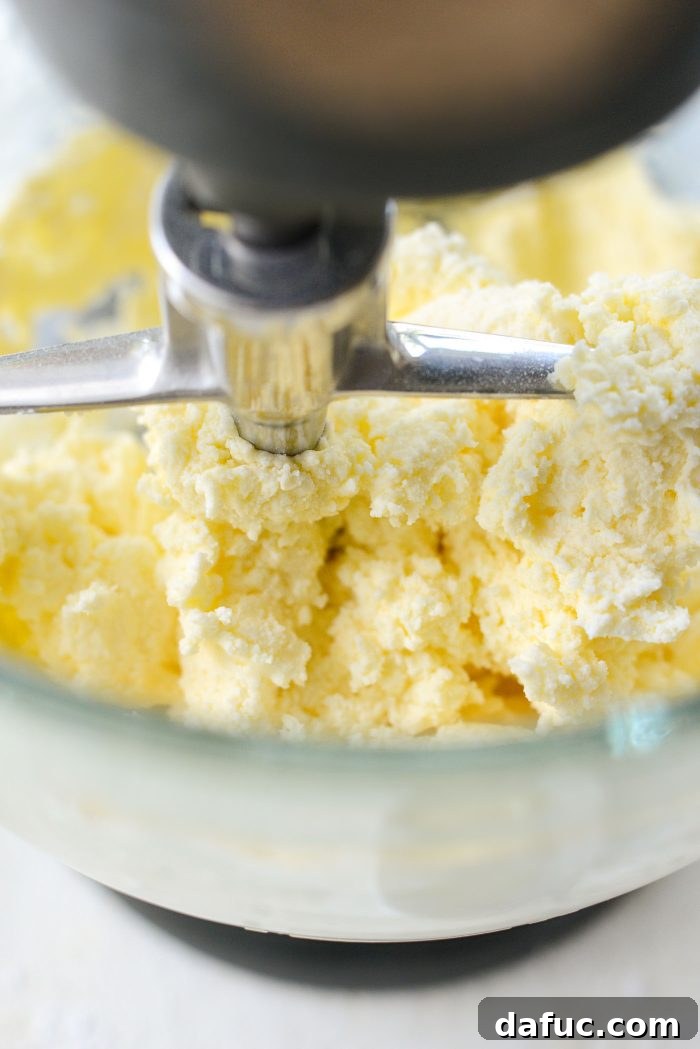
In the bowl of your stand mixer, fitted with the paddle attachment, add 1 cup of super softened unsalted butter. It’s essential that your butter is truly at room temperature, soft enough to easily indent but not melted. Turn the mixer on medium speed and cream the butter for about 2 minutes, until it becomes wonderfully smooth, light in color, and fluffy. This step incorporates air, making the buttercream light and airy.
Gradual Sweetness & Flavor
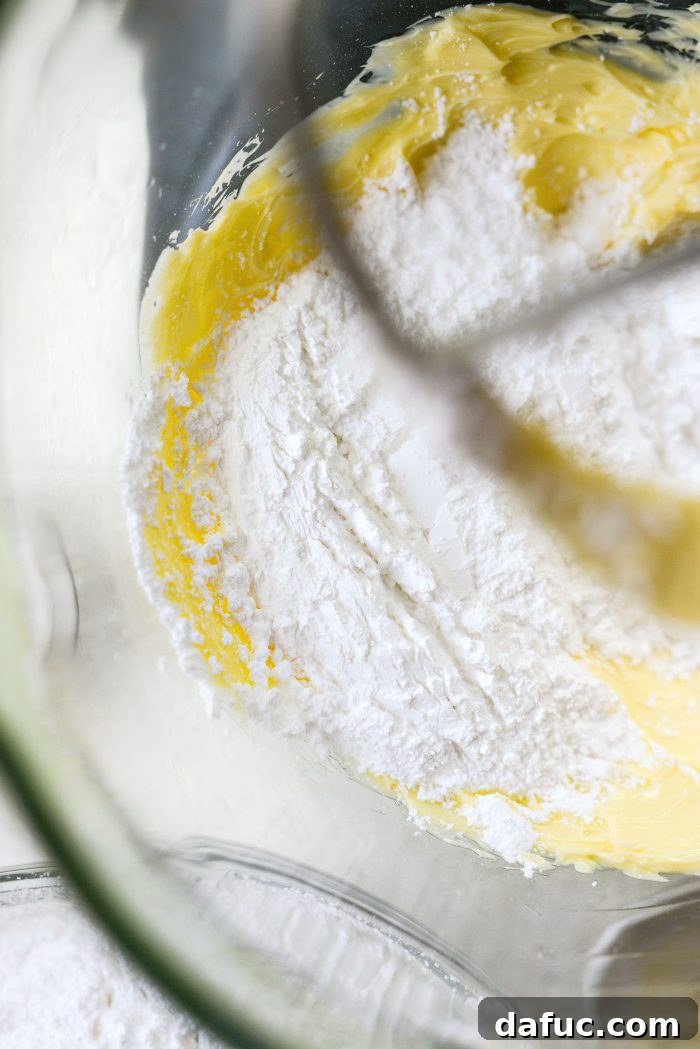
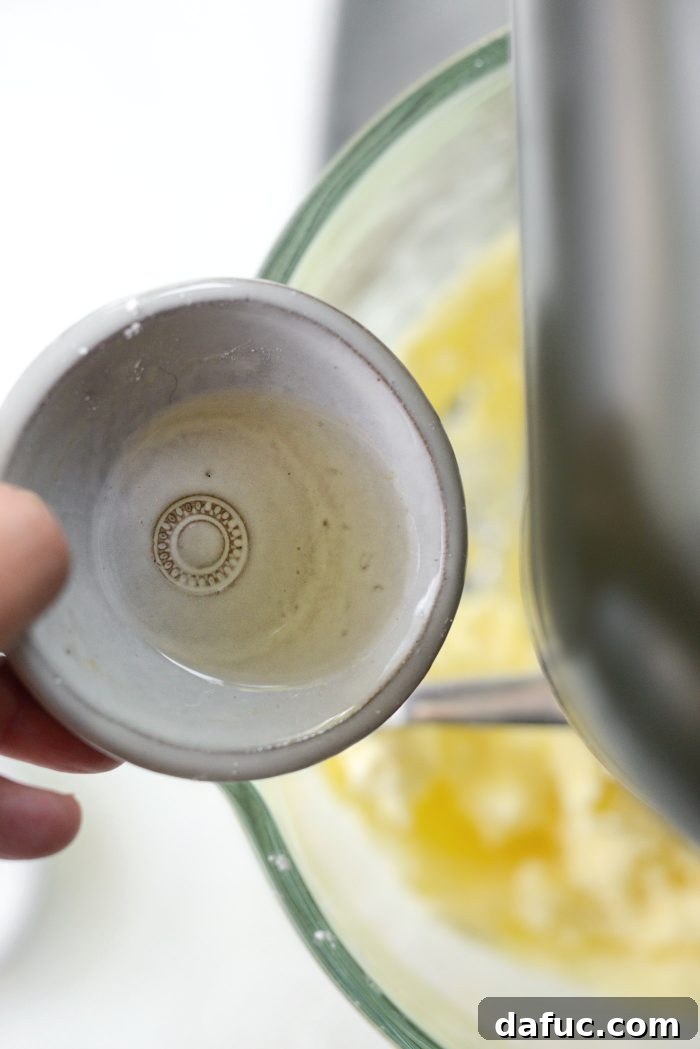
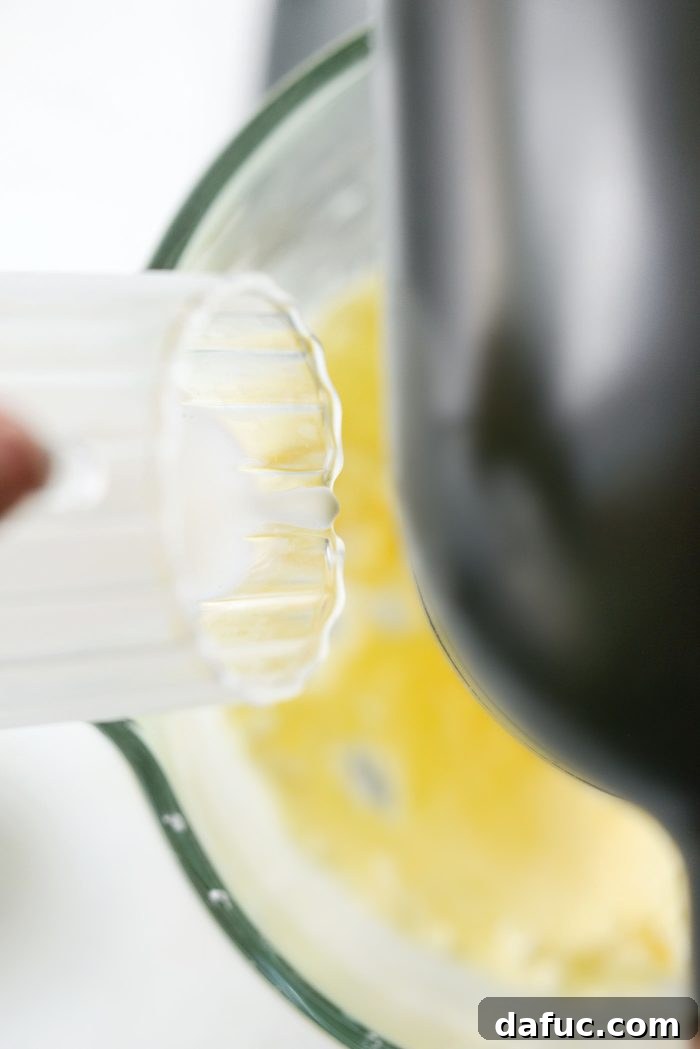
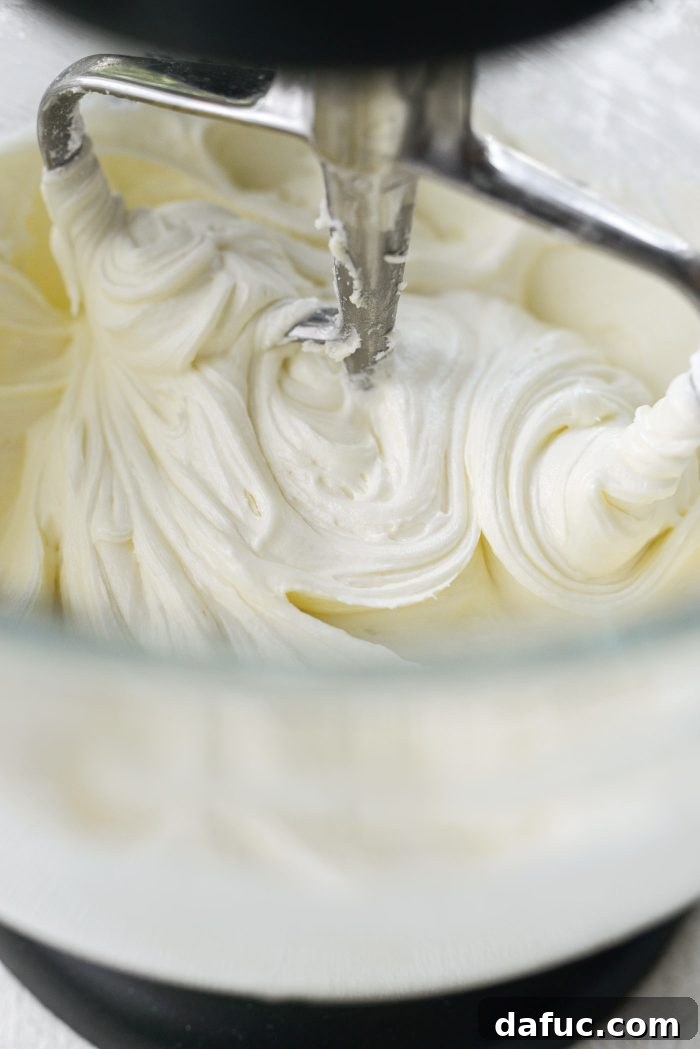
With the mixer on low speed, gradually add in 4 cups of sifted powdered sugar, one large spoonful at a time. Sifting the sugar prevents lumps and ensures a smooth frosting. Mix well after each addition until fully incorporated. Once all the sugar is added, incorporate a pinch of fine salt to balance the sweetness, and 2 teaspoons of vanilla extract (clear or regular, depending on your preference for color). Continue to mix on low speed until everything is well combined and smooth. Finally, gradually add a little whole milk, a tablespoon at a time, until the buttercream reaches your desired consistency – smooth, spreadable, yet firm enough to hold its shape.
Troubleshooting Tip: If your frosting is too stiff, add a tiny bit more milk, half a teaspoon at a time, until it loosens up. Conversely, if it’s too thin, incorporate a little more sifted powdered sugar until it reaches the perfect spreadable yet stable consistency. A perfectly balanced buttercream is key to a beautiful flag design.
Assembling Your Edible Flag: Decorating with Berries and Frosting
Now comes the fun part: transforming your delicious cake into a patriotic masterpiece! This is where the American Flag Cake truly comes to life.
Frosting the Canvas
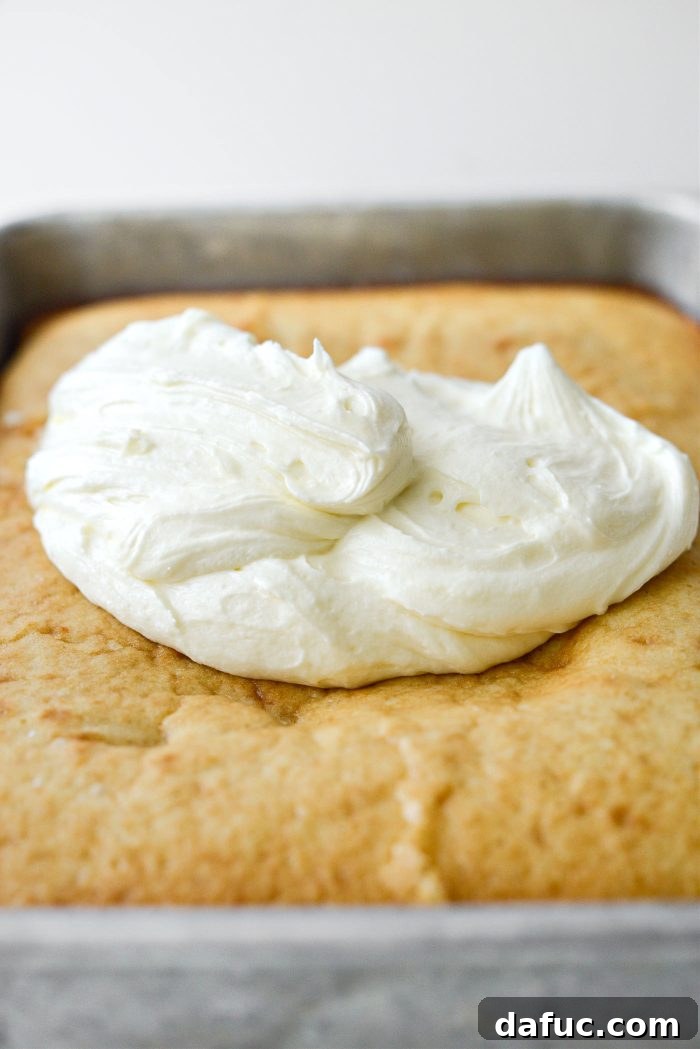
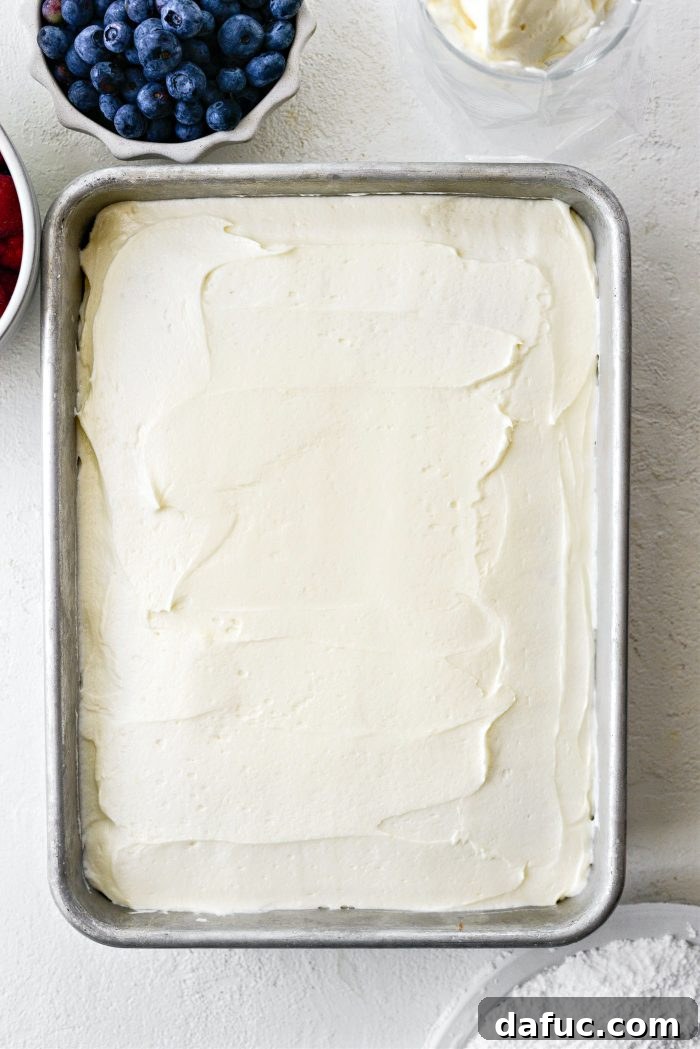
Take about two-thirds of your prepared vanilla buttercream frosting and spread it evenly over the top of your completely cooled cake. An offset spatula is an excellent tool for this, allowing you to achieve a smooth, consistent layer of frosting across the entire surface. This white layer serves as the perfect canvas for our red and blue elements.
Arranging the Stars and Stripes
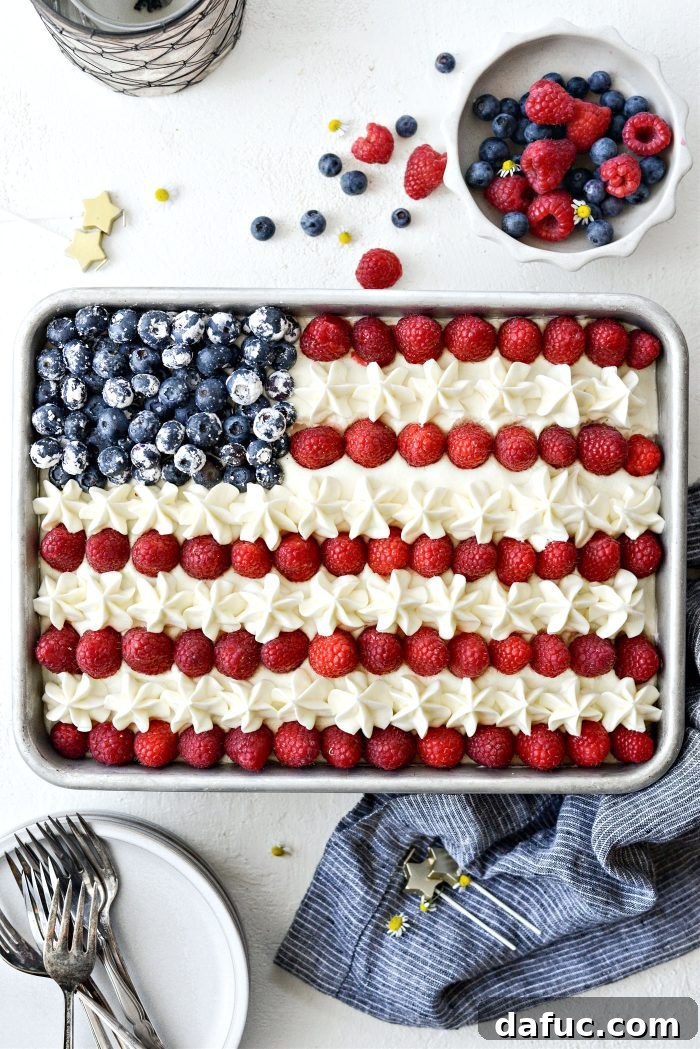
To create the “stars” section of our flag, arrange about 3/4 cup of blueberries in the top left corner of the frosted cake. If desired, you can lightly toss the blueberries in a little powdered sugar first for a frosted, almost sparkling effect—a charming, optional touch. Next, artfully arrange the 12 ounces of fresh raspberries in neat, horizontal rows across the remaining white frosted area, forming the “stripes.” Aim for straight lines, but remember, the charm of homemade lies in its rustic beauty!
Piping the Finishing Touches
For an extra touch of elegance and definition, transfer the remaining one-third of your buttercream frosting to a pastry bag fitted with a star tip (such as a Wilton 1M or similar). Carefully pipe small, decorative stars or dollops of frosting in between the rows of raspberries. This adds a beautiful textural element and enhances the visual appeal of the stripes, giving your cake a polished, professional look. The combination of fresh berries and piped frosting creates an irresistible visual and taste experience.
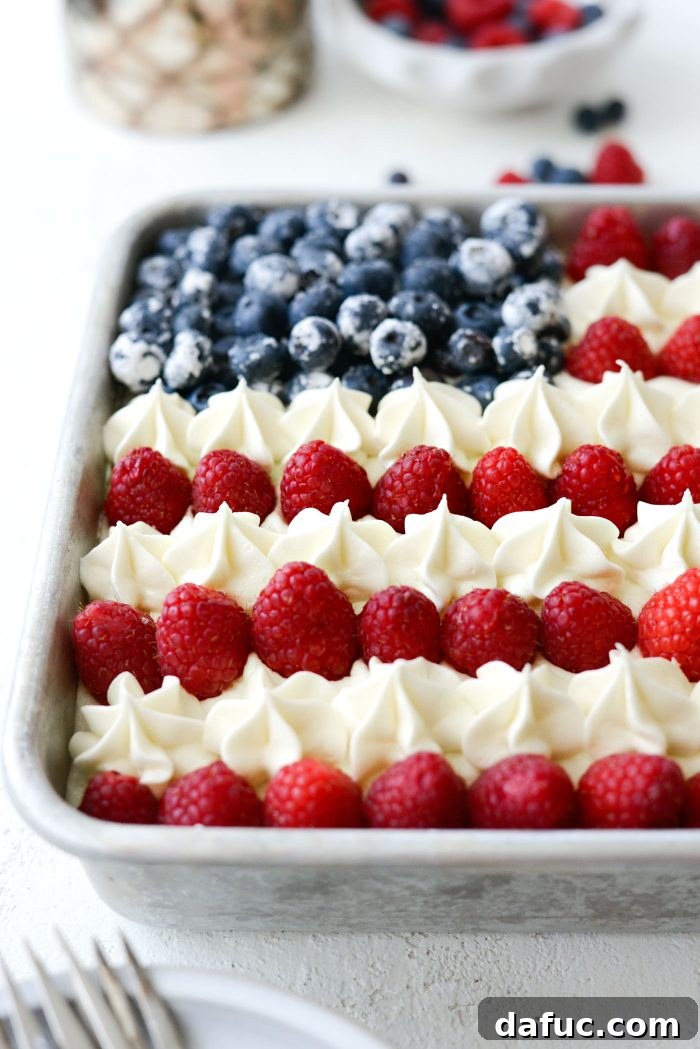
So. Freaking. Cute!
Serving, Storage, and Variations
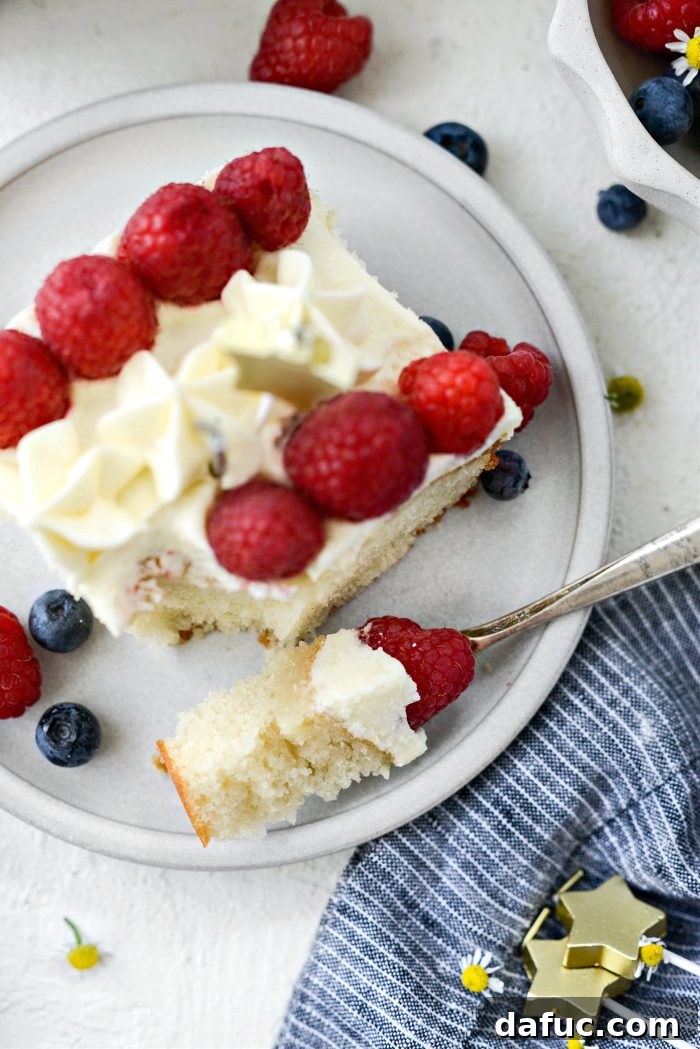
Your magnificent American Flag Cake is now complete and ready to impress! Slice it into generous portions and serve it as the grand finale to your Independence Day feast. I personally find that this cake tastes even better when chilled. There’s something undeniably refreshing about a cold slice of cake with rich buttercream frosting, especially on a warm summer day. Store any leftover cake covered in the refrigerator for up to 3-4 days to maintain its freshness and flavor. The cold cake with buttercream is truly the best!
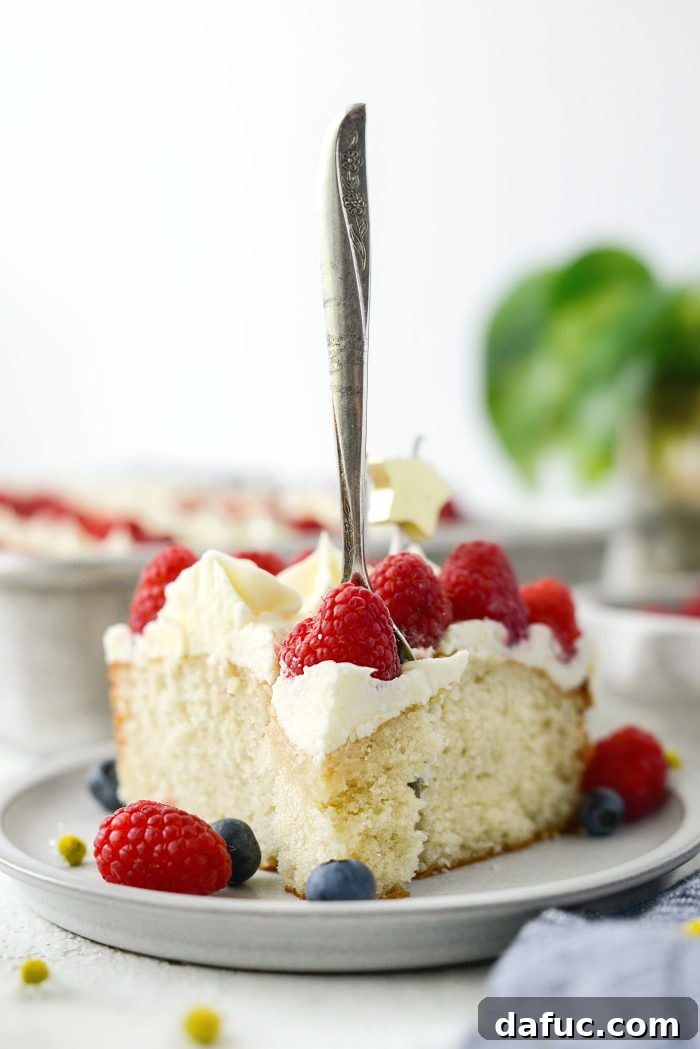
Want to mix things up? While the classic raspberry and blueberry combination is iconic, feel free to experiment with other red fruits like sliced strawberries for the stripes or different berry combinations. You could also add a touch of lemon zest to the cake batter or frosting for a brighter flavor. For an extra festive touch, consider adding patriotic sprinkles around the base of the cake or on the piped stars. No matter how you choose to customize it, this American Flag Cake is guaranteed to be a hit!
Click Here for More 4th of July Recipes!
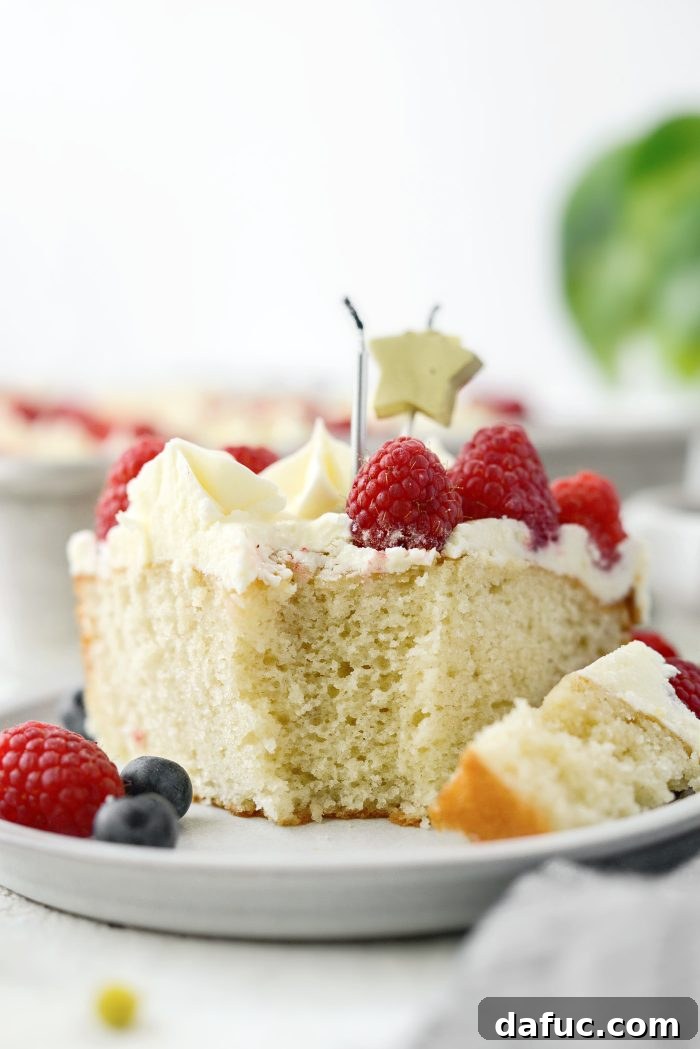
Enjoy! And if you give this incredible American Flag Cake recipe a try, don’t forget to let me know! Snap a photo and tag me on Twitter or Instagram! I love seeing your creations!
Print Recipe
Pin Recipe
Leave a Review »
American Flag Cake
This recipe will yield 12 to 16 servings depending on how you cut it.
Ingredients
- nonstick spray with flour
- 1 recipe homemade white cake mix
- 1 cup whole milk
- 2/3 cup neutral oil, like extra light olive oil or grapeseed oil
- 2 teaspoons vanilla extract
- 4 egg whites
- 1 recipe homemade vanilla buttercream frosting
- 1 cup blueberries
- 12 ounces fresh raspberries
Equipment
-
1 Nordic Ware Prism 9×13 Baking Pan
Instructions
-
Preheat your oven to 350°F (or 180°C).
Line a 9×13 pan with parchment and spray with nonstick spray that contains flour.
-
In the bowl of your stand mixer, add all of the homemade white cake mix, whole milk, oil and vanilla extract. Mix on medium-low speed until the ingredients are incorporated. Add in the egg whites and mix until combined. Scrape down the sides and bottom of the bowl and mix one last time.
-
Pour the cake batter into the prepared pan and spread evenly with a spatula. Bake on the middle rack of your preheated oven for 28 to 30 minutes or until a tester comes back clean (maybe with a few crumbs attached) after inserted into the middle of the cake.
-
Once baked, remove and let cool for about 30 to 45 minutes before using the parchment paper to lift the cake out of the pan and transferring it to a wire rack to finish cooling.
MAKE THE VANILLA BUTTERCREAM FROSTING:
-
In the bowl of your stand mixer, fitted with the paddle attachment, add the softened butter. With your mixer on medium-speed, cream the butter until smooth and light in color. About 2 minutes.
-
Gradually add in the sifted powdered sugar, one large spoonful at a time. Mixing on low speed after each addition. Next add in a pinch of fine salt and the vanilla extract. Continue to mix on low speed to combine. Lastly add a little milk at a time until you’ve reached your desired consistency.
Note: If you need a stiffer frosting, simply add more sifted powdered sugar. Likewise, if your frosting is too stiff, continue adding a little more milk.
BUILD THE CAKE:
-
Add about 2/3 of the buttercream to your cooled cake- transfer the remaining frosting to a pastry bag fitted with a large star tip. Use an offset spatula to spread the buttercream evenly over the cake.
-
Next arrange the blueberries (I toss them in a little powdered sugar first – this is totally optional) and arrange in the top left corner of the frosted cake for the “stars”. Then arrange the raspberries in rows as the “stripes”. Lastly, pipe stars in between the rows of raspberries.