
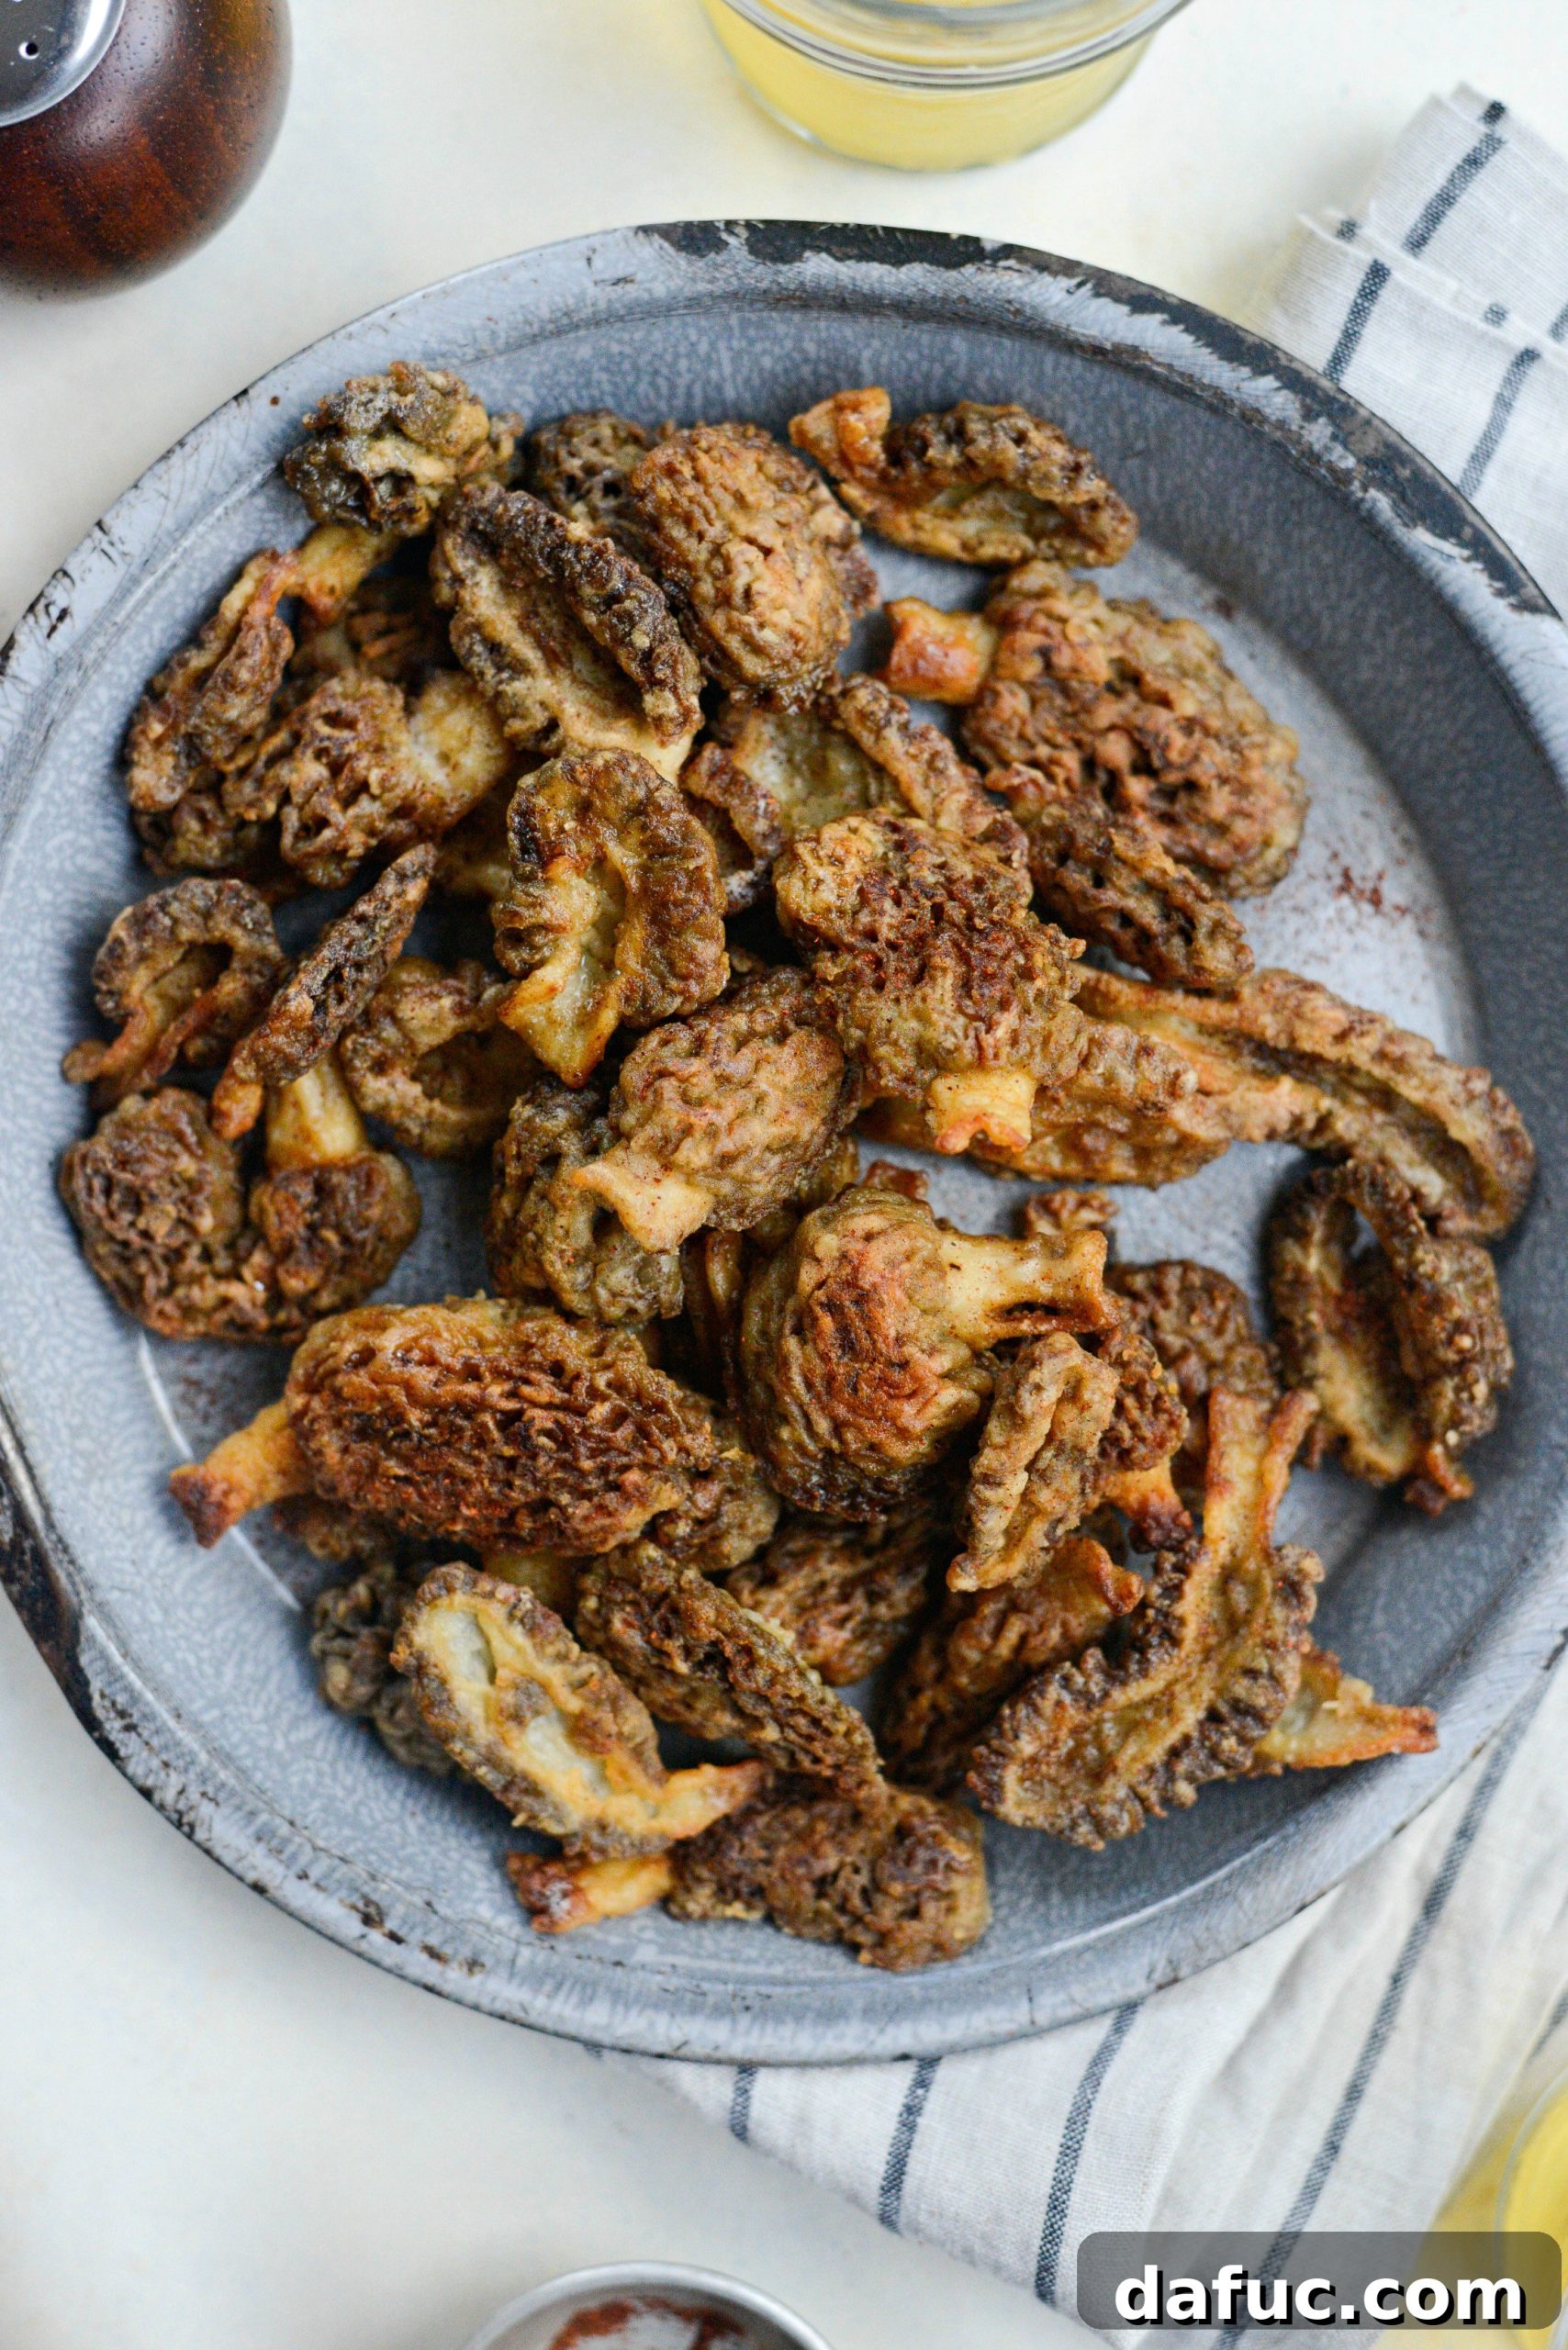
Pan-Fried Morel Mushrooms: A Culinary Journey to Crispy Perfection
For those who appreciate the finer things in culinary life, discovering the best way to prepare morel mushrooms is a true delight. Among the various methods, pan-frying stands out as an unparalleled technique, transforming these elusive fungi into a golden-brown, crispy delicacy. If you’re fortunate enough to acquire fresh morels, whether through successful foraging or from a specialty market, this pan-fried morel mushroom recipe promises an experience that is nothing short of extraordinary.
Disclaimer: The world of wild mushrooms is fascinating but requires extreme caution. Before embarking on any foraging adventure or consuming wild mushrooms, please educate yourself thoroughly on identification. NEVER eat any mushroom unless you are 100% certain it is safe for consumption. When in doubt, it’s always best to discard it.
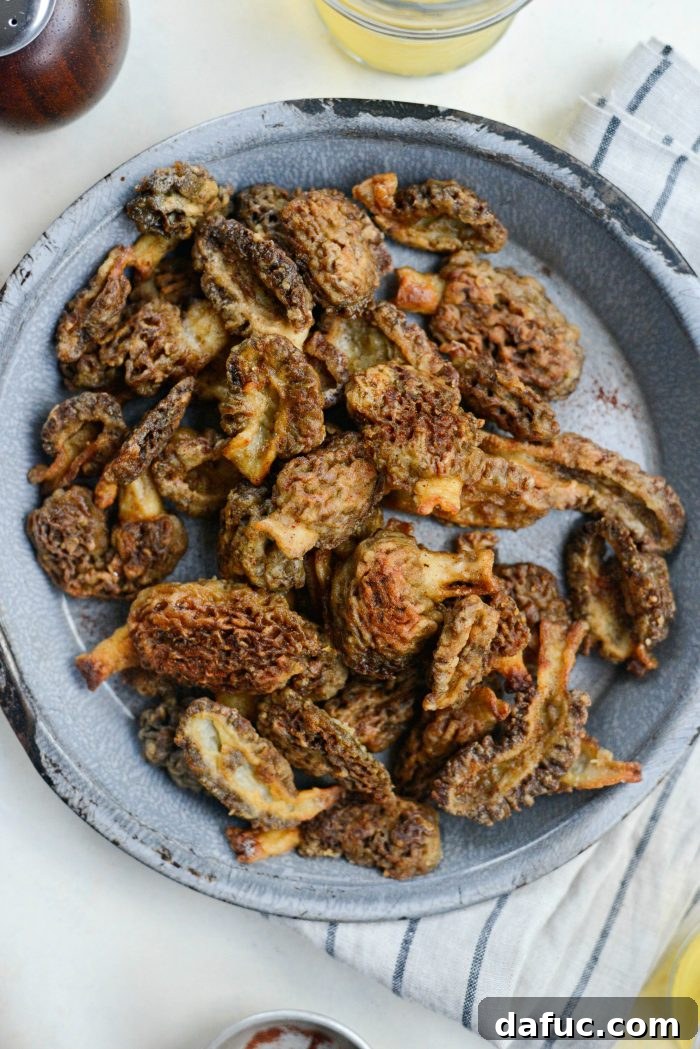
The Allure of Morel Mushrooms: Nature’s Exclusive Delicacy
Morels hold an almost mythical status among mushroom enthusiasts, often considered the “elite” of all fungi. Their distinct honeycomb appearance, earthy aroma, and rich, nutty flavor make them a coveted ingredient for gourmet chefs and home cooks alike. What truly sets morels apart is their resistance to cultivation; they are nearly impossible to farm commercially, meaning most available morels are wild-foraged, adding to their mystique and rarity. They typically emerge in spring, making the season a small, precious window for hunters.
These prized mushrooms usually grow in specific natural habitats, often near certain types of dying trees. The exact tree species can vary depending on your geographical location. The thrill of the hunt, knowing you’re seeking a fleeting seasonal treasure, adds a unique dimension to their appeal. When you stumble upon a patch of these camouflaged wonders, you truly feel like you’ve struck culinary gold.
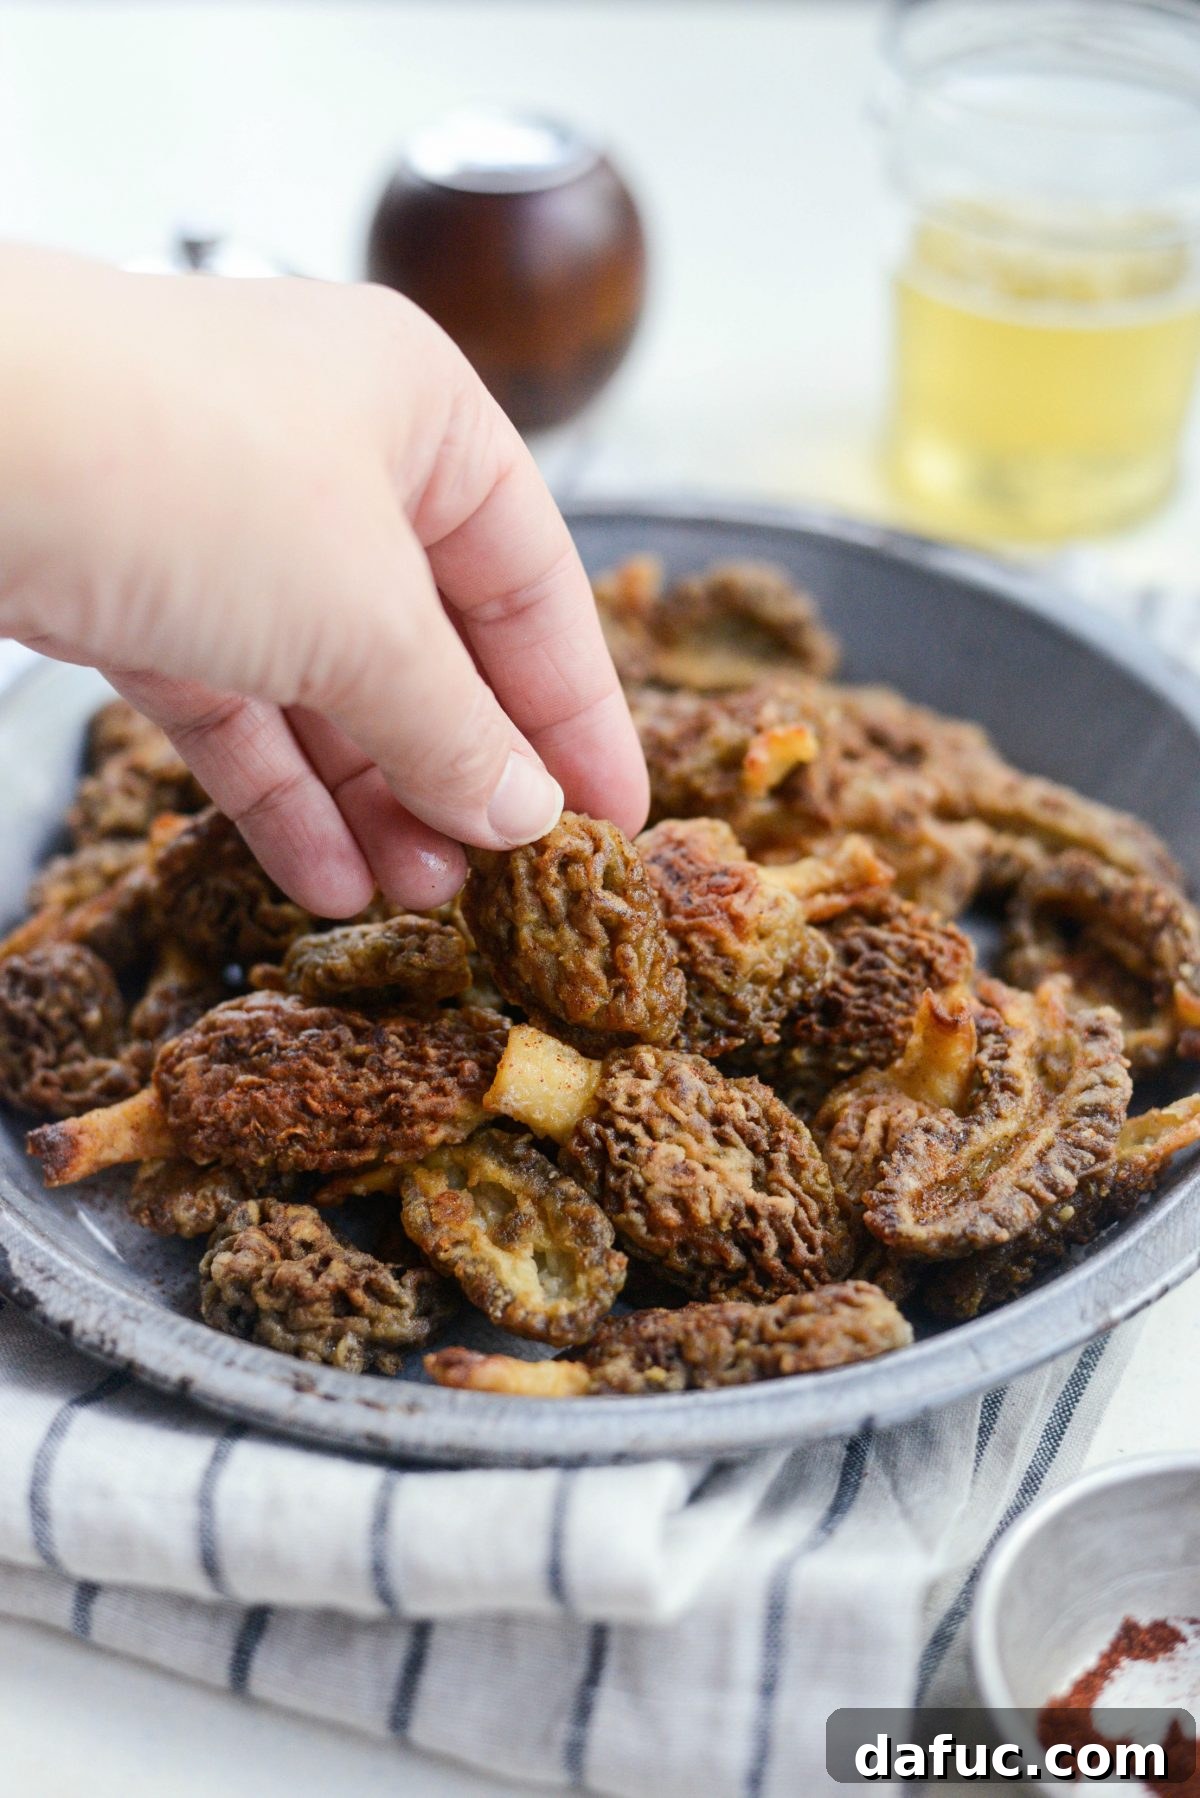
My husband, Pat, and his good friend, Craig, have dedicated several years to researching and mastering the art of morel hunting. Their diligent efforts pay off each spring when they return from their secret foraging spots. On a recent occasion, Pat brought home a bounty of a pound or so of freshly picked morels. Immediately, all other plans were set aside as I delved into discovering the optimal methods for cleaning and cooking these precious fungi.
My extensive research consistently pointed to pan-frying in butter as one of the most celebrated and utterly delicious cooking techniques for morels. A simple dredge in seasoned flour, followed by a quick sizzle in hot, bubbling butter, yields mushrooms that are wonderfully crispy and beautifully golden brown. The simplicity of this method allows the unique flavor and texture of the morels to shine, creating an unforgettable dish. Whether you plan to deep-fry, sauté, or pan-fry your morels, I cannot stress enough the importance of doing your homework. While I am not a mushroom expert myself, this guide compiles knowledge gathered from my husband’s exhaustive research (including countless YouTube videos) and my own culinary explorations. Please read this entire post carefully, as it contains extremely helpful information and vital tips for scouting, cleaning, and cooking morels safely and deliciously.
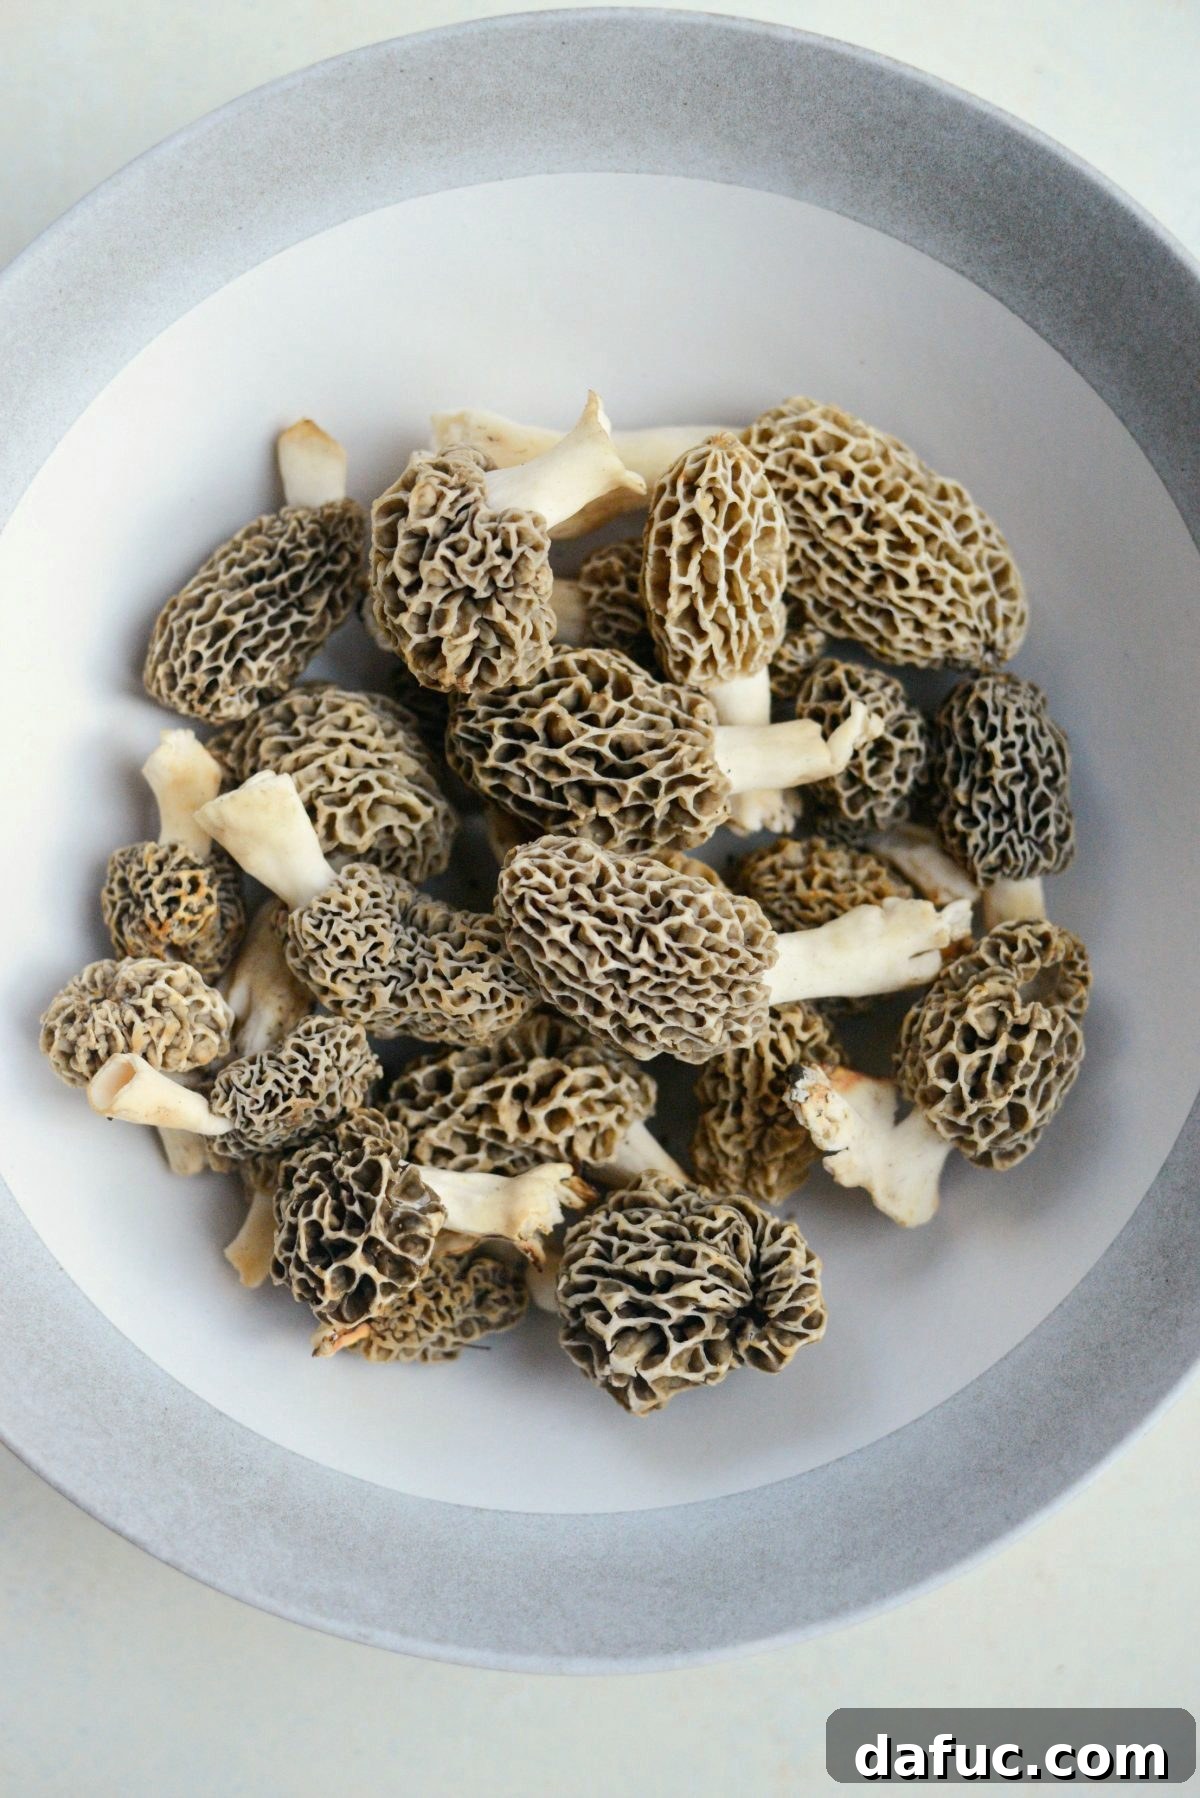
Identifying and Safely Foraging Morel Mushrooms
Before you even think about cooking morels, understanding their identification is paramount. There are highly poisonous mushrooms known as “false morels” that can be easily mistaken for edible true morels. Consuming false morels, whether raw or cooked, can be extremely dangerous. The key to distinguishing true morels lies in several distinct characteristics:
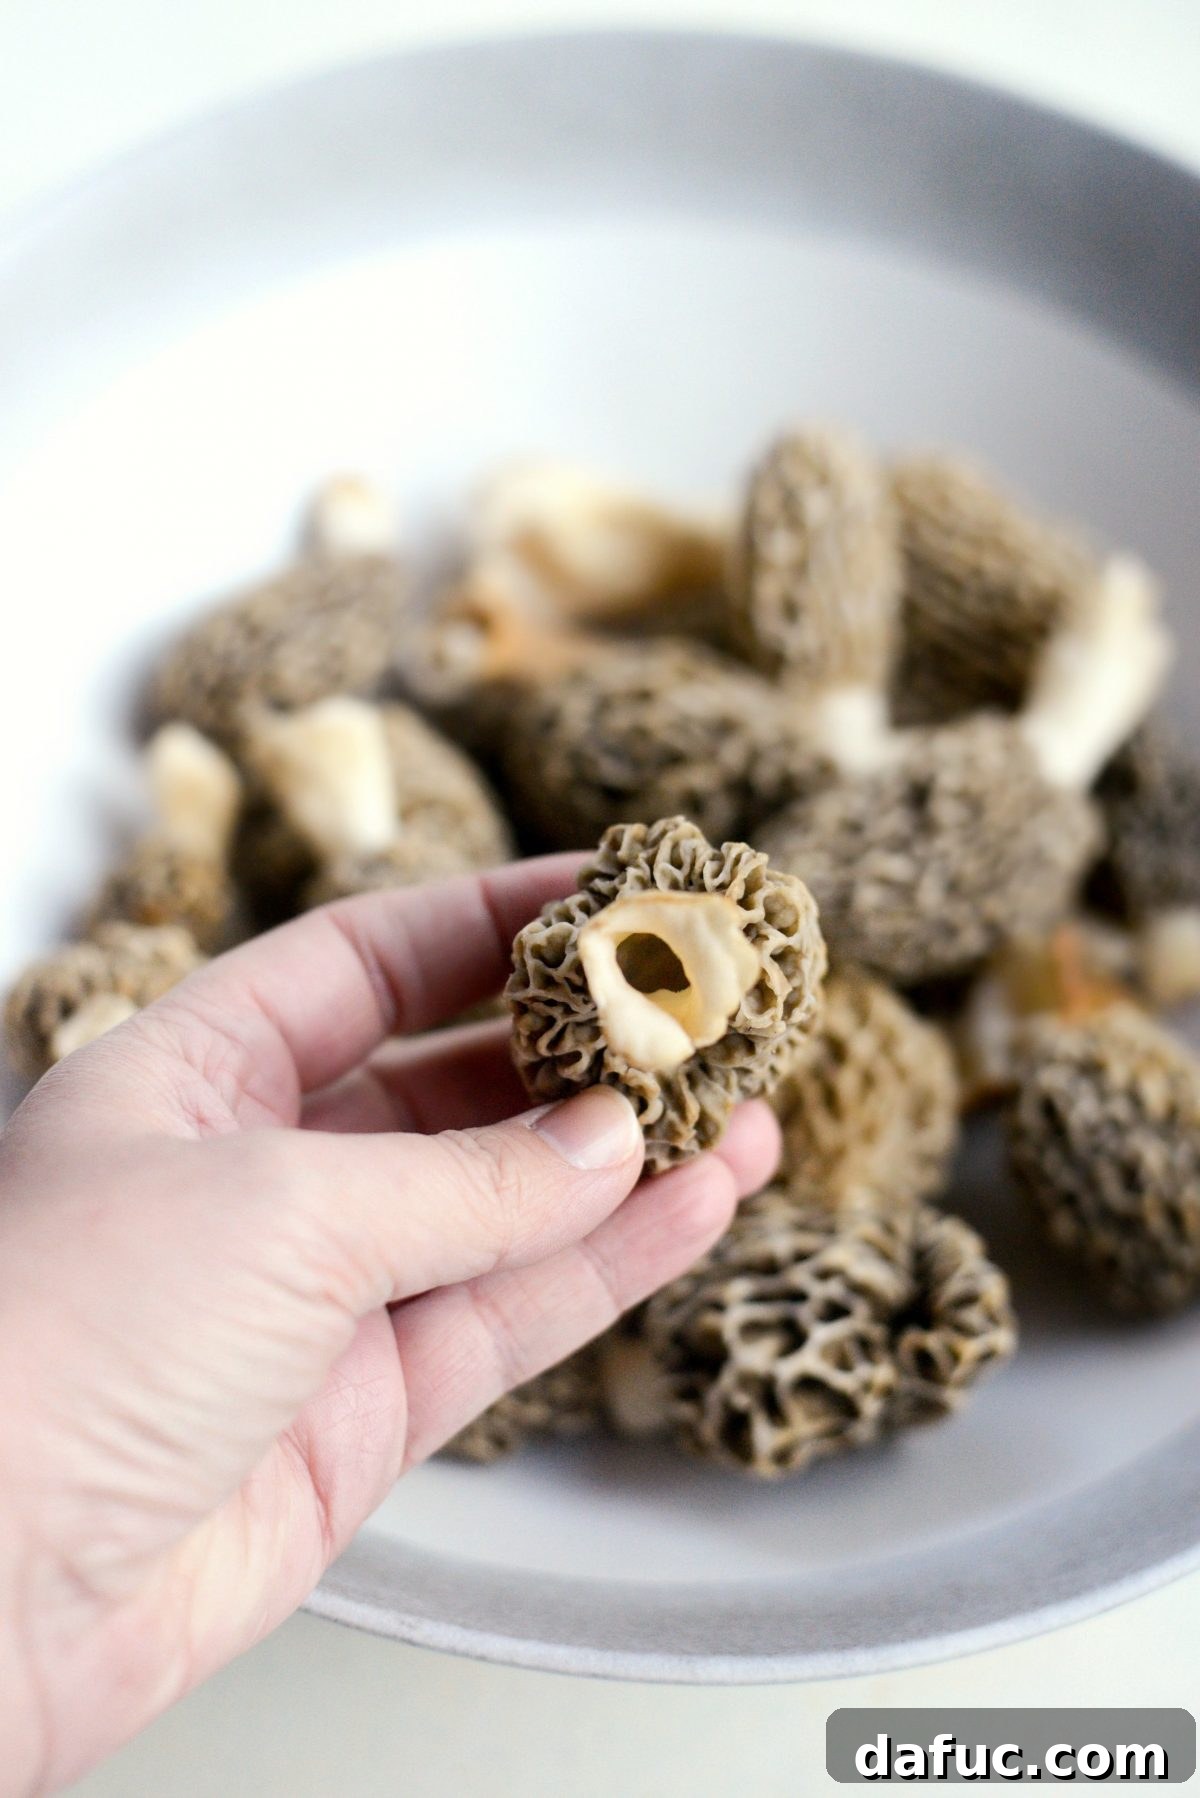
- Cap Attachment: In true morels, the cap is fully attached to the stem, forming a single, continuous piece. If the cap attaches only at the very top of the stem, like an umbrella, it’s likely a false morel.
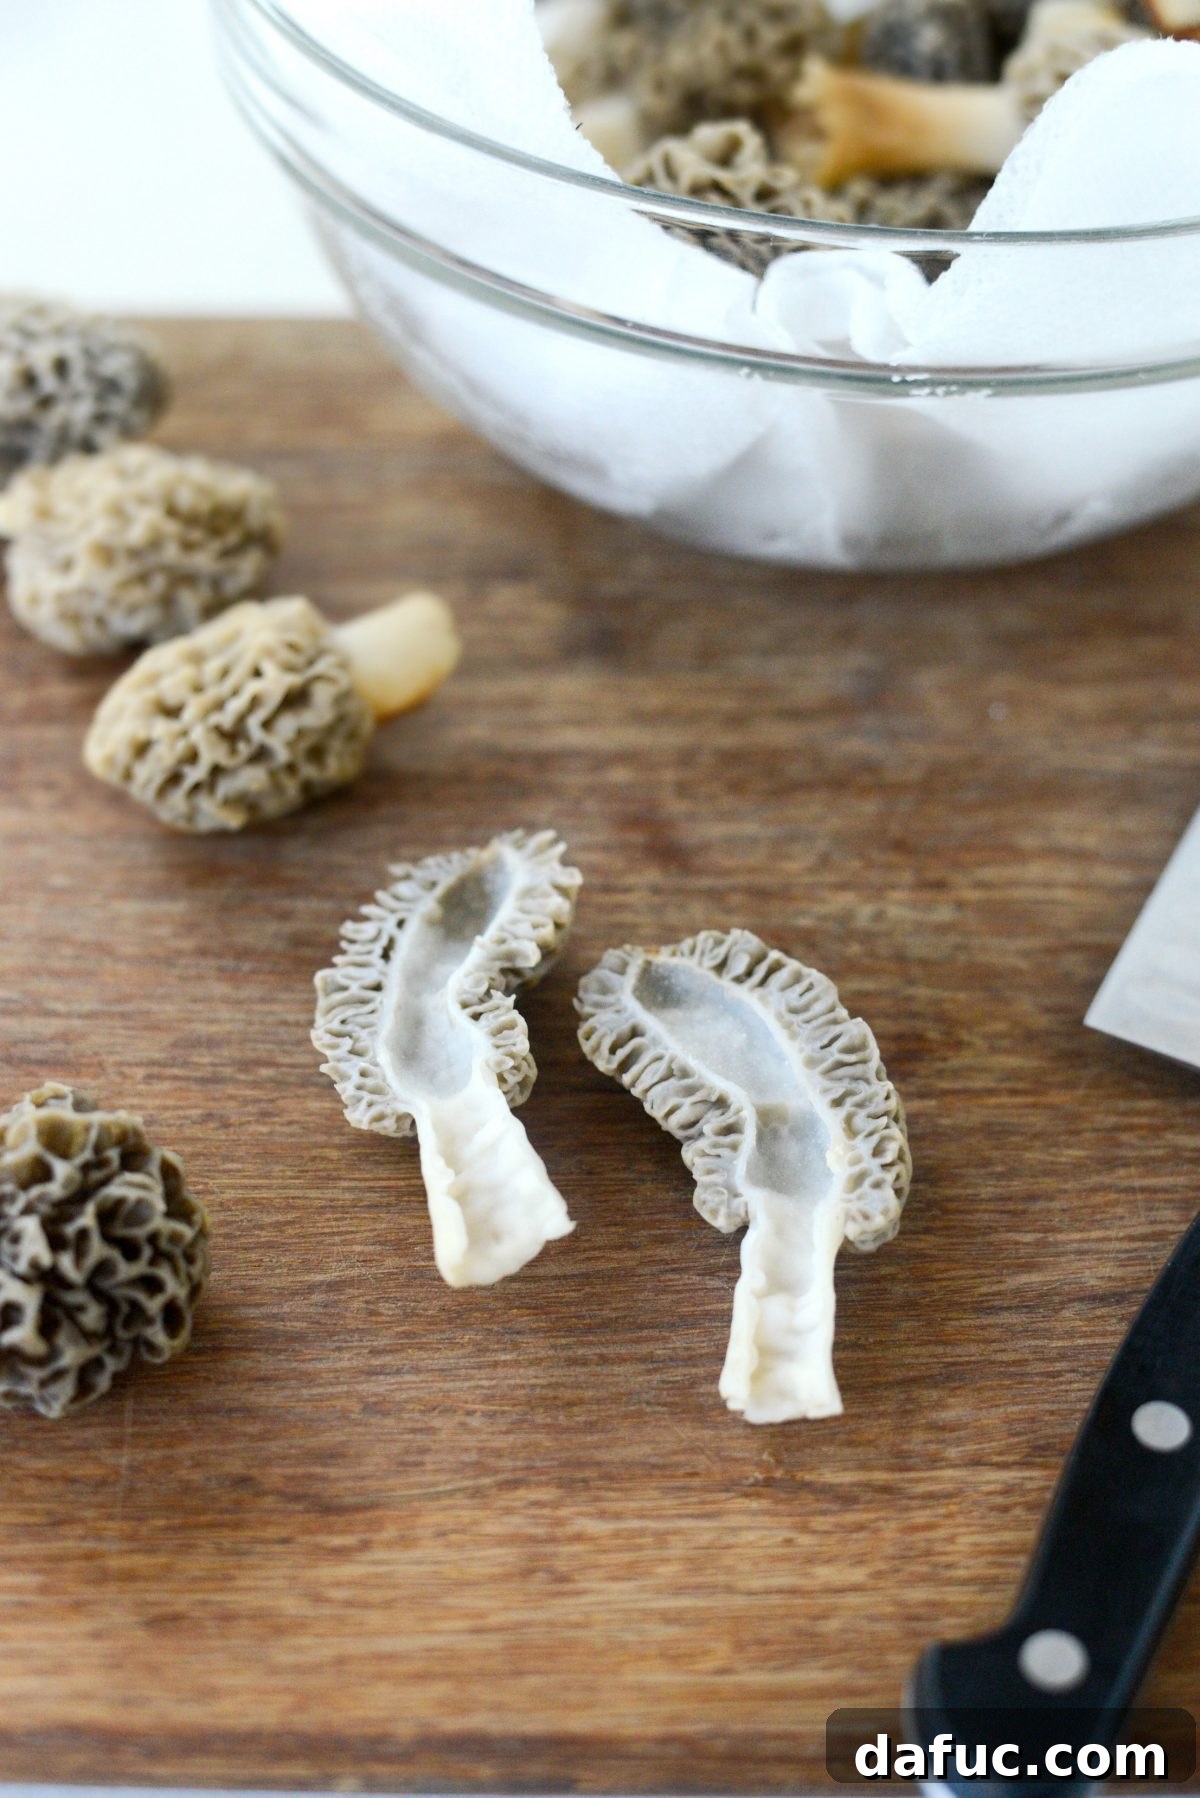
- Hollow Interior: Slice a true morel lengthwise, and you will find it is completely hollow from the tip of the cap down through the stem. False morels often have a cotton-like or fibrous material inside their stem.
- Cap Shape and Texture: True morels have a distinctive honeycomb or sponge-like cap with pits and ridges. False morels can have more convoluted or brain-like caps.
Always do your comprehensive research, consult field guides, and, if possible, forage with an experienced guide until you are 100% confident in your identification skills. If you are ever unsure, it is best to purchase morels from a reputable local market or specialty store where they have been properly identified. Furthermore, it is critical to never eat raw morels. These mushrooms contain toxins that must be cooked out through proper heating before they are safe for consumption.
Mastering the Art of Cleaning Morel Mushrooms
Proper cleaning is just as crucial as correct identification when it comes to morel mushrooms. Their unique, spongy, honeycomb-like caps are notorious for harboring tiny insects, dirt, and debris within their numerous nooks and crannies. Unlike smooth-capped mushrooms such as white buttons or cremini, a simple rinse under water or a quick wipe with a damp paper towel will absolutely not suffice for morels. A thorough soaking process is essential to ensure they are pristine and ready for cooking.
Initial Soak: Dislodging Dirt and Pests
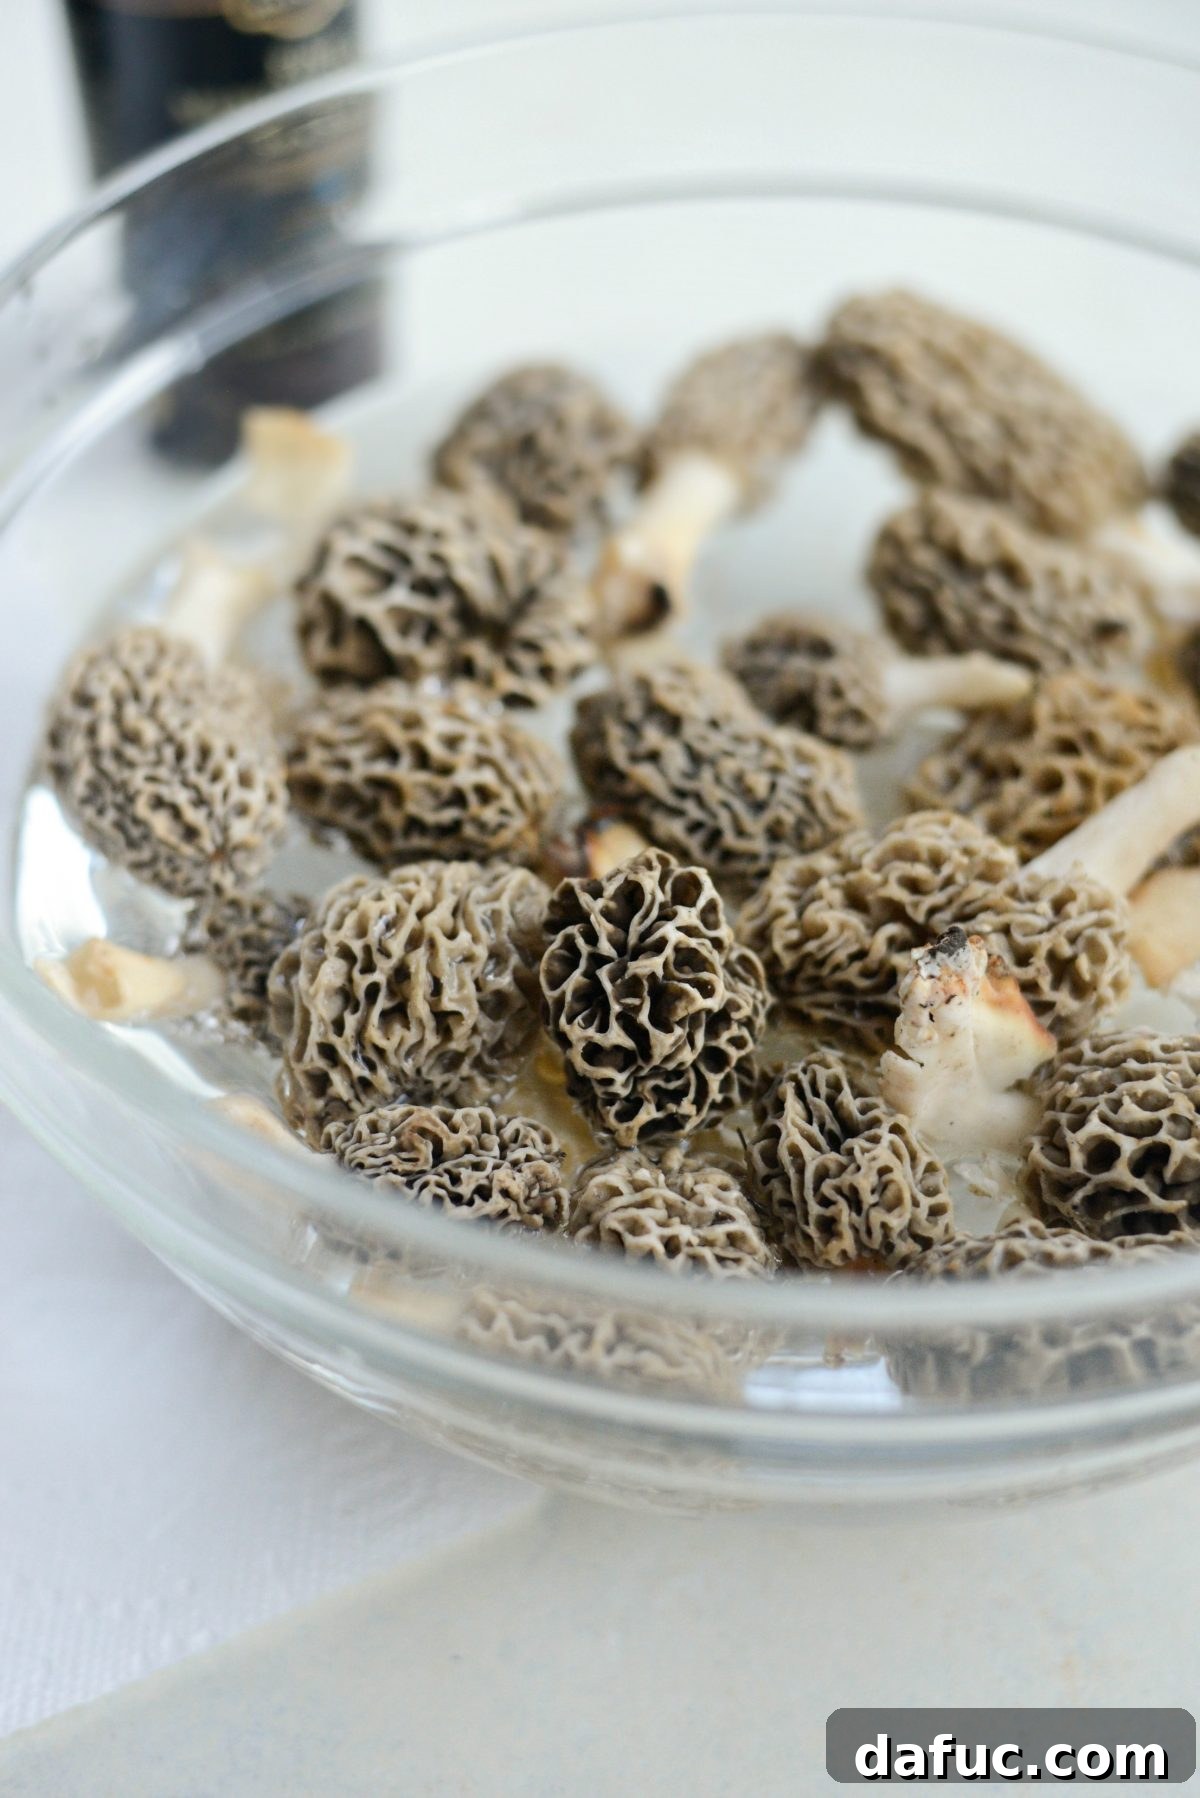
Begin by preparing your soaking solution. Add about 1 tablespoon of salt (fine sea salt works wonderfully) to a large bowl. Then, fill the bowl 1/2 to 3/4 of the way with warm (not hot) water, adjusting the volume based on the quantity of morels you have. Stir until the salt is fully dissolved. Gently add your morels to the salty water. To ensure they remain submerged and release their hidden occupants, lay several layers of paper towel over the top and press gently until the paper towels absorb water and hold the mushrooms down. The absorbed water in the paper towels helps keep the buoyant morels fully immersed, aiding significantly in the extraction of dirt and any tiny insects nestled within them.
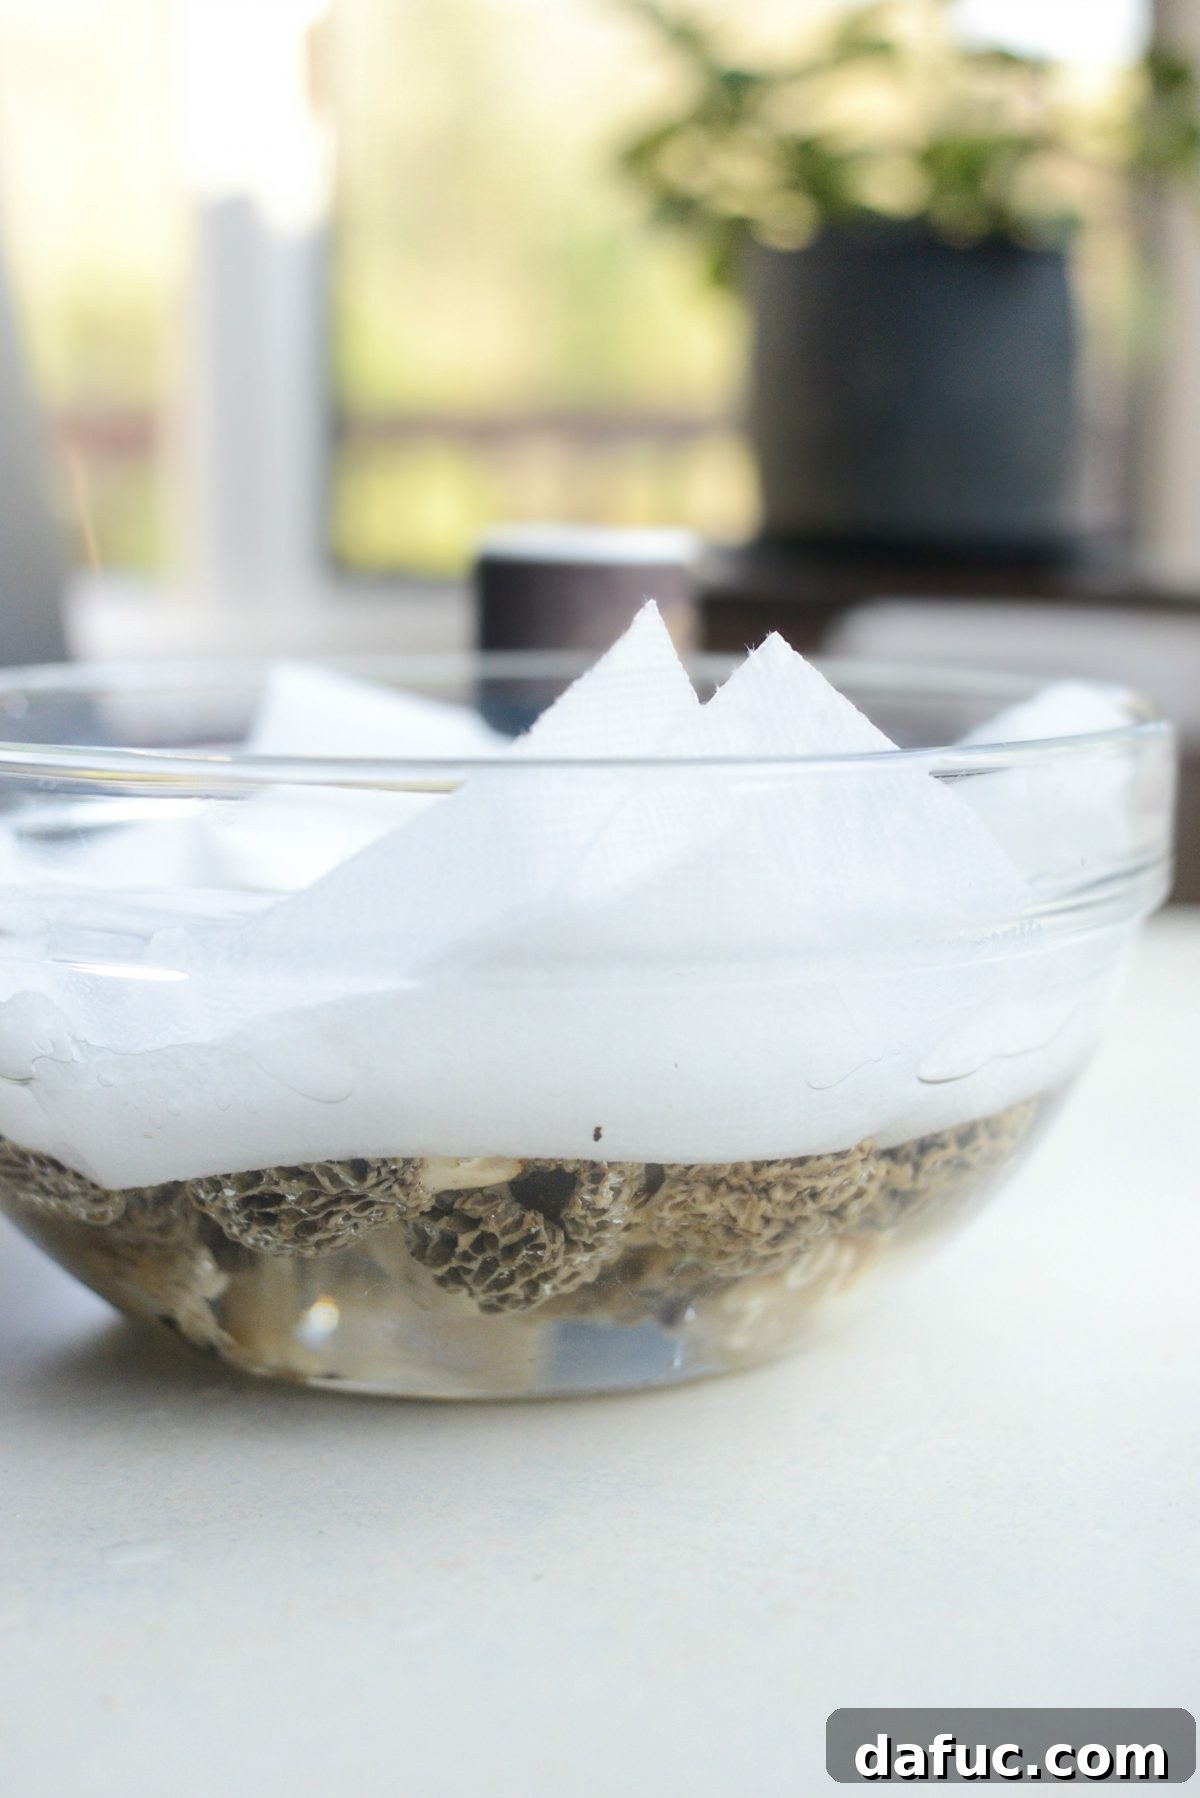
Soak the mushrooms in the refrigerator for a minimum of 2 hours, or ideally, overnight (up to 12 hours), depending on their size and the time you have available. I recommend gently agitating the mushrooms every now and then during this process. Don’t be surprised or disgusted if you observe small bugs floating on the surface or settling at the bottom of the bowl. This is a completely normal occurrence; morels grow wild in natural wooded environments, so encountering a few tiny critters is to be expected and signifies that your cleaning method is effective.
Second Soak: Ensuring Purity
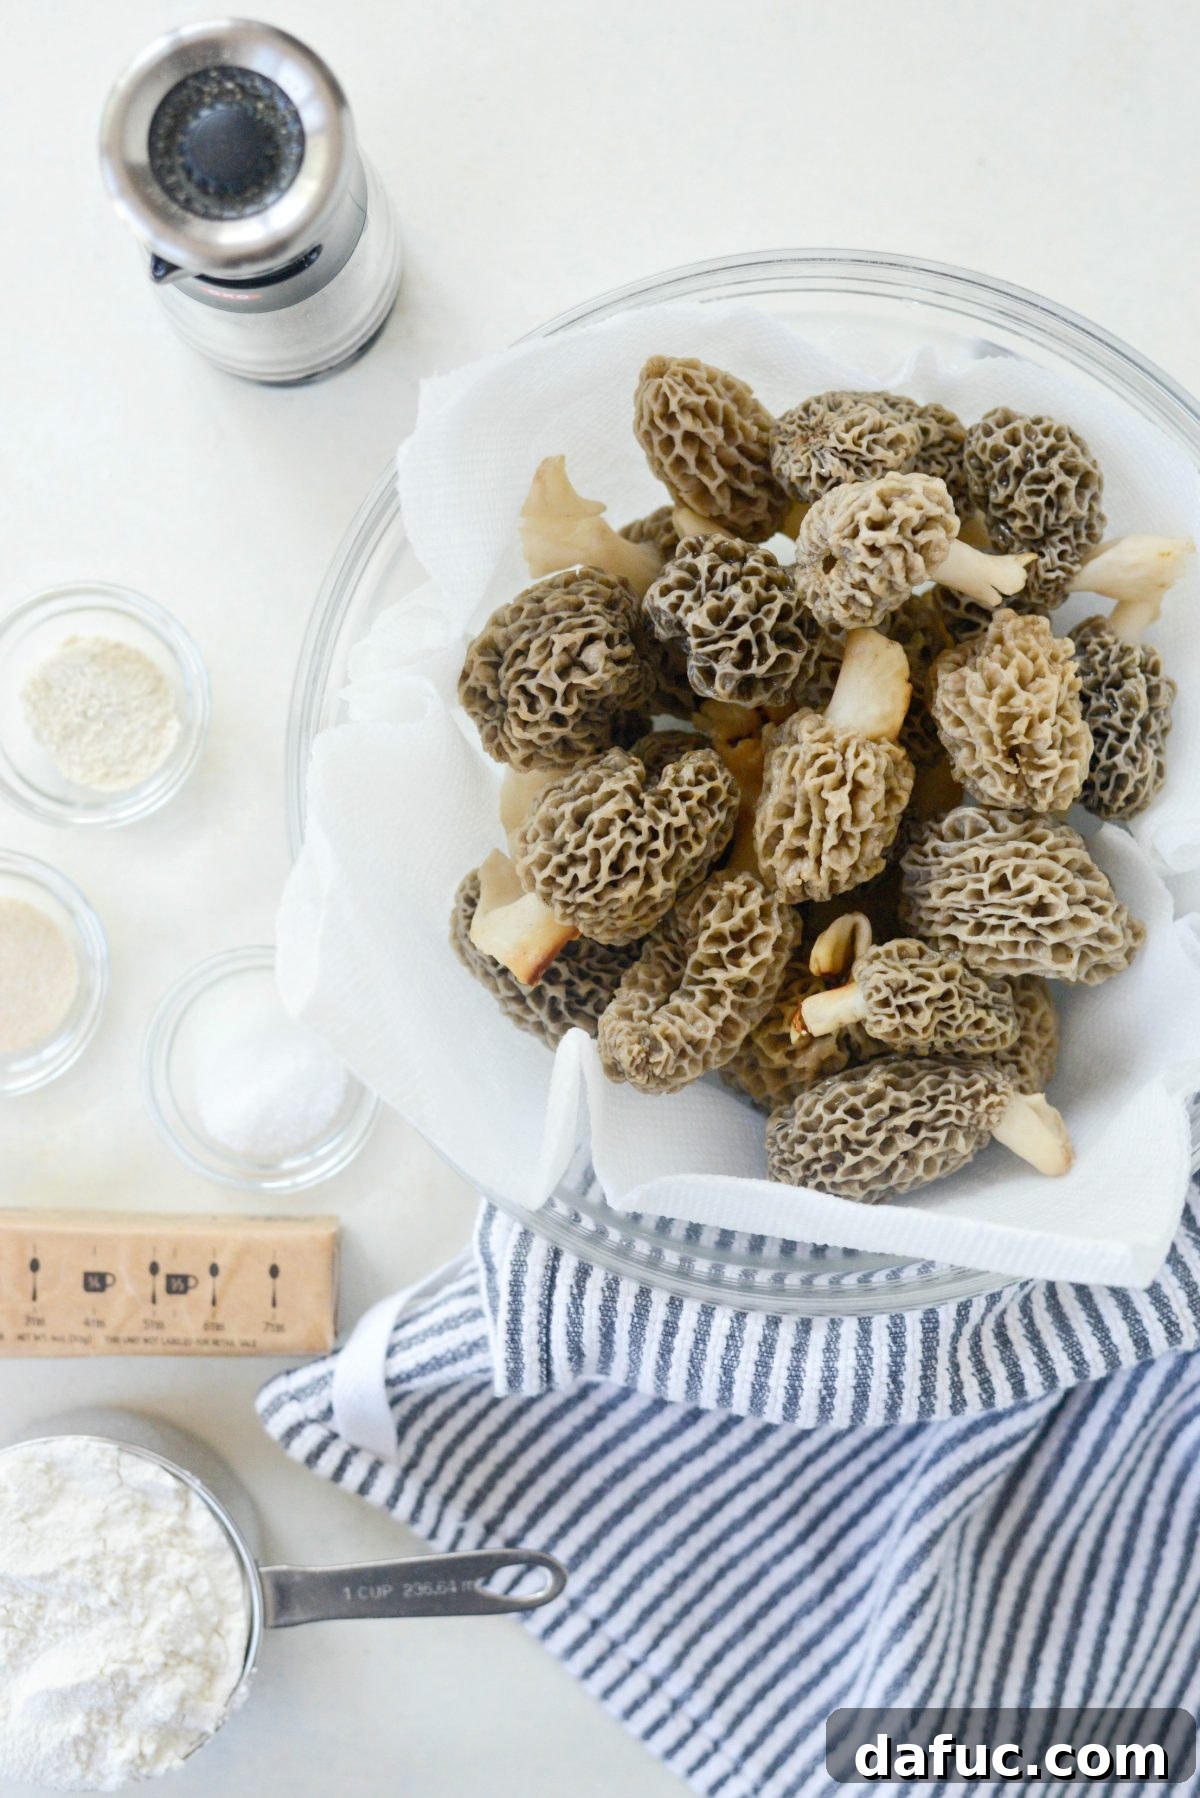
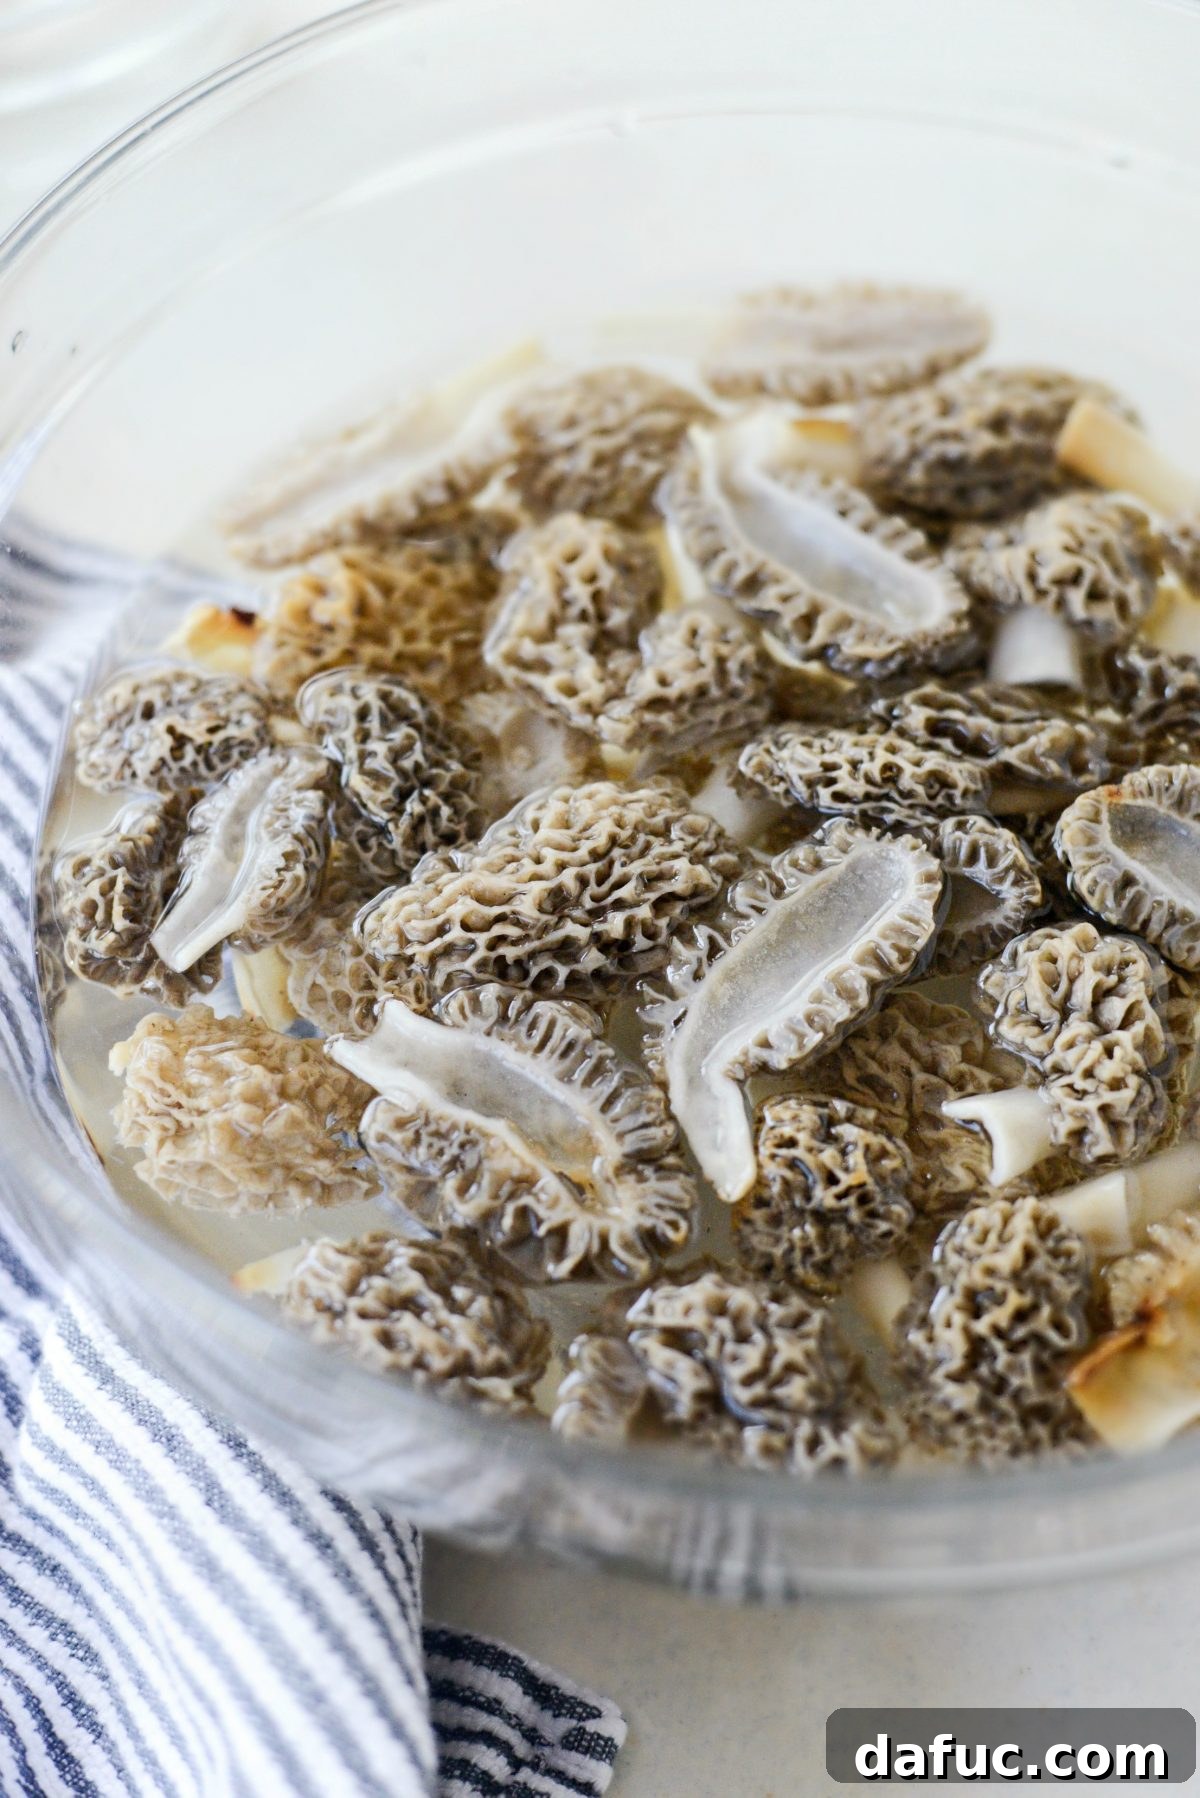
Once the initial soak is complete, carefully remove the morels from the water and transfer them to a paper towel-lined bowl or tray to absorb excess moisture. Next, prepare a new, clean bowl with the same salt water solution as before. Carefully cut each morel mushroom in half lengthwise. This step is crucial because it exposes the internal structure, allowing for a more thorough cleaning of any lingering dirt or bugs that may have resisted the first soak. Add the halved morels to this fresh salt water solution, cover with paper towel layers again, and press to submerge. Soak these morel halves for an additional 1 to 2 hours.
While some culinary experts suggest a single soak is adequate, taking the extra step for a second soak provides invaluable peace of mind, ensuring your morels are impeccably clean both inside and out. After the second soak, gently remove the morel halves from the water and lay them out on a clean kitchen towel to drain and dry thoroughly before proceeding with the cooking process. This careful preparation is key to enjoying truly clean and delicious pan-fried morel mushrooms.
Crafting the Perfect Pan-Fried Morel Mushrooms
Now that your morels are perfectly cleaned and prepped, it’s time to transform them into an irresistible dish. The beauty of pan-frying morels lies in its simplicity, allowing the mushroom’s natural flavors to shine through with a delightful crispy exterior.
Essential Ingredients for the Flavorful Dredge
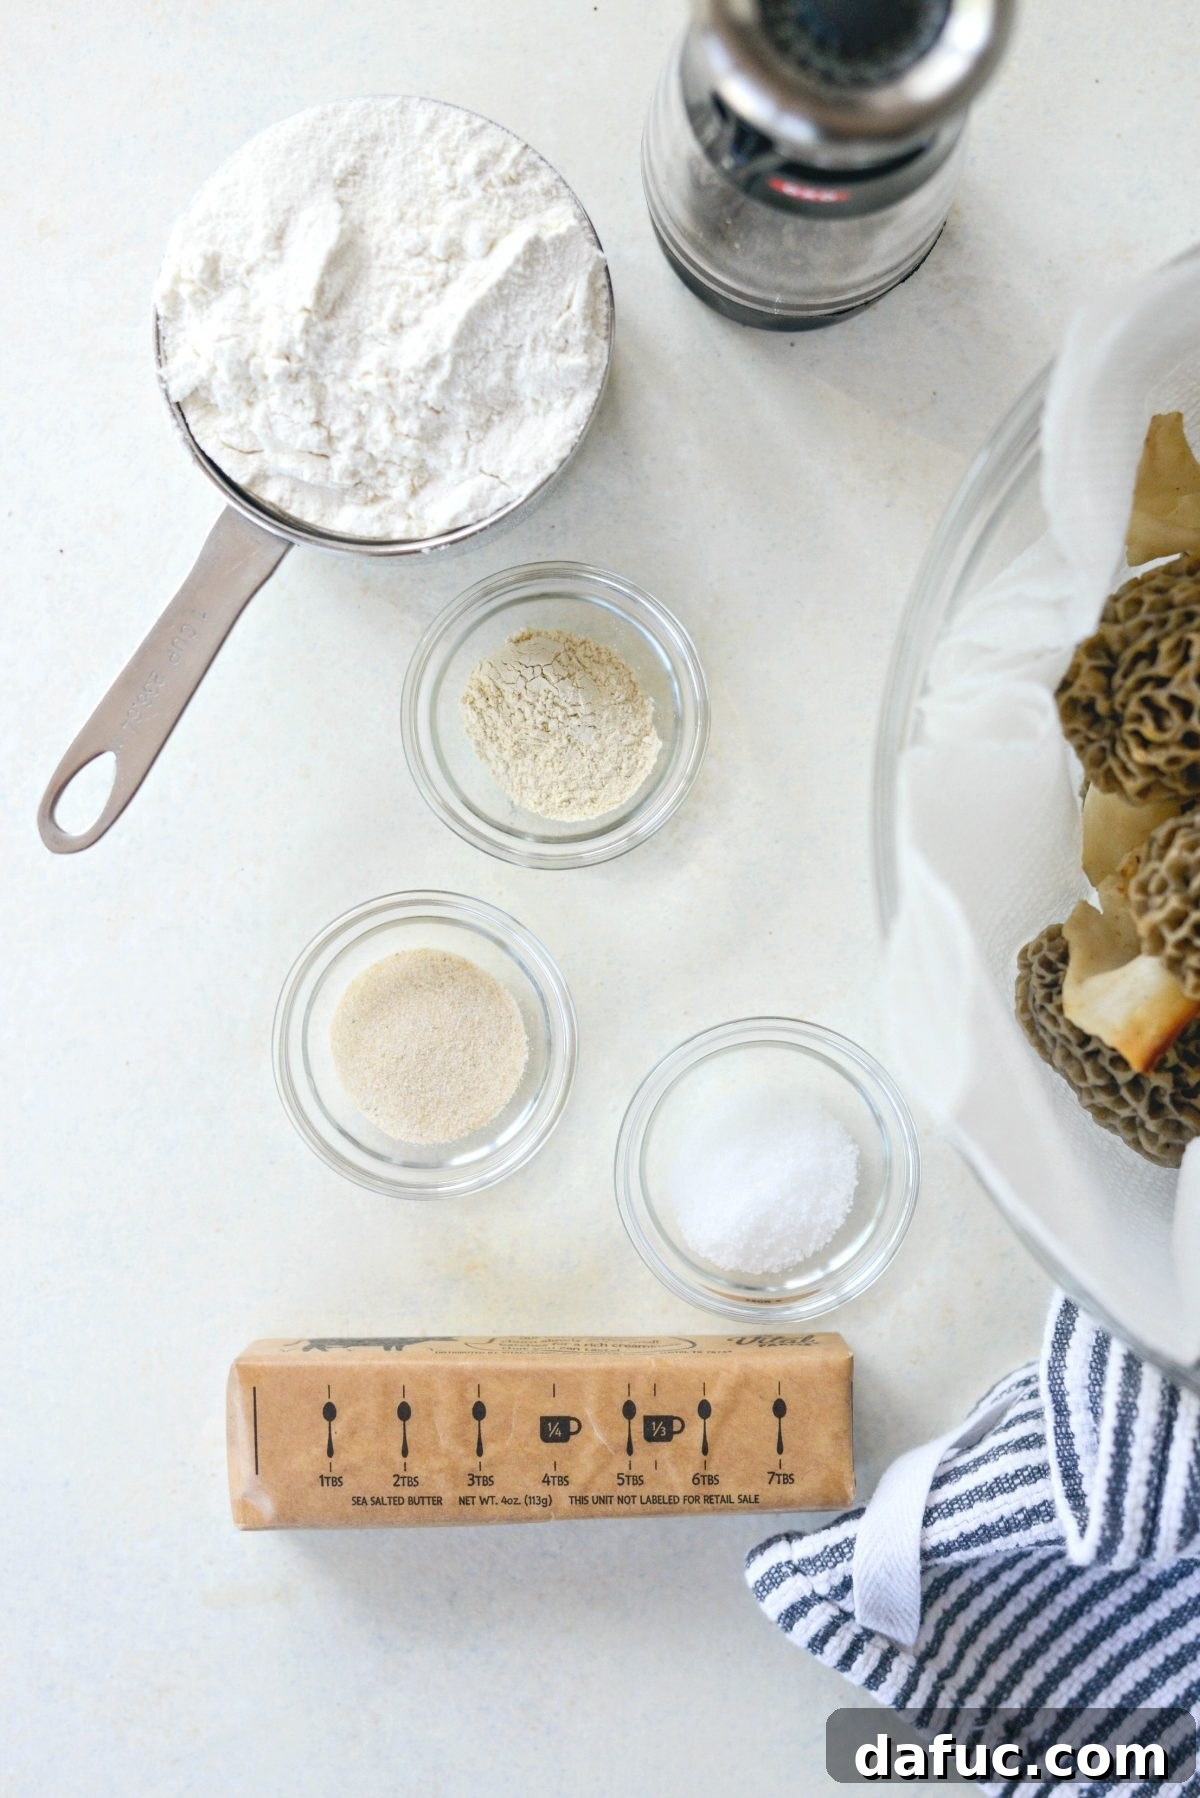
To create these delectable pan-fried morels, you will need a straightforward yet effective combination of ingredients:
- Fresh Morel Mushrooms: Your cleaned, halved morels are the star of this dish.
- Unbleached All-Purpose Flour: This forms the base of our crispy coating, giving the mushrooms their golden crust.
- Garlic Powder: Adds an aromatic depth and savory undertone that complements the morels beautifully.
- Onion Powder: Contributes another layer of savory flavor, enhancing the overall taste profile.
- Kosher Salt: Essential for seasoning, it brings out the natural flavors of the mushrooms.
- Freshly Ground Black Pepper: A touch of subtle spice to complete the seasoning blend.
- Paprika: Used for a light sprinkle before serving, offering a hint of color and mild, sweet flavor.
- Unsalted Butter: The crucial frying medium, imparting a rich, irresistible flavor and contributing to the golden-brown crust.
Preparing the Seasoned Flour Mixture
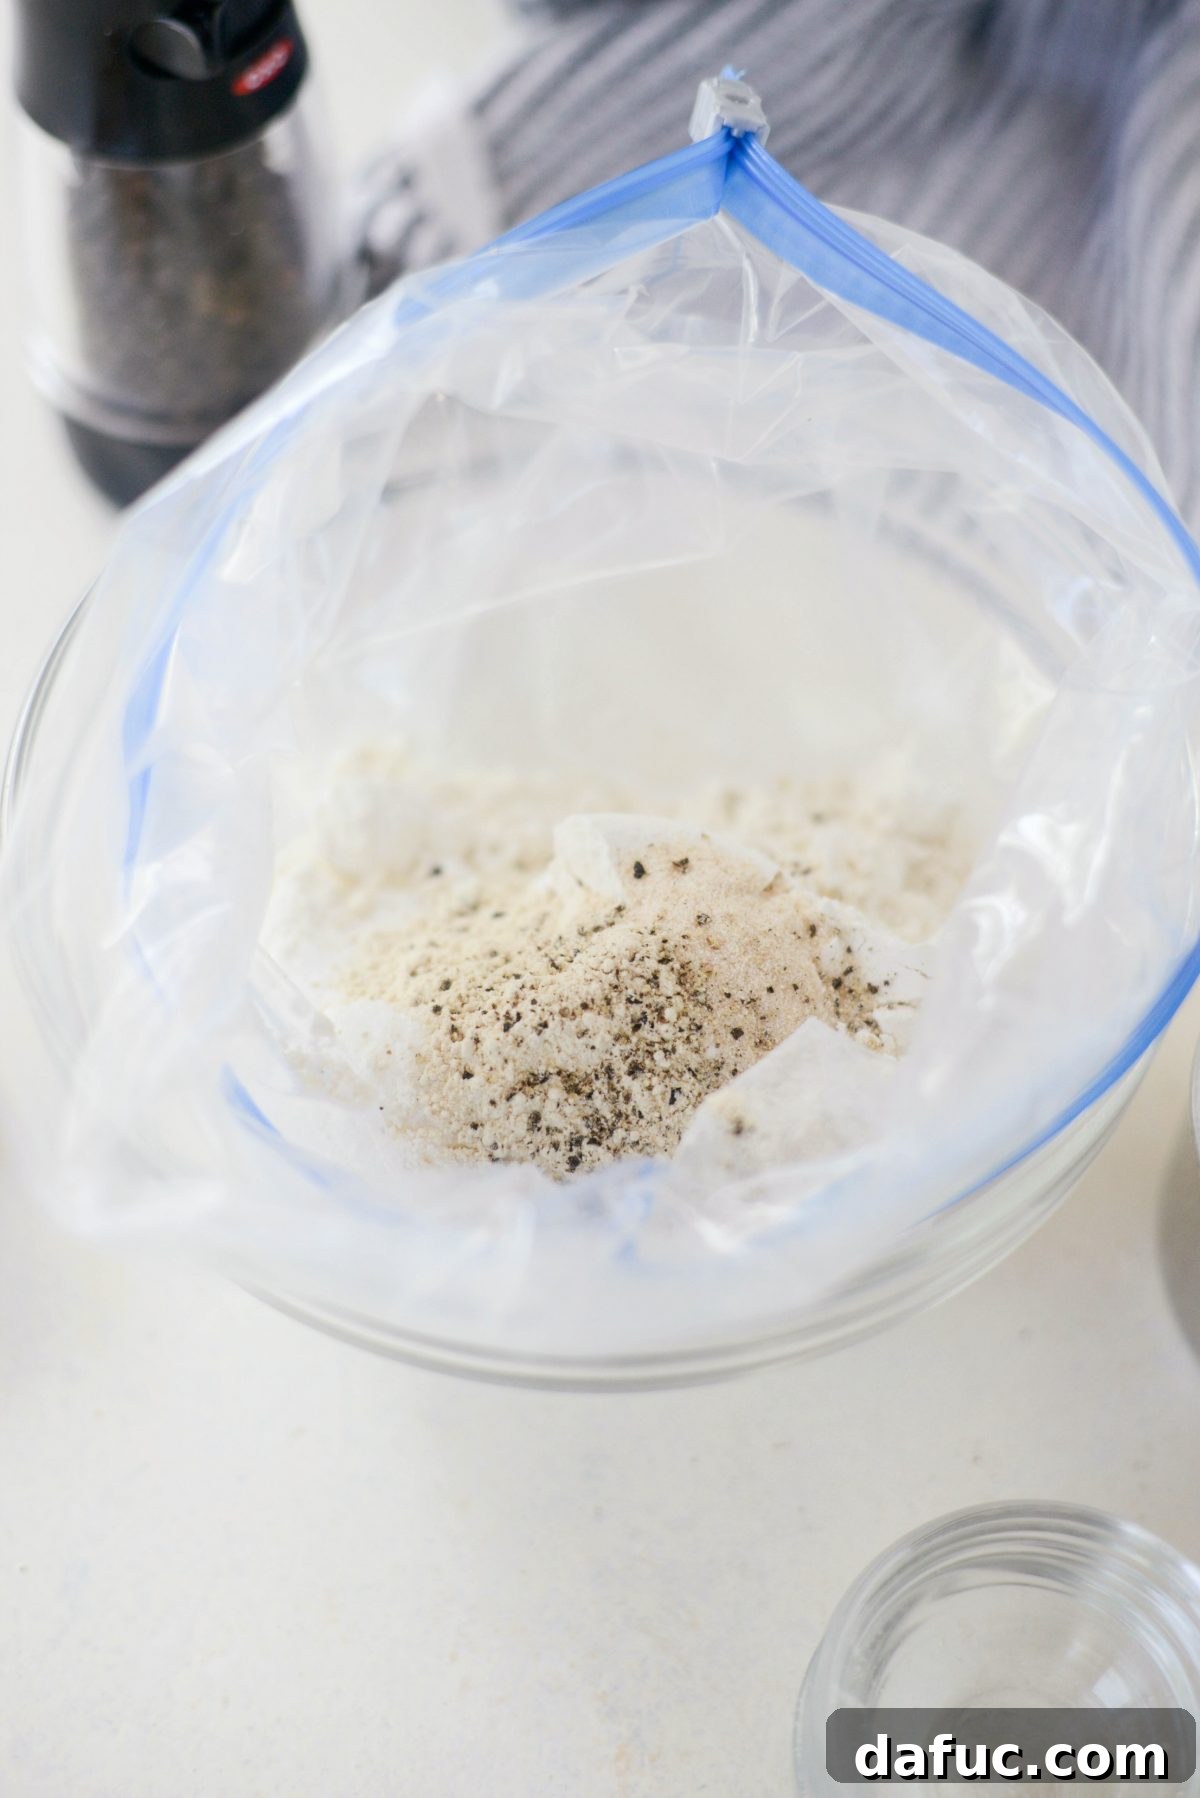
Creating the dredge mixture is wonderfully simple. For approximately 1 to 2 pounds of cleaned morels, you will need 1-1/2 cups of unbleached all-purpose flour, 1 rounded teaspoon each of fine sea salt, garlic powder, and onion powder, along with 1/2 teaspoon of freshly ground black pepper. I highly recommend combining all these ingredients in a re-sealable gallon-sized bag. This method not only makes the dredging process significantly easier but also simplifies cleanup considerably, preventing flour from scattering across your kitchen. Seal the bag tightly and shake vigorously to ensure all the spices are thoroughly combined with the flour.
For those who like to experiment with flavors, feel free to customize your dredge. You could explore various homemade spice blends to add a unique twist to your pan-fried morels. Just ensure any chosen blend complements the delicate, earthy notes of the mushrooms without overpowering them.
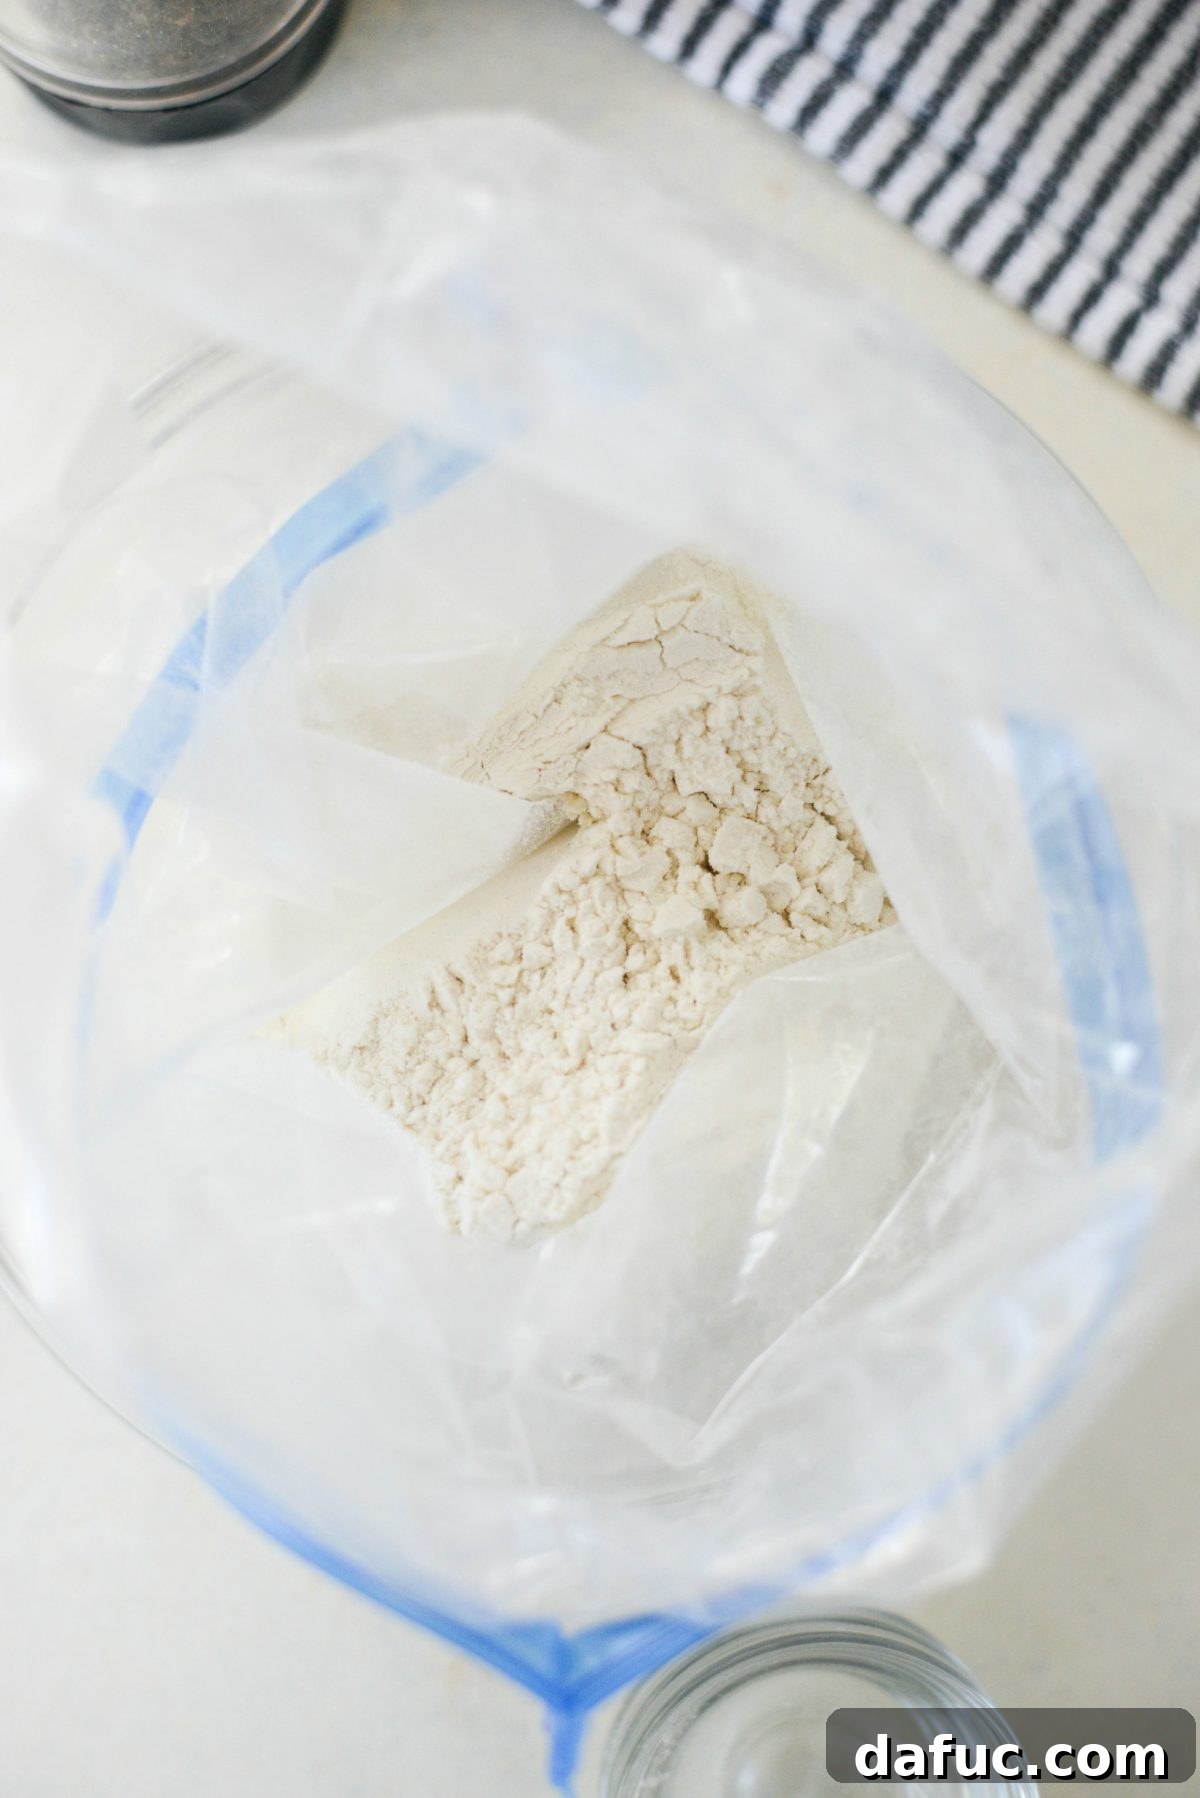
The Dredging Process: Coating for Crispy Perfection
With your seasoned flour prepared, it’s time to coat the morels. Place about 5 or 6 morel halves into the re-sealable bag with the flour mixture. Re-seal the bag and gently shake it until each mushroom piece is thoroughly coated in the flour. Once coated, remove the mushrooms and gently shake off any excess flour. You can achieve this by lightly tapping the coated morels against the inside of the bag or by gently rolling them between your hands, similar to rolling dice. Arrange the floured morels in a single layer on a rimmed sheet pan, making sure they don’t touch each other. This prevents them from sticking together and ensures an even, crispy fry. Repeat this process with the remaining mushroom batches until all your morels are perfectly coated and ready for the pan.
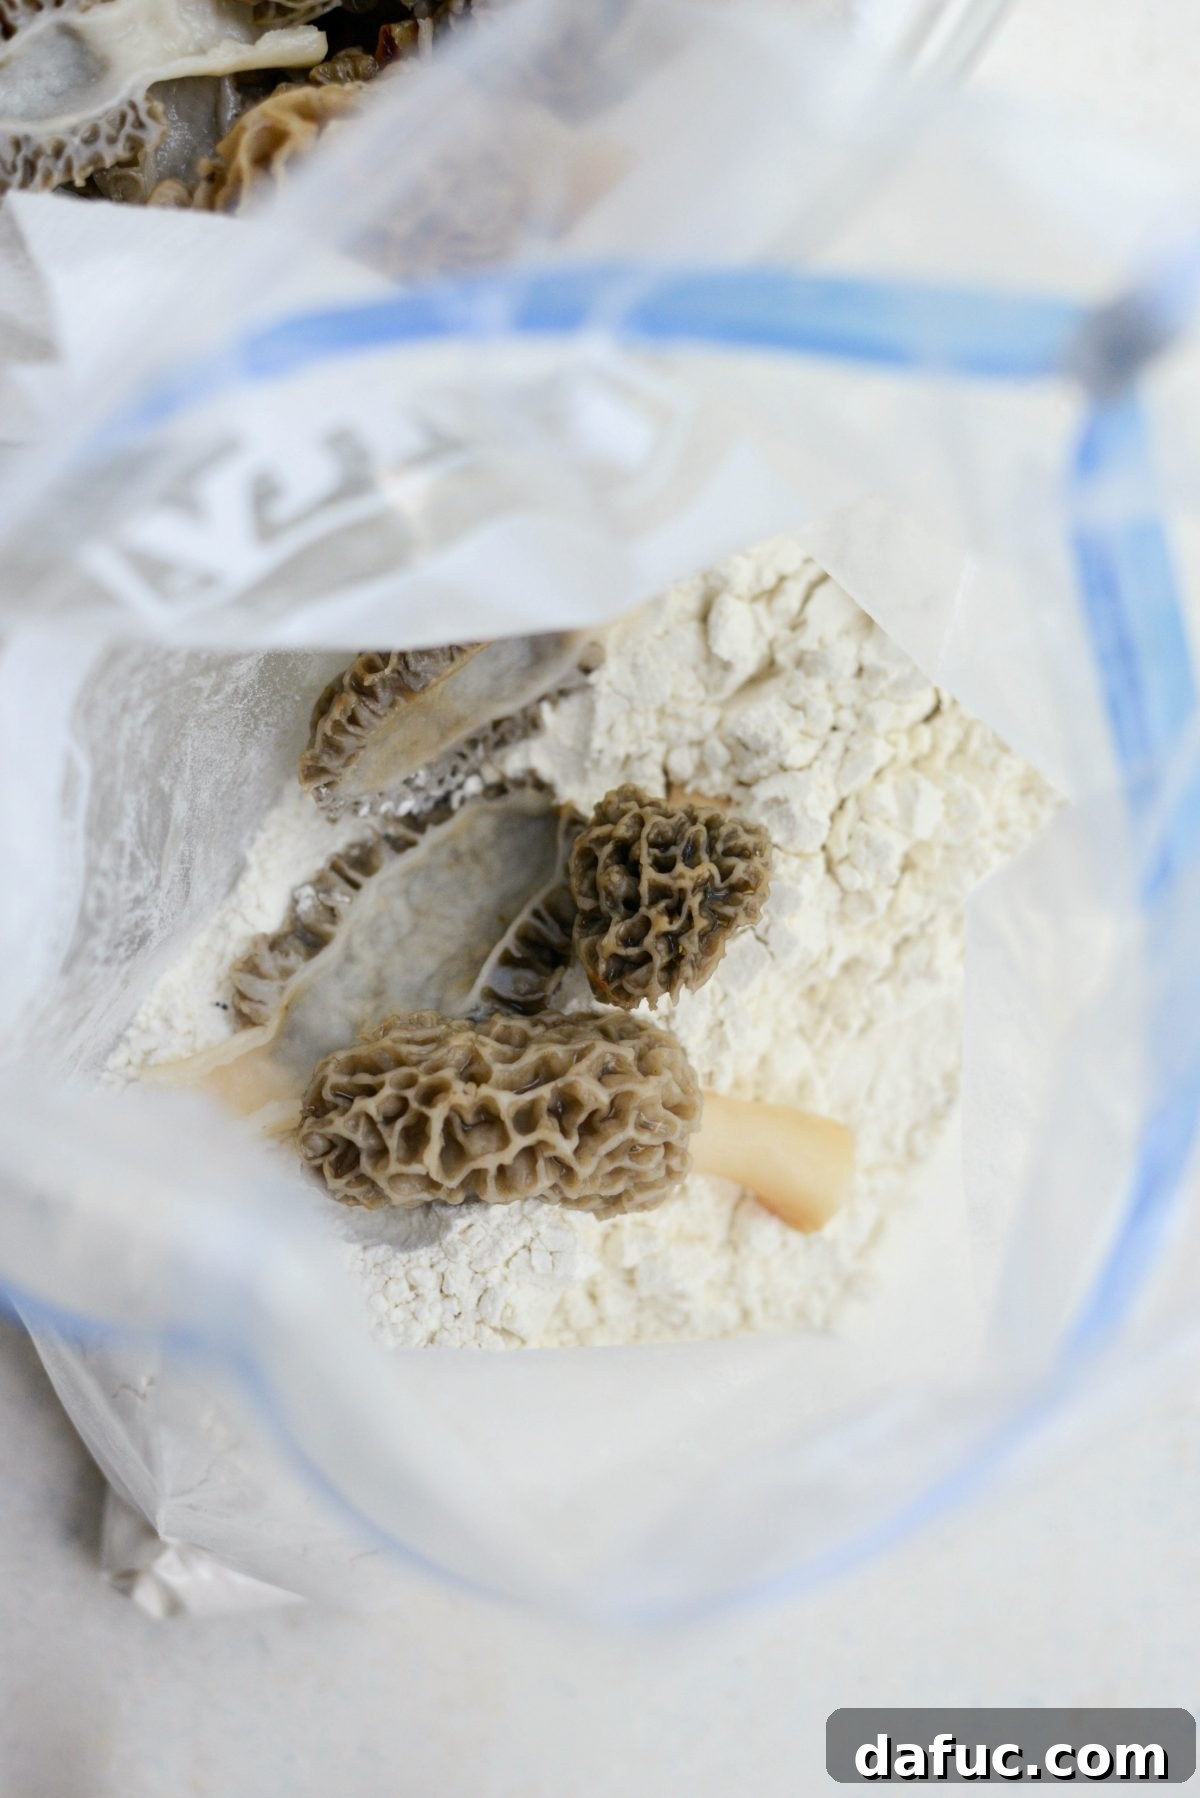
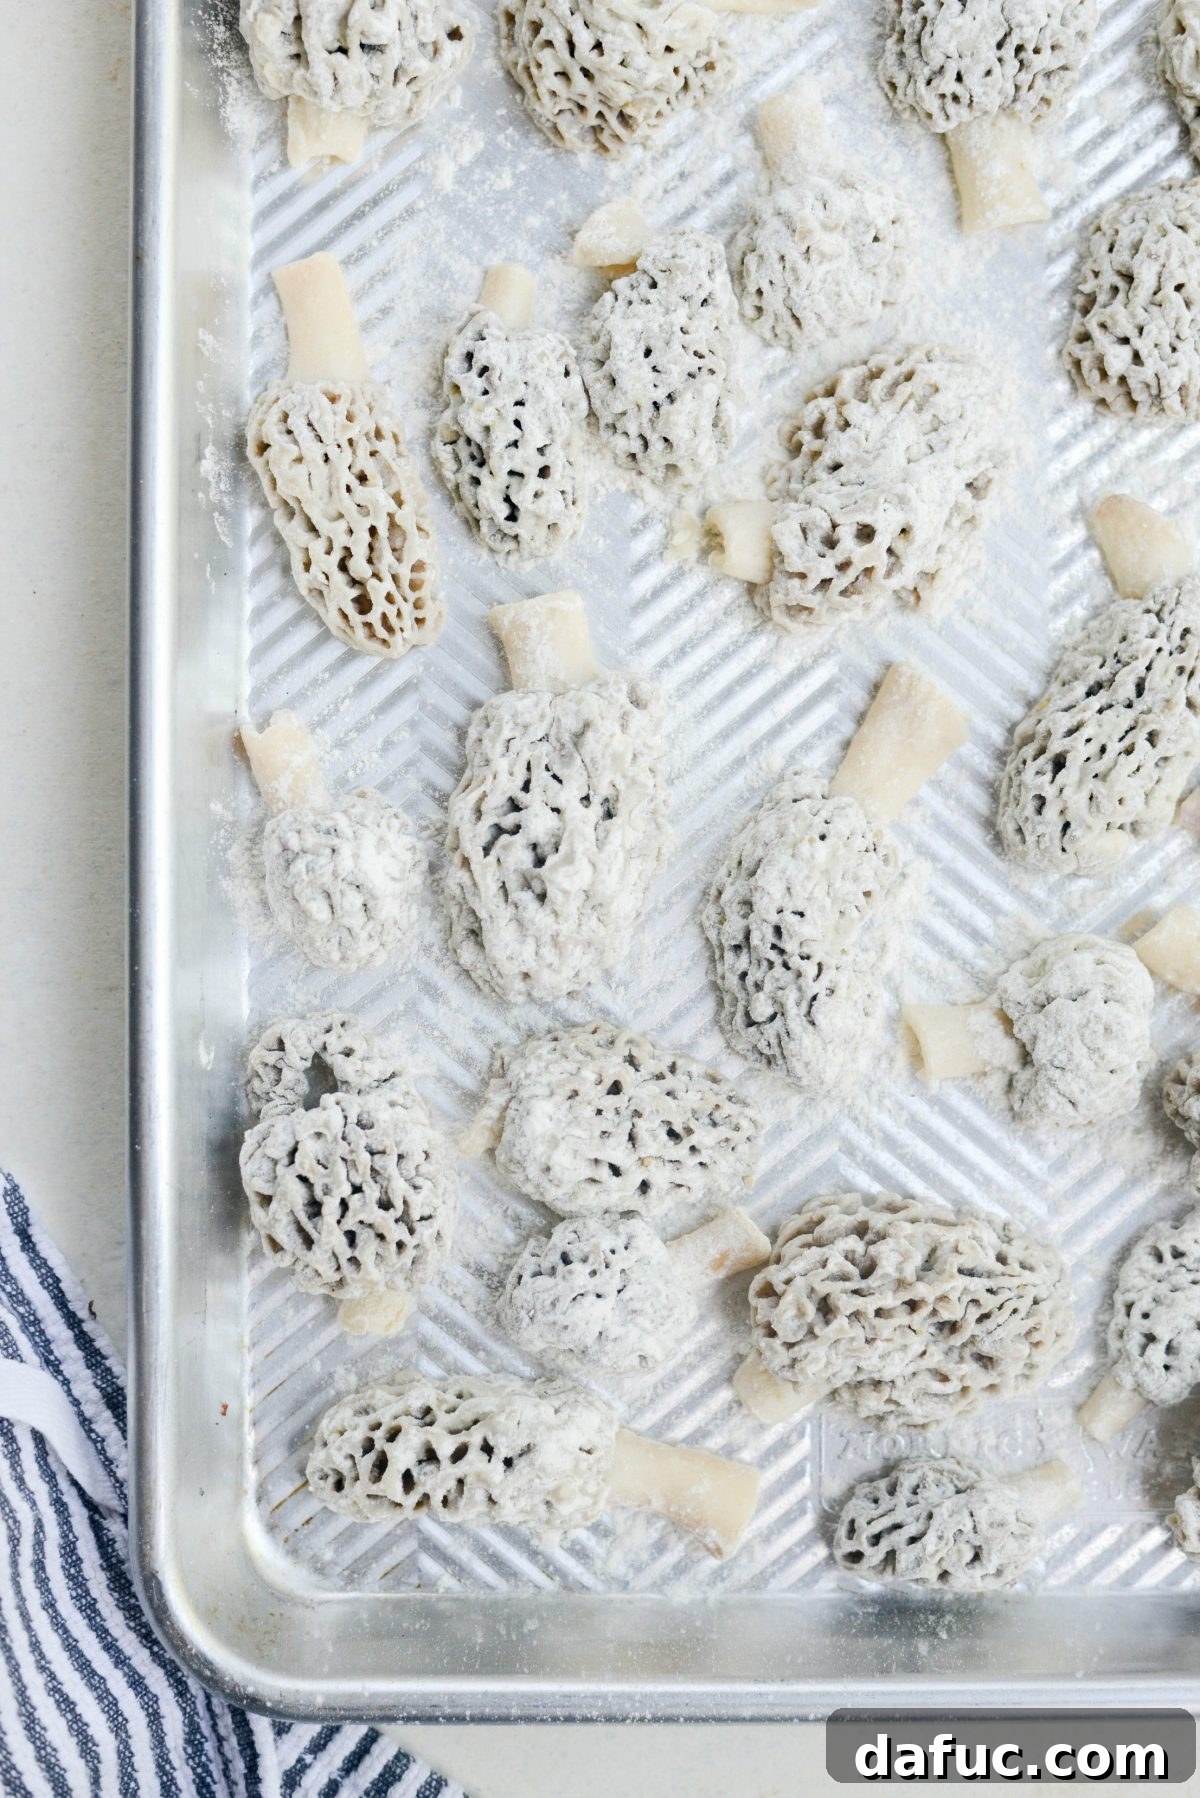
Pan-Frying to Golden Brown Excellence
Now for the main event: frying. In a deep-sided stainless steel frying pan, melt one stick (1/2 cup) of good quality unsalted butter over medium heat. Allow the butter to fully melt and start to bubble, indicating it’s hot enough for frying. Once the butter is perfectly heated, begin working in batches to avoid overcrowding the pan, which can lower the temperature and result in soggy morels instead of crispy ones. Carefully place a few of the floured morel halves into the skillet, cut side down.
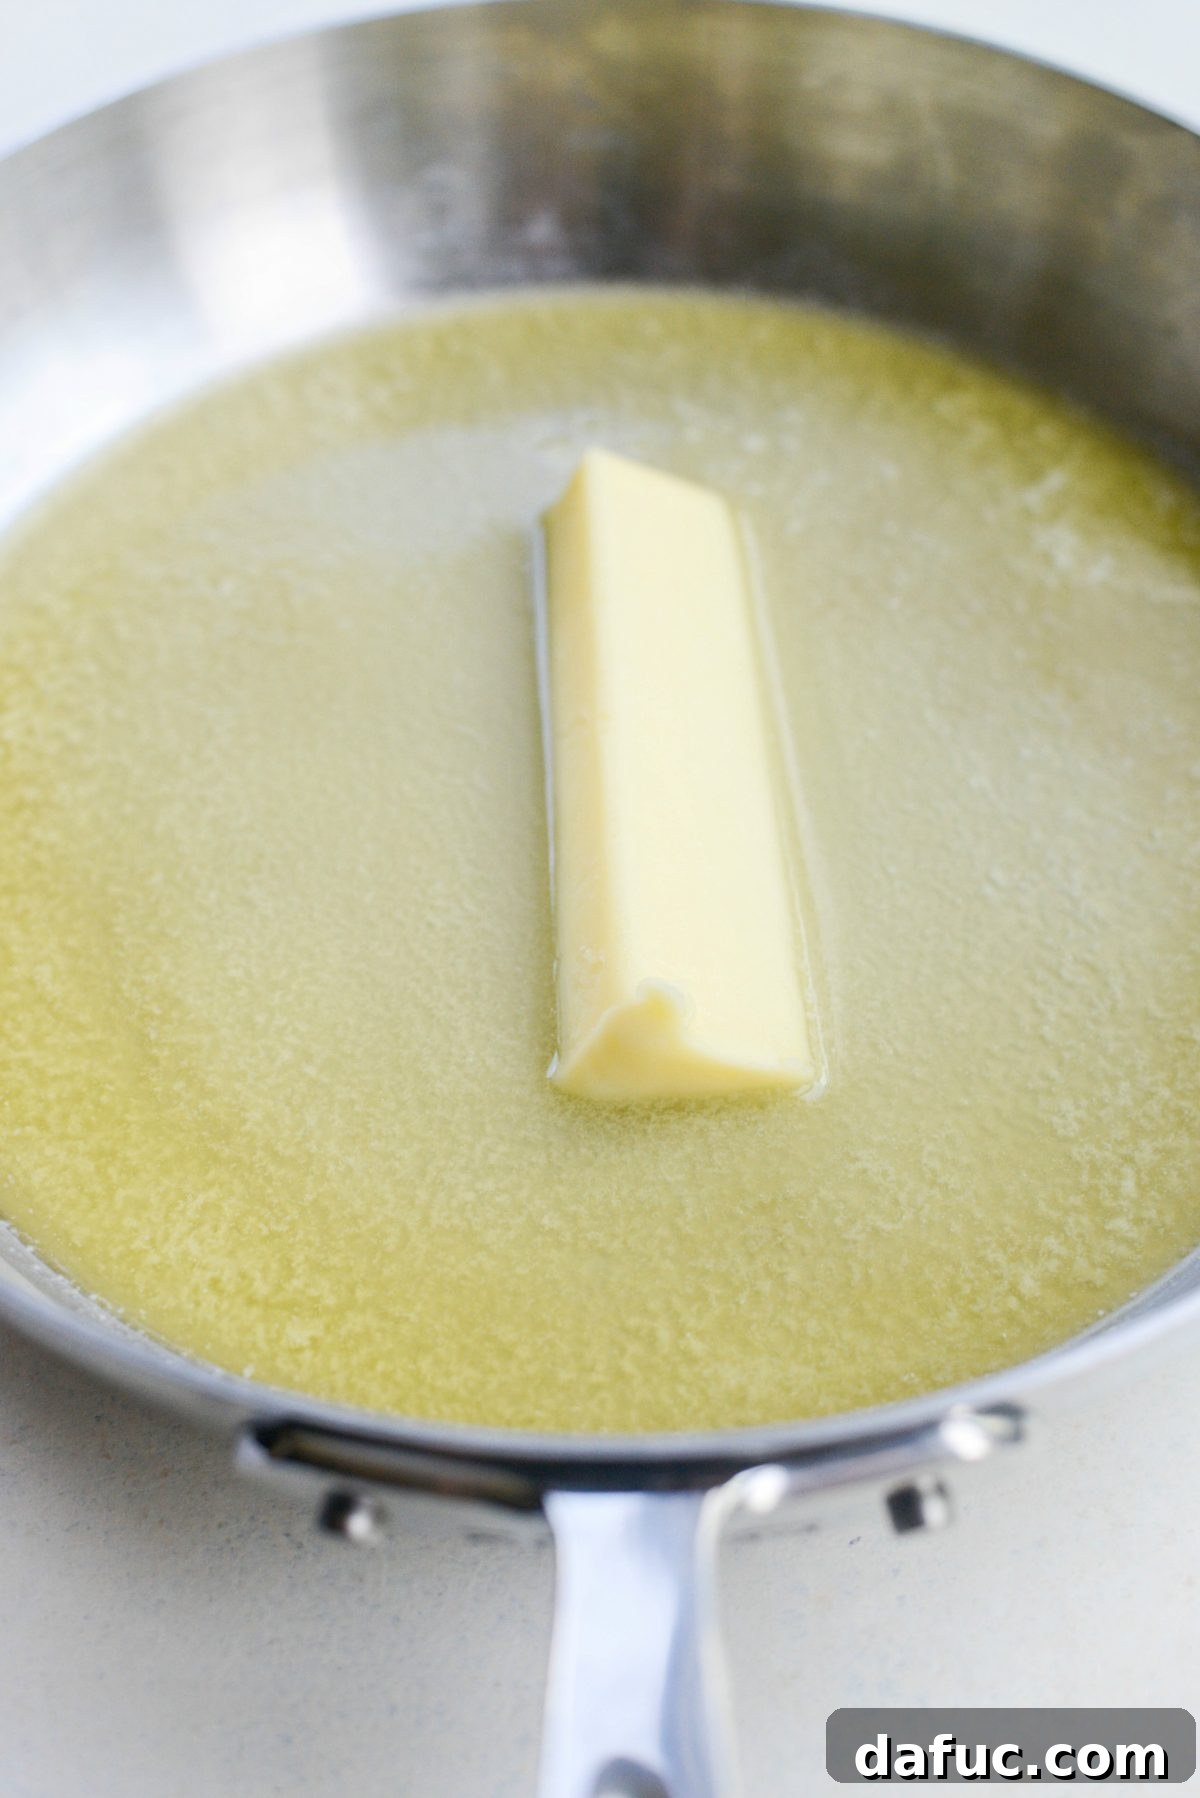
Cook the morels for approximately 6 to 7 minutes on the first side, or until they achieve a beautiful golden-brown color and a satisfying crispness. The exact cooking time may vary slightly depending on the size and thickness of your morels. Use a fork or a small spatula to carefully turn each pan-fried morel mushroom over, and continue cooking for an additional 5 to 6 minutes on the other side. This ensures both sides are equally crispy and cooked through. It’s important to note that subsequent batches may cook faster as the skillet retains heat, so keep a close eye on them to prevent overcooking.
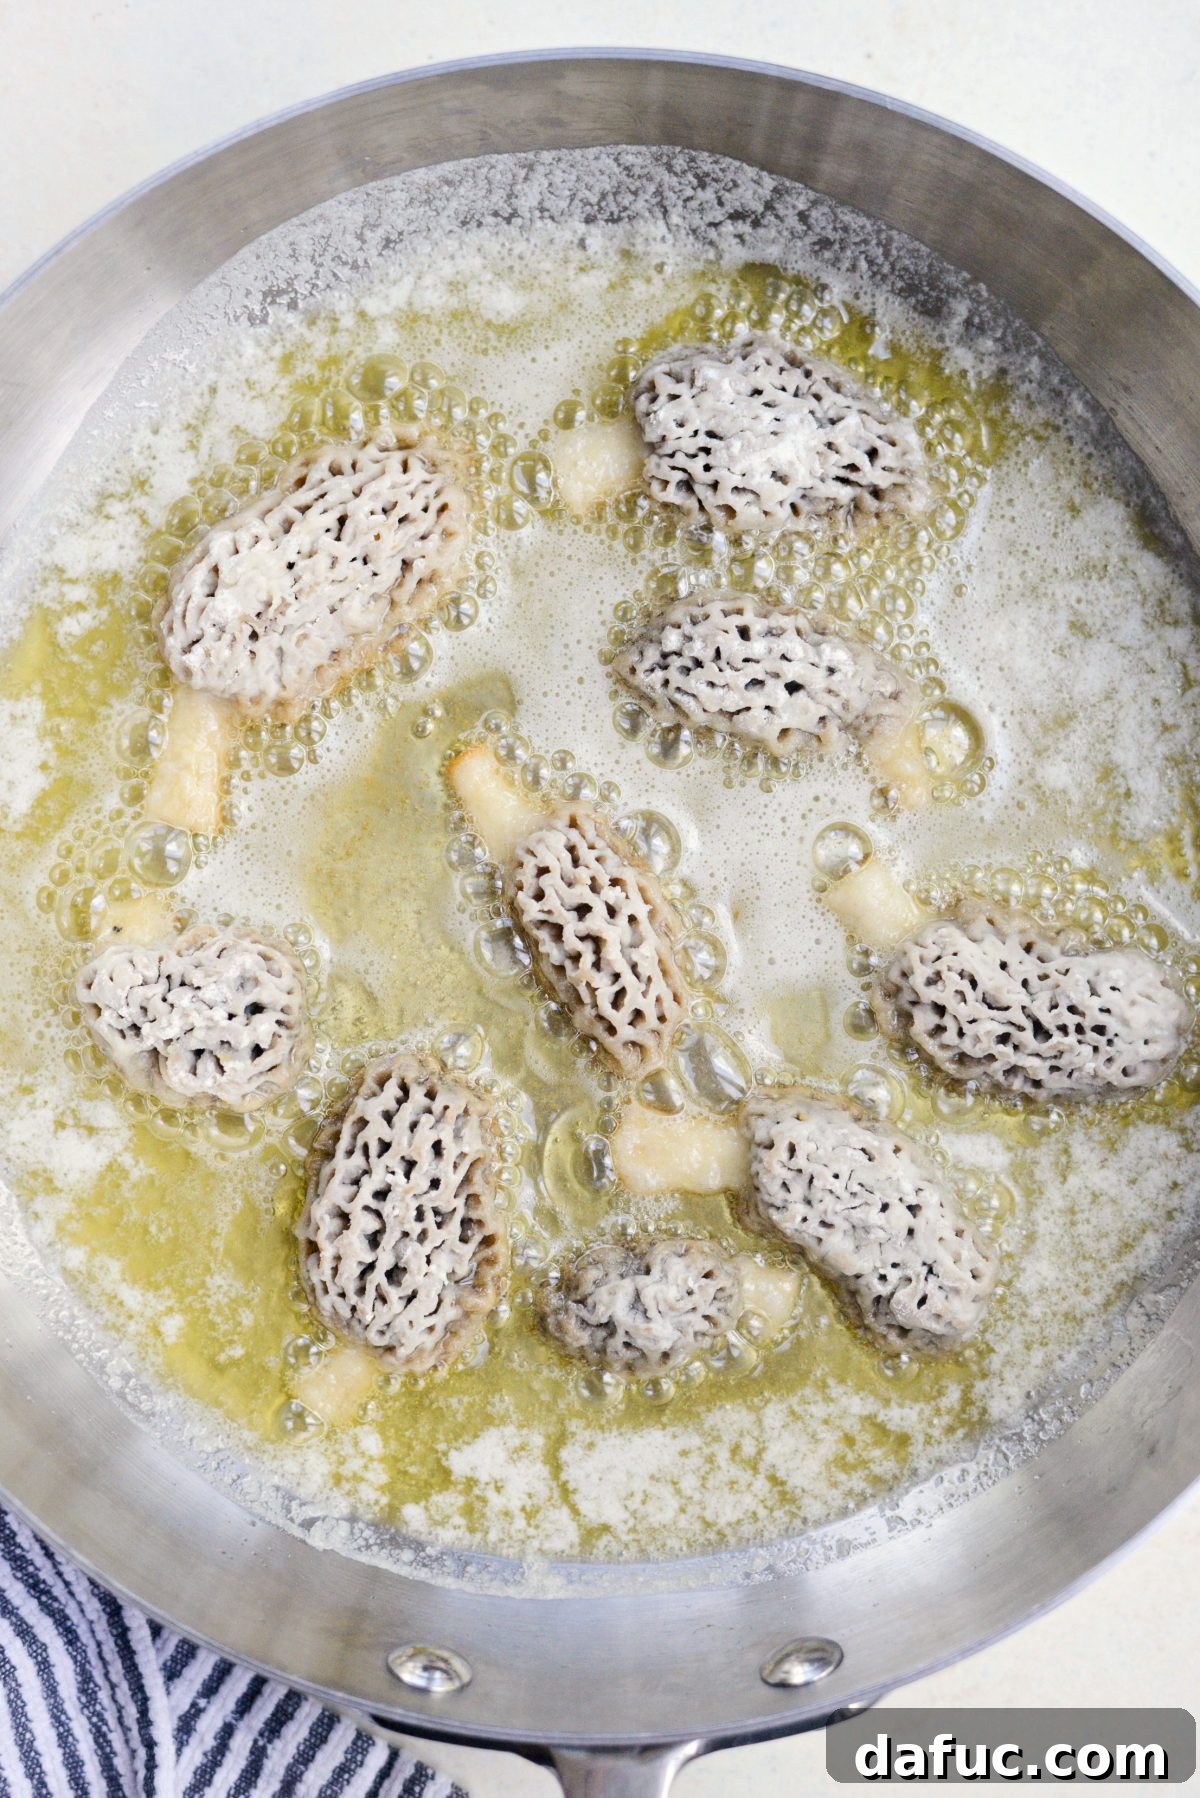
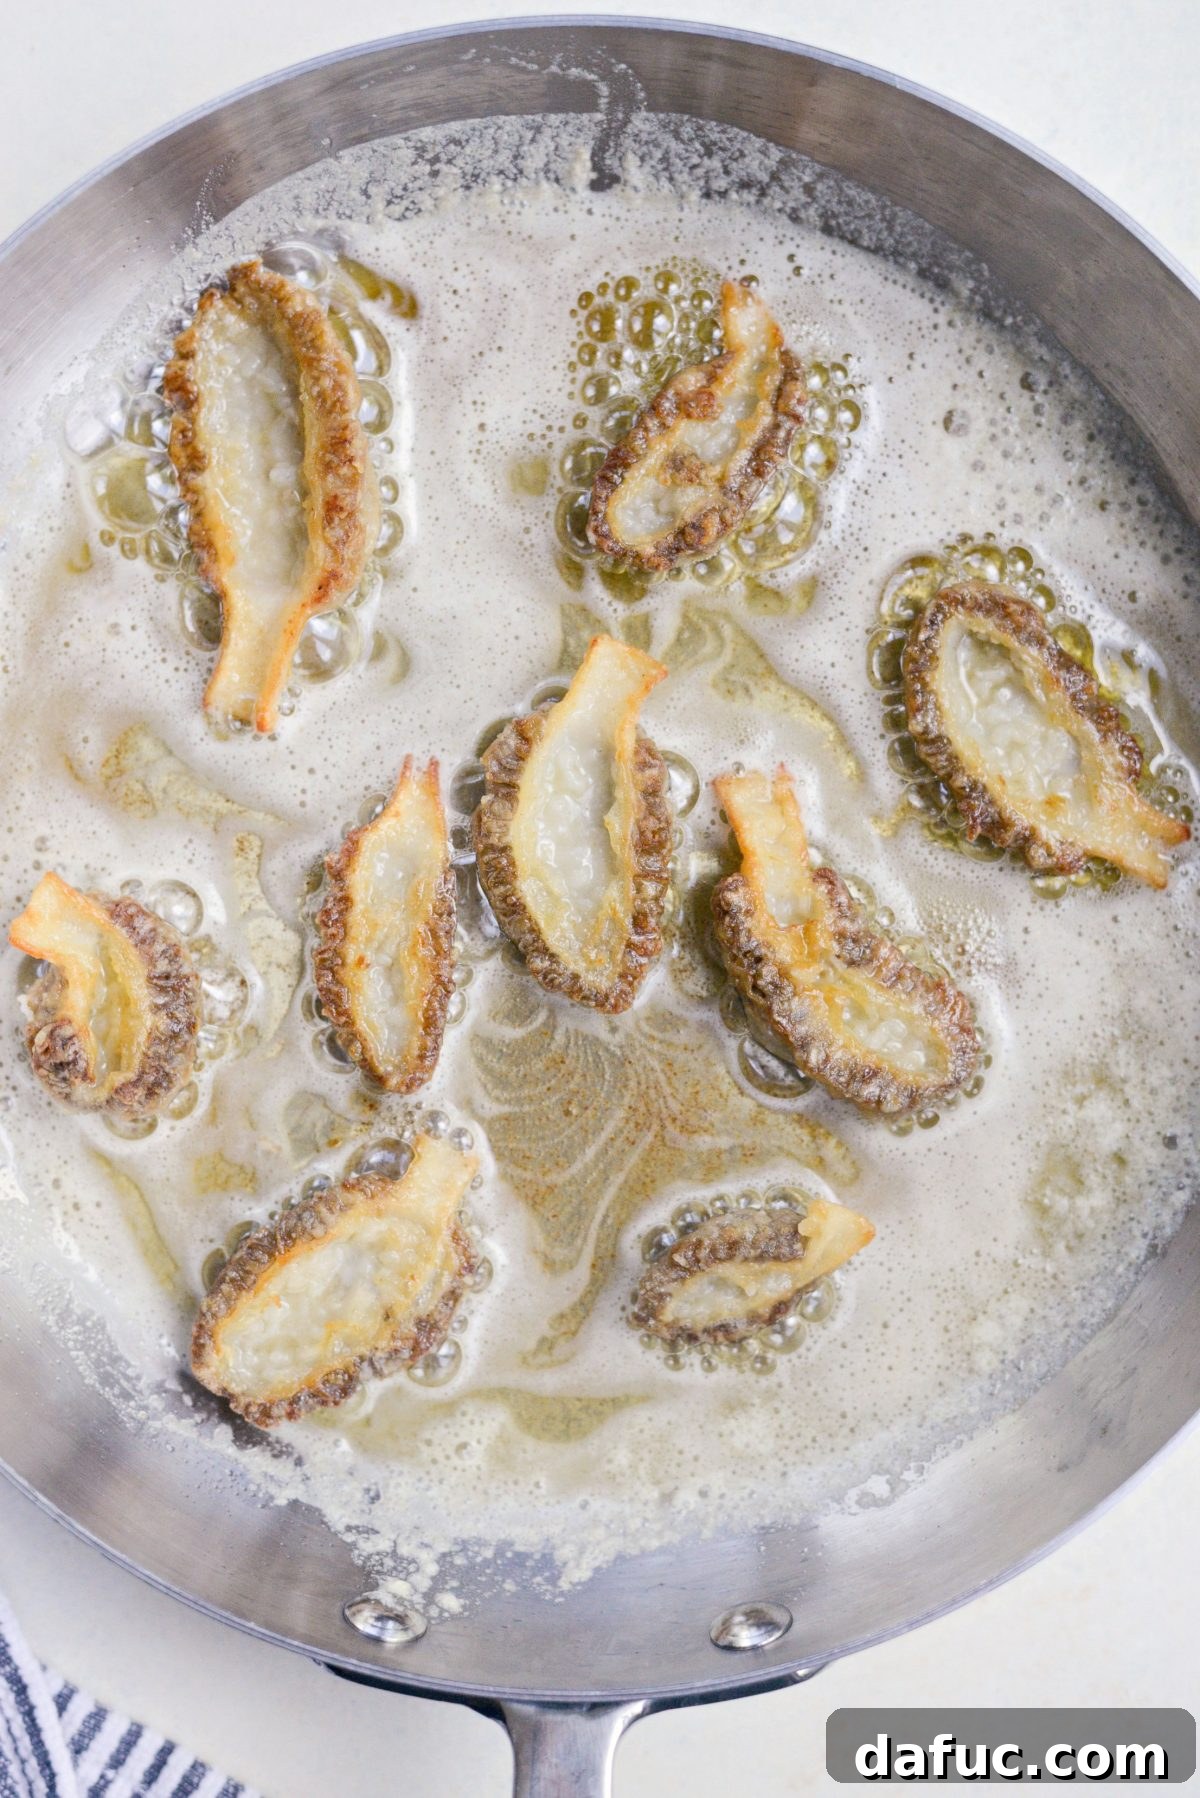
Once each batch is perfectly golden and crispy, transfer the fried morels to a plate generously lined with paper towels. This will help absorb any excess butter, ensuring the mushrooms remain delightfully crisp. Continue this process with the remaining coated mushrooms, adding more butter to the skillet as needed to maintain a consistent frying medium for each batch.
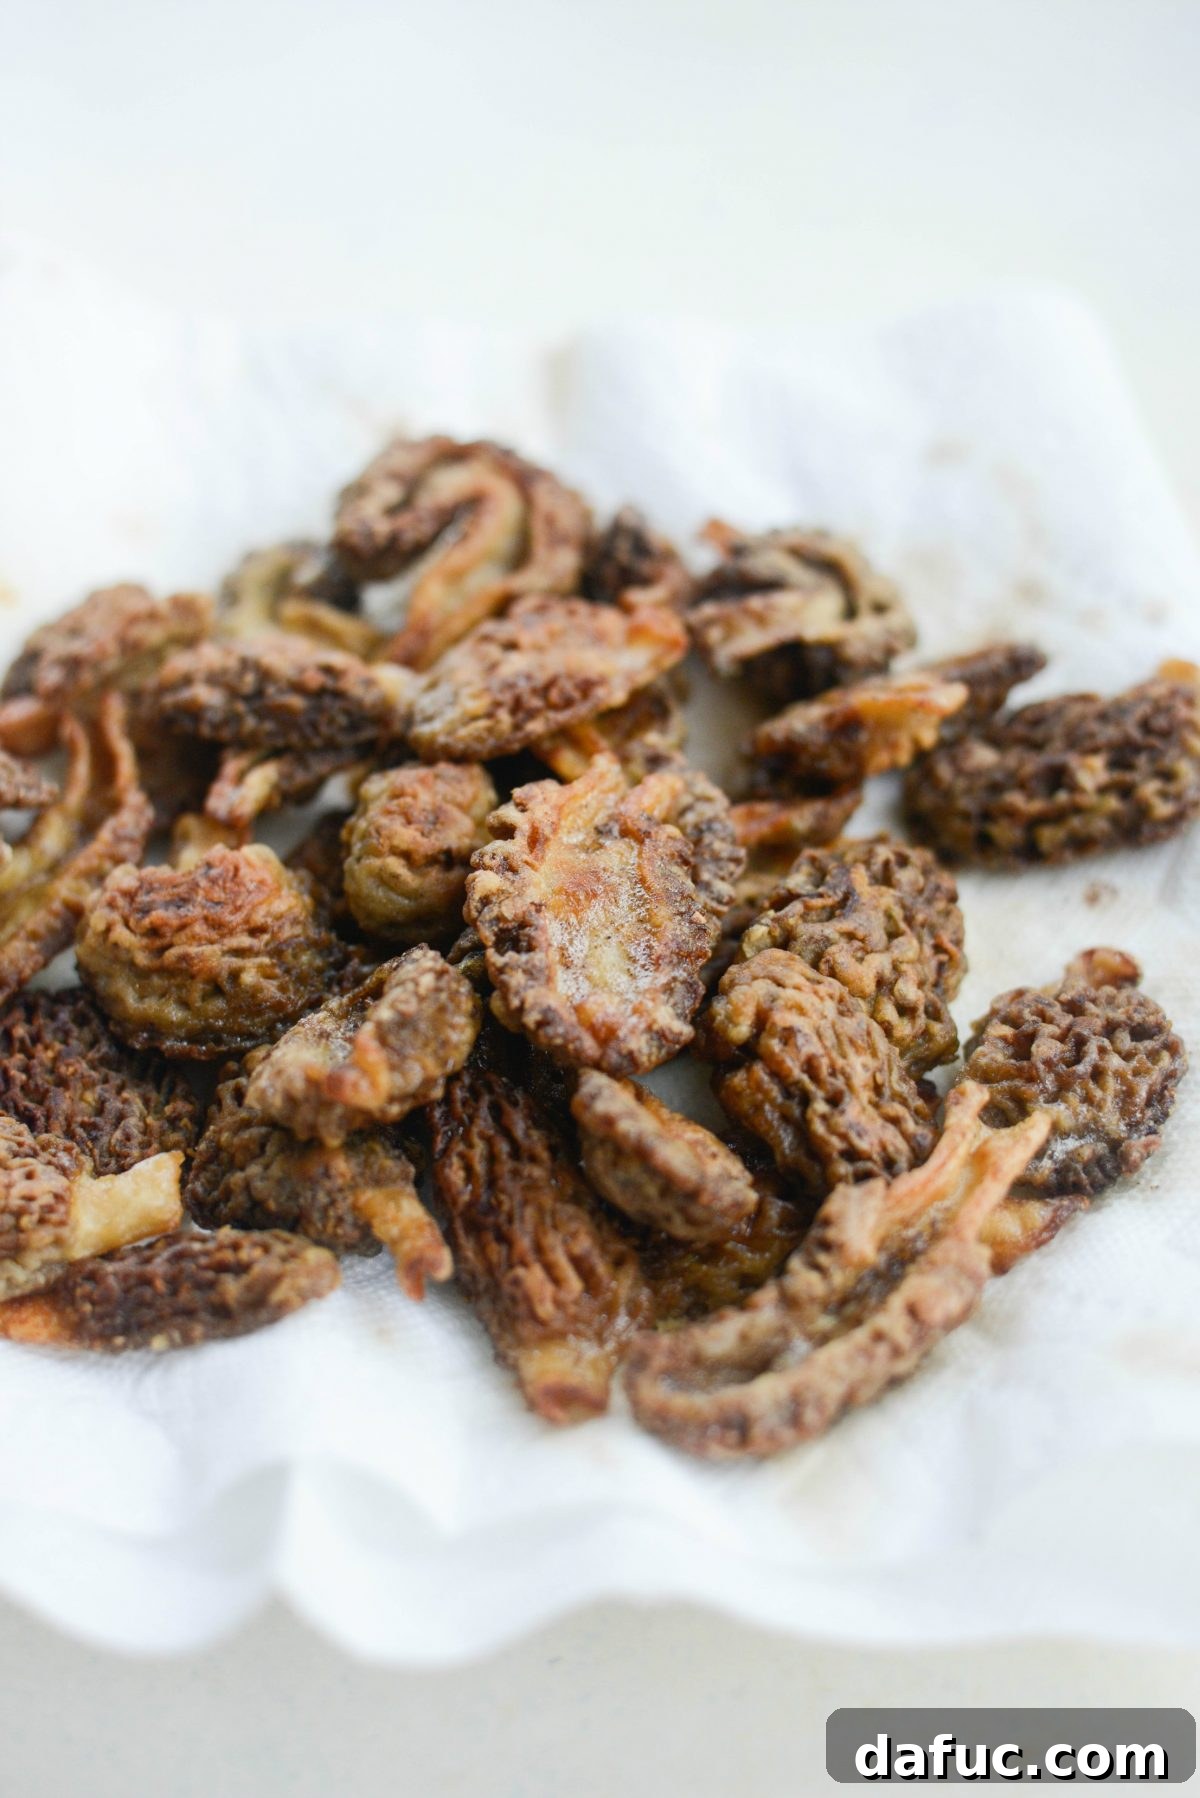
Serving and Savoring Your Pan-Fried Morels
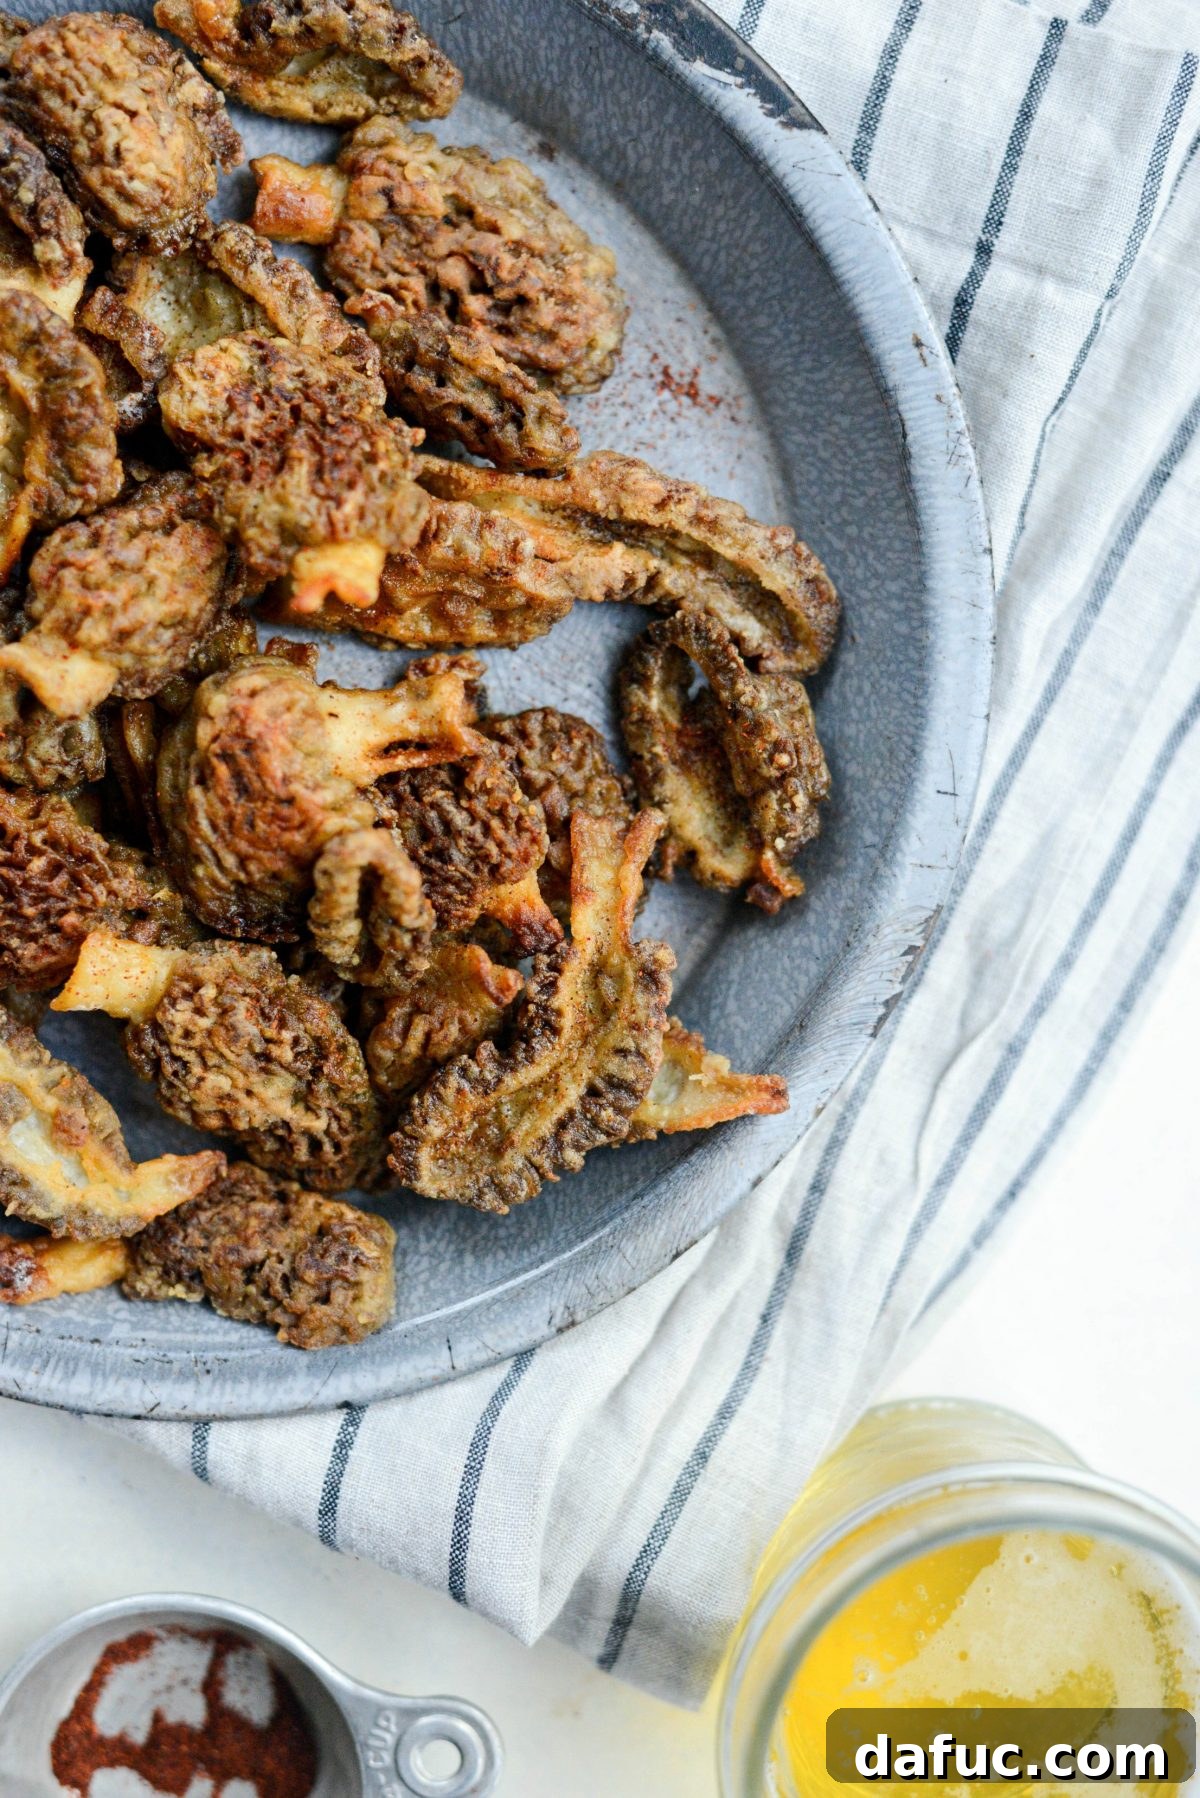
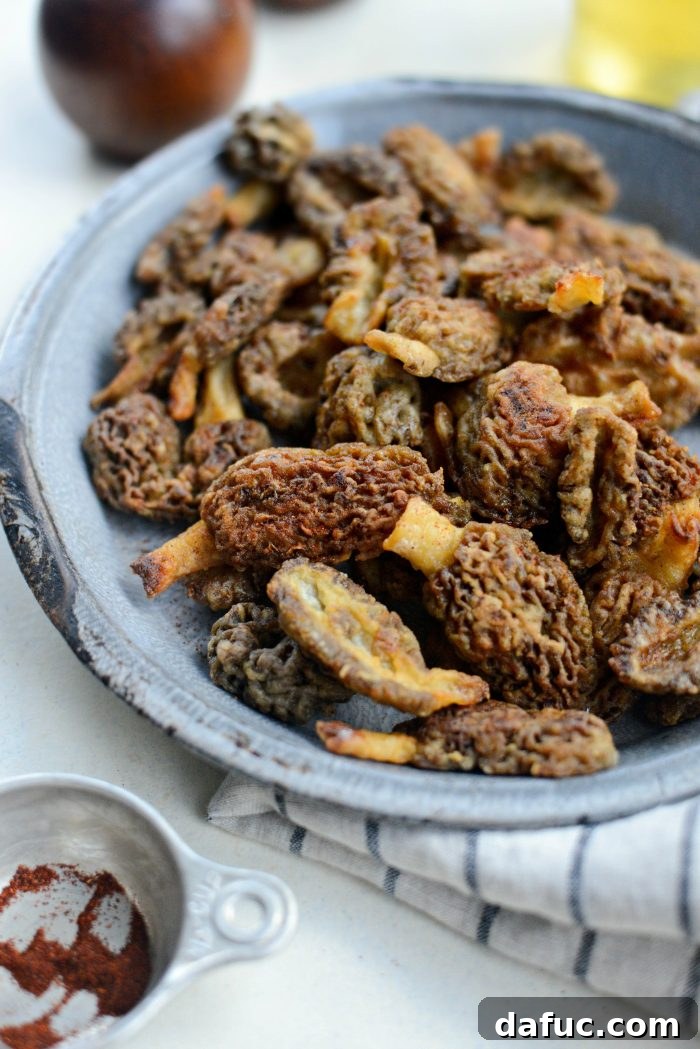
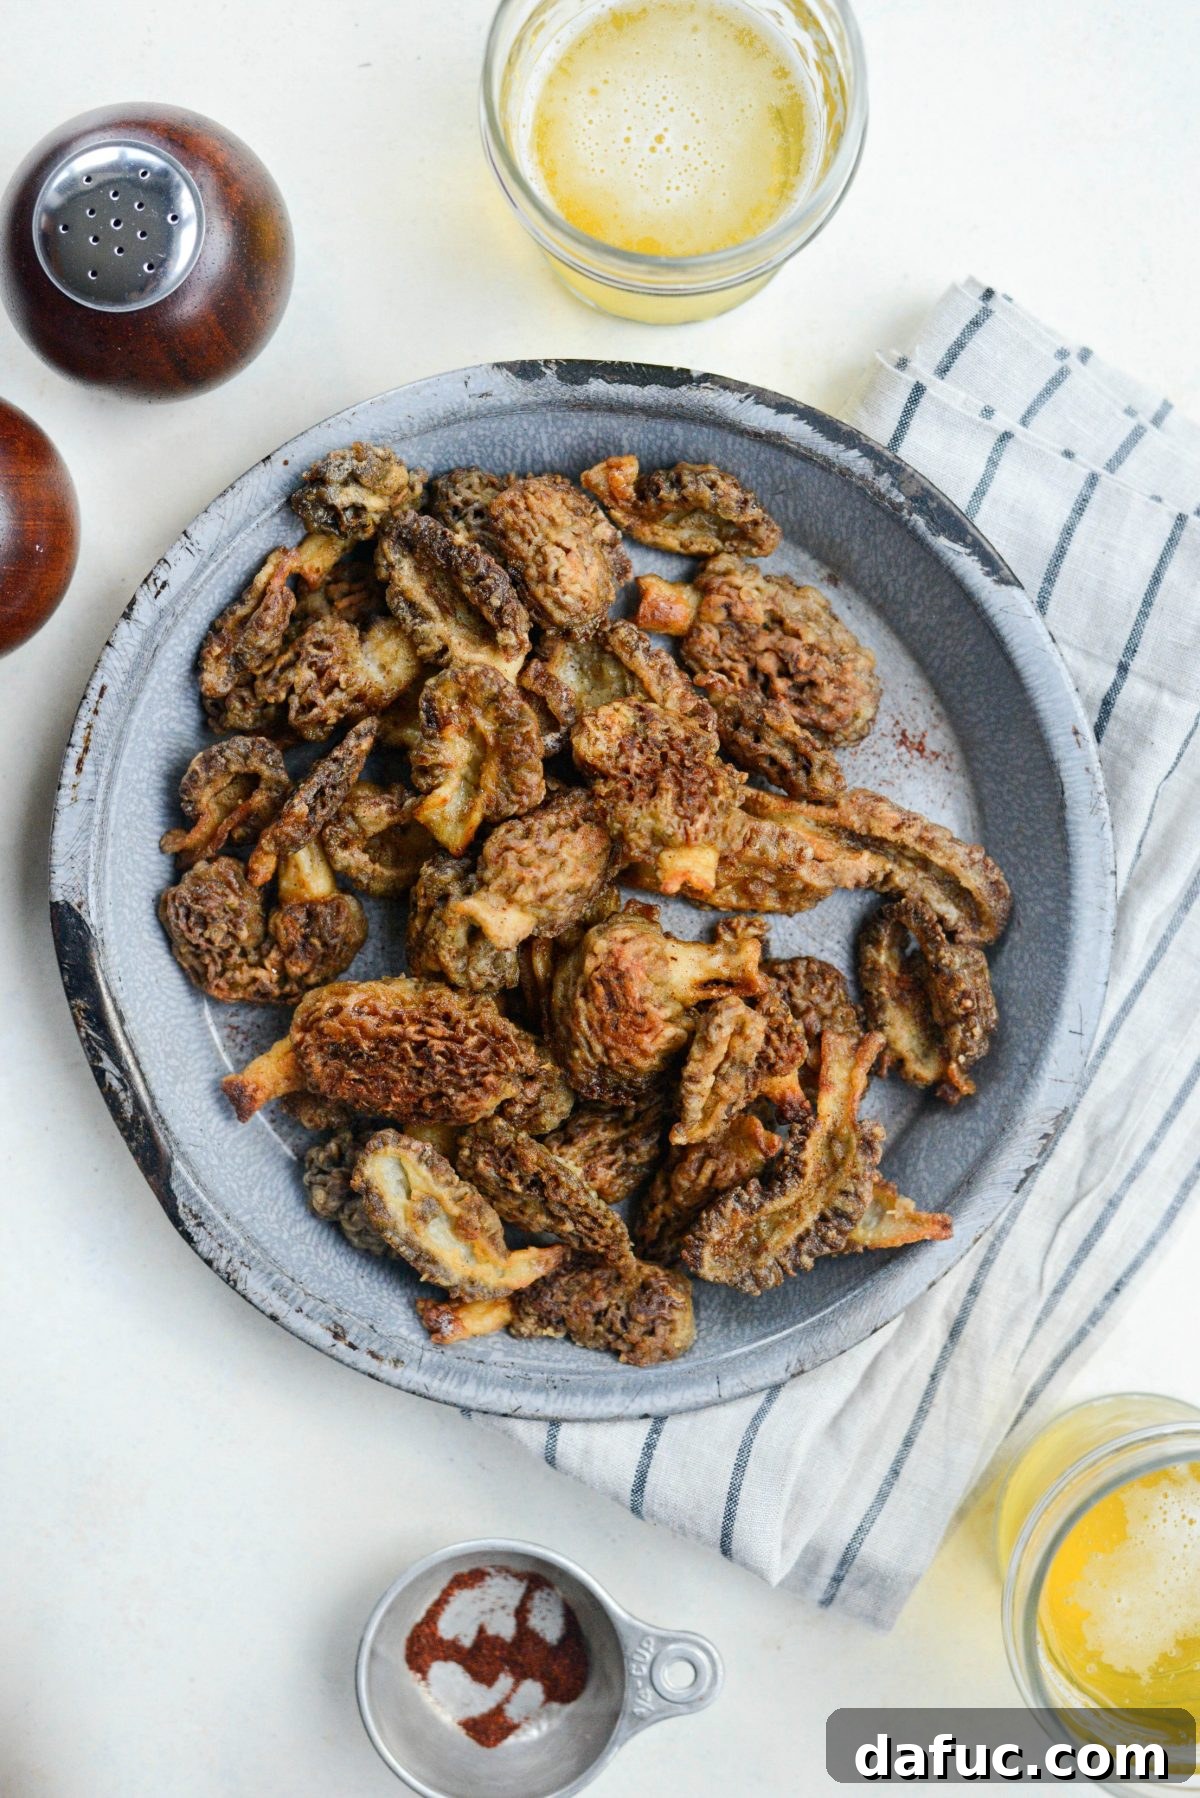
Once all your morels are perfectly pan-fried, they are ready to be savored. For a final touch, sprinkle them with a little bit of paprika just before serving. This adds a lovely visual appeal and a subtle, sweet peppery note. While an ice-cold beer makes for an excellent accompaniment, these versatile mushrooms pair beautifully with a variety of dishes. Consider serving them as an exquisite appetizer, a gourmet side dish to a perfectly grilled steak, or tossed into a light pasta dish. Their addictive quality means they won’t last long, so enjoy them fresh and warm!
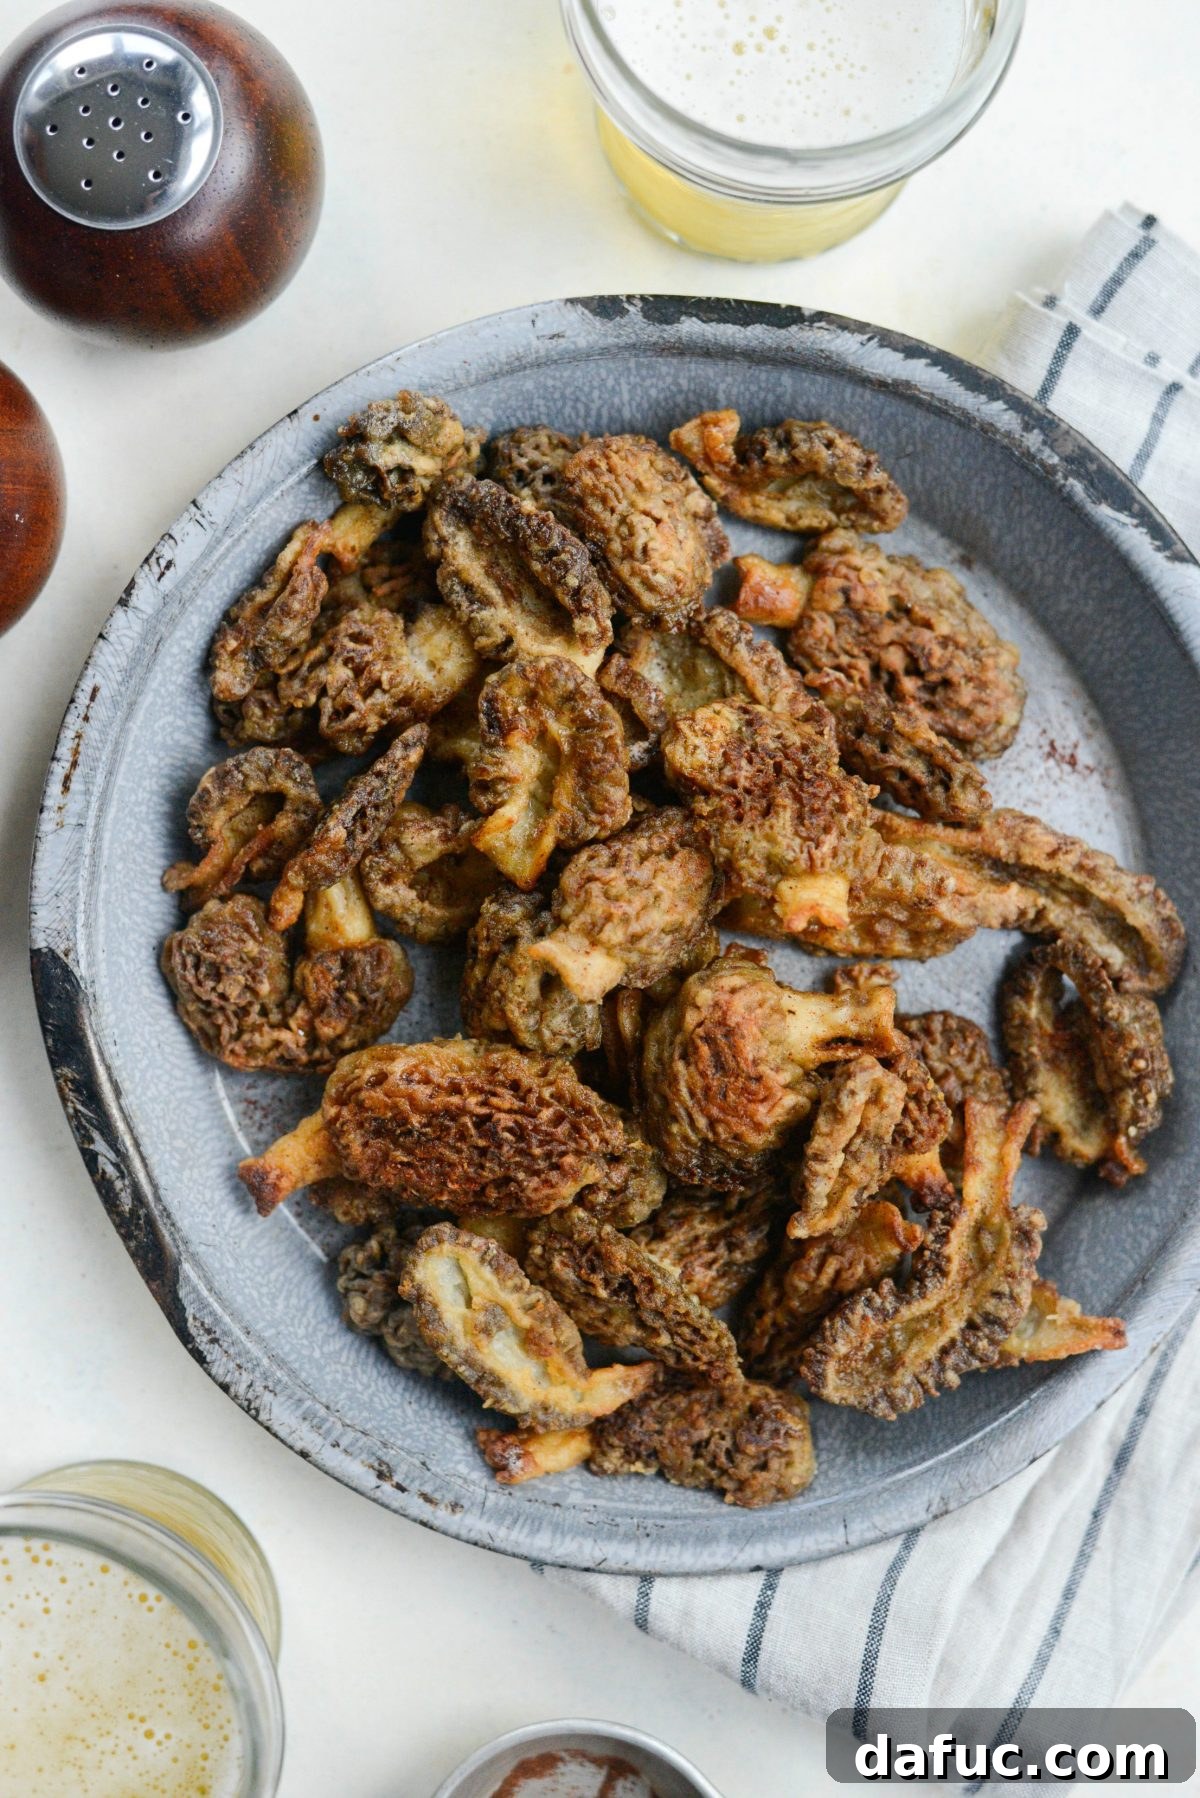
The Unique Flavor Profile of Pan-Fried Morels
So, what exactly do these pan-fried morels taste like? In my honest opinion, their taste and texture are wonderfully reminiscent of crispy, battered, fried chicken skin. It’s a truly unique sensation that often surprises first-timers. My oldest daughter, upon returning home from school and smelling the aroma, exclaimed that it smelled like chicken nuggets! This anecdote speaks volumes about their palatable appeal. I found them to be surprisingly “un-mushroomy” in taste, meaning they don’t have the strong, earthy, or sometimes polarizing flavor that some people associate with mushrooms.
I firmly believe that even individuals who typically dislike mushrooms would genuinely enjoy pan-fried morel mushrooms. Their delicate, slightly nutty flavor, combined with the golden, savory crispness from the butter and seasoned flour, creates a universal appeal. I sincerely hope you are lucky enough to find these exquisite morels this season and give this pan-fried recipe a try. They are undeniably delicious, and I have no doubt that you will fall in love with them just as much as my family and I have.
Enjoy your culinary adventure! If you give this exquisite Pan-Fried Morel Mushrooms recipe a try, we’d absolutely love to hear about it. Snap a photo of your delicious creation and tag us on Twitter or Instagram!
Pan-Fried Morel Mushrooms Recipe Card
Print Recipe | Pin Recipe
Average Rating: 4.44 from 37 ratings
Yield: 6 servings
Prep Time: 3 hrs |
Cook Time: 35 mins |
Total Time: 3 hrs 35 mins
Ingredients
- 1 pound fresh morel mushrooms
- Water (for soaking)
- Salt (fine sea salt recommended, for soaking)
- 1½ cups unbleached all-purpose flour
- 1 (rounded) teaspoon fine sea salt (for dredge)
- 1 (rounded) teaspoon garlic powder
- 1 (rounded) teaspoon onion powder
- Freshly ground black pepper
- Paprika (for serving)
- 1 stick (½ cup) unsalted butter (for frying)
Instructions
- Fill a large bowl about 3/4 full with warm (not hot) water and stir in 1 tablespoon of fine salt until dissolved.
- Carefully place the morels into the salt water mixture and gently press to submerge them. Cover the surface with 3-4 layers of paper towel, pressing lightly to ensure the mushrooms remain submerged. This helps extract dirt and small insects. Refrigerate for 2 to 12 hours, or ideally overnight. Gently agitate the mushrooms periodically. It is completely normal to find small bugs floating – this confirms the cleaning process is working!
- Once the initial soak is complete, remove the mushrooms from the water and place them onto a clean cutting board. Carefully trim any rough edges from the stems and then cut each morel in half lengthwise.
- Prepare a second bowl with the same salt water solution as before. Add the halved morel mushrooms, cover with paper towel, and soak for another 1 to 2 hours. This crucial second soak ensures the internal crevices of the mushrooms are thoroughly cleaned.
- After the second soak, remove the morel halves and lay them on a clean kitchen towel to drain and dry slightly before dredging.
- In a large, gallon-sized re-sealable bag, combine the flour, rounded teaspoons of sea salt, garlic powder, onion powder, and freshly ground black pepper. Shake the bag to mix the dredge evenly. Add 5 to 6 morel mushroom halves at a time, seal the bag, and gently toss until each piece is fully coated. Carefully shake off any excess flour and arrange the coated morels in a single layer on a rimmed baking sheet, ensuring they do not touch to prevent sticking. Repeat with the remaining mushrooms.
- Melt 1 stick of unsalted butter in a deep-sided, 10-inch skillet over medium heat. Once the butter is hot and bubbling (but not browned), carefully place a portion of the dredged morels, cut side facing down, into the skillet. Cook for 6 to 7 minutes, or until deeply golden brown and crispy, adjusting time based on mushroom size. Using a fork or small spatula, gently turn the mushrooms and cook for an additional 5 to 6 minutes on the other side.
- Transfer the beautifully fried morels to a plate lined with paper towels to absorb any excess oil. Continue this process with the remaining mushrooms, adding more butter to the skillet as needed for each batch. Be mindful that subsequent batches may cook faster as the skillet retains heat.
- Just before serving, dust the warm pan-fried morels with a sprinkle of paprika for a touch of color and extra flavor. Serve immediately and enjoy!
Notes
Nutrition Disclaimer: All information presented on this site is intended for informational purposes only. We are not certified nutritionists, and any nutritional information shared should only be used as a general guideline.
Nutritional Information (per serving)
Serving: 1 serving, Calories: 138kcal, Carbohydrates: 28g, Protein: 6g, Fat: 1g, Saturated Fat: 1g, Polyunsaturated Fat: 1g, Monounsaturated Fat: 1g, Sodium: 81mg, Potassium: 348mg, Fiber: 3g, Sugar: 1g, Vitamin A: 1IU, Vitamin C: 1mg, Calcium: 38mg, Iron: 11mg
Author: Laurie McNamara
Course: Appetizer
Cuisine: American