
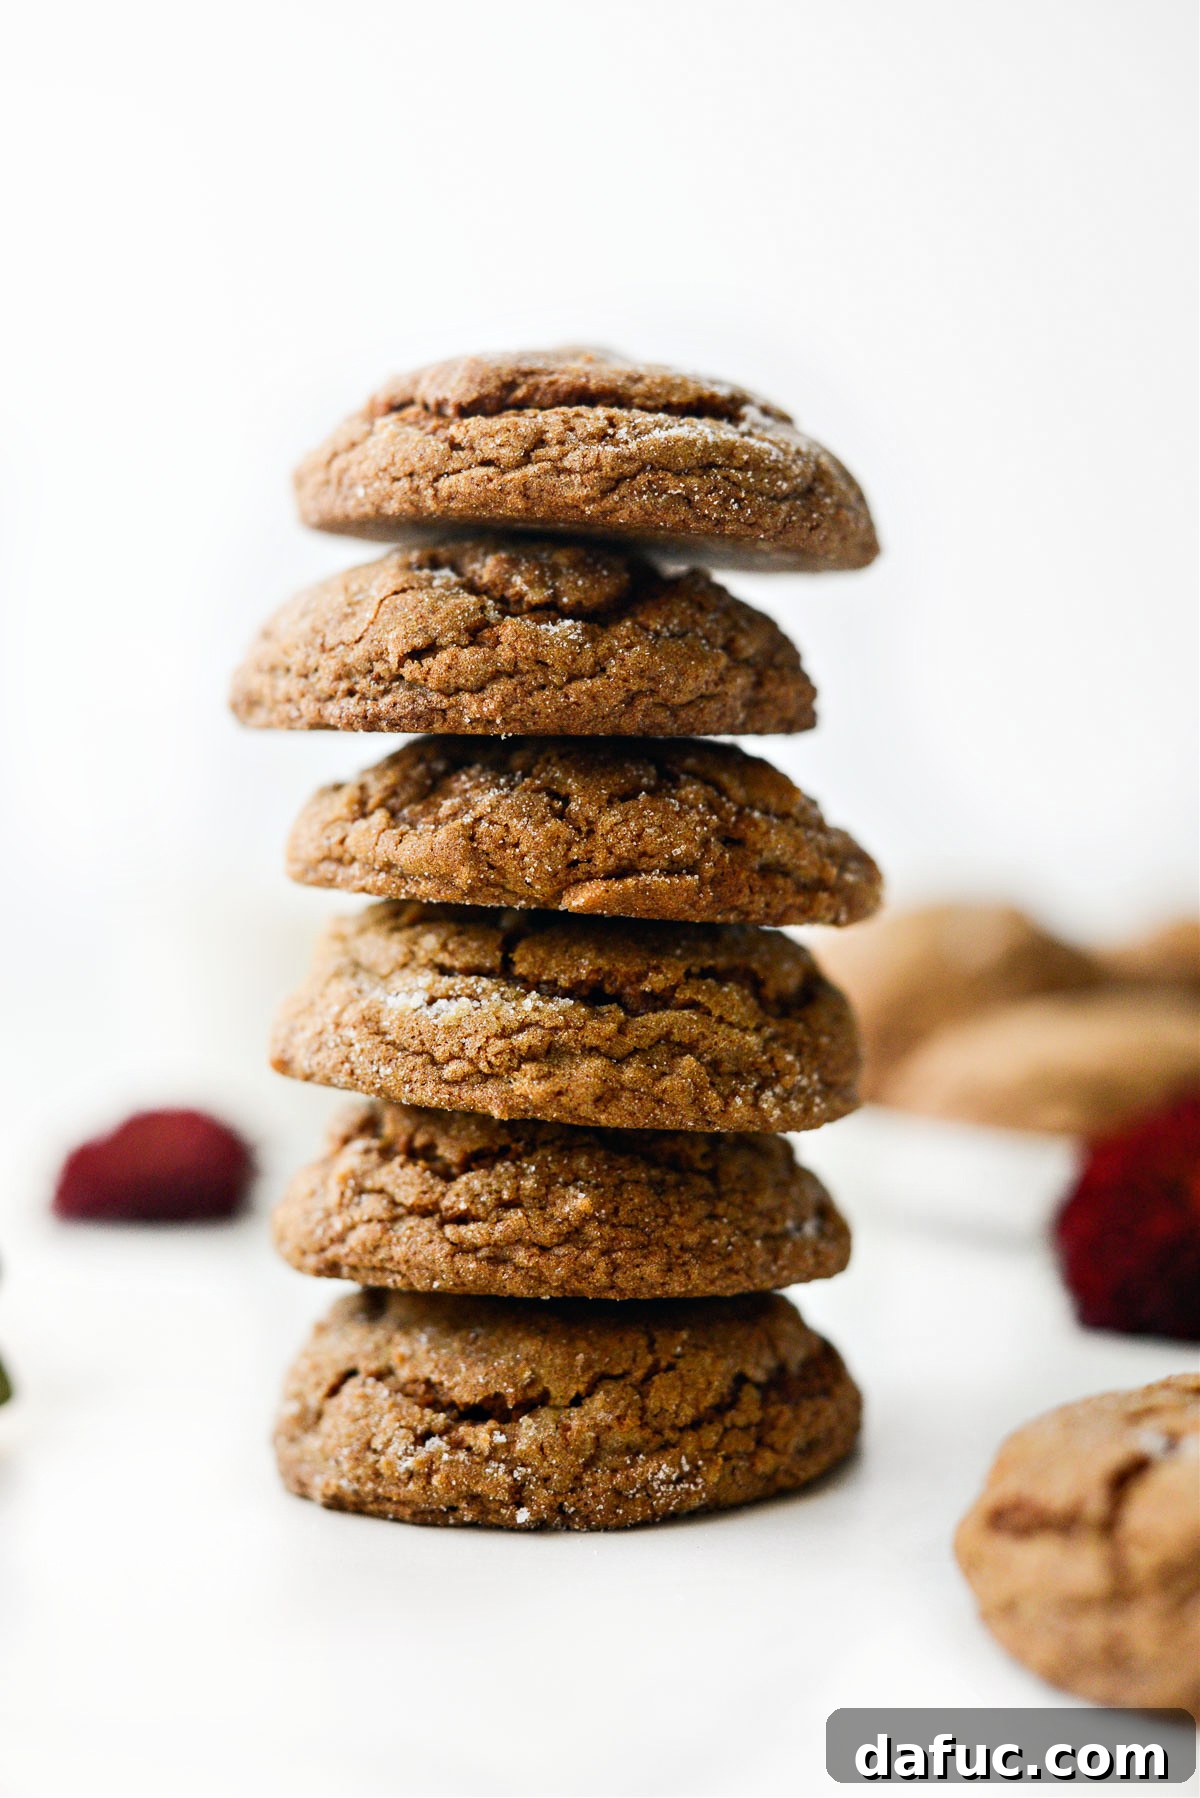
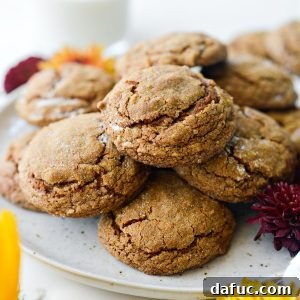
There’s an undeniable magic that happens when the warmth of fall spices meets the comforting sweetness of molasses and the subtle earthiness of pumpkin. These aren’t just any cookies; they are your next obsession: **Pumpkin Molasses Cookies**. Each bite delivers a robust symphony of flavor, a tender chewiness, and a delicate aroma that instantly transports you to cozy autumn days. This carefully crafted recipe promises to yield approximately 34 perfectly soft, incredibly flavorful, and utterly delectable cookies that will become a cherished part of your seasonal baking repertoire.
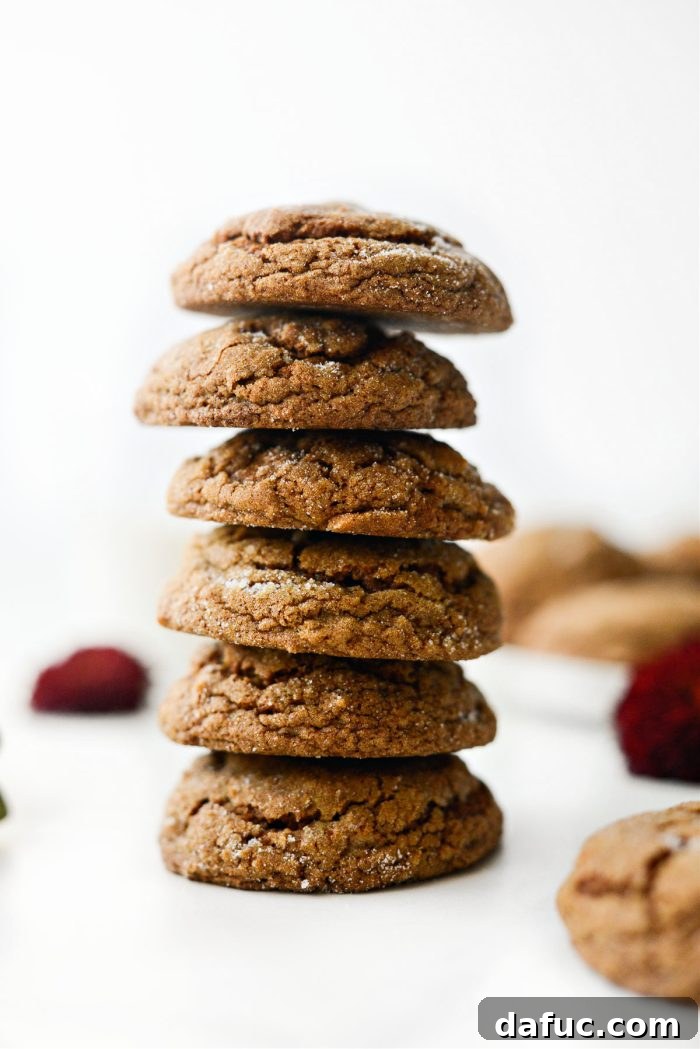
Why These Pumpkin Molasses Cookies Are a Must-Bake This Season
Imagine a cookie that perfectly balances the autumnal notes of pumpkin with the rich, deep sweetness of molasses, all underscored by an aromatic blend of warm spices. That’s exactly what you get with this recipe. These aren’t your typical thin and crispy molasses cookies; they are wonderfully moist, tender, and robust, with a soft, pillowy texture that melts in your mouth. The combination of ginger, cinnamon, clove, nutmeg, and allspice creates a complex, earthy profile that complements the pumpkin without overpowering it. The pumpkin itself lends a delicate, pure flavor and contributes significantly to the cookies’ incredible moisture content.
The Magical Blend of Pumpkin & Molasses
Molasses, with its dark, complex, and slightly smoky sweetness, is a perfect partner for pumpkin. While pumpkin often features in spiced recipes, the addition of molasses elevates these cookies beyond the ordinary. It doesn’t just add sweetness; it provides a depth of flavor that’s both nostalgic and uniquely delicious, creating a truly unforgettable treat. The interplay between the pumpkin’s natural sweetness and the molasses’s rich undertones, amplified by a generous hand of warming spices, results in a cookie that is both familiar and excitingly new.
The Secret to Irresistible Texture: Draining the Pumpkin Puree
One of the most critical steps, and indeed the secret to achieving these cookies’ perfect lofty and moist texture, is to remove as much moisture as possible from the pumpkin puree. Pumpkin, while delicious, carries a lot of water. If you don’t drain it, your cookies can turn out cakey or spread too much. This simple, quick step—which takes only a few minutes—ensures a more concentrated pumpkin flavor and a chewier, more desirable cookie texture. You can achieve this using either several layers of paper towel (be gentle, as it can tear) or a more durable cheesecloth.
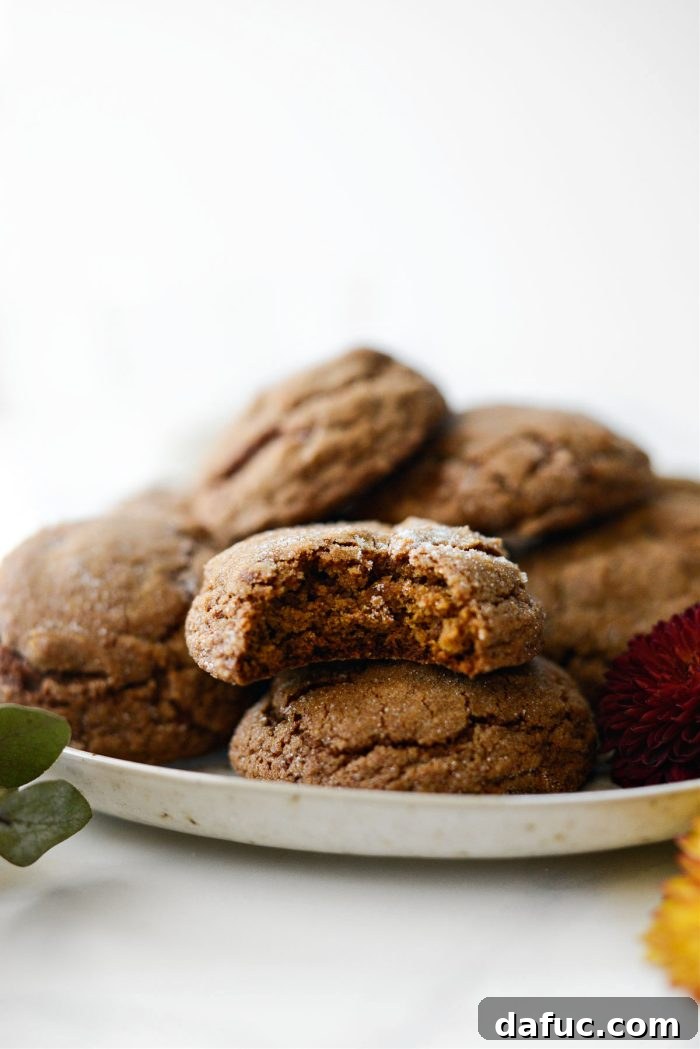
As the leaves begin to turn and the air grows crisp, my enthusiasm for pumpkin-flavored treats remains as strong as ever. And after just one bite of these irresistible Pumpkin Molasses Cookies, I’m confident yours will too!
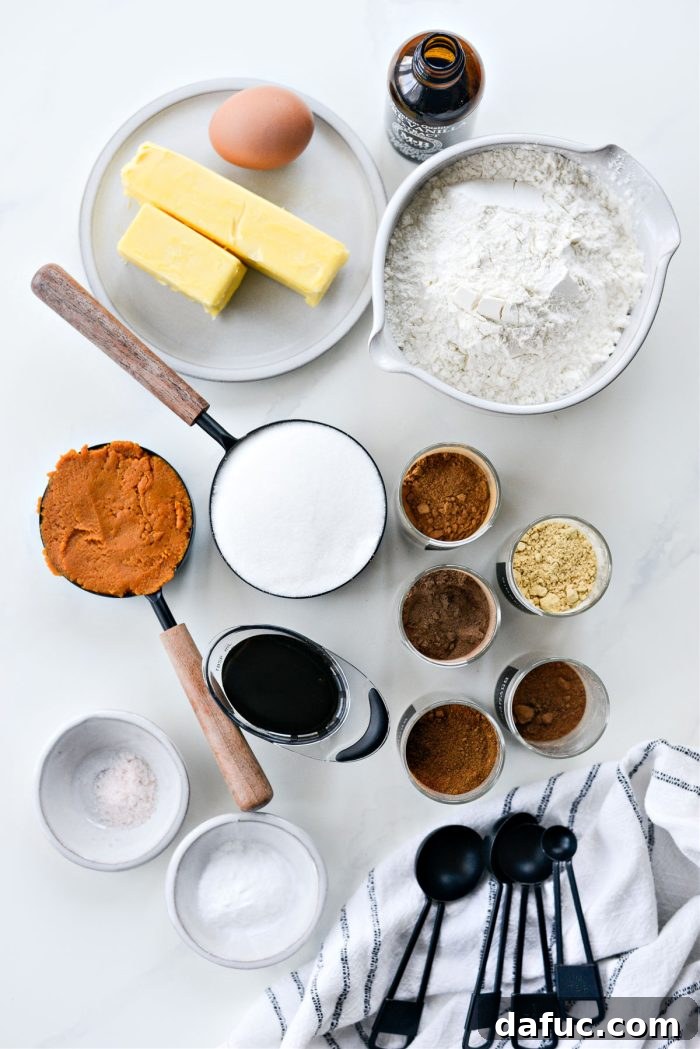
Essential Ingredients for Your Pumpkin Molasses Cookies
Crafting these delectable cookies requires a blend of common pantry staples and key seasonal flavors. Here’s a detailed look at what you’ll need and why each ingredient plays a vital role:
- Unbleached All-Purpose Flour: This forms the structural foundation of your cookie dough, providing the necessary body and texture. Unbleached flour offers a slightly softer bite.
- Baking Soda: A crucial leavening agent, baking soda reacts during baking to create gases, helping the cookies rise and achieve their signature soft, puffy shape.
- Fine Salt: Essential for balancing and enhancing all the sweet and savory flavors in the cookie. Opt for fine sea salt or pink Himalayan salt for the best results.
- Ground Cinnamon: A hallmark of fall baking, cinnamon provides a distinct, warm, and woodsy aroma and flavor that perfectly complements both pumpkin and molasses.
- Ground Ginger: Delivering a pungent, spicy, and subtly sweet kick, ginger adds a delightful warmth and depth to the spice blend, a classic partner to molasses.
- Ground Allspice: Named for its flavor profile, which hints at a combination of black pepper, cinnamon, cloves, fennel, nutmeg, and star anise, allspice brings a complex layer of warmth.
- Ground Nutmeg: Aromatic and warm, with subtle notes of clove, nutmeg rounds out the spice blend, adding a comforting, sweet earthiness.
- Ground Clove: Known for its intense, pungent, and warm flavor, clove provides a powerful aromatic boost that makes these cookies truly festive and robust.
- Unsalted Butter: Provides richness, tenderness, and contributes significantly to the cookie’s structure and flavor. Ensure it’s softened to room temperature for proper creaming.
- Granulated Sugar: Adds essential sweetness and helps achieve a beautiful golden-brown color and a slightly crisp exterior on the baked cookies. You’ll also need extra for rolling.
- 100% Pure Pumpkin Puree: The star of the show! Use canned or homemade puree, but it’s crucial that it’s *not* pumpkin pie filling. Most importantly, it must be thoroughly drained of all excess moisture (squeezed out).
- Un-sulphured Molasses: Made from ripe sugar cane, this type of molasses is not preserved with sulfur dioxide, resulting in a cleaner, purer, and richer molasses flavor that shines in these cookies.
- Large Egg: Adds structure, acts as a binding agent, and contributes to the leavening and overall richness of the cookies.
- Pure Vanilla Extract: A universal flavor enhancer, vanilla extract adds warmth and depth, harmonizing and elevating all the other flavors present in this delightful recipe.
Step-by-Step Guide: How to Make Perfect Pumpkin Molasses Cookies
Follow these detailed instructions to create your own batch of irresistible Pumpkin Molasses Cookies. Precision and attention to detail will ensure the best results!
Phase 1: Preparing Your Pumpkin Puree
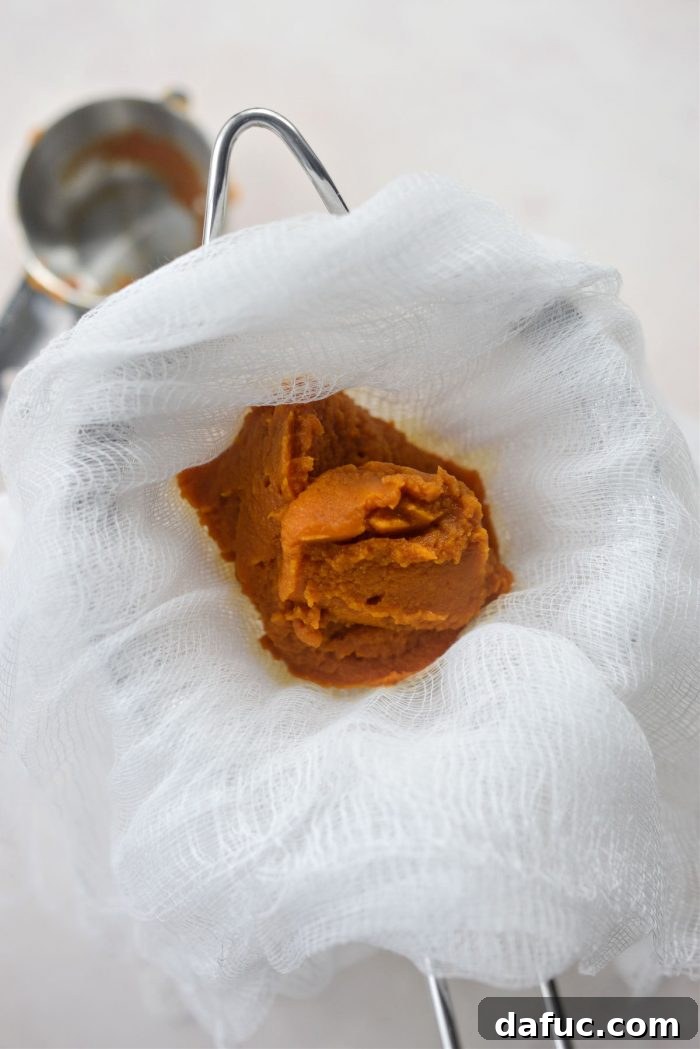
The secret to wonderfully chewy, flavorful pumpkin cookies lies in removing excess moisture from your pumpkin puree. This step prevents cakey textures and helps concentrate the pumpkin flavor. Begin by gathering your pumpkin puree (ensure it’s 100% pure pumpkin, *not* pumpkin pie filling).
- Layer several pieces of cheesecloth or a double layer of sturdy paper towel over a bowl. Spoon the pumpkin puree onto the center of the cheesecloth or paper towel. If using paper towel, you may need to work in smaller batches to prevent tearing.

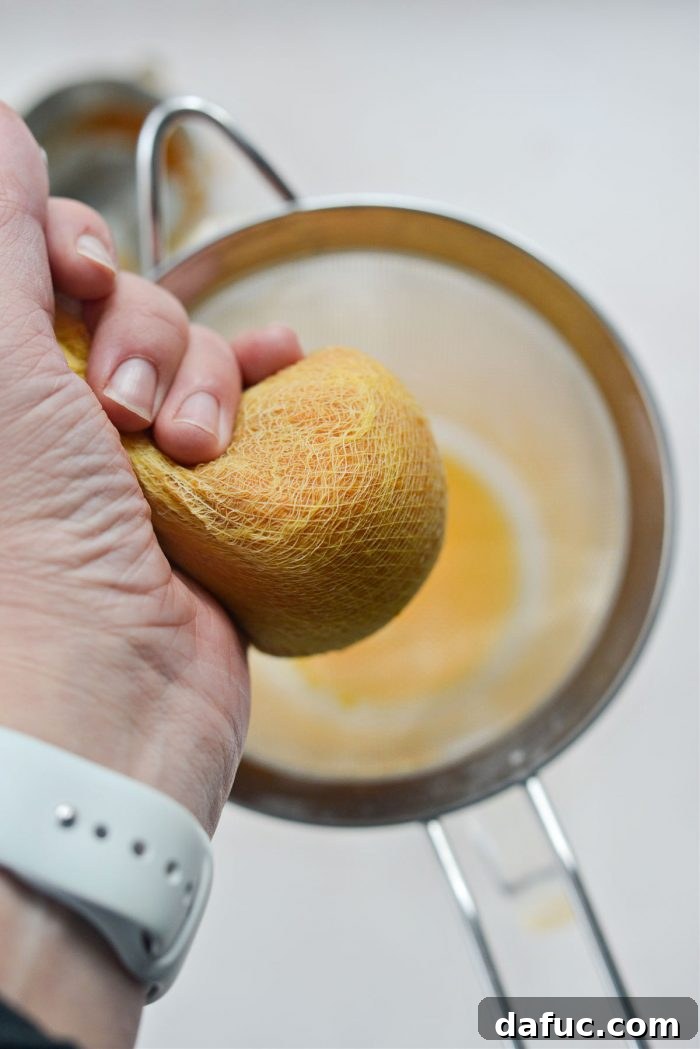
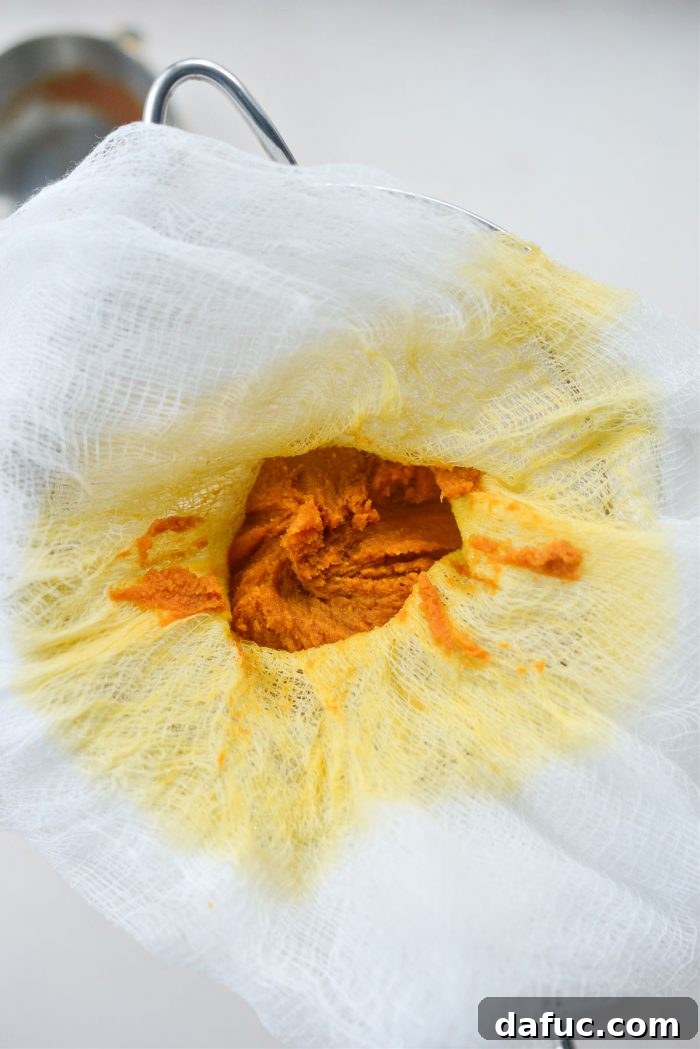
- Gather the edges of the cheesecloth or paper towel to form a pouch. Gently but firmly squeeze out as much liquid as possible from the pumpkin puree. You’ll be surprised how much water pumpkin contains!
- Transfer the squeezed pumpkin puree to a measuring cup. Repeat the squeezing process with any remaining puree until you have a total of 1/2 cup of densely packed, moisture-reduced pumpkin puree. This concentrated puree is key for optimal cookie texture and flavor.
Phase 2: Crafting the Cookie Dough
With your pumpkin puree prepared, it’s time to assemble the delicious cookie dough.
- Preheat your oven to 375°F (190°C). Line a rimmed baking sheet with a silicone baking mat or parchment paper to prevent sticking and promote even baking. Set this aside.
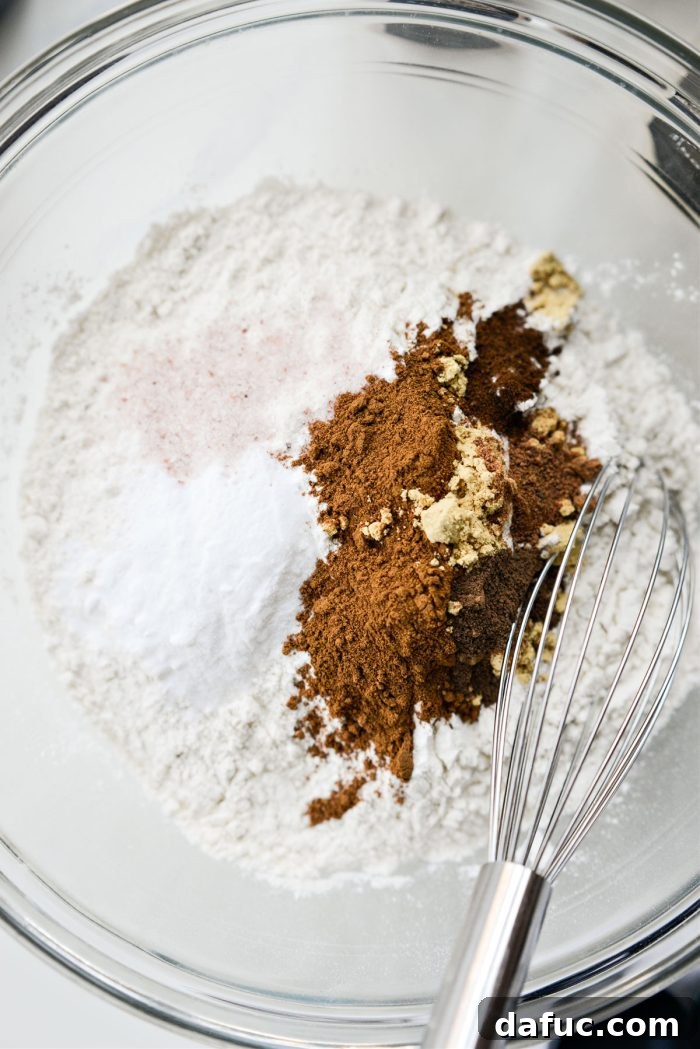
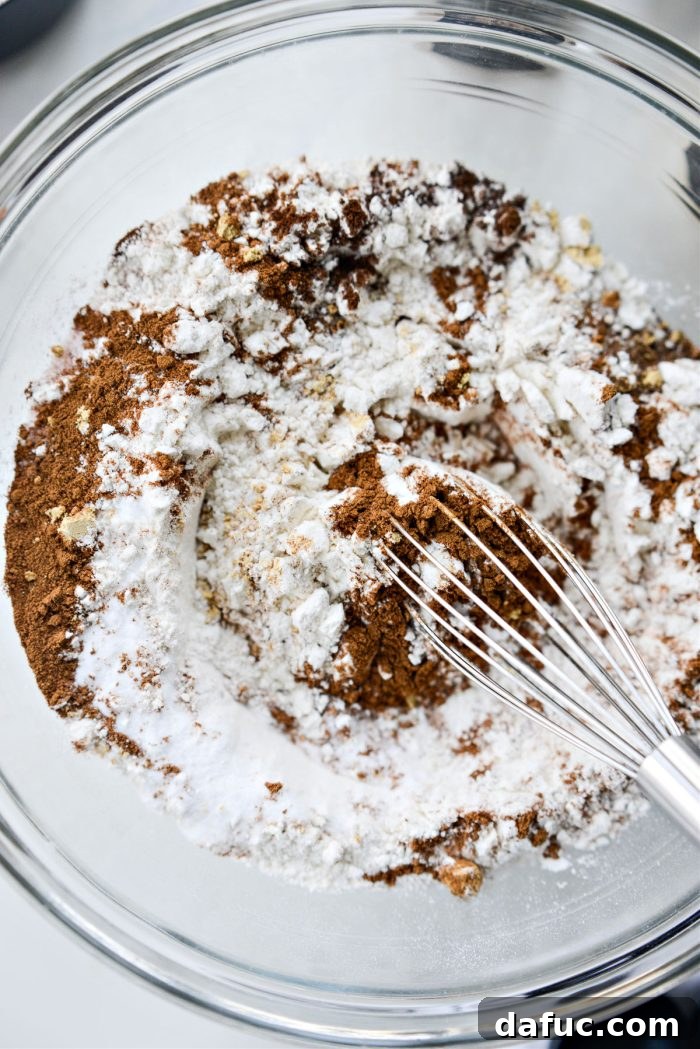
- In a medium mixing bowl, combine 2 cups of unbleached all-purpose flour, 2 teaspoons of baking soda, 3/4 teaspoon of fine salt, 2 teaspoons of ground cinnamon, 1 teaspoon of ground ginger, 1/4 teaspoon each of ground allspice and ground nutmeg, and 1/8 teaspoon of ground clove.
- Whisk these dry ingredients thoroughly until they are well combined and uniform in color. Set this bowl aside for later.
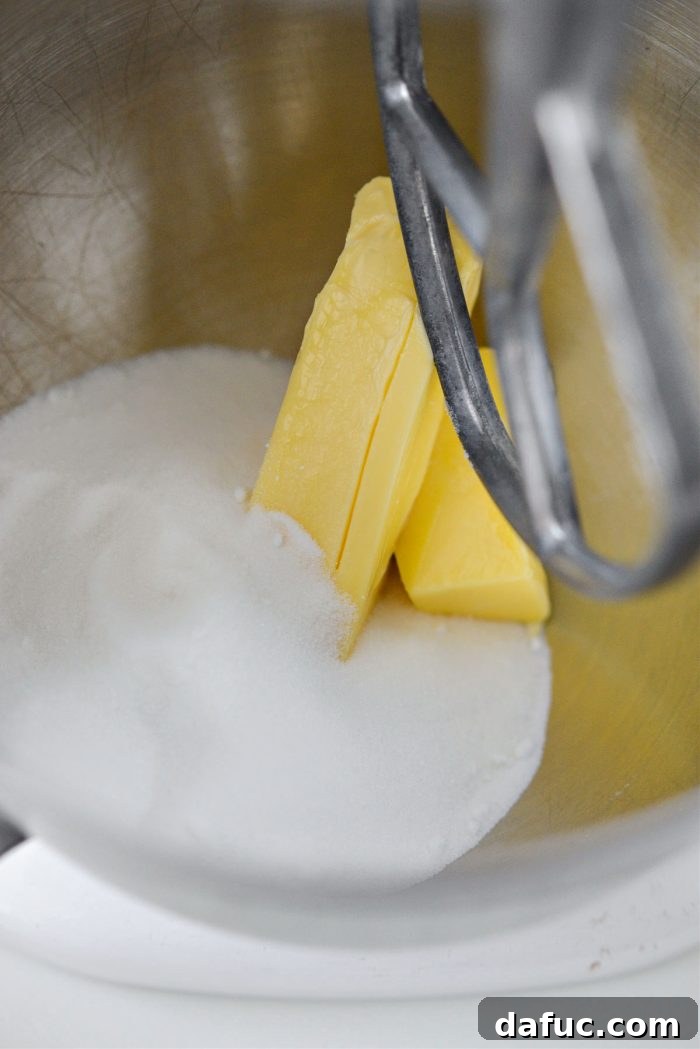
- In the bowl of your stand mixer, fitted with the paddle attachment, add 3/4 cup of softened unsalted butter and 1 cup of granulated (white) sugar.
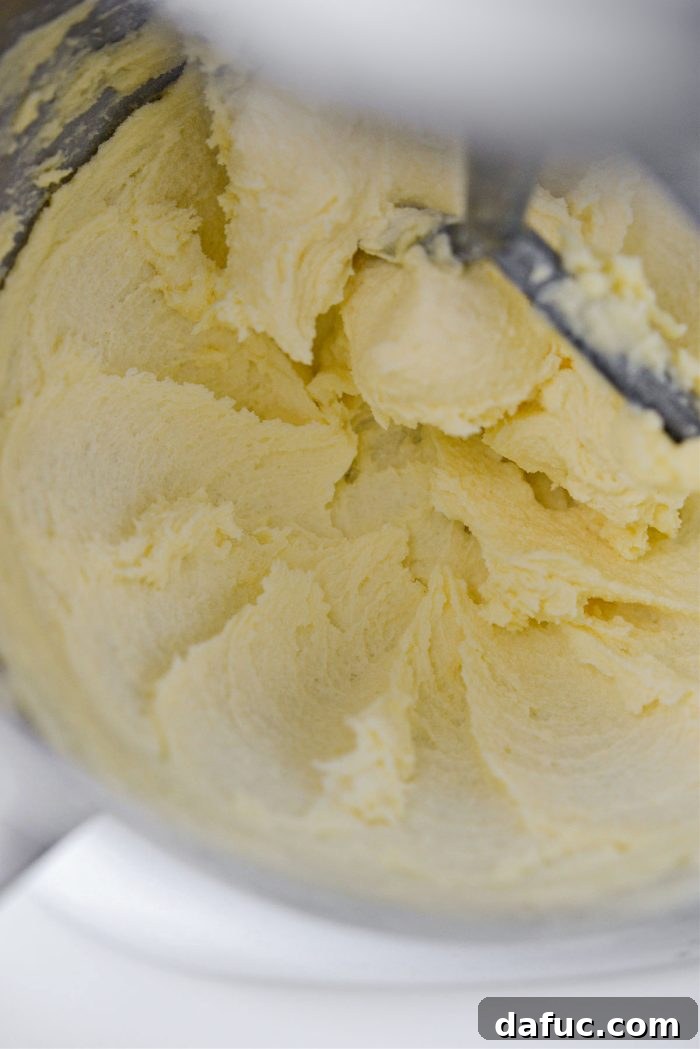
- Cream the butter and sugar together on medium-low speed for approximately 2 minutes, or until the mixture becomes light, fluffy, and pale in color. This step incorporates air, contributing to the cookies’ texture.
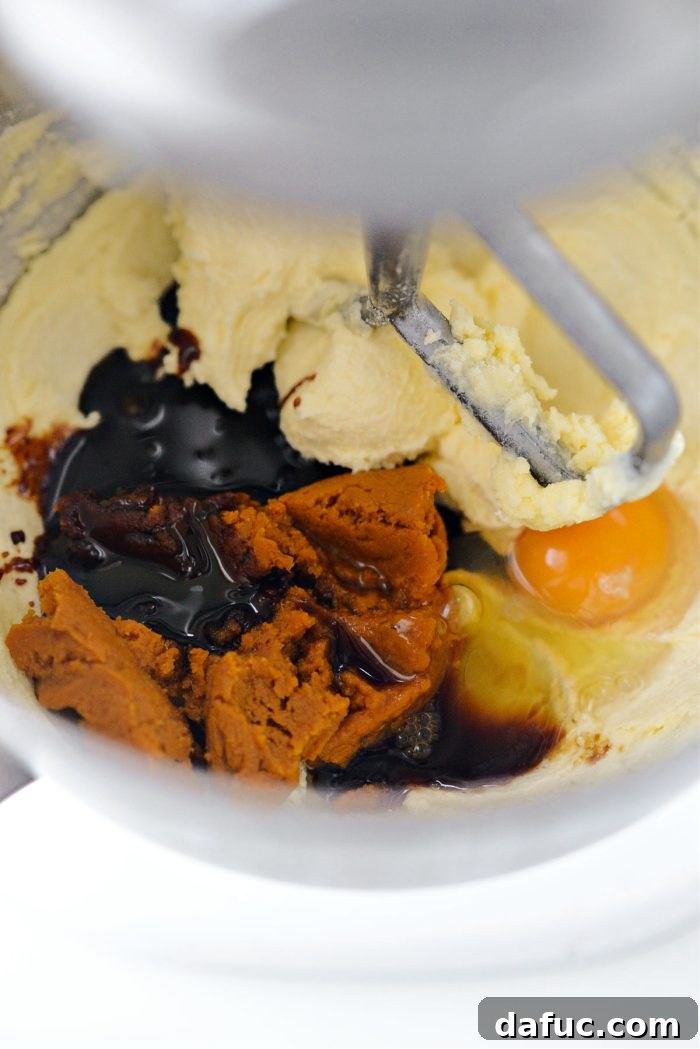
- Next, add 1/2 cup of the previously squeezed pumpkin puree (which is roughly equivalent to 2/3 of a standard can or about 1 cup of unsqueezed puree, depending on whether it’s homemade or store-bought), 1/4 cup of unsulphured molasses, 1 large egg, and 1 teaspoon of pure vanilla extract to the creamed mixture.
- Mix on low speed until all the wet ingredients are thoroughly combined and smooth. Be sure to scrape down the sides of the bowl to ensure everything is incorporated.
- Gradually add the whisked dry ingredients to the wet mixture, a little at a time.
- Mix on the lowest speed until just combined after each addition, stopping to scrape down the sides and bottom of the bowl frequently. Mix only until no dry streaks remain; overmixing can lead to tough cookies.
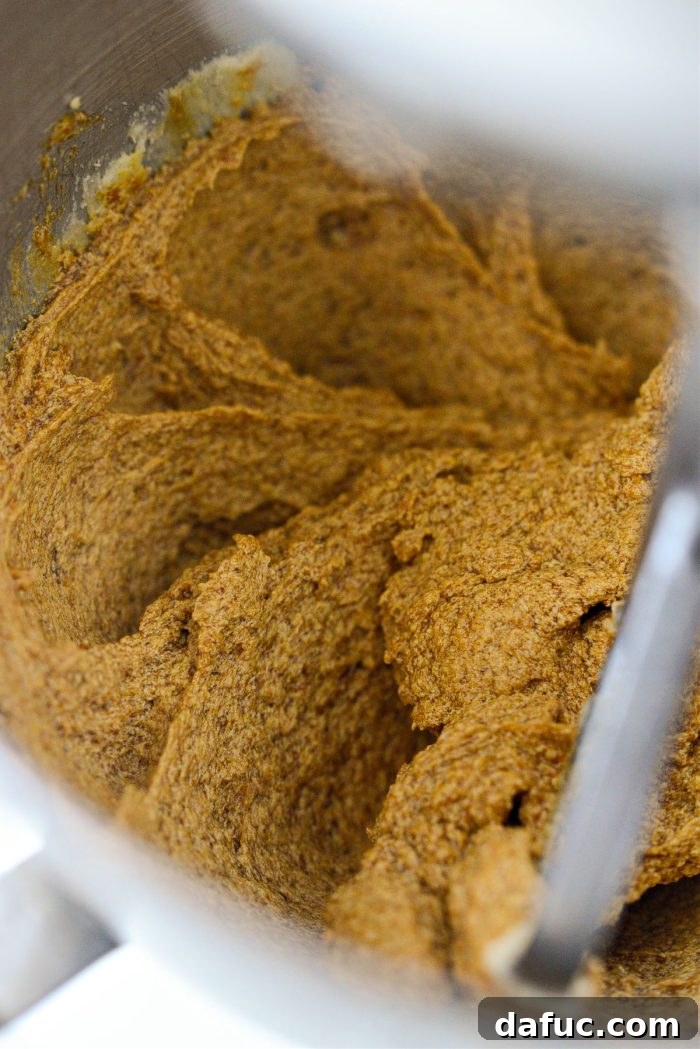
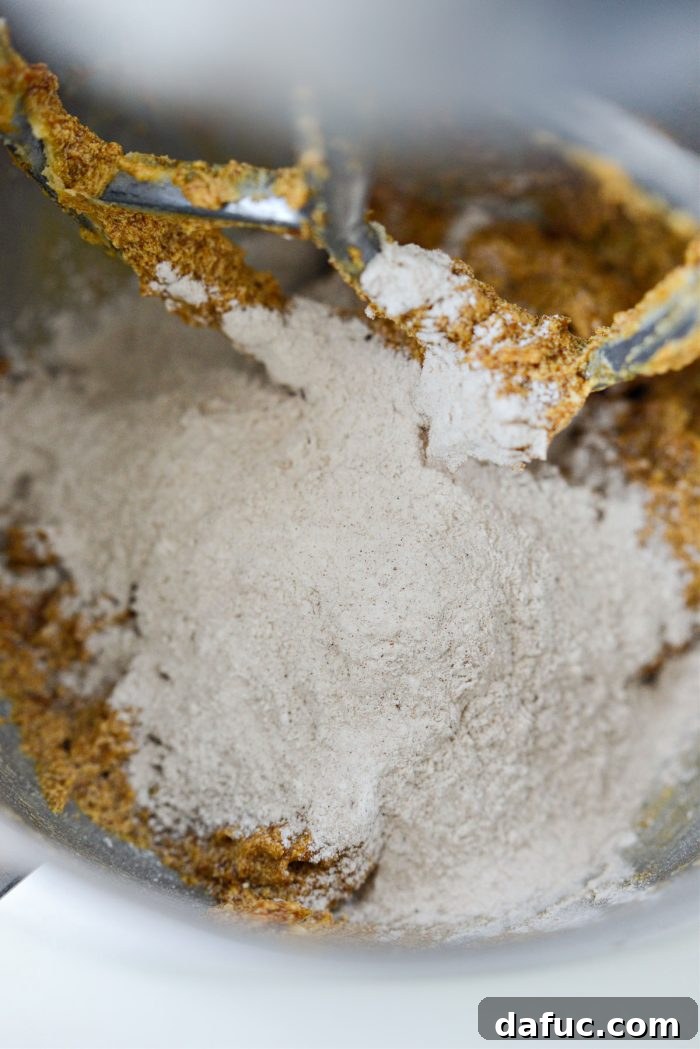
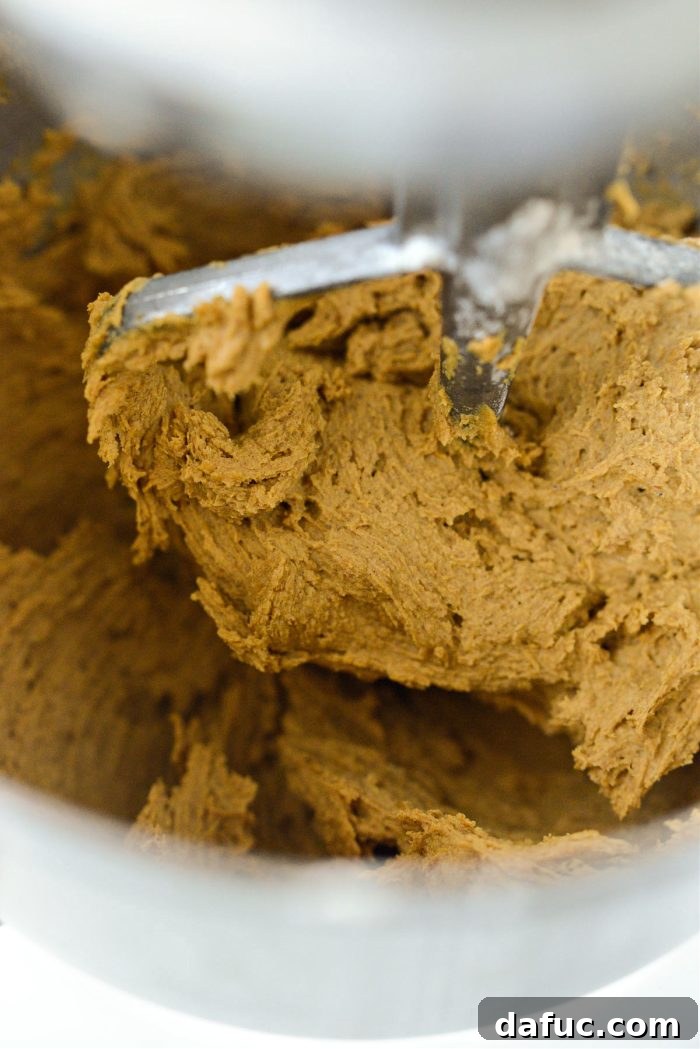
Phase 3: Baking and Cooling Your Cookies
The final steps bring your delicious cookie dough to life.
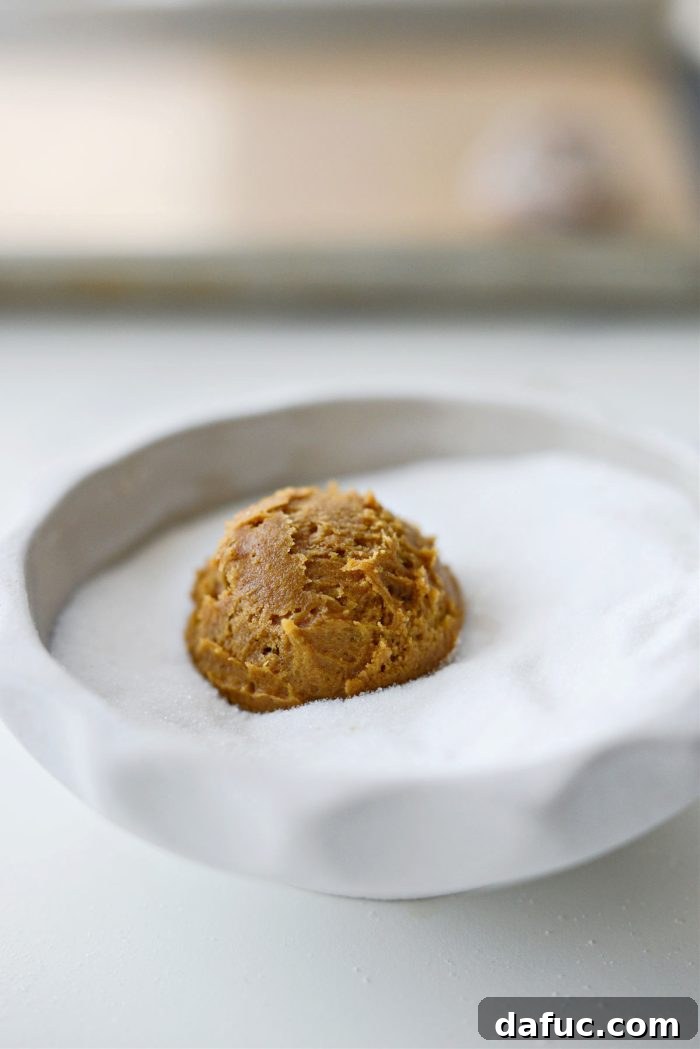
- Using a 1 1/2 tablespoon cookie scoop, portion out uniform amounts of cookie dough. This helps ensure even baking.
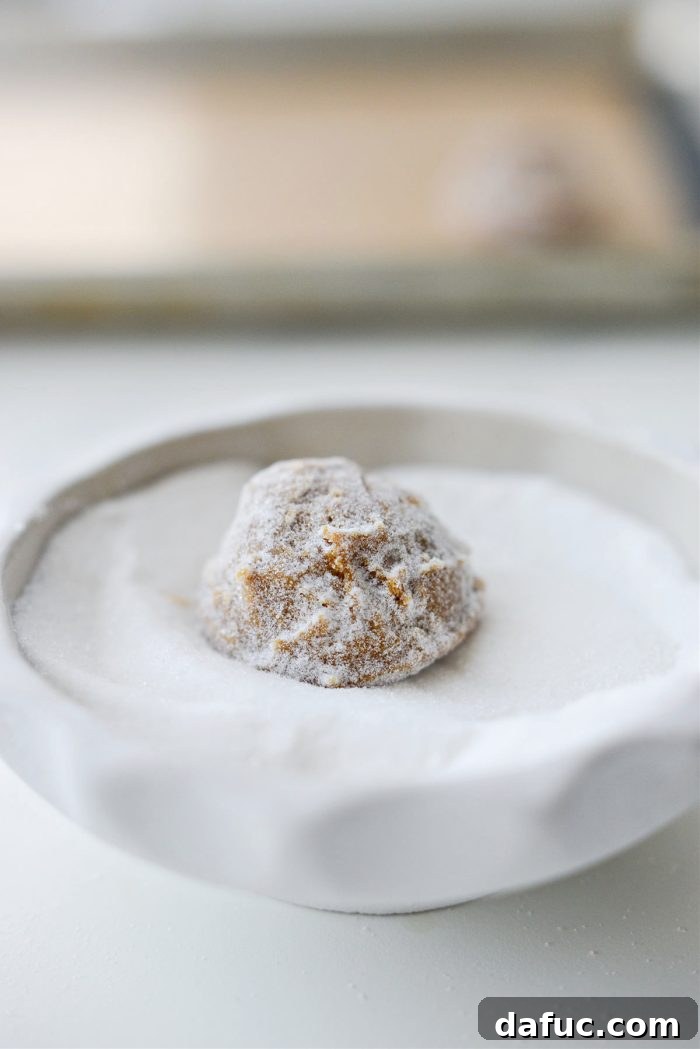
- Place each scoop of dough into a small bowl containing extra granulated sugar.
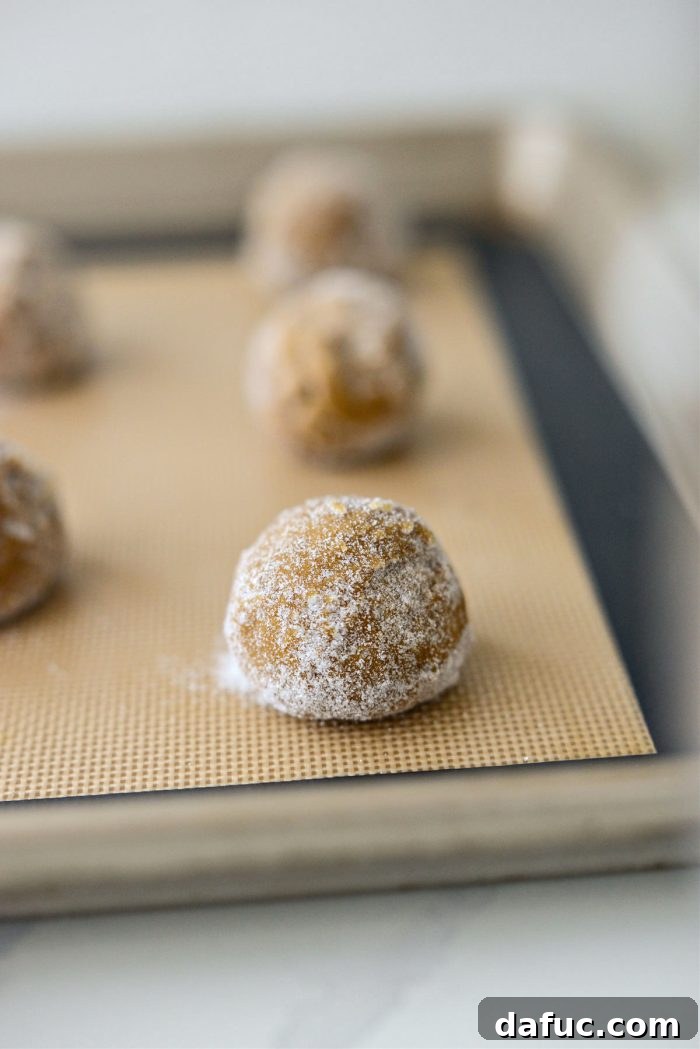
- Gently toss the dough in the sugar to fully coat it. I find it’s not necessary to roll the dough into perfect balls first; this tossing method works just as well and is less messy. Use a fork to lift the sugar-coated dough out of the bowl and transfer it to your prepared baking sheet.
- Arrange the sugar-coated cookie dough portions on the lined, rimmed metal baking sheet, ensuring they are spaced 1 to 2 inches apart to allow for spreading. Repeat until the baking sheet is full.
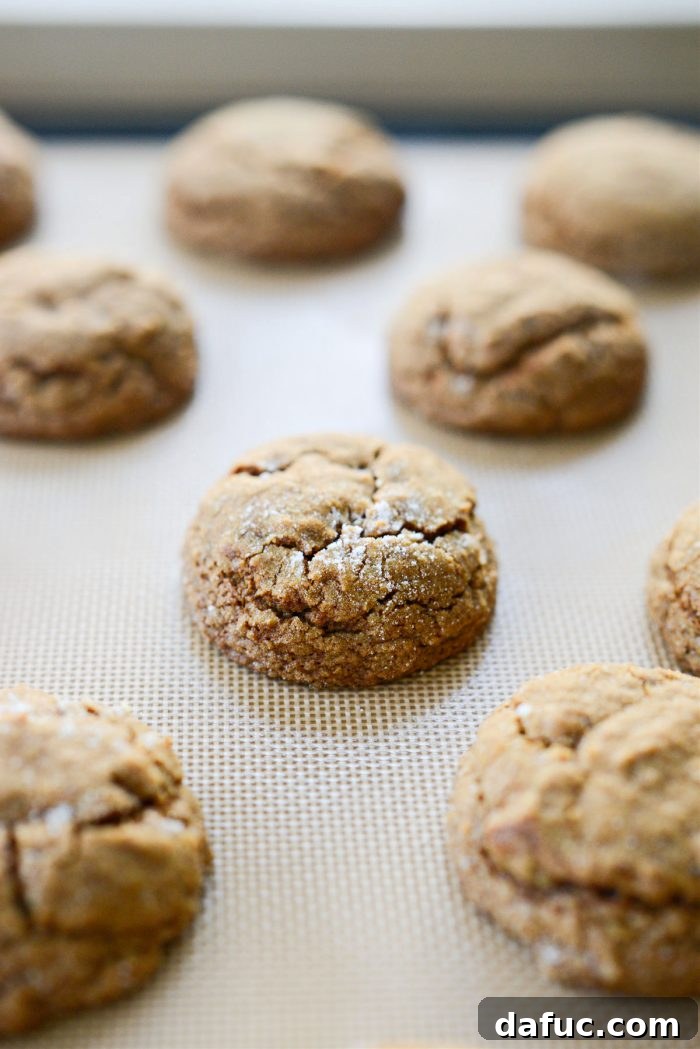
- Bake on the middle rack of your preheated oven for 10 to 12 minutes. The cookies are done when the edges are set and lightly golden, but the centers still look slightly soft. For even baking, rotate the pan halfway through the baking time.
- Once baked, remove the cookies from the oven and allow them to cool on the baking sheet for about 5 minutes. This allows them to firm up slightly. After 5 minutes, carefully transfer the cookies to a wire rack to cool completely. Repeat the baking process with the remaining cookie dough.
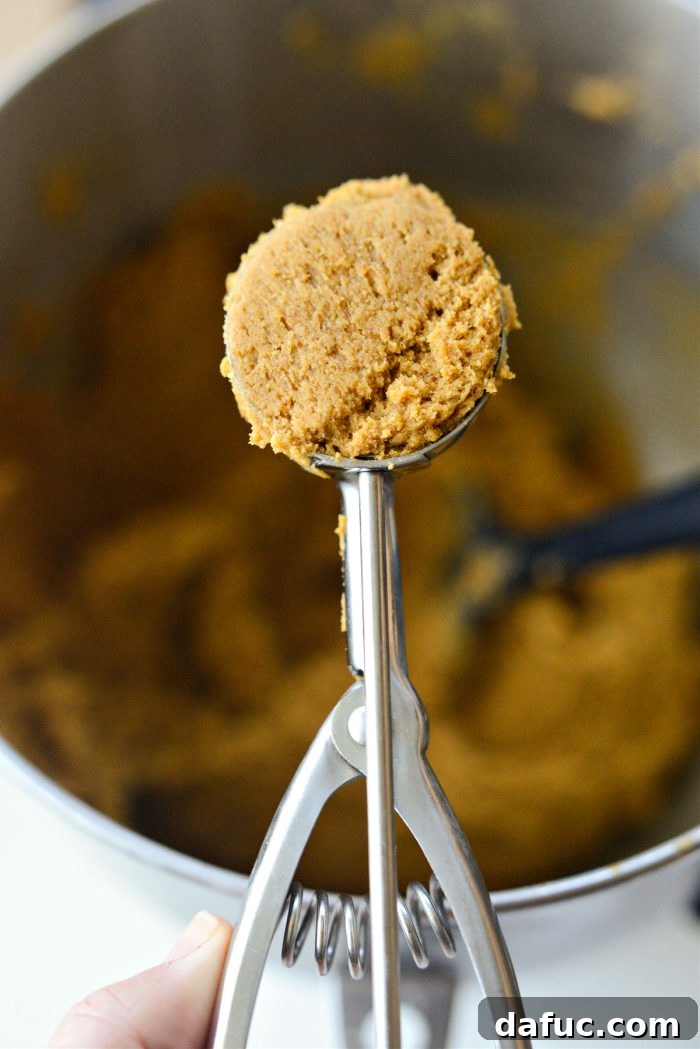
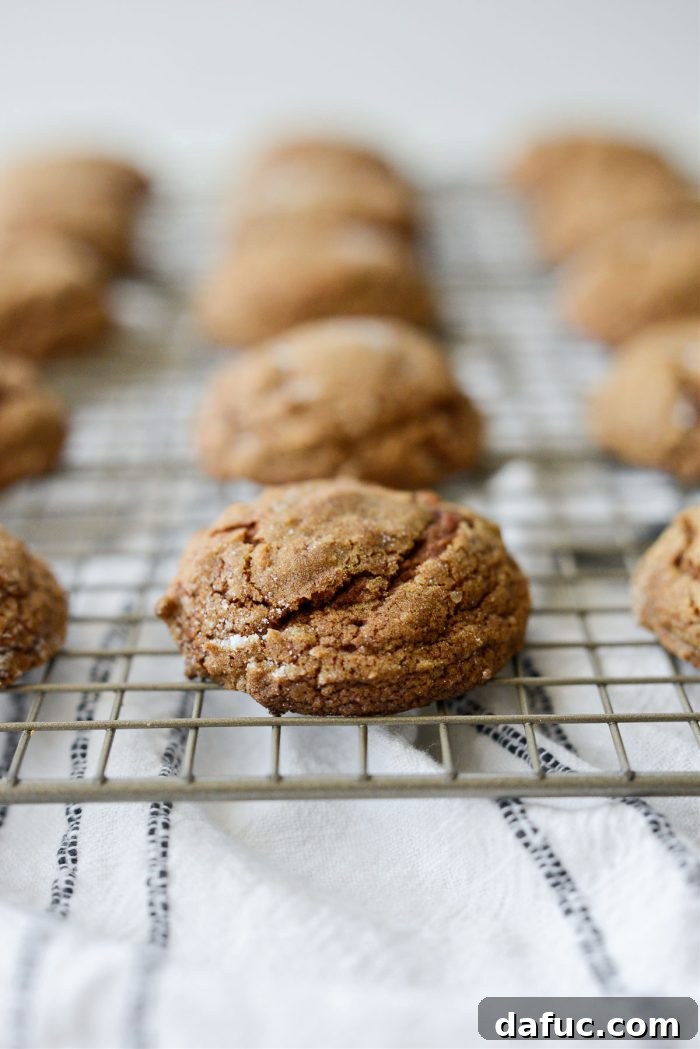
Tips for the Best Pumpkin Molasses Cookies
Achieving bakery-quality pumpkin molasses cookies is easy with a few simple tips:
- Room Temperature Ingredients: Ensure your butter and egg are at room temperature. This allows them to emulsify properly, creating a smoother dough and a more consistent texture in your baked cookies.
- Accurate Measuring: Especially for flour and spices, precise measurements are key to the correct texture and flavor balance. Use the spoon-and-level method for flour.
- Don’t Overmix: Once you add the dry ingredients to the wet, mix only until just combined. Overmixing develops the gluten in the flour, leading to tougher cookies.
- Uniform Scooping: Using a cookie scoop ensures all your cookies are the same size, which means they will bake evenly and be ready at the same time.
- Do Not Skip Draining the Pumpkin: As highlighted, this is the most crucial step for the perfect texture. No soggy or cakey cookies here!
Storing Your Delicious Pumpkin Molasses Cookies
Once cooled, these cookies maintain their deliciousness for quite some time, if they last that long! Store them in an airtight container at room temperature, and they will stay fresh and soft for about 1 week. If you need to extend their shelf life, store them in the same airtight container in the refrigerator, where they should remain good for 2 to 3 weeks. For longer storage, they can be frozen for up to 3 months.
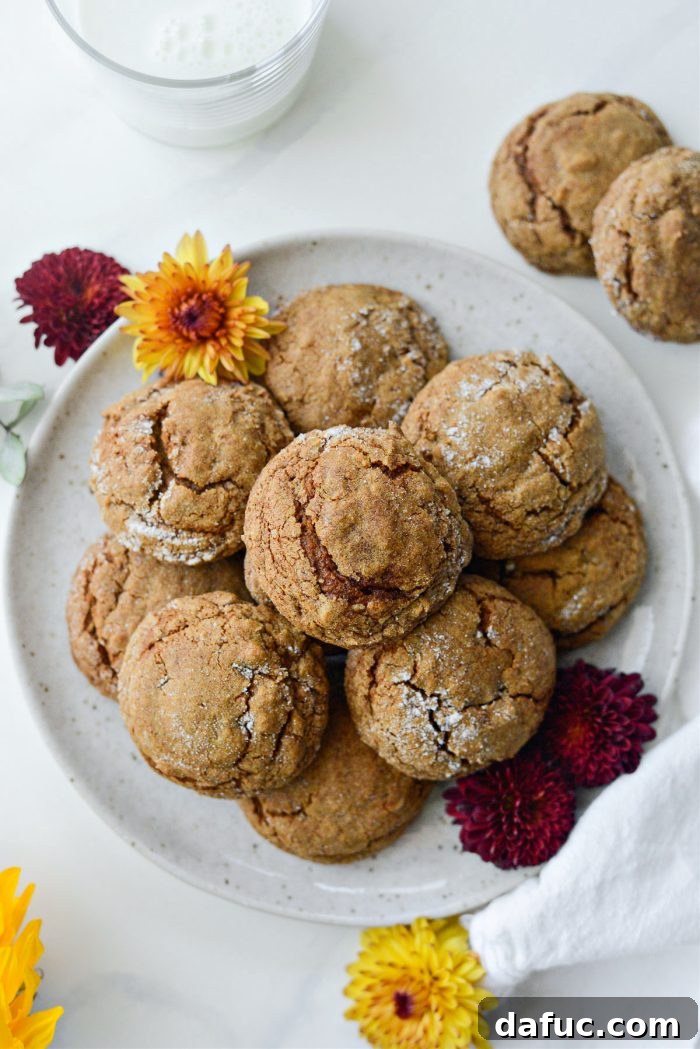
Variations to Explore
While perfect as is, these Pumpkin Molasses Cookies are also wonderfully adaptable. Consider adding a handful of white chocolate chips or chopped pecans to the dough for an extra layer of flavor and texture. A light drizzle of vanilla glaze or a dusting of powdered sugar after cooling can also add an elegant touch. Feel free to adjust the spice levels to your preference, perhaps adding a pinch more ginger for an extra kick or a dash of cardamom for an unexpected twist.
Frequently Asked Questions (FAQ)
- Can I use homemade pumpkin puree?
- Absolutely! Homemade pumpkin puree can be used, but it’s even more crucial to drain it thoroughly, as it tends to have a higher water content than canned puree.
- What’s the difference between molasses and blackstrap molasses?
- Molasses comes in different grades. Light and dark molasses are typically used for baking. Blackstrap molasses is the darkest and most concentrated form, with a robust, slightly bitter flavor. For this recipe, un-sulphured light or dark molasses is preferred for its balanced sweetness and classic flavor profile. Blackstrap would be too intense.
- My cookies spread too much, what went wrong?
- Excessive spreading can be caused by several factors: butter that was too soft or melted, not chilling the dough (though not explicitly required in this recipe, it can help), oven temperature being too low, or too much moisture in the pumpkin puree (which is why draining is so important!). Ensure your oven thermometer is accurate.
- Can I make the dough ahead of time?
- Yes, you can! Prepare the dough as instructed, then cover the bowl tightly with plastic wrap and refrigerate for up to 2-3 days. When ready to bake, let it sit at room temperature for about 15-20 minutes to soften slightly before scooping.
These cookies are truly SO delicious! I sincerely hope you give this recipe a try and share the joy with your loved ones this season!
Click Here For More Molasses Cookie Recipes!
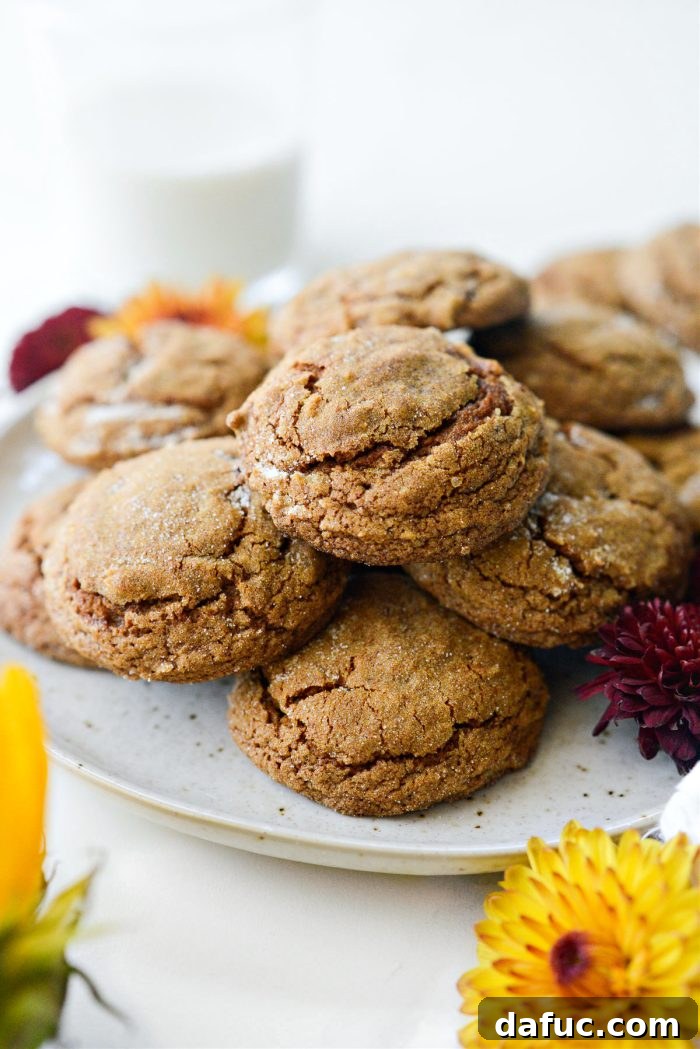
Enjoy! And if you give this Pumpkin Molasses Cookies recipe a try, let me know! Snap a photo and tag me on twitter or instagram!
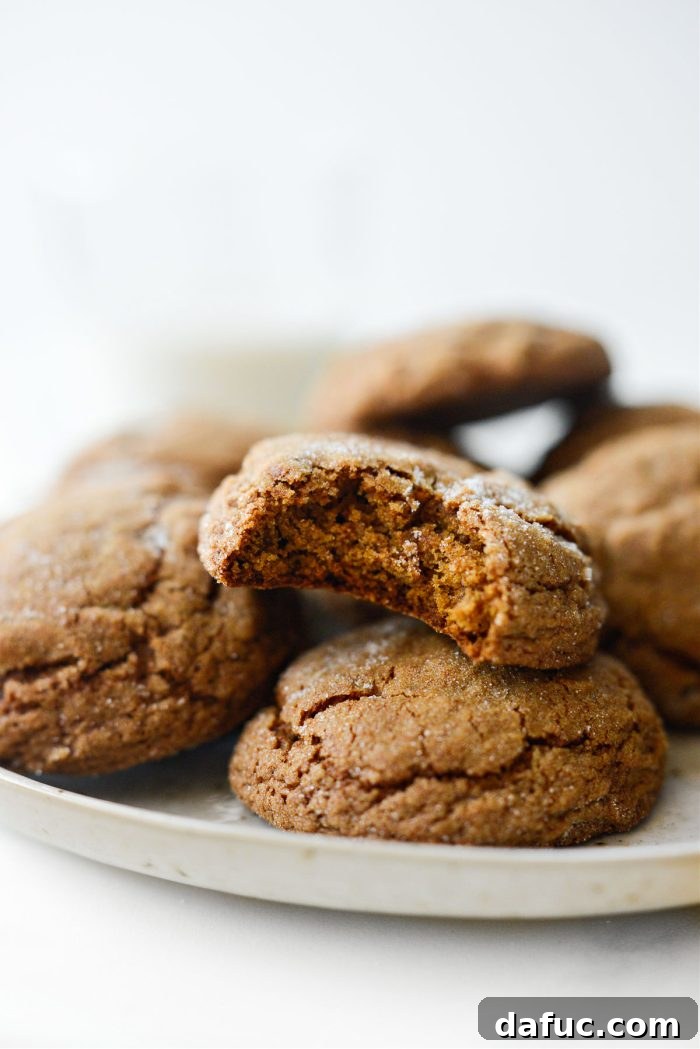
Pumpkin Molasses Cookies
Pumpkin Molasses Cookies are flavorful and robust with hints of earthy warm spices and pumpkin. This recipe yields about 34 cookies.
Recipe Details
- Yield: 34 cookies
- Prep Time: 25 mins
- Cook Time: 30 mins
- Total Time: 55 mins
Ingredients
- 2 cups unbleached all-purpose flour
- 2 teaspoons baking soda
- 2 teaspoons cinnamon
- 1 teaspoon ground ginger
- 3/4 teaspoon fine salt (sea salt or pink himalayan)
- 1/4 teaspoon ground allspice
- 1/4 teaspoon ground nutmeg
- 1/8 teaspoon ground clove
- 3/4 cup unsalted butter, softened at room temperature
- 1 cup granulated sugar (plus more for rolling cookie dough in)
- 1 large egg
- 1/4 cup unsulphured molasses
- 1/2 cup 100% pure pumpkin puree, drained (see notes)
- 1 teaspoon pure vanilla extract
Equipment
- Nordic Ware Natural Aluminum Commercial Baker’s Half Sheet (2 Pack), Silver
- Silpat Premium Non-Stick Silicone Baking Mat, Half Sheet Size
- Stand Mixer (with paddle attachment)
- Mixing bowls
- Whisk
- 1 1/2 tablespoon cookie scoop
- Cheesecloth or paper towels
- Wire rack
Instructions
Remove Moisture From Pumpkin Puree:
- Add pumpkin puree (not pumpkin pie filling) to several layers of cheesecloth or a double layer of paper towel. You might need to work in batches if using paper towel. Gather up the cheesecloth, apply gentle pressure, and squeeze out as much of the liquids as possible.
- Add this to a measuring cup, repeating as necessary until you have 1/2 cup of squeezed pumpkin puree.
MAKE THE COOKIES:
- Preheat your oven to 375°F (190°C) and line a rimmed baking sheet with a silicone mat or parchment paper.
- In a mixing bowl, measure and add flour, baking soda, fine salt, cinnamon, ginger, allspice, nutmeg, and clove. Whisk to combine and set aside.
- In the bowl of your stand mixer fitted with the paddle attachment, add softened butter and granulated sugar. Mix on medium-low speed for 2 minutes or until light and fluffy.
- Next, measure and add the squeezed pumpkin puree, molasses, an egg, and vanilla extract. Mix until combined.
- Gradually add in a little of the whisked dry ingredients, mixing and scraping down the sides and bottom of the bowl with each addition until just combined.
- Use a 1½ tablespoon scoop to measure out the cookie dough. Add it to a small bowl with granulated sugar. Gently toss to coat. Place on a lined, rimmed metal baking sheet 1 to 2 inches apart and repeat. (See Notes for method).
- Bake on the middle rack of your preheated oven for 10 to 12 minutes, rotating the pan halfway through baking for even browning.
- Allow the cookies to cool on the pan for 5 minutes before transferring to a wire rack to finish cooling completely. Repeat with any remaining cookie dough.
- Store cookies in an airtight container at room temperature for up to 1 week.
Notes
I don’t find it necessary to roll the cookie dough into balls first. The described method of scooping and tossing in sugar works just as well and is less messy. I use a fork to lift the sugar-coated cookie dough out of the bowl and transfer to the prepared pan.
Nutrition Disclaimer: All information presented on this site is intended for informational purposes only. I am not a certified nutritionist, and any nutritional information shared on SimplyScratch.com should only be used as a general guideline.
Nutrition Facts
Serving: 1 cookie, Calories: 96kcal, Carbohydrates: 14g, Protein: 1g, Fat: 4g, Saturated Fat: 3g, Polyunsaturated Fat: 0.2g, Monounsaturated Fat: 1g, Trans Fat: 0.2g, Cholesterol: 16mg, Sodium: 120mg, Potassium: 55mg, Fiber: 0.3g, Sugar: 8g, Vitamin A: 279IU, Vitamin C: 0.2mg, Calcium: 10mg, Iron: 1mg
Recipe Information
- Author: Laurie McNamara
- Course: Desserts & Sweet Treats
- Cuisine: American