
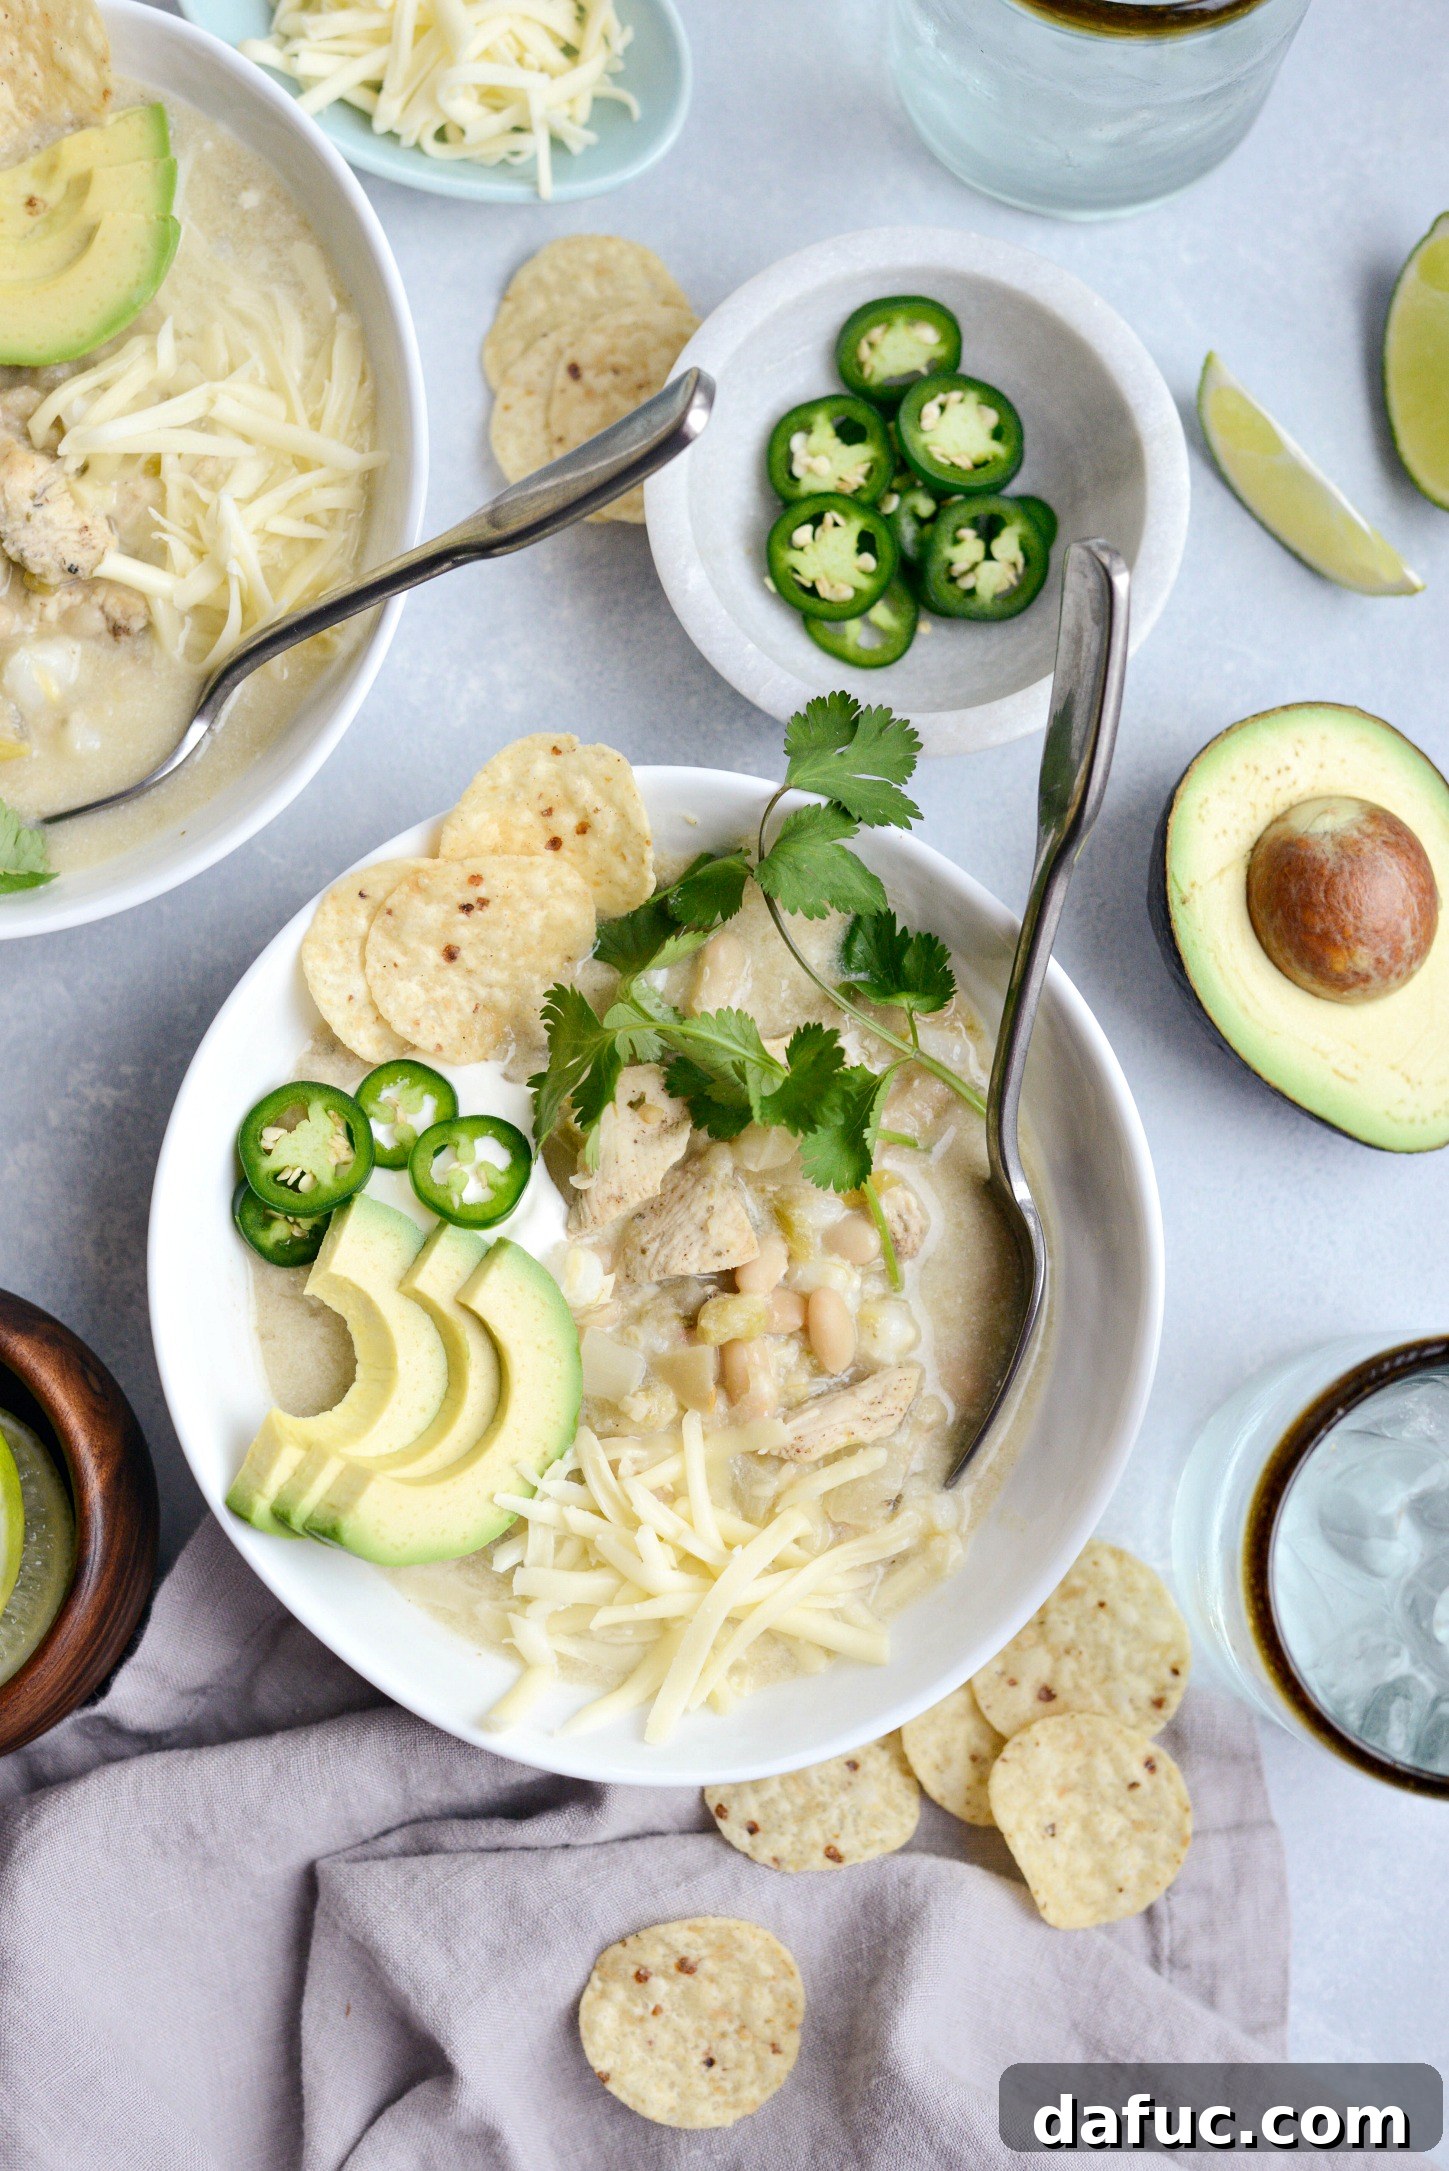
Welcome to the ultimate guide for a comforting, yet refreshingly light, culinary masterpiece: our Lighter One-Pot White Chicken Chili. Far more than just a recipe, this dish represents a transformation in the way we approach classic comfort food. It’s designed to be healthier than its traditional counterparts, without compromising on the rich, satisfying flavors you crave on a chilly evening. The true genius lies in its simplicity – everything comes together in a single pot, making both cooking and cleanup a breeze.
Imagine succulent diced chicken breast, perfectly seasoned with a vibrant blend of spices, gently simmering alongside tender onions and aromatic garlic. This flavorful base is then joined by a hearty mix of white beans, wholesome hominy, and zesty green chiles, all bathed in a savory chicken broth. But here’s where the “lighter” aspect truly shines: instead of heavy sour cream, we achieve a luxuriously creamy texture by using naturally smashed white beans and the tangy richness of Greek yogurt. This ingenious swap not only reduces calories and fat but also adds a fantastic protein boost. In just about an hour, you can have a nourishing meal ready to serve 6 people, proving that delicious, healthy, and easy can indeed go hand-in-hand.
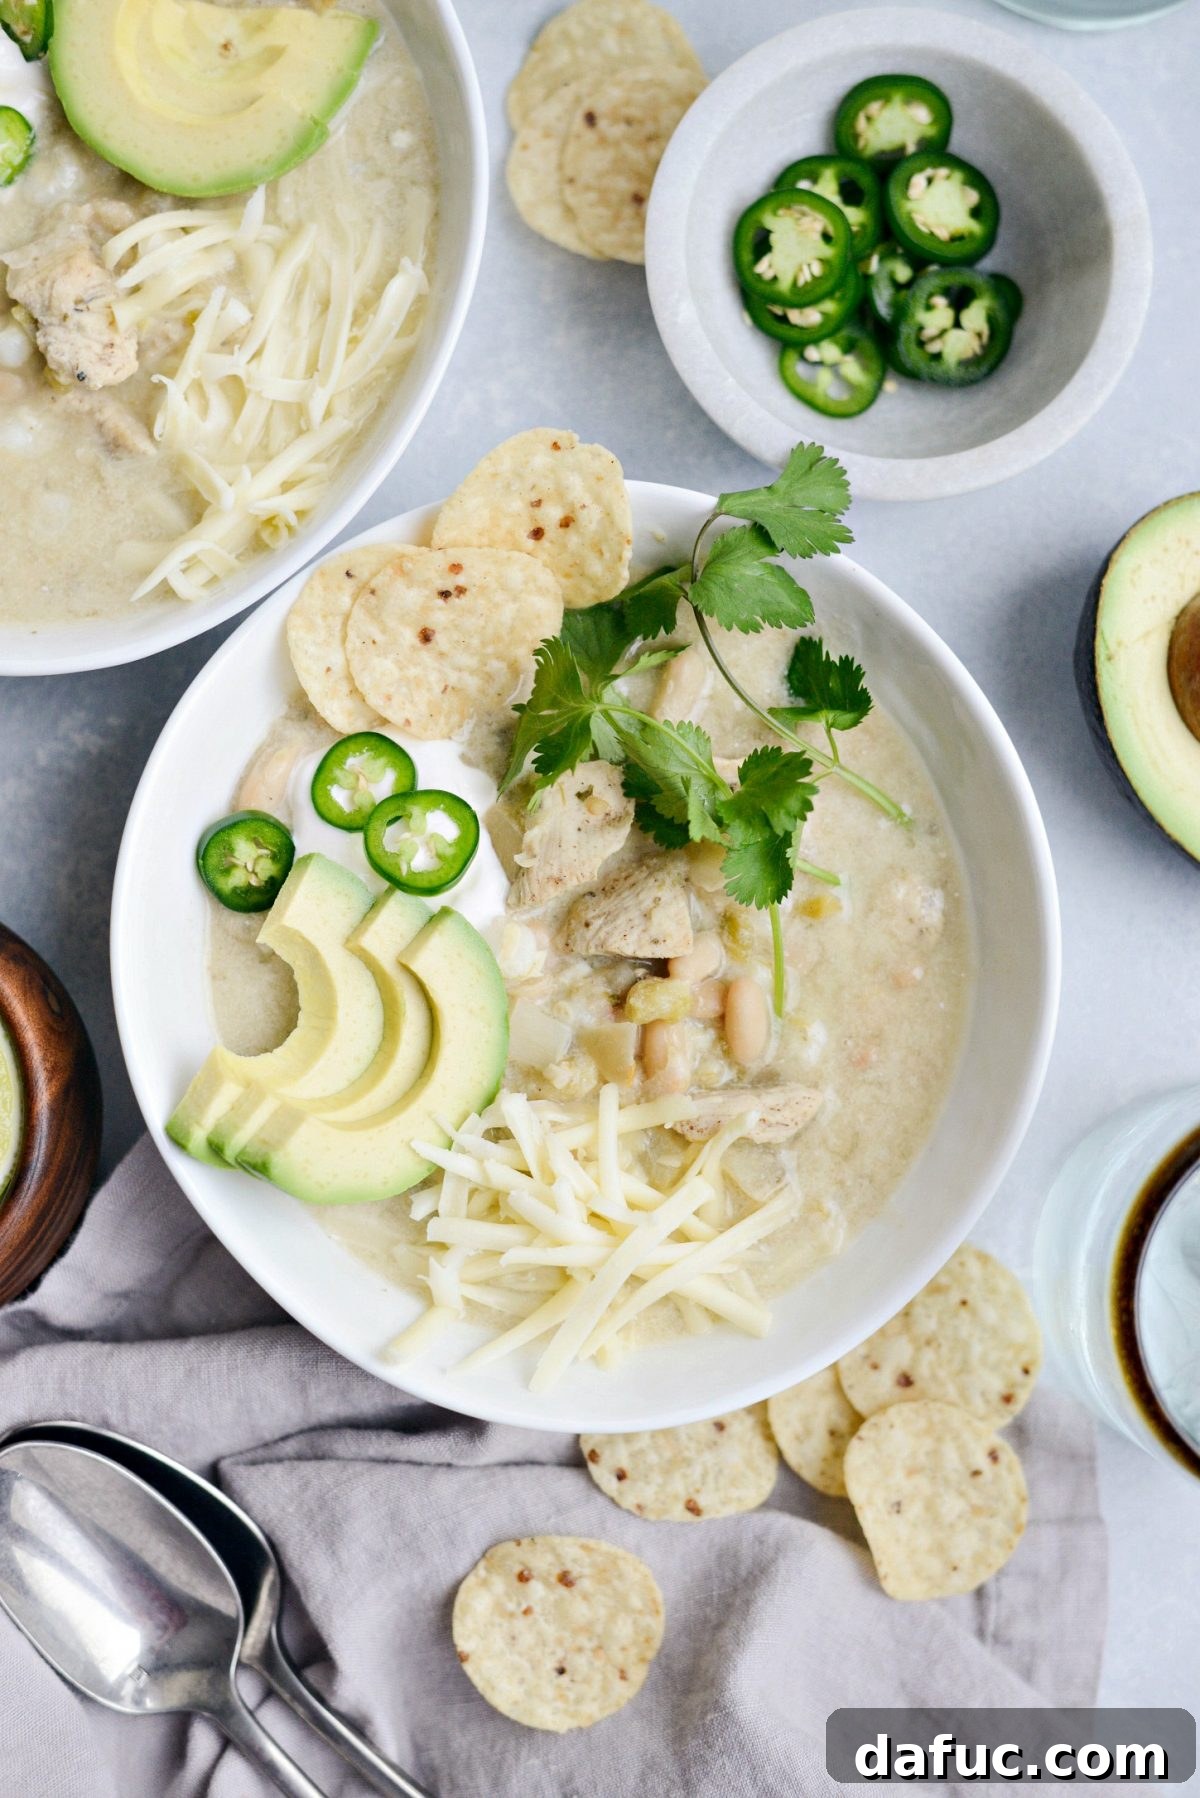
Embrace the Ease: The One-Pot Revolution for White Chicken Chili
For years, many cherished the idea of homemade white chicken chili but often hesitated due to the perceived complexity. Perhaps you recall older recipes that involved poaching chicken separately, soaking dried beans overnight, and then cooking them before they even touched the chili pot. While undeniably delicious, such methods often felt like a significant commitment, a “project” rather than a weeknight dinner solution. The effort involved often meant it was reserved for special occasions or when time was abundant.
But what if you could enjoy that same authentic, scratch-made flavor with dramatically less fuss? This updated recipe is your answer. It champions the “one-pot” philosophy, transforming what was once a multi-step endeavor into an effortless culinary journey. Picture this: all the magic happens in a single pot, from sautéing aromatics and browning the chicken to simmering the broth and achieving that perfect creamy consistency. This approach not only slashes cleanup time but also infuses every ingredient with deeper, more cohesive flavors as they meld together. It’s a game-changer for busy individuals and families who refuse to compromise on taste or quality.
We’ve carefully engineered this recipe to be “lighter” without sacrificing any of the comforting richness. Gone are the days of heavy, calorie-laden versions. Our secret lies in smart substitutions and cooking techniques that enhance natural flavors while reducing unnecessary fats. It’s still made from scratch, ensuring you control every ingredient, but now it’s streamlined, efficient, and wonderfully wholesome. This isn’t just a meal; it’s a testament to how simple tweaks can elevate everyday cooking into something extraordinary and incredibly accessible.
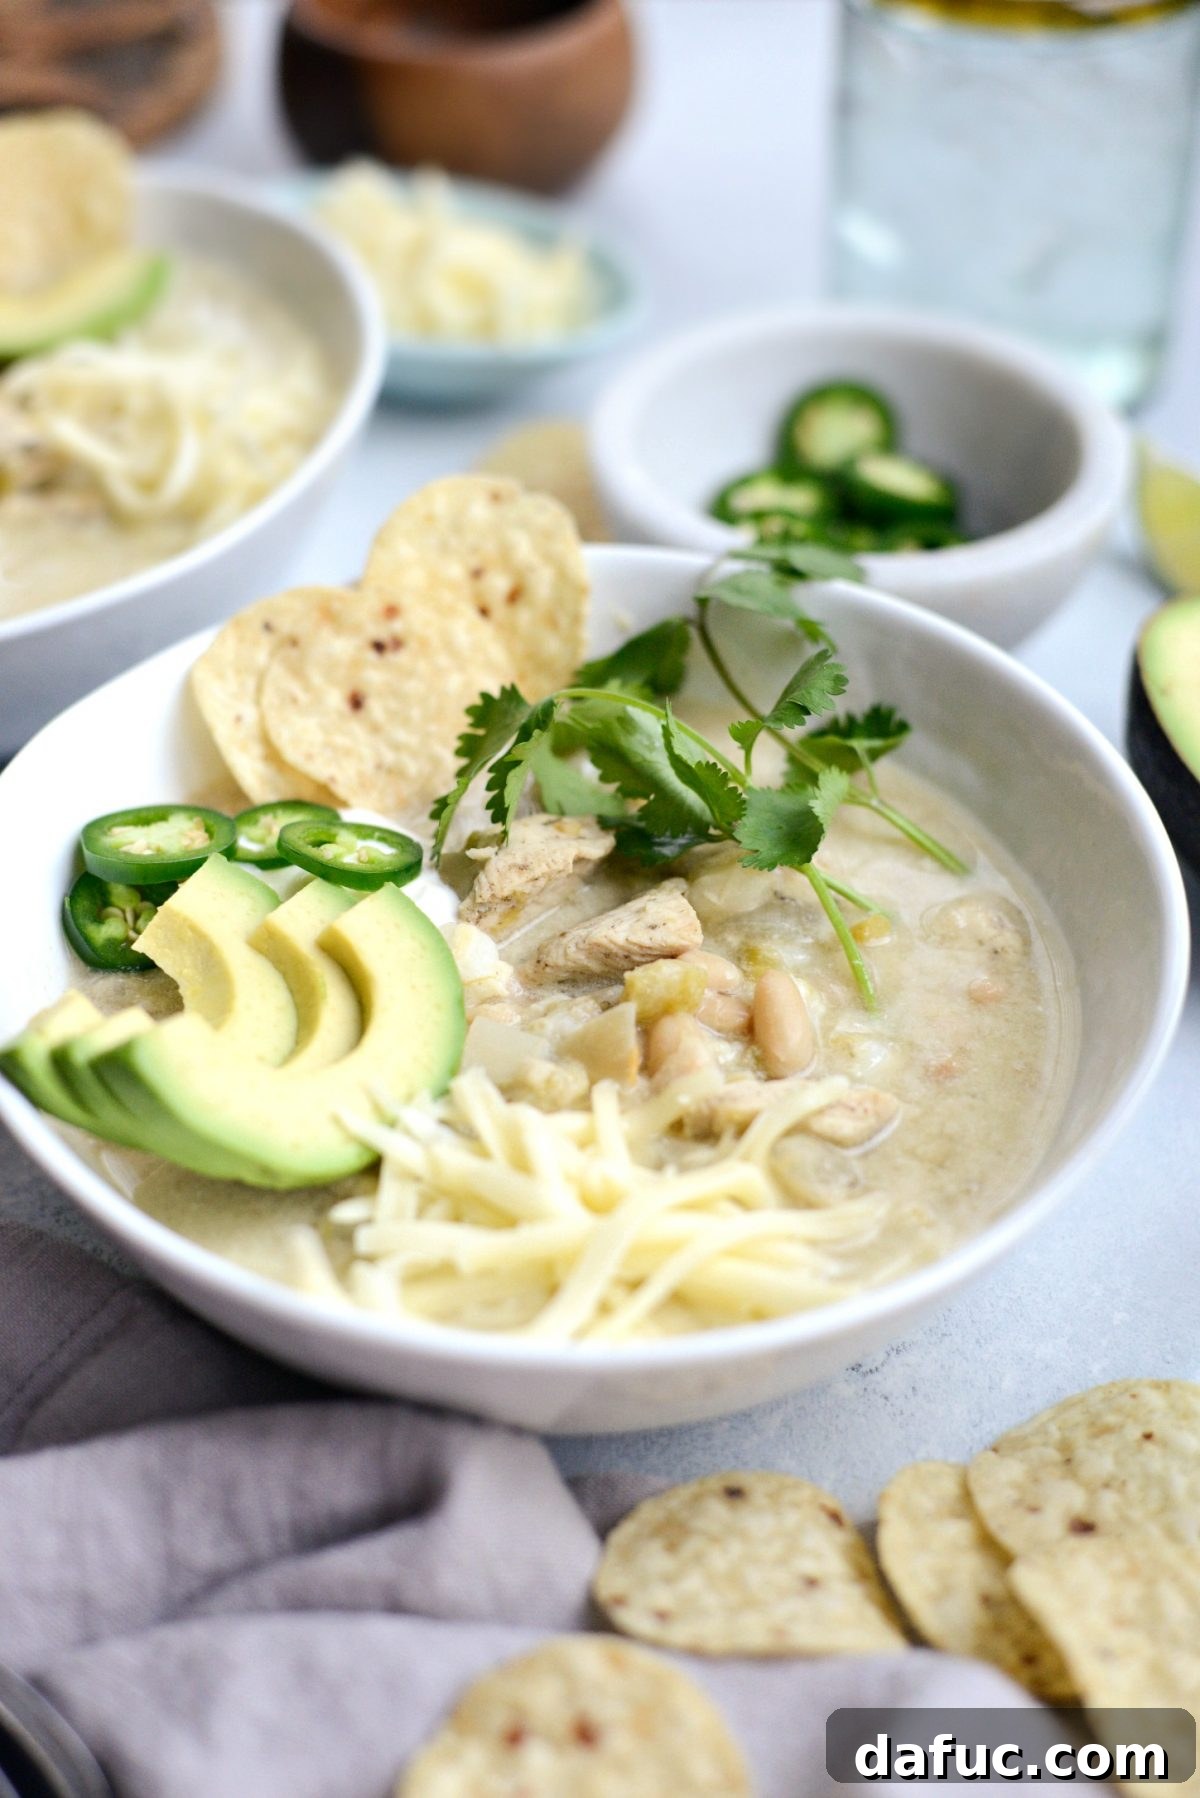
The Joy of Customization: Elevate Your Lighter White Chicken Chili with Toppings
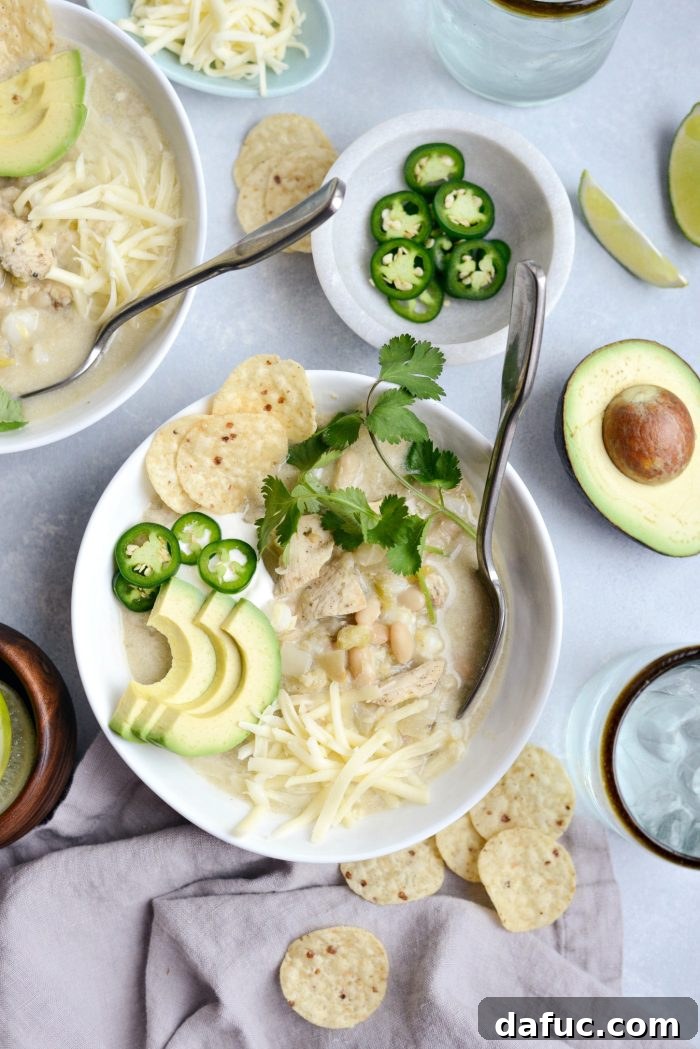
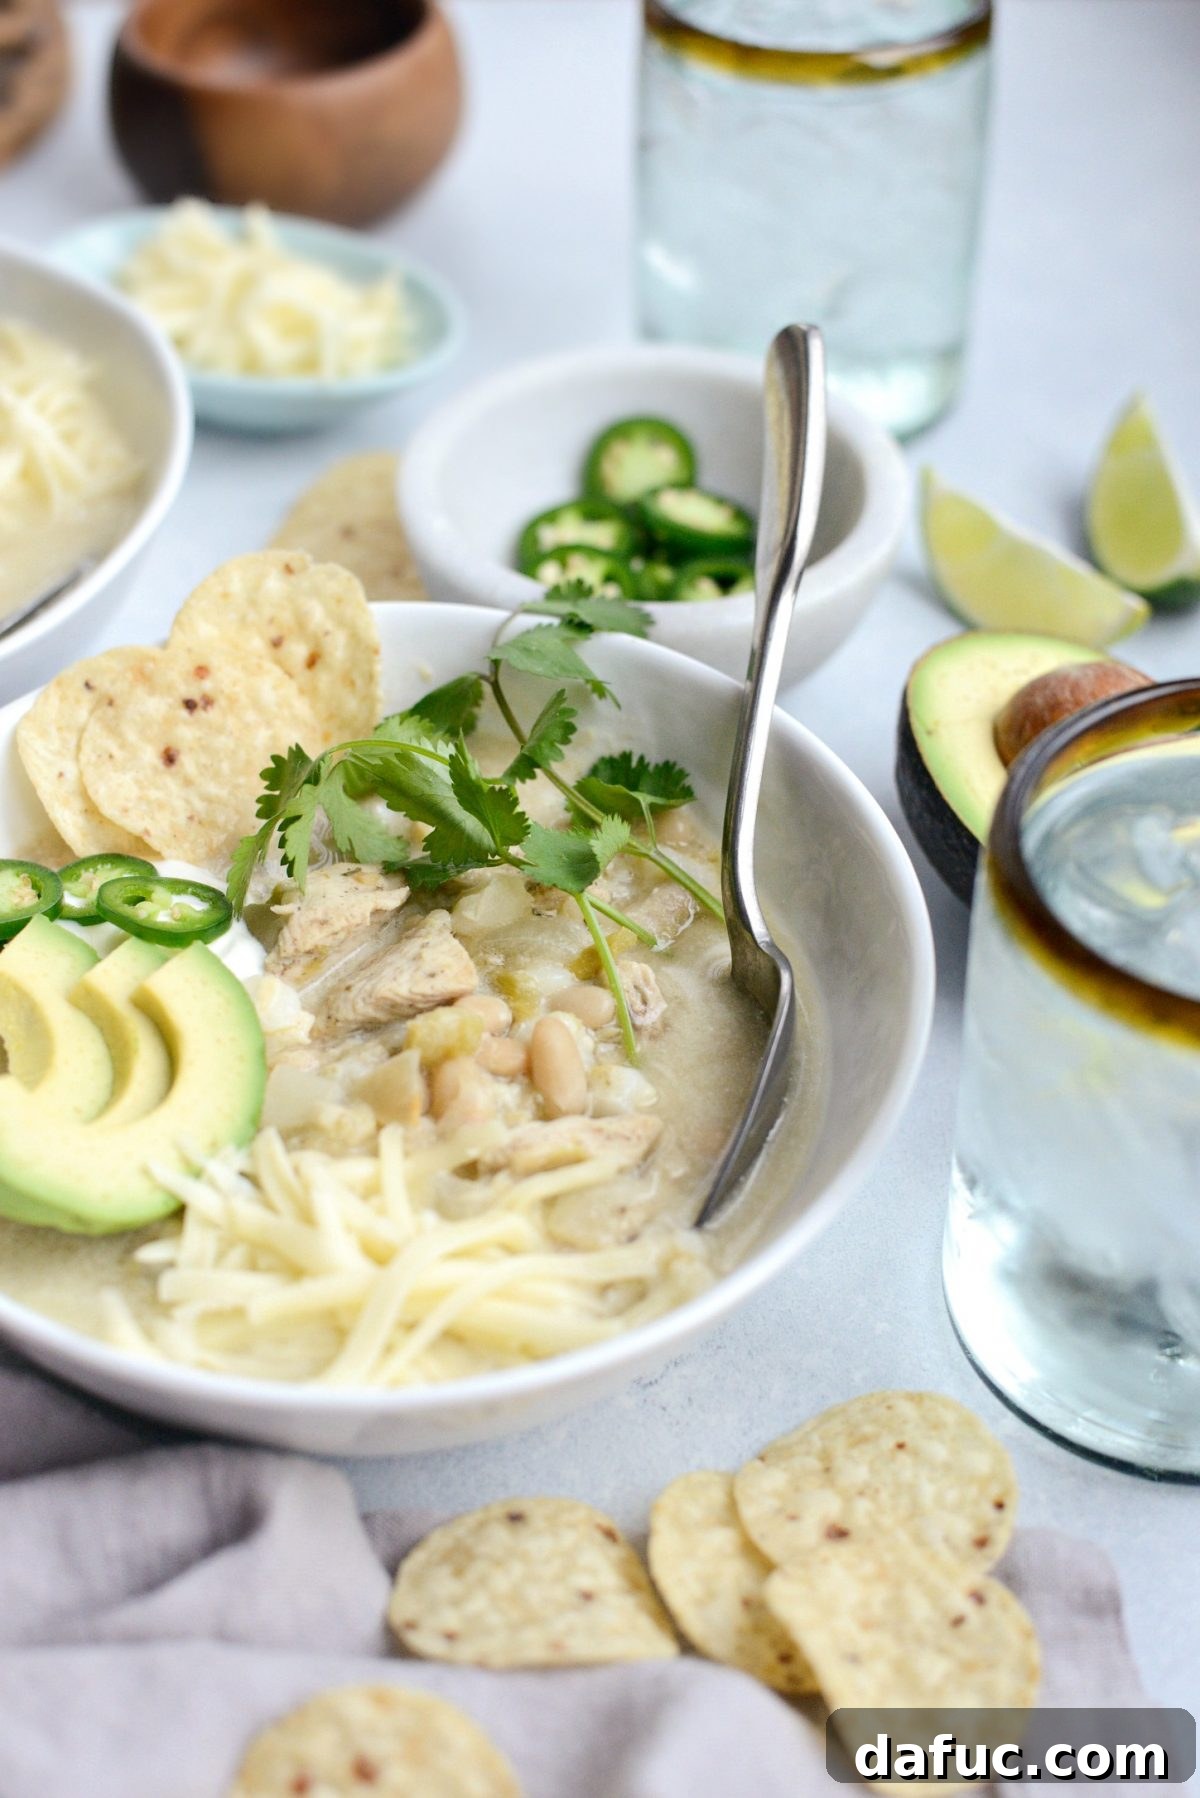
One of the best parts of enjoying a hearty bowl of chili, especially a lighter version, is the opportunity to load it up with your favorite toppings. Think of your chili as a blank canvas, eagerly awaiting vibrant colors and textures to complete its masterpiece. With a healthier base, you can indulge a little more creatively with your garnishes, transforming each spoonful into a personalized flavor adventure. Whether you prefer a refreshing crunch, a creamy contrast, or a spicy kick, the right toppings can elevate your Lighter White Chicken Chili from delicious to truly unforgettable.
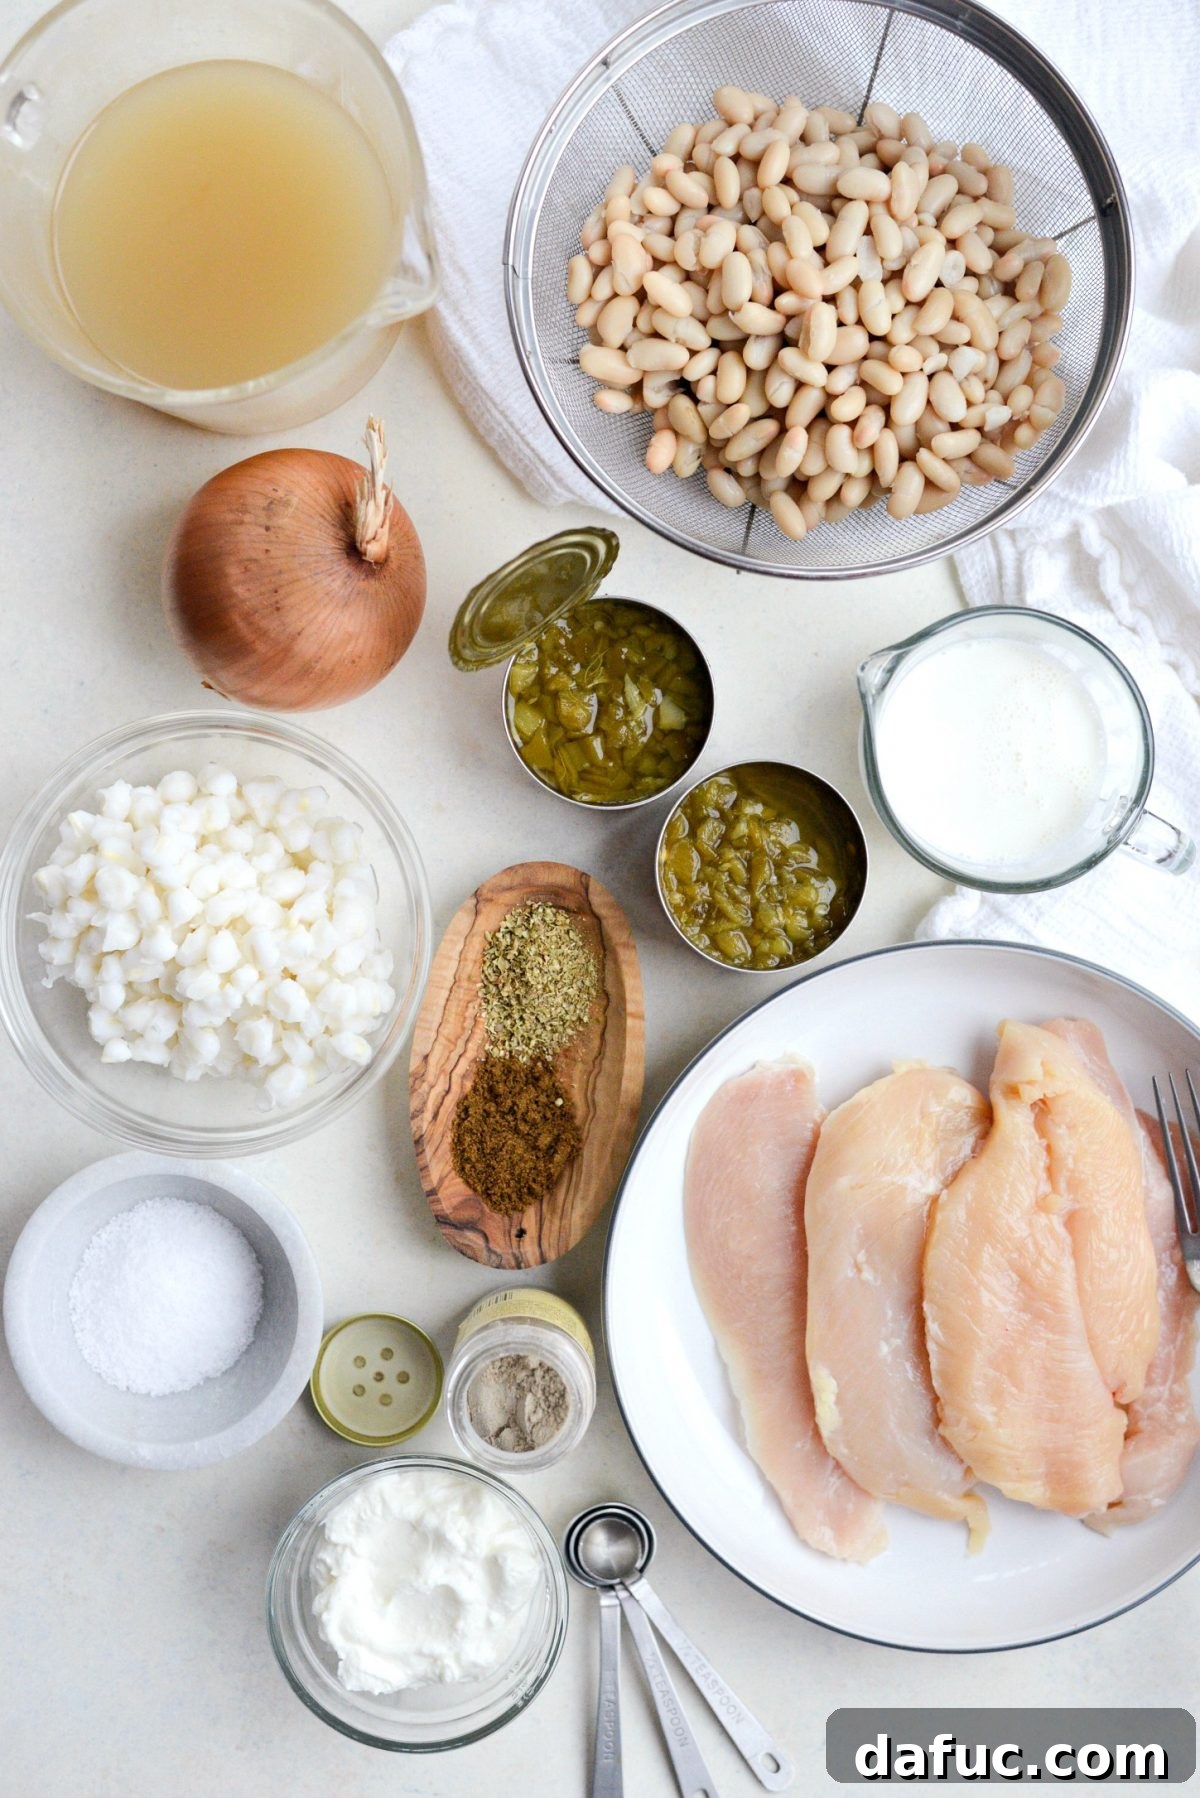
Essential Ingredients for Your One-Pot Lighter White Chicken Chili
Crafting this flavorful and wholesome white chicken chili requires a selection of fresh, high-quality ingredients. Each component plays a crucial role in building the chili’s distinct taste and texture, from the aromatic foundation to the hearty additions and the creamy finish. We’ve chosen ingredients that are not only delicious but also contribute to the “lighter” profile of this dish.
- Olive Oil: For sautéing and building the flavor base.
- Large Yellow Onion: Provides a sweet and pungent aromatic foundation.
- Fresh Garlic: Adds a robust, savory depth that is essential to any good chili.
- Boneless Skinless Chicken Breast Halves: Lean protein, diced for quick and even cooking.
- Ground Cumin: A cornerstone spice, offering earthy, warm notes characteristic of chili.
- Dried Oregano: Contributes a classic Mediterranean herbal aroma and flavor.
- Ground Coriander: Adds a subtle citrusy, slightly sweet warmth that complements the other spices.
- Great Northern Beans: These white beans are creamy and mild, providing bulk and protein. We’ll use them both whole and mashed for thickening.
- Hominy: A unique addition, offering a delightful chewy texture and distinct corn flavor.
- Diced Green Chiles: Infuse the chili with a mild heat and a classic Southwestern tang.
- Low-Sodium Chicken Broth: Forms the liquid base, controlling sodium while maximizing flavor.
- Plain Nonfat Greek Yogurt: Our secret weapon for creamy richness and a protein boost, replacing heavier creams.
- Half & Half: A small amount adds just enough richness without overwhelming the lighter profile. Whole milk can be substituted.
- Kosher Salt: Essential for seasoning and balancing all the flavors.
- White Pepper: Provides a gentle, clean heat without the visual specks of black pepper, maintaining the chili’s white aesthetic.
Step-by-Step Guide to Crafting Your Lighter White Chicken Chili
Creating this incredibly satisfying and healthy chili is a straightforward process, thanks to its one-pot design. Follow these simple steps to bring a bowl of warm, flavorful goodness to your table.
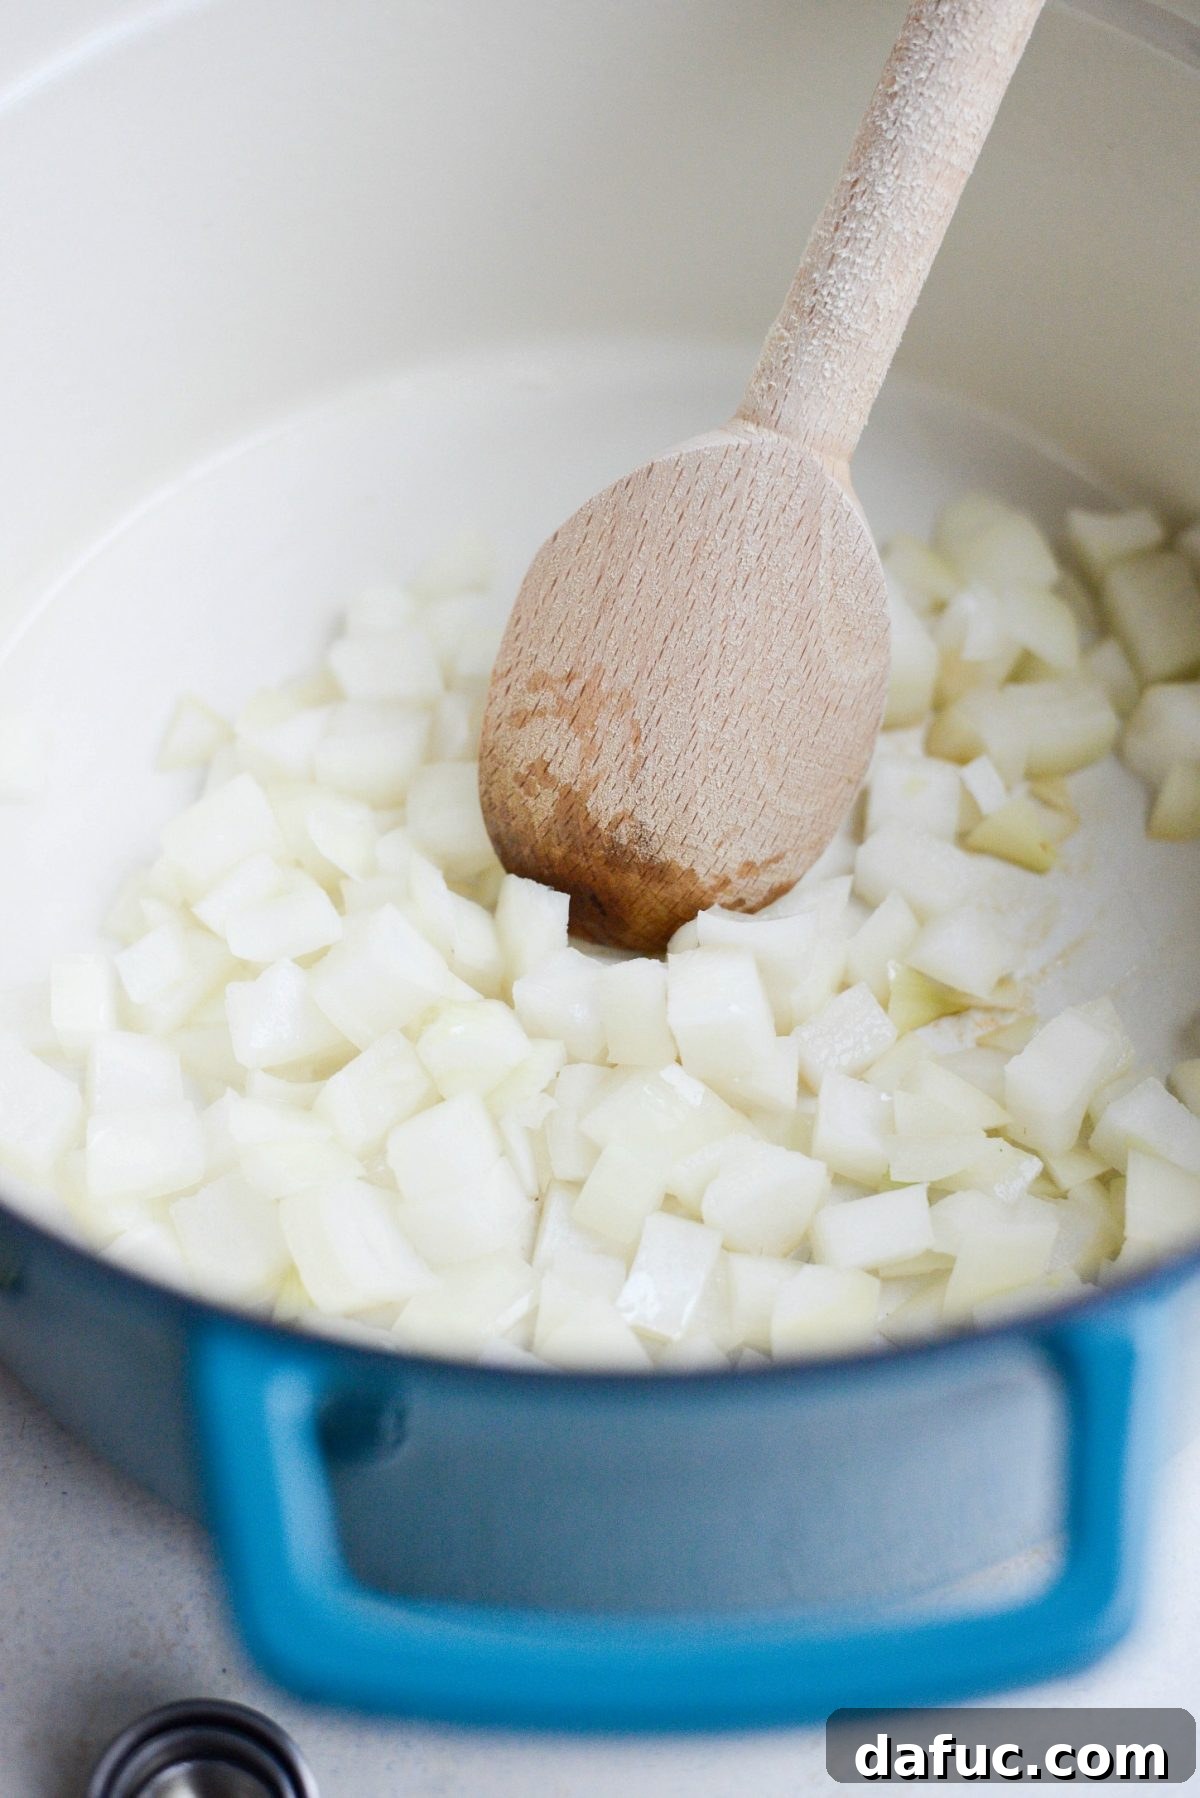
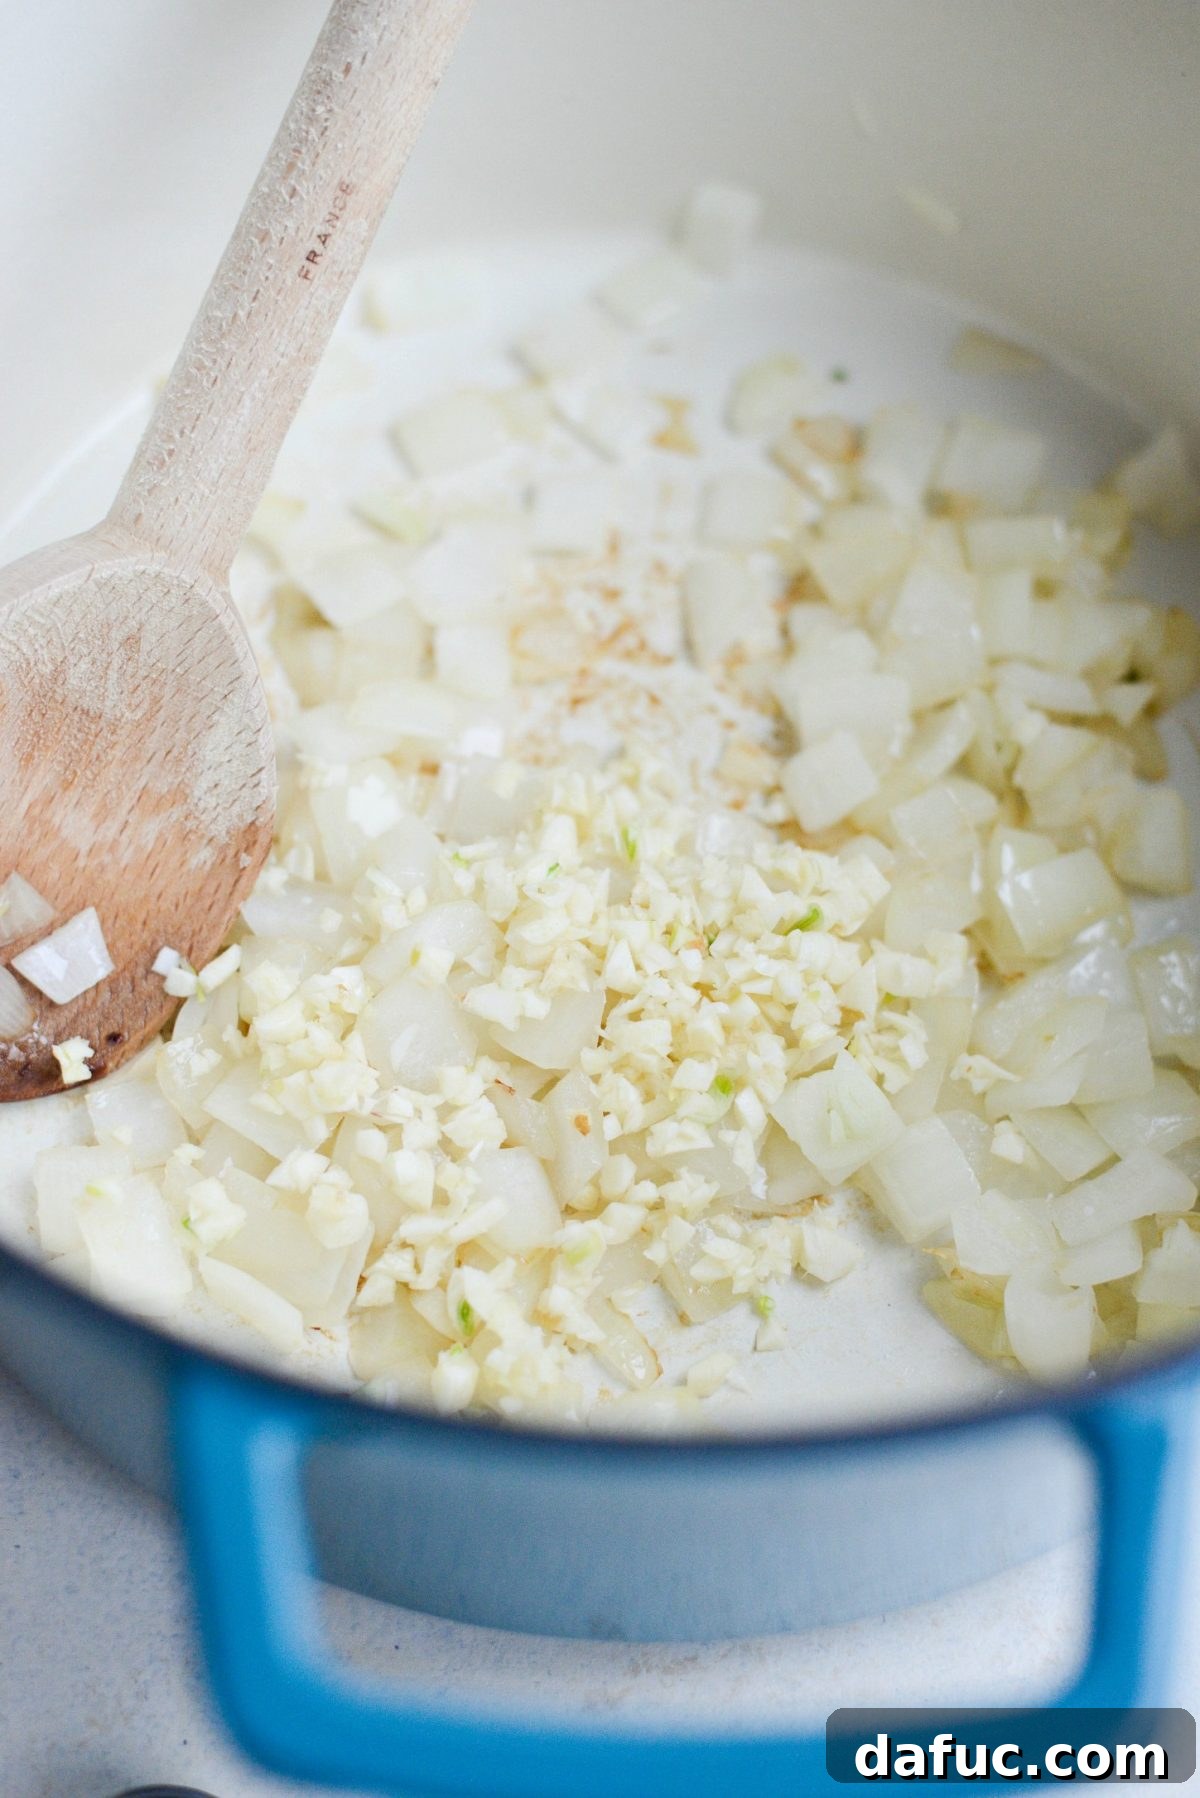
Step 1: Build the Aromatic Base
Begin by heating 2 teaspoons of olive oil in a large Dutch oven or a heavy-bottomed pot over medium to medium-low heat. Once shimmering, add 2 cups of diced yellow onion. Sauté the onions gently, stirring occasionally, until they become beautifully soft and translucent, which typically takes about 5-7 minutes. This slow sautéing process is crucial for developing their natural sweetness and creating a foundational layer of flavor for your chili. Next, stir in the minced garlic and cook for just 1 to 2 minutes more, until fragrant. Be careful not to burn the garlic, as this can turn bitter quickly.

Step 2: Brown the Chicken and Infuse Spices
Increase the heat to medium-high. Add the diced chicken breast, along with 1-1/2 teaspoons ground cumin, 1 teaspoon dried oregano, and 1/2 teaspoon ground coriander. Stir the chicken frequently, breaking up any clumps, until it is fully cooked through and no longer shows any pink. This typically takes about 8-10 minutes. Browning the chicken and toasting the spices at this stage releases their full aromatic potential, deeply infusing the entire dish with their wonderful flavors.
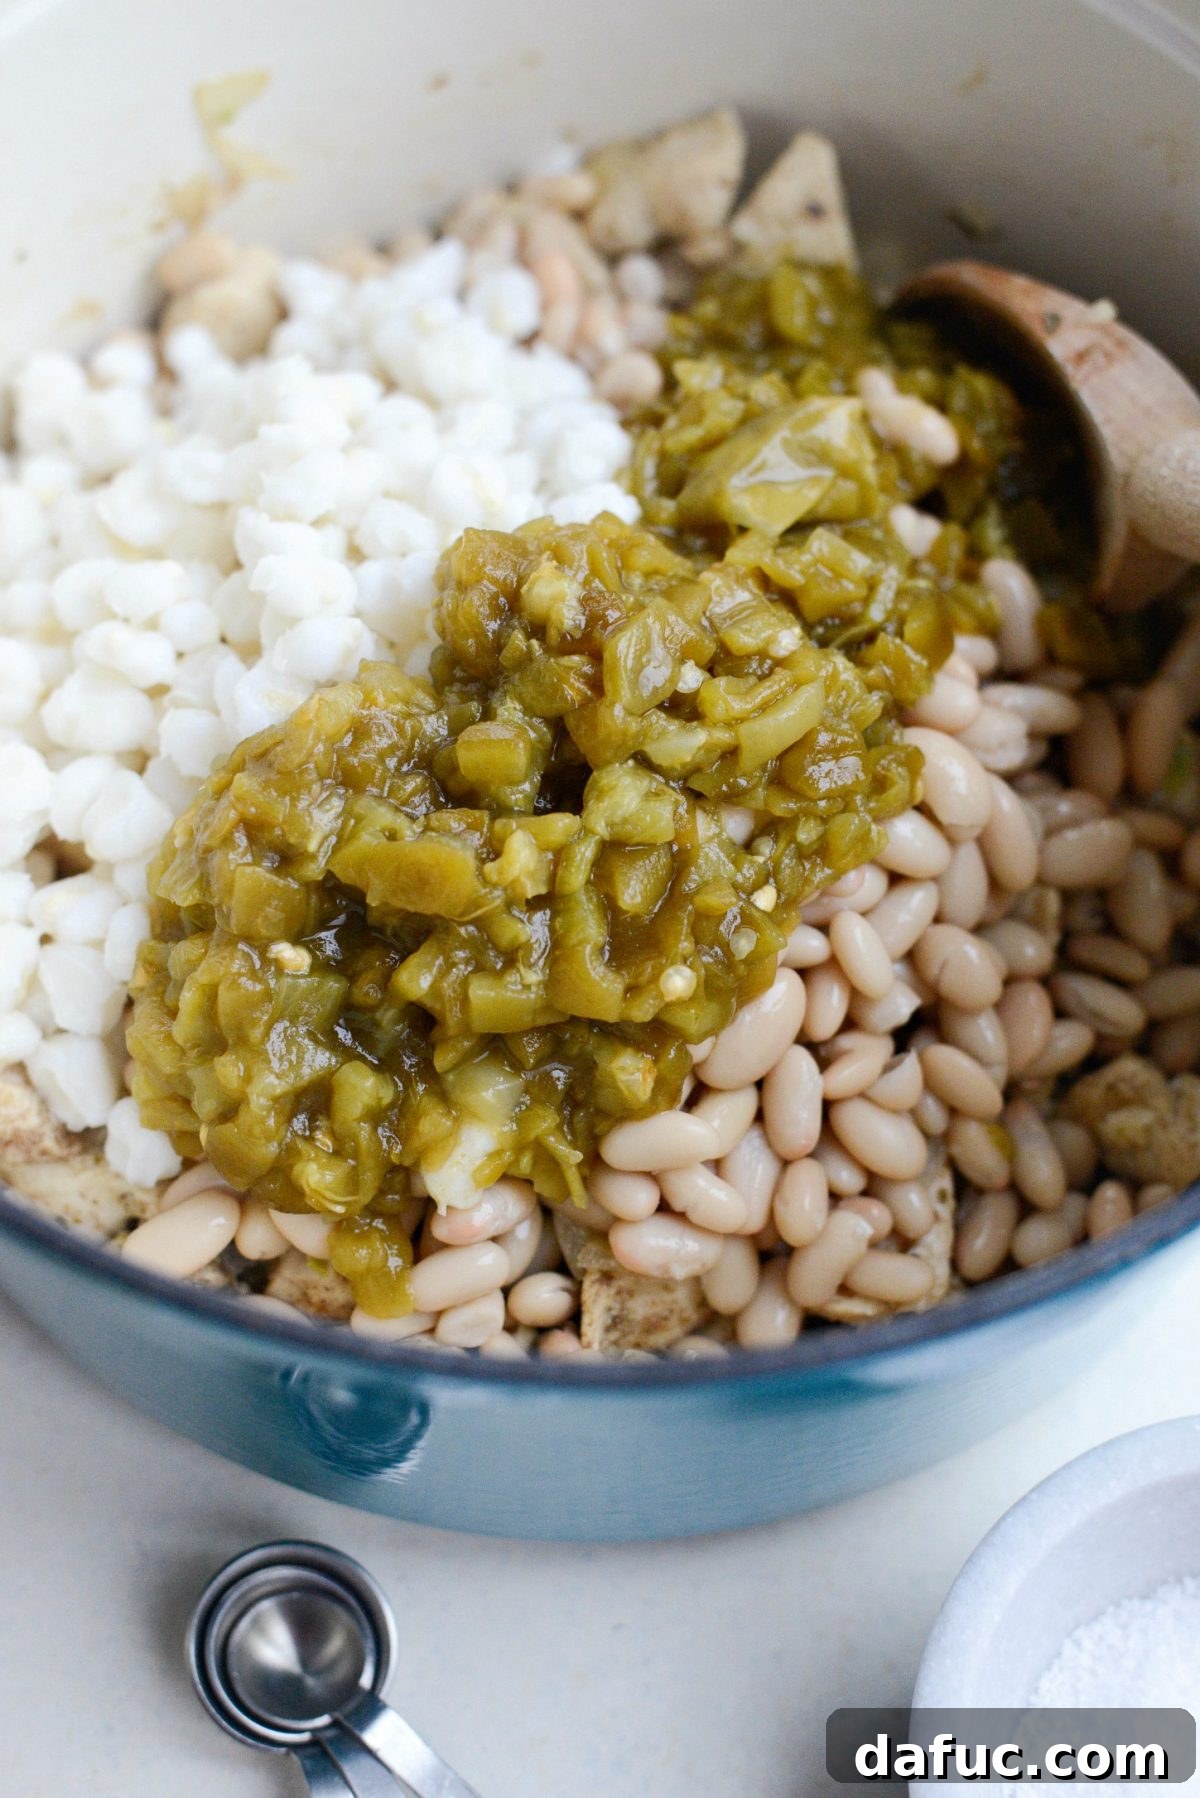
Step 3: Introduce Beans, Hominy, and Chiles
Now it’s time to add the hearty components. Drain and rinse three cans of great northern beans. Add two of these cans of white beans to the pot, along with the drained and rinsed hominy and the diced green chiles. Stir everything gently to combine, ensuring all ingredients are well distributed within the pot. For the third can of white beans, place them in a separate bowl and mash them thoroughly with a fork, or for an even smoother consistency, blend them in a mini food processor until creamy. These smashed beans will be key to naturally thickening our chili, providing a rich body without relying on heavy dairy.
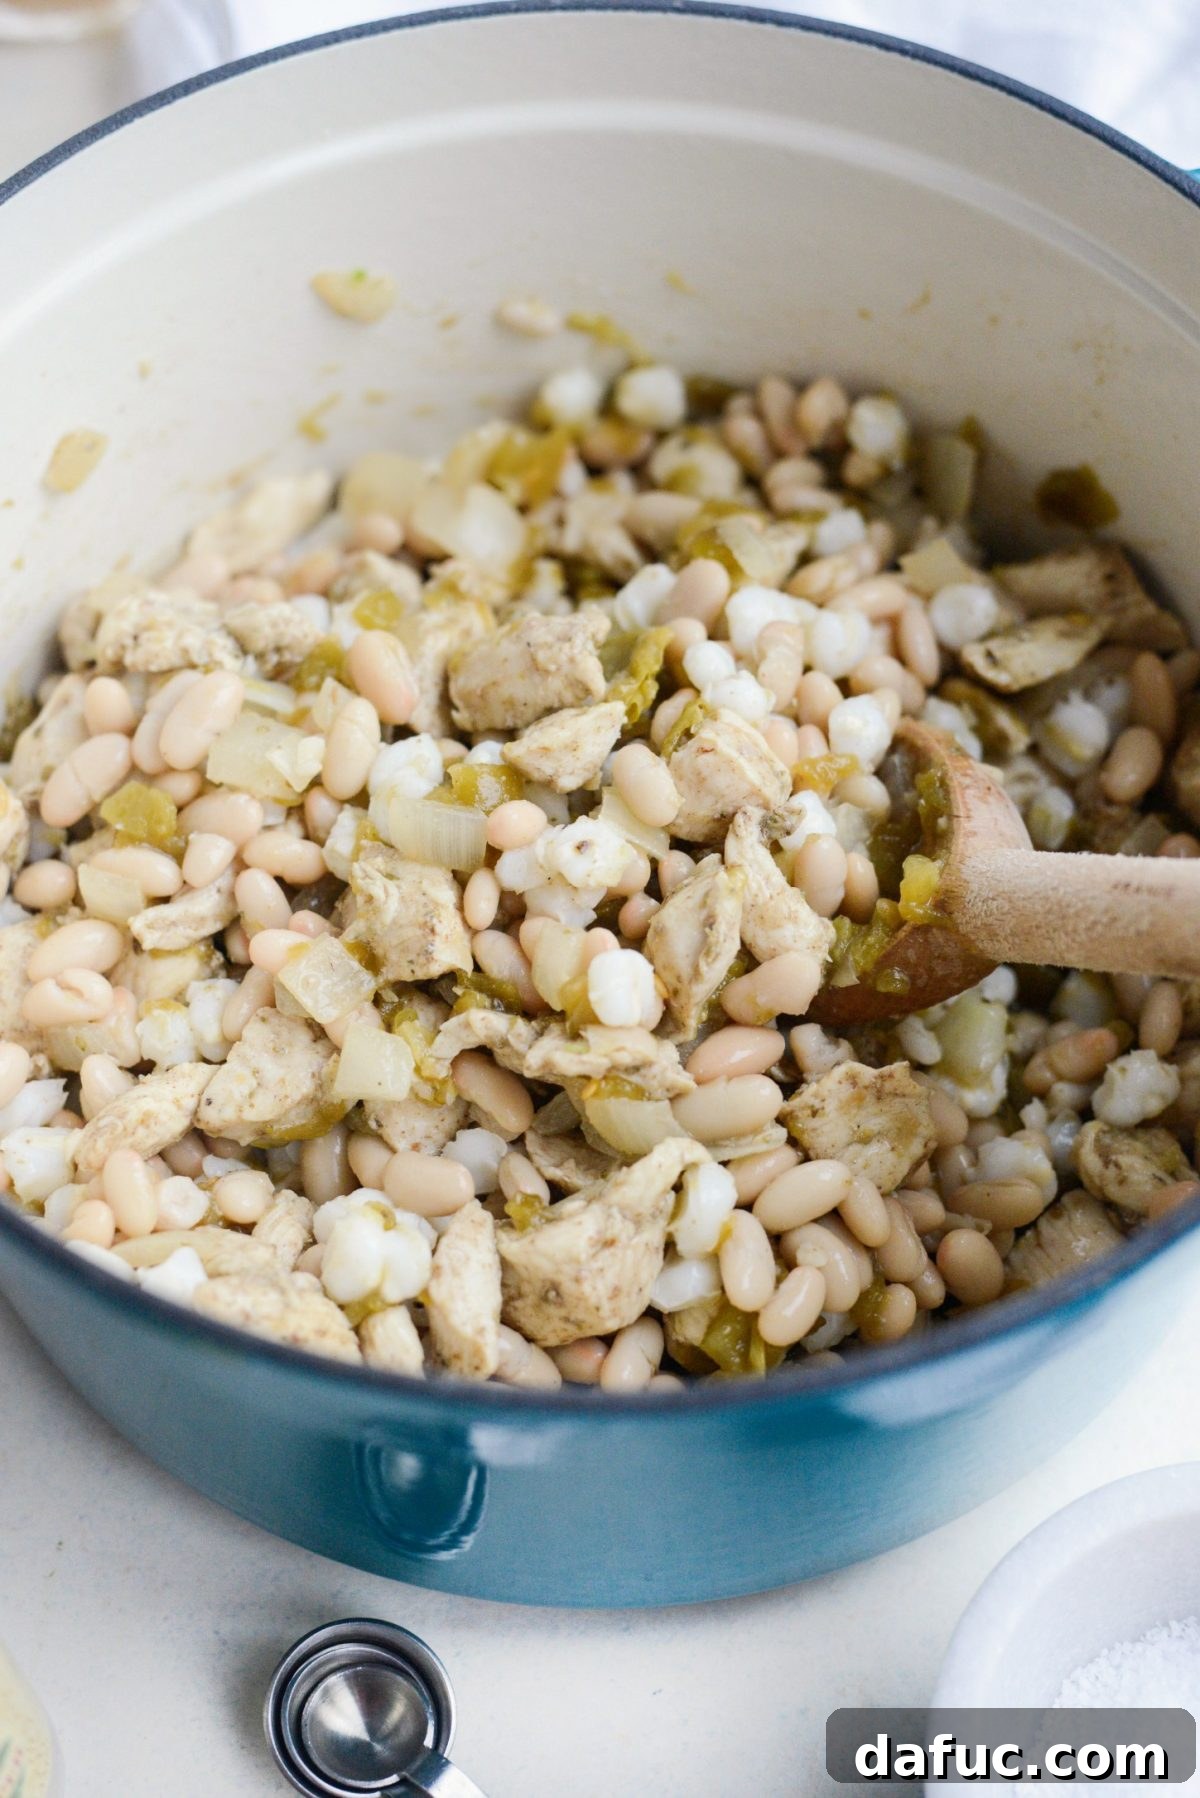
Understanding Hominy: A Unique Chili Addition
For those new to this ingredient, you might be wondering, “What exactly is hominy?” In essence, hominy refers to dried maize (corn) kernels that have been treated in an alkali solution, a process called nixtamalization. This process removes the hull and germ, softens the corn, and significantly enhances its nutritional value by making niacin more bioavailable. The resulting kernels are larger, puffier, and chewier than regular corn, with a distinct, earthy flavor that adds a wonderful depth and texture to stews and chilis. While visually resembling large corn kernels, hominy offers a unique taste and mouthfeel that makes it a staple in many Southwestern and Latin American cuisines. It’s a fantastic ingredient for adding substance and a comforting quality to your white chicken chili. You can find canned hominy in most grocery stores, typically near the canned beans or international foods aisle. For a more thorough explanation, you can read about hominy on Wikipedia.

Step 4: Simmer to Perfection
Pour in the 1-3/4 cups of low-sodium chicken broth, followed by the smashed white beans and the 1/4 cup of half & half (or whole milk). Stir everything well to ensure the mashed beans are fully incorporated and the liquid is evenly distributed. Cover the pot with a lid and bring the chili to a gentle simmer. Once it reaches a simmer, remove the lid and continue to cook, uncovered, for another 25 to 30 minutes. This simmering time allows the flavors to meld beautifully, the chili to thicken naturally from the mashed beans, and the ingredients to become perfectly tender. Stir occasionally to prevent sticking.
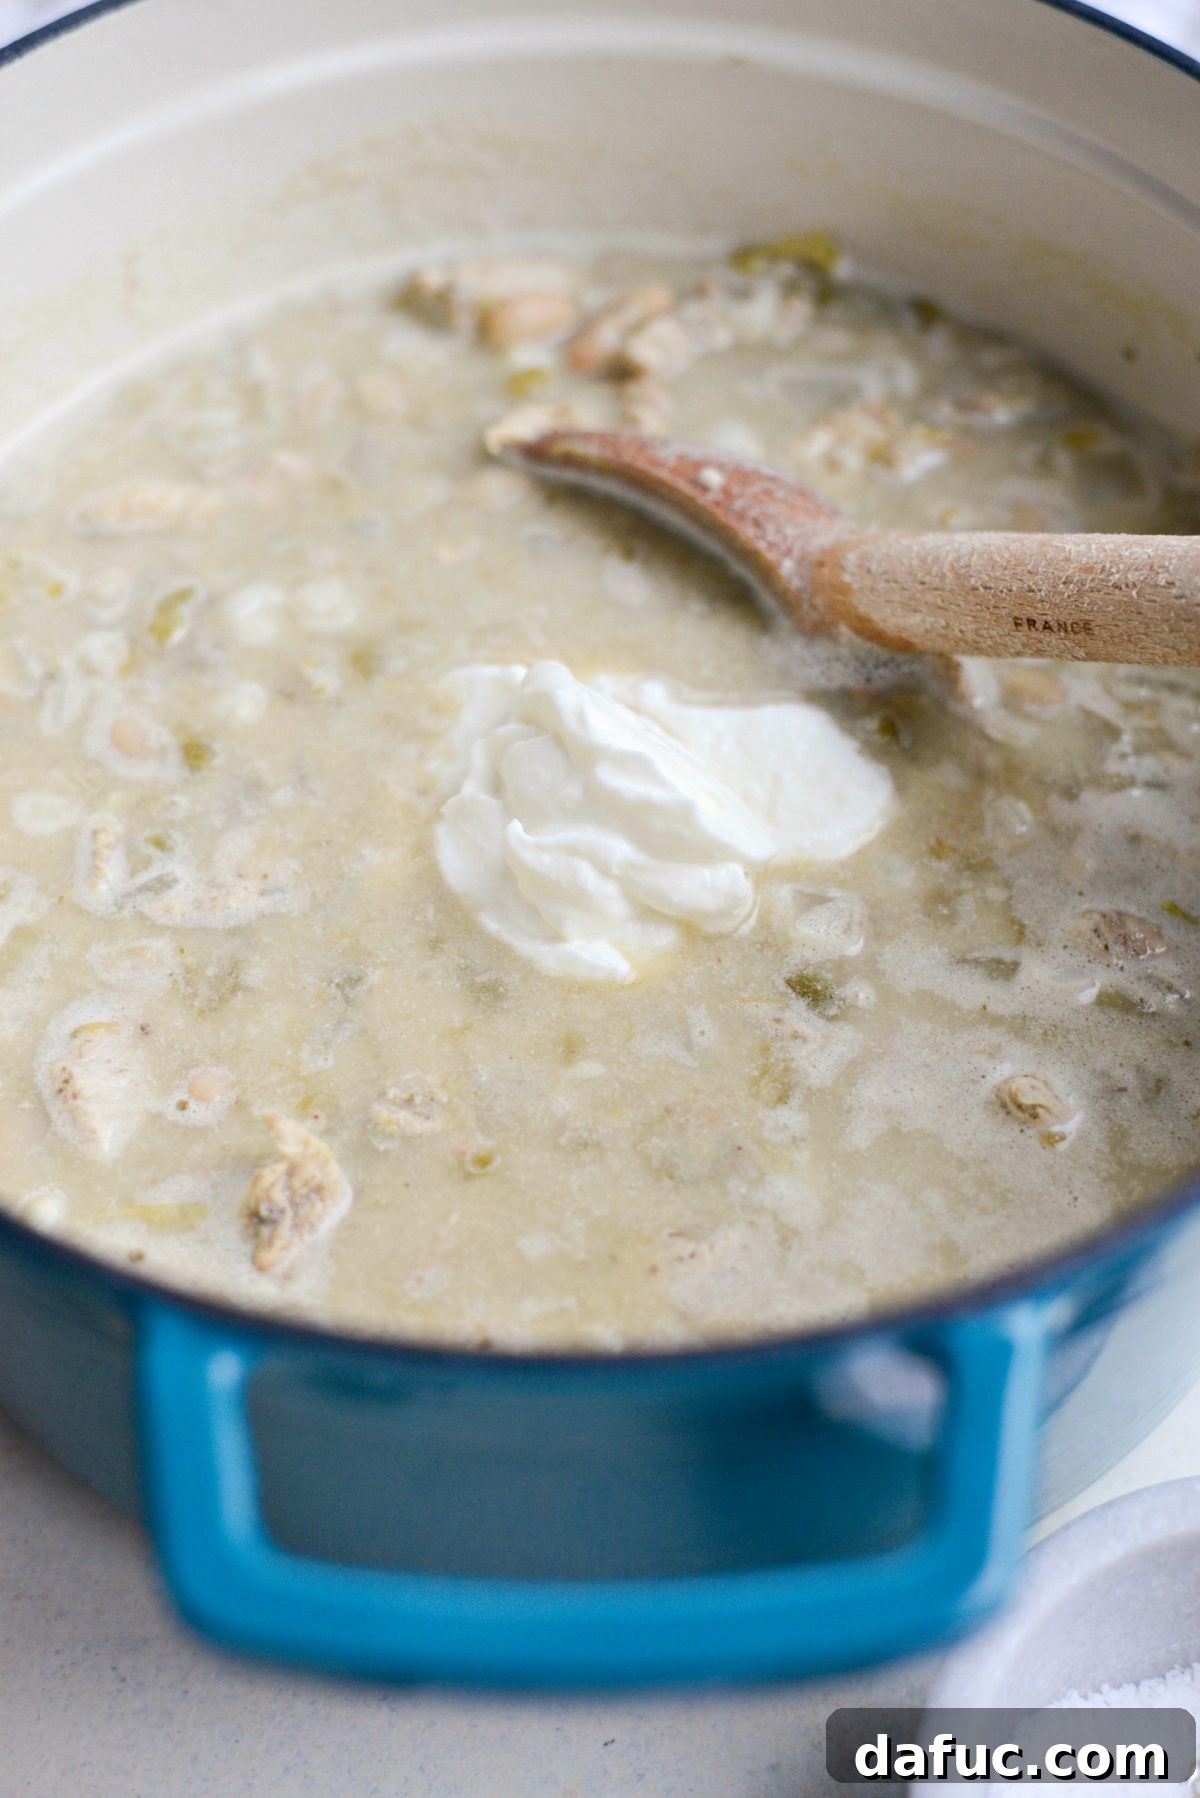
Step 5: Final Touches and Seasoning
Just before serving, remove the pot from the heat and stir in the 1 cup of plain nonfat Greek yogurt. Stir until it is fully blended and the chili takes on a beautiful creamy consistency. Adding the yogurt off the heat prevents it from curdling, ensuring a smooth finish. Taste the chili and season generously with kosher salt to your preference. Add 1/4 to 1/2 teaspoon of white pepper, depending on your desired level of mild heat. The white pepper is chosen specifically to maintain the aesthetic of the “white” chili, contrasting with the dark flecks that black pepper would introduce. This final seasoning step is crucial to bring all the flavors into perfect harmony.
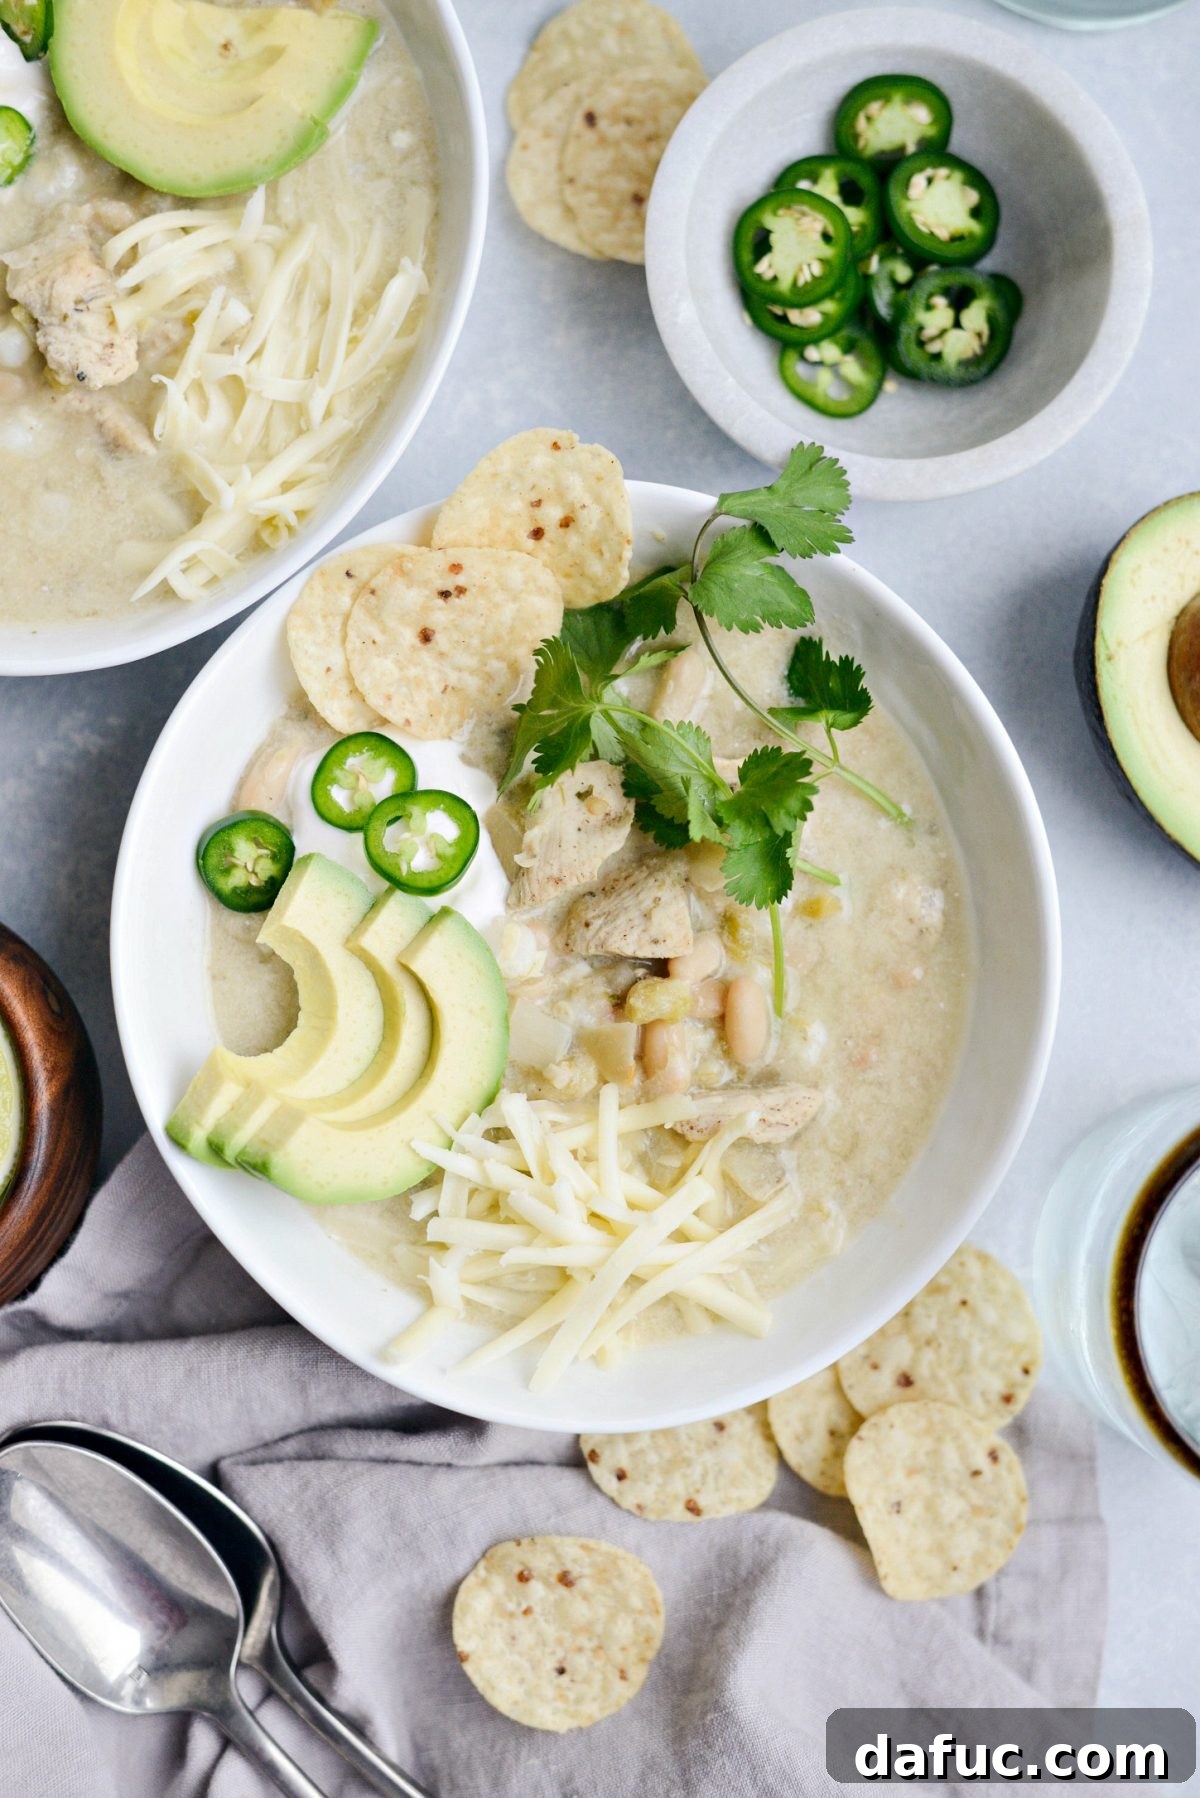
Unleash Your Creativity: A World of Optional Toppings
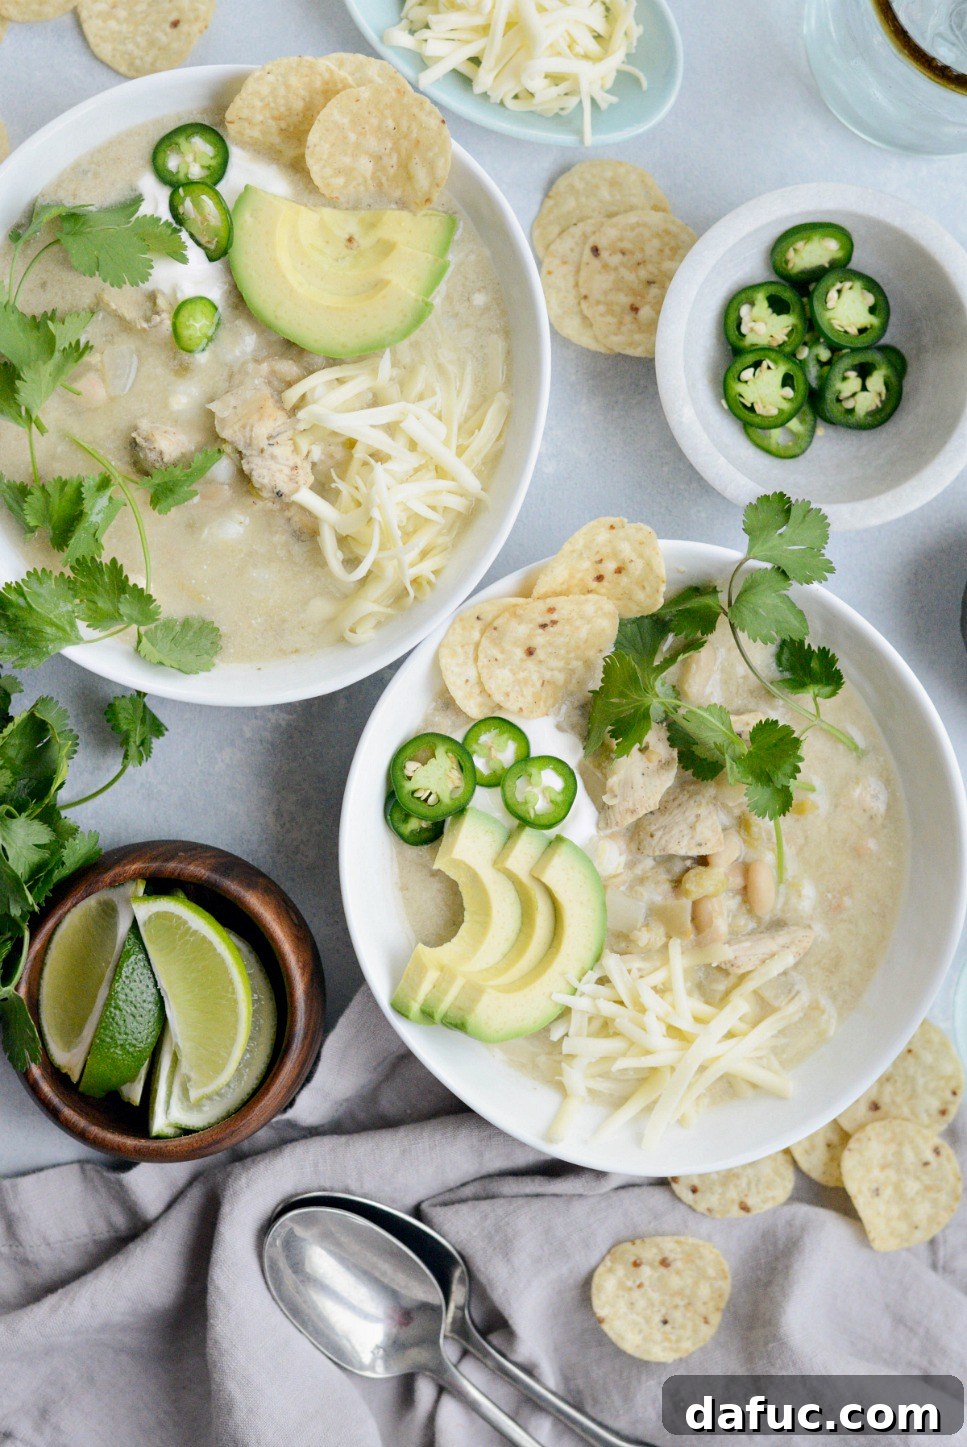
The beauty of this Lighter White Chicken Chili doesn’t end with its delicious preparation; it extends to the endless possibilities of customization through toppings. These garnishes not only add visual appeal but also introduce layers of texture and flavor that can transform each bowl into a unique experience. Don’t be shy – pile on as many or as few as your heart desires!
- Avocado: Sliced or diced, fresh avocado adds a rich, buttery creaminess and a touch of healthy fats.
- Fresh Cilantro: A sprinkle of chopped fresh cilantro brings a bright, herbaceous, and citrusy note that cuts through the richness of the chili.
- Lime Wedges: A squeeze of fresh lime juice offers a burst of acidity, brightening all the flavors in the chili. It’s a must-have for an authentic Tex-Mex experience.
- Monterey Jack or Pepper Jack Cheese: A grating of mild Monterey Jack or a spicier Pepper Jack cheese adds a melty, savory element that chili lovers adore.
- Jalapeño: For those who crave an extra kick, thinly sliced fresh or pickled jalapeños provide a welcome burst of heat.
- Plain Fat-Free Greek Yogurt or Sour Cream: A dollop offers an extra layer of cool, tangy creaminess, mirroring the chili’s base flavor profile.
- Tortilla Chips: Crumbled or whole, tortilla chips provide a satisfying crunch and are perfect for scooping up every last bit of chili.
- Green Onions: Sliced green onions offer a mild, fresh onion flavor and a vibrant green garnish.
- Hot Sauce: A dash of your favorite hot sauce for an individualized spice level.
This Lighter White Chicken Chili truly is a triumph of flavor, comfort, and ease. It’s hearty enough to warm you from the inside out, yet light enough to feel nourishing and wholesome. We are confident that this recipe will become a cherished favorite in your household, just as it has in ours. Enjoy the delightful balance of creamy texture, savory spices, and tender chicken, all coming together in one incredible dish.
Meal Prep Made Easy: How to Freeze and Reheat Your White Chicken Chili
One of the many benefits of this Lighter White Chicken Chili is its excellent freezer-friendliness, making it a perfect candidate for meal prepping. Having ready-to-heat portions of this delicious chili means a comforting, healthy meal is always just moments away, saving you time and effort on busy days. Follow these guidelines to properly freeze and reheat your chili, ensuring maximum freshness and flavor.
- COOL COMPLETELY: Before you even think about freezing, ensure your chili is completely cooled. This is a crucial step. Placing hot or even very warm food directly into the freezer (or refrigerator) can raise the internal temperature of other nearby frozen items, potentially causing them to thaw and refreeze, which can compromise food safety and quality. Let the chili cool at room temperature for no more than two hours, then transfer it to the fridge to finish cooling thoroughly.
- PORTION WISELY: Once your chili is fully cooled, divide it into individual or family-sized portions. Consider how you’ll want to reheat it later – single servings for quick lunches or larger portions for dinner. You can use freezer-safe bags or air-tight containers. For freezer bags, press out as much air as possible before sealing; this helps prevent freezer burn and maximizes freezer space.
- FLATTEN FOR SPACE: If using freezer bags, lay the portioned, sealed bags flat on a rimmed baking sheet. Freeze them in this flat position for a few hours until solid. This method creates flat, stackable blocks of chili that save a remarkable amount of freezer space and make organization much easier, similar to techniques used for homemade marinara in this post.
- STORE EFFICIENTLY: Once frozen solid, you can stack the flat chili portions vertically or horizontally, whichever best suits your freezer layout. This optimized storage is a game-changer for maintaining an organized freezer. Your Lighter White Chicken Chili can be safely stored in the freezer for up to 6 months. Remember to label your containers or bags with the date and contents.
- REHEAT WITH CARE: The best way to thaw frozen chili is to transfer it from the freezer to the refrigerator overnight. This allows for a slow, even thaw. If you’re in a hurry, you can place the sealed bag or container in a sink filled with lukewarm water for 20 to 30 minutes, flipping it occasionally and changing the water once or twice to speed up the process. Alternatively, for speed, you can defrost it in the microwave using the defrost setting until thawed. Once thawed, transfer the chili to a saucepan or Dutch oven and gently heat over medium-low heat, stirring occasionally, until it is thoroughly heated through and simmering gently. Adjust seasoning if needed.
We hope you thoroughly enjoy this Lighter One-Pot White Chicken Chili recipe! If you try it, we’d love to hear from you. Share your culinary creations with us by snapping a photo and tagging us on Twitter or Instagram! Your feedback and shared experiences inspire us.

Print Recipe
Pin Recipe
Leave a Review »
6 servings
One Pot Lighter White Chicken Chili
This Lighter White Chicken Chili is a healthy and easy one-pot meal. Diced chicken breast, onions, garlic, and a medley of spices simmer in chicken broth with white beans, hominy, and green chiles. Thickened with smashed white beans and Greek yogurt instead of sour cream for a creamy, lighter finish.
15 mins
50 mins
1 hr 10 mins
2 hrs 15 mins
Ingredients
- 1 teaspoon extra light olive oil
- 1 large yellow onion, diced (about 2 cups)
- 4 cloves garlic, minced
- 1¼ pounds boneless skinless chicken breast halves, diced
- 1½ teaspoons ground cumin
- 1 teaspoon dried oregano
- ½ teaspoon ground coriander
- 3 (15 ounce) cans great northern beans, drained, rinsed and divided
- 1 (15 ounce) can hominy, drained and rinsed
- 1 (8 ounce) can diced green chiles
- 1¾ cups low-sodium chicken broth
- ¼ cup half & half (or whole milk)
- 1 cup nonfat plain Greek yogurt
- Kosher salt, to taste
- ¼ to ½ teaspoon white pepper
Equipment
- Lodge EC7OD13 Enameled Cast Iron Oval Dutch Oven, 7-Quart, Oyster White
- Fork or mini food processor for mashing beans
Instructions
- Heat olive oil in a large Dutch oven over medium to medium-low heat.
- Add the diced onion and sauté until soft and translucent (about 5-7 minutes). Stir in the minced garlic and cook for 1 to 2 minutes until fragrant.
- Increase the heat to medium-high. Add the diced chicken, ground cumin, dried oregano, and ground coriander. Cook, stirring occasionally, until the chicken is fully cooked and no longer pink (about 8-10 minutes).
- Meanwhile, take one of the drained and rinsed cans of white beans and mash them thoroughly with a fork or blend them in a mini food processor until smooth.
- Add the remaining two cans of drained and rinsed white beans, the drained and rinsed hominy, and the diced green chiles to the pot with the chicken. Stir to combine.
- Pour in the low-sodium chicken broth, half & half (or whole milk), and the mashed white beans. Stir everything well. Cover the pot and bring to a simmer. Once simmering, remove the lid and continue to cook, uncovered, for 25 to 30 minutes, allowing the chili to thicken and flavors to meld.
- Remove the pot from the heat. Stir in the nonfat plain Greek yogurt until fully incorporated and creamy.
- Season the chili with white pepper and then kosher salt to taste.
- Serve hot, garnished with your desired toppings, and enjoy!
Nutrition Information (Approximate per serving)
Serving: 1 cup
- Calories: 183 kcal
- Carbohydrates: 8g
- Protein: 26g
- Fat: 5g
- Saturated Fat: 2g
- Polyunsaturated Fat: 1g
- Monounsaturated Fat: 2g
- Trans Fat: 1g
- Cholesterol: 66mg
- Sodium: 299mg
- Potassium: 573mg
- Fiber: 1g
- Sugar: 2g
- Vitamin A: 126IU
- Vitamin C: 17mg
- Calcium: 89mg
- Iron: 2mg
Laurie McNamara
Soups, Stews & Chilis
Tex Mex