
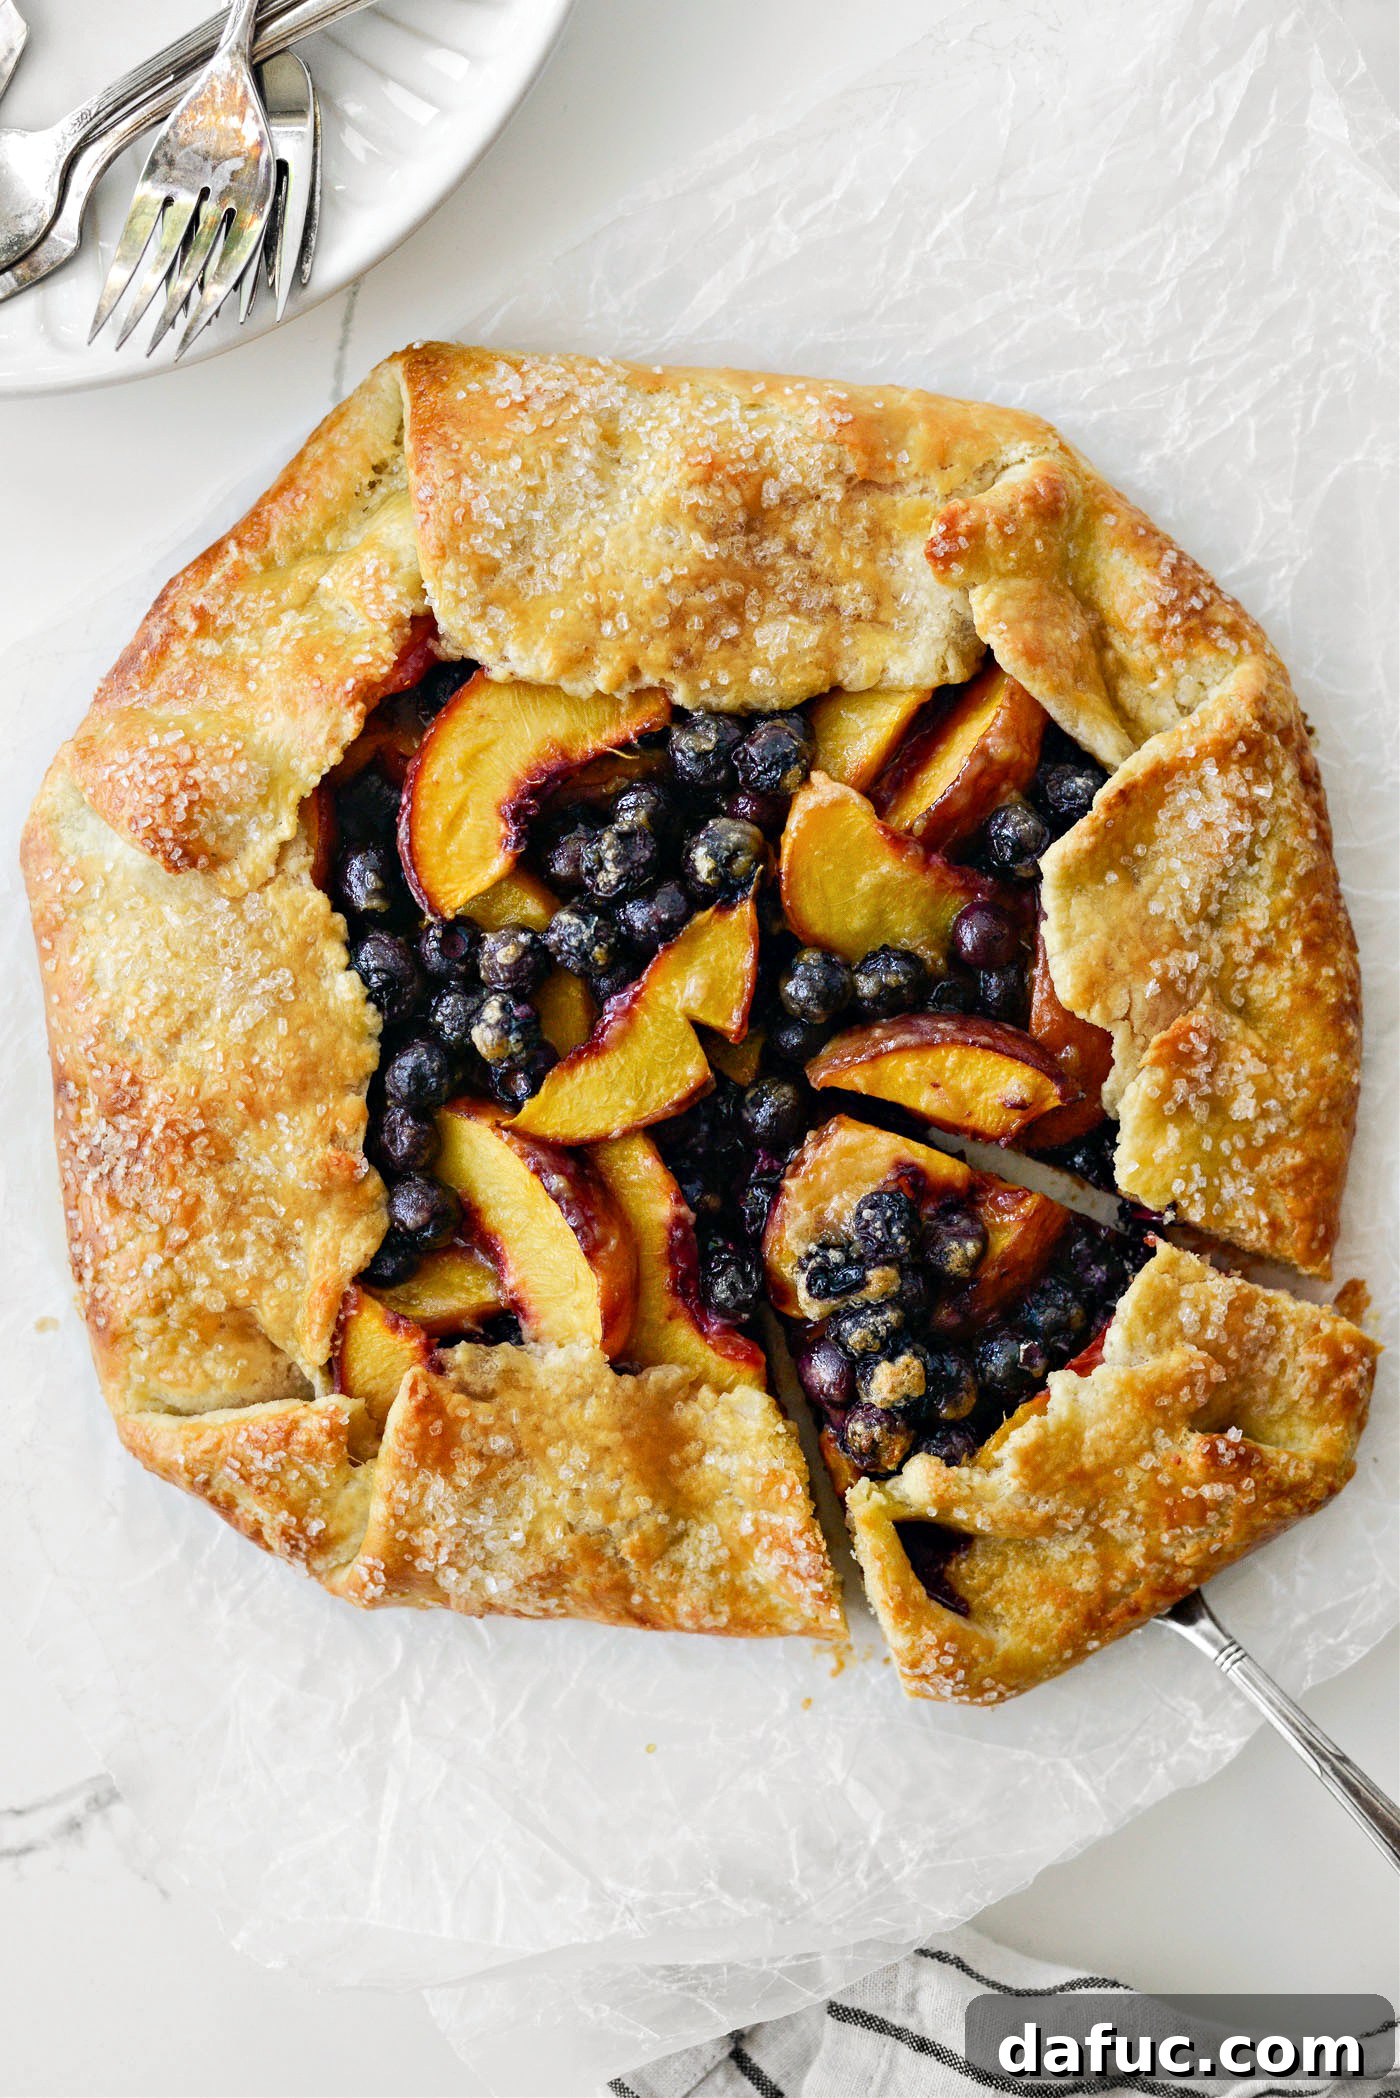
There’s nothing quite like the taste of summer captured in a dessert, and this gorgeous rustic Blueberry Peach Galette is the epitome of seasonal delight. Imagine biting into tender, flaky pastry cradling a vibrant, juicy filling of sun-kissed peaches and plump, sweet blueberries. It’s a dessert that speaks of warm afternoons, backyard gatherings, and the simple pleasures of homemade baking. This easy-to-make, free-form pie offers all the charm of a complex pastry without the fuss, making it the perfect showstopper for any occasion or a comforting treat on a quiet evening. With its inviting golden crust and bubbling fruit, this galette isn’t just a dessert; it’s an experience, celebrating summer’s bounty in every mouthwatering bite. This recipe yields approximately 6 generous servings.
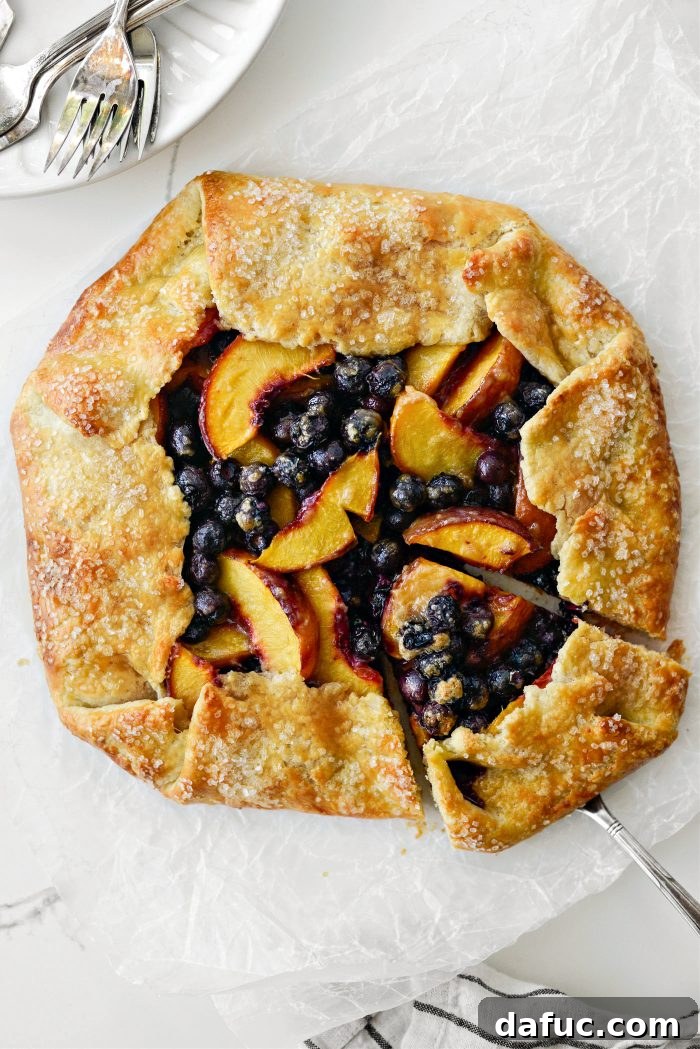
What Exactly Is a Galette? Unveiling the Charm of This Rustic Pie
Before we dive into the delicious details of this blueberry peach rendition, let’s address a common question: “What is a galette?” In the culinary world, a galette refers to a rustic, free-form flat cake or pastry, often made with a single crust that is folded casually over a sweet or savory filling. Unlike a traditional pie that requires precise crimping and a dedicated pie dish, a galette is baked directly on a flat baking sheet, embracing a beautifully imperfect and artisanal aesthetic.
Originating from French cuisine, galettes are celebrated for their simplicity and versatility. The beauty lies in their unpretentious nature; there’s no need for elaborate lattice tops or perfectly symmetrical edges. The dough is simply rolled out, the filling is mounded in the center, and the edges are folded inward, creating a charming border that partially encases the fruit or other ingredients. This relaxed approach makes galettes incredibly approachable for bakers of all skill levels, offering a less intimidating alternative to the classic pie. They can be sweet, featuring fruits, jams, or nuts, or savory, with vegetables, cheeses, and meats. For a sweet galette like our Blueberry Peach Galette, this rustic preparation perfectly highlights the natural beauty and vibrant colors of the fresh fruit, letting its summery essence truly shine.
A Beloved Summer Classic: Reviving and Perfecting This Recipe
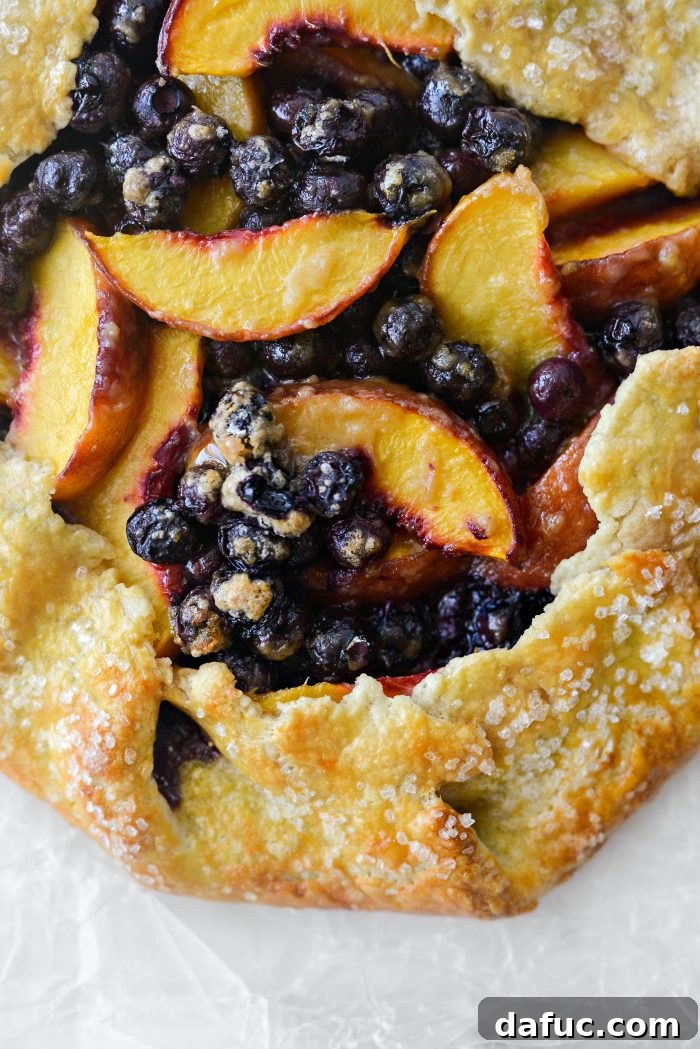
This particular Blueberry Peach Galette recipe holds a special place in my heart. I first crafted this delightful dessert back in July 2011, captivated by the seasonal harmony of peaches and blueberries. Even then, the combination of flavors was a resounding success, a true testament to the magic these two fruits create when brought together. However, over the years, as my baking and photography skills evolved, I knew this cherished recipe deserved a refresh. The original photos, while capturing the essence, truly didn’t do justice to the deliciousness contained within. This week, I decided it was time to breathe new life into an old favorite, remaking and re-photographing it to perfectly showcase its irresistible appeal.
And I am so incredibly glad I did! The updated recipe not only maintains the original’s delightful flavor profile but also benefits from refined instructions and stunning visuals that truly capture the rustic elegance of this summer dessert. This iteration is designed to be even more approachable, ensuring that every baker, from novice to seasoned, can achieve a beautiful and incredibly tasty galette. It’s a reminder that sometimes, revisiting and refining a classic can make it even more wonderful, especially when celebrating the peak flavors of summer.
Essential Ingredients for Your Perfect Blueberry Peach Galette
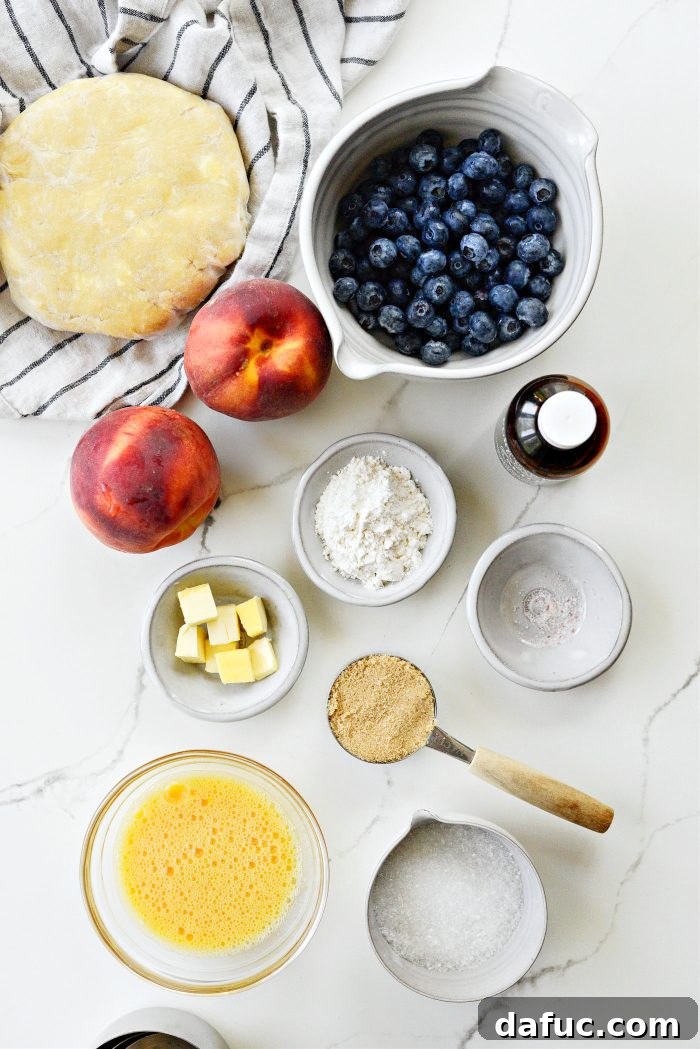
Crafting this delightful Blueberry Peach Galette requires a handful of simple, high-quality ingredients that come together to create a symphony of flavors and textures. Each component plays a vital role in ensuring a truly memorable dessert. Here’s what you’ll need, along with insights into why each ingredient is key:
- Pâte Sucrée (Sweet Pastry Dough): This is the foundation of your galette. Pâte Sucrée, or “sweet dough,” differs from a regular pie crust by being richer, more tender, and less flaky, often having a cookie-like texture. It’s perfect for sweet tarts and galettes as it provides a sturdy yet delicate base that complements the fruit filling without overpowering it. You can follow my detailed recipe for easy pâte sucrée, or if you prefer a more traditional, flakier crust, half a recipe of my regular pie dough will also work wonderfully.
- Peaches: The star of the show! Use ripe, but not overly soft or bruised, peaches. They should yield slightly when gently squeezed, indicating maximum sweetness and juiciness. Peaches provide a fragrant, sweet, and slightly tangy flavor that pairs beautifully with blueberries.
- Blueberries: These little gems add a burst of juicy sweetness and a slightly floral note that perfectly complements the peaches. They also contribute a beautiful color contrast to the filling. Fresh blueberries are ideal, but in a pinch, frozen blueberries (not thawed) can be used, though they might release more liquid.
- Light Brown Sugar: Beyond just sweetness, light brown sugar contributes a subtle molasses flavor and moisture to the filling, enhancing the overall depth of taste and helping the fruit juices caramelize beautifully during baking.
- Unbleached All-Purpose Flour: This acts as a thickener for the fruit juices released during baking, preventing a soggy bottom and ensuring the filling remains deliciously saucy but not watery.
- Pure Vanilla Extract: A touch of vanilla extract adds warmth and depth, enhancing all the other flavors in the galette and rounding out the sweetness of the fruit.
- Fine Salt (Kosher or Fine Sea Salt): A pinch of salt is crucial for balancing the sweetness and brightening the flavors of the fruit, making the galette taste even more vibrant and well-rounded.
- Unsalted Butter: Dotted over the fruit filling before baking, butter adds richness, moisture, and a luxurious mouthfeel, contributing to the overall decadent experience. Using unsalted butter gives you control over the total salt content.
- Egg Wash: A simple mixture of a beaten egg and a splash of water (about 2 teaspoons) brushed over the pastry crust before baking. This gives the galette a beautiful golden-brown sheen and a slightly crisper finish. For those with an egg allergy, peach or apricot jam/marmalade can be used as a delicious alternative for a glossy top.
- Sparkling Sugar (or Coarse Sugar): Sprinkled generously over the egg-washed crust, this coarse sugar adds a delightful crunch, extra sweetness, and a beautiful sparkling finish that makes the galette look as appealing as it tastes. Any white sugar you have on hand can be used, but sparkling sugar truly elevates the presentation.
Step-by-Step Guide to Crafting Your Blueberry Peach Galette
Prepare the Pastry Dough: The Foundation of Flavor
Preheat your oven to 425℉ (220℃).
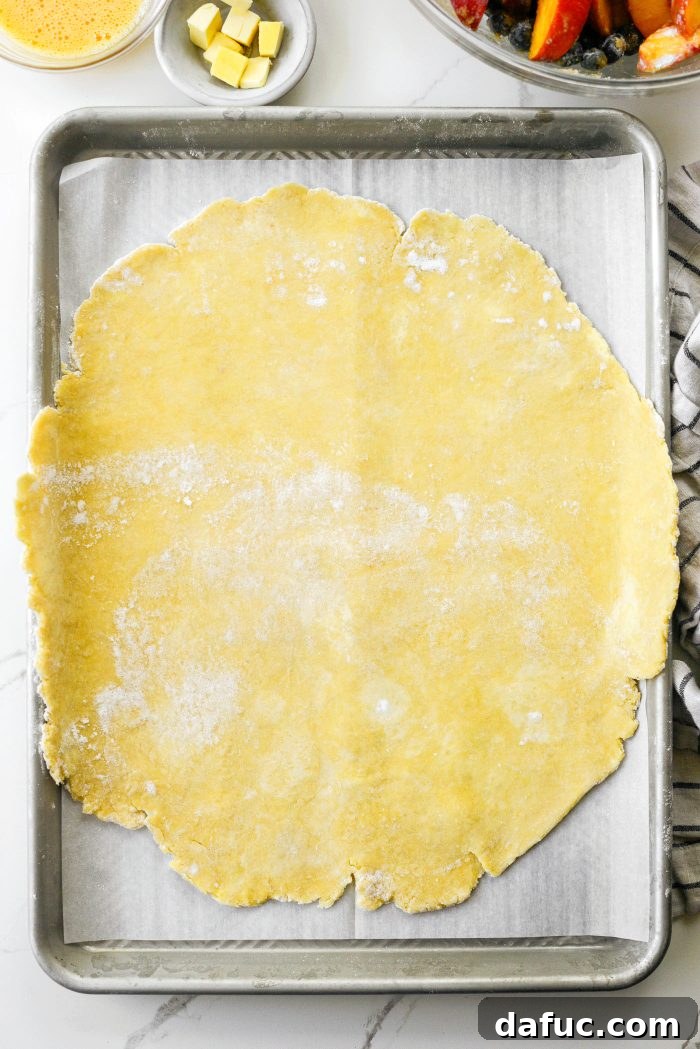
The journey to a perfect galette begins with the pastry dough. If you are making your own pâte sucrée, prepare it as directed in the recipe provided. It’s crucial that the dough is well-chilled before you begin rolling, as this helps prevent sticking and ensures a tender, flaky crust. Once chilled, lightly flour a clean work surface and your rolling pin. Roll the dough into a roughly 14 to 15-inch diameter circle, aiming for a thickness of about 1/4-inch. Don’t worry if it’s not a perfect circle; the rustic charm of a galette embraces imperfections! Carefully transfer your rolled-out dough to a large, rimmed baking sheet lined with parchment paper. This parchment paper is essential for preventing sticking and making cleanup a breeze. Return the lined baking sheet with the dough to the refrigerator while you prepare the fruit filling. Keeping the dough cold is key to a crisp crust.
NOTE for Egg Allergies: If you or someone you’re baking for has an egg allergy, you can substitute the pâte sucrée with half of my regular pie dough recipe. Additionally, instead of using an egg wash, brush the pastry dough with peach or apricot preserves before baking for a beautiful glaze and added flavor.
Crafting the Irresistible Fruit Filling: Sweetness in Every Scoop
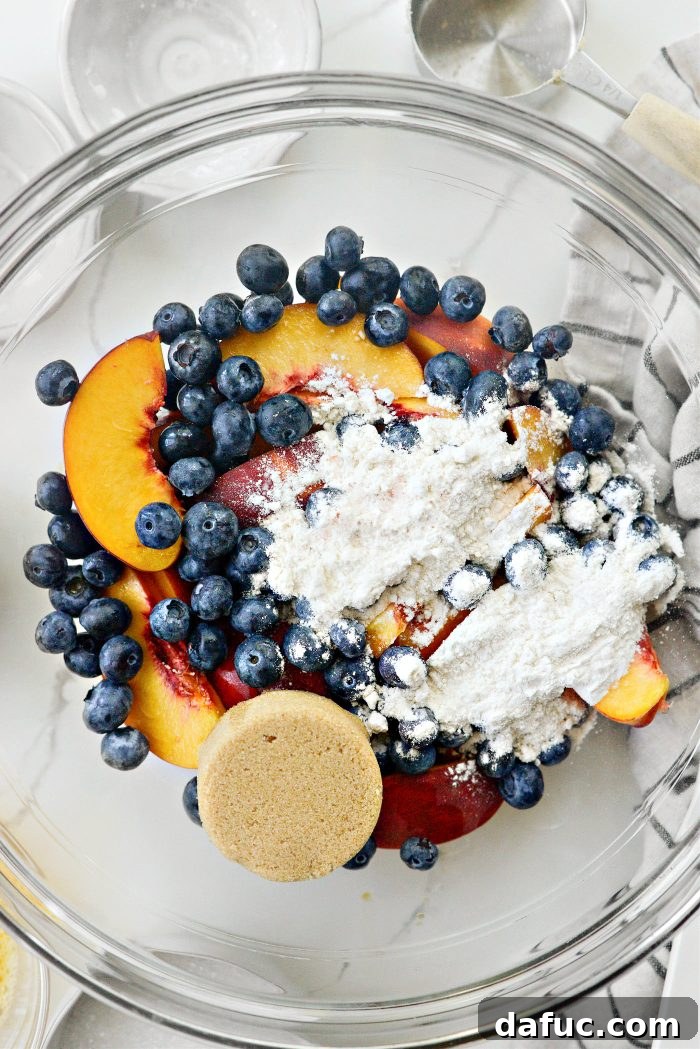
While your dough is chilling, it’s time to prepare the star of the show: the fruit filling. In a large mixing bowl, combine the sliced peaches (typically 2 to 3 medium peaches, cut into ½-inch slices), 1 cup of fresh blueberries, 1/4 cup of light brown sugar, 2 tablespoons of unbleached all-purpose flour, a pinch of fine salt (kosher or fine sea salt), and 1 teaspoon of pure vanilla extract. The flour acts as a thickener, ensuring your galette filling isn’t too watery, while the salt balances the sweetness, enhancing the natural flavors of the fruit.
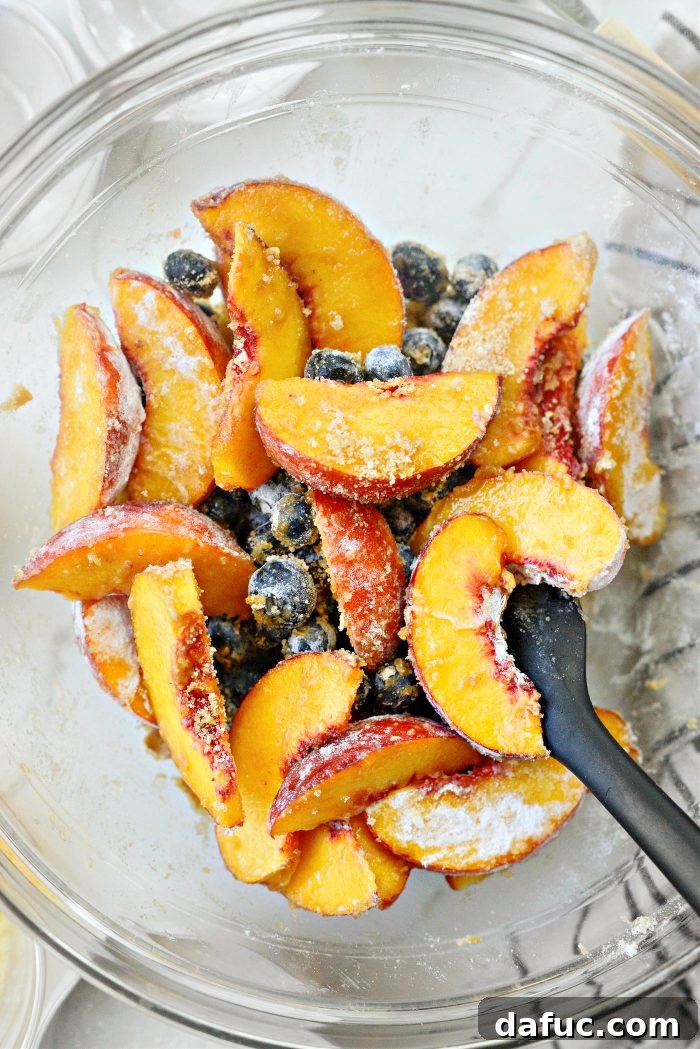
Using a large spatula, gently toss the ingredients together until the fruit is evenly coated with the sugar, flour, and spices. Be careful not to mash the delicate fruit. This ensures that every piece of fruit is infused with flavor and that the thickening agents are well distributed throughout the filling. Set the bowl aside momentarily as you prepare to assemble your galette.
Assembling Your Rustic Galette: A Masterpiece in the Making
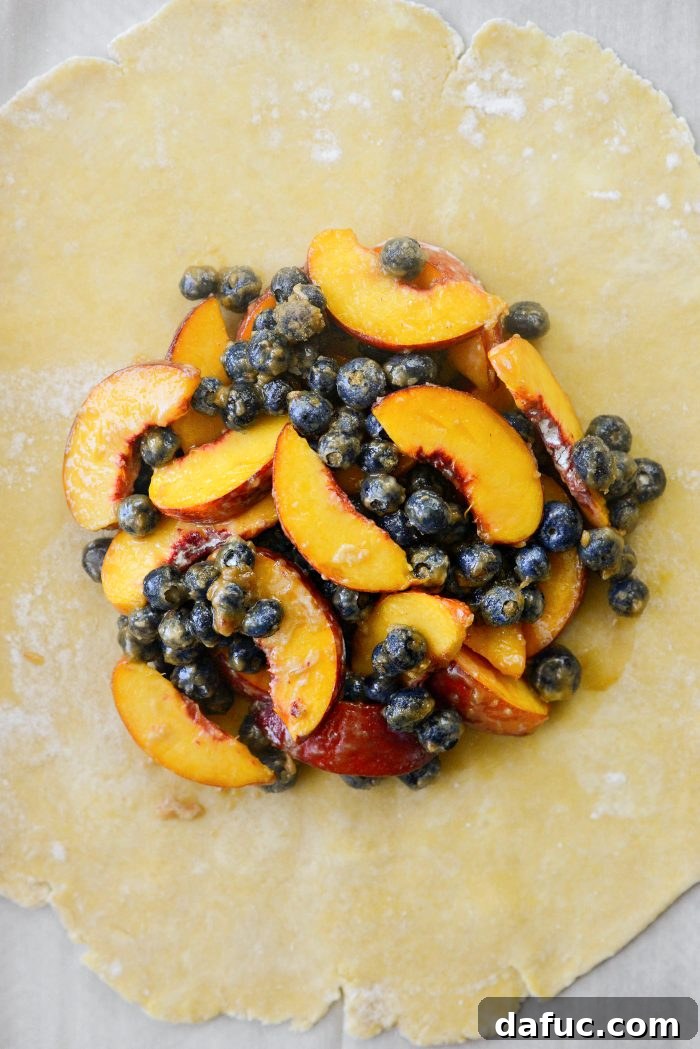
Retrieve your chilled dough from the refrigerator. Carefully spoon the fruit filling into the center of the pie crust, leaving a generous 2-3 inch border around the edges. This border will be folded over the fruit, creating the signature rustic look of the galette.
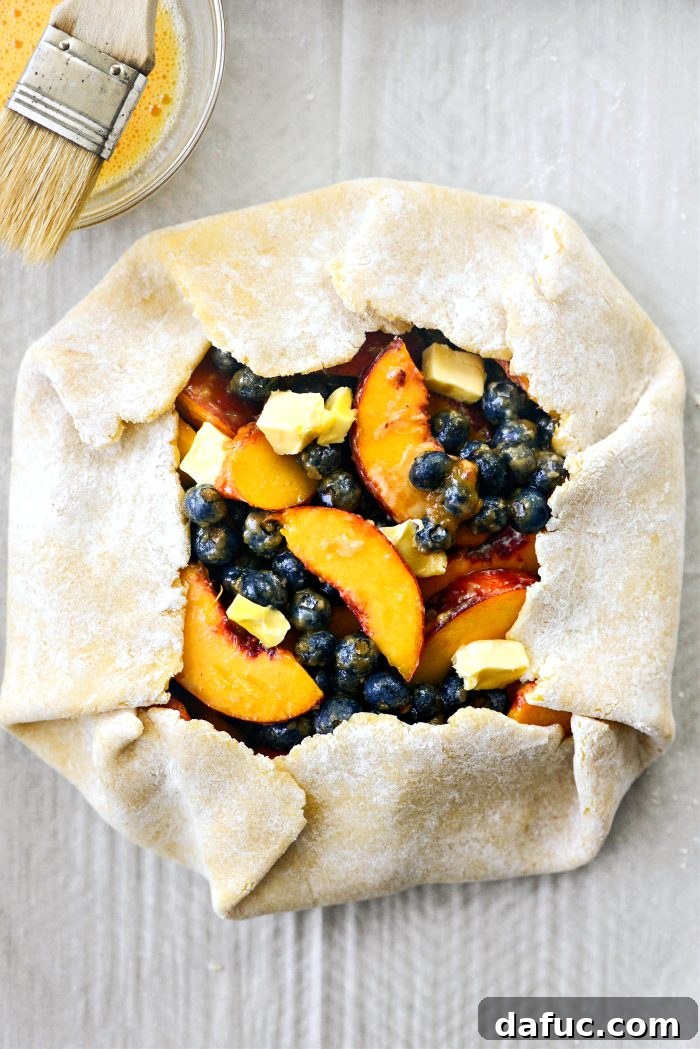
Begin folding up the sides of the pastry dough over the fruit filling, pleating it every few inches as you go. The goal is to create a secure border that holds the fruit in place while still exposing most of the filling. There’s no need for perfection here; the charm of a galette is its unpolished, homemade aesthetic. Once the edges are folded, dot the exposed fruit filling with 1 tablespoon of butter that has been cut into small pieces. These butter pieces will melt into the fruit, adding richness and a lovely sheen.
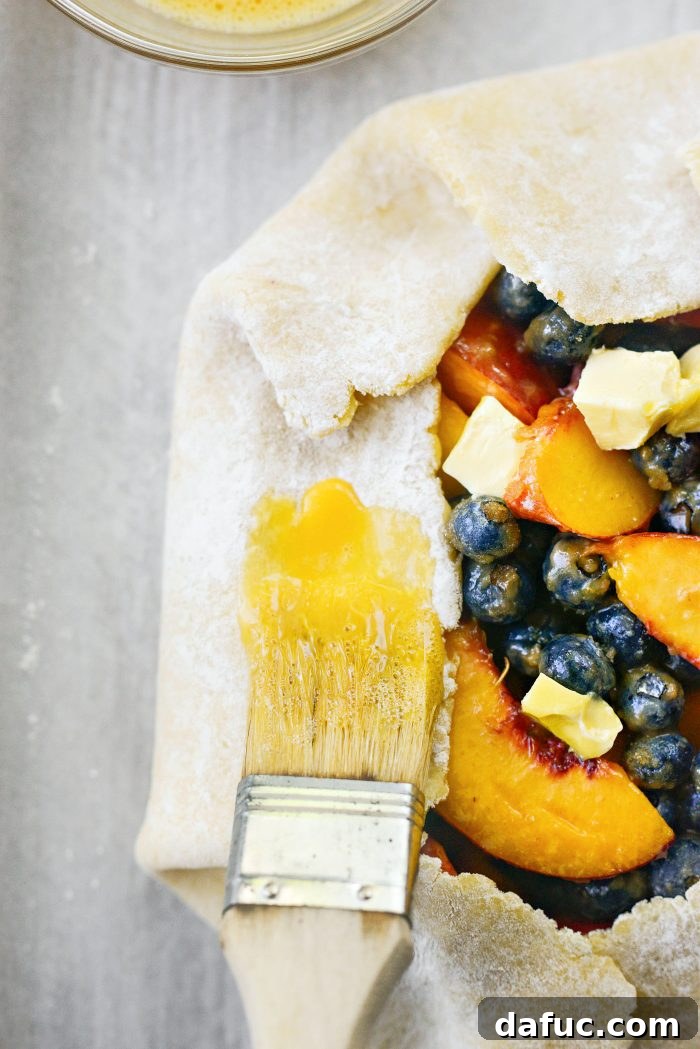
Next, prepare your egg wash by whisking one egg with about 2 teaspoons of water. Gently brush this mixture over the folded pastry dough. This egg wash will give your galette a beautiful golden-brown color and a subtle shine as it bakes. If you have an egg allergy, or simply prefer a different finish, you can use peach or apricot preserves, warmed slightly, to brush over the crust. This will also create a lovely glaze.
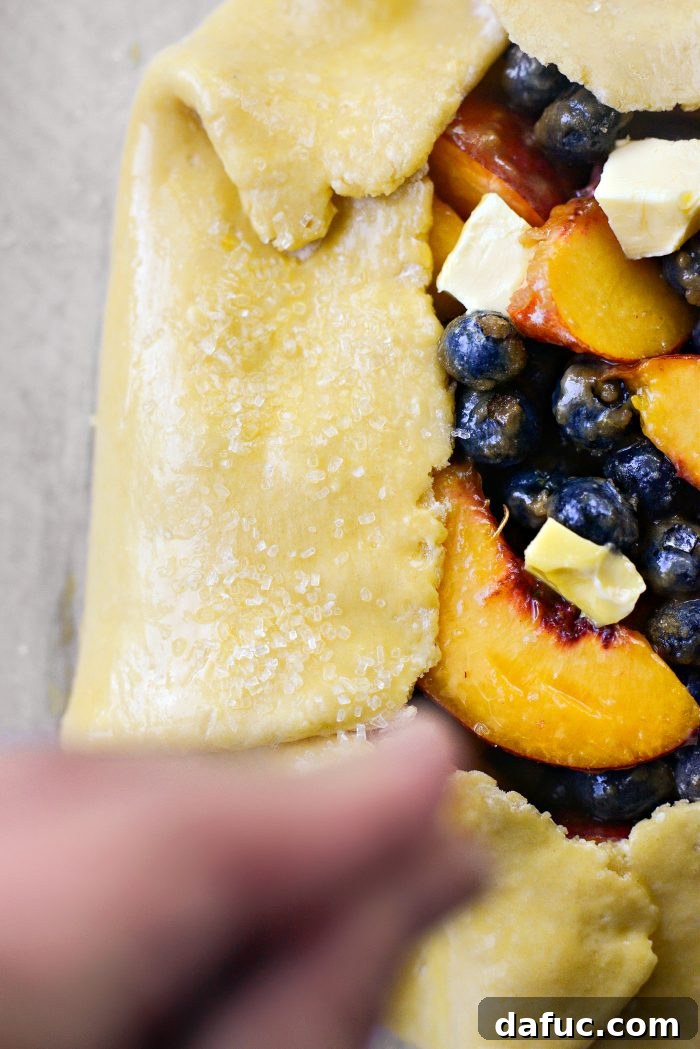
Finally, sprinkle the egg-washed crust generously with coarse sugar, such as sparkling sugar. This adds a delightful textural crunch and a glistening finish that makes your galette even more appealing. If you don’t have coarse sugar, any white granulated sugar you have on hand will work just fine, though the coarser crystals provide a more pronounced visual and textural effect.
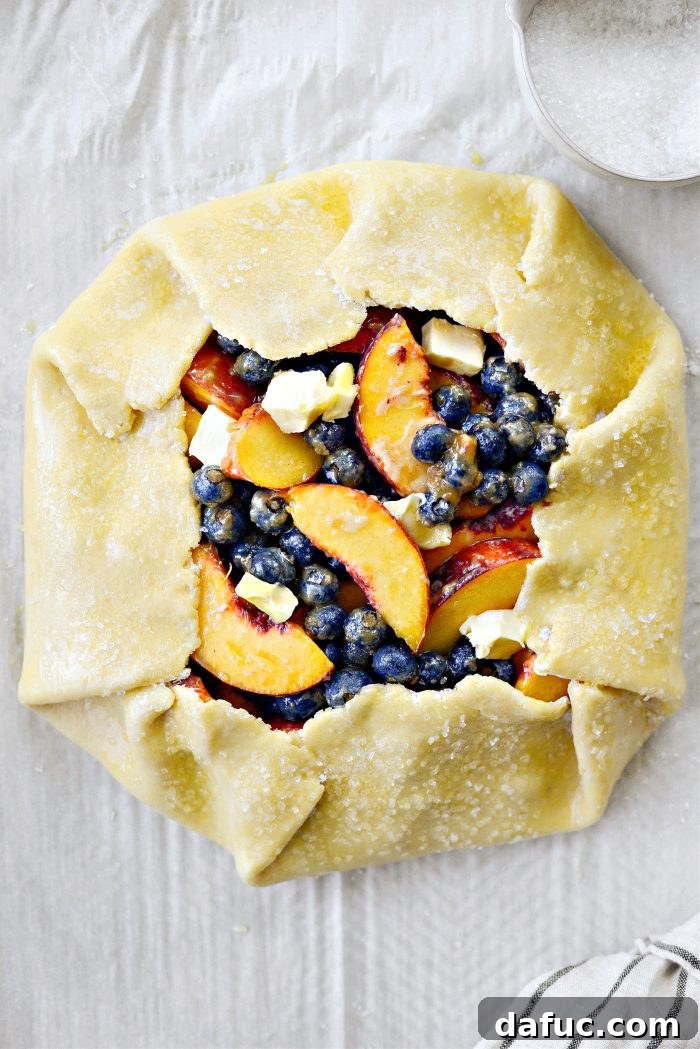
Baking to Golden Perfection: The Final Transformation
Carefully transfer your assembled galette to the middle rack of your preheated oven. Bake for 20 to 25 minutes, or until the crust is beautifully golden brown and the fruit filling is bubbling and fragrant. Halfway through the baking time, it’s a good idea to rotate the baking sheet 180 degrees. This ensures even browning of the crust. Keep an eye on the edges of the crust; if they start to brown too quickly, you can loosely tent the galette with aluminum foil. The aroma filling your kitchen will be incredible, signaling that a truly stunning dessert is almost ready.
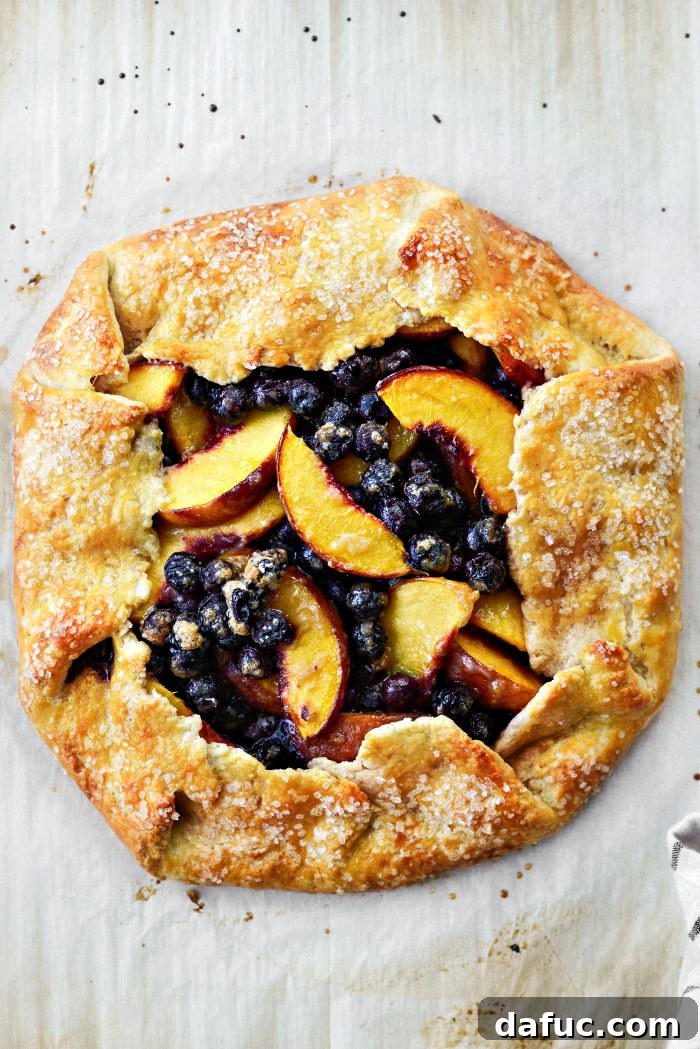
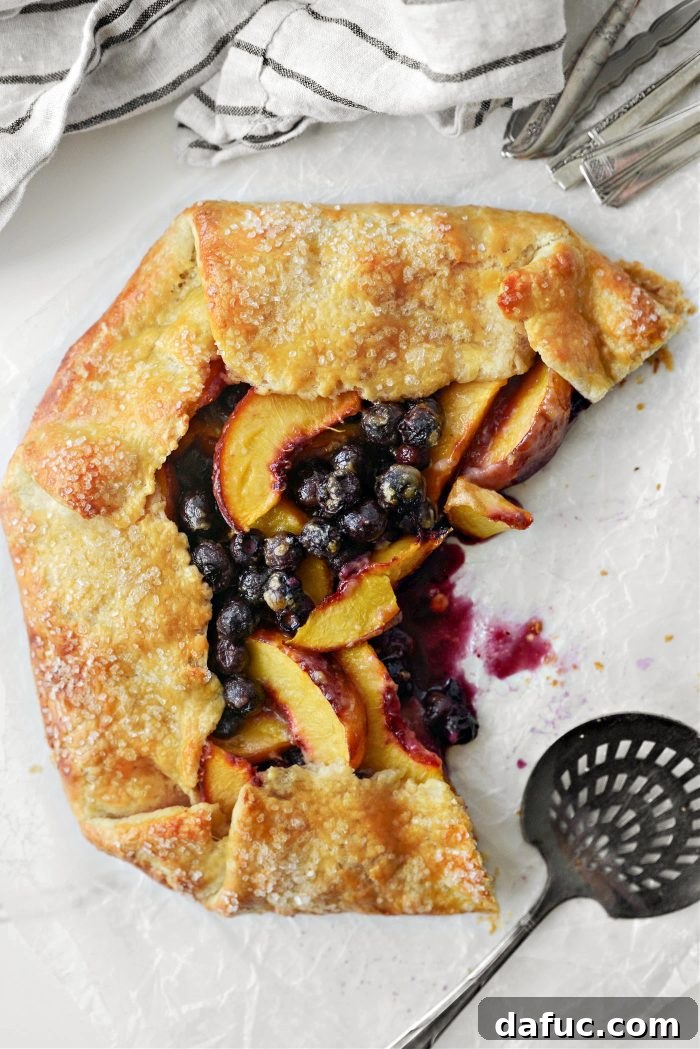
Blueberry Peach Galette fresh from the oven, golden and fragrant.
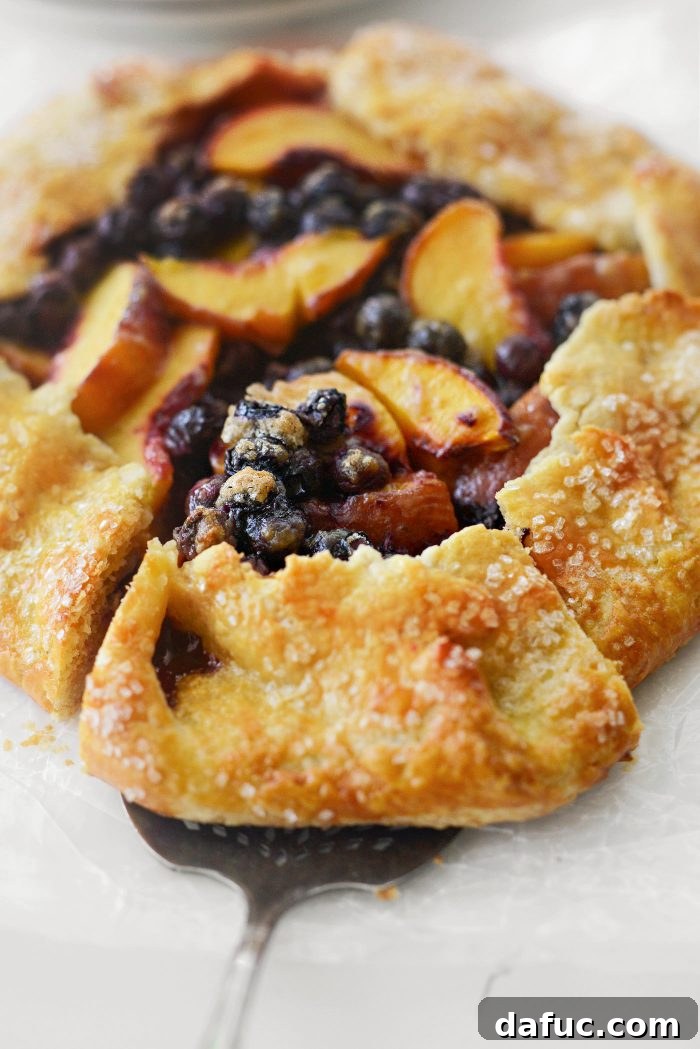
Once baked to perfection, remove the galette from the oven. Resist the urge to slice into it immediately! It’s important to let it cool on the baking sheet for at least 15-20 minutes. This cooling time allows the fruit filling to set properly, preventing it from running out when sliced, and also allows the flavors to meld beautifully. The wait might be hard, but it’s worth it for that perfect slice.
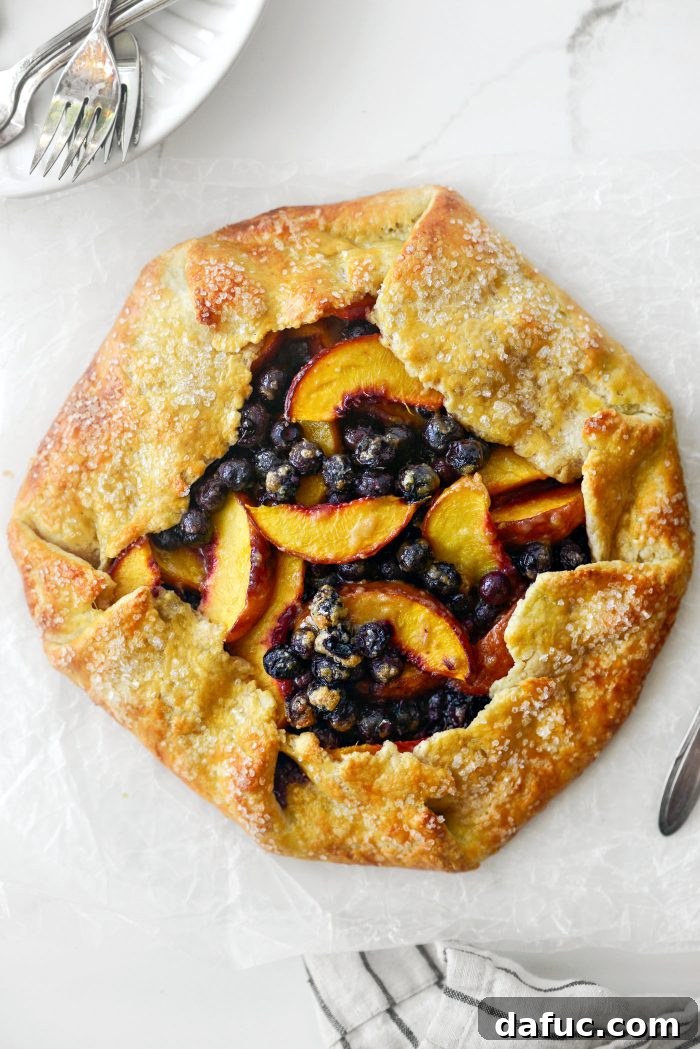
Just look at that! Simply stunning and ready to be enjoyed.
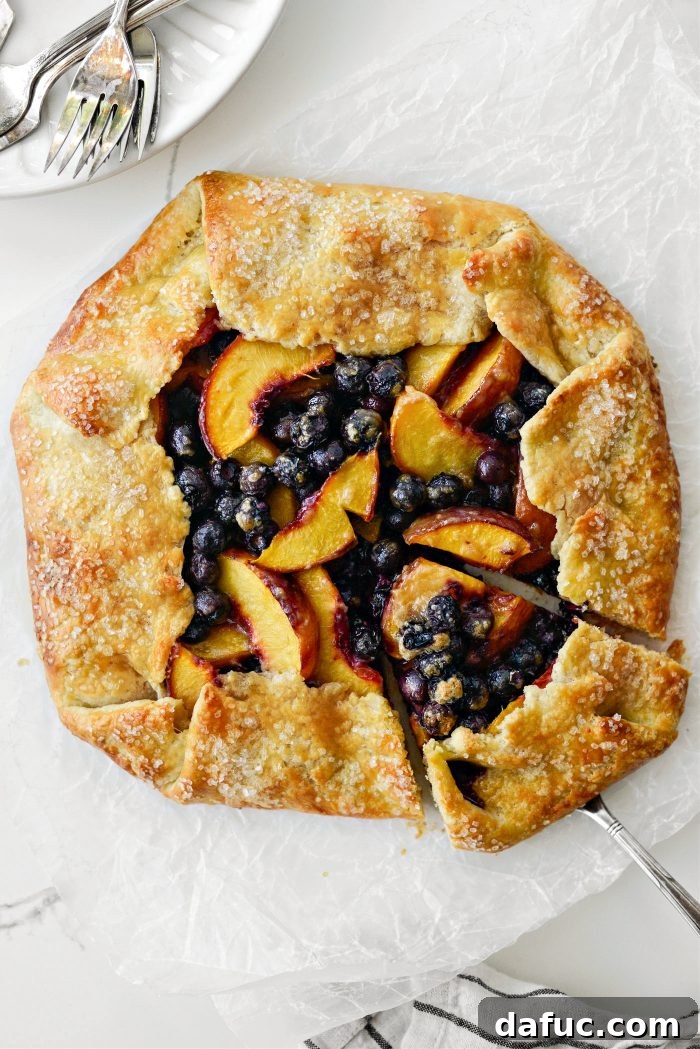
Serving Your Delicious Galette: The Perfect Summer Treat
After a short cooling period, your beautiful Blueberry Peach Galette is ready to be sliced and served. The rustic charm means every slice will be unique, displaying the vibrant fruit and golden crust. This galette is wonderful on its own, allowing the natural sweetness and tang of the fruit to shine through. However, if you’re looking to elevate the experience, consider these serving suggestions:
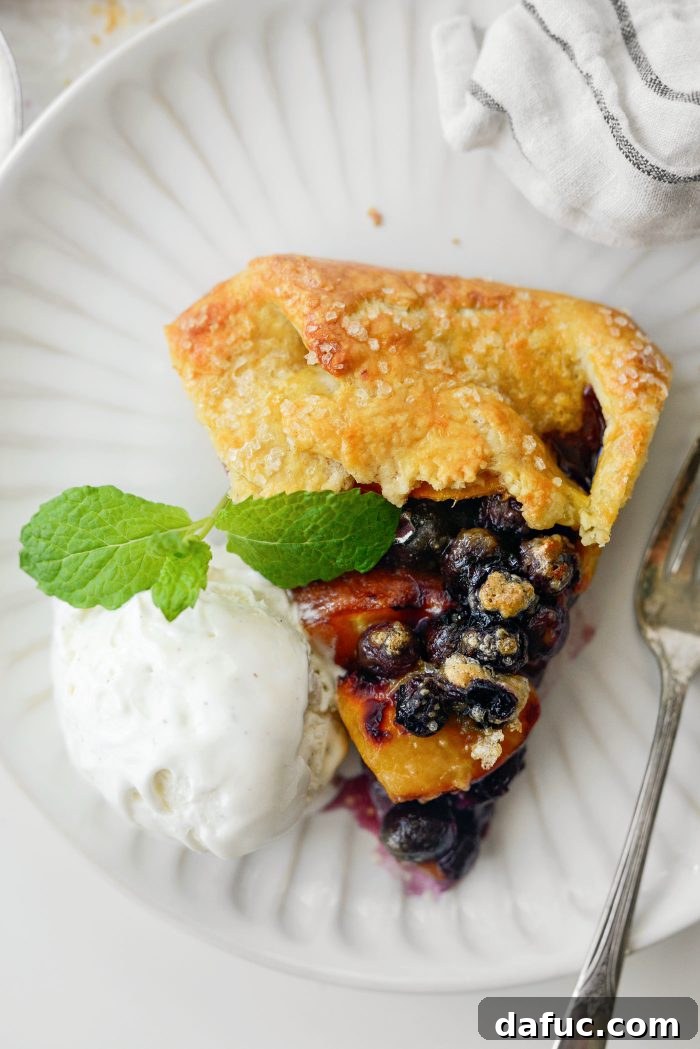
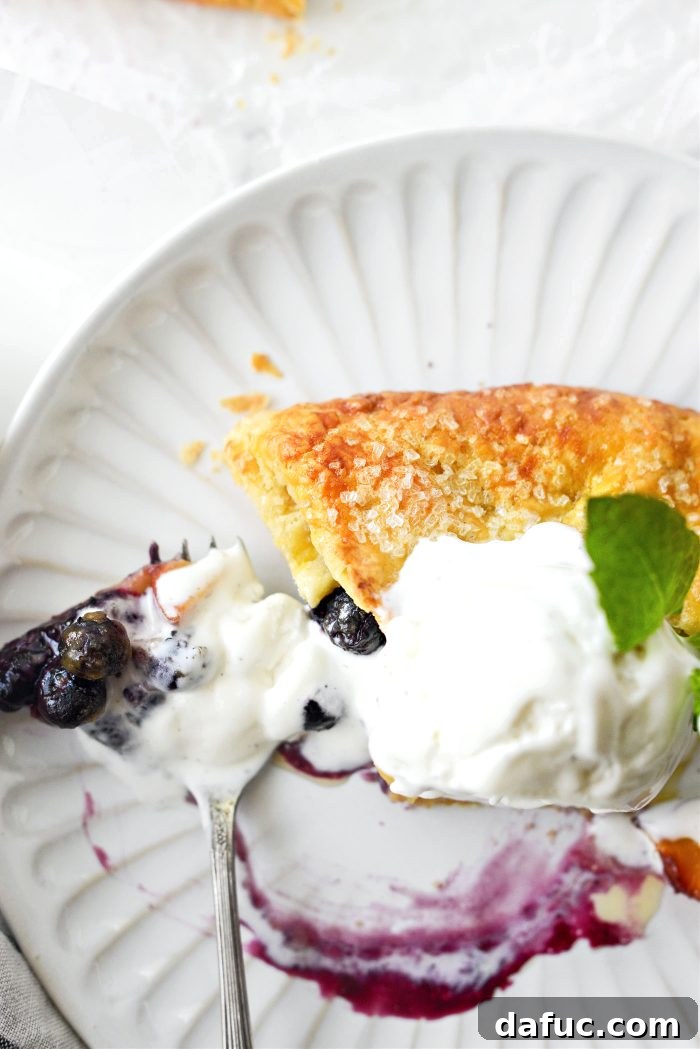
A scoop of creamy vanilla ice cream is an absolute dream alongside, or even better, on top of a warm slice of this heaven. The cold ice cream melting slightly into the warm, fruity filling creates an incredible contrast of temperatures and textures that is truly irresistible. Alternatively, a dollop of freshly whipped cream or a drizzle of crème fraîche can add a touch of elegance and a lovely tangy counterpoint. This galette is versatile enough for a casual backyard BBQ, an elegant brunch, or simply a cozy dessert at home. It’s a guaranteed crowd-pleaser that embodies the fresh flavors of summer.
Storing and Enjoying Leftover Blueberry Peach Galette
Should you find yourself with any delightful leftovers (a rare occurrence with this recipe!), proper storage will help maintain its freshness and flavor. Store the galette loosely covered with aluminum foil or plastic wrap at room temperature. The rustic nature of the galette means it’s best enjoyed within a couple of days to preserve the texture of the crust and the vibrancy of the fruit. Avoid airtight containers if the galette is still warm, as this can create condensation and make the crust soggy. For longer storage, you can refrigerate it, but the crust may soften slightly.
How Long Will Blueberry Peach Galette Last?
When stored properly at room temperature, this galette will typically remain fresh and delicious for up to 2 days. If refrigerated, it can last for an additional day or two, though the pastry’s crispness might diminish. To enjoy a refrigerated slice, you can gently warm it in a preheated oven (around 300°F/150°C) for about 10-15 minutes to revive the crust and warm the filling.
Frequently Asked Questions About Baking Galettes
- Can I use frozen fruit for this galette?
- Yes, you can use frozen peaches and blueberries. There’s no need to thaw them beforehand. However, frozen fruit tends to release more liquid, so you might need to increase the amount of flour in the filling by an extra tablespoon to absorb the excess moisture and prevent a soggy bottom. Toss the frozen fruit directly with the flour and sugar mixture.
- How do I prevent a soggy bottom on my galette?
- Several tips can help: ensure your dough is well-chilled, use enough flour or cornstarch in your fruit filling to absorb excess juices, and preheat your baking sheet in the oven before placing the galette on it (if your dough is sturdy enough to transfer). Baking on parchment paper also helps, and ensure your oven is at the correct temperature for proper crust development.
- Can I make the dough ahead of time?
- Absolutely! Pastry dough is excellent for making ahead. You can prepare the pâte sucrée up to 2-3 days in advance and store it tightly wrapped in plastic in the refrigerator. You can even freeze it for up to a month. Thaw in the refrigerator overnight before rolling out.
- What other fruits can I use in a galette?
- The beauty of a galette is its adaptability. You can swap peaches and blueberries for a variety of seasonal fruits. Apples and blackberries, plums and raspberries, or even a mix of cherries and apricots would be delicious. Adjust sugar levels based on the sweetness of your chosen fruit.
- Is a galette supposed to be served warm or cold?
- Galettes are delicious both warm and at room temperature. Serving it warm allows the fruit filling to be soft and luscious, especially delightful with a scoop of ice cream. At room temperature, the flavors have a chance to meld further, and the crust retains more of its crispness.
Enjoy! If you give this Blueberry Peach Galette recipe a try, I’d love to hear about it. Share your creations and tag me on your favorite social media platform!

Print Recipe
Pin Recipe
Blueberry Peach Galette
Ingredients
- 1 pâte sucrée (sweetened pastry dough), see recipe notes for those with egg allergies
- 2 to 3 ripe peaches, cut into ½-inch slices
- 1 cup fresh blueberries
- 1 teaspoon pure vanilla extract
- 1/4 cup light brown sugar
- 2 tablespoons unbleached all-purpose flour
- pinch kosher salt
- 1 tablespoon butter, cut into pieces
- egg wash (see notes), an egg mixed with 2 teaspoons water
- coarse sugar, or any white sugar you have on hand
Equipment
-
Nordic Ware Prism Half Sheet Pan
-
Parchment Paper Pop-up Sheets
-
white sparkling sugar
Instructions
-
Preheat your oven to 425℉ (or 220℃).
-
On a lightly floured surface roll out the chilled pastry dough to about ¼-inch thick and about 14 to 15 inches in diameter
-
Transfer to a parchment lined large baking sheet and refrigerate while you make the filling.
-
In a large mixing bowl, add sliced peaches, blueberries, sugar, flour, a pinch of fine salt and vanilla extract. With a large spatula, toss until coated and all the ingredients are evenly distributed.
-
Place the filling in the center of the pie crust, then fold up the sides pleating every now and then. Dot the fruit filling with 1 tablespoon butter that has been cut into pieces. Lastly, brush the dough with with egg wash (or peach or apricot preserves) and sprinkle with sugar.
-
Place on the middle rack of your preheated oven to bake for 20 to 25 minutes or until golden brown.
-
Rotating the pan halfway through. Let cool for 15 minutes before slicing and serving.
Notes
NOTE: For those with an egg allergy, use half of my regular pie dough recipe and peach or apricot preserves to brush on pastry dough before baking.
Print Recipe
Pin Recipe
Easy Pâte Sucrée (Sweet Pastry Dough)
Ingredients
- 1/2 cup unsalted butter
- 1½ cups unbleached all-purpose flour, plus more for rolling out the dough
- 3 tablespoons sugar
- pinch fine salt
- 1/4 cup ice cold water
- 1 egg yolk
- 1 teaspoon white vinegar
Instructions
-
Dice the butter into small cubes and freeze for 20 minutes.
-
Meanwhile, whisk together the flour, sugar and salt. Drop in the butter and use a pastry blender to cut it into the flour/sugar.
-
In a small bowl, whisk together the water (no ice), egg yolk and vinegar. Pour this into the bowl with the dry ingredients and use a spatula to combine. Then knead until the dough comes together, adding a little more water if needed.
-
Shape and wrap tightly with plastic wrap and refrigerate for 30 to 60 minutes.
-
Dust a clean surface and your rolling pin with flour.
-
Roll out the chilled pâte sucrée to fit a pie plate, tart pan or simply stamp with a biscuit cutter for mini-pies or tarts. Whatever your plans, follow the recipes instructions for the oven temperature and baking times.
This recipe was originally posted on July 6, 2011, and has been updated with clear and concise instructions, new photography, and helpful information to enhance your baking experience.