
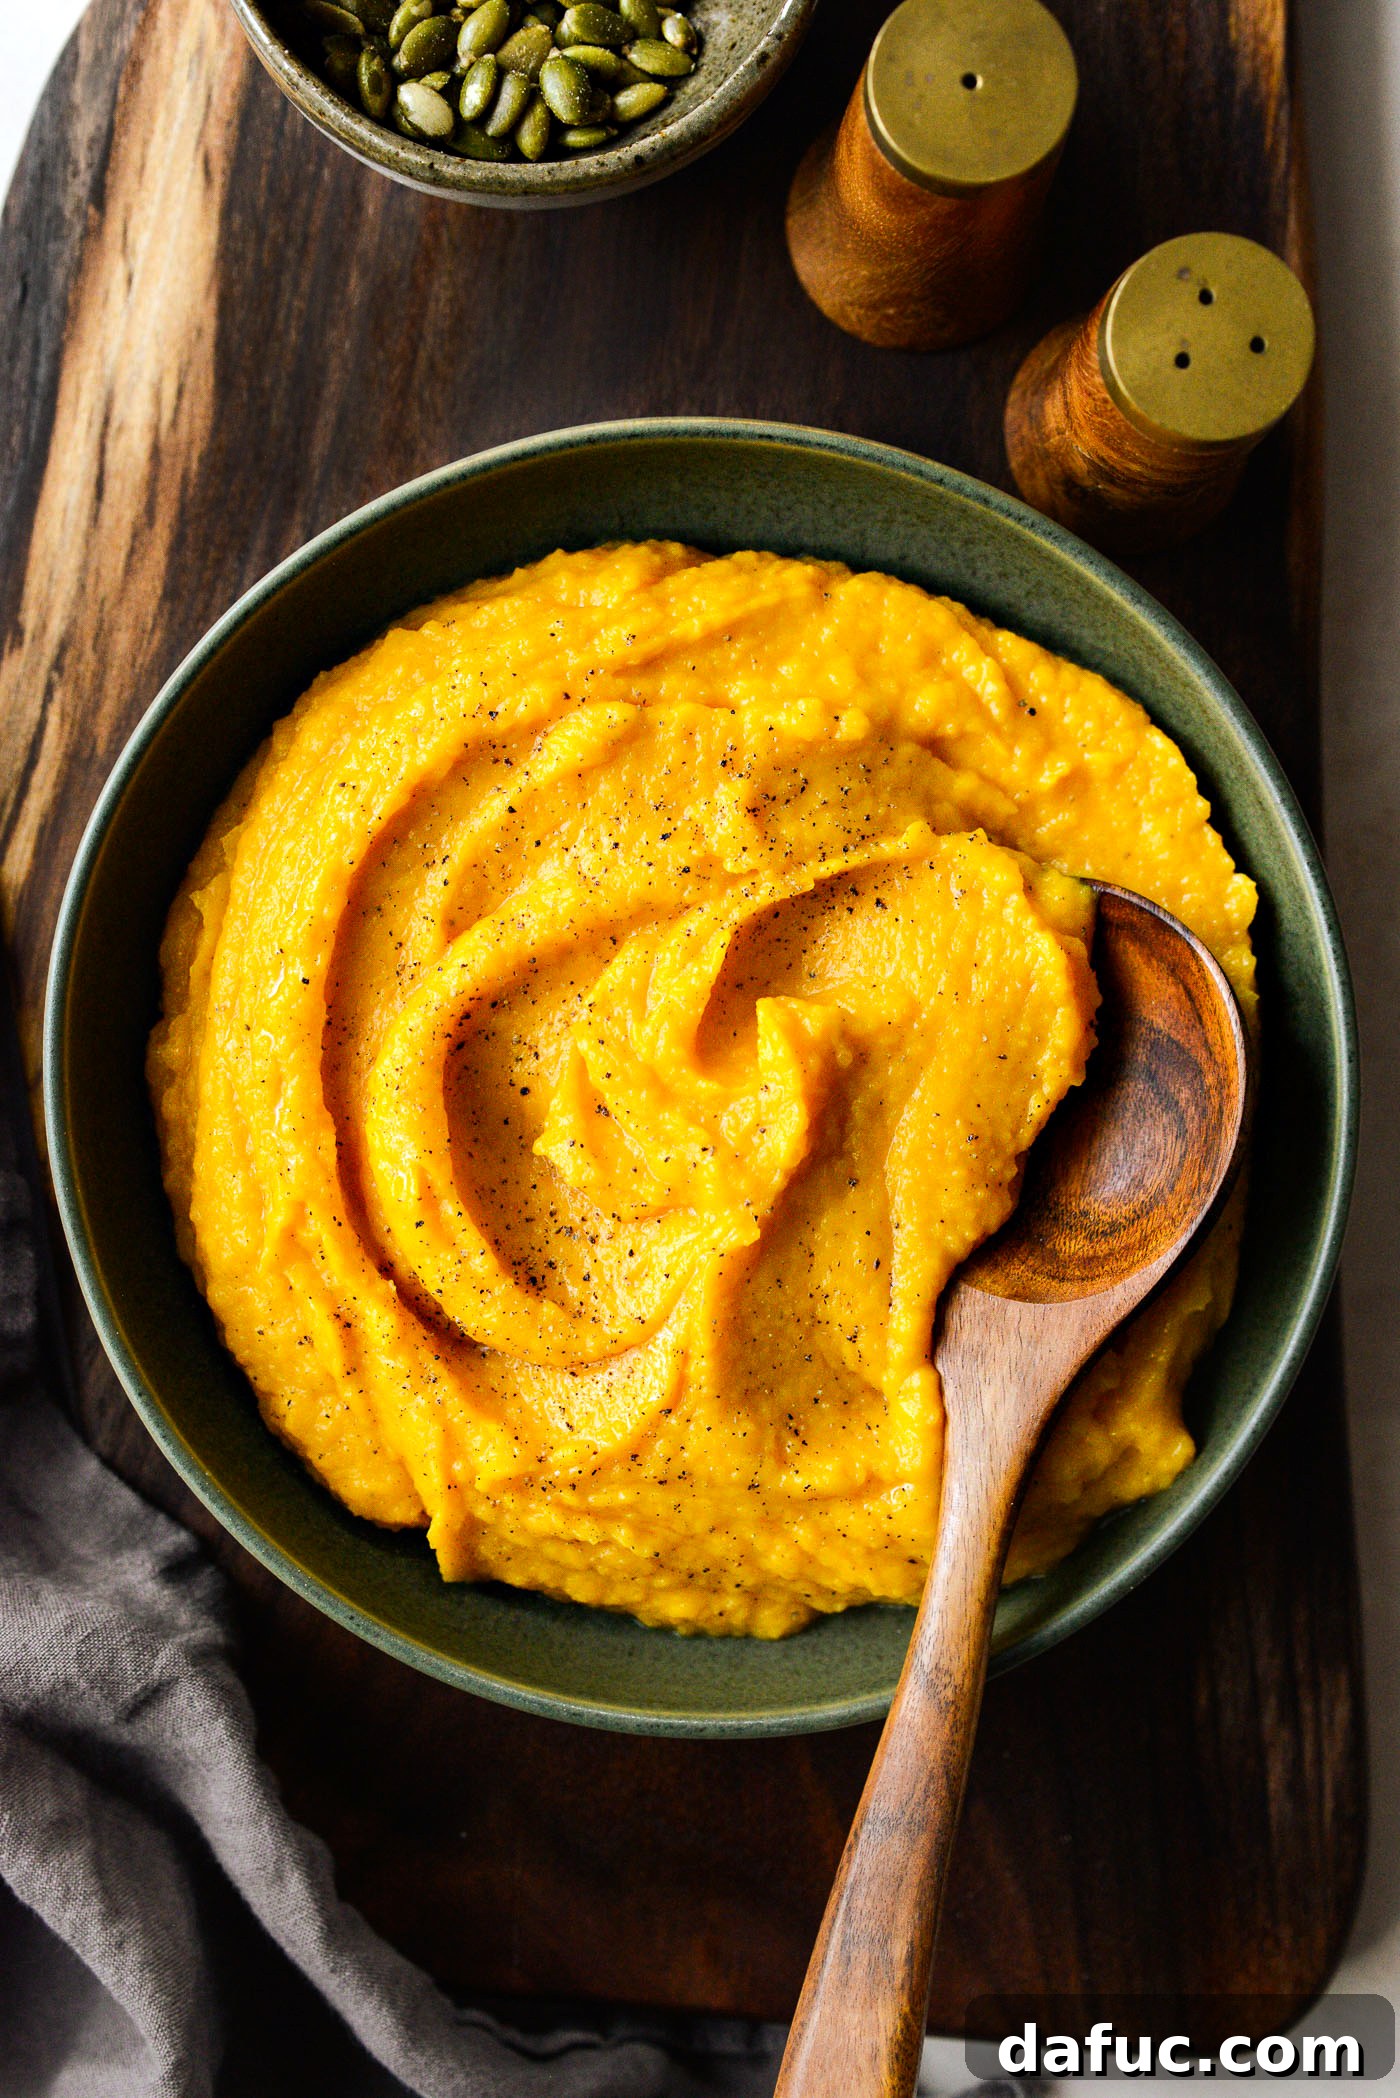
Roasted Garlic Whipped Butternut Squash: A Velvety Fall Delight
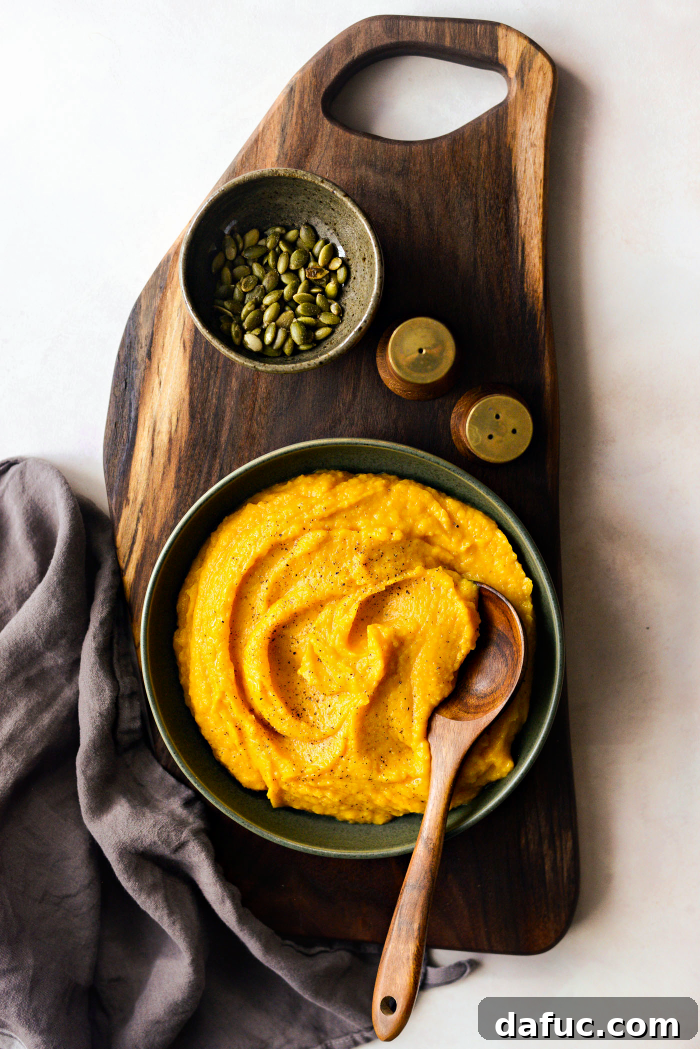
Discover the ultimate fall side dish that effortlessly combines elegance with incredible flavor: Roasted Garlic Whipped Butternut Squash. This simple yet sophisticated recipe transforms humble butternut squash and fragrant roasted garlic into a velvety smooth, irresistibly rich creation. Perfectly balanced with butter and subtle seasonings, it’s a delightful accompaniment to any meal, promising to become a cherished addition to your culinary repertoire. Yielding approximately 2½ cups, this recipe generously serves 5, offering delicious ½-cup portions.
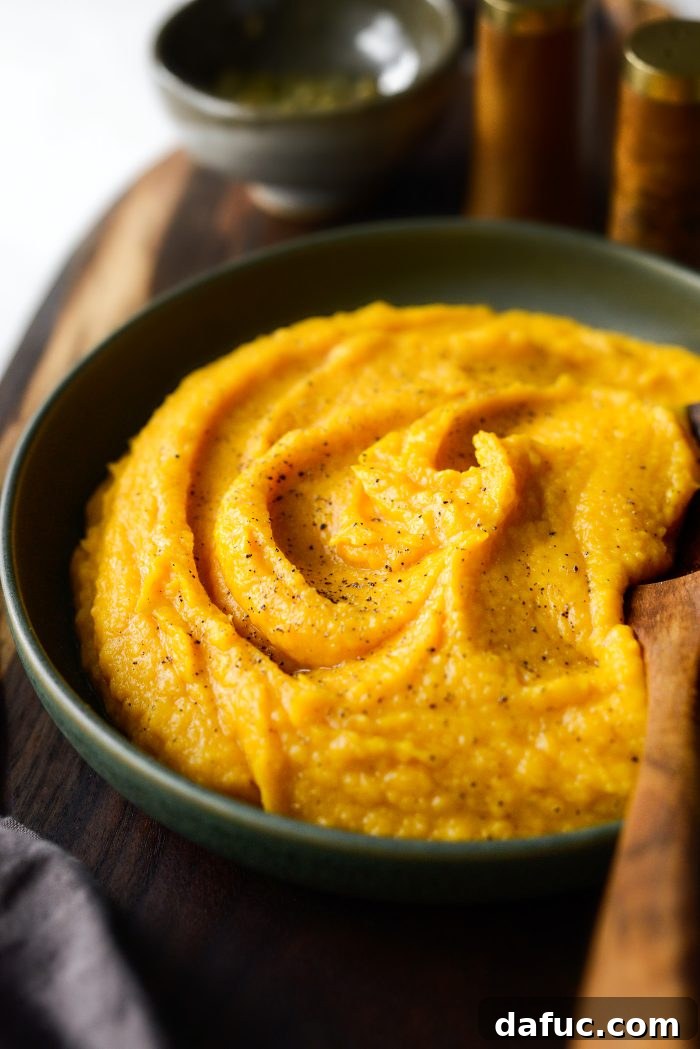
The Magic of Simplicity: Why This Recipe Shines
It’s often said that the best recipes are those that highlight the natural goodness of a few key ingredients, and this Roasted Garlic Whipped Butternut Squash recipe perfectly embodies that philosophy. By focusing on quality produce and a straightforward cooking method, we unlock profound flavors that might otherwise be masked by complexity.
At its heart, this dish celebrates the incredible transformation that occurs when butternut squash and garlic are roasted. The squash caramelizes, developing a deep, sweet, and nutty flavor profile, while the garlic mellows into a buttery, spreadable consistency, losing its sharp edge and gaining an irresistible aromatic depth. Together, whipped with a touch of butter, they create a side dish that is not just easy to make, but genuinely addictive in its deliciousness and rich flavor. The result is a smooth, creamy texture that melts in your mouth, making it an ideal companion for a variety of main courses.
Essential Ingredients for Unforgettable Flavor
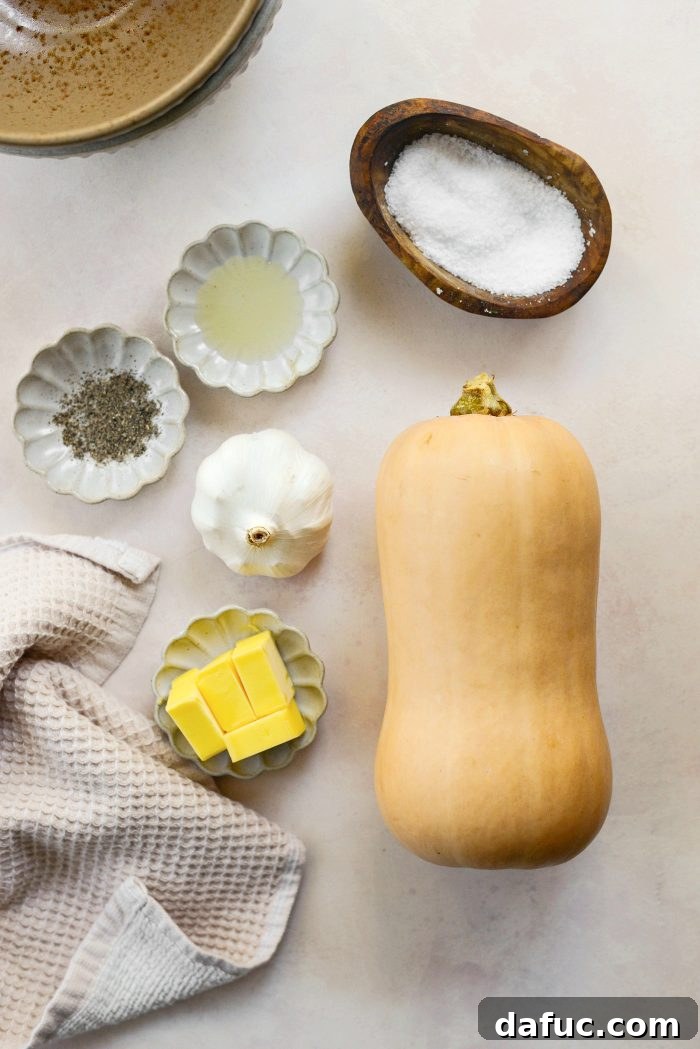
Crafting this incredible side dish requires just a handful of quality ingredients. Each component plays a vital role in building the dish’s signature taste and texture:
- Butternut Squash: The star of our show. For this recipe, aim for a 2 to 2½ pound butternut squash. Look for one that is firm, heavy for its size, and free of soft spots or blemishes. Its naturally sweet and nutty flesh becomes incredibly tender and flavorful when roasted, providing the perfect creamy base for our whipped dish.
- Garlic: A whole head of garlic is essential. Choose a large, firm head with plump cloves, avoiding any that feel dry or have sprouts. Roasting transforms the garlic, turning it sweet, mellow, and intensely aromatic, a stark contrast to its raw, pungent state. This process is key to the dish’s distinctive flavor.
- Olive Oil: A good quality olive oil is used to coat both the squash and garlic before roasting. It helps them soften beautifully in the oven, encouraging caramelization and preventing them from drying out. A drizzle of olive oil also contributes to the rich flavor.
- Kosher Salt: More than just a seasoning, kosher salt enhances the inherent sweetness of the squash and the savory notes of the garlic. It also plays a role in drawing out moisture, aiding in the tenderizing process during roasting.
- Unsalted Butter: The addition of unsalted butter at the whipping stage introduces a luxurious richness and a silky texture. It binds the flavors together, contributing a creamy mouthfeel and a comforting, classic taste. Using unsalted butter allows you to control the overall saltiness of the dish.
- Freshly Ground Black Pepper: A final touch of freshly ground black pepper adds a subtle bite and an aromatic warmth that complements the sweetness of the squash and the mellow garlic, lifting the overall flavor profile.

Crafting Perfection: A Step-by-Step Guide
Creating this delicious Roasted Garlic Whipped Butternut Squash is a straightforward process, broken down into simple, manageable steps that ensure maximum flavor and optimal texture.
Preparation and Roasting: Unlocking Deep Flavors
- Preheat Your Oven: Begin by preheating your oven to 375°F (190°C). This optimal temperature ensures that both the squash and garlic roast evenly and develop rich, caramelized flavors.
- Prepare the Butternut Squash: Take your 2 to 2½ pound butternut squash and carefully quarter it lengthwise. You can either remove the seeds now or after roasting. Place the squash quarters on a sturdy rimmed baking sheet. Drizzle or brush them generously with olive oil, ensuring an even coating. Season the squash lightly with a pinch of kosher salt. This initial seasoning helps to tenderize the squash and enhances its natural sweetness during cooking.
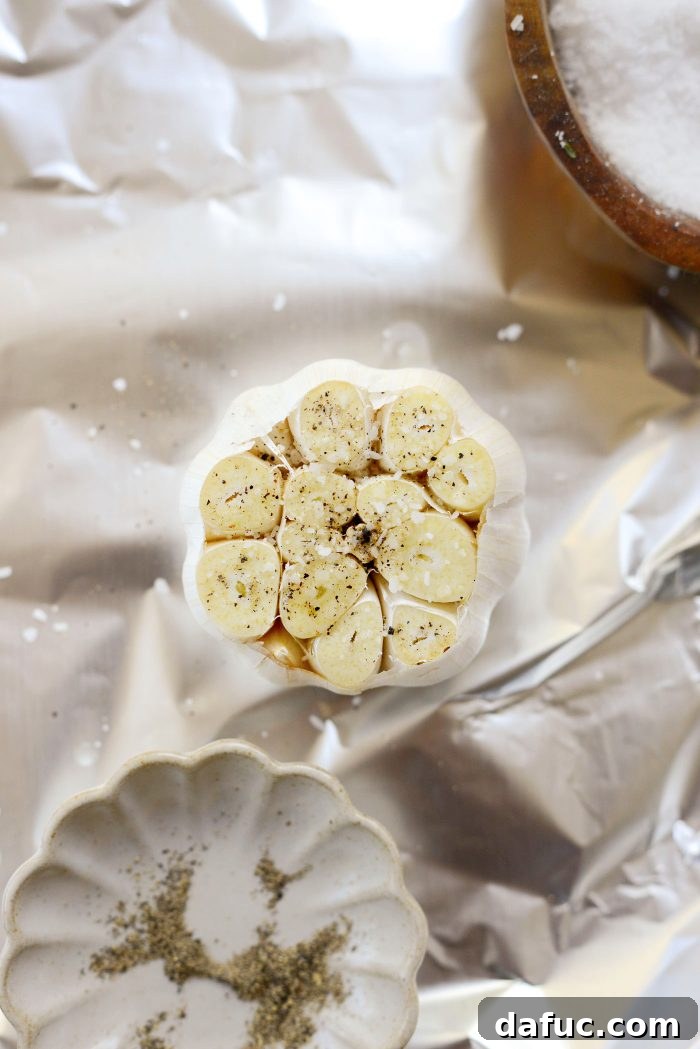
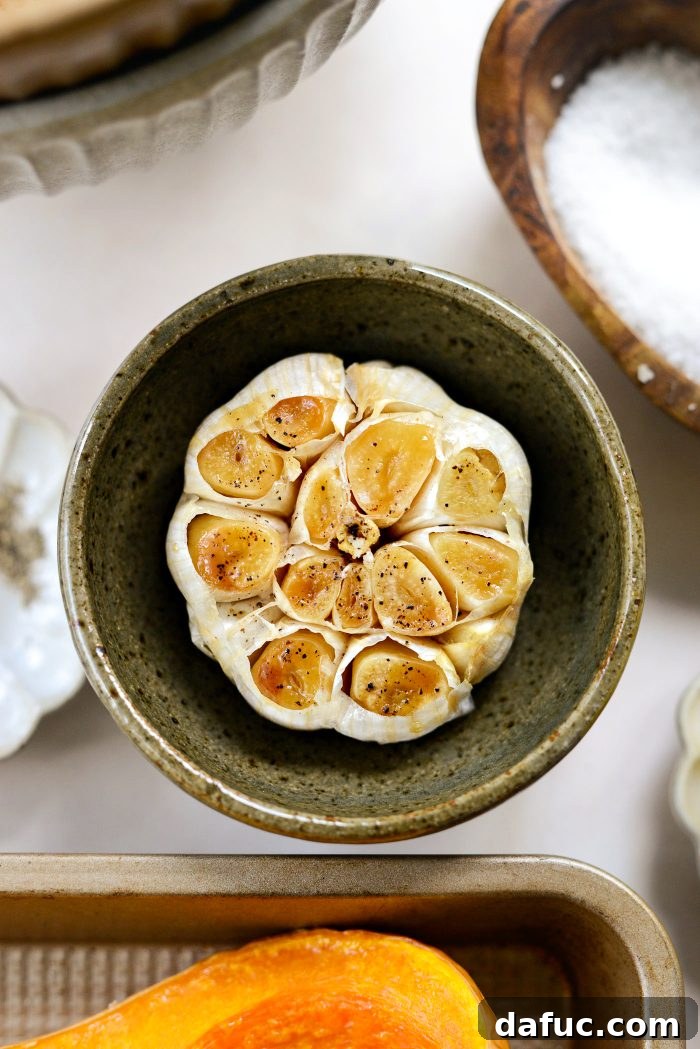
- Prepare the Garlic for Roasting: Grab your whole head of garlic. Using a sharp knife, carefully slice off the top third of the garlic head, exposing the cloves. Place the prepared garlic head onto a small piece of aluminum foil. Drizzle the exposed cloves with the remaining olive oil and season with another pinch of kosher salt. For an extra layer of flavor, you can also add a touch of freshly ground black pepper at this stage.
- Create a Garlic Pouch: Gently fold up the edges of the aluminum foil around the garlic head, crimping them tightly together to form a secure pouch or purse. This helps to steam the garlic cloves while they roast, making them incredibly soft and preventing them from burning. Place this garlic pouch on the same baking sheet as your butternut squash.
- First Roast – Garlic Infusion: Place the baking sheet with both the squash and garlic into your preheated oven. Roast for an initial 55 minutes. During this time, the garlic will begin to soften and infuse its sweet aroma into the air.
- Second Roast – Squash Tenderization: After 55 minutes, carefully remove the garlic pouch from the baking sheet. Allow the garlic to cool slightly on the counter. Continue to roast the butternut squash for an additional 25 to 30 minutes, or until the squash is exceptionally tender. You should be able to easily pierce the flesh with a fork. Once roasted, remove the squash from the oven and allow it to cool until it’s safe to handle.


Whipping to Velvety Smoothness
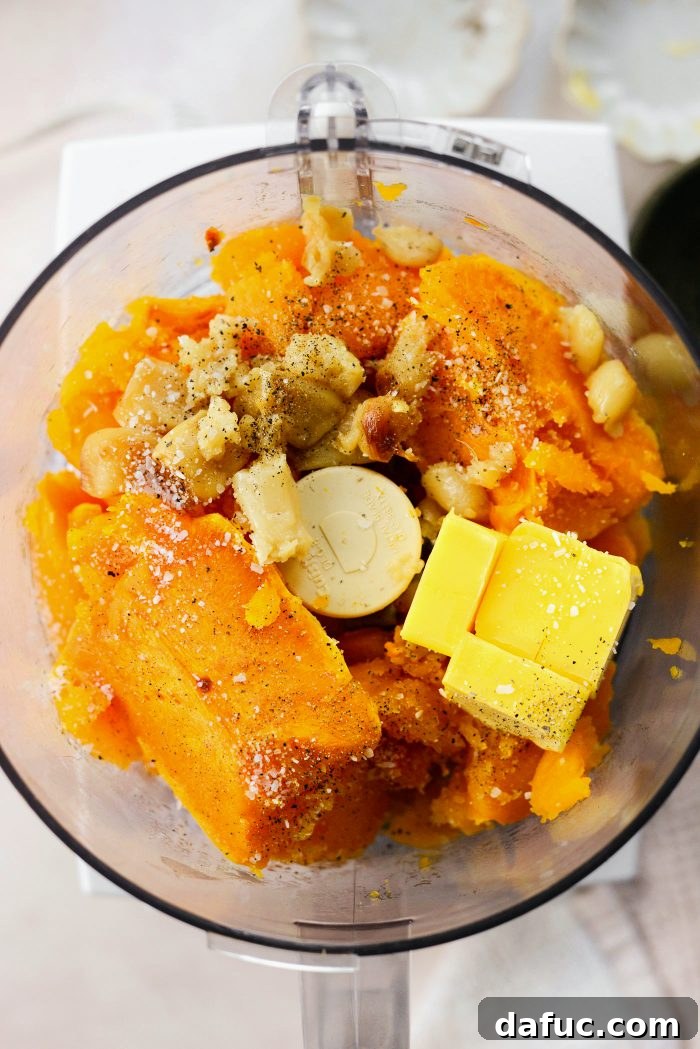
- Combine and Whip: Once both the squash and garlic have cooled sufficiently to handle, it’s time to bring everything together. To the bowl of your food processor, fitted with the blade attachment, use a spoon to scoop out the tender flesh of the butternut squash. Add it into the processor along with 4 tablespoons of unsalted butter. Now, gently squeeze the softened roasted garlic cloves directly from their skins into the food processor (or use a fork to pluck them out). Season with ½ teaspoon of kosher salt and a generous amount of freshly ground black pepper to taste.
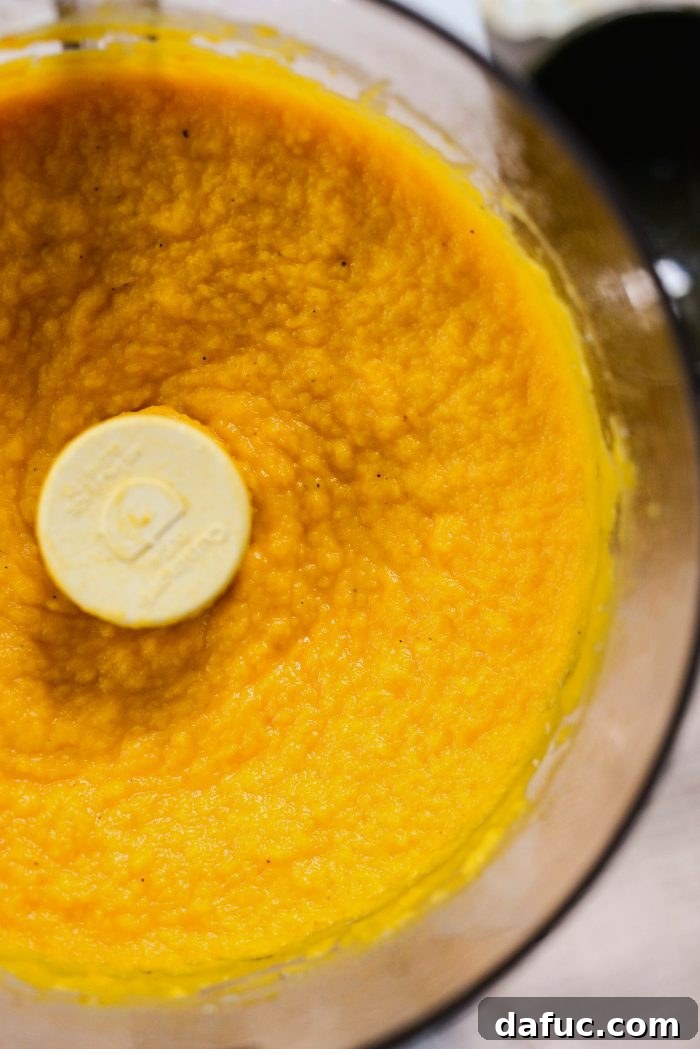
- Process Until Smooth: Secure the lid of your food processor and process the mixture until it is utterly smooth and creamy. Scrape down the sides of the bowl as needed to ensure everything is fully incorporated. The goal is a velvety, uniform texture without any lumps.
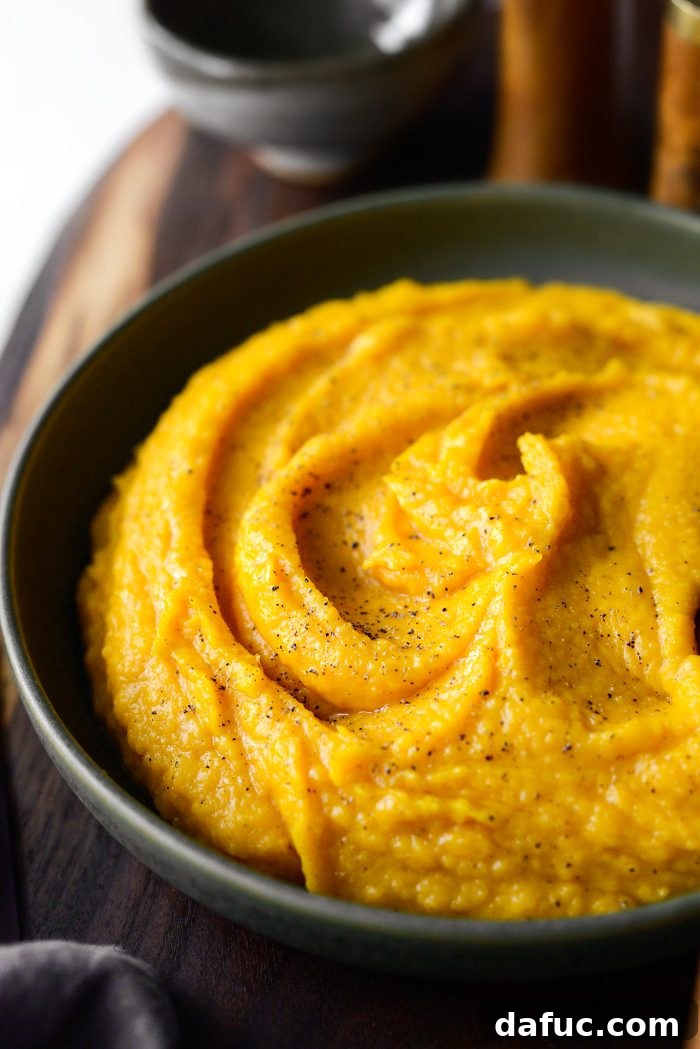
- Taste and Adjust: Once whipped, taste the butternut squash mixture. This is your opportunity to adjust the seasonings. Add more salt or pepper as desired to achieve your perfect flavor balance. You might find it needs a little more salt to truly make the flavors pop.
Enhance Your Meal: What to Serve With This Side Dish
Roasted Garlic Whipped Butternut Squash is incredibly versatile and pairs beautifully with a wide array of main courses, making it a fantastic choice for holiday feasts or comforting weeknight dinners. Its rich, creamy texture and savory-sweet flavor complement both robust and delicate proteins.
- Roasted Whole Chicken: The tender, juicy meat of a roast chicken finds a perfect partner in the creamy squash, with the roasted garlic adding a depth that elevates the entire plate.
- Baked Chicken: Whether it’s a simple baked breast or thighs, the whipped butternut squash offers a comforting and flavorful counterpoint to the lean protein.
- Grilled Steak: The luxurious squash provides a smooth, sweet balance to the smoky, rich flavors of a grilled ribeye or sirloin.
- Short Ribs: With hearty braised short ribs, this side dish acts like a gourmet mashed potato, soaking up the savory sauces and adding a touch of elegance.
- Braised Pork Shoulder: The sweetness of the squash beautifully cuts through the richness of slow-cooked pork, creating a harmonious and deeply satisfying meal.
- Pork Loin: A lean pork loin benefits from the added moisture and flavor of the whipped butternut squash, making for a well-rounded and delightful dinner.
Beyond these, consider serving it alongside roasted turkey during Thanksgiving, with pan-seared scallops for a refined meal, or even as a base for vegetarian bowls with roasted vegetables and a sprinkle of nuts.
Explore More Delicious Side Dish Recipes!
Tips for the Perfect Whipped Butternut Squash
Achieving the ideal texture and flavor for your Roasted Garlic Whipped Butternut Squash is simple with a few helpful tips:
- Choosing the Right Squash: When selecting butternut squash, look for one that has a uniform, pale tan color and is free of soft spots or green patches, which can indicate immaturity. A squash that feels heavy for its size is generally a good sign of high moisture content and rich flesh.
- The Art of Roasting Garlic: Do not skip roasting the garlic! This step is crucial as it mellows the garlic’s pungency and develops its sweet, nutty notes. Wrapping it in foil helps to steam it, making it incredibly soft and easy to squeeze out, while preventing it from burning.
- Ensuring Tender Squash: Roast the butternut squash until it is incredibly tender. If it’s still a bit firm, your whipped squash won’t be as smooth. Don’t be afraid to extend the roasting time slightly if needed – an extra 5-10 minutes can make a big difference in tenderness and caramelization.
- For Ultra-Smooth Texture: A food processor or high-speed blender is key to achieving that luxurious, velvety texture. If you don’t have one, a potato ricer can also produce a very smooth result, though a food processor is usually faster and more efficient. Avoid just mashing, as it won’t achieve the same consistency.
- Seasoning is Key: Always taste and adjust seasoning at the end. The amount of salt needed can vary based on the squash’s natural sweetness and personal preference. Don’t be shy about adding a little more salt or pepper until the flavors truly pop. A tiny pinch of nutmeg can also be a wonderful addition, enhancing the squash’s earthy notes.
- Make Ahead and Storage: This dish can be made ahead of time! Prepare it up to 2-3 days in advance and store it in an airtight container in the refrigerator. Reheat gently on the stovetop over low heat, stirring occasionally, or in the microwave. If it seems a little thick upon reheating, you can stir in a tablespoon or two of milk, cream, or even vegetable broth to restore its creamy consistency.
Frequently Asked Questions (FAQ)
Here are answers to some common questions about making Roasted Garlic Whipped Butternut Squash:
Q: Can I use pre-cut butternut squash?
A: Yes, you can use pre-cut butternut squash to save time. Just ensure you have roughly 2 to 2½ pounds of squash pieces. Adjust roasting time slightly if the pieces are much smaller than quarters.
Q: What if I don’t have a food processor?
A: While a food processor yields the smoothest result, you can use a high-speed blender for a similar texture. Alternatively, a potato ricer can create a very smooth puree. For a slightly chunkier, more rustic texture, you can use a potato masher, but it won’t be “whipped” in the same way.
Q: Can I make this vegan?
A: Yes! Simply substitute the unsalted butter with a high-quality vegan butter. The rest of the ingredients are naturally plant-based.
Q: How can I add more flavor?
A: Besides adjusting salt and pepper, you can experiment with a pinch of smoked paprika, a dash of ground sage, or even a tiny hint of maple syrup or brown sugar for extra sweetness. A squeeze of fresh orange juice can also brighten the flavors.
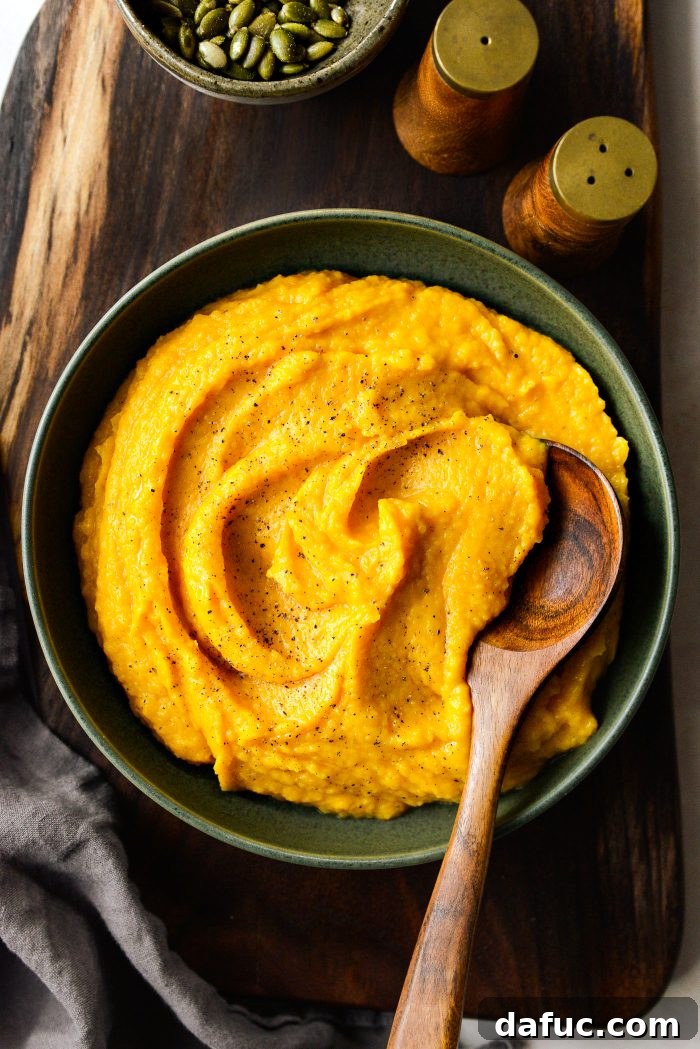
Enjoy this exquisite fall side dish! We love hearing from you, so if you give this recipe a try, don’t hesitate to share your experience. Snap a photo and tag me on Twitter or Instagram!
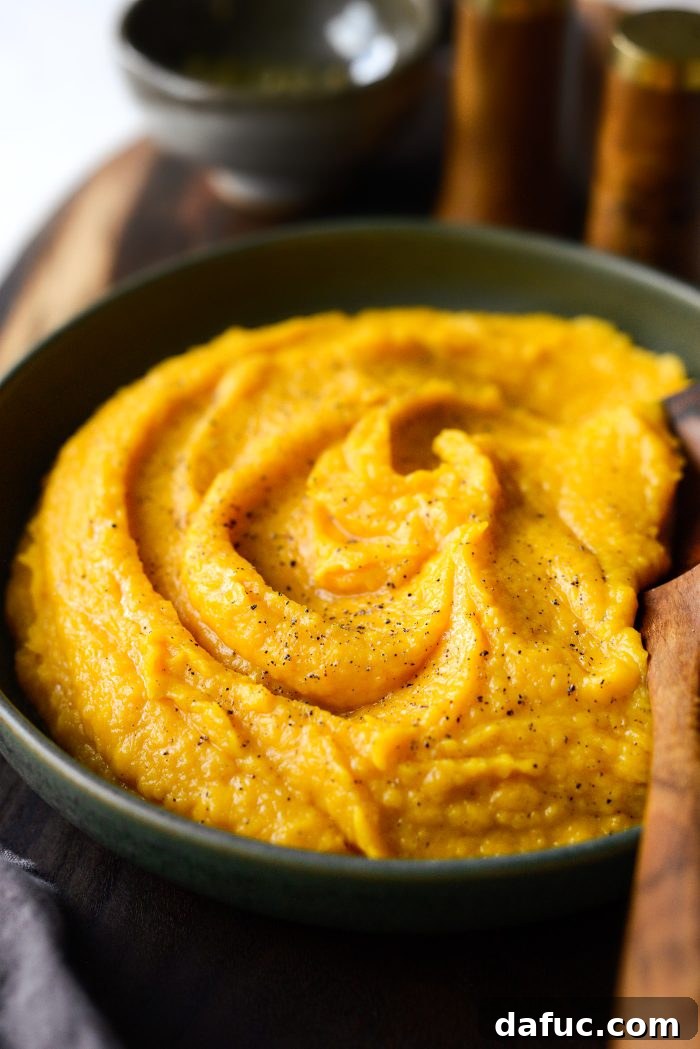
Recipe: Roasted Garlic Whipped Butternut Squash

Roasted Garlic Whipped Butternut Squash
Roasted Garlic Whipped Butternut Squash is easy and incredibly flavorful. Roasted garlic and tender butternut squash are whipped with butter for an incredible yet simple fall side dish.
Yield: 5 servings
Prep Time: 20 mins
Cook Time: 1 hr 20 mins
Total Time: 1 hr 40 mins
Ingredients
- 2 to 2½ pounds butternut squash, quartered
- 1 tablespoon olive oil
- Kosher salt
- 1 large head of garlic, top 1/3 cut off
- 4 tablespoons unsalted butter
- 1/4 teaspoon freshly ground black pepper
Equipment
- Food Processor
- Rimmed Baking Sheet
- Aluminum Foil
Instructions
- Preheat your oven to 375°F (190℃).
- Quarter your butternut squash. Place it on a rimmed baking sheet, drizzle or brush with a little olive oil and season with a pinch of kosher salt.
- Cut off the top third of a whole head of garlic and place on a piece of foil. Drizzle with remaining olive oil and season with a pinch of salt, and if you want, some freshly ground black pepper. Fold up the edges, crimping tightly to form a pouch or purse and place it on the pan with the squash.
- Roast for 55 minutes, then remove the garlic pouch and allow the garlic to cool. Meanwhile, continue to roast the squash for an additional 25 to 30 minutes, or until very tender. Once roasted, allow it to cool until safe to handle.
- To the bowl of your food processor, fitted with the blade attachment, use a spoon to scoop out the flesh of the squash and add it in along with the unsalted butter, all of the roasted garlic (you can squeeze it in or pluck out with the tines of a fork), and season with 1/2 teaspoon salt and some freshly ground black pepper to taste.
- Secure the lid and process until very smooth. Taste and add more salt and pepper as needed.
Notes
Nutrition Disclaimer: All information presented on this site is intended for informational purposes only. I am not a certified nutritionist and any nutritional information shared on SimplyScratch.com should only be used as a general guideline.
Nutrition Information
Serving: -29 cup
Calories: 216 kcal
Carbohydrates: 28 g
Protein: 3 g
Fat: 12 g
Saturated Fat: 6 g
Polyunsaturated Fat: 1 g
Monounsaturated Fat: 4 g
Trans Fat: 0.4 g
Cholesterol: 24 mg
Sodium: 11 mg
Potassium: 825 mg
Fiber: 5 g
Sugar: 5 g
Vitamin A: 24389 IU
Vitamin C: 49 mg
Calcium: 122 mg
Iron: 2 mg
Author: Laurie McNamara
Course: Side Dishes
Cuisine: American