
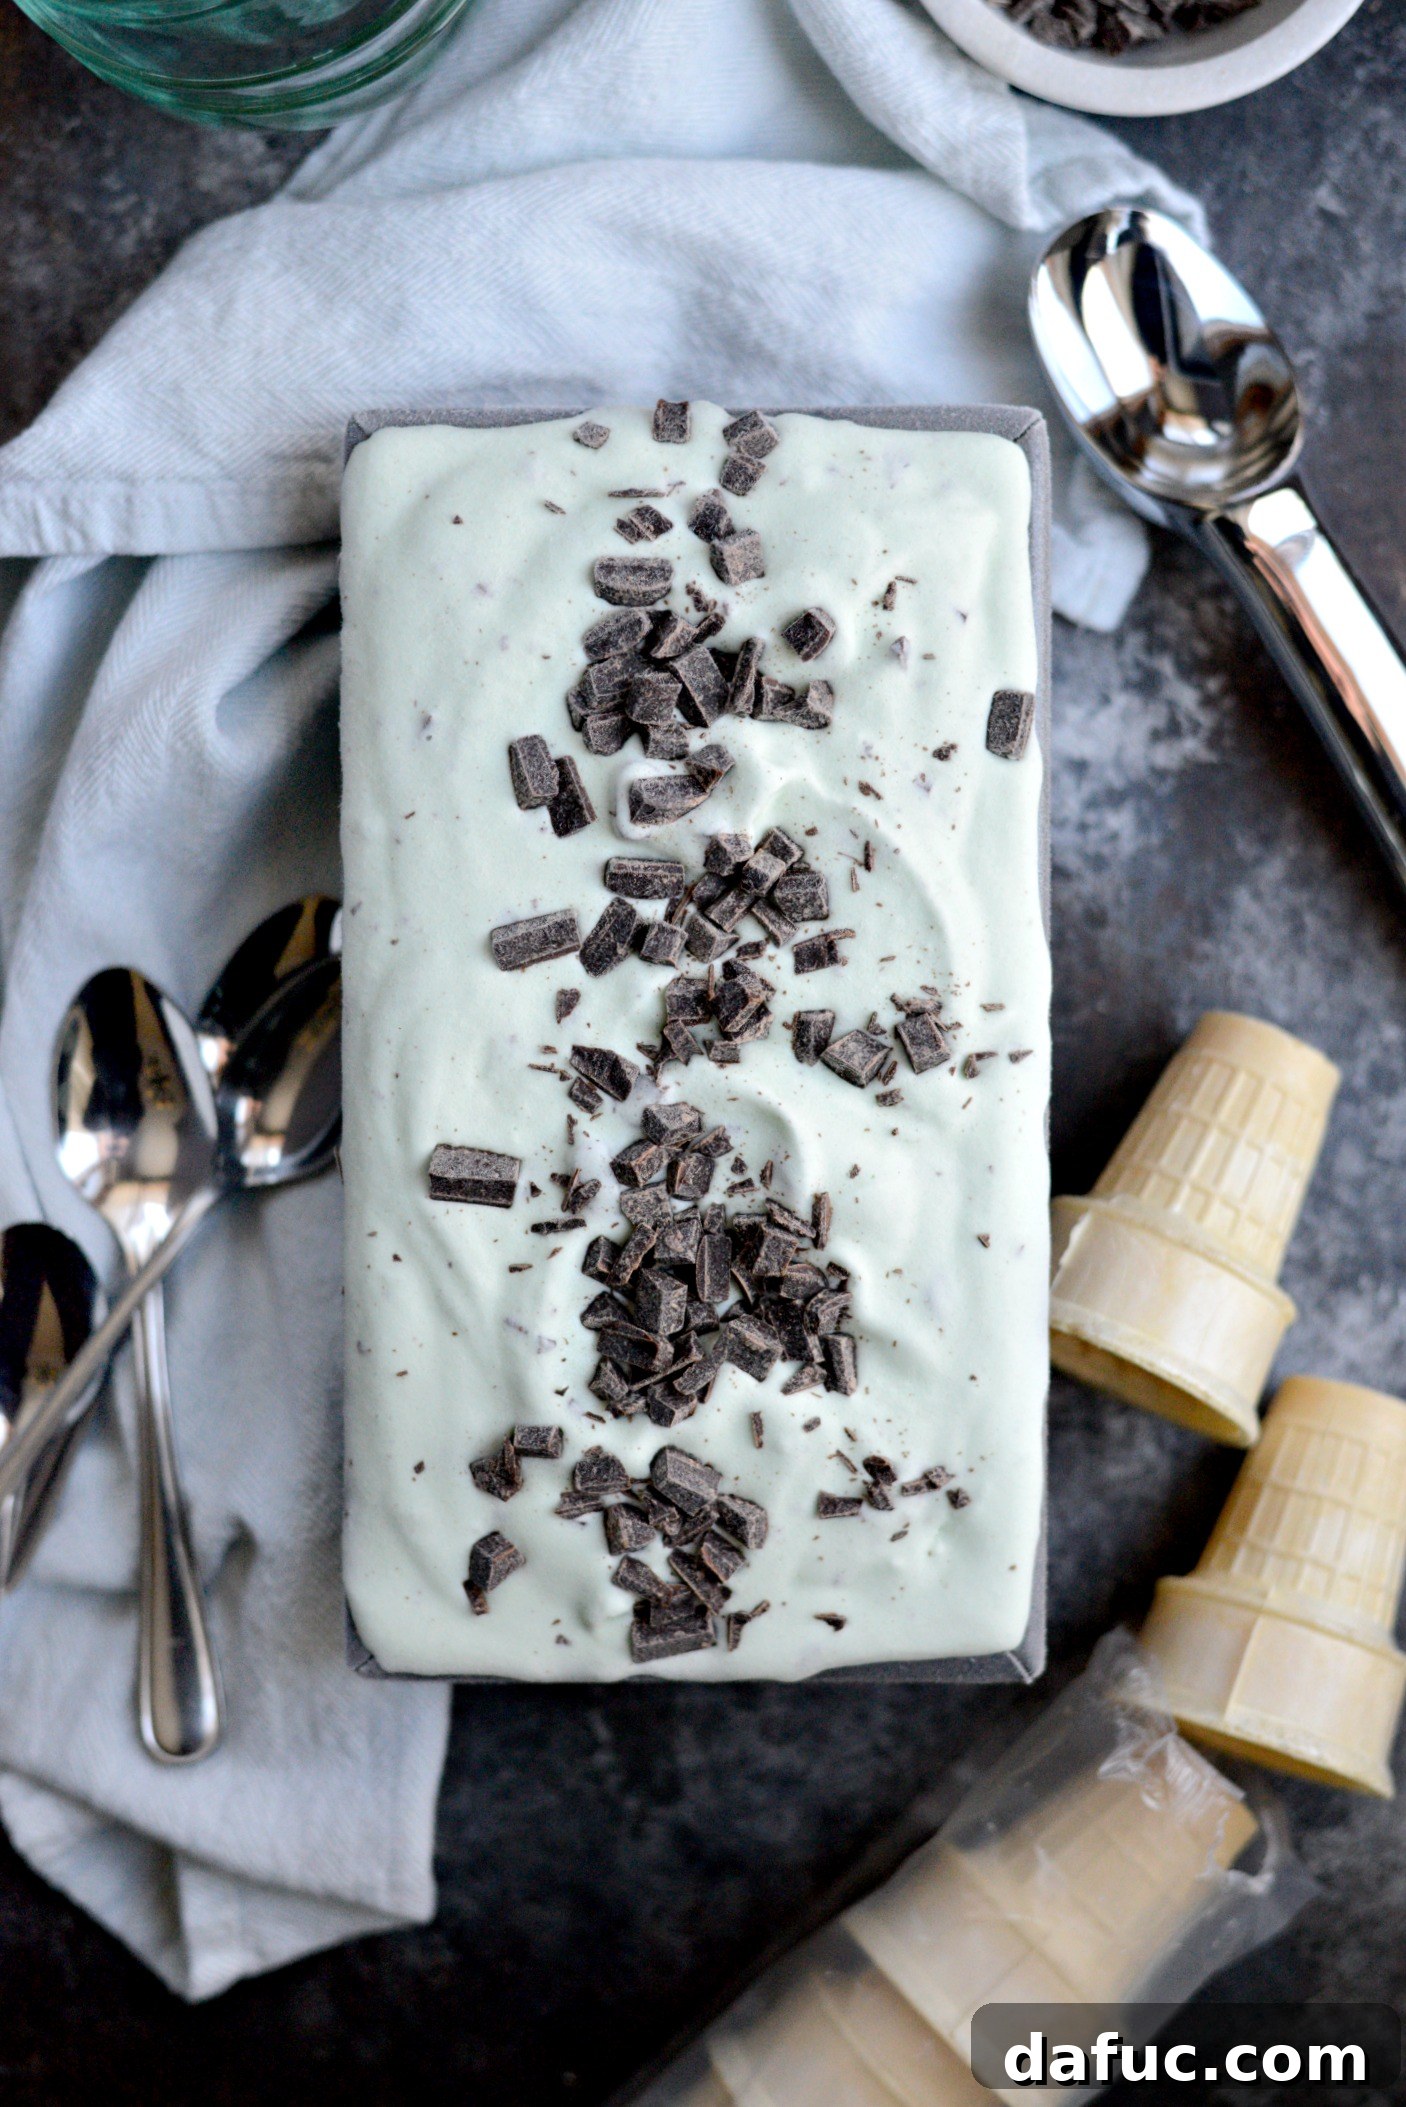
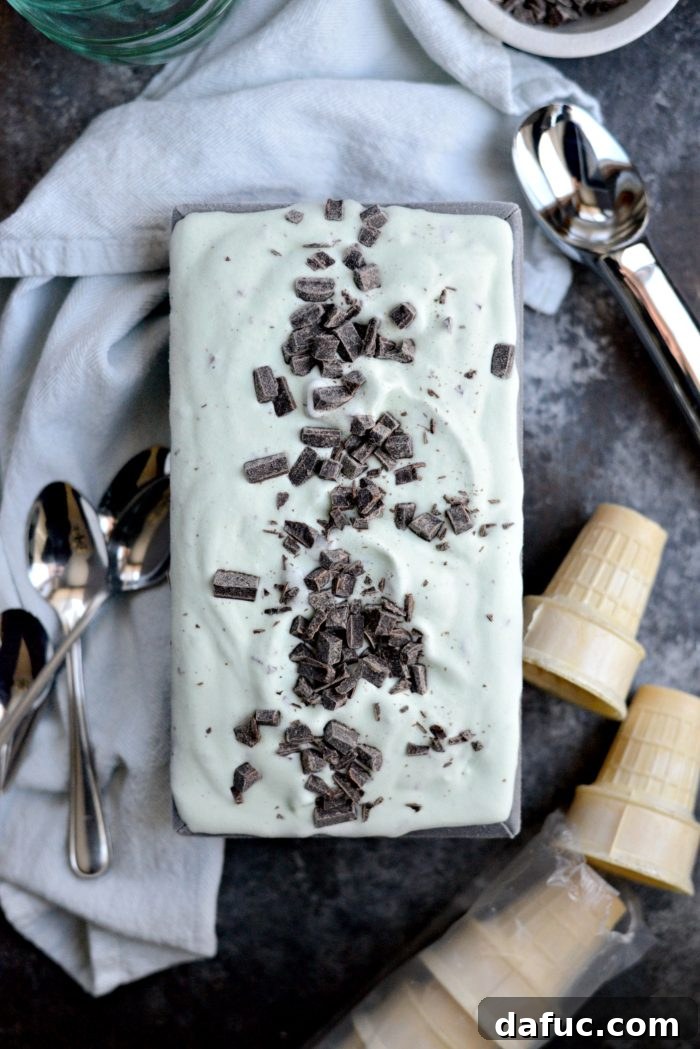
Indulge in the pure delight of homemade mint chocolate chip ice cream, a cool, creamy confection that transcends seasons and celebrations. While its vibrant green hue often makes it a festive choice for St. Patrick’s Day, this beloved flavor truly shines any time of year. Imagine the velvety texture melting in your mouth, followed by the invigorating rush of cool peppermint, perfectly complemented by delicate shards of rich chocolate. This isn’t just an ice cream recipe; it’s an invitation to create a gourmet experience right in your own kitchen.
There’s an unparalleled satisfaction that comes with crafting your favorite treats from scratch, and ice cream is no exception. Store-bought versions often fall short, laden with artificial flavors and stabilizers that dilute the authentic taste. Our homemade recipe for mint chocolate chip ice cream promises a superior flavor profile and a wonderfully fresh texture that will make you question why you ever bought it from a freezer aisle. Plus, the control over ingredients means you can customize it to your exact preferences – from the intensity of the mint to the type and amount of chocolate chips. Forget those chilly days and the lingering thoughts of winter; this refreshing treat is a vibrant harbinger of warmer times, promising sunny days and the joy of simple pleasures.
Why Homemade Mint Chocolate Chip Ice Cream is Always Best
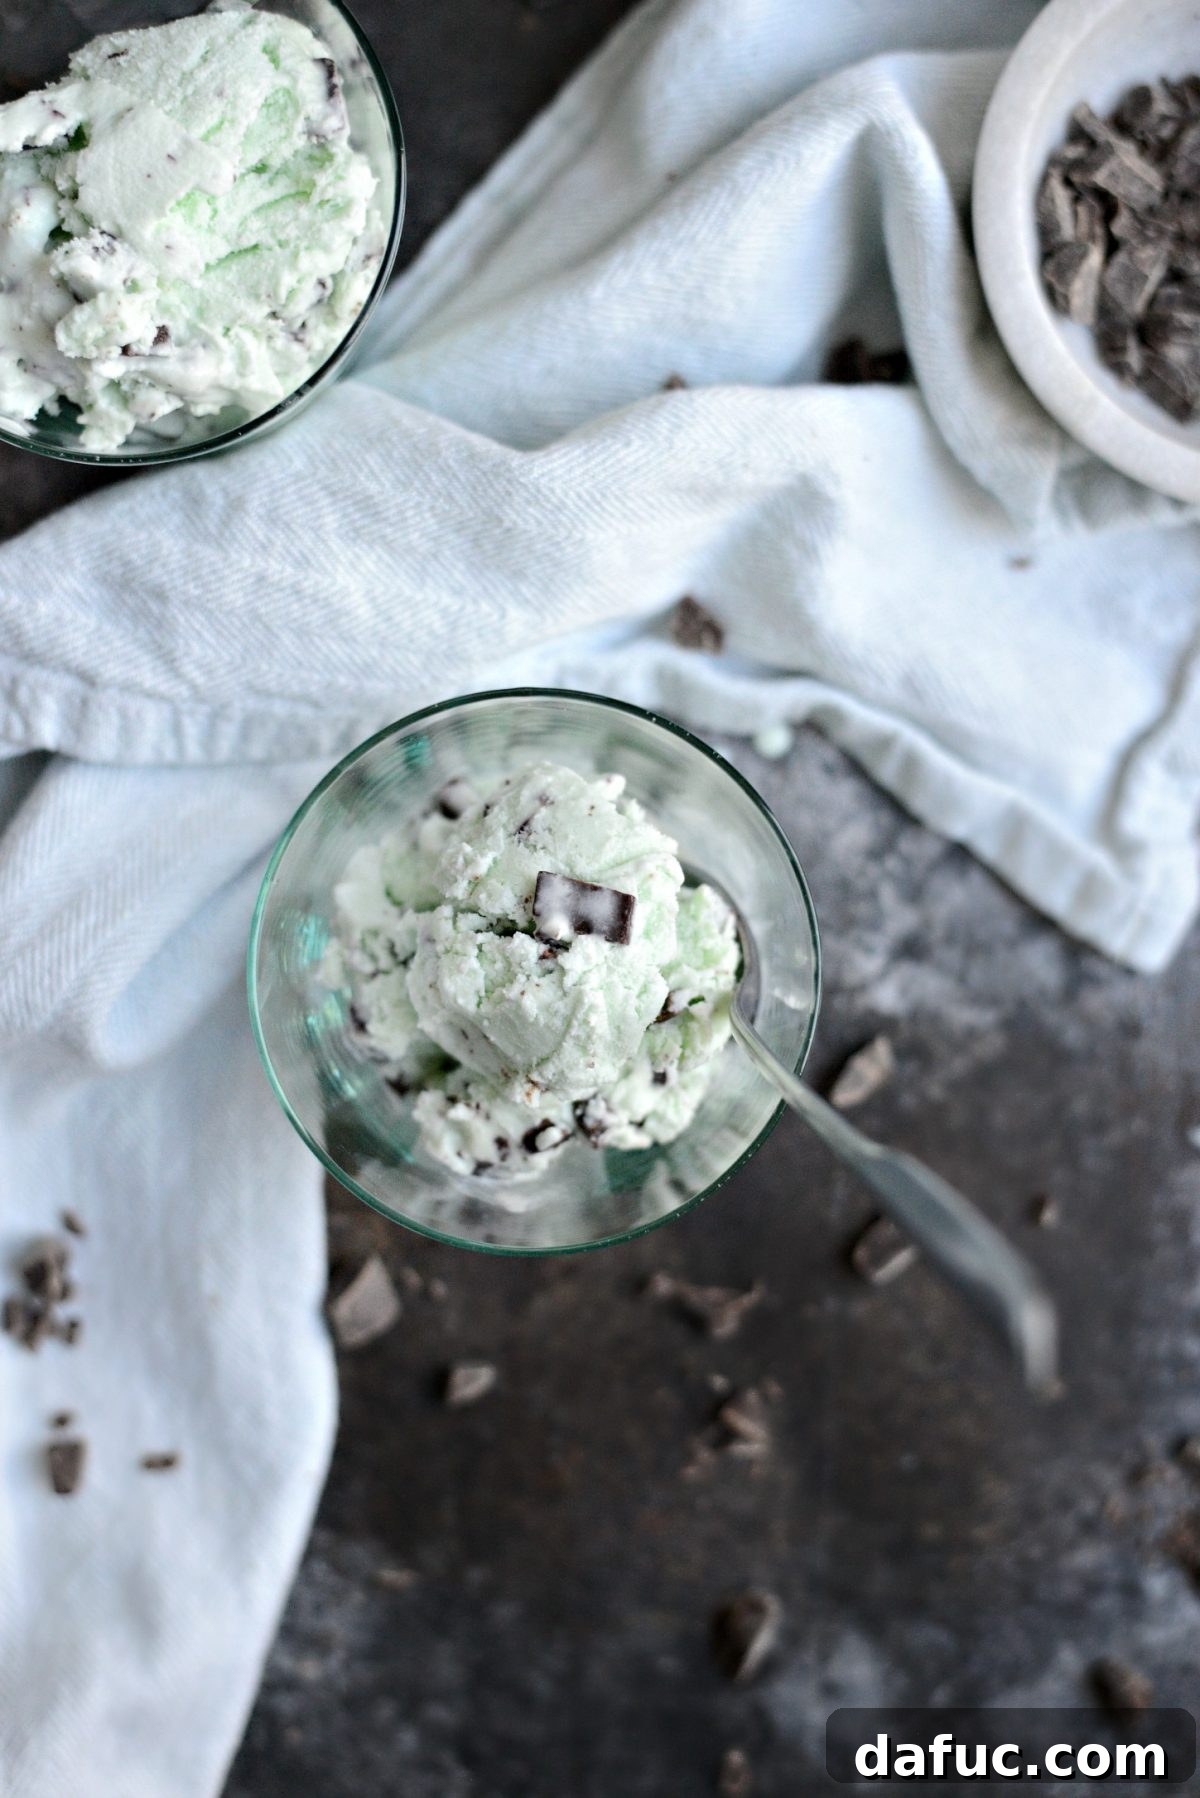
Making ice cream at home is a rewarding culinary adventure, transforming simple ingredients into a decadent dessert. When it comes to mint chocolate chip, the benefits of going homemade are particularly striking. Firstly, the flavor. You dictate the quality and quantity of peppermint extract, ensuring a natural, refreshing mint taste without any artificial afternotes. Secondly, the texture. Freshly churned ice cream boasts an incredible creaminess that’s hard to replicate commercially. Our recipe aims for that perfect balance – smooth and rich, yet light enough to be utterly refreshing. You also get to choose your chocolate. Are you a fan of dark chocolate chunks, or do mini semi-sweet chips make your heart sing? The power is in your hands to create your ideal mint chocolate chip dream.
Beyond taste and texture, there’s the sheer joy of the process. It’s a fun, engaging activity that can be shared with family and friends. Imagine the anticipation as the ice cream churns, slowly transforming into that delightful, scoopable consistency. And let’s be honest, there’s something incredibly satisfying about digging into a bowl of ice cream you’ve created with your own two hands. It’s an act of culinary magic, transforming basic dairy and flavorings into a vibrant green masterpiece, dotted with delicious chocolate. This isn’t just a dessert; it’s a celebration of freshness, quality, and the simple pleasures of homemade goodness.
Essential Ingredients for Your Mint Chocolate Chip Creation
Crafting the perfect batch of mint chocolate chip ice cream begins with a handful of high-quality ingredients. Each plays a crucial role in achieving that signature creamy texture and invigorating flavor. Here’s what you’ll need to gather:
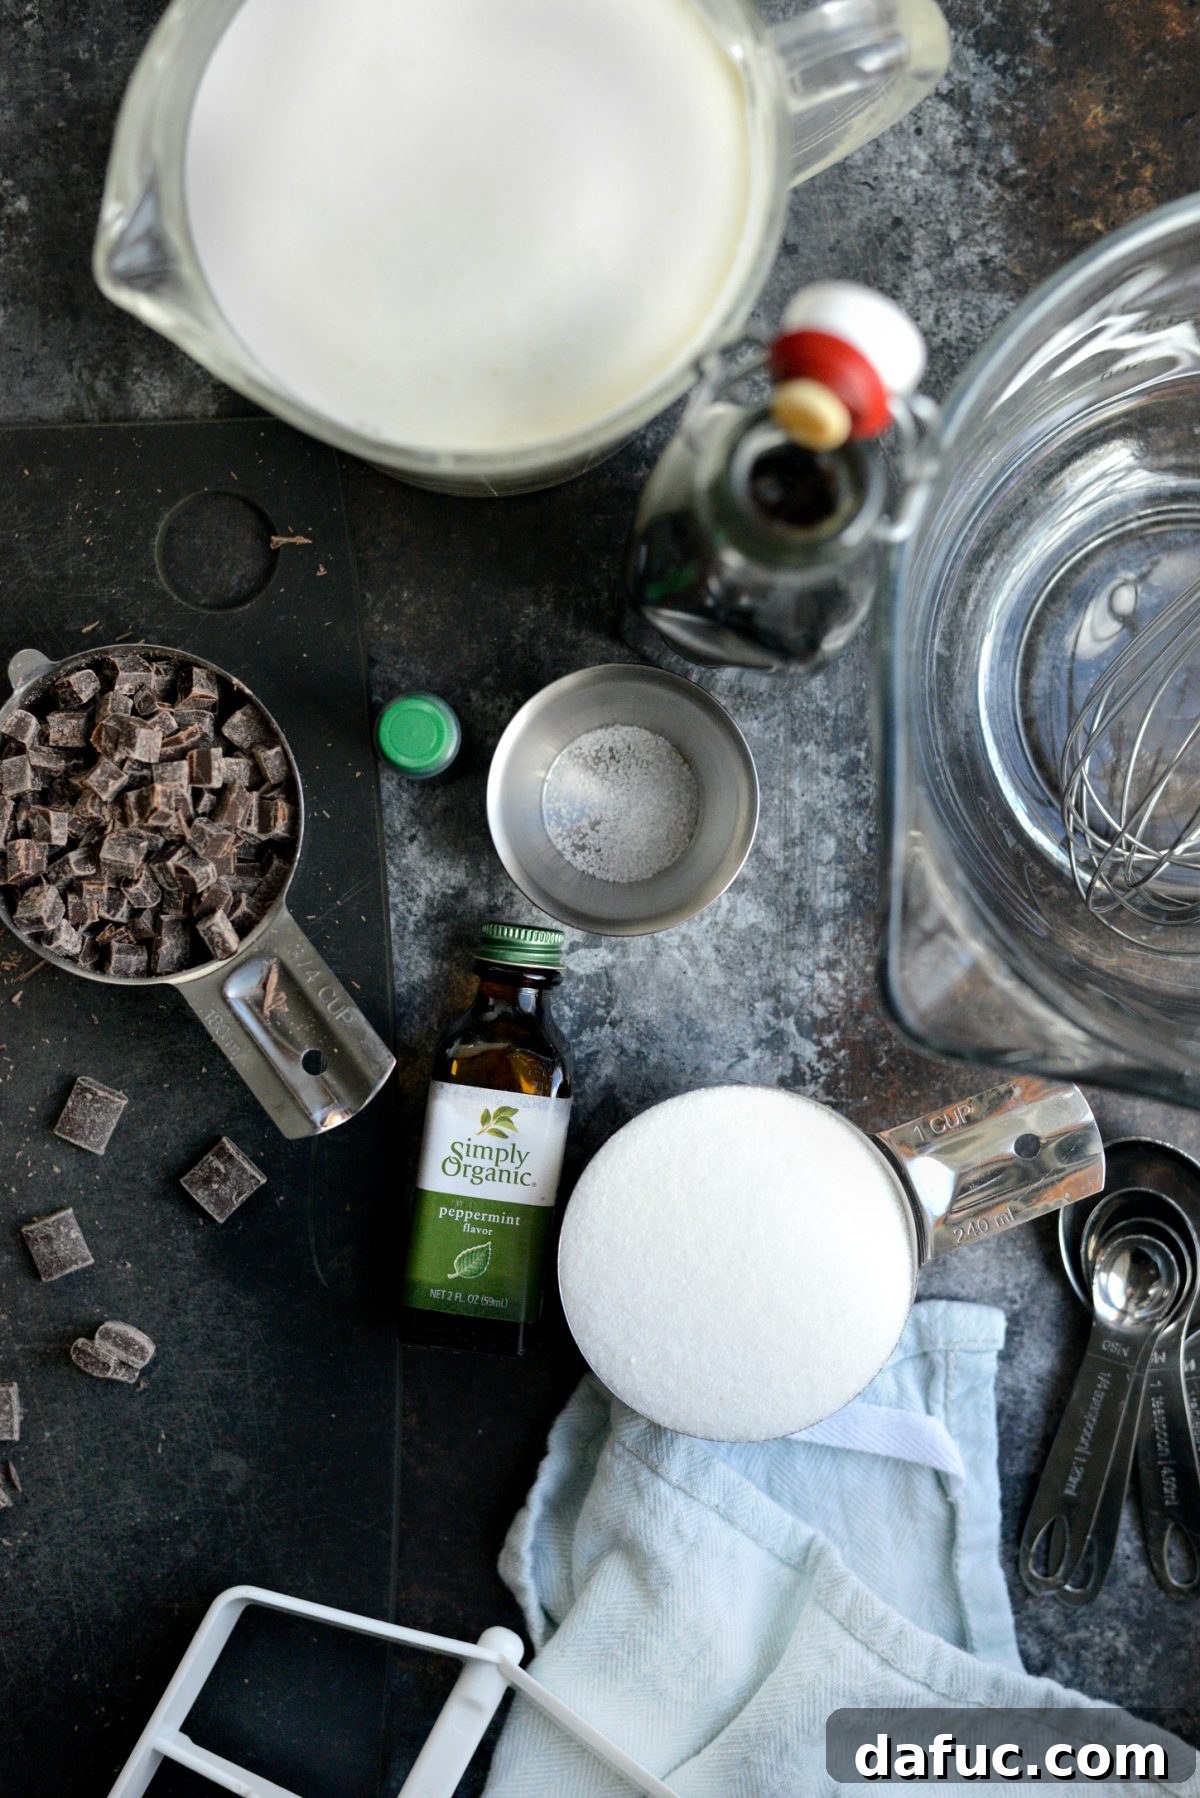
To Make Homemade Mint Chocolate Chip Ice Cream You Will Need:
- **Granulated Sugar:** Provides the essential sweetness and contributes to the smooth texture by preventing large ice crystal formation.
- **Fine Sea Salt:** A tiny pinch enhances all the flavors, balancing the sweetness and brightening the mint.
- **Heavy Whipping Cream:** The star ingredient for unparalleled richness and creaminess. Don’t skimp on this for truly decadent ice cream.
- **Half & Half:** Lighter than heavy cream but richer than milk, it strikes the perfect balance for a luscious, yet not overly heavy, base. If unavailable, a mix of whole milk and heavy cream works beautifully.
- **Vanilla Extract:** Adds a warm, aromatic depth that complements the crispness of the mint.
- **Peppermint Extract:** This is where the magic happens! Use a good quality extract for a clean, vibrant mint flavor.
- **Chocolate Chips or Chunks:** The “chip” in mint chocolate chip! Choose your favorite type and size, ensuring they’re small enough to distribute evenly and provide delightful little bursts of chocolatey goodness.
- **Green Food Coloring (Optional):** While entirely optional, a few drops create the iconic minty green hue we all associate with this classic flavor.
Step-by-Step Guide to Perfect Homemade Mint Chocolate Chip Ice Cream
Making this dreamy ice cream is simpler than you might think. Follow these straightforward steps for a perfectly creamy, minty, and chocolate-studded treat.
Preparing the Ice Cream Base
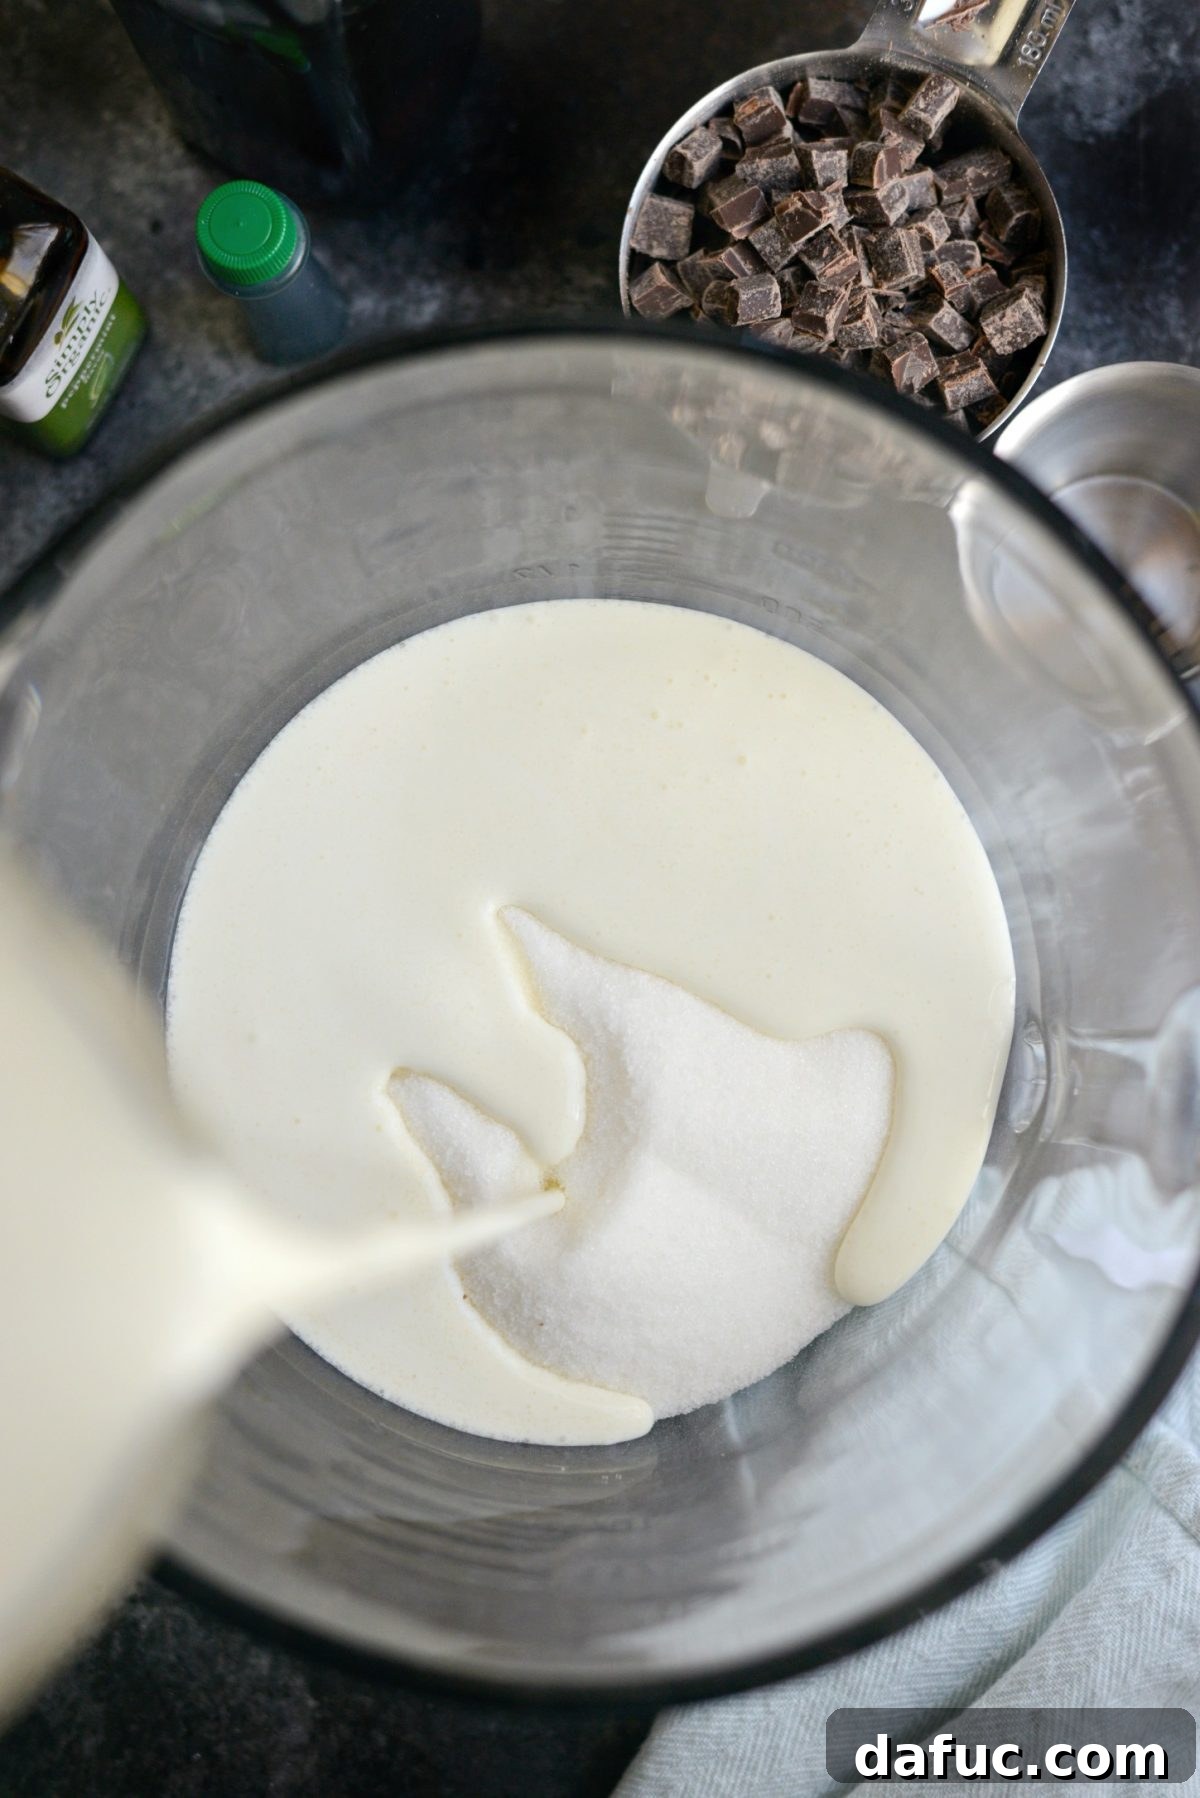
First, grab a large 8-cup liquid measuring cup or a spacious bowl equipped with a convenient pour spout. Into this, carefully add one cup of granulated sugar and a generous pinch of fine sea salt. These dry ingredients will blend seamlessly with the liquids to create a balanced foundation for your ice cream.
Next, introduce the dairy. Pour in two full cups of rich heavy whipping cream, followed by two cups of half & half. If half & half isn’t readily available in your area, an excellent substitute is a mixture of one cup of heavy cream and one cup of whole milk. This ratio will yield a similar luscious texture and fat content, crucial for a creamy finished product. Take your whisk and combine these ingredients thoroughly, mixing until every granule of sugar has completely dissolved into the liquid. This step is vital for a smooth, crystal-free ice cream.
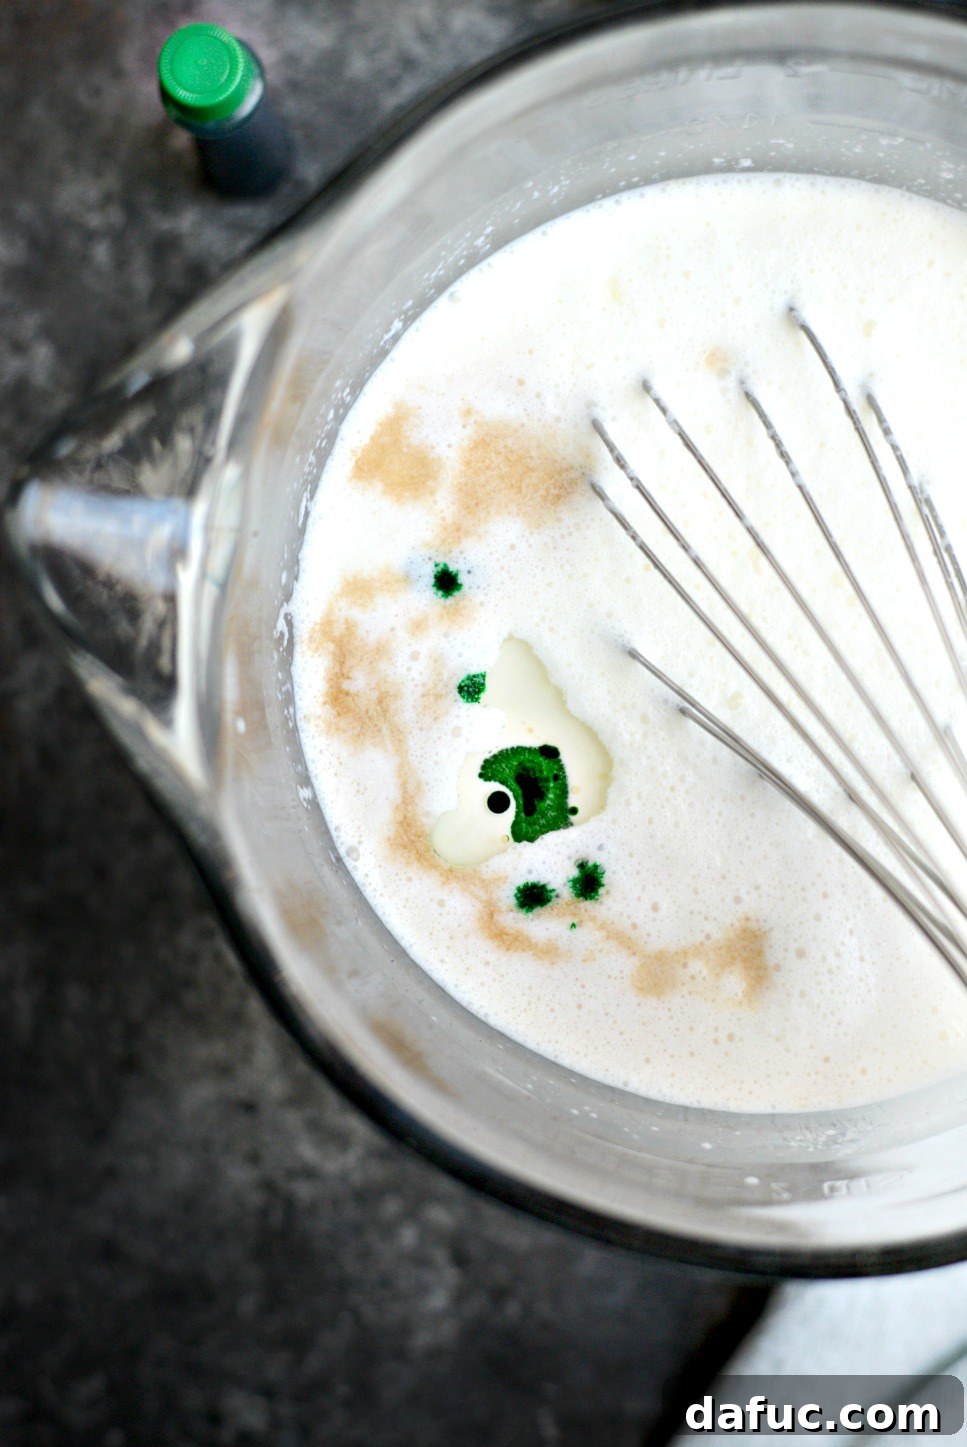
Now for the signature flavors. Add one teaspoon of high-quality vanilla extract and one teaspoon of invigorating peppermint extract to your base. The vanilla rounds out the flavor profile, adding a subtle warmth that enhances the cool mint. For that quintessential mint chocolate chip aesthetic, squeeze in about 6 drops of green food coloring. Remember, this is entirely optional! If you prefer a more natural, pale white ice cream, feel free to omit the coloring. However, the vibrant green offers a delightful visual contrast to the dark chocolate chips, making it all the more appealing.
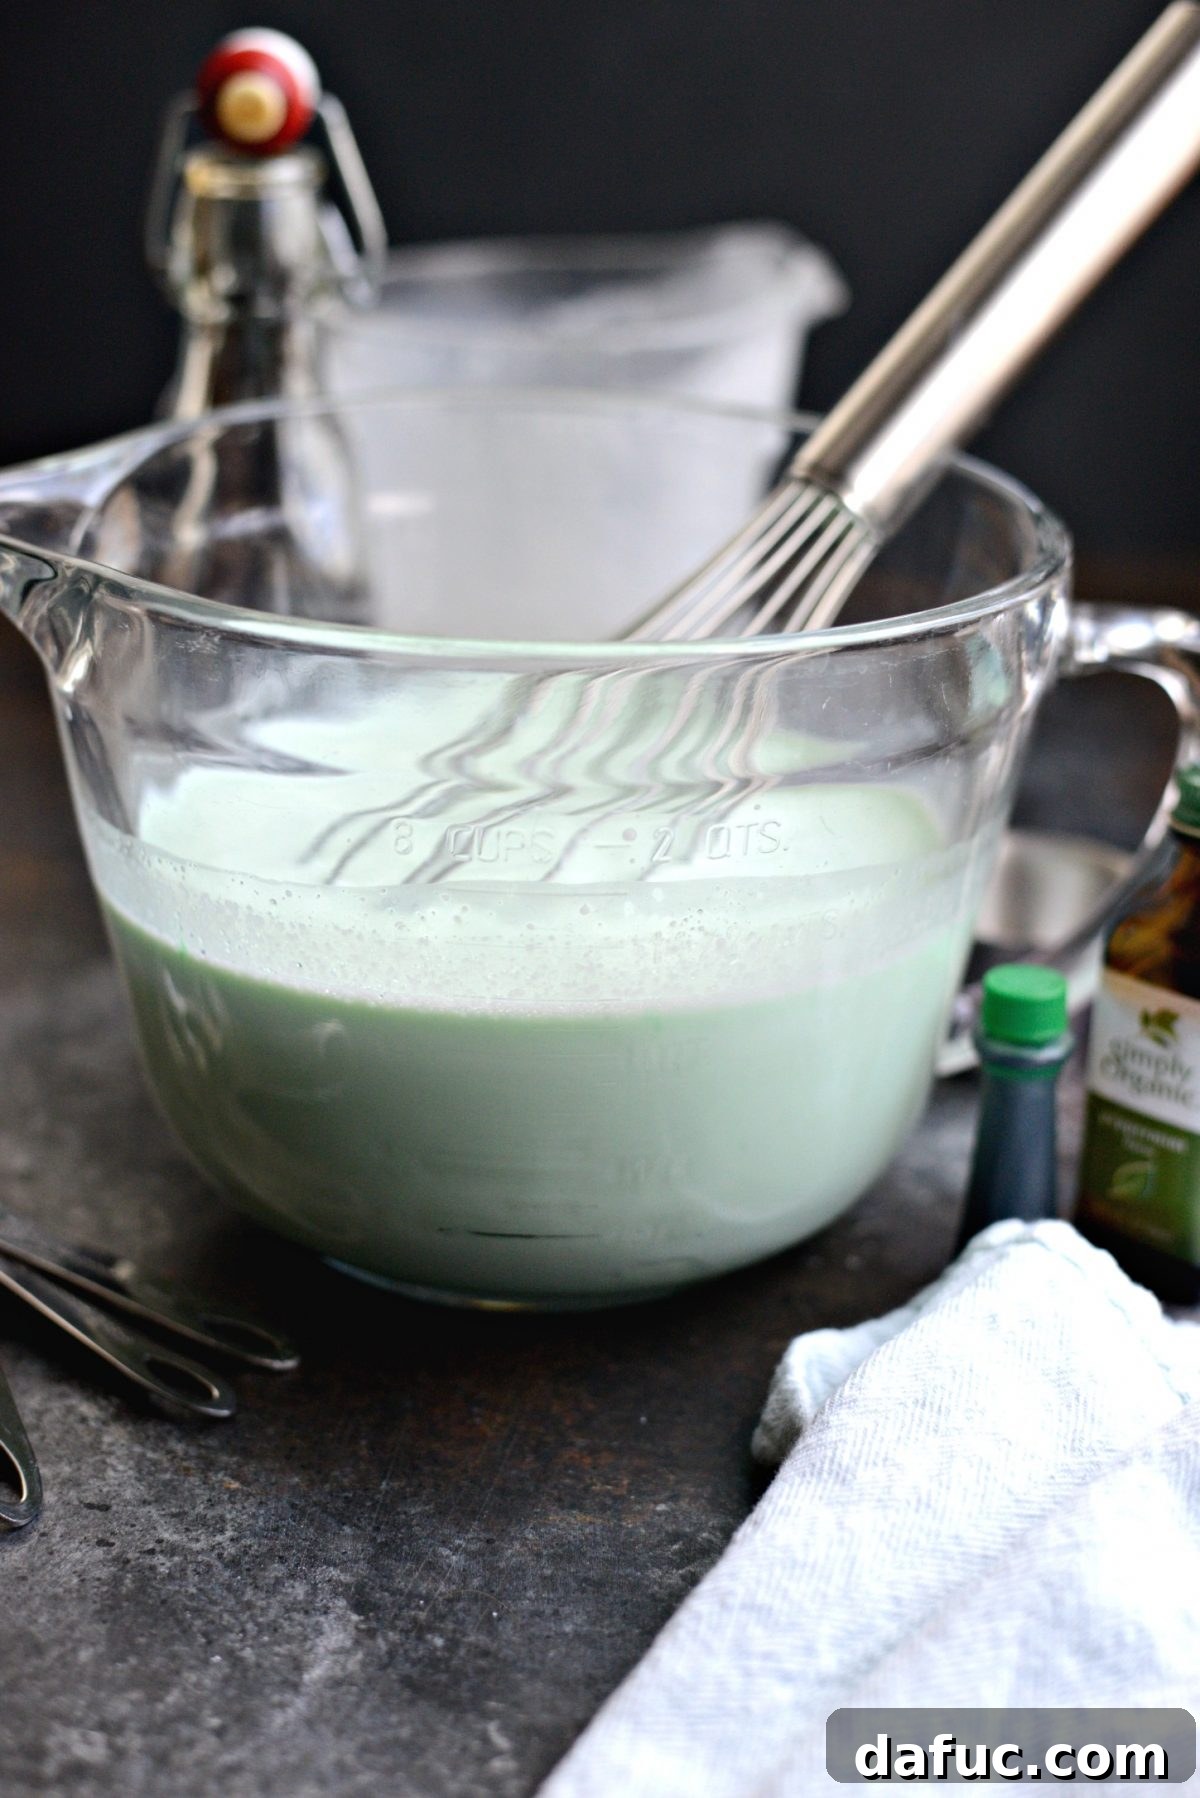
Once all ingredients are in, give the mixture another good whisk until everything is thoroughly combined and uniformly colored. Then, cover the bowl and refrigerate the ice cream base for at least 1 to 2 hours, or ideally, until it is thoroughly chilled. This chilling period is crucial; a cold base will churn more efficiently and result in a smoother, creamier ice cream.
Churning Your Ice Cream
When your base is perfectly chilled, it’s time for the exciting part! Retrieve your ice cream maker. Following the manufacturer’s specific instructions for your model, carefully pour the cold mint chocolate chip ice cream base into the machine’s frozen bowl.
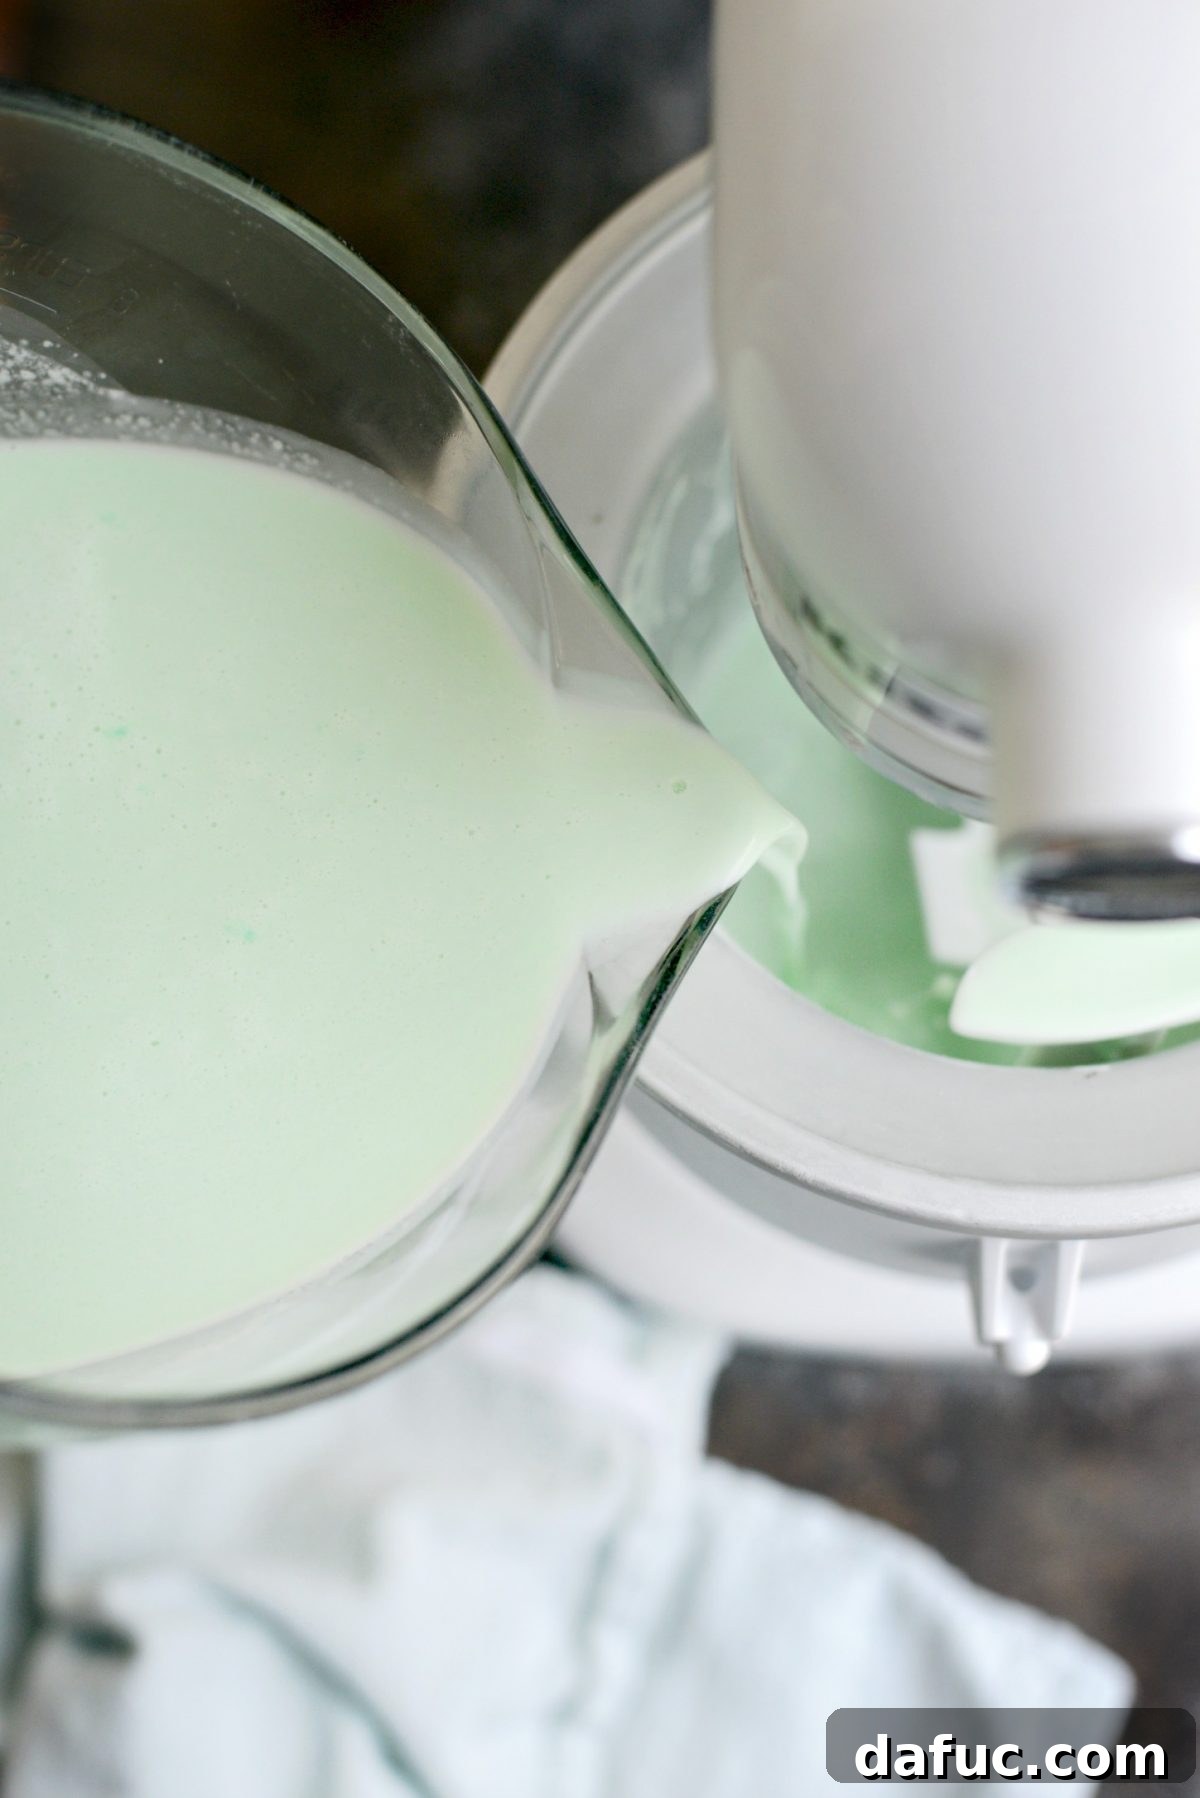
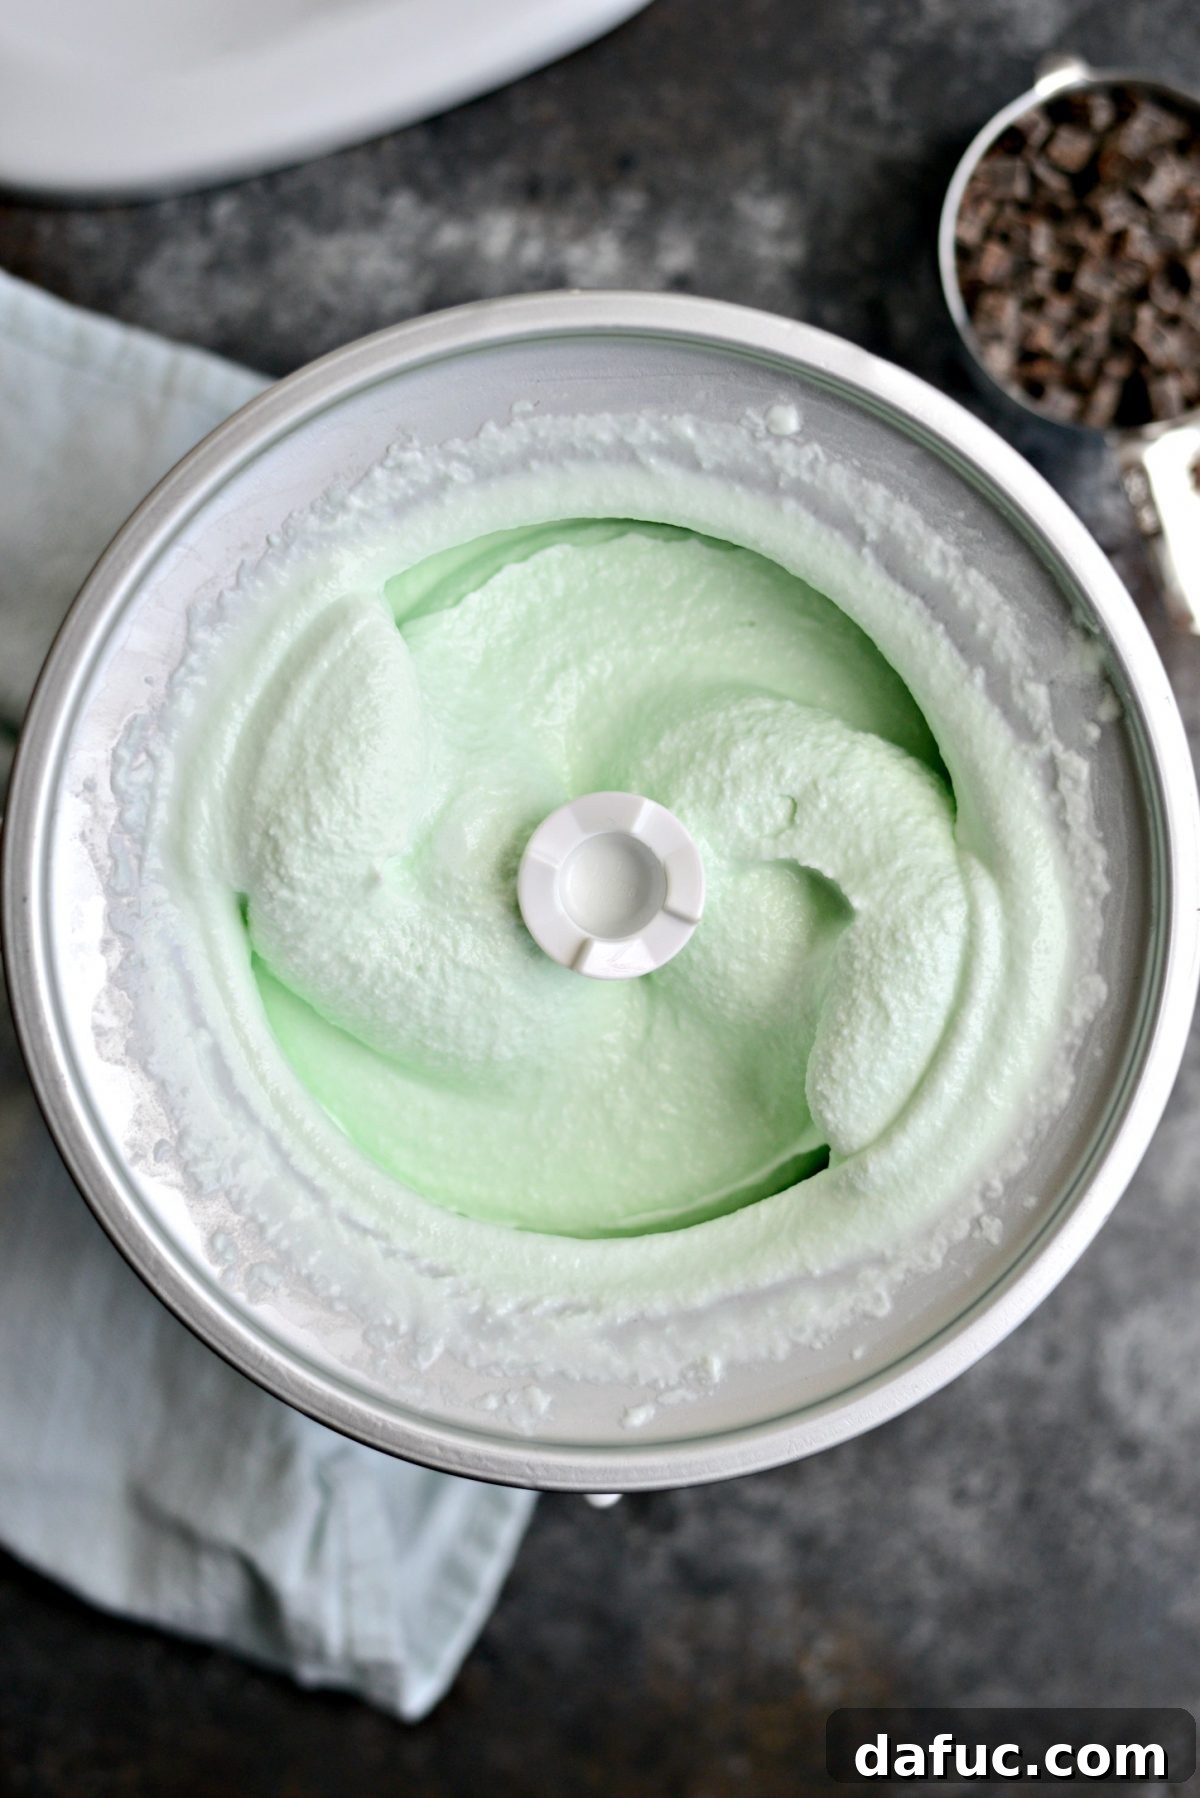
Begin churning. The duration will vary depending on your ice cream maker. For a KitchenAid mixer with the ice cream attachment, it typically takes about 20 to 25 minutes for the mixture to thicken to a soft-serve consistency. Keep an eye on it; you’re looking for a thick, soft, and slightly firm texture.
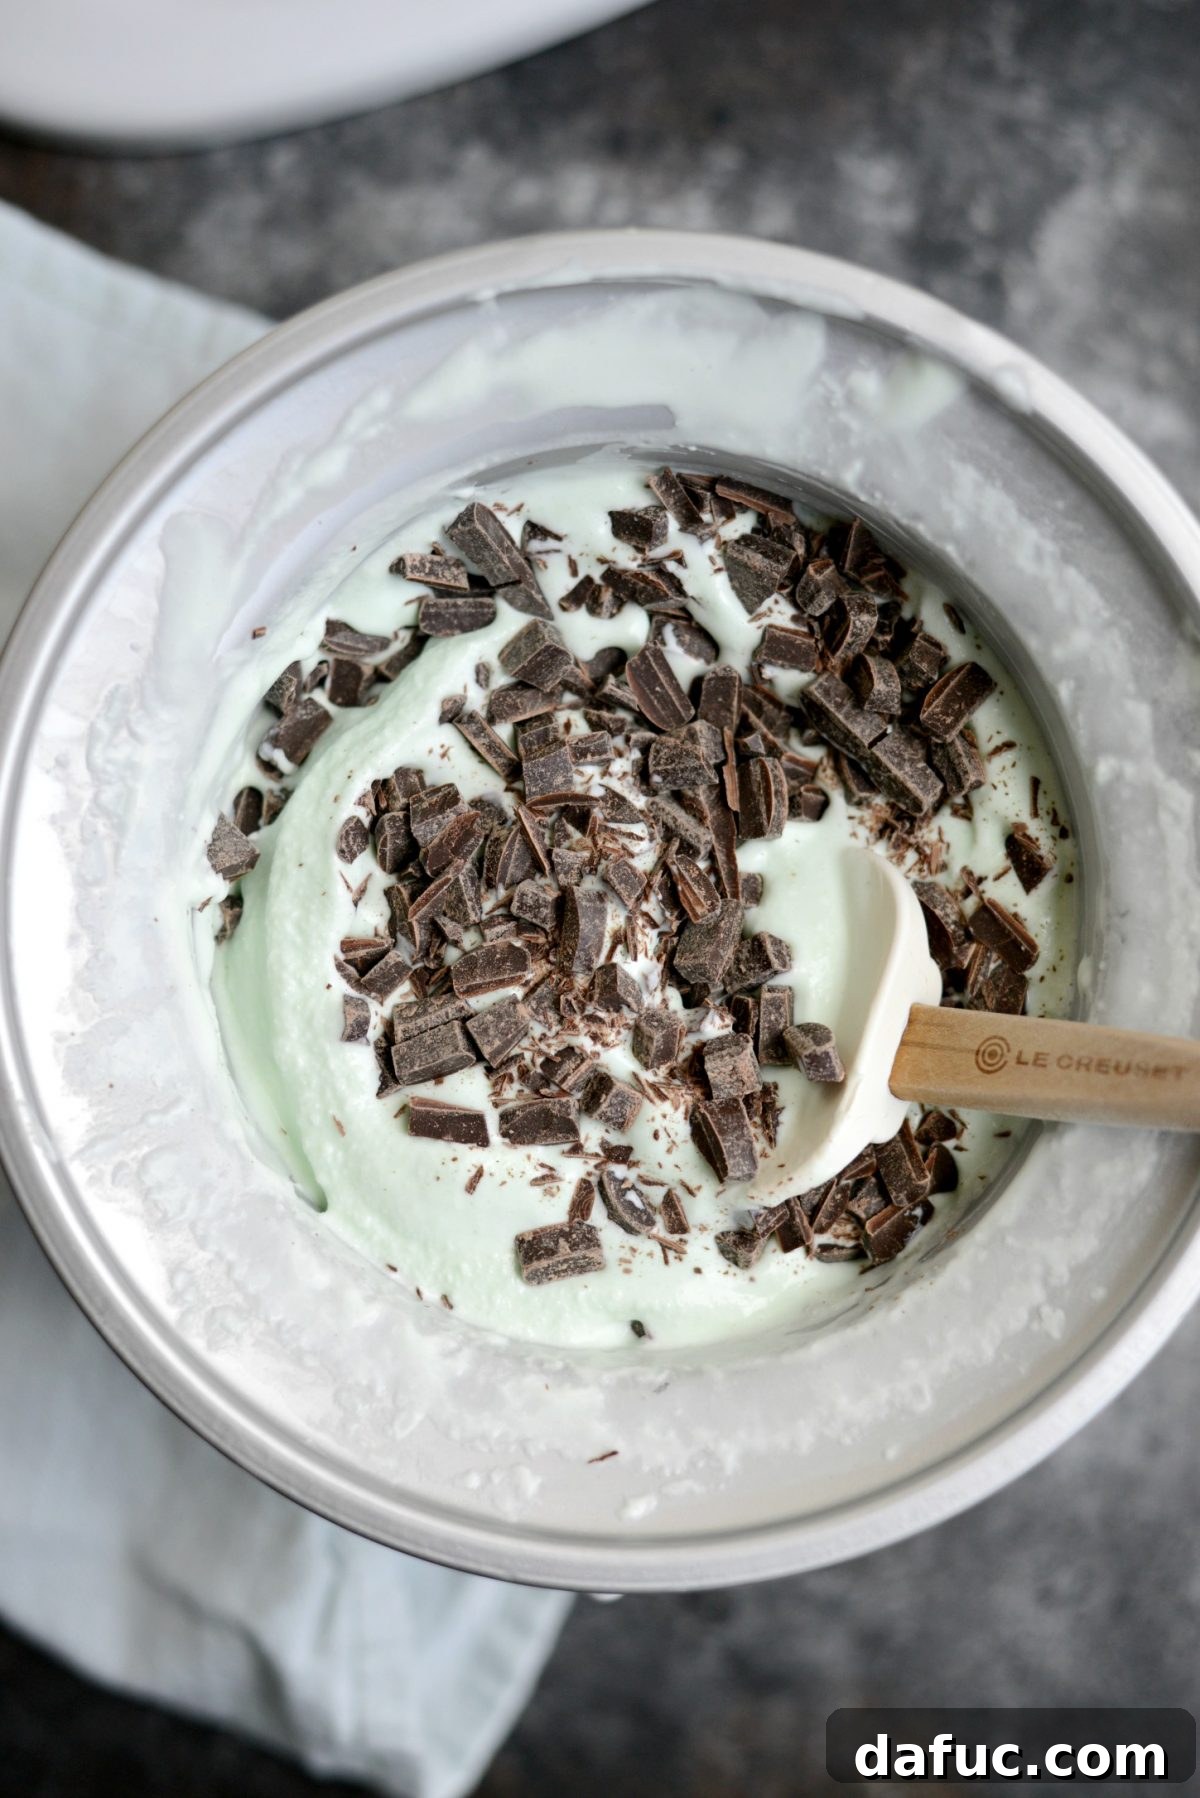
As the ice cream thickens, it’s time to incorporate the chocolate. This is the moment to transform a simple mint ice cream into a classic mint chocolate chip delight. Gently fold in approximately 1 heaping cup of small chocolate chunks or mini chocolate chips. The key here is “small” or “mini” – larger pieces can become too hard when frozen, compromising the smooth texture. If you only have larger chocolate bars or chunks, simply chop them into smaller, more manageable pieces before adding. Adjust the quantity of chocolate to your liking; some prefer a subtle crunch, while others love an abundance of chips. This customization is one of the joys of homemade ice cream.
Freezing for Perfection
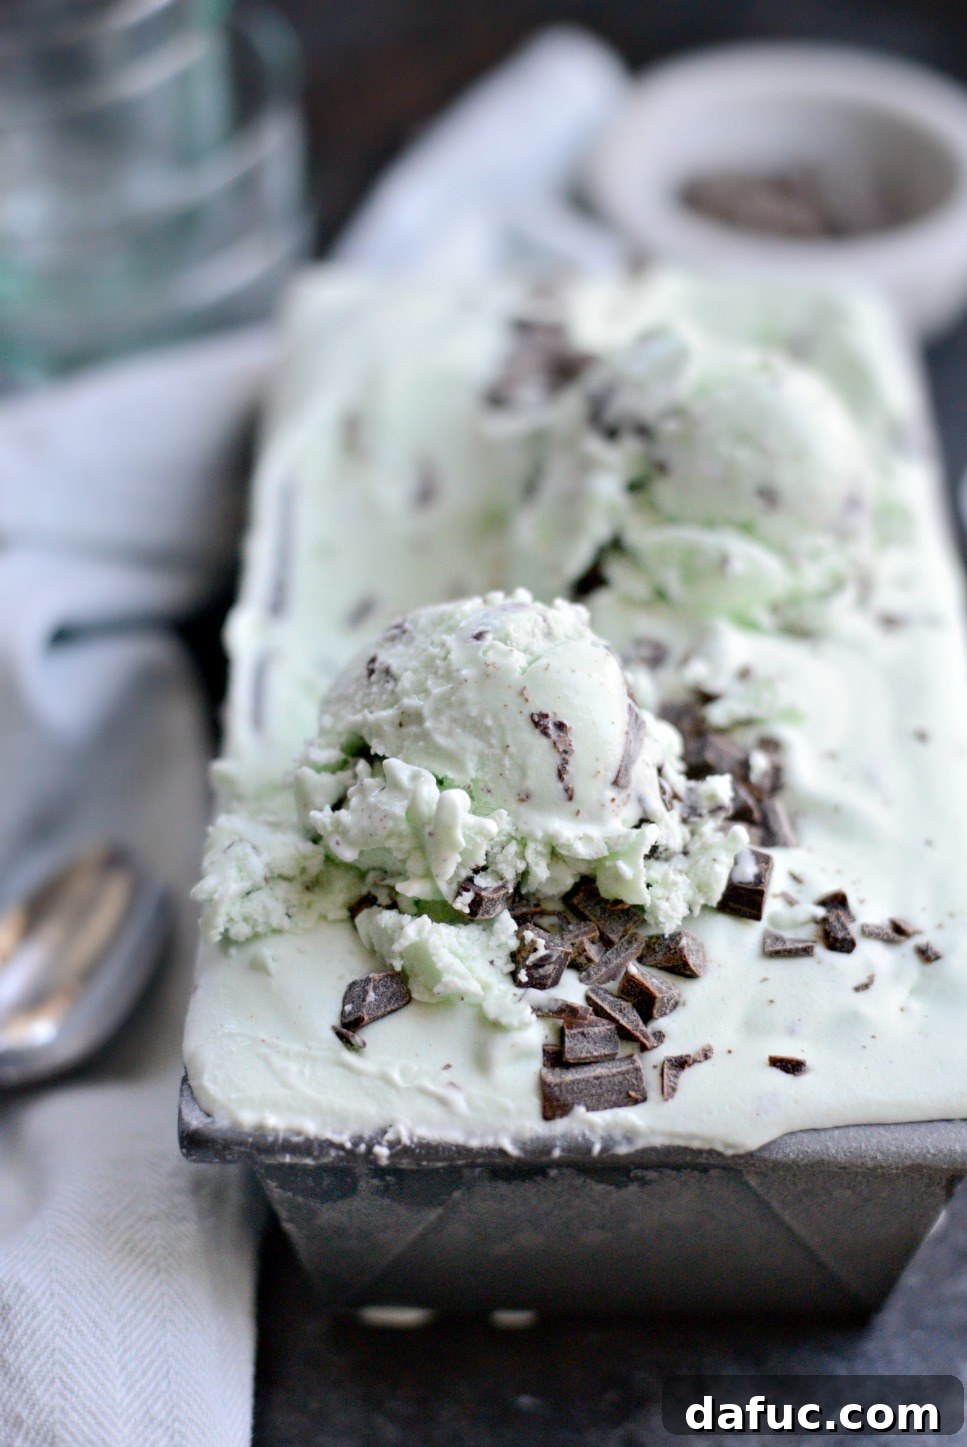
Once the chocolate chips are evenly distributed, carefully transfer the freshly churned, soft ice cream into a freezer-safe container. For the best results, an airtight container will help prevent freezer burn and maintain that pristine creamy texture. You can top it with a few extra chocolate chips for a beautiful presentation, inviting those who gaze upon it to dive right in.
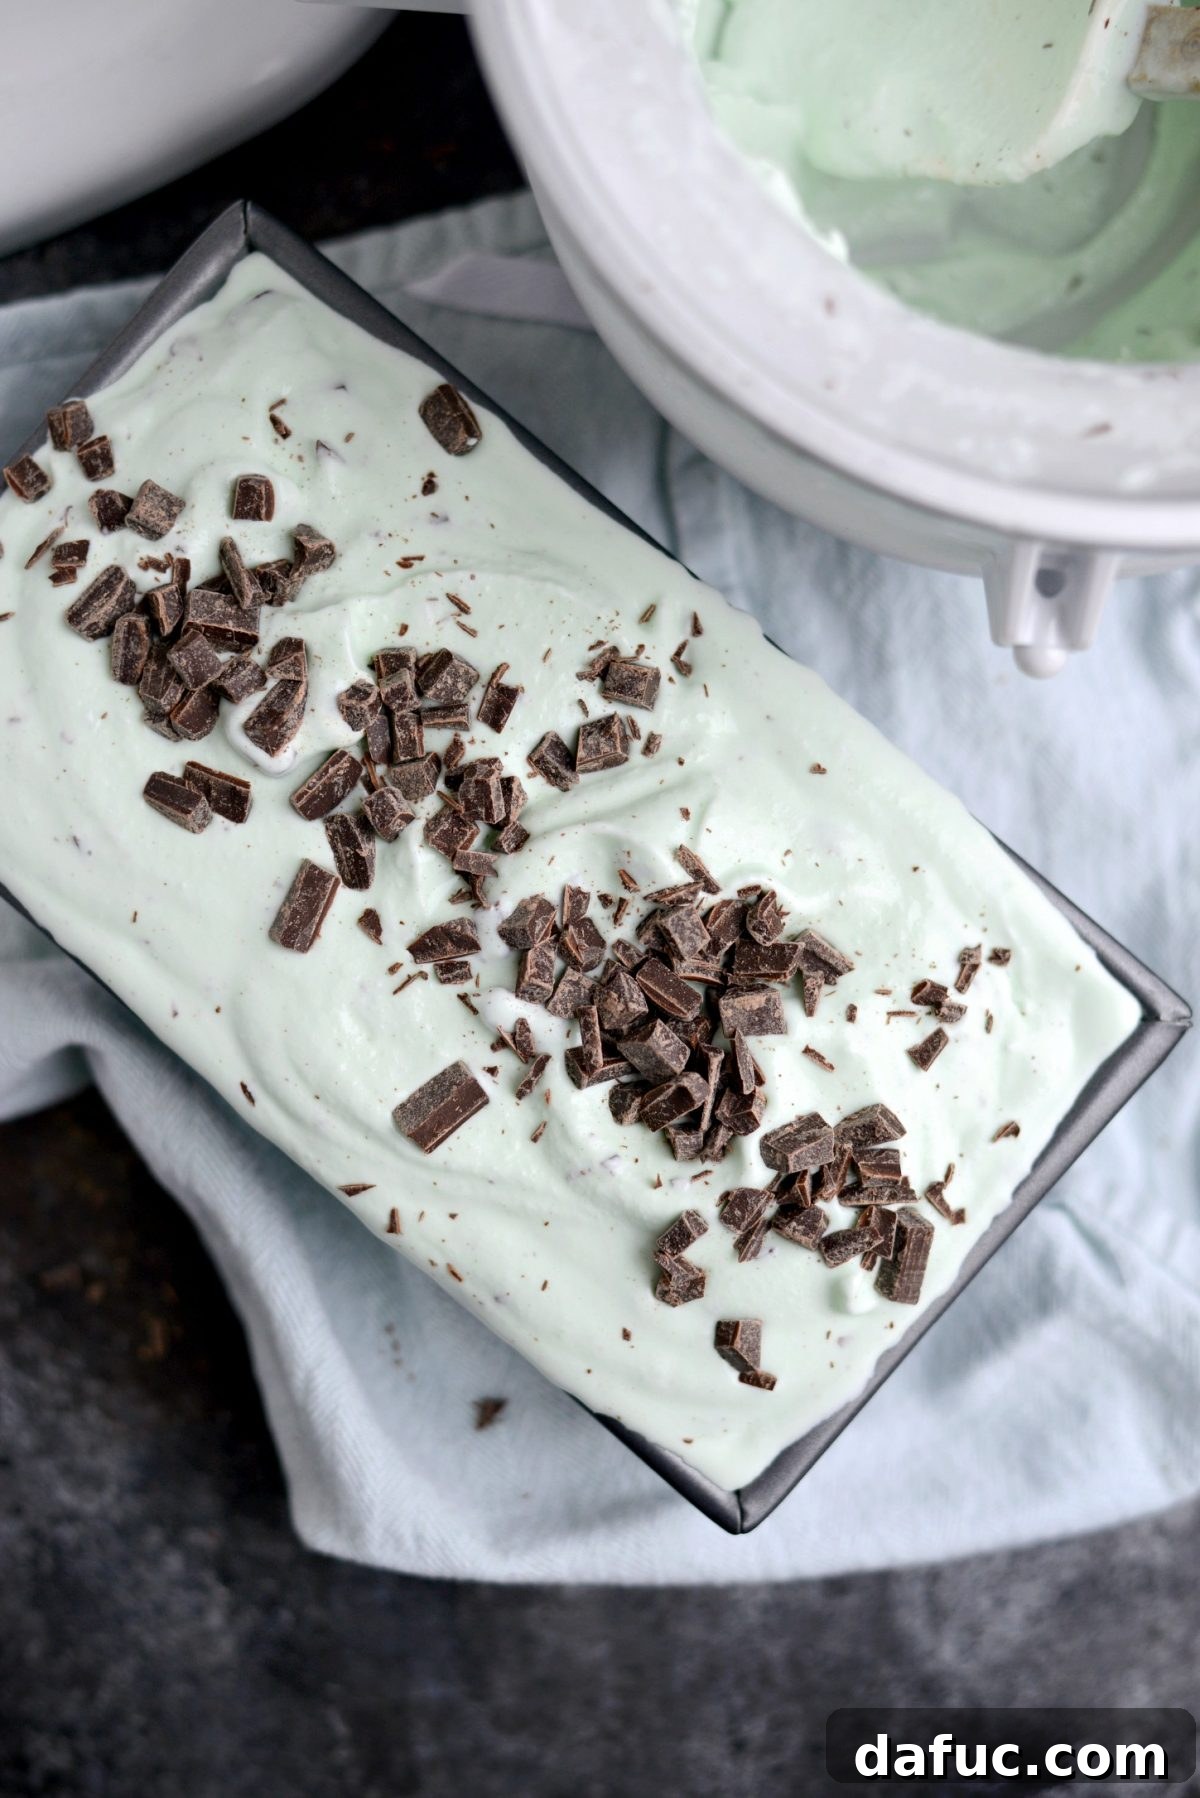
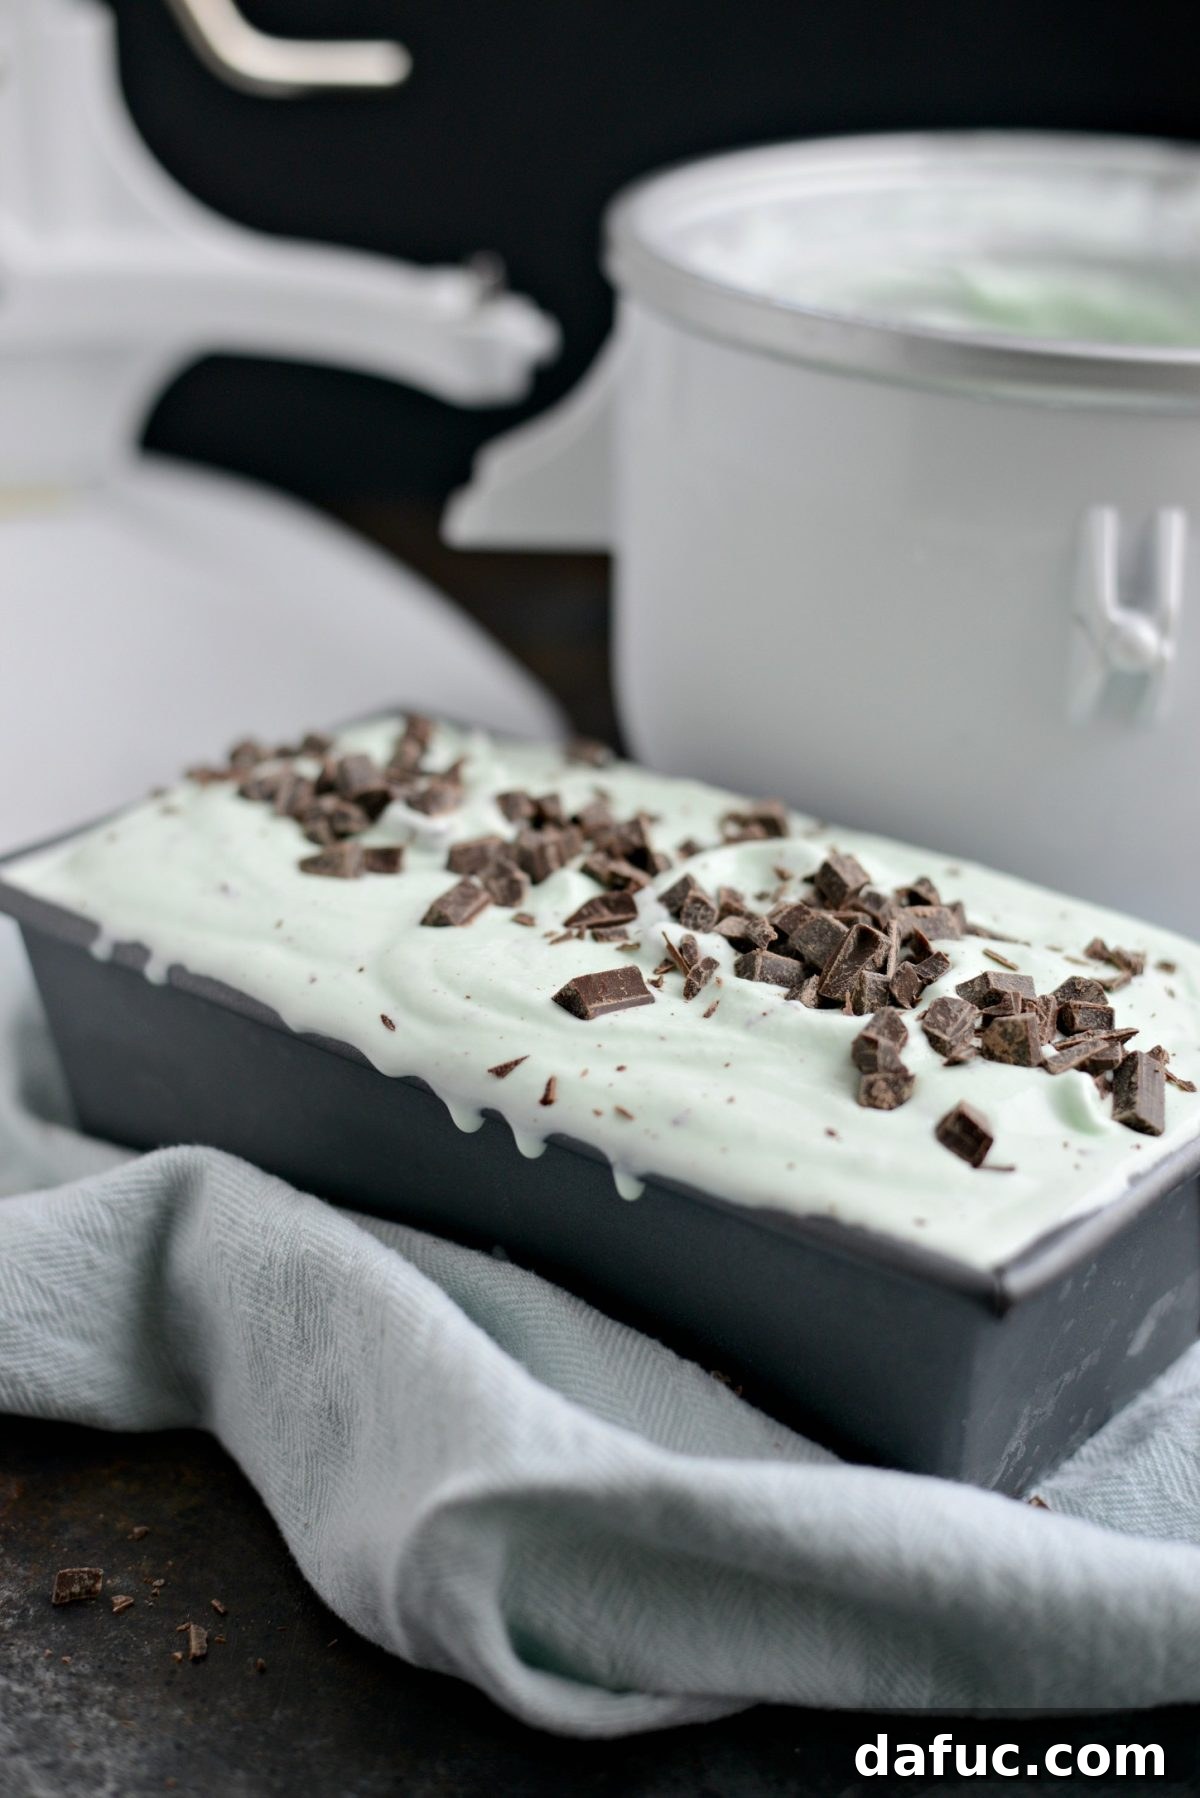
Place the covered container into your freezer for a final hardening period. While 4 to 6 hours will yield a scoopable ice cream, allowing it to freeze overnight is highly recommended. The extended freezing time allows the ice cream to fully set, developing its optimal texture and firm consistency. This waiting game can be the hardest part, but trust us, it’s worth every moment for that perfect scoop.
Now we let the waiting game begin.
Tips for the Best Homemade Mint Chocolate Chip Ice Cream
- **Chill, Chill, Chill:** The colder your ice cream base is before churning, the faster and more efficiently your machine will work, leading to smaller ice crystals and a smoother ice cream. Don’t rush this step!
- **Quality Extracts Matter:** Invest in good quality vanilla and peppermint extracts. They make a noticeable difference in the final flavor. Organic peppermint extract often provides a cleaner, more authentic mint taste.
- **Chocolate Choice:** While mini chocolate chips are ideal for even distribution and a pleasant texture, finely chopped chocolate (dark, milk, or semi-sweet) works wonderfully too. Avoid large chunks that can become too hard when frozen.
- **Don’t Overfill:** Be mindful of your ice cream maker’s capacity. Overfilling can lead to improper churning and a less desirable texture.
- **Airtight Storage:** Once churned and hardened, store your ice cream in an airtight container to prevent freezer burn and keep it tasting fresh for longer.
- **Let it Soften Slightly:** For the perfect scoop, take your ice cream out of the freezer 5-10 minutes before serving. This allows it to soften slightly, making it easier to scoop and enhancing its creamy texture.
Creative Variations and Serving Suggestions
While this classic mint chocolate chip ice cream is perfect as is, don’t hesitate to get creative with variations. For a richer chocolate experience, try using finely chopped dark chocolate or even folding in some chocolate fudge swirls after churning. If you’re a fan of different mint profiles, a touch of spearmint extract can offer a slightly milder, sweeter minty note. For an extra layer of texture, consider adding crushed Oreo cookies or thin chocolate wafer pieces along with the chocolate chips during the last few minutes of churning.
When it comes to serving, a simple scoop in a cone or bowl is always a winner. But for a more elaborate dessert, consider pairing it with a warm brownie or a slice of chocolate cake. A drizzle of chocolate syrup or a sprinkle of extra mini chocolate chips can elevate the presentation. For a sophisticated twist, try garnishing with a fresh mint sprig. No matter how you serve it, this homemade mint chocolate chip ice cream is guaranteed to be a crowd-pleaser and a personal favorite.
Mint chocolate chip ice cream: the most beloved and coveted ice cream in my world. What’s your favorite ice cream? I wanna know… who knows, maybe I’ll make it for you/us.
For More Homemade Ice Cream Recipes Click Here.
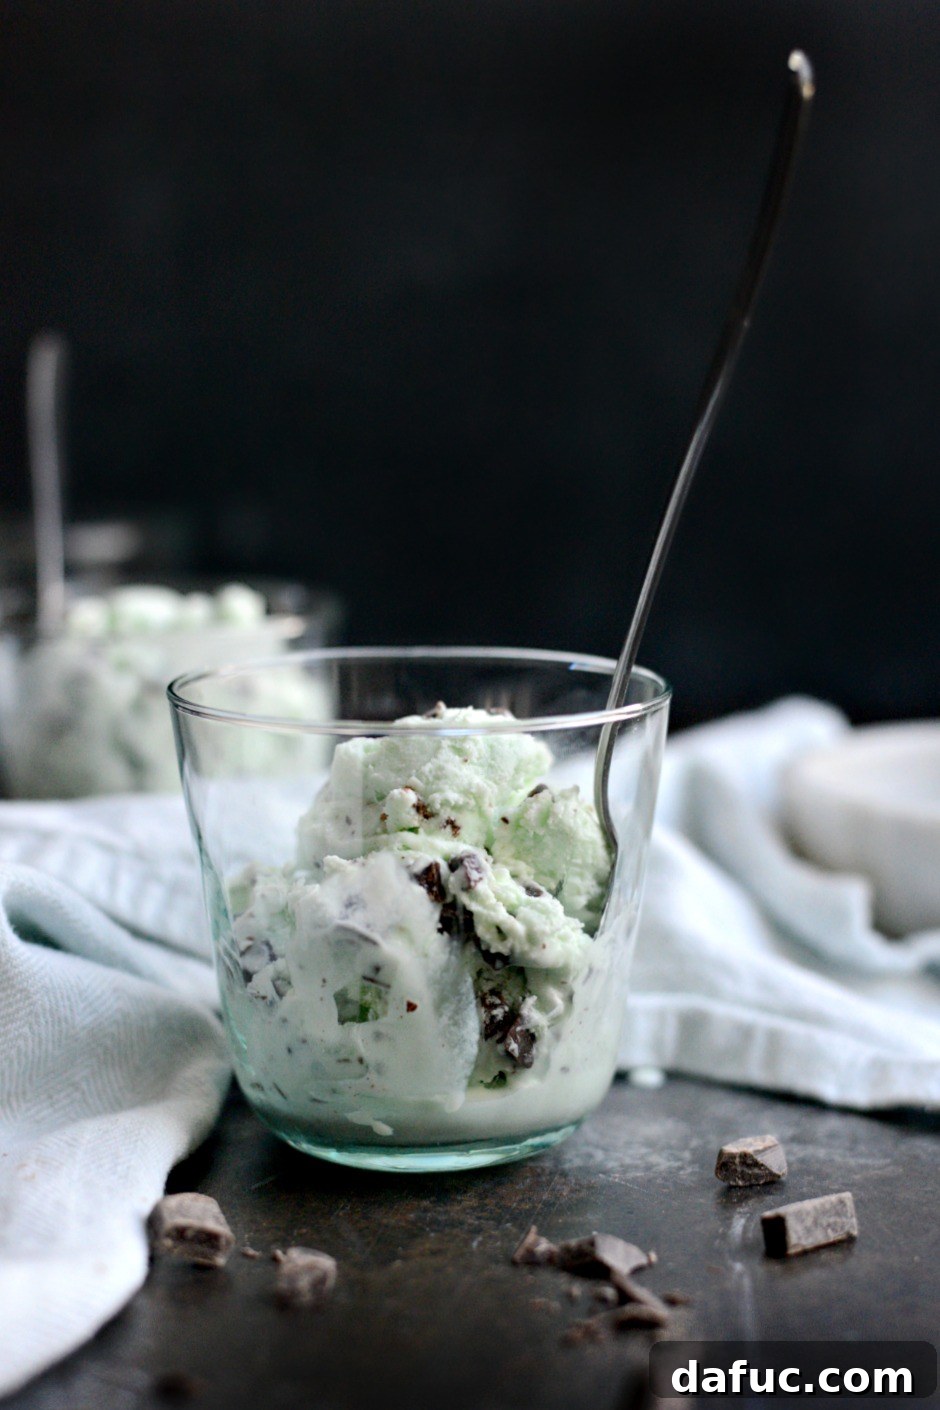
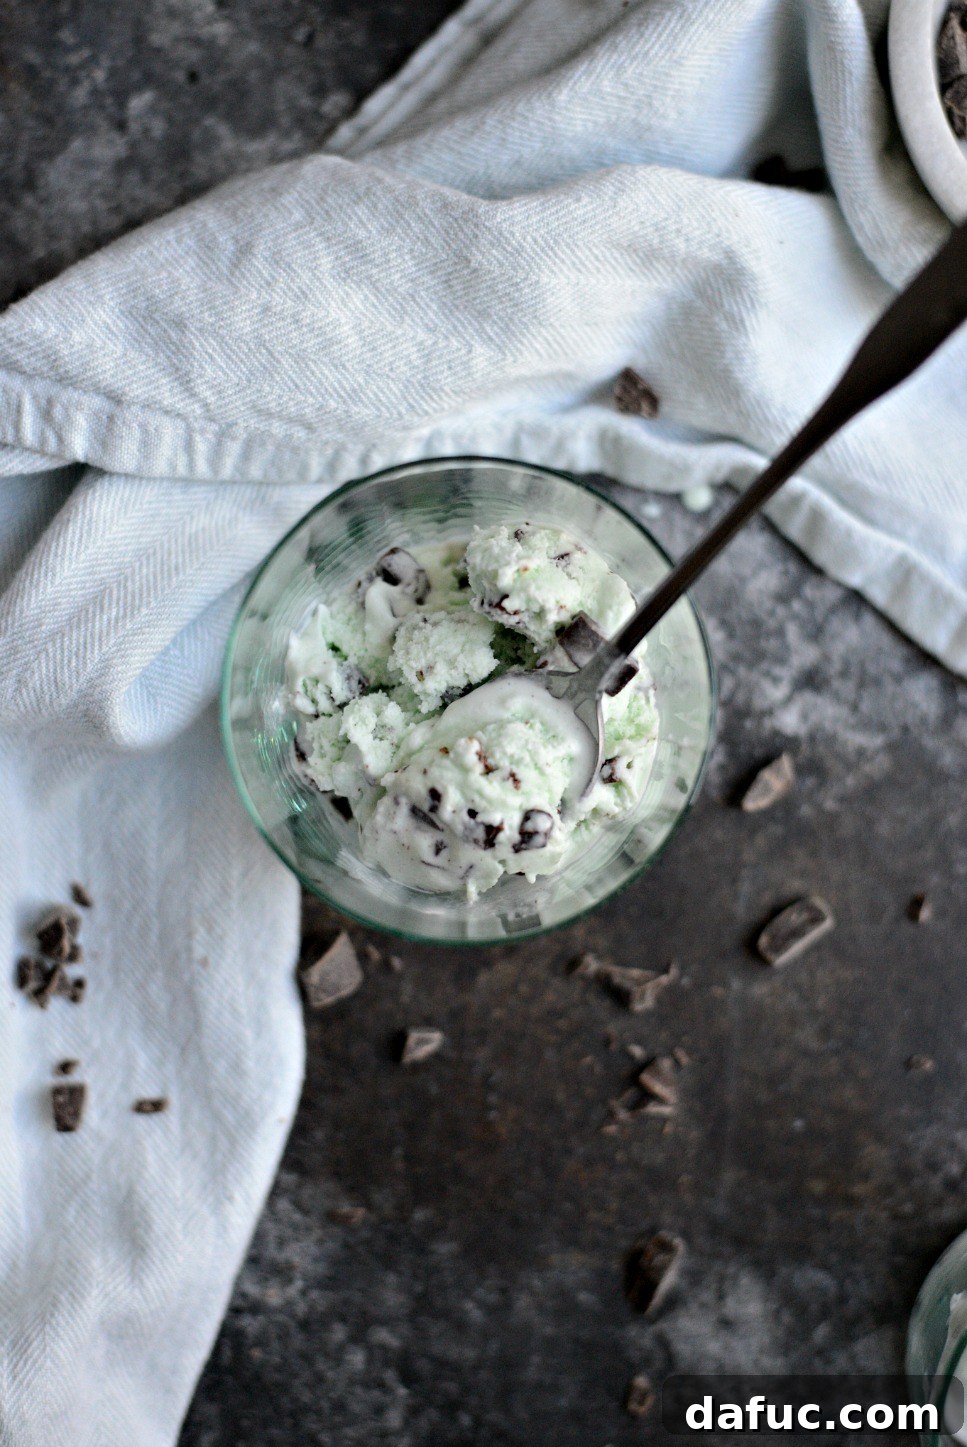
Enjoy! And if you give this Mint Chocolate Chip Ice Cream recipe a try, let me know! Snap a photo and tag me on twitter or instagram!
Print Recipe
Pin Recipe
Leave a Review »
Mint Chocolate Chip Ice Cream
Ingredients
- 1 cup granulated sugar
- 1 generous pinch fine sea salt
- 2 cups heavy whipping cream
- 2 cups half & half, or substitute with a cup of both whole milk and heavy cream
- 1 teaspoon vanilla extract
- 1 teaspoon peppermint extract
- 6 drops green food coloring, optional
- 3/4 cup small chocolate chunks, or mini chocolate chips
Equipment
-
KitchenAid KP26M1XWH 6 Qt. Professional 600 Series Bowl-Lift Stand Mixer – White
-
KitchenAid KICA0WH Ice Cream Maker Attachment – Excludes 7, 8, and most 6 Quart Models
Instructions
-
Add the sugar, sea salt, heavy cream and the half and half into a large (8-cup) liquid measuring cup. Whisk until the sugar dissolves completely.
-
Next add in the vanilla, mint extract and 6 drops of the green food coloring, whisk to combine.
-
Cover and refrigerate for 2 hours or until thoroughly chilled.
-
Following the manufacturers instructions, pour the ice cream base into the ice cream maker and churn until thick.
-
Use a spatula to fold in the chocolate pieces and then pour the base into a freezer safe container and freeze for 4 hours to overnight. Overnight is best.
-
Scoop and serve!