
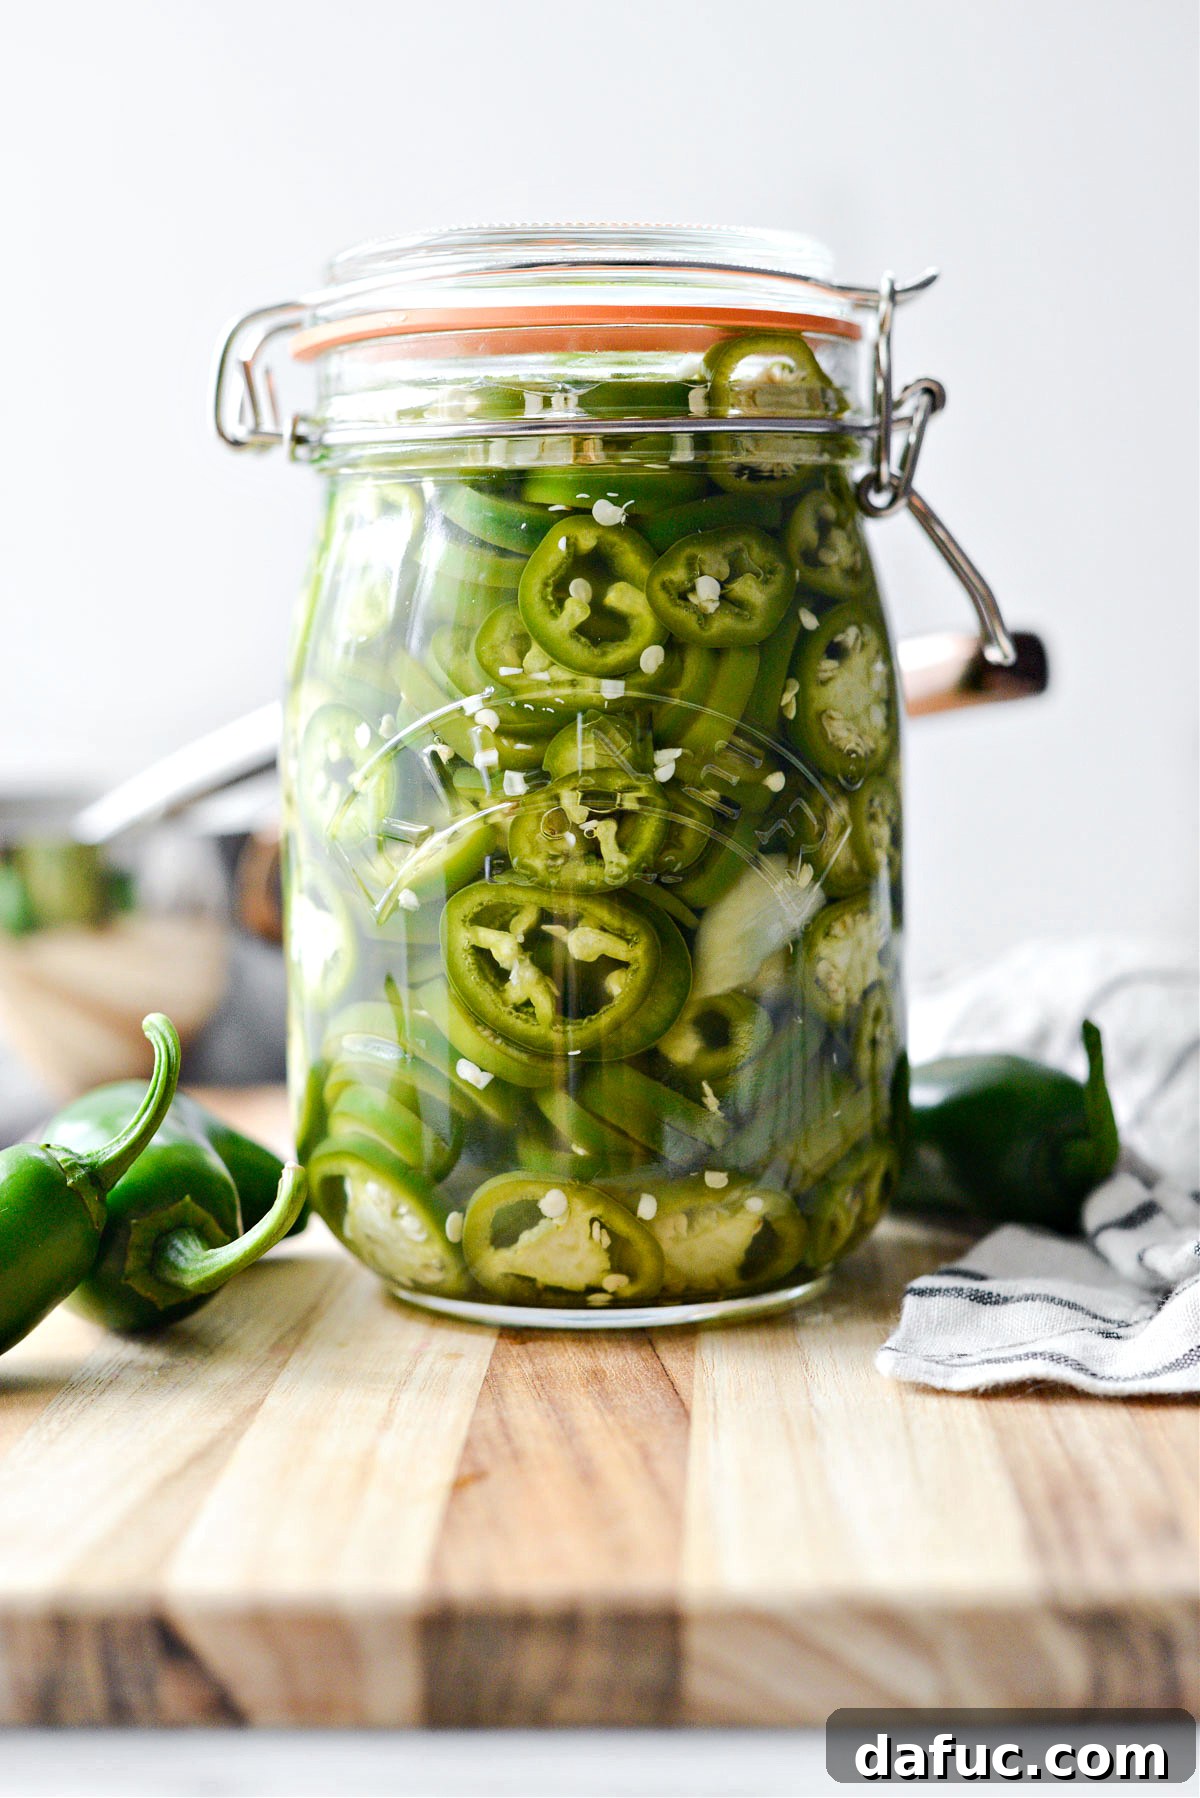
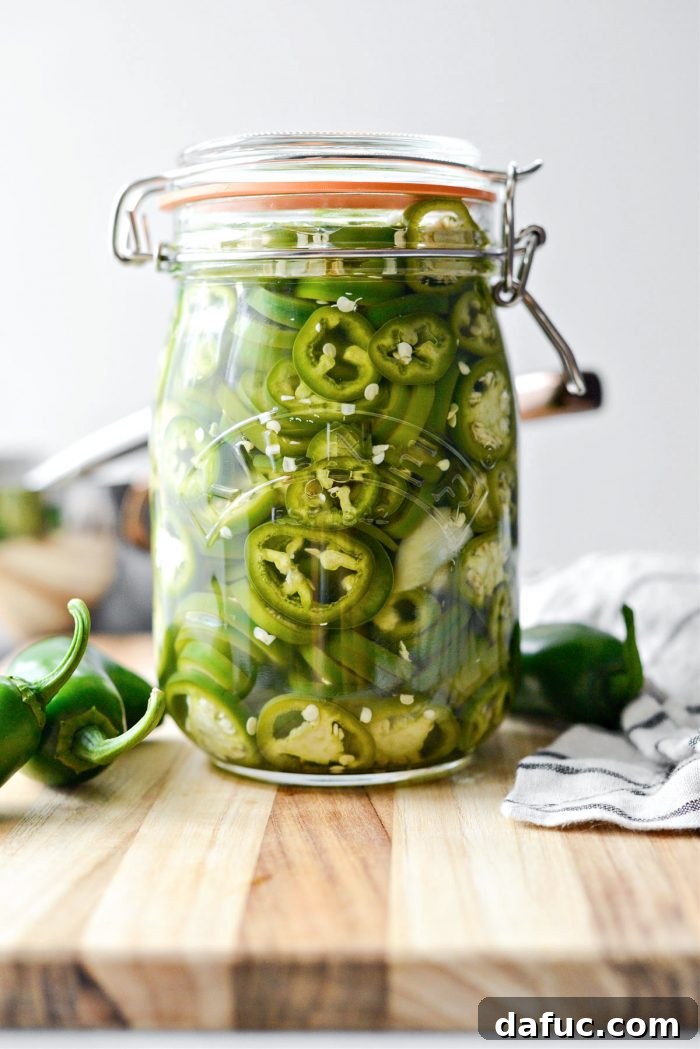
Welcome to the ultimate guide for crafting the most delicious, easy homemade pickled jalapeños from scratch! Forget store-bought jars; this recipe empowers you to create vibrant, tangy, and perfectly spicy jalapeño slices in under an hour. While they’re initially quite fiery, the flavor mellows beautifully over time in the fridge, making them an indispensable condiment for virtually any meal. Imagine topping your burgers, pizzas, nachos, or stuffing them into burritos and tacos with these zesty gems – the culinary possibilities are truly boundless. This recipe yields approximately 1 liter, or about 4-1/4 cups, ensuring you’ll have plenty to enjoy.
The Genesis of a Jalapeño Obsession: Why I Needed Pickled Jalapeños Fast
There was a time when my household, comprising my eldest daughter, my husband, and myself, developed an undeniable passion for pickled jalapeños. We consumed at least six jars in a single year, quickly falling captive to their irresistible vinegary tang and, of course, their signature spicy kick. We’re not ashamed to admit we often ate them straight from the jar, but they also elevated everything from our weekly taco nights to impromptu pizza feasts and slow-cooked pulled pork sandwiches.
One evening, as I scraped the last few slices from an empty store-bought jar, a brilliant thought sparked: “If I just made a large batch of my own pickled jalapeños, I wouldn’t constantly run out!” It was a genuine lightbulb moment that set me on a culinary journey. That spontaneous idea gave birth to my very own quick pickling adventure. I initially shared this recipe back in 2013, and over the past decade, it has remarkably become one of my most cherished and popular creations. To celebrate its enduring appeal and introduce it to new readers, I decided to refresh the photographs, update the instructions for even greater clarity, and share it once again.
Unlocking the Flavors: The Benefits of Homemade Pickled Jalapeños
Opting for homemade pickled jalapeños offers numerous advantages over their store-bought counterparts. First and foremost, you gain complete control over the ingredients, ensuring only the freshest peppers and highest quality brining agents are used. This allows for customization of flavor and spice levels to perfectly suit your palate. Furthermore, homemade versions often boast a superior texture, maintaining that desirable crunch that can sometimes be lost in mass-produced products. It’s also a surprisingly economical choice, as purchasing fresh jalapeños and basic pantry staples typically costs less than regularly buying jars from the grocery store. Plus, the satisfaction of creating such a versatile and delicious condiment from scratch is a reward in itself.
Essential Ingredients for Your Homemade Pickled Jalapeños
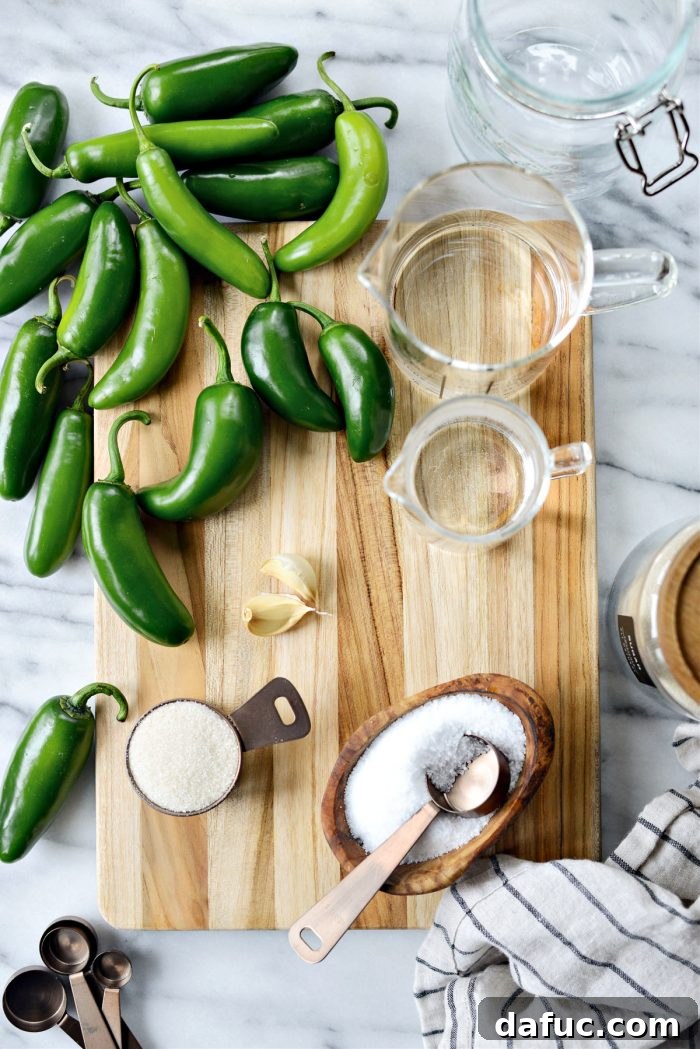
Crafting the perfect batch of pickled jalapeños requires just a handful of simple ingredients. Each plays a crucial role in achieving that distinct tangy, spicy, and slightly sweet flavor profile.
- Jalapeños: The star of our show! Look for medium to large-sized peppers that are firm, vibrant green, and free from blemishes. The size helps them fit neatly into your jar and ensures a good pepper-to-brine ratio.
- Fresh Garlic: This aromatic adds a distinct, pungent depth of flavor that complements the heat of the jalapeños beautifully. Fresh garlic is key here for the best results.
- White Distilled Vinegar: The backbone of any pickling brine. Its high acidity is essential for flavor and aids significantly in food preservation, giving the jalapeños their signature tang.
- Water: Used to dilute the vinegar, creating a balanced brine that’s not overly acidic. Filtered water is recommended for the purest flavor.
- Granulated Sugar: While optional, a touch of sugar helps balance the intense heat of the jalapeños and the sharp acidity of the vinegar, adding a subtle sweetness that rounds out the flavor profile. You can adjust the amount to your preference or omit it entirely for a purely tart and spicy pickle.
- Kosher Salt: Vital for both flavor enhancement and its role in the pickling process. Kosher salt is preferred because it’s pure and free from anti-caking agents found in table salt, which can sometimes cloud your brine.
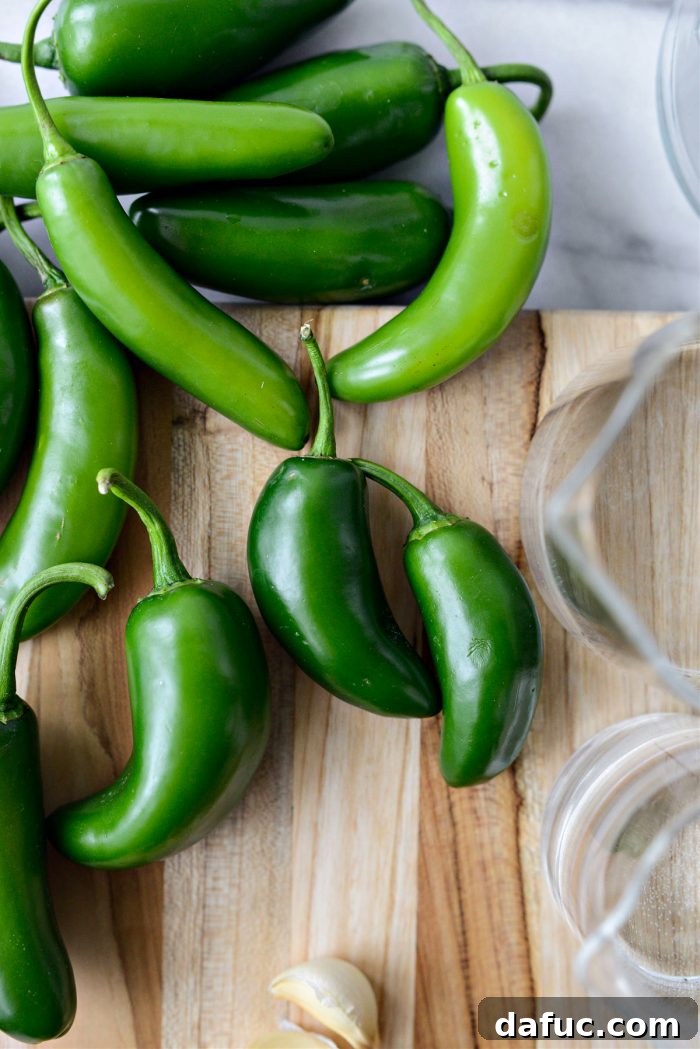
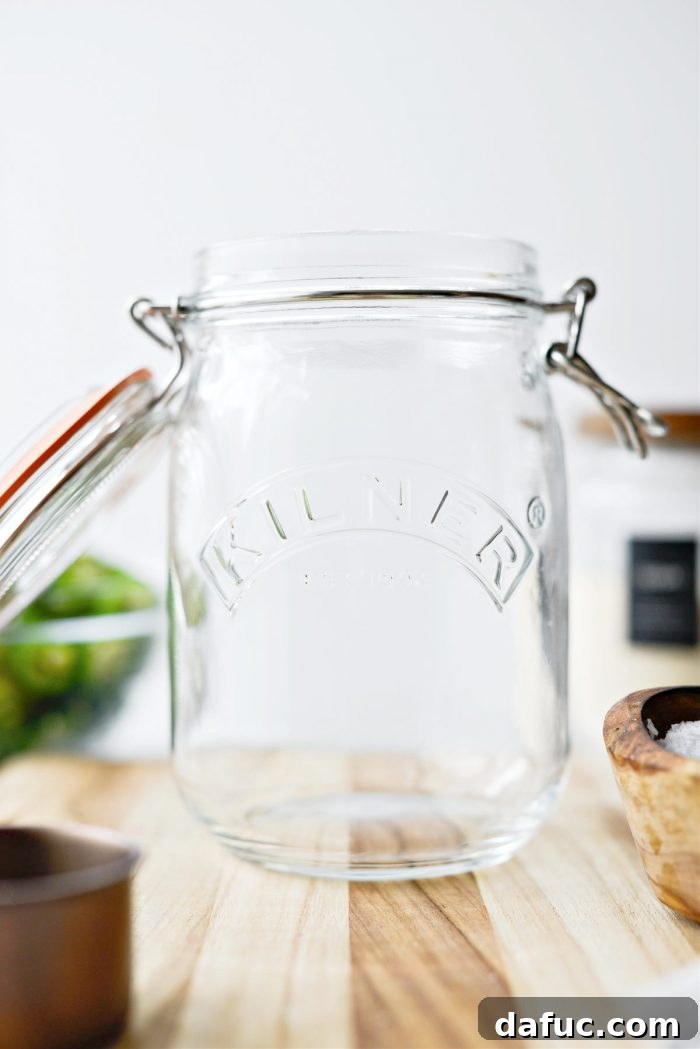
When selecting your jalapeños, aim for those that are medium in size. A few smaller ones are perfectly fine, but the objective is to maximize the pepper content within a standard 1-liter jar. Before you begin slicing, ensure your jar is meticulously clean. Wash it thoroughly with warm, soapy water, and dry it completely with a clean towel. Sterilizing the jar is also a good practice, especially for longer storage, though for quick refrigerator pickles, thorough cleaning is often sufficient.
Preparing Your Peppers: Safety First!
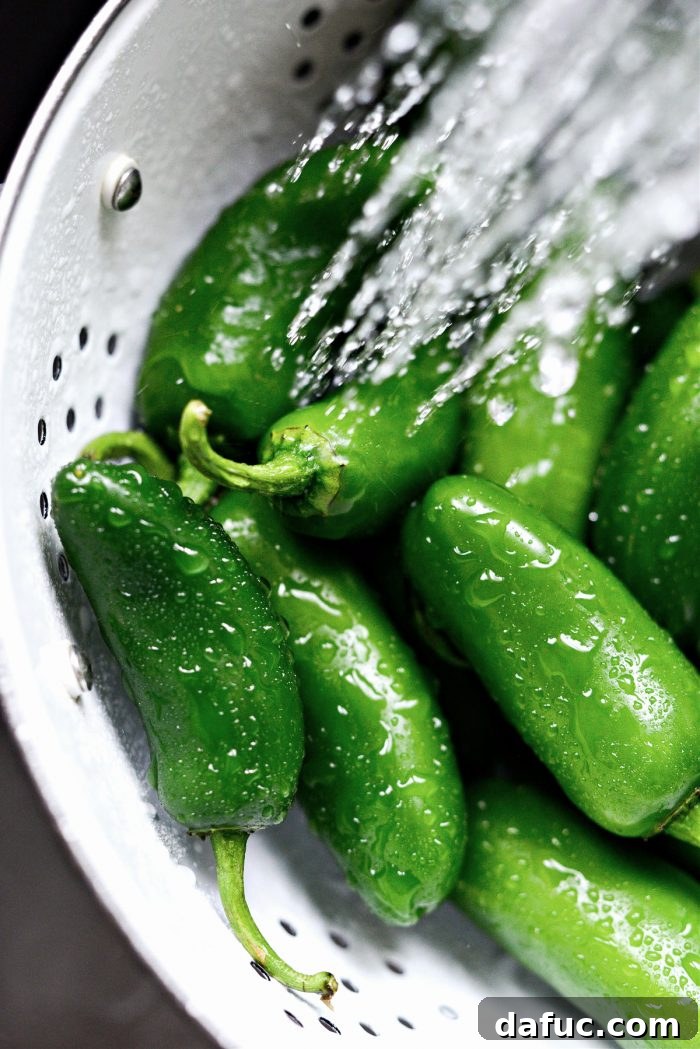
The preparation of the jalapeños themselves is straightforward but requires a little caution. Quickly wash and gently pat dry each jalapeño. This removes any surface dirt or residues.
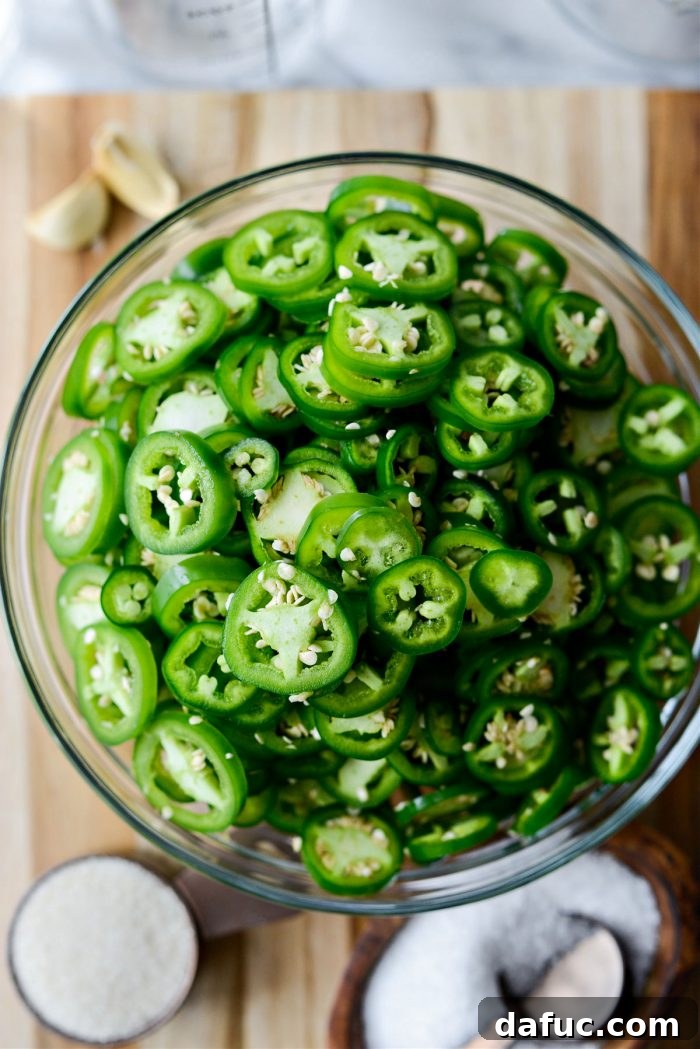
I cannot stress enough the importance of wearing gloves when handling a large quantity of jalapeños. The capsaicin, the compound responsible for their heat, can irritate your skin and, if accidentally transferred to your eyes or other sensitive areas, can cause significant discomfort. Trim off the stems from each pepper, then proceed to slice them into uniform rings. A consistent thickness (about 1/4 inch) ensures even pickling. Once sliced, set them aside momentarily while you prepare the pickling brine.
Crafting the Perfect Brine
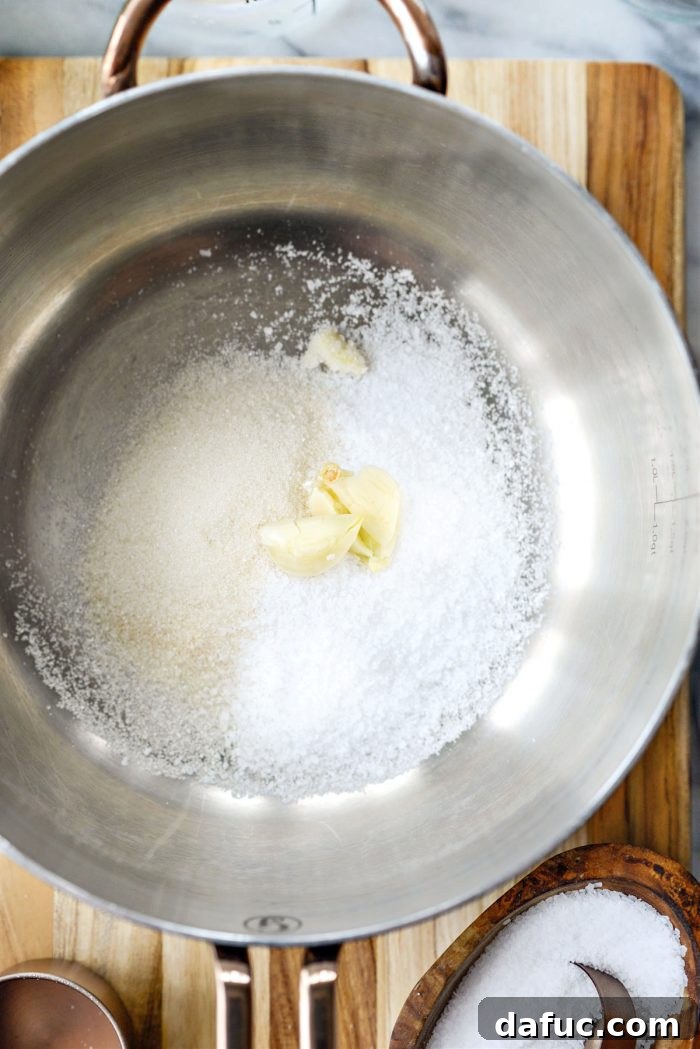
The pickling liquid is where the magic truly happens. In a medium saucepan, combine the 1/4 cup of sugar (remember, this is optional, adjust to taste!), 2 tablespoons of kosher salt, and two peeled and lightly crushed cloves of garlic. Crushing the garlic slightly helps to release its flavorful oils into the brine. To this mixture, pour in 1-1/4 cups of distilled white vinegar and an equal amount, 1-1/4 cups, of filtered water. The filtered water helps ensure a clean, pure taste for your brine.
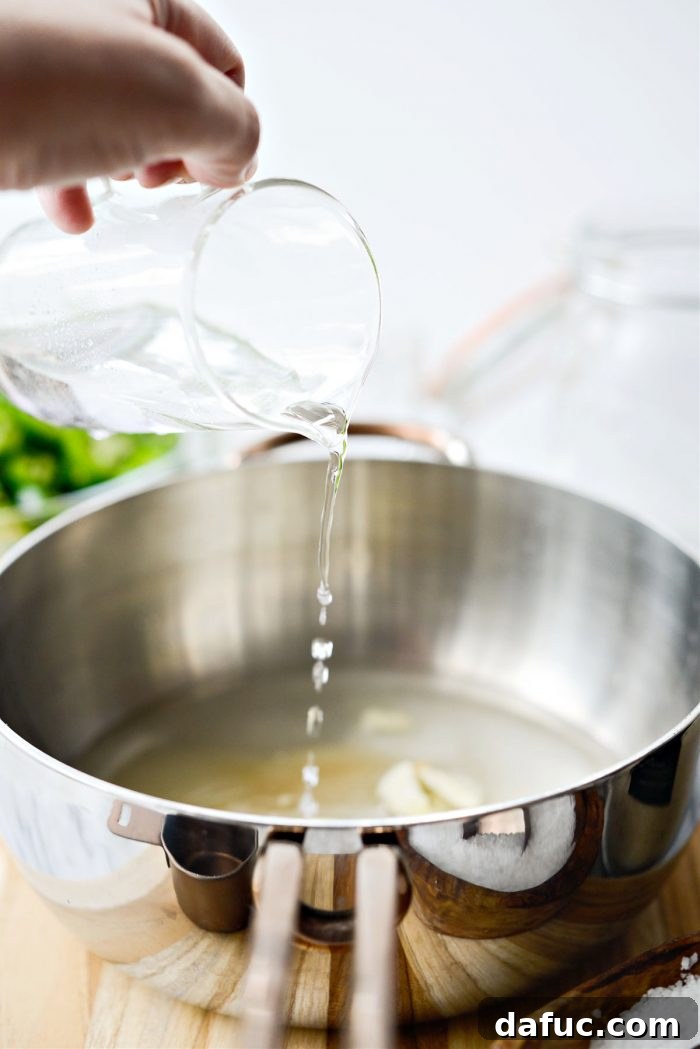
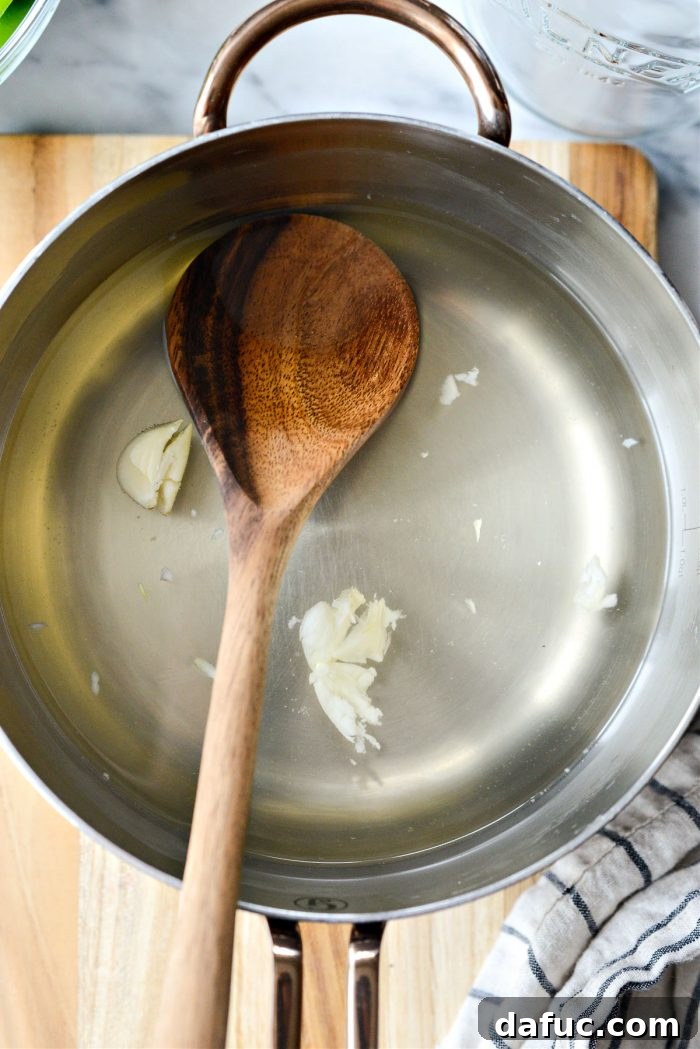
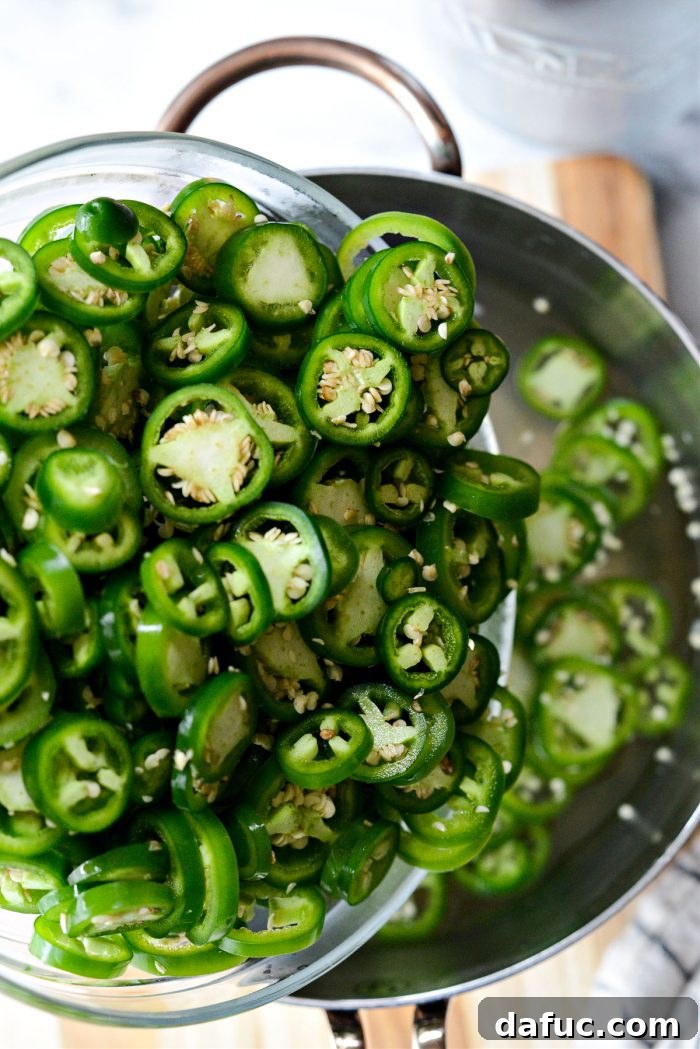
Bring the contents of the saucepan to a rolling boil over medium-high heat, stirring continuously until both the sugar and salt are completely dissolved. This ensures your brine is perfectly seasoned and ready to work its pickling wonders. Once dissolved, remove the saucepan from the heat, and immediately add all your sliced jalapeños into this aromatic vinegar bath.
The Quick Pickling Process
Once the jalapeños are in the hot brine, use a wooden spoon or a heat-safe rubber spatula to gently press the sliced peppers down, ensuring they are fully submerged in the liquid. Stir them occasionally to promote even exposure to the brine. Allow the jalapeños to soak for approximately 20 minutes in this warm liquid. During this time, the pickling process begins, softening the peppers slightly and infusing them with the tangy brine.
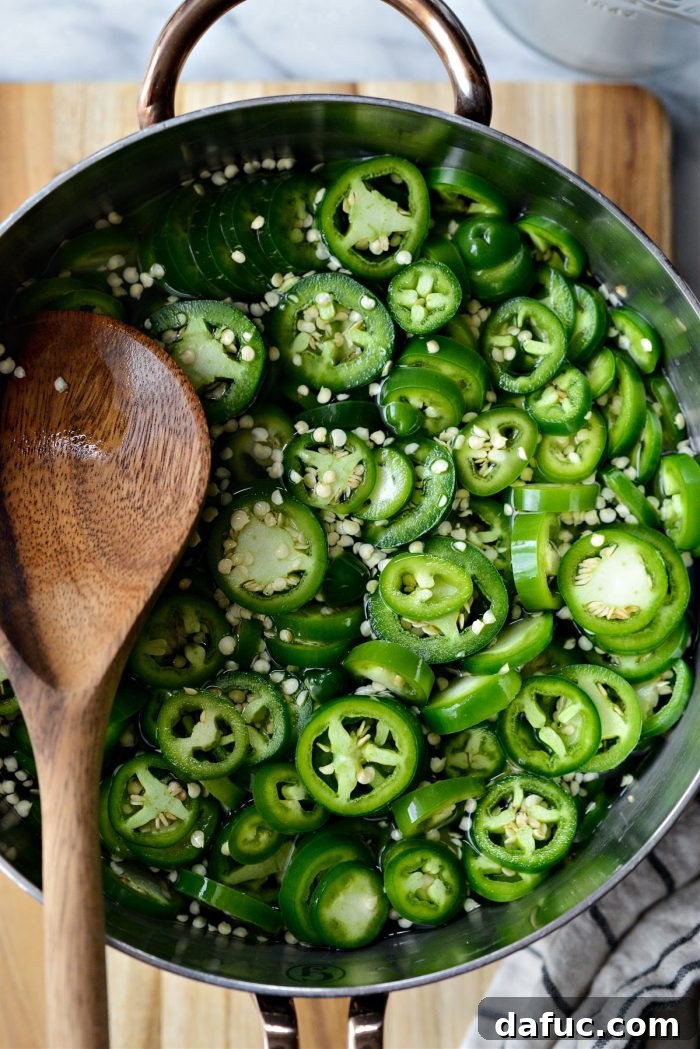
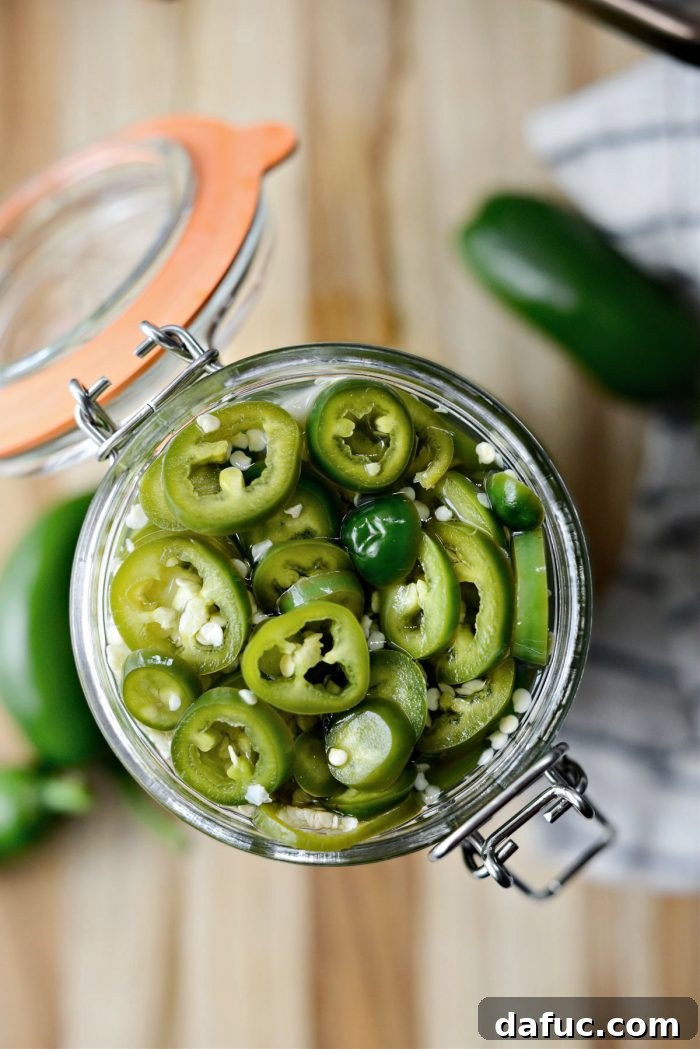
You’ll notice a visible transformation after about 10-15 minutes of soaking. The bright green of the fresh jalapeño rings will start to shift, turning into that distinctive olive-y green color characteristic of pickled peppers. This change indicates they are absorbing the brine and transforming into the flavorful condiment you desire.
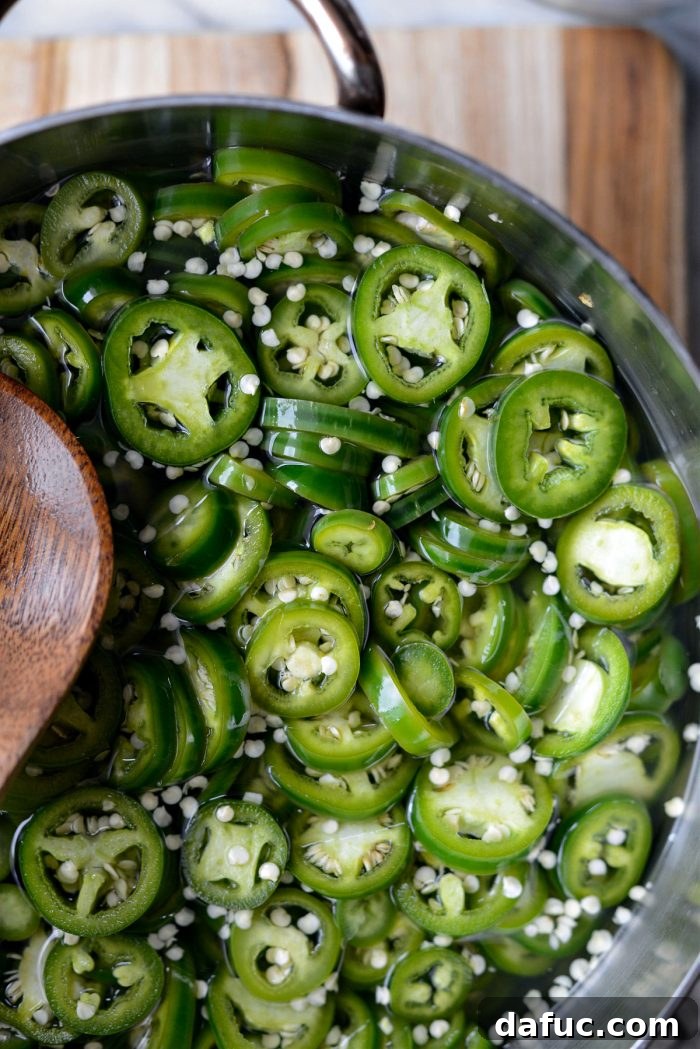
Jarring Your Pickled Perfection
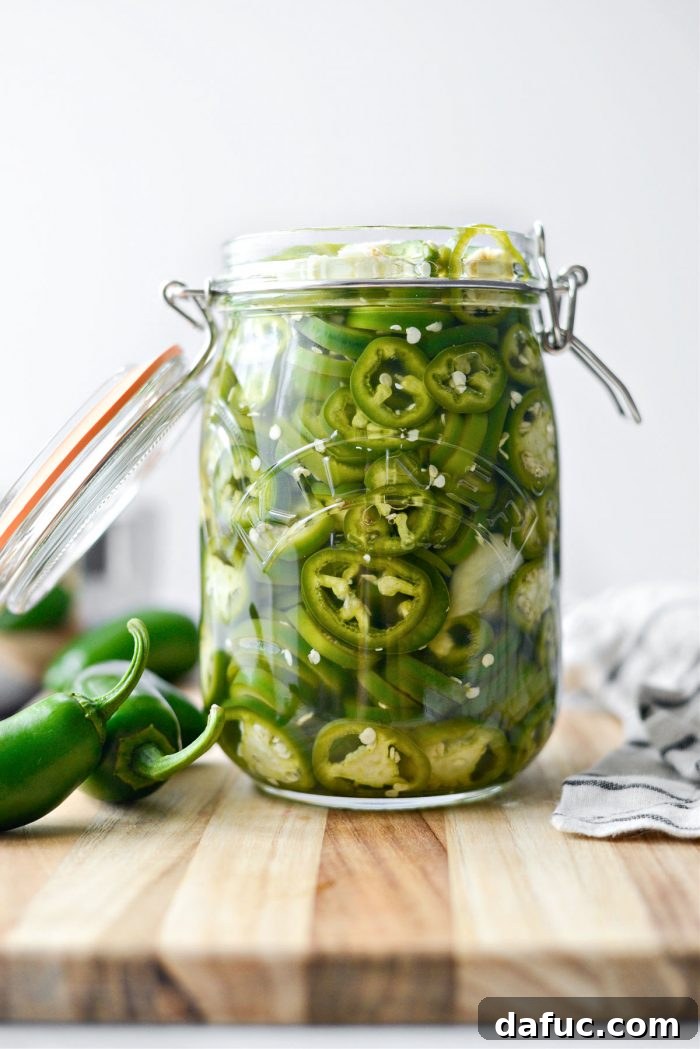
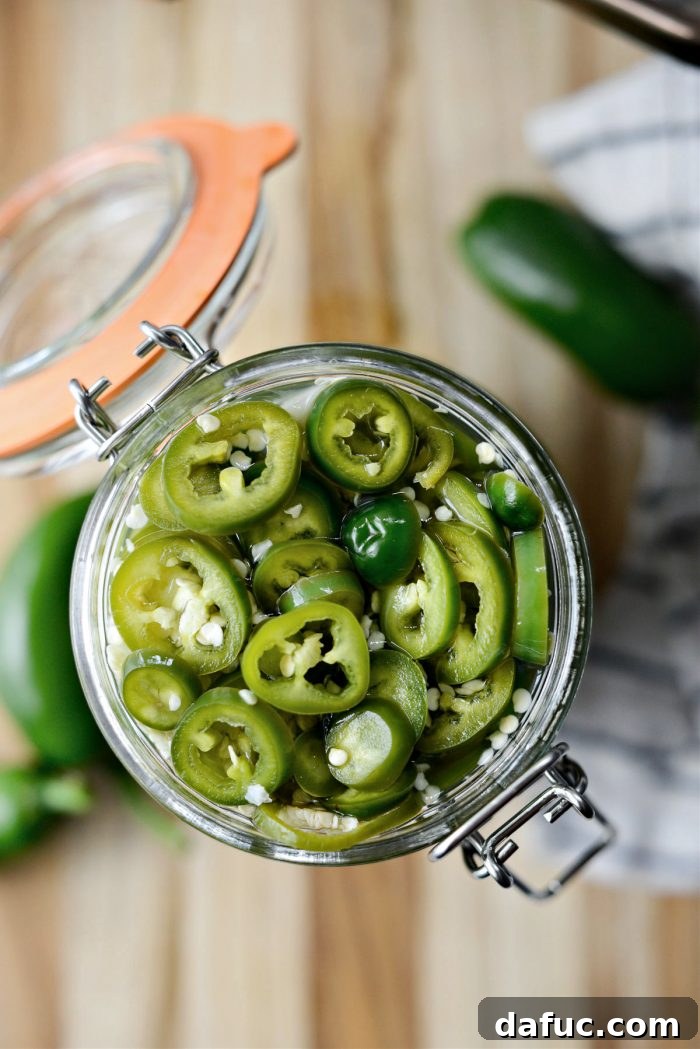
Once the pickling time is complete, use a pair of tongs to carefully remove the jalapeño slices from the saucepan. Transfer them into your clean 1-liter jar. Pack the jar as full as possible with the pickled jalapeños, gently pressing them down to ensure a dense, compact fill. This helps keep them submerged in the liquid later and maximizes your yield.
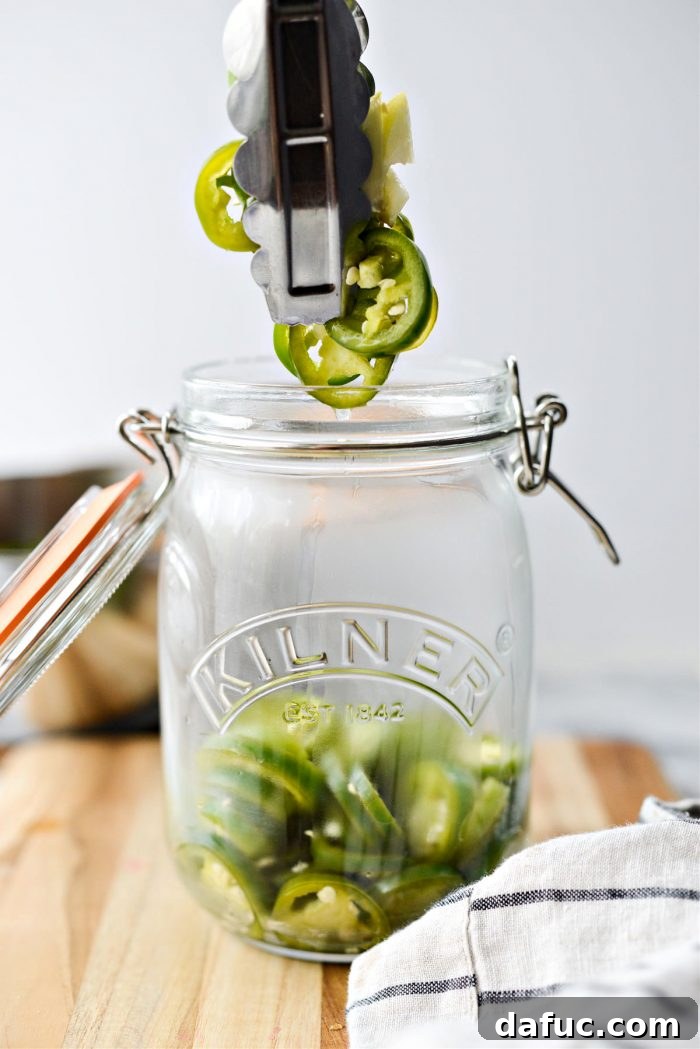
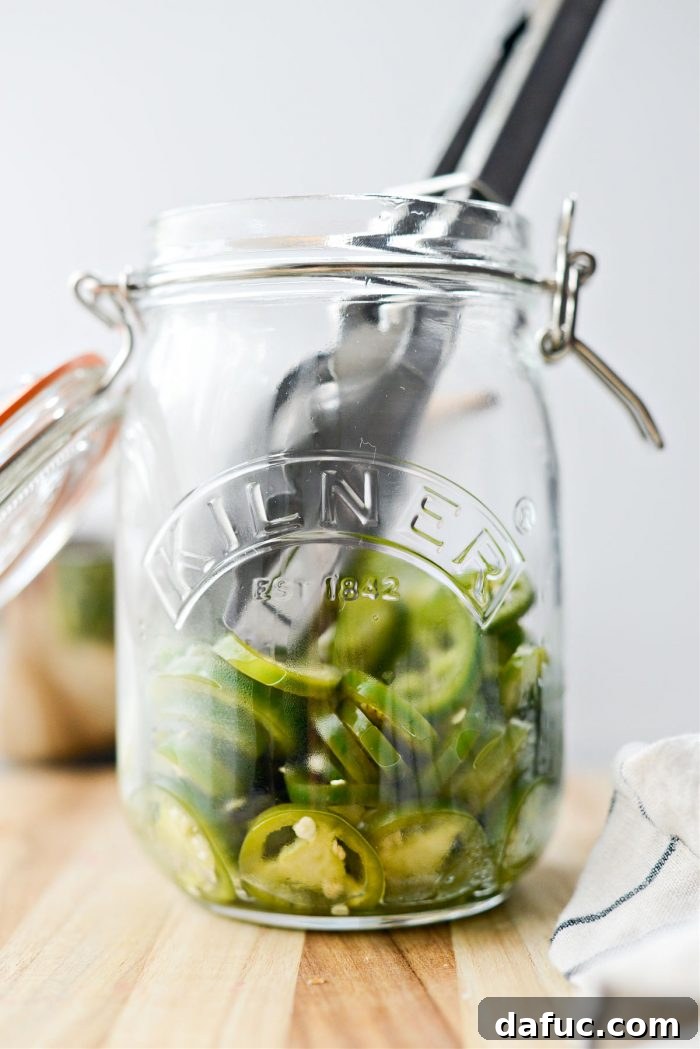
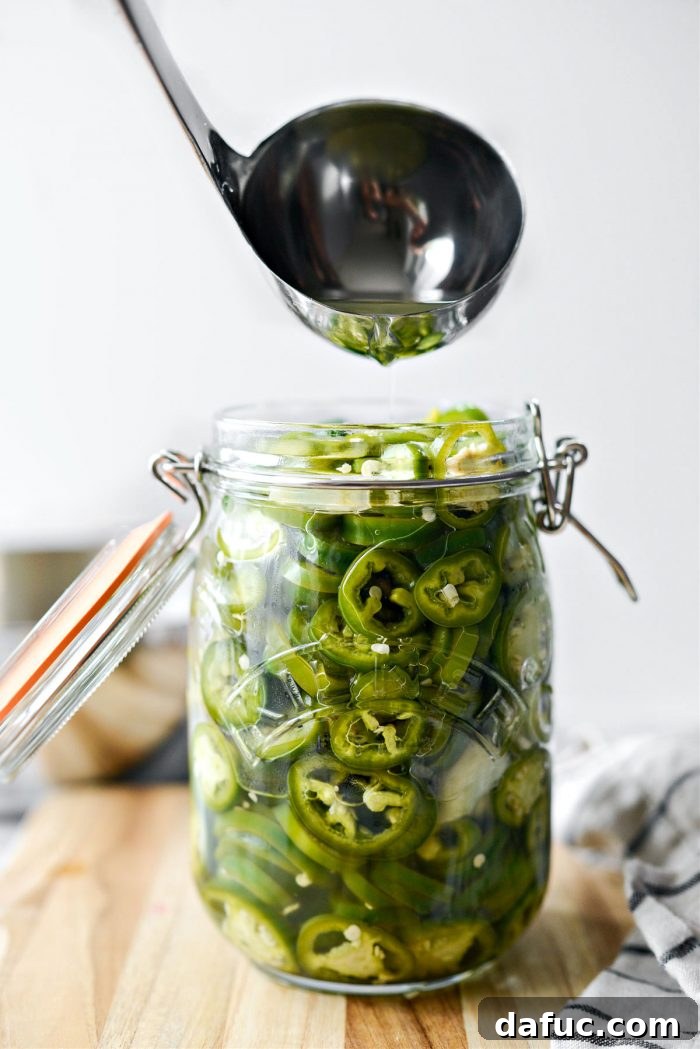
Next, use a ladle to pour the remaining hot pickling liquid over the packed jalapeños in the jar, filling it right to the top. Don’t worry if it gets a little messy – that’s often part of the home cooking charm! I’ve been known to snack on a few of these intensely spicy peppers while they’re still warm. Yes, my mouth was on fire, but it was a wonderfully delicious kind of pain, absolutely worth every fiery bite!
Cooling and Storage: The Final Touches
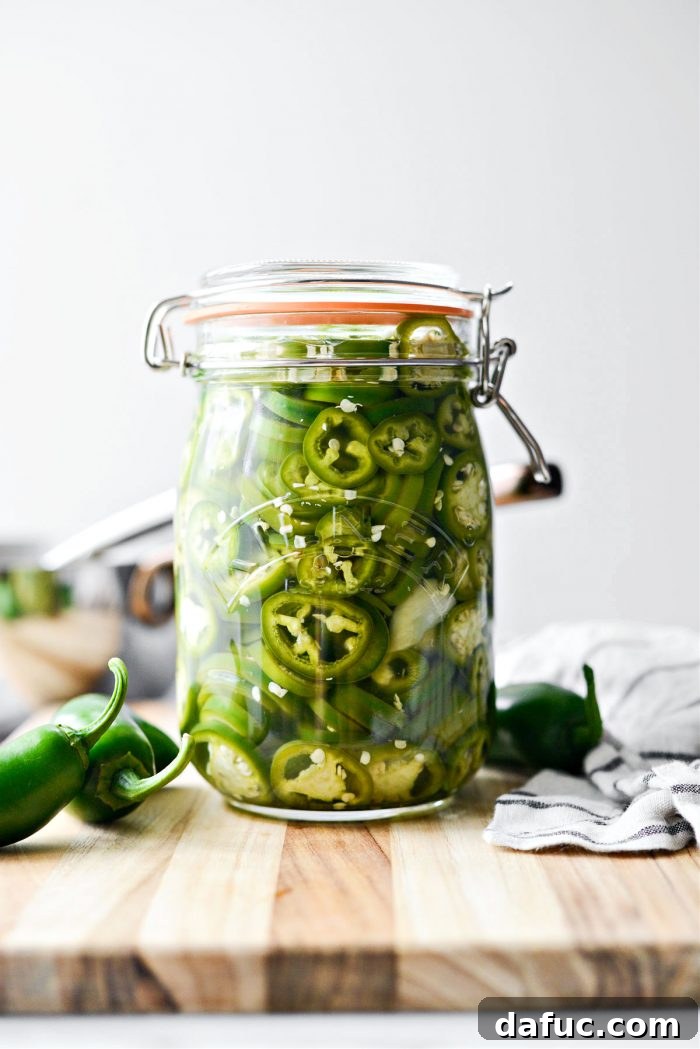
Allow the jarred pickled jalapeños to cool completely to room temperature before securing the lid and placing them in your refrigerator. If you notice some jalapeños still retaining a bit of their bright green color, don’t fret! They will continue to transform and develop that signature pickled olive-green hue as they sit in the fridge, deepening in flavor and color over time.
Frequently Asked Questions About Homemade Pickled Jalapeños
Can this quick pickled jalapeño recipe be safely canned for long-term storage?
It’s crucial to understand that this particular recipe is designed for quick pickling and refrigerator storage, not traditional canning. Therefore, these jalapeños are not shelf-stable and must be kept refrigerated. If you are specifically looking for instructions and methods for safe, long-term canning, please refer to the comprehensive USDA guidelines for home canning to ensure food safety.
Personally, I treat these homemade pickled jalapeños exactly as I would any opened jar of commercially pickled produce already in my refrigerator. They are perfect for enjoying over several weeks or even a couple of months when stored correctly.
How long will these pickled jalapeños last in the refrigerator?
When stored in an airtight jar in the refrigerator, your homemade pickled jalapeños will maintain their quality and flavor for up to 2 months. Over time, their texture might soften slightly, but they will remain delicious and safe to eat within this period.
How spicy are these freshly pickled jalapeños?
Initially, right after pickling, these jalapeños will be quite hot! The fresh heat of the peppers is very prominent. However, the spicy kick tends to mellow out and integrate more smoothly with the tangy brine the longer they are stored in the fridge. This aging process allows the flavors to meld and harmonize, resulting in a more balanced heat.
Is there a trick to making crunchy pickled jalapeños?
Absolutely! To achieve a crunchier texture, allow the pickling liquid to cool completely to room temperature before adding the sliced jalapeños. Submerging them in hot liquid begins to cook them slightly, which can lead to a softer texture. By adding them to a cool brine, you help preserve their crispness. Keep in mind that since they are soaking in liquid, there’s always a natural tendency for them to soften a bit over a longer period, but starting with a cool brine gives you the best chance for crunch.
Creative Ways to Enjoy Your Homemade Pickled Jalapeños:
Beyond the classic burgers and tacos, these pickled jalapeños are incredibly versatile. Try them:
- Mixed into creamy dips like guacamole or hummus for an extra kick.
- Finely chopped and added to egg salads, tuna salads, or chicken salads.
- As a vibrant garnish for soups, chilis, or stews.
- Layered into grilled cheese sandwiches or quesadillas.
- On charcuterie boards to cut through rich cheeses and meats.
- Stirred into marinades for chicken or pork.
- As a topping for hot dogs, brats, or pulled pork sandwiches.
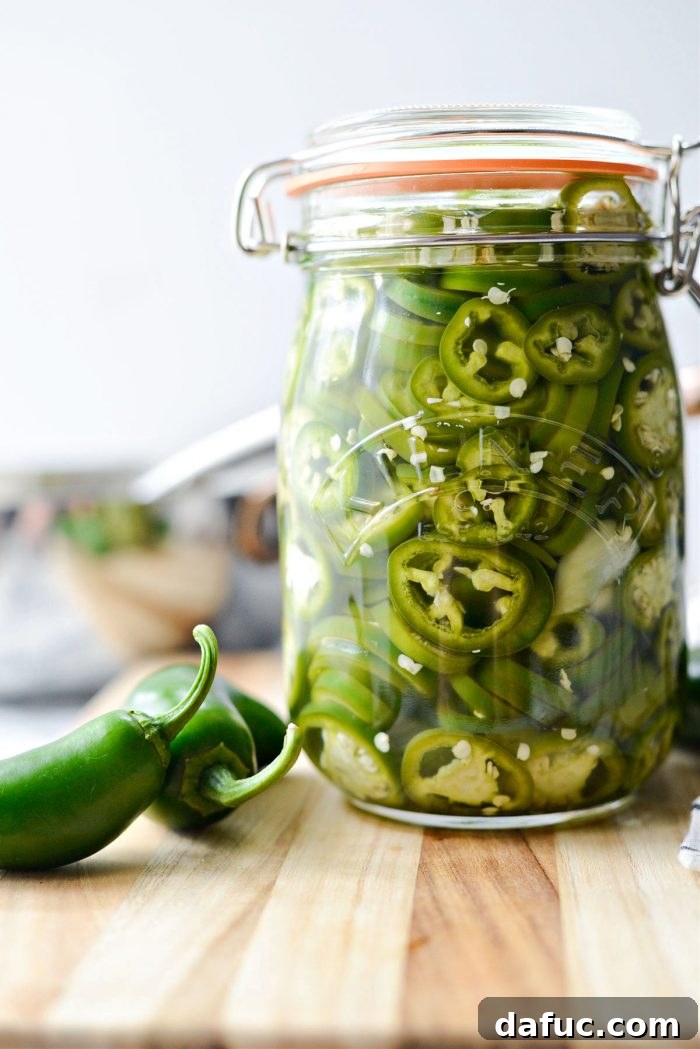
Enjoy your culinary creation! And if you give this easy homemade pickled jalapeños recipe a try, I would absolutely love to hear about it. Snap a photo of your delicious results and tag me on Twitter or Instagram!
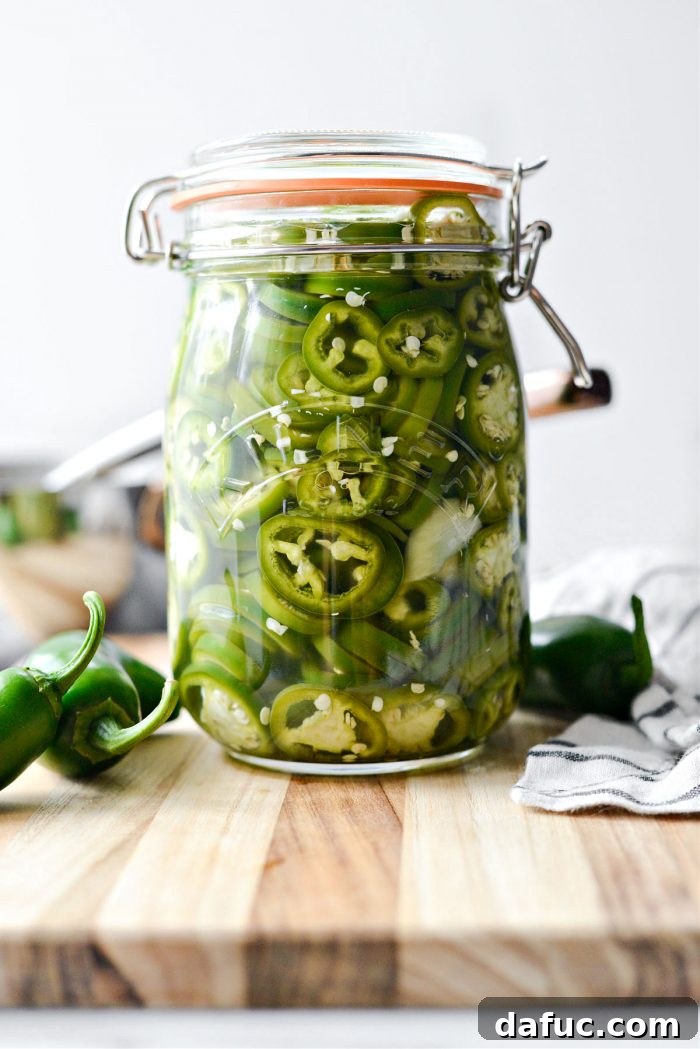
Easy Homemade Pickled Jalapeños
The BEST recipe for easy homemade pickled jalapeños from scratch! Fresh jalapeños are quickly pickled, jarred and ready to eat in under an hour – although they will be super spicy! Delicious on burgers, pizza, stuffed into burritos or on top of nachos. Yields 1 liter jar or about 4-1/4 cups.
1 liter jar
10 mins
35 mins
45 mins
Ingredients
- 20 jalapeños, sliced, stems discarded
- 2 cloves garlic, smashed and peeled
- 1¼ cup distilled white vinegar
- 1¼ cup filtered water
- 1/4 cup sugar, optional (for flavoring)
- 2 tablespoons kosher salt
Equipment
- Kilner Liter Glass Jar
- Medium saucepan
- Tongs
- Cutting board and knife
- Gloves (highly recommended)
Instructions
- In a medium saucepan, combine sugar (if using), kosher salt, smashed garlic, distilled white vinegar, and filtered water.
- Heat the mixture to a boil over medium-high heat, stirring continuously until the sugar and salt are fully dissolved. Once boiling, immediately remove the pot from the heat.
- Add the sliced jalapeños to the hot pickling liquid. Use a spoon or spatula to press them down, ensuring they are fully submerged. Let them soak for 10-15 minutes, allowing them to soften and begin to change color to an olive-green hue.
- Using tongs, carefully transfer the pickled jalapeños from the saucepan into a clean, empty 1-liter jar, packing them tightly.
- Ladle the hot pickling liquid over the packed jalapeños until the jar is filled to the top, ensuring all peppers are covered.
- Allow the jar to cool completely to room temperature. Once cool, secure the lid tightly and transfer the jar to the refrigerator for storage.
Notes
This is not a canning recipe; therefore, it is NOT shelf-stable and MUST be kept refrigerated.
I recommend treating these as you would any opened jar of store-bought pickled jalapeños. They should last a long while if kept refrigerated in an airtight jar (up to 2 months).
If you are looking for canning instructions or directions for shelf-stable pickles, please follow the USDA guidelines for safe home canning.
Nutrition Disclaimer: All information presented on this site is intended for informational purposes only. I am not a certified nutritionist, and any nutritional information shared on SimplyScratch.com should only be used as a general guideline.
Calories: 340kcal,
Carbohydrates: 70g,
Protein: 3g,
Fat: 1g,
Saturated Fat: 0.3g,
Polyunsaturated Fat: 0.3g,
Monounsaturated Fat: 0.1g,
Sodium: 13984mg,
Potassium: 729mg,
Fiber: 8g,
Sugar: 62g,
Vitamin A: 3019IU,
Vitamin C: 334mg,
Calcium: 82mg,
Iron: 1mg
Laurie McNamara
Homemade Ingredients & Condiments
American
This recipe was originally posted on May 22nd, 2013, and has been comprehensively updated with clearer and more concise instructions, fresh photography, expanded helpful information, and detailed tips for an enhanced user experience.