
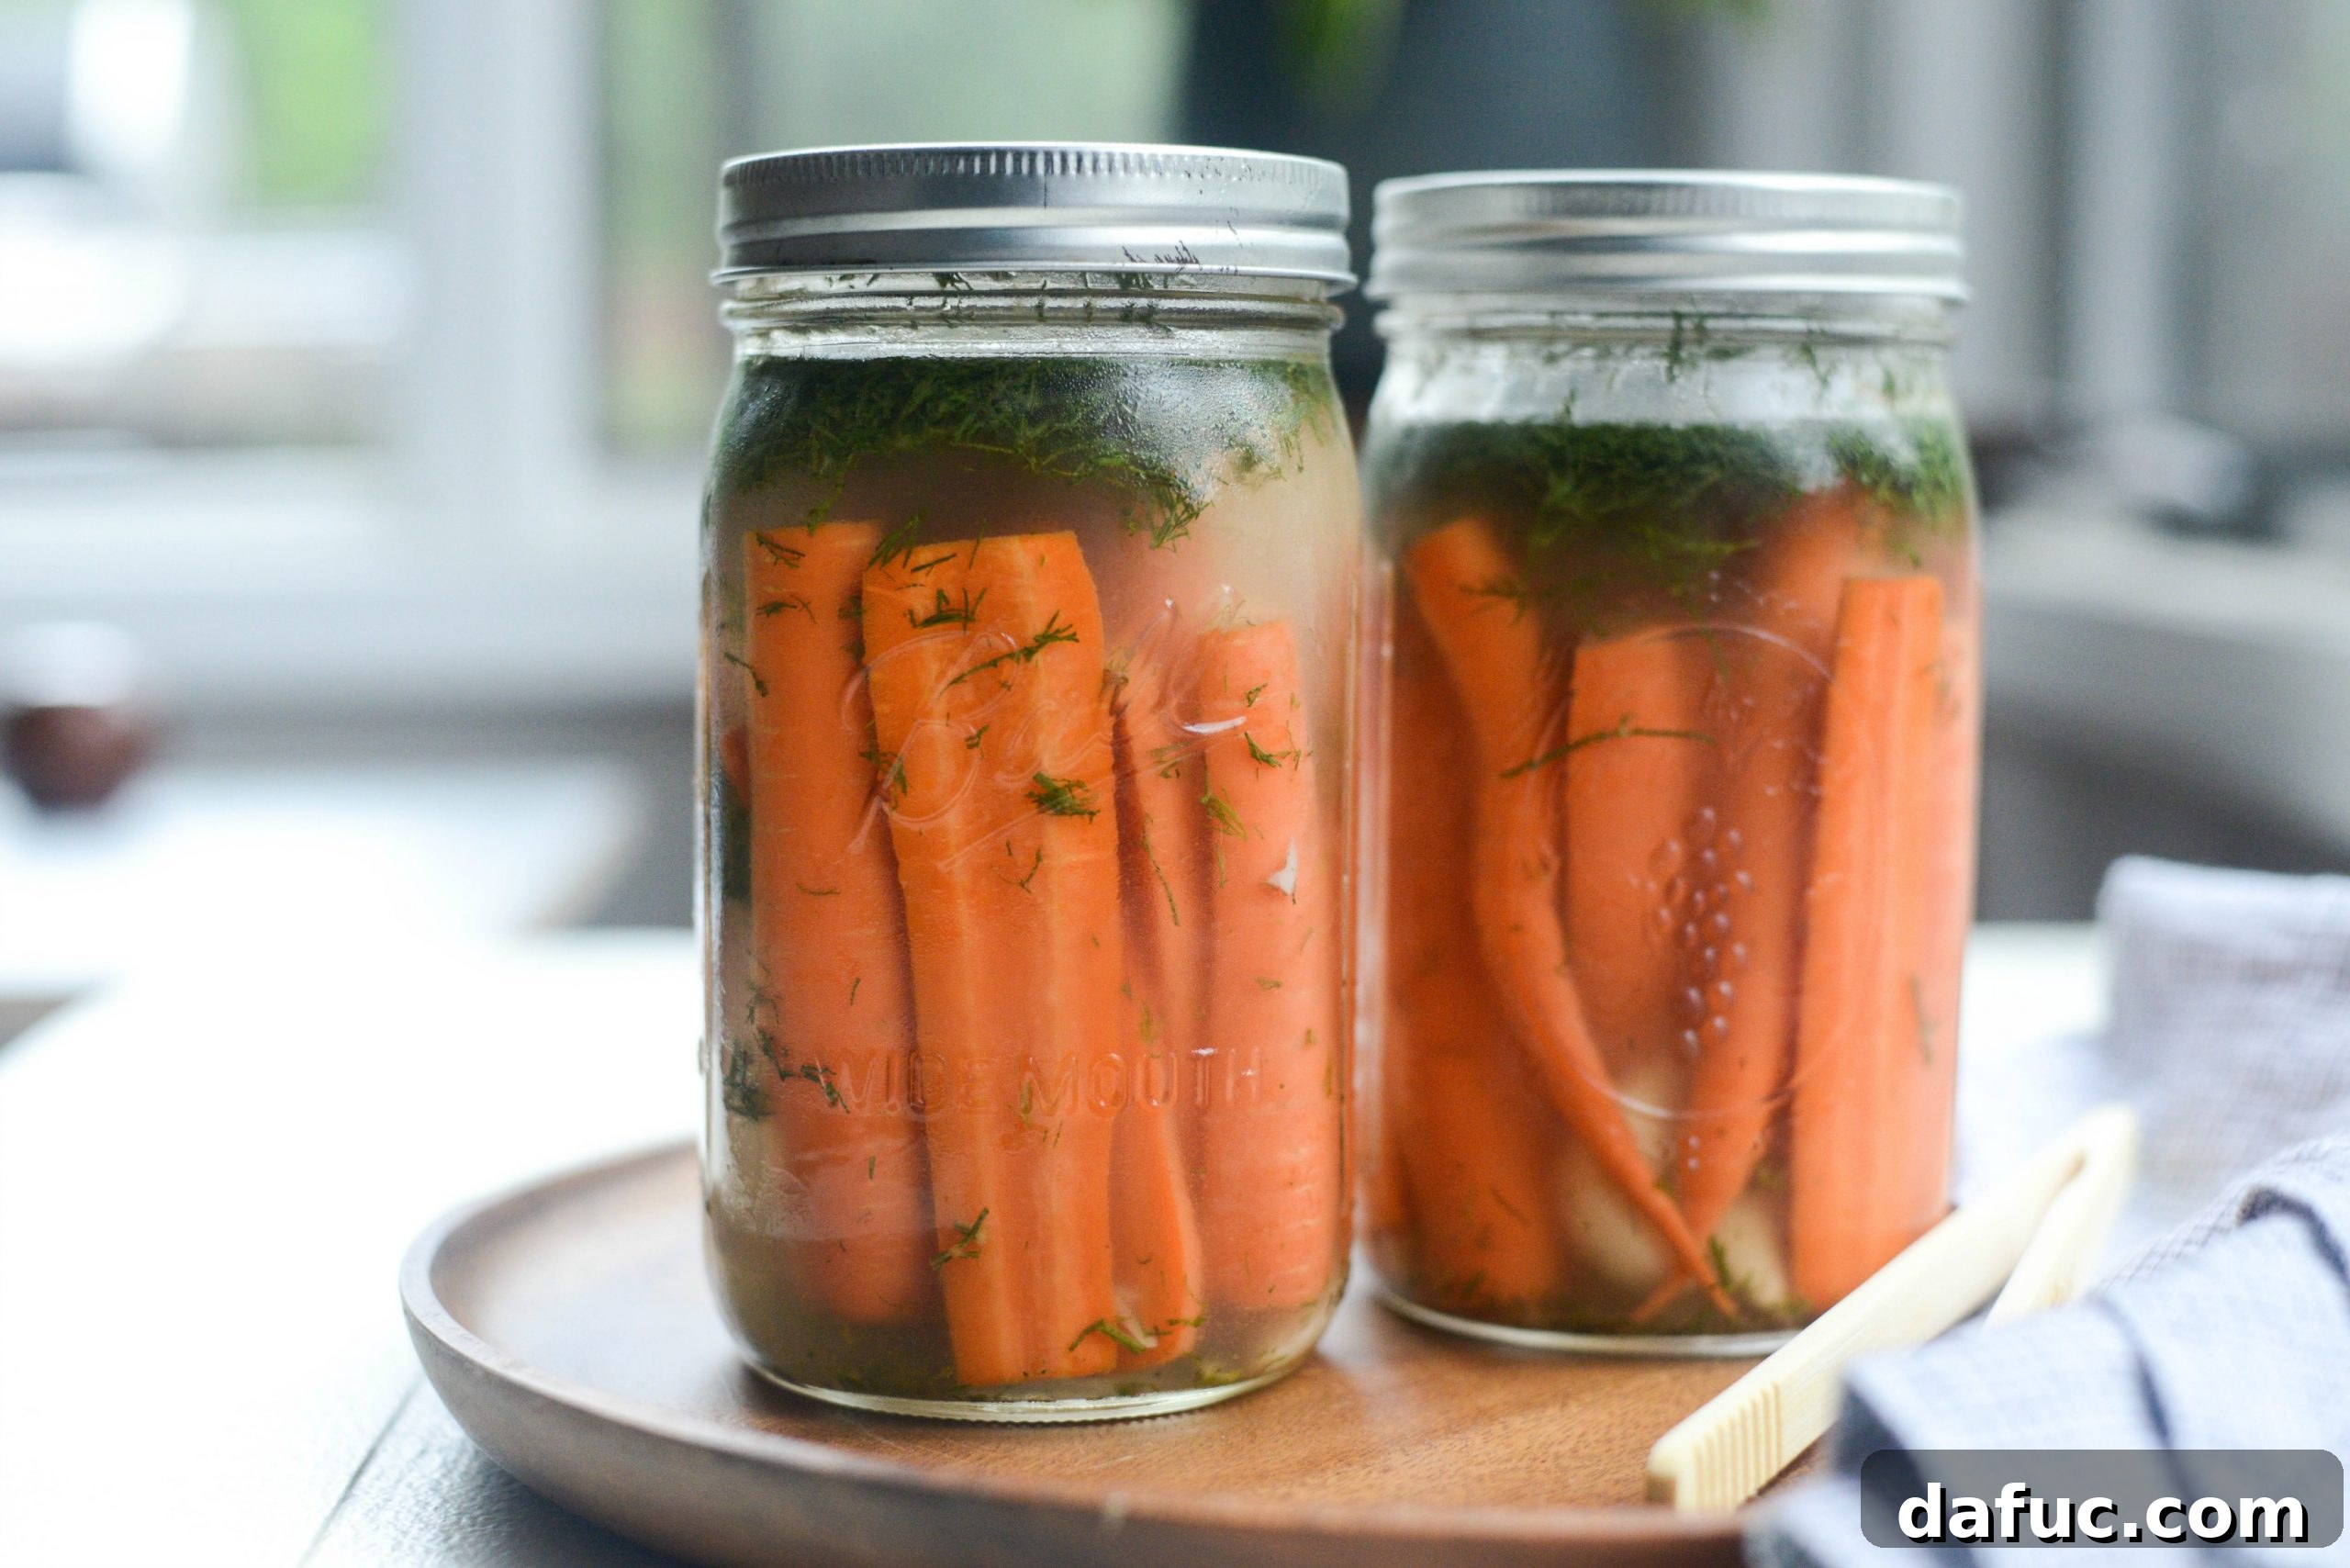
Unlock the secret to vibrant gut health and irresistible flavor with these Naturally Fermented Dilly Carrots. Crisp, tangy, and bursting with the aromatic notes of fresh garlic and dill, these probiotic-rich carrots are more than just a delicious snack – they’re a simple yet powerful addition to your wellness routine. Forget complicated methods or special equipment; nature takes the lead, transforming humble carrots into a culinary delight that’s both incredibly good for you and remarkably easy to prepare.
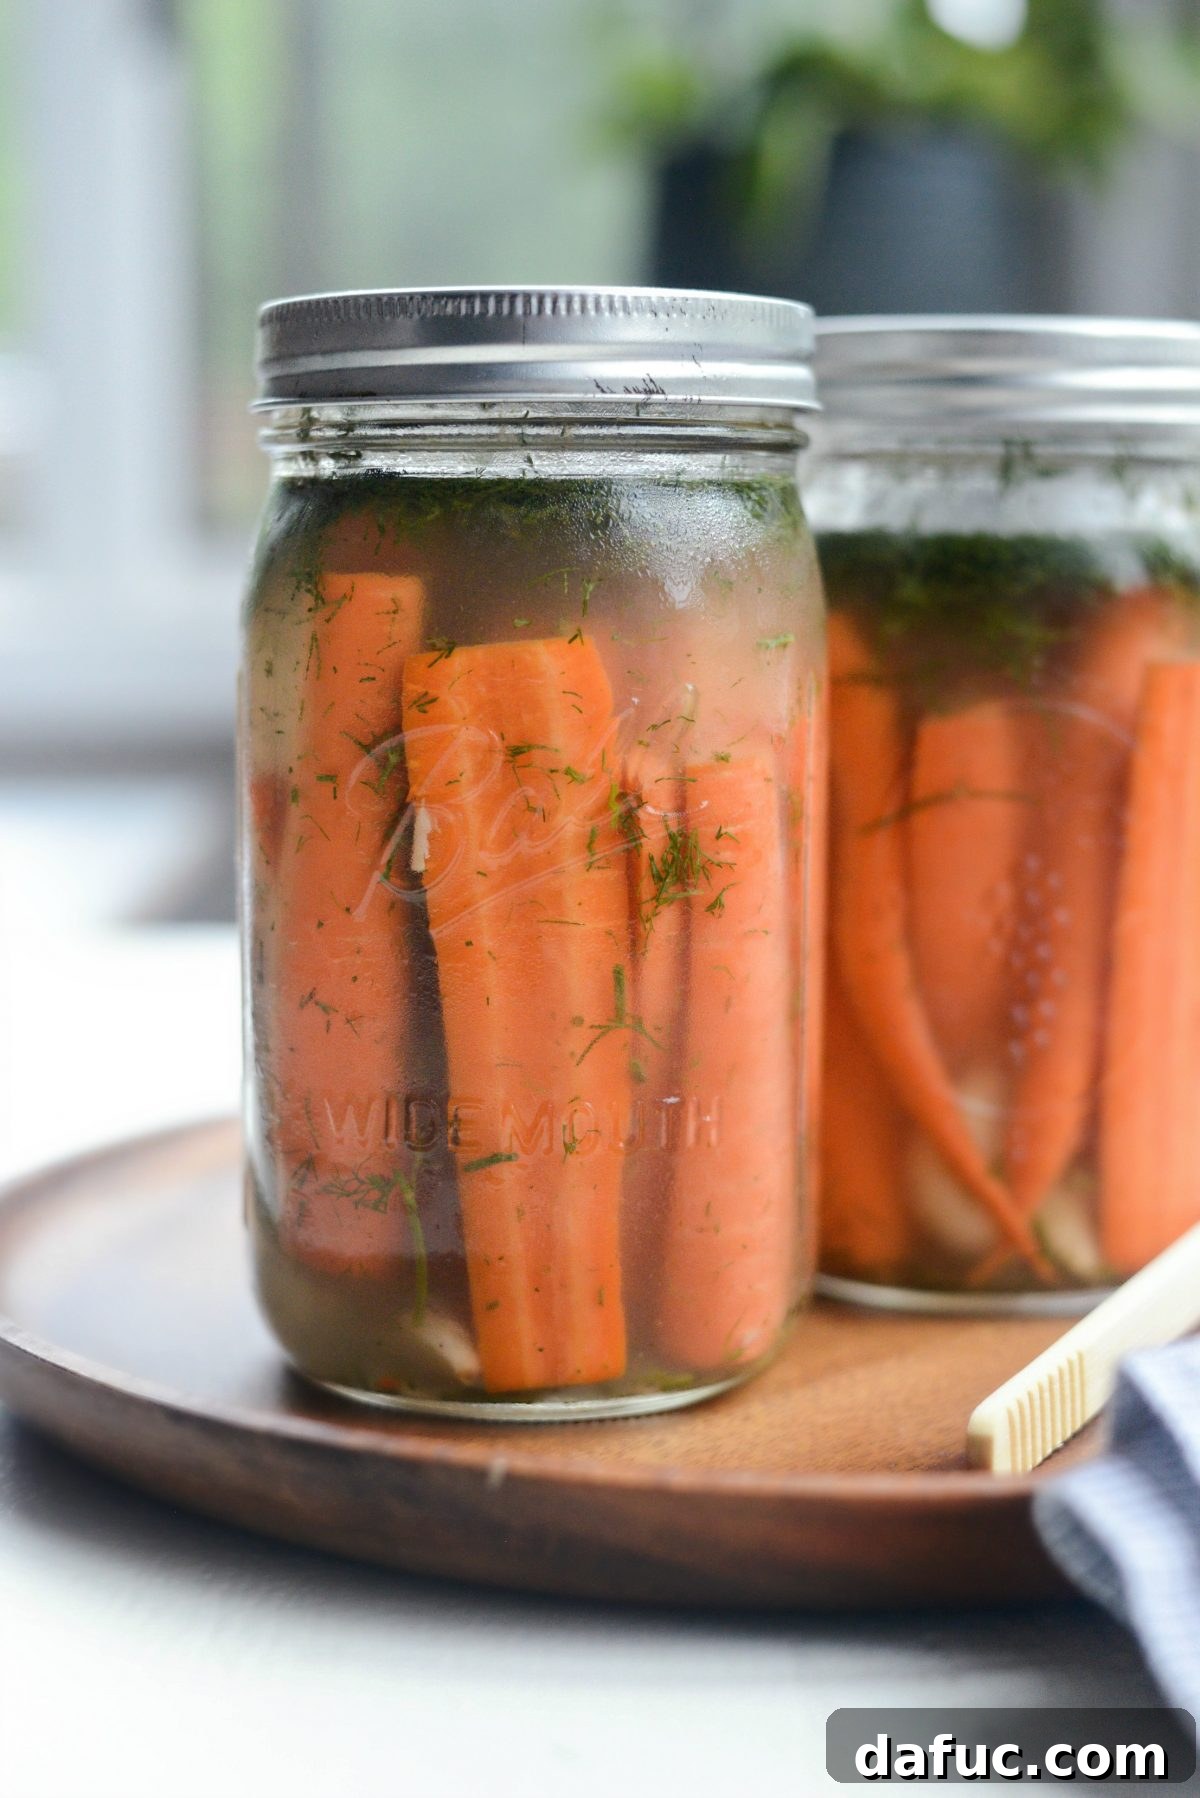
My first encounter with fermented carrots was met with a touch of apprehension. The name itself felt a little daunting, hinting at a complexity I wasn’t sure I was ready for. However, curiosity won over, and I am eternally grateful that it did. Beyond their incredibly appetizing taste, these dilly carrots are a powerhouse of beneficial probiotics, essential for a healthy digestive system and overall gut wellness. They’ve become a staple in my kitchen, a testament to how simple ingredients can yield extraordinary results.
The Ancient Art of Lacto-Fermentation: A Gut-Friendly Science
What Exactly is Lacto-Fermenting?
Lacto-fermentation is a time-honored preservation technique where beneficial bacteria, primarily lactobacillus, convert sugars in food into lactic acid. This process not only preserves fruits, vegetables, dairy, and even bread doughs, but also enhances their nutritional value and creates a distinct tangy flavor profile. Unlike modern canning methods that rely on heat to sterilize and preserve, lacto-fermentation actively cultivates a living ecosystem of microorganisms, enriching your food with probiotics.
The beauty of lacto-fermentation lies in its simplicity. You don’t need an arsenal of specialized tools. A few wide-mouth jars, fresh produce like carrots and garlic, a pinch of salt, and some spices are often all it takes. While some recipes incorporate whey, it’s not a necessity for success; this recipe, for instance, thrives without it. What truly sets lacto-fermentation apart from conventional canning is the absence of rigorous sterilization or pressure cooking. The salt plays a crucial role here, selectively inhibiting harmful bacteria while creating an ideal environment for the good bacteria (our beloved probiotics!) to flourish. These microbes then work their magic, transforming sugars into lactic acid, which imparts that signature tangy flavor and creates an acidic environment that naturally preserves the food. This natural preservation was a cornerstone of food preparation long before refrigeration and industrial canning became commonplace.
A Symphony of Flavors: The Taste of Fermented Dilly Carrots
What Do Fermented Dilly Carrots Really Taste Like?
If you’re wondering if these fermented dilly carrots taste just like dill pickles, you might be surprised. While they share a delightful tang, the absence of vinegar is key to their unique character. Instead of a sharp, acidic bite, you’ll experience the earthy sweetness of crunchy carrots intertwined with the bright, herbaceous freshness of dill and the pungent warmth of garlic. It’s a clean, vibrant flavor that’s utterly addicting, making them a perfect, healthy alternative to traditional pickles.
These dilly carrots are incredibly versatile and endlessly satisfying. Keep a jar readily available in your fridge for a guilt-free, healthy snack, or serve them as an impressive, probiotic-rich side dish at your next family dinner or casual cookout. Their distinctive flavor and satisfying crunch are sure to be a conversation starter.
Essential Ingredients for Naturally Fermented Dilly Carrots
Gather Your Simple Supplies:
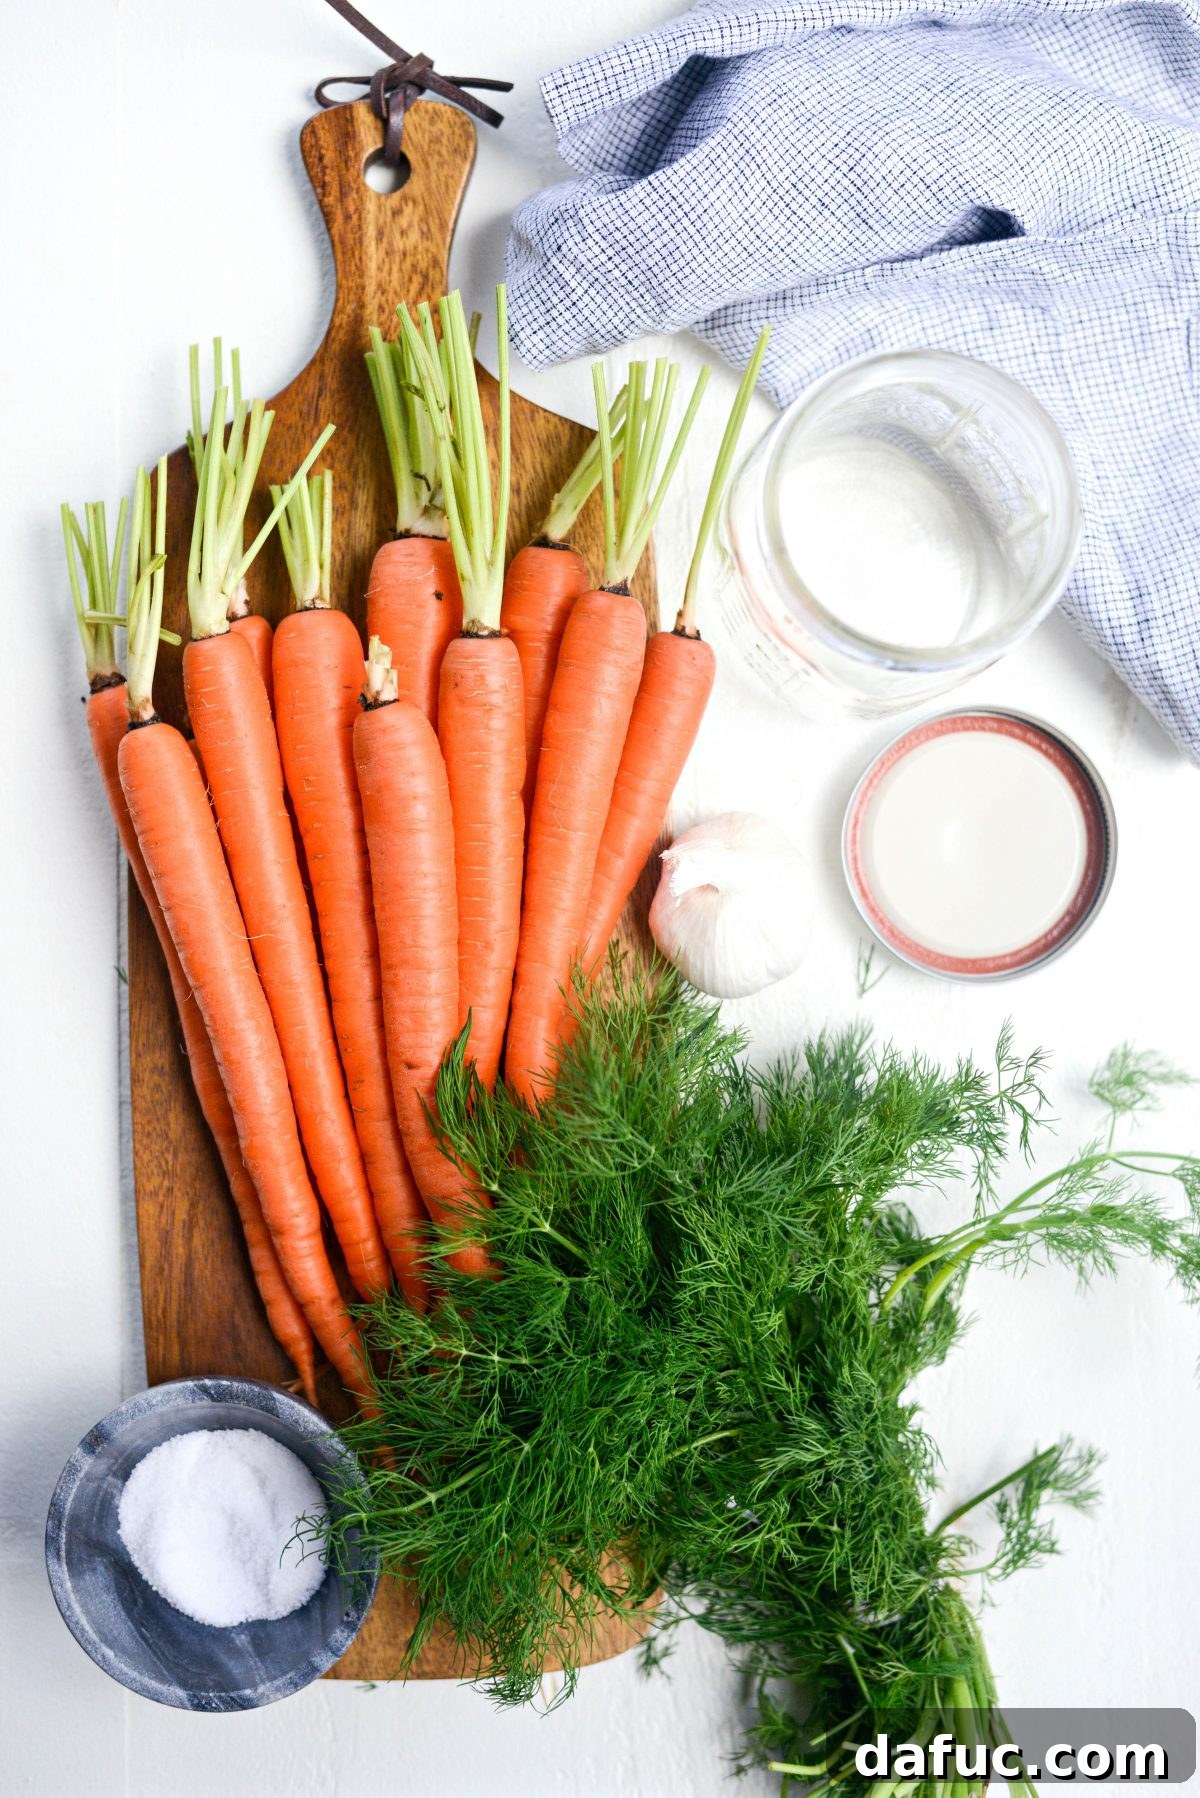
Creating these delightful fermented carrots requires only a handful of everyday ingredients. The magic happens when these simple elements combine with the power of natural fermentation. Here’s what you’ll need:
- Wide-mouth Jar: A 32-ounce glass jar with a tight-fitting lid is ideal. The wide mouth makes it easier to pack the carrots and retrieve them once fermented.
- Carrots: Opt for fresh, firm carrots. Thinner, narrower carrots tend to ferment more evenly and are easier to fit into jars than very large, thick ones. Look for vibrant color and crisp texture.
- Fresh Dill: This herb is central to the “dilly” flavor. Fresh dill offers a sweet, slightly grassy aroma with subtle notes of celery and parsley, infusing the carrots with its distinct essence.
- Garlic: Fresh garlic provides a delightful pungent kick that complements the dill and carrots beautifully. Don’t be shy with the garlic; it adds a fantastic depth of flavor.
- Sea Salt: Crucial for the fermentation process, sea salt not only seasons the carrots but also inhibits undesirable bacteria, creating the perfect environment for beneficial lactic acid bacteria to flourish. Use non-iodized sea salt for best results, as iodine can interfere with fermentation.
- Water: The quality of your water is more important than you might think. Filtered or distilled water is highly recommended to avoid chlorine or other additives that can impede fermentation.
NOTE: The recipe provided below is designed for a single batch, yielding one 32-ounce jar of fermented carrots. If you anticipate these disappearing quickly (and they likely will!), feel free to double the recipe to prepare two jars simultaneously. I often make a double batch myself!
Step-by-Step Guide to Fermenting Dilly Carrots
Preparation is Key:
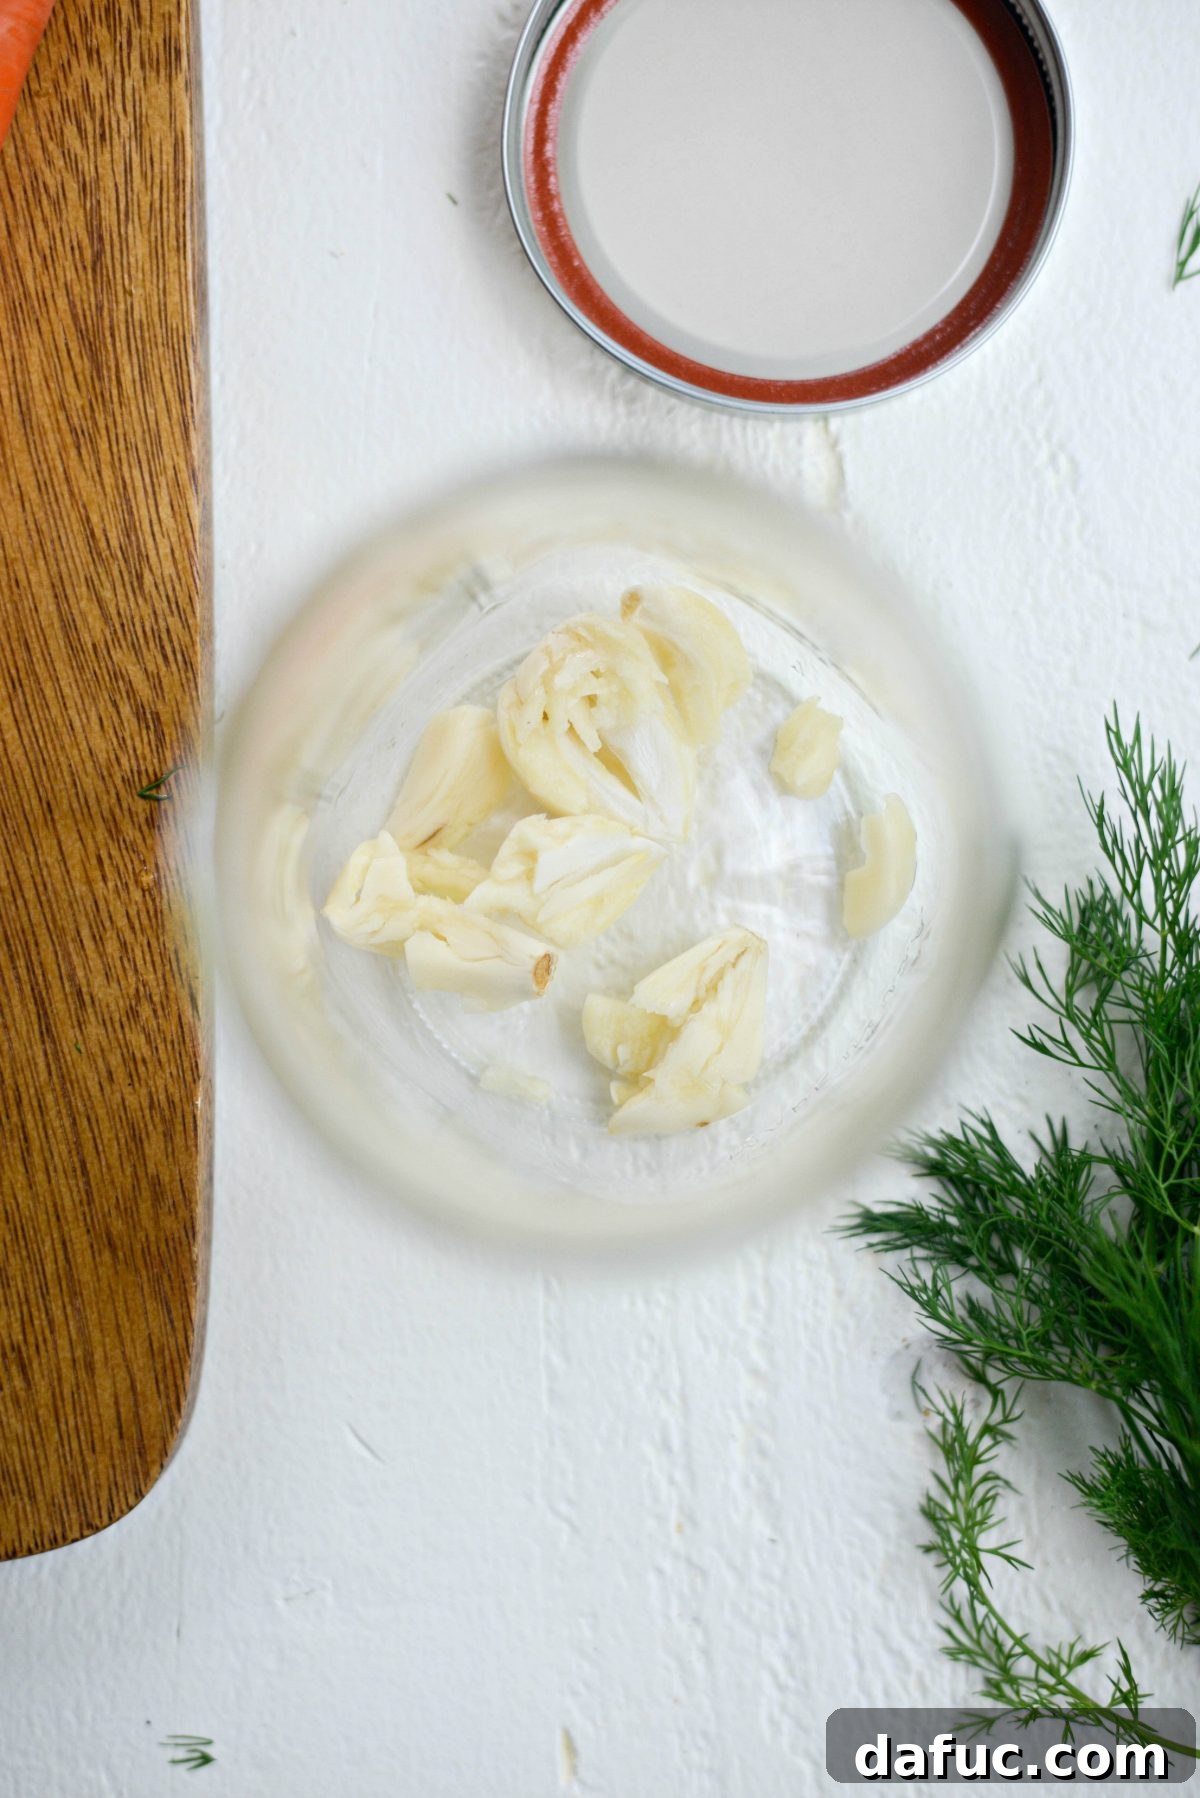
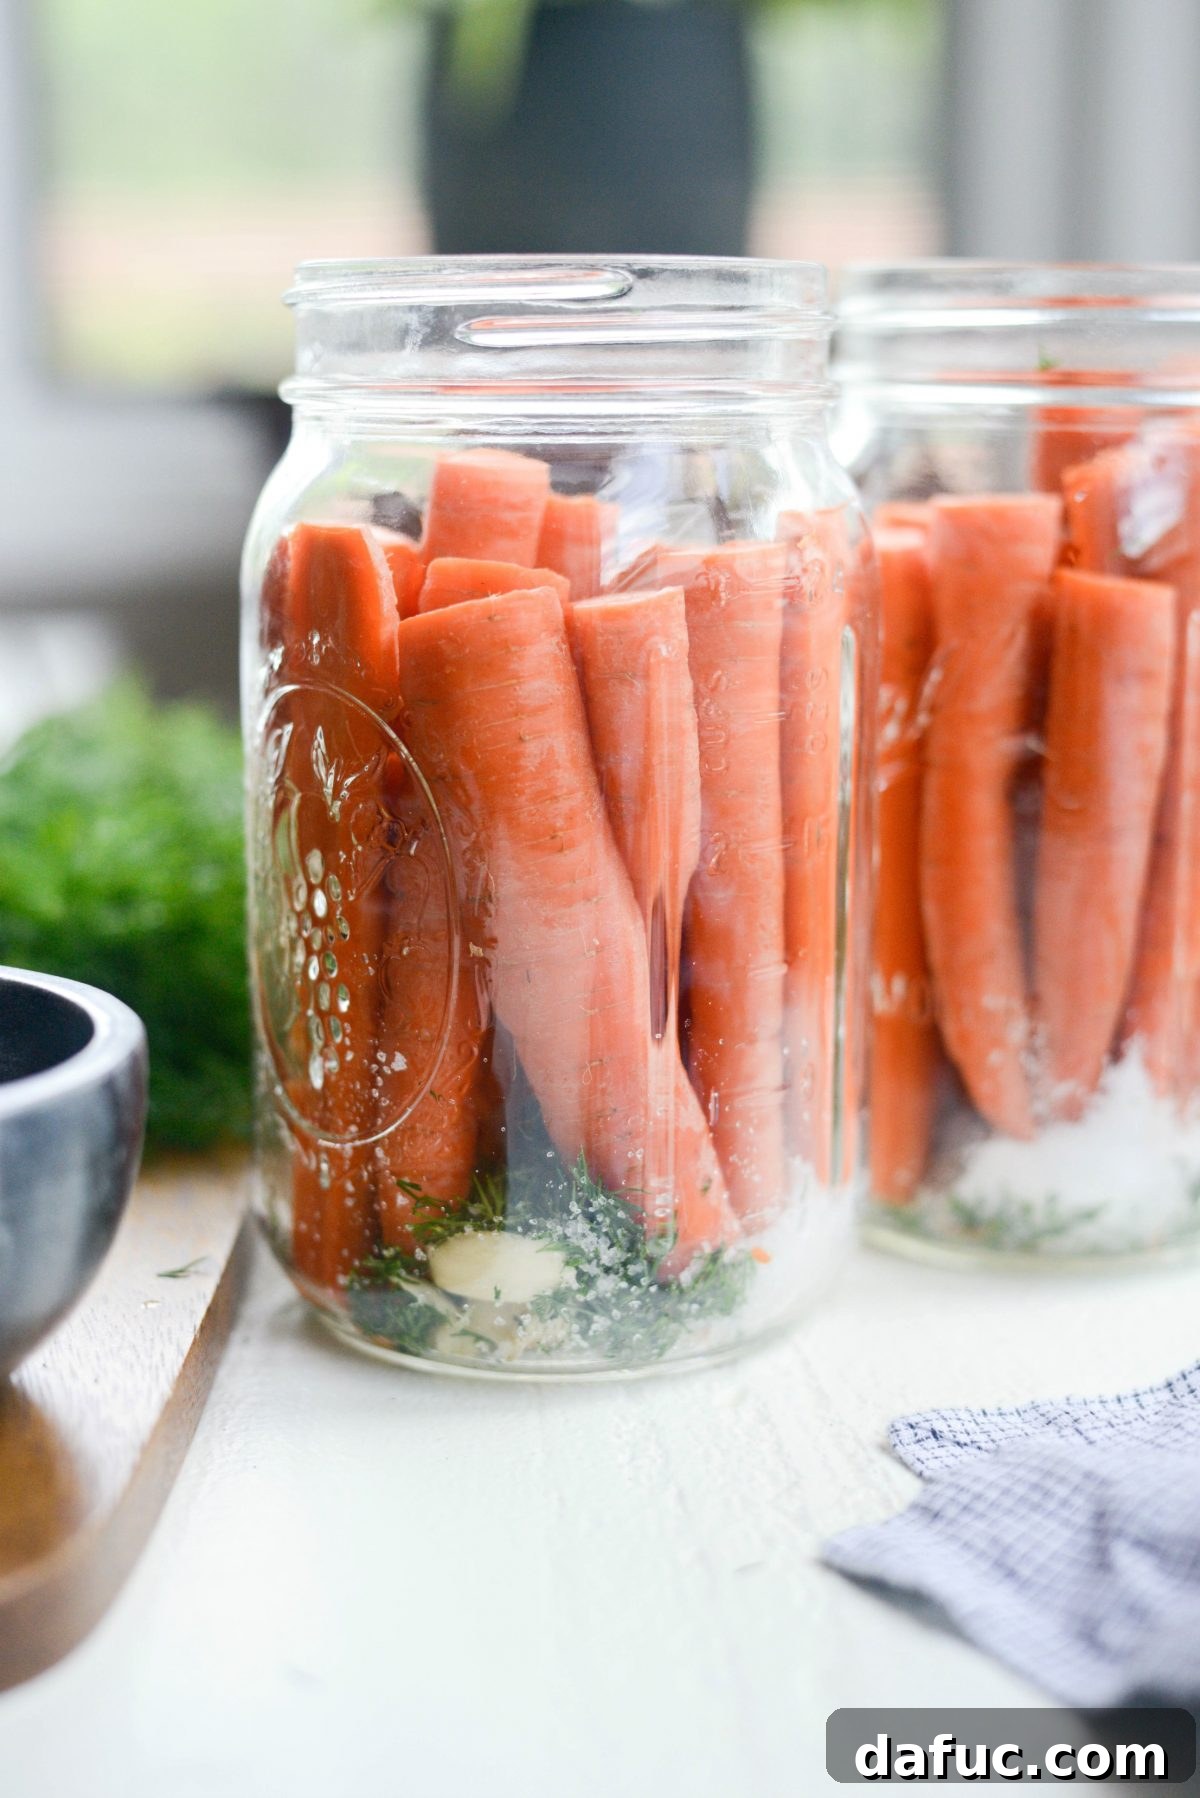
Begin by preparing your garlic. Take 2 to 3 cloves of fresh garlic, give them a good smash to release their aromatic oils, then peel them. Carefully drop these smashed and peeled cloves into a clean 32-ounce wide-mouth jar. The wide opening of the jar is essential, not just for easily fitting the carrots but also for convenient access when it’s time to enjoy your fermented creations.
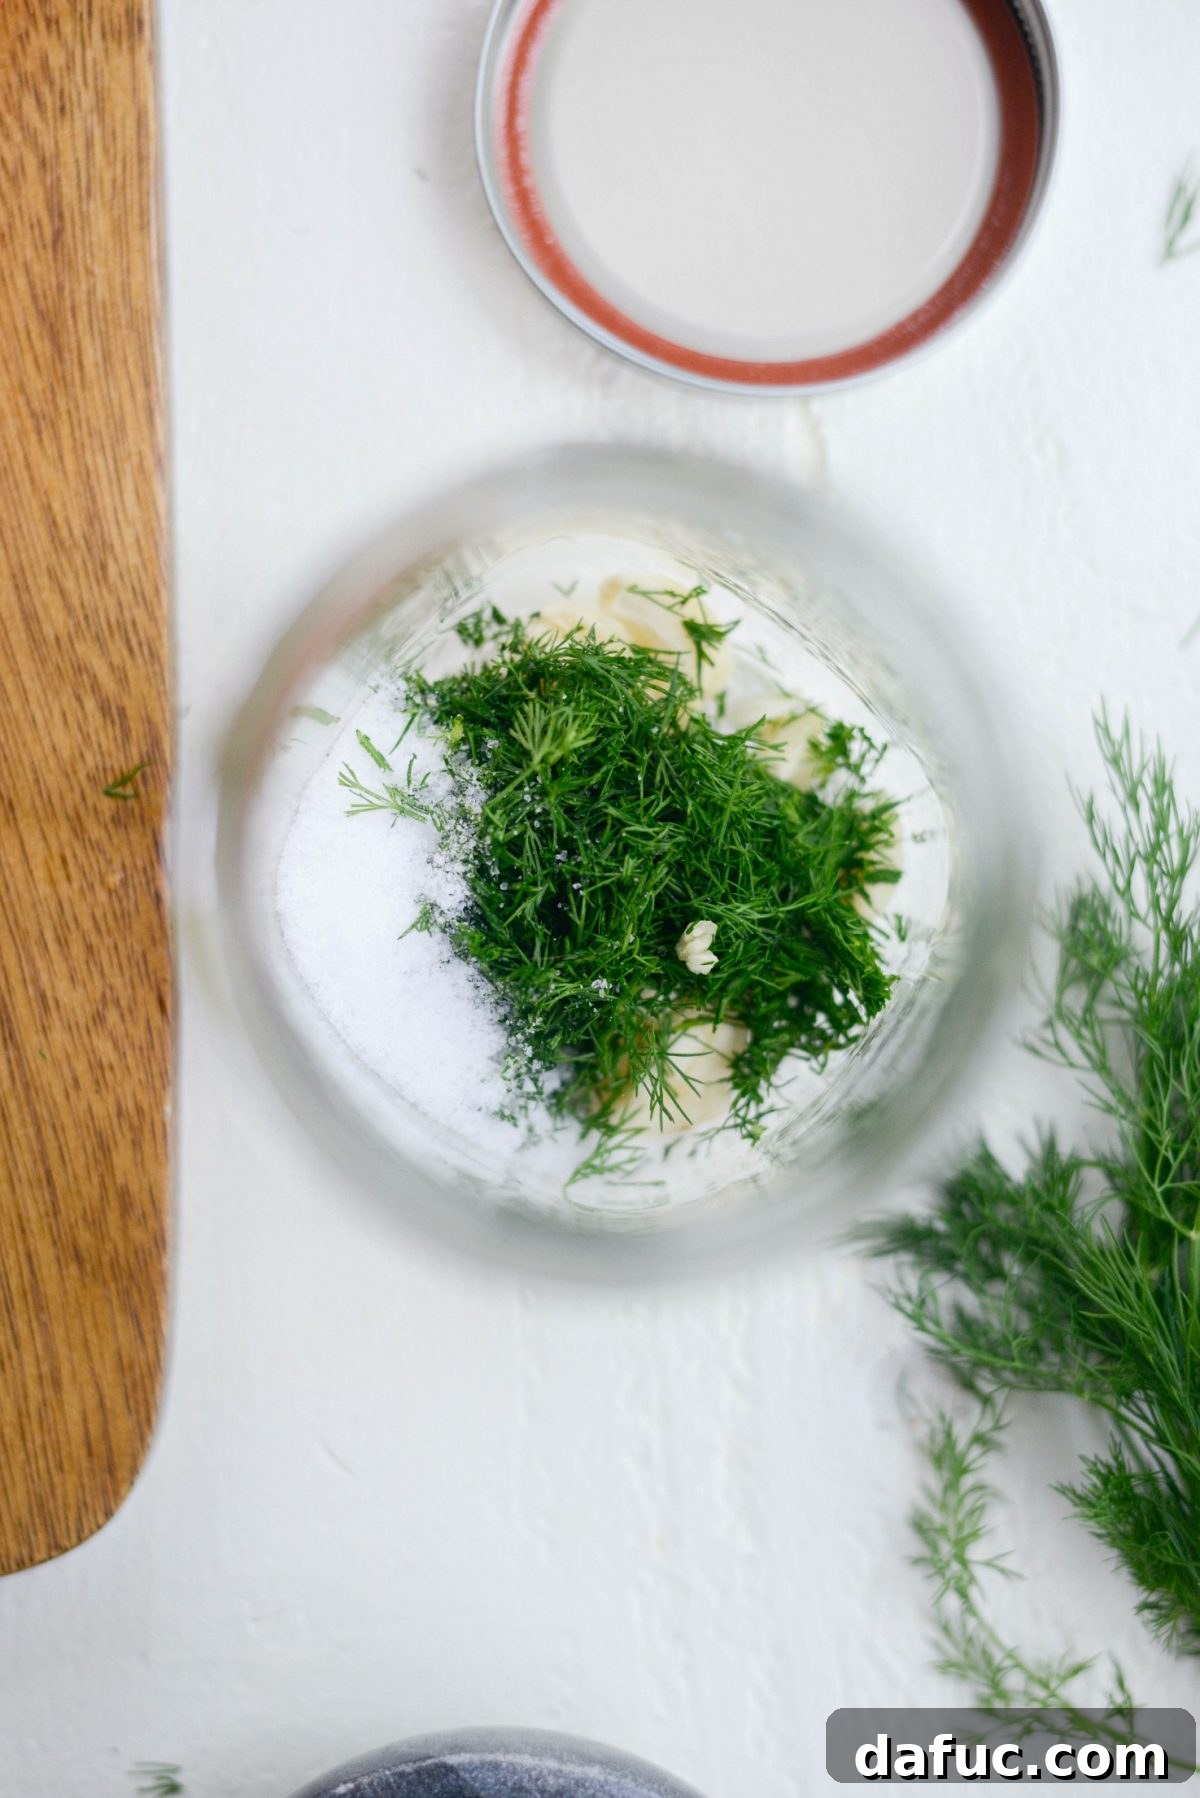
Next, accurately measure and add 1 to 2 tablespoons of freshly chopped dill along with 2 tablespoons of high-quality sea salt into the jar, layering them over the garlic. These ingredients are the foundation of your brine’s flavor and the catalyst for successful fermentation.
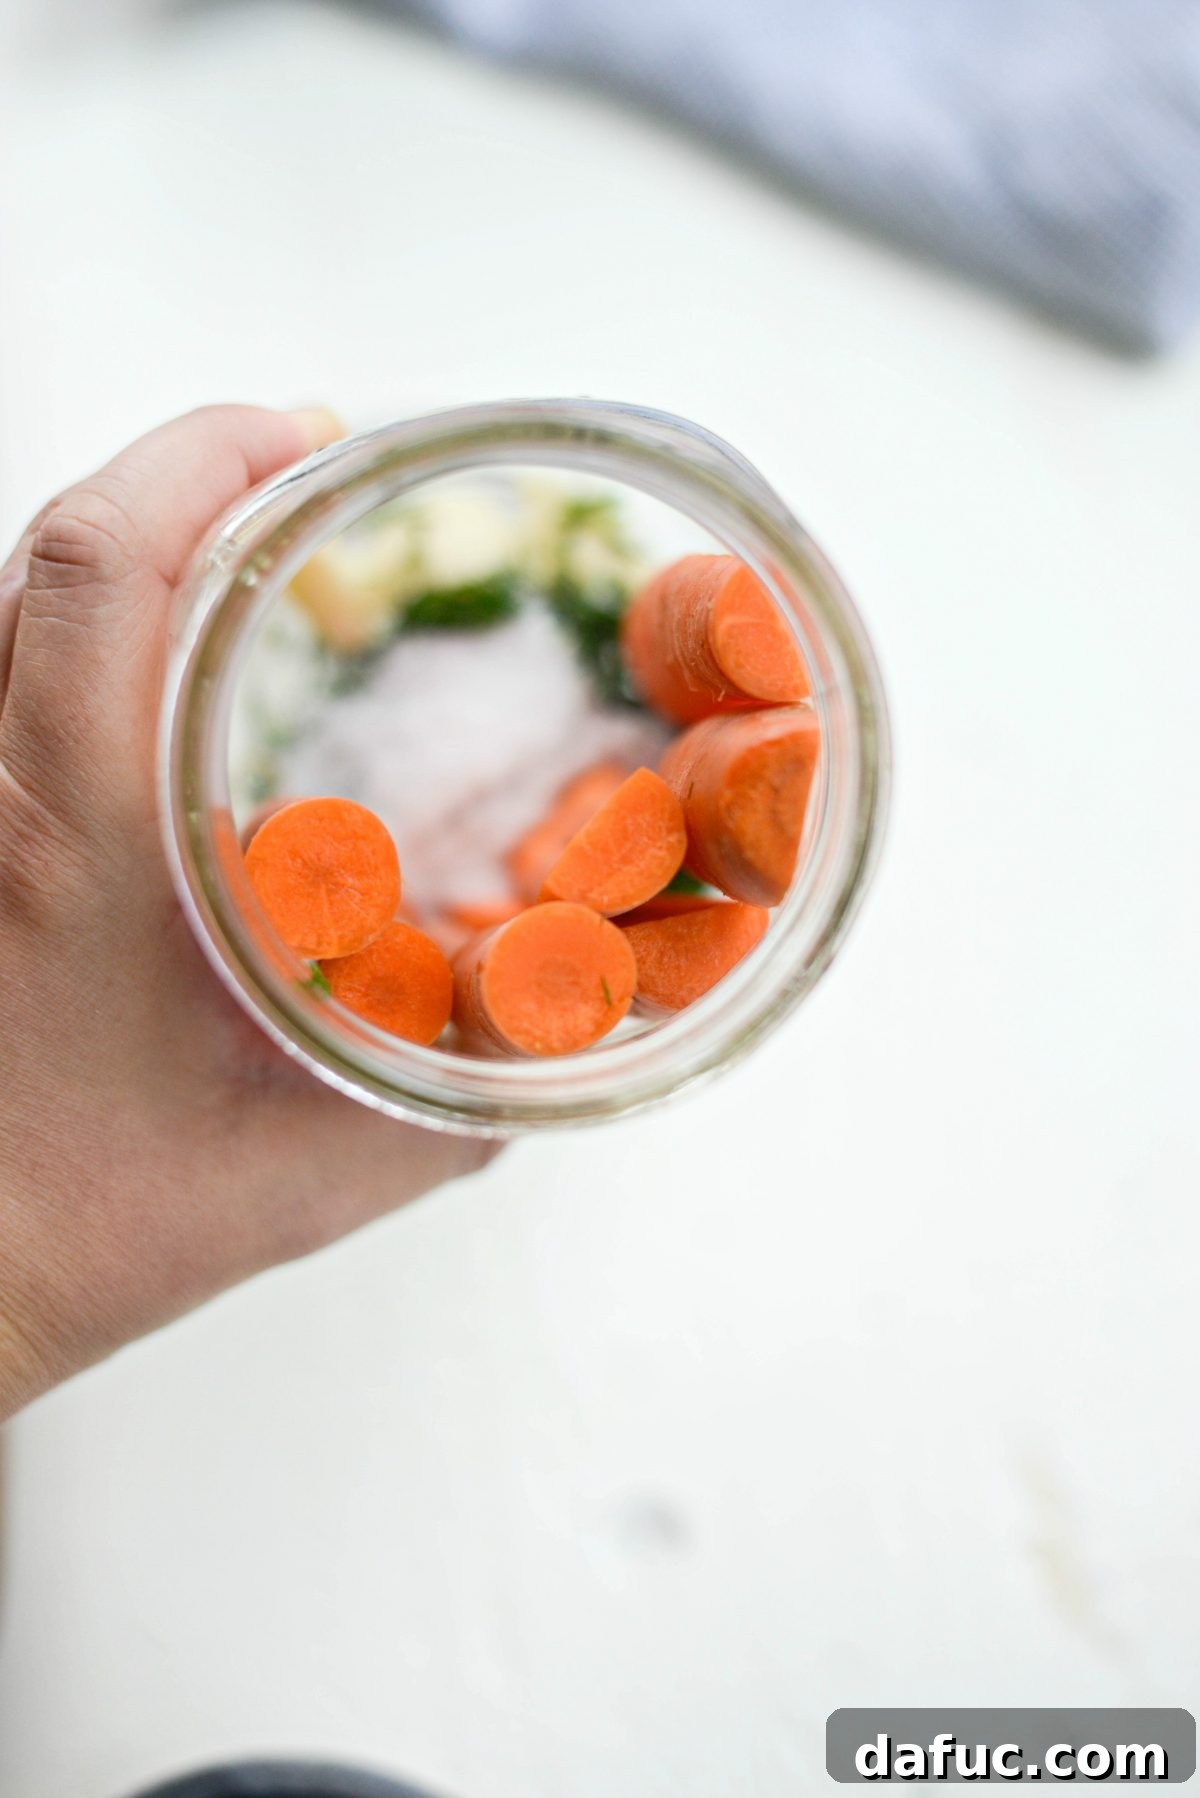
Now, let’s prepare the carrots. Remove their leafy green tops. Depending on their length, cut each carrot in half to create two shorter pieces that will fit comfortably in your jar. For thicker carrots, cut the thicker ends in half lengthwise. This ensures more even fermentation and makes them easier to pack. Tilt the jar slightly on its side and carefully slide in the cut carrot pieces, arranging them as compactly as possible.
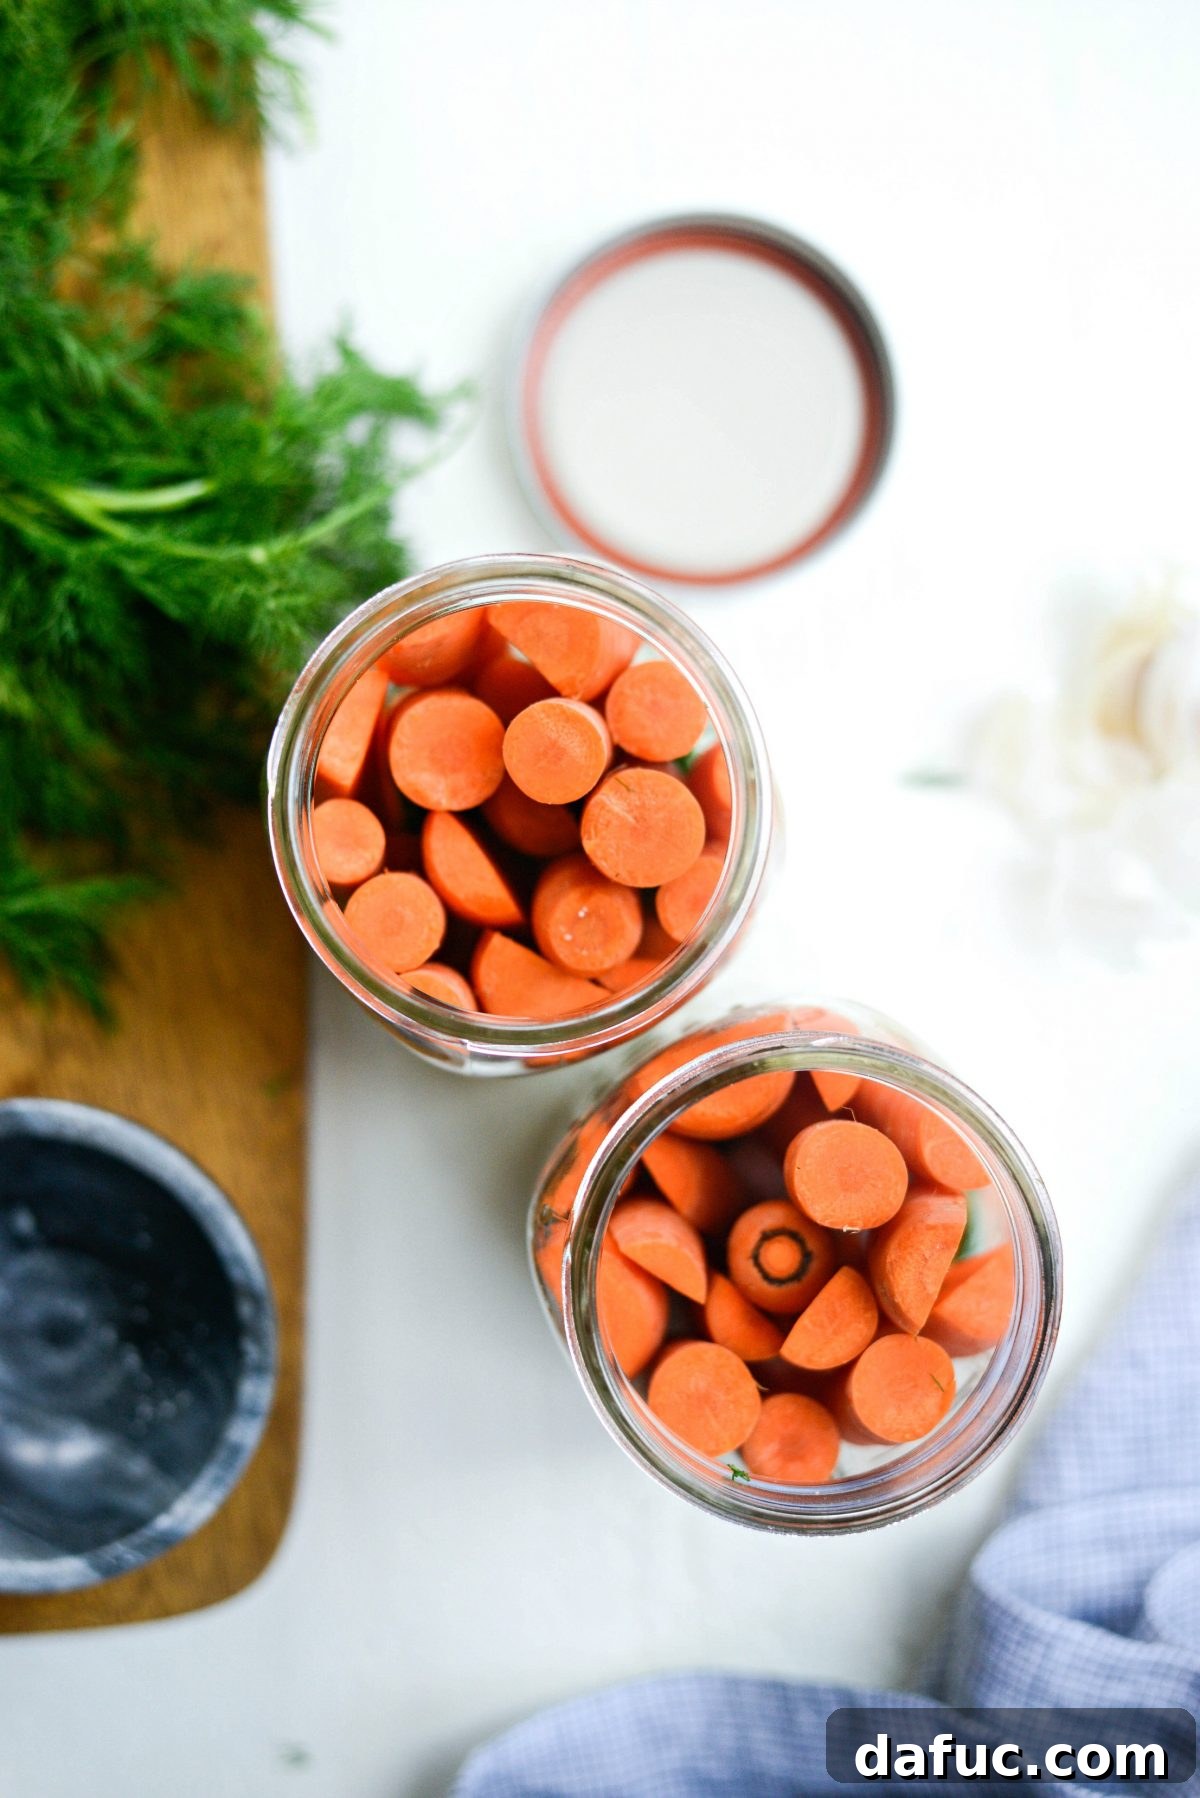
The goal is to pack the carrots tightly into the jar, minimizing air pockets and ensuring they remain submerged in the brine later. A densely packed jar helps prevent spoilage and promotes an optimal fermenting environment.
To Peel or Not to Peel: Your Choice!
Whether or not to peel your carrots is entirely up to personal preference. I rarely peel carrots for fermentation; a thorough scrub is usually sufficient. The peels contain beneficial nutrients and fiber, and leaving them on saves time. Embrace the rustic charm or peel for a smoother texture – either way, the fermentation process will be a success!
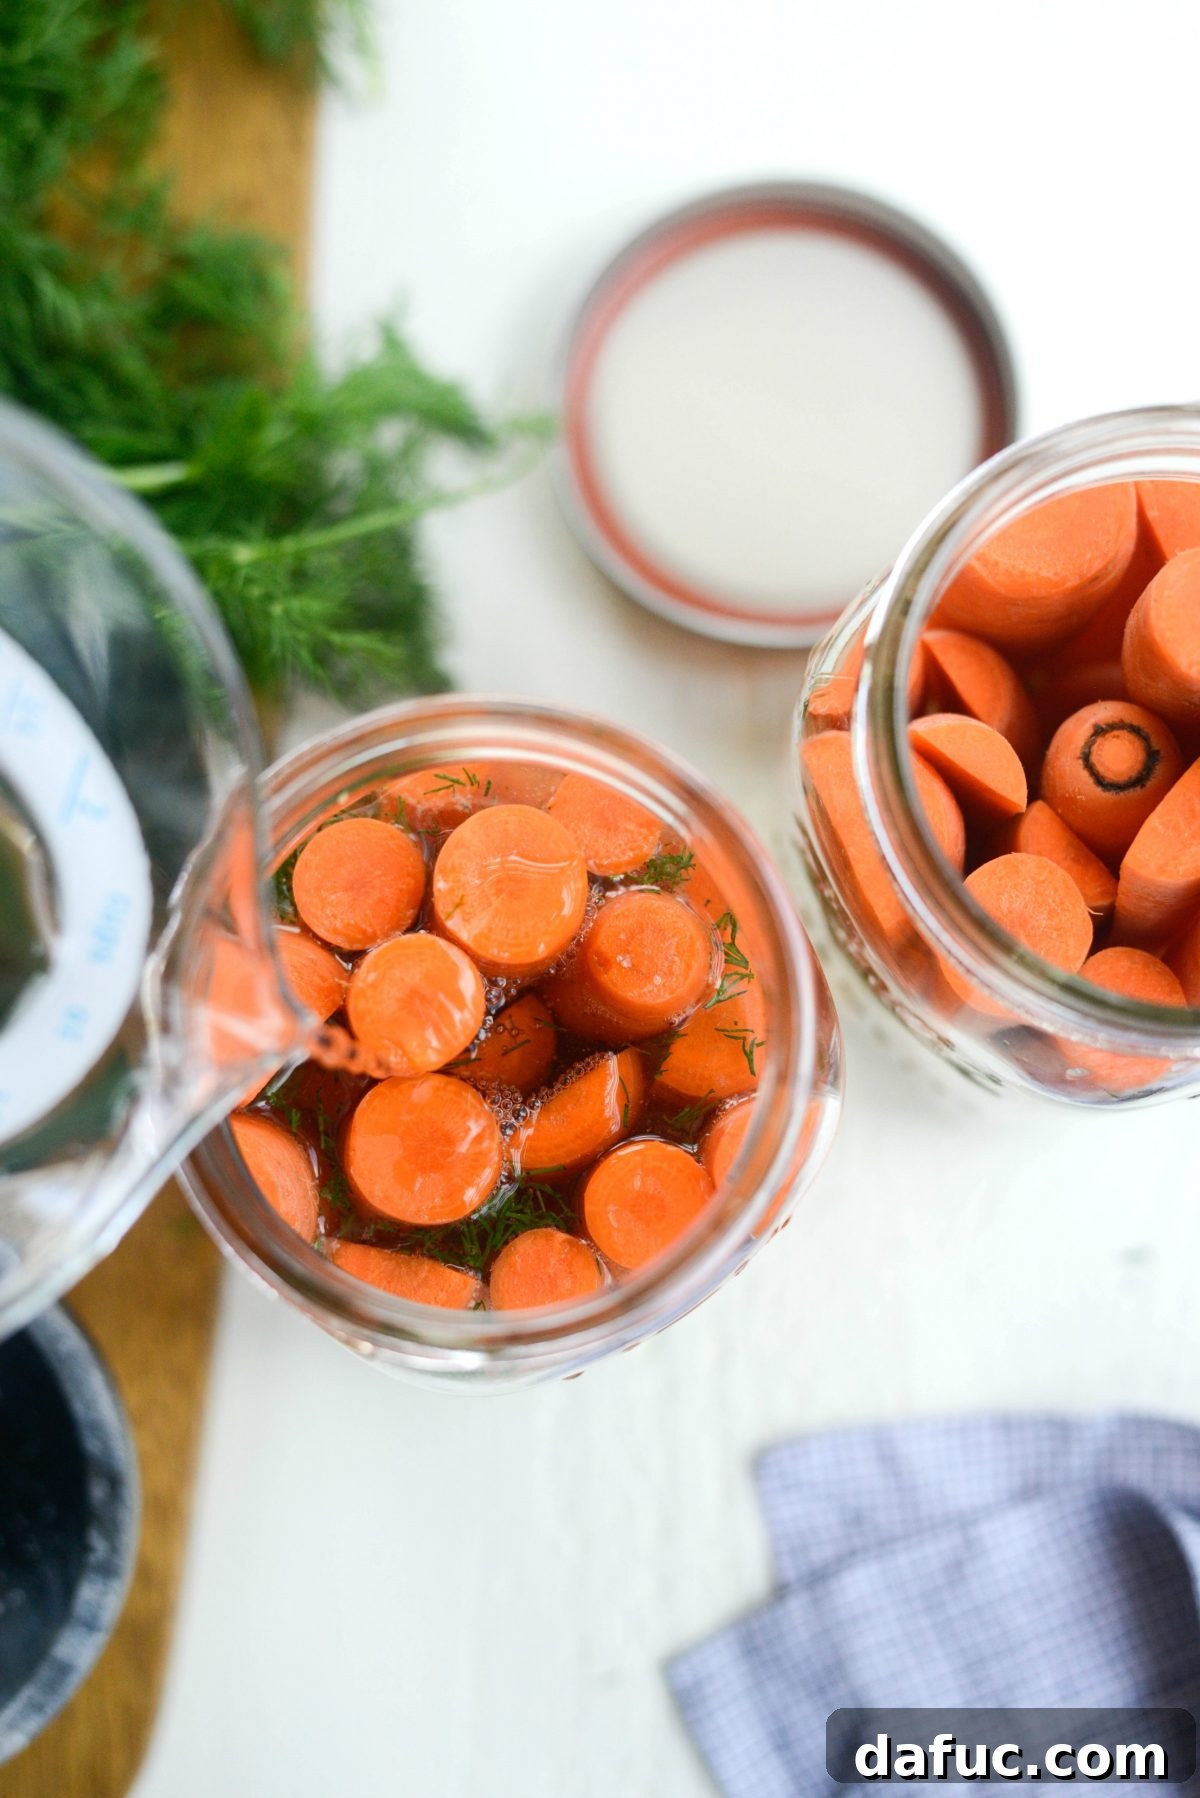
Finally, pour filtered water into the jar until it reaches about one inch from the top. This ensures enough liquid to cover the carrots while allowing some headspace for any gases produced during fermentation.
The Importance of Water Quality in Lacto-Fermentation
The type of water you use plays a significant role in successful lacto-fermentation. Research indicates that water with a moderate mineral content is ideal. However, excessively hard water (too rich in minerals) can sometimes hinder the microbial activity, while water treated with chlorine or chloramines can inhibit the beneficial bacteria altogether. I personally use reverse osmosis water, but distilled water also works well. If you plan to use tap water, it’s crucial to either boil it and let it cool completely to room temperature (to dissipate chlorine) or filter it through a carbon filter (like a Brita pitcher) to remove unwanted chemicals that could interfere with the delicate fermentation process.
The Fermentation Process: Patience and Observation
Setting the Stage for Fermentation:
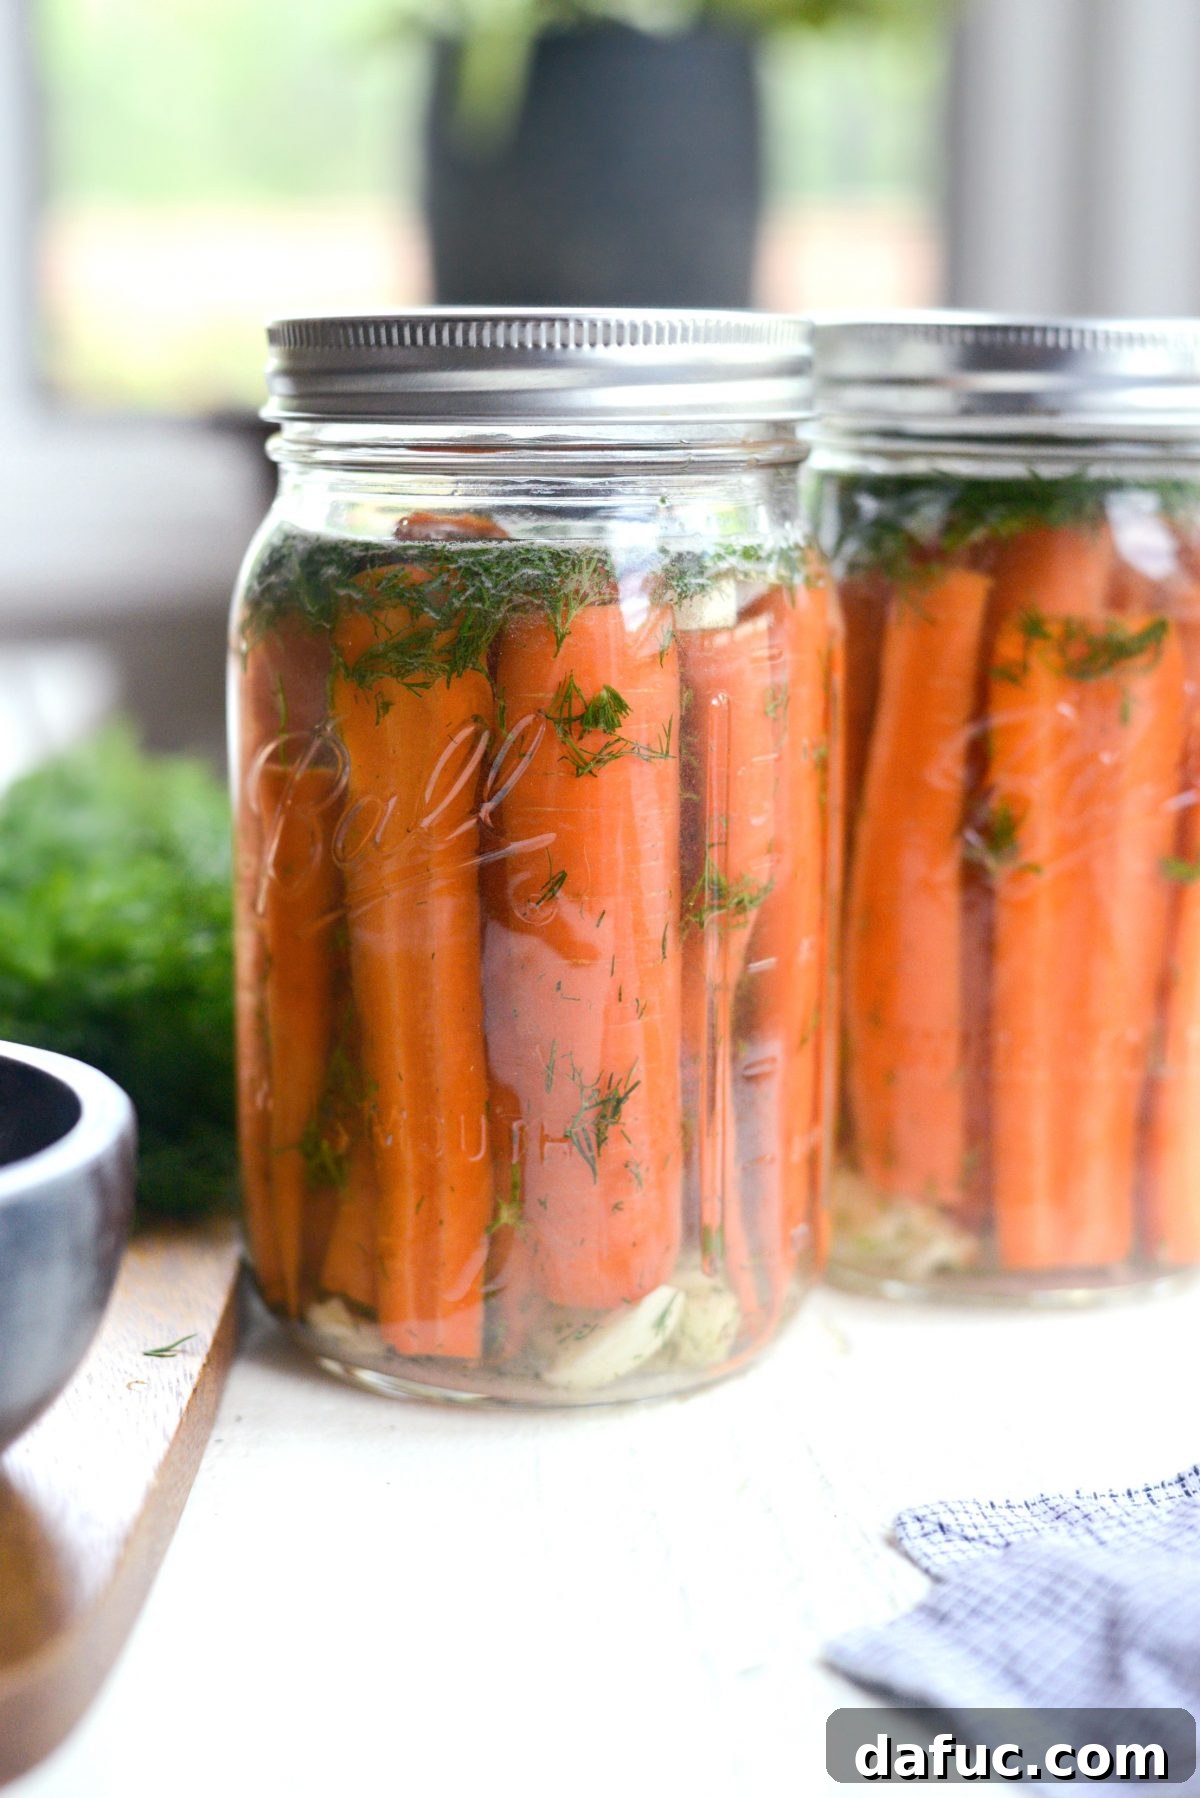
Once your jar is packed and filled, secure the lid tightly and give it a good shake. This helps to dissolve the sea salt and distribute it evenly throughout the water. After shaking, loosen the lid ever so slightly – just a smidgen. This allows any gases that build up during fermentation to escape, preventing pressure buildup and potential overflow. Place your jar (or jars) on your countertop, away from direct sunlight, at room temperature for 4 to 7 days.
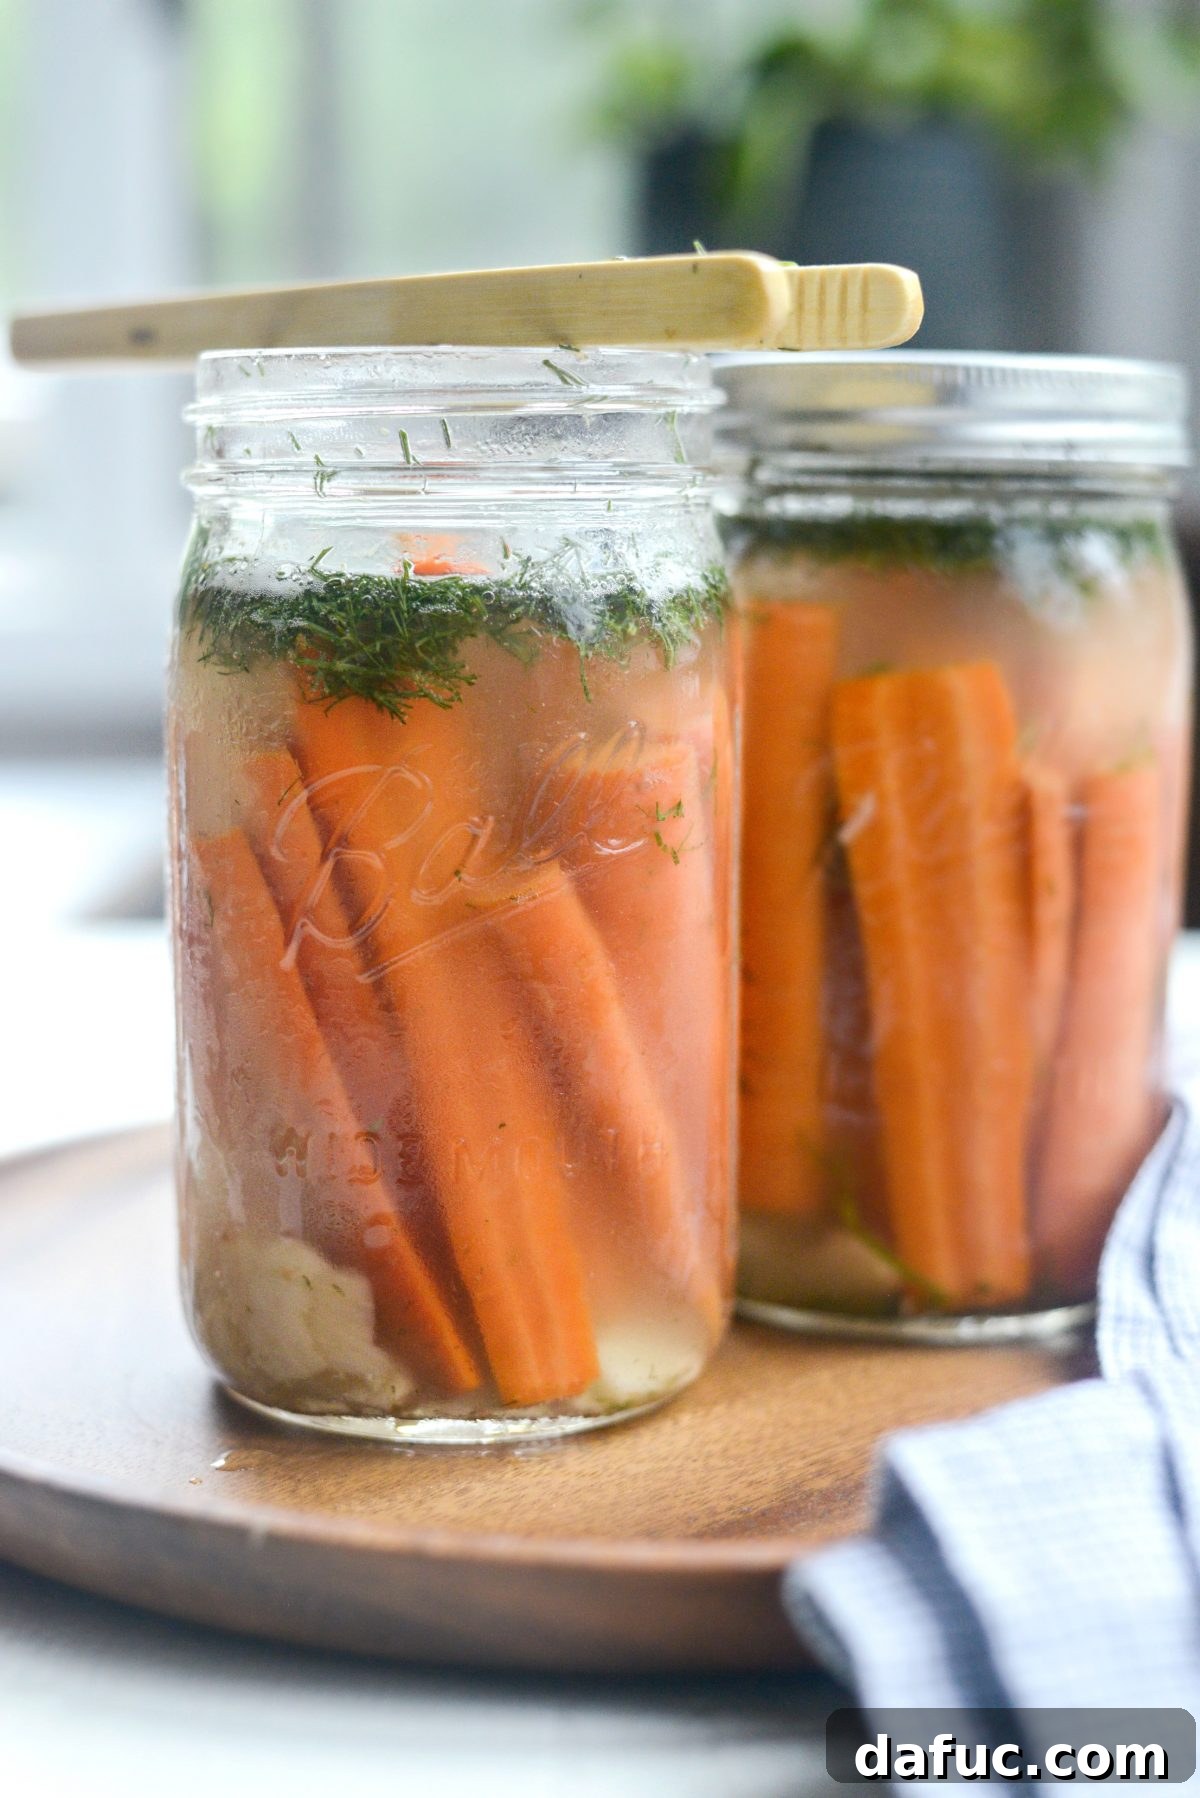
During this period, keep an eye (and an ear) on your jar. If you notice any hissing sounds, it’s a clear indication that gas is actively being produced, and you might need to loosen the lid a little more to release the pressure. By day 4, you should start seeing visible signs of fermentation: the water will likely appear cloudy, and small bubbles will begin to rise from the bottom to the top of the jar. This effervescence is a beautiful sign that the beneficial bacteria are hard at work, transforming your carrots!
Enjoying Your Fermented Dilly Carrots
Taste and Storage:
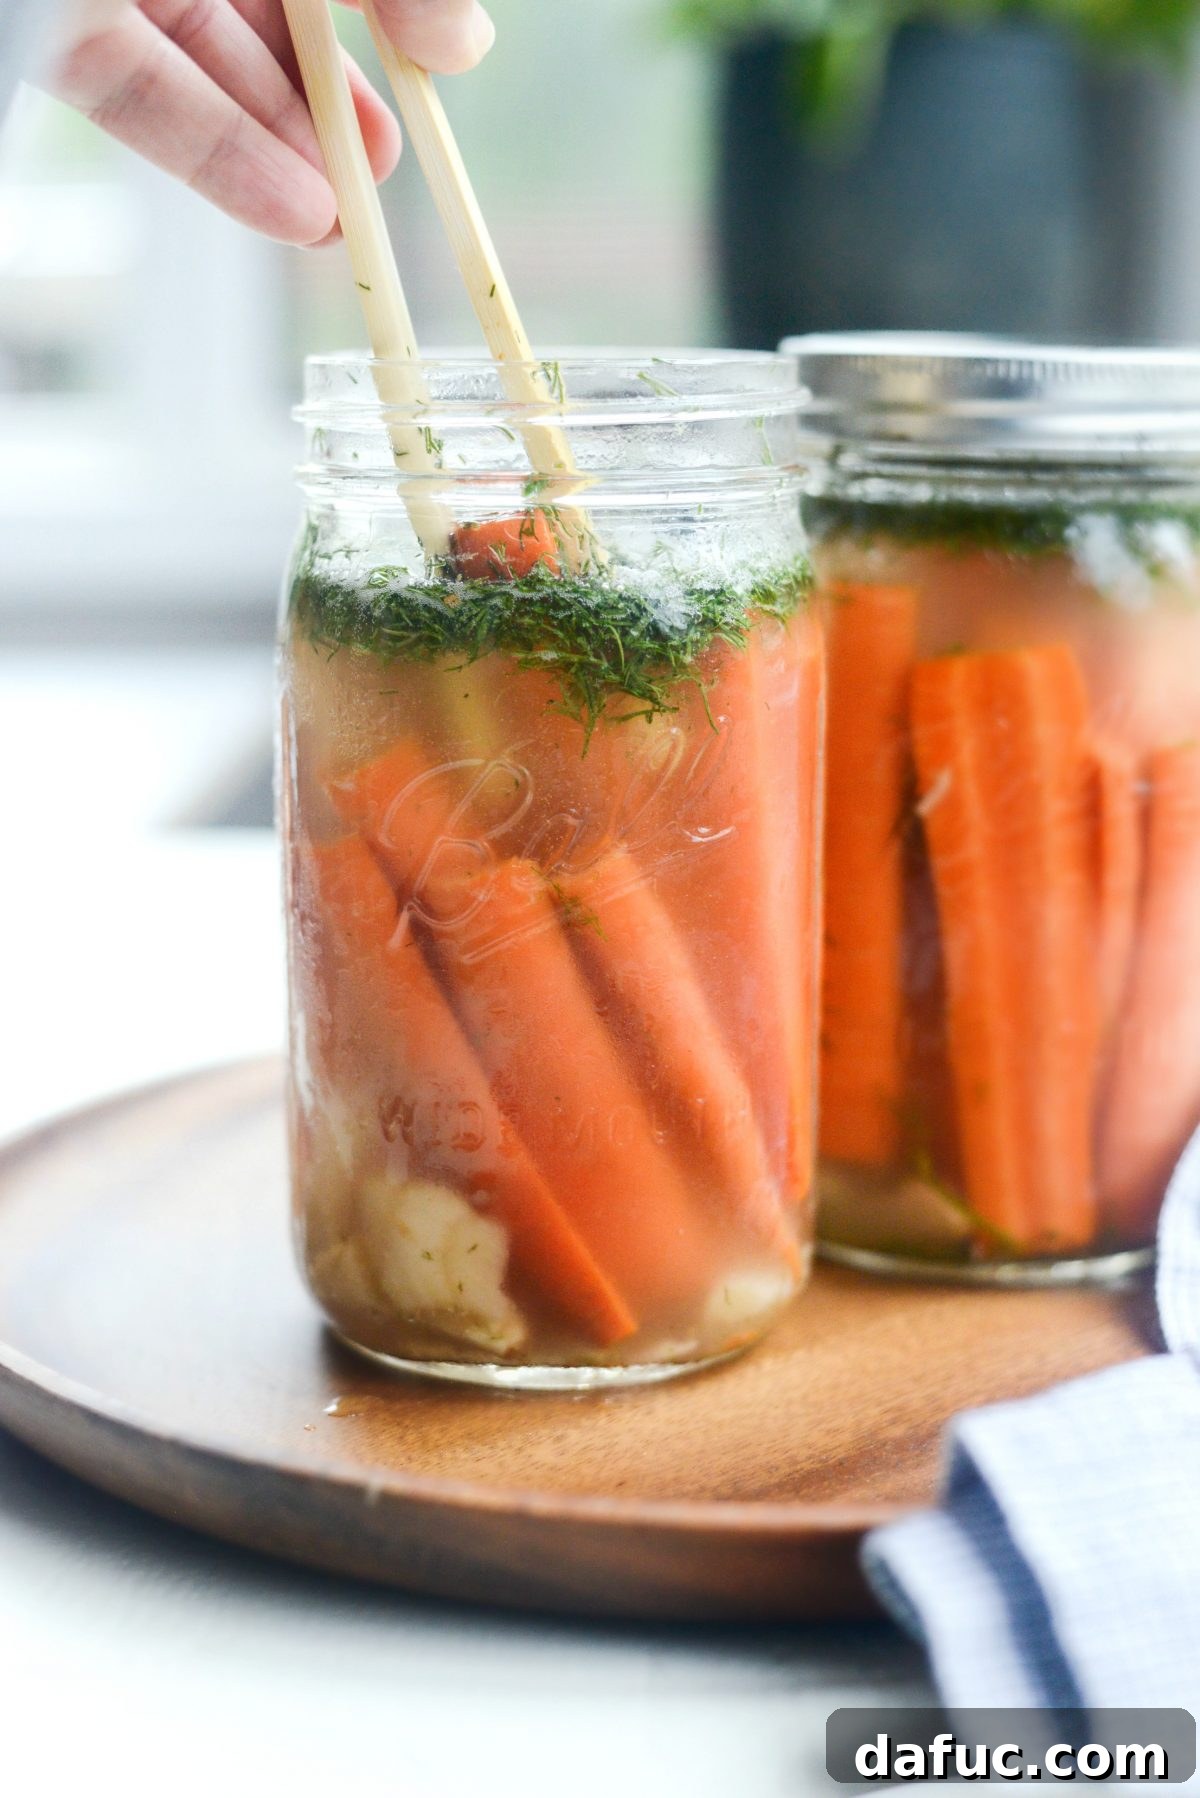
After a patient 4 to 7 days of fermentation, it’s finally time to taste your naturally fermented dilly carrots! They should be wonderfully crispy, delightfully crunchy, imbued with garlicky goodness, and possess that unmistakable tangy flavor. You might even hear a subtle “pop” when you first open the jar, similar to opening a commercially canned product – a satisfying sound that confirms a successful ferment. Once they’ve reached your desired level of tanginess and texture, tighten the lid securely and transfer them to the refrigerator. Chilling them enhances their crispness and pauses the fermentation process, allowing them to last for several months. I personally find them most enjoyable when served cold.
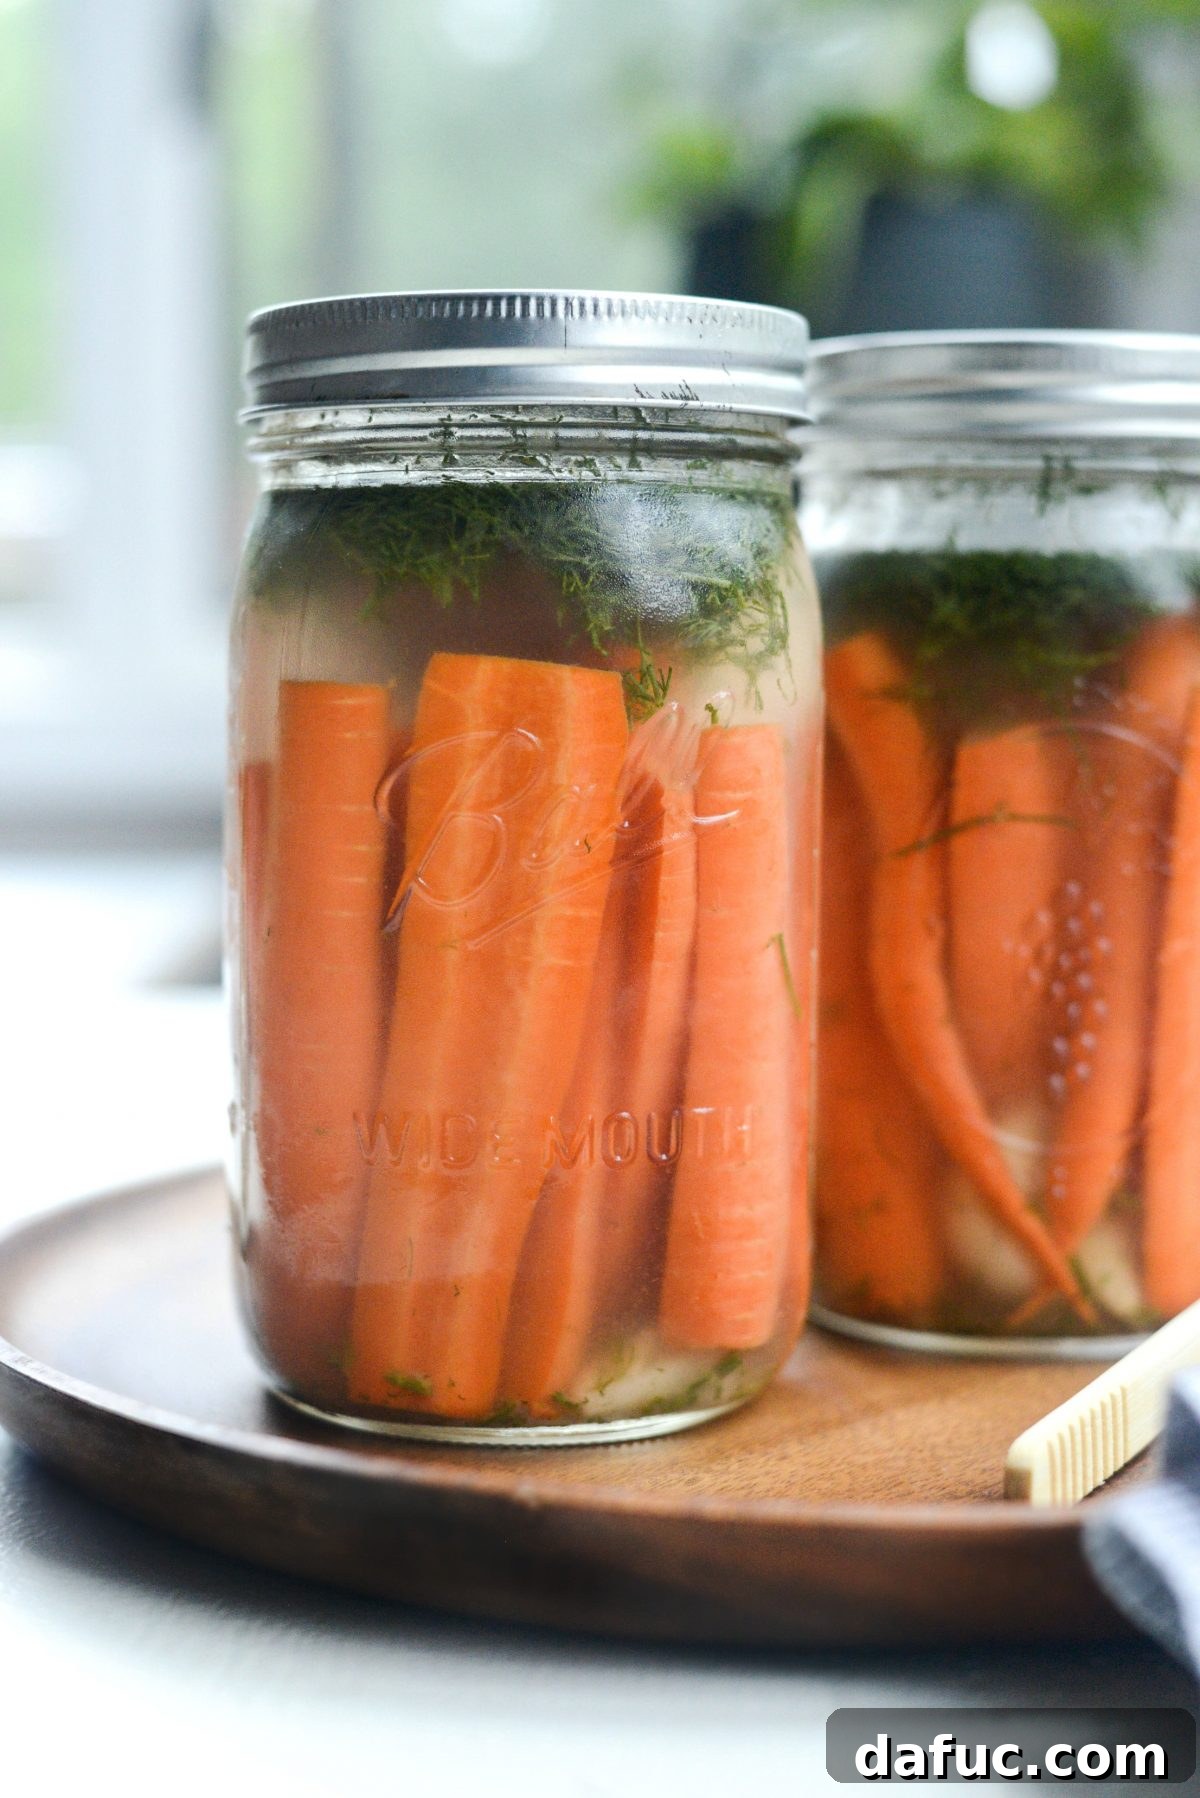
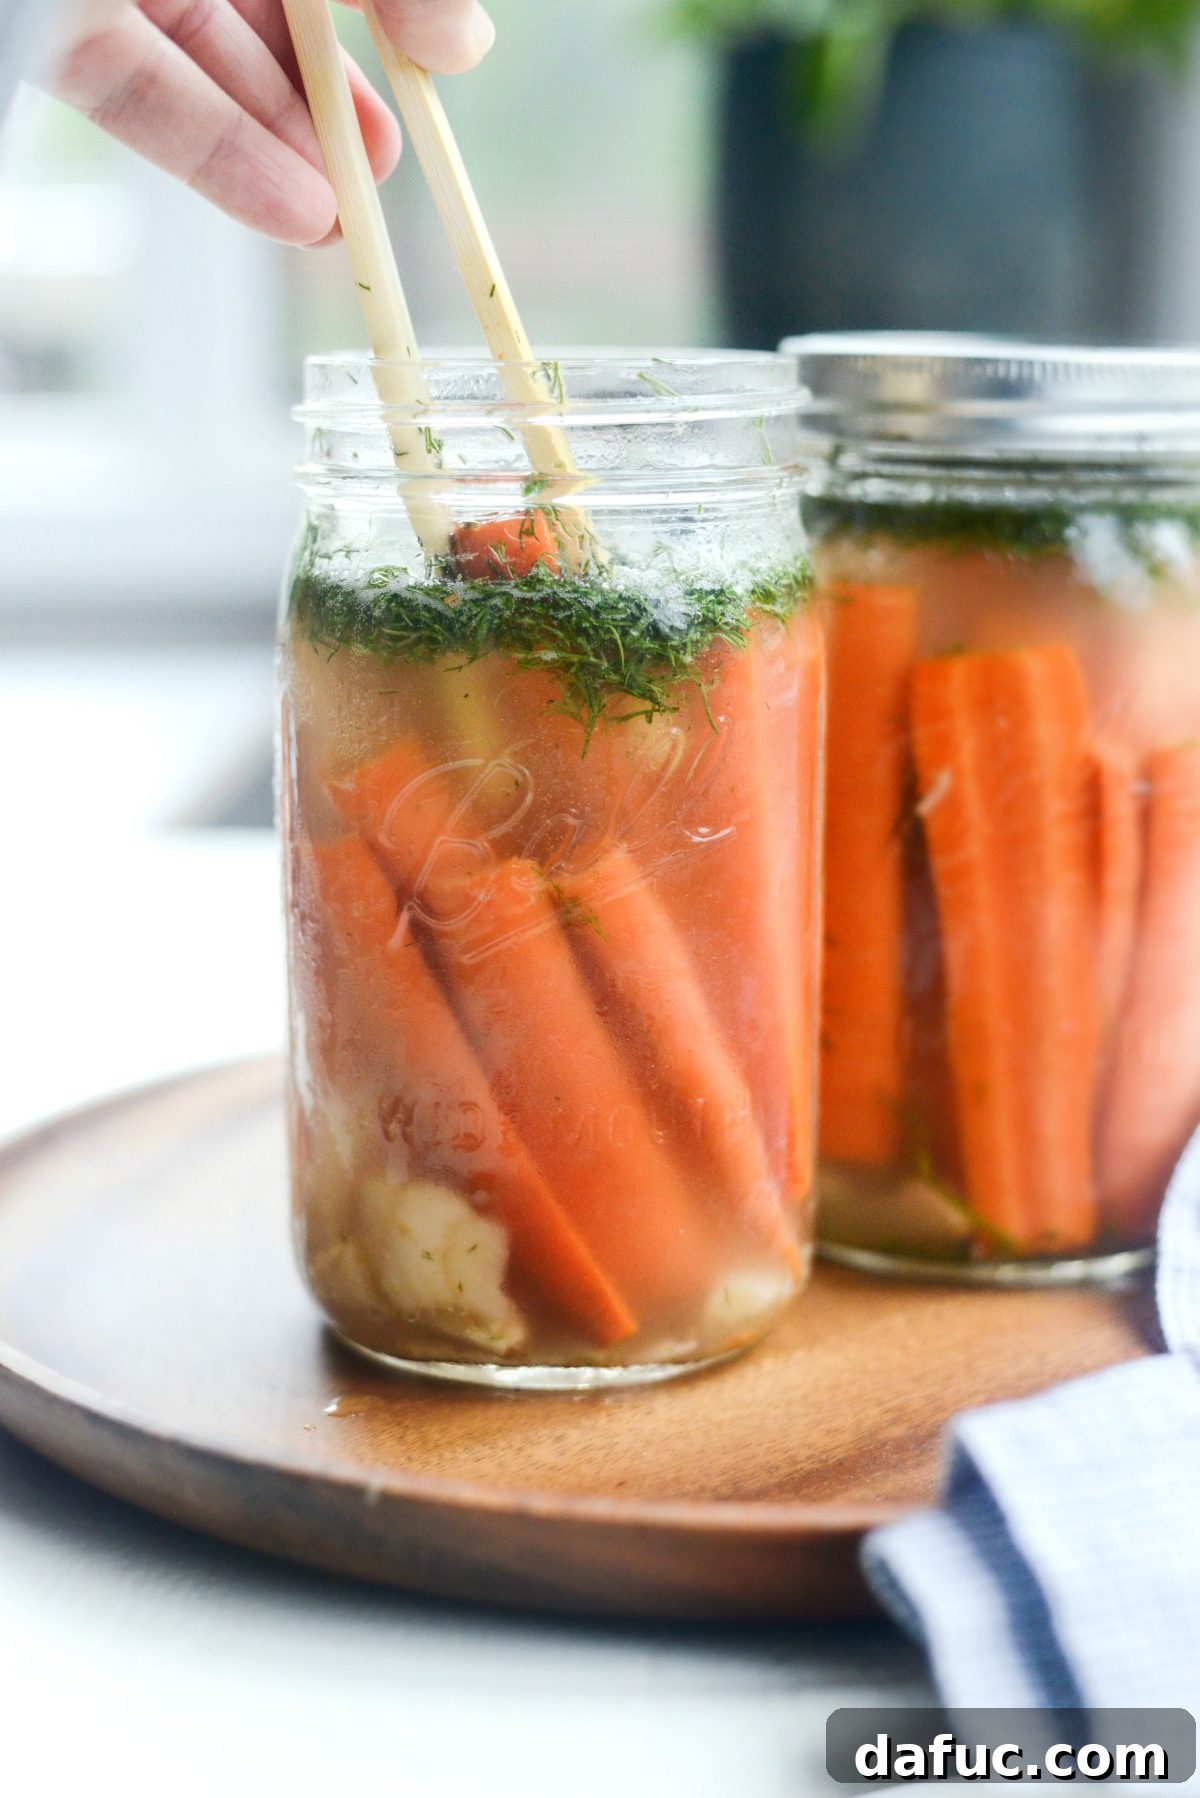
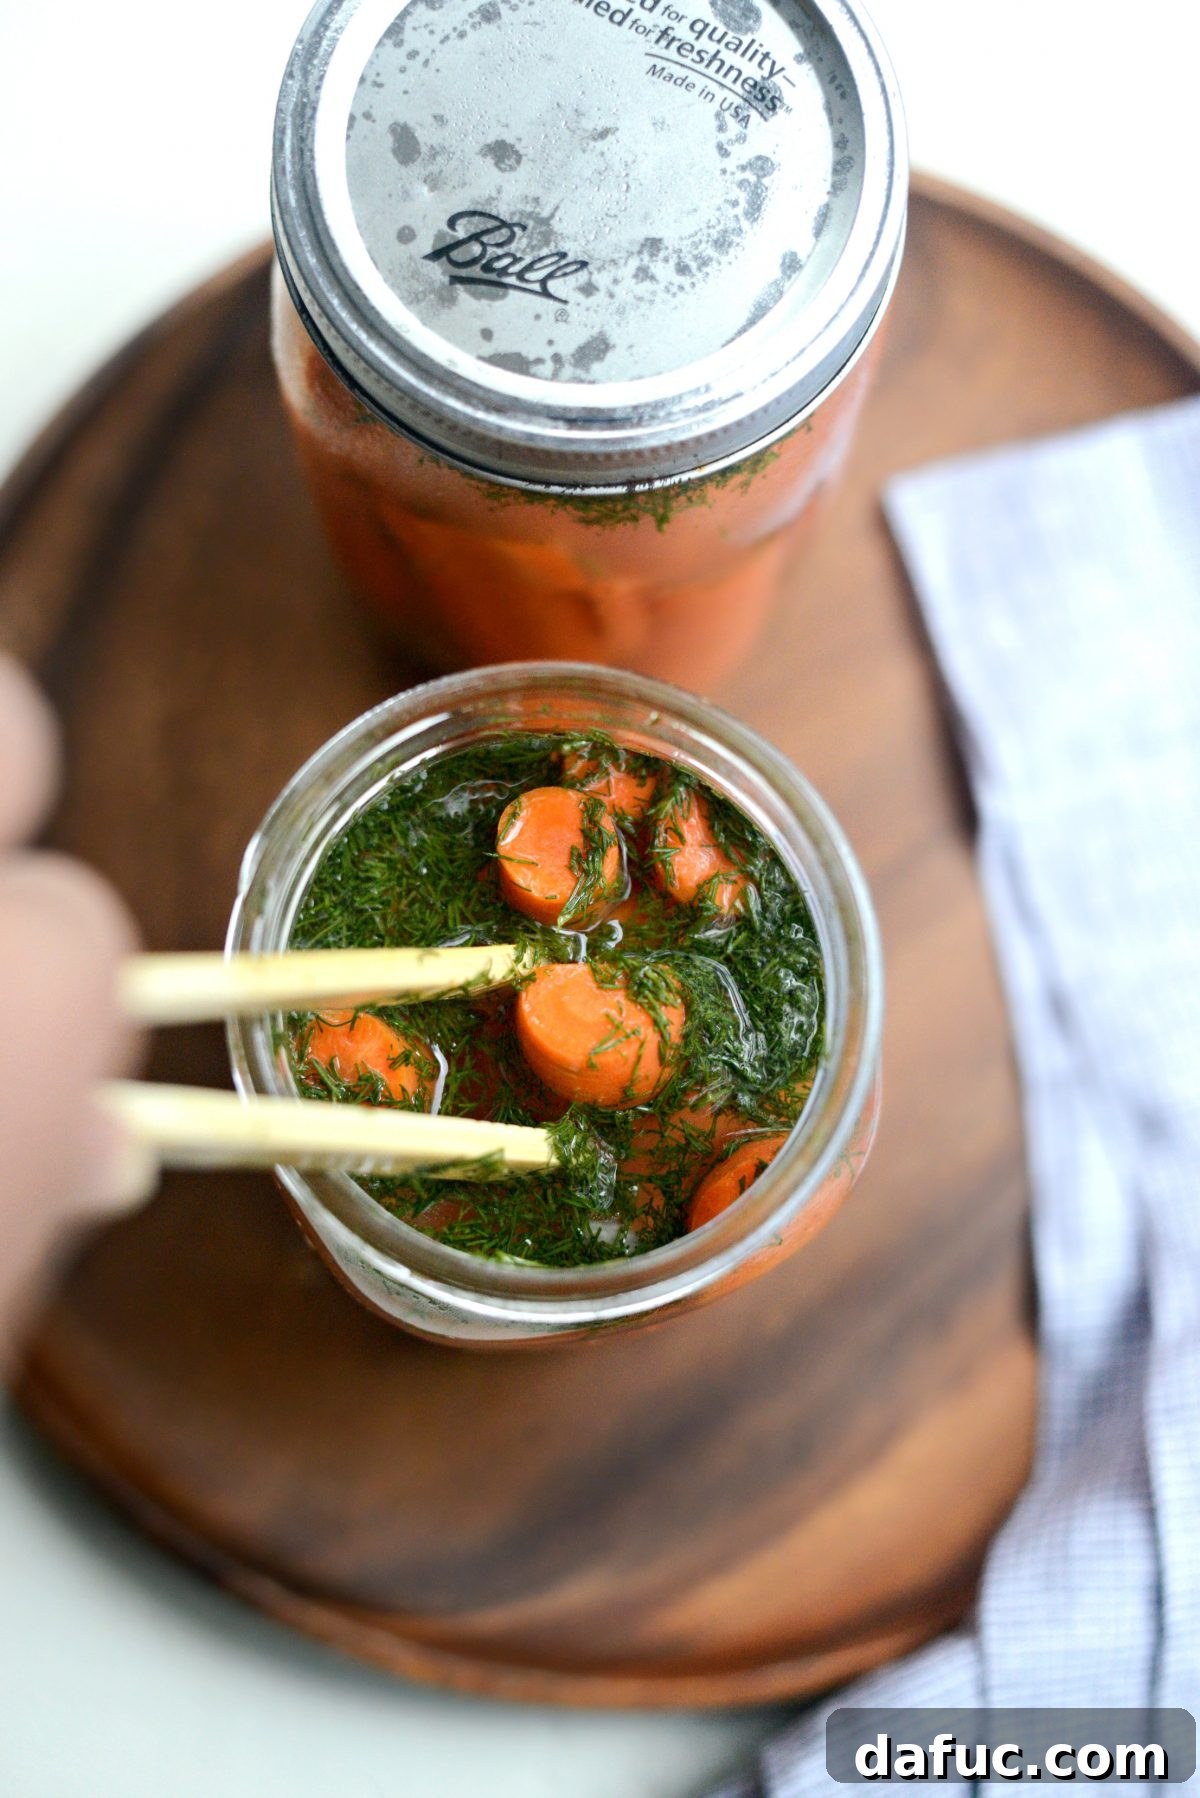
As a final tip, I highly recommend using a pair of bamboo tongs for snagging these delicious carrots from the jar. Not only does it make serving easy and mess-free, but it’s also a more sanitary way to handle them, preventing the introduction of unwanted bacteria from your hands. Mine are from Pampered Chef, but many excellent options are available online (check the link in the recipe section below).
Enjoy! And if you give this Naturally Fermented Dilly Carrots recipe a try, don’t hesitate to share your experience! Snap a photo and tag me on Twitter or Instagram!
Pin Recipe
Leave a Review »
Naturally Fermented Dilly Carrots
These Naturally Fermented Dilly Carrots are crisp, garlicky and delicious! Not only good for you, these also make for a great snack or served next to pickles at your next get together. Simple ingredients and nature does all the work.
Ingredients
- 1 clean 32 ounce glass, wide-mouth jar with tight fitting lid
- 1 bunch carrots with leafy green tops, unpeeled (about 6)
- 2 to 3 cloves garlic, smashed and peeled
- 2 tablespoon chopped fresh dill
- 2 tablespoons sea salt
- filtered water
Equipment
- Bamboo Tongs
Instructions
- Trim off the leafy tops of the carrots and cut in half so you have 2 shorter carrots. Cut the thicker ends, in half lengthwise.
- Place the smashed and peeled garlic cloves, fresh dill, sea salt and carrots into the jar. Fill to within one inch of the top with filtered water.
- Cover loosely and allow to sit at room temperature for 4-7 days; you can try them at 4 days and see if you want them to be more sour or not, to get them more sour/soft leave them out at room temperature longer. Because the carrots are more dense, they take longer to ferment than other lactoferments like sauerkraut or pickles. They also stay crunchier, which we like!
- After fermenting at room temperature, tighten the lid and keep in your fridge and they last for up to 6 months!
Notes
This recipe is for 1 jar. For 2 jars, simply double this recipe.
Nutrition Disclaimer: All information presented on this site is intended for informational purposes only. I am not a certified nutritionist and any nutritional information shared on SimplyScratch.com should only be used as a general guideline.
Serving: 1g, Calories: 12kcal, Carbohydrates: 3g, Protein: 1g, Fat: 1g, Saturated Fat: 1g, Polyunsaturated Fat: 1g, Monounsaturated Fat: 1g, Sodium: 1182mg, Potassium: 93mg, Fiber: 1g, Sugar: 1g, Vitamin A: 4739IU, Vitamin C: 2mg, Calcium: 11mg, Iron: 1mg