
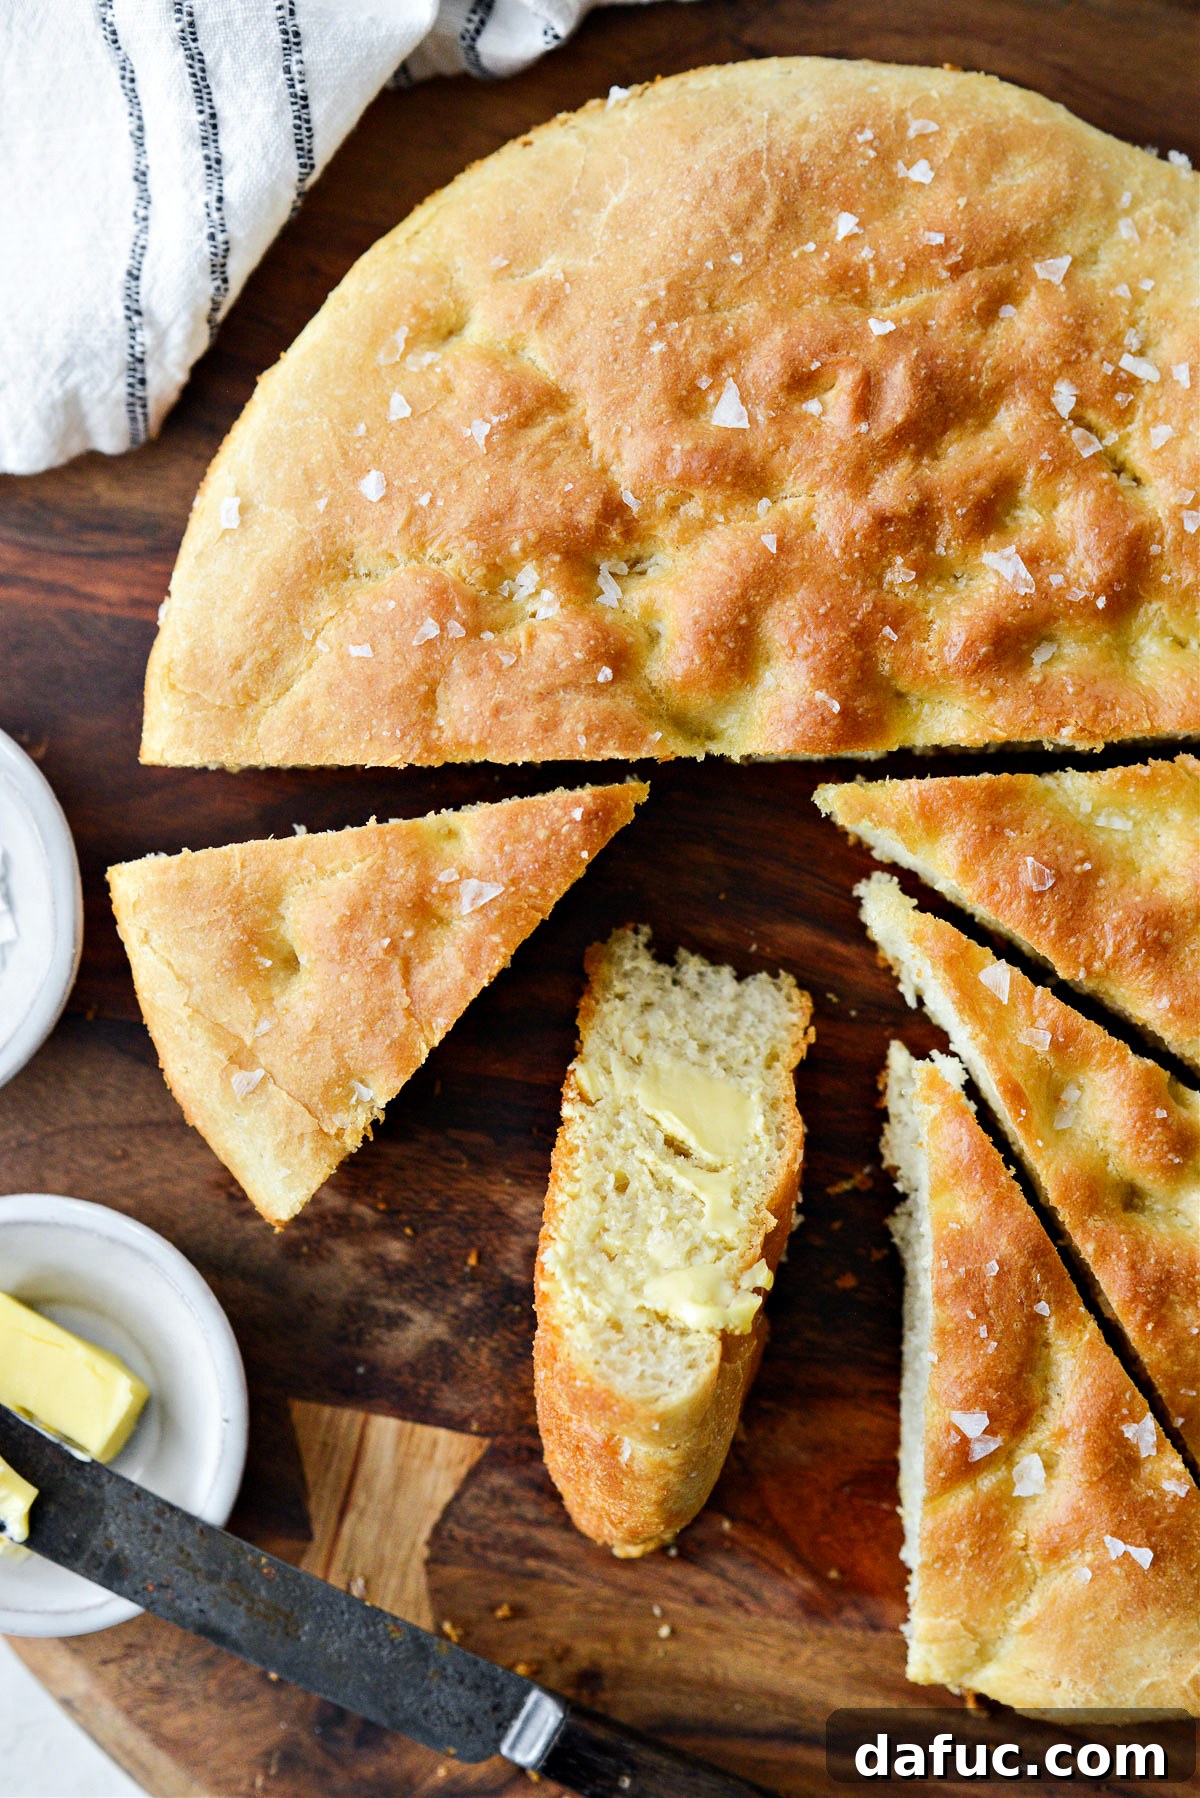
The Ultimate Guide to Easy Homemade Focaccia Bread: Crispy, Fluffy & Flavorful
Imagine the aroma of freshly baked bread filling your kitchen, promising a delightful culinary experience. Our homemade focaccia recipe delivers just that – a remarkably easy path to creating a light, tender Italian bread with an irresistibly crisp and buttery exterior. This guide will walk you through every step, ensuring your first loaf (or your fiftieth!) is a resounding success. Forget complicated techniques; with simple, readily available ingredients, you can effortlessly craft a single, perfect loaf of this versatile artisan bread right in your own home.
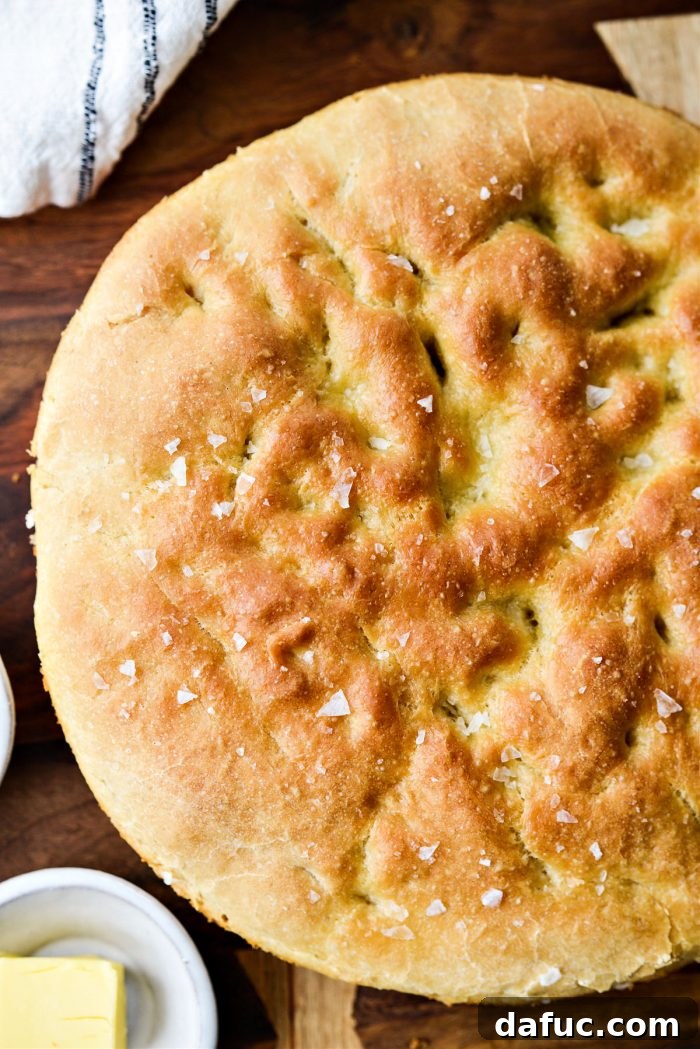
Why Homemade Focaccia is a Must-Try for Every Baker
Focaccia stands out as one of the most approachable and rewarding yeast breads to bake. This classic Italian flatbread boasts a unique texture profile: a wonderfully light and airy interior contrasted by a deliciously crisp, golden-brown crust, often kissed with olive oil. Its rustic charm and delectable taste make it a staple in Italian cuisine and a favorite worldwide.
The Versatility of Focaccia: More Than Just Bread
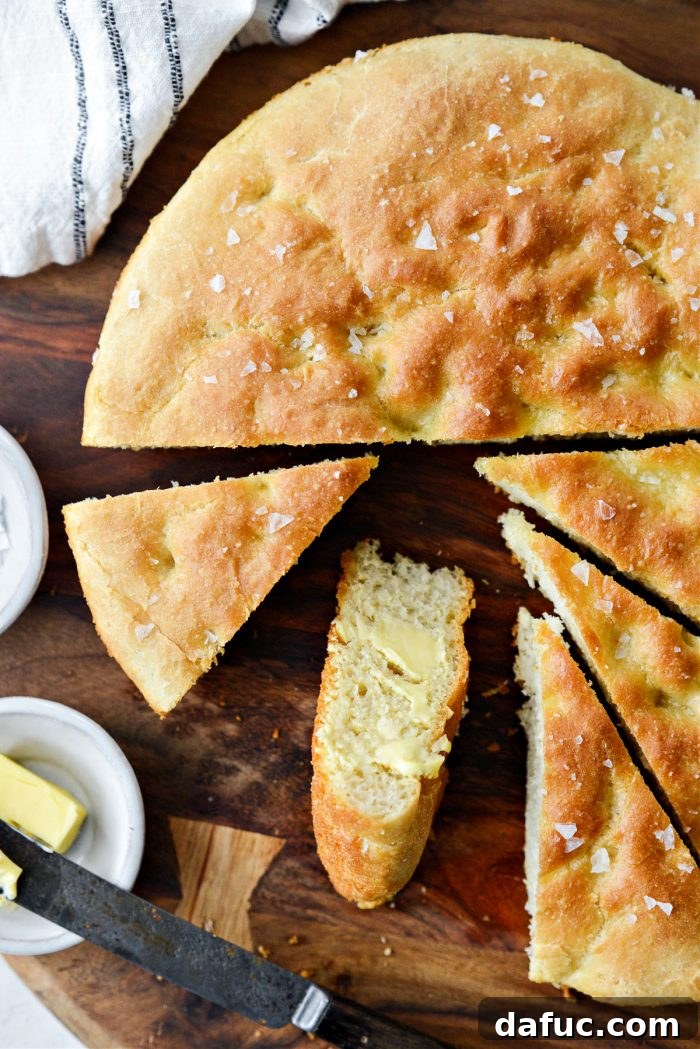
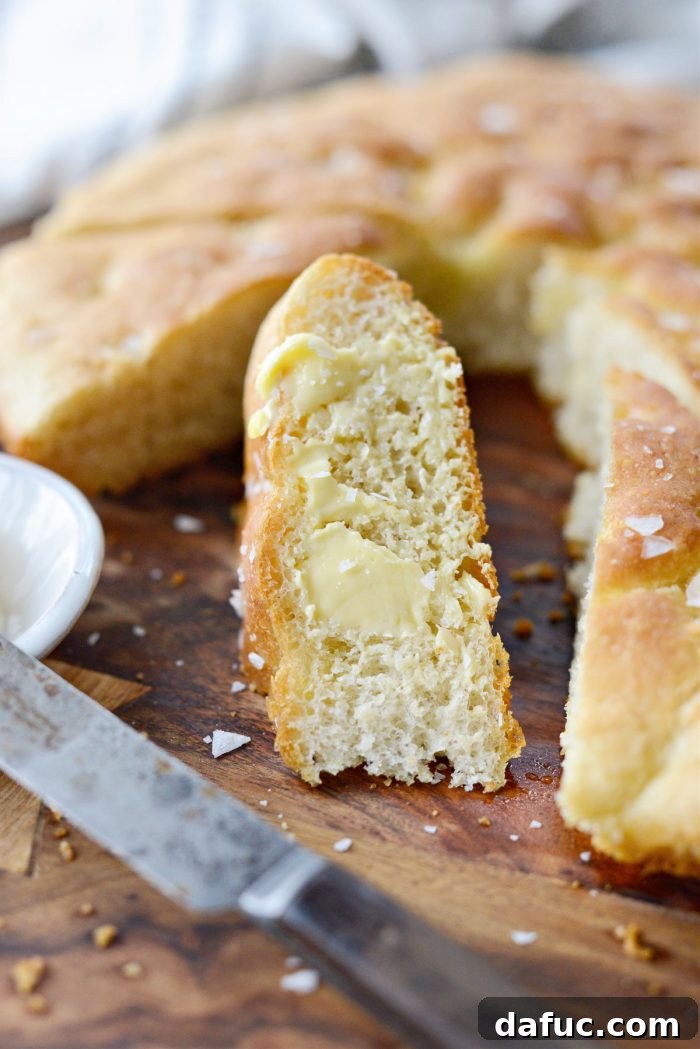
The beauty of focaccia lies in its incredible versatility. It’s not just a side dish; it can elevate an entire meal. Serve it simply by swiping a warm slice with salted butter, or dive into a rich toasted garlic olive oil dip. Focaccia also makes an exceptional foundation for gourmet sandwiches, offering a soft yet structured base that holds fillings beautifully. For a truly unique twist, use it as a pizza crust, letting its airy texture and olive oil flavor shine through your favorite toppings.
If you’ve ever made pizza dough, you’ll find the process for focaccia strikingly similar – and just as satisfying. Even if the thought of working with yeast breads feels daunting, rest assured, you are more than capable! Many home bakers initially feel a bit stressed or nervous when tackling yeast, but with a few key tricks and a confident mindset, you’ll be an expert in no time. Let’s demystify yeast baking and set you up for success:
- Fresh Yeast is Key: Always check the expiration date on your yeast package. Using fresh, active yeast is paramount for a proper rise. To maintain its potency, store your yeast in the refrigerator or freezer once opened.
- Perfect Water Temperature: Yeast is a living organism, sensitive to temperature extremes. Aim for warm water between 105°F and 110°F (40-43°C). Water that’s too hot will kill the yeast, while water that’s too cold won’t activate it effectively. A digital instant-read thermometer is an invaluable tool here.
- Follow Recipe Guidelines: Pay close attention to the specific type of yeast recommended (active dry vs. rapid rise) and adhere to the indicated rise times and baking temperatures. Environmental factors like room temperature can influence rise times, so be observant.
- Embrace the Process with Confidence: Remember, it’s just bread! Don’t be intimidated. Baking is a journey of learning and experimentation. With practice, you’ll develop a feel for the dough and a keen understanding of the process. You absolutely can do this!
Armed with these foundational tips, you’re ready to embark on your focaccia-making adventure. Prepare to create an incredible homemade focaccia that will quickly become a favorite in your kitchen.
Essential Ingredients for Your Perfect Focaccia
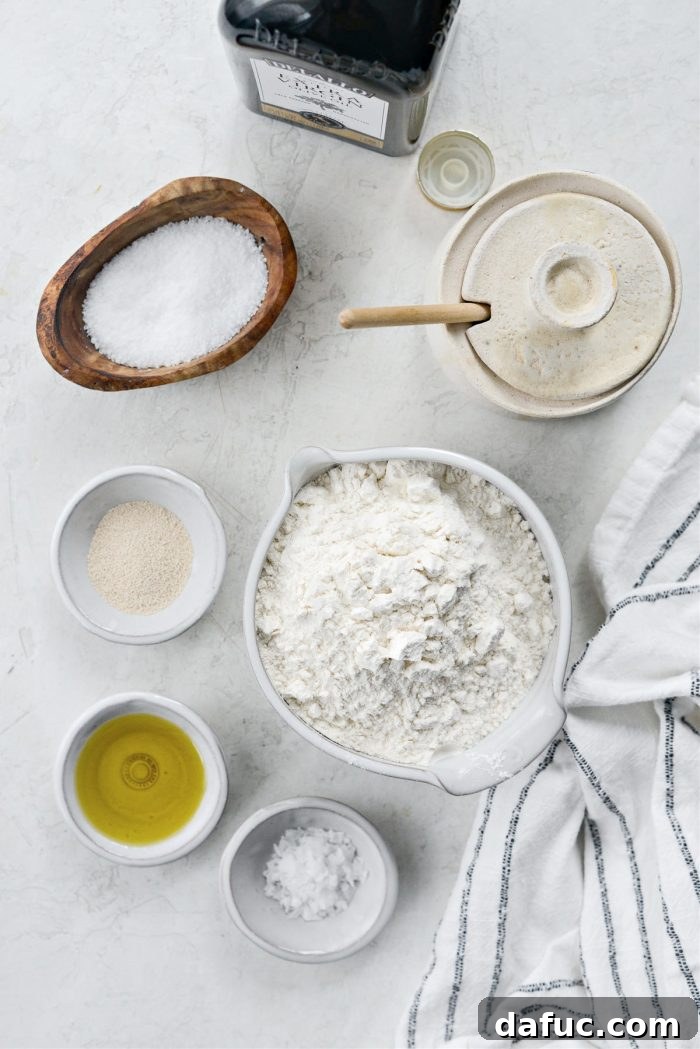
One of the beauties of focaccia is its reliance on a short list of pantry staples. Each ingredient plays a crucial role in achieving that signature flavor and texture. For this homemade focaccia recipe, you will need:
- Honey: A touch of honey not only adds a subtle sweetness but also helps to activate the yeast and gives the bread a beautiful golden hue.
- Warm Water: Crucial for activating the yeast. As mentioned, temperature is key, so ensure it’s within the 105-110°F range.
- Active Dry Yeast: The leavening agent that gives focaccia its characteristic airy texture and rise.
- Unbleached Bread Flour: Bread flour has a higher protein content compared to all-purpose flour, which leads to stronger gluten development. This is essential for focaccia’s chewy, satisfying crumb.
- Kosher Salt: Enhances the flavor of the bread and also helps to regulate yeast activity, ensuring a controlled rise.
- Olive Oil: A generous amount of good quality olive oil is fundamental to focaccia. It contributes to the rich flavor, tender interior, and creates that wonderful crispy, golden crust. You’ll need it for mixing, greasing, and drizzling.
- Flaky Sea Salt: This is sprinkled on top before baking, providing a delightful textural contrast and bursts of briny flavor with every bite.
Step-by-Step Guide to Baking Irresistible Focaccia
Follow these detailed instructions to create a truly remarkable focaccia bread. Each step is designed to be clear and straightforward, making the process enjoyable for bakers of all skill levels.
Step 1: Activating the Yeast
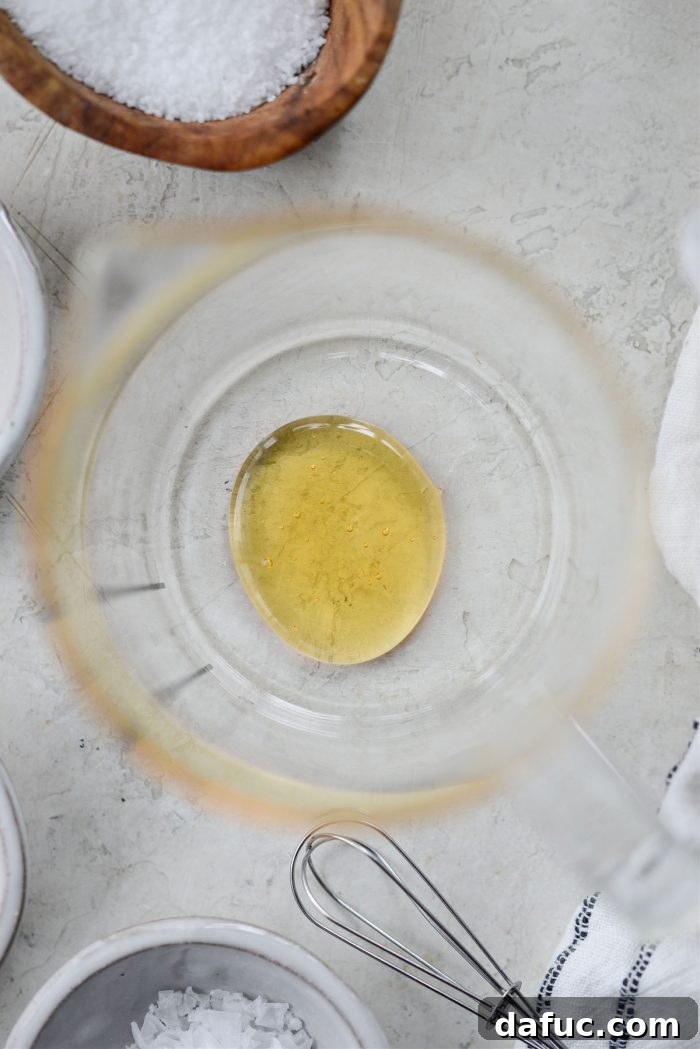
Begin by adding 1 teaspoon of honey to a liquid measuring cup. Honey provides a readily available food source for the yeast, helping it to become active.
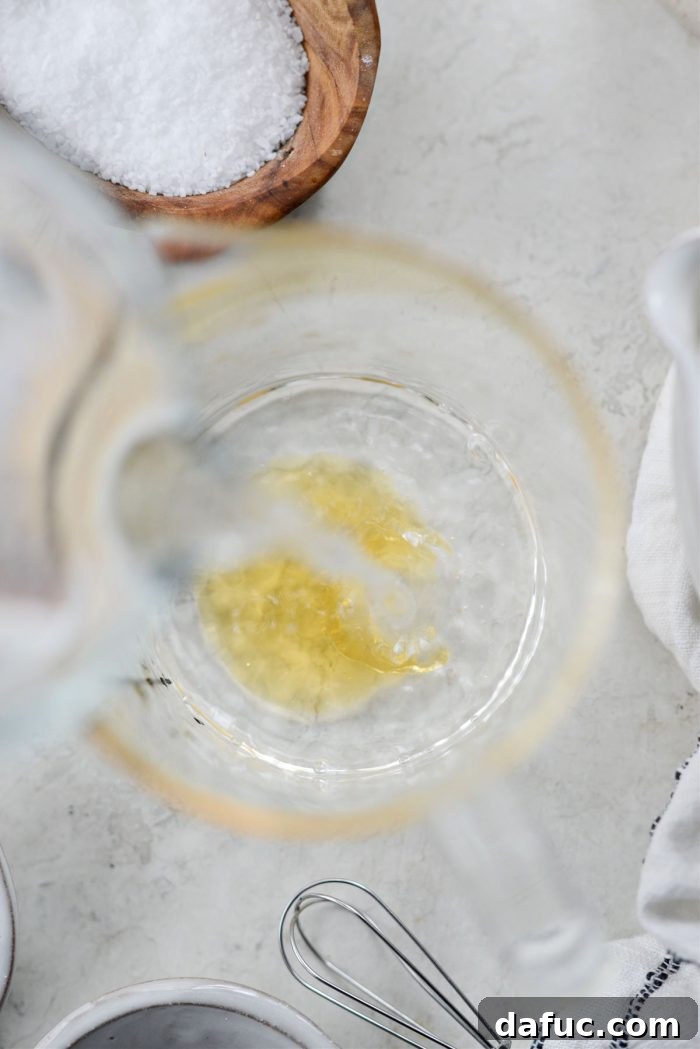
Next, whisk in 1 cup of warm water. Remember the golden rule: aim for a temperature of about 110-115°F (43-46°C) to ensure the yeast thrives without being damaged.
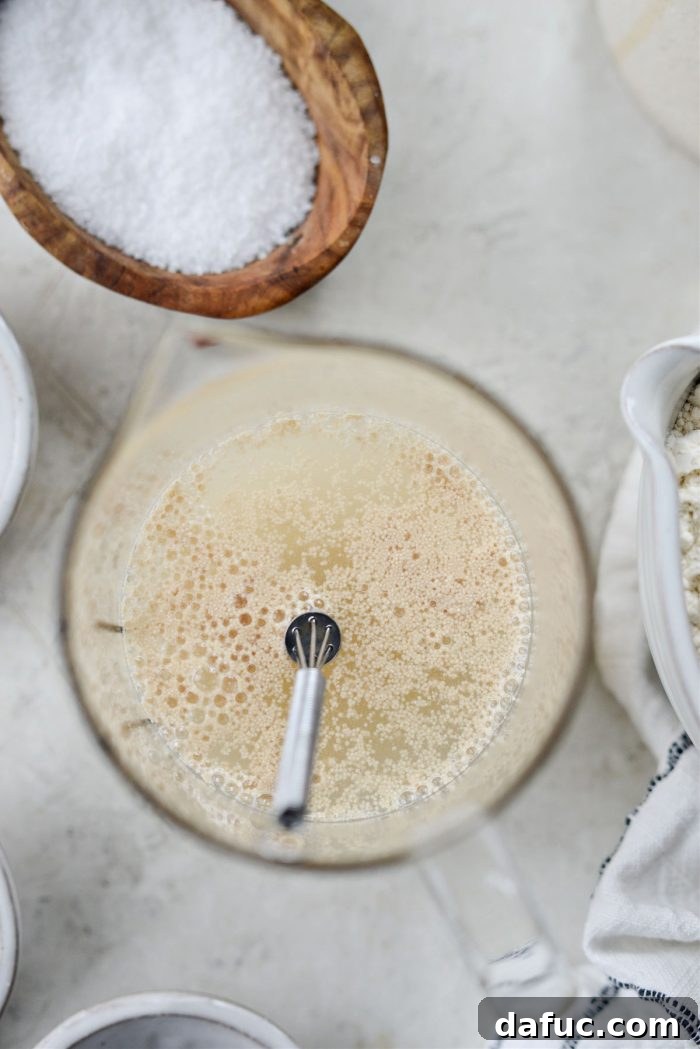
Finally, sprinkle in 2-1/4 teaspoons of active dry yeast. Give it a gentle whisk to combine. Set this mixture aside for approximately 5 minutes, allowing the yeast to “bloom.” You’ll know it’s active when it becomes foamy and frothy on the surface.
Step 2: Preparing the Dry Ingredients
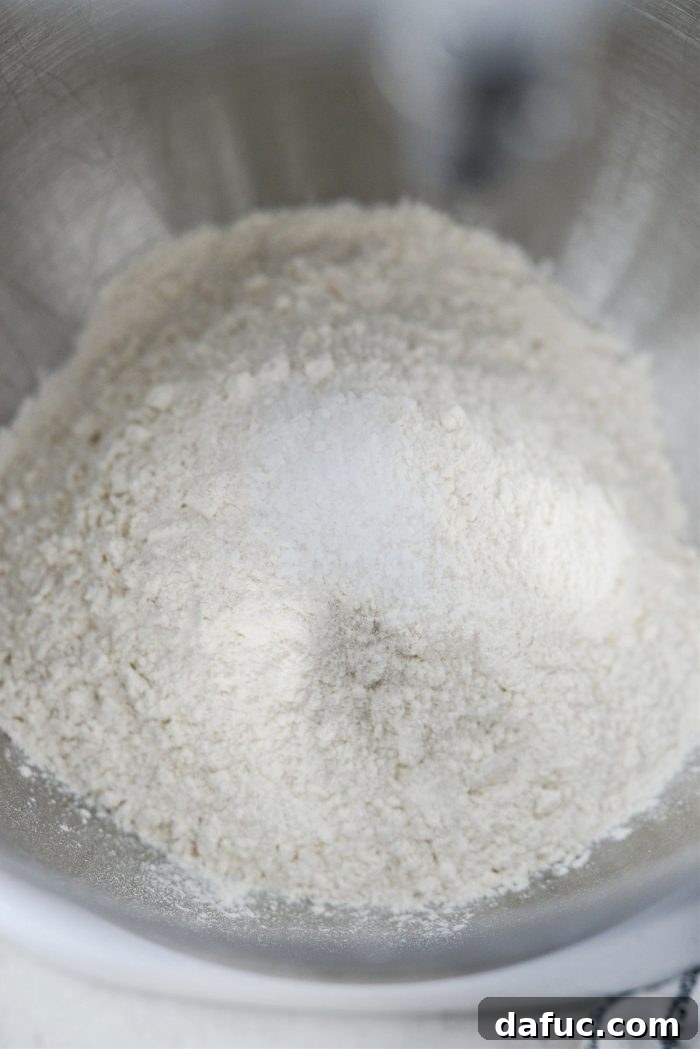
While your yeast blooms, turn your attention to the dry ingredients. In the bowl of your stand mixer, fitted with a dough hook attachment, combine 2-2/3 cups of unbleached bread flour and 1 teaspoon of kosher salt. Mix on low speed for a brief moment to ensure the salt is evenly distributed throughout the flour.
Step 3: Combining Wet and Dry Ingredients
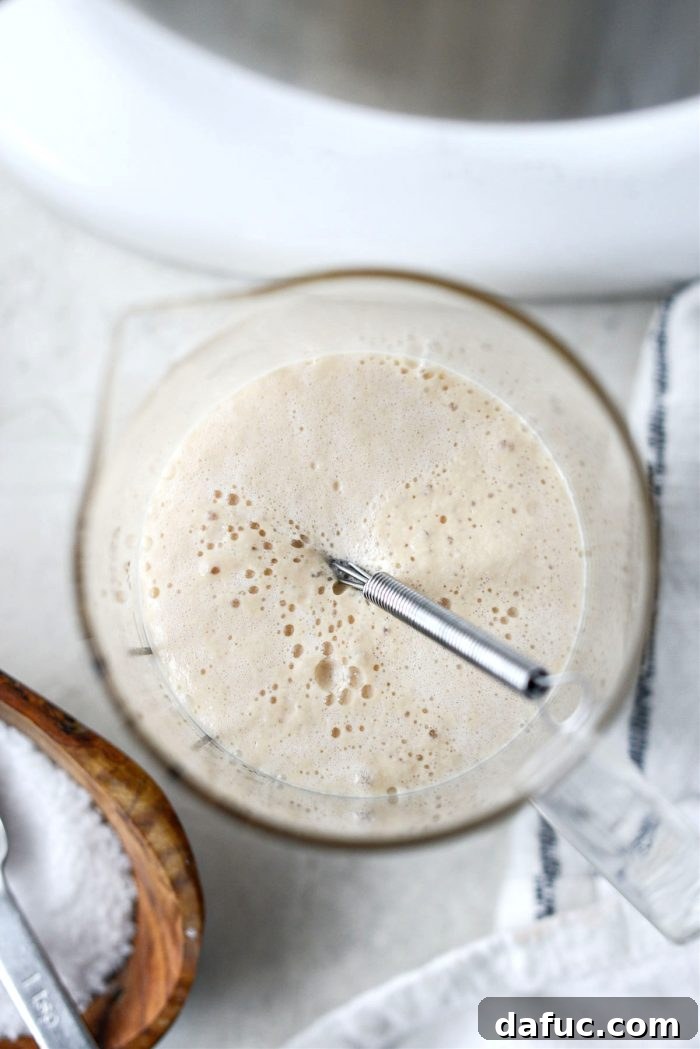
After about 5 minutes, your yeast mixture should exhibit a beautiful foaminess, indicating that it’s alive and ready to work its magic.
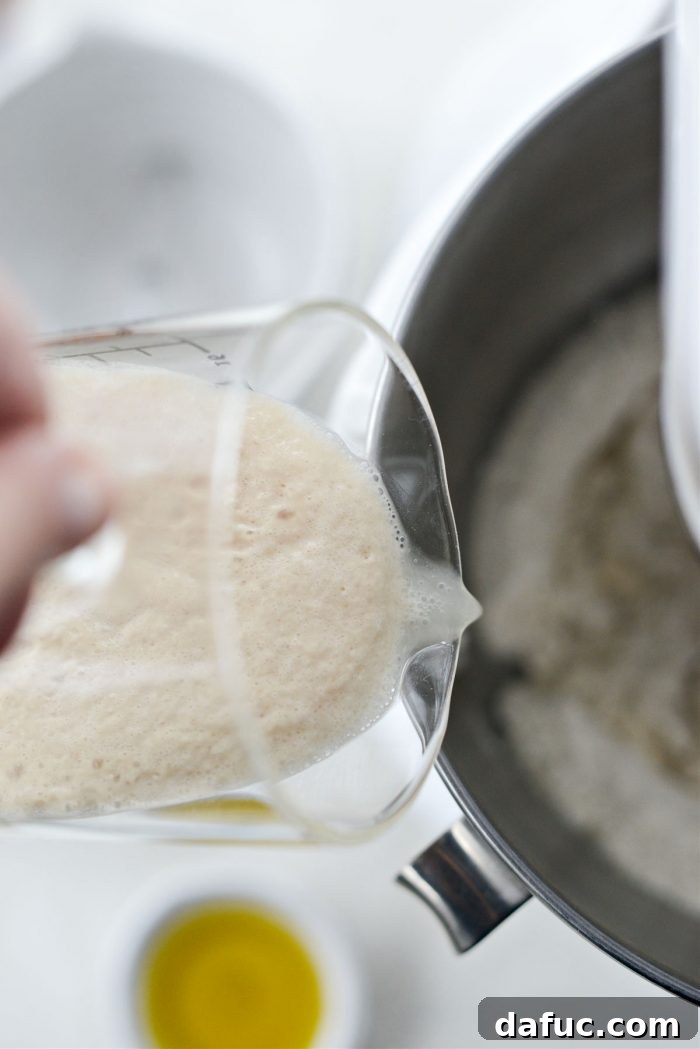
With your mixer running on low speed, slowly and gradually pour the foamy yeast mixture into the bowl containing the dry ingredients. Allow the dough hook to start incorporating everything.
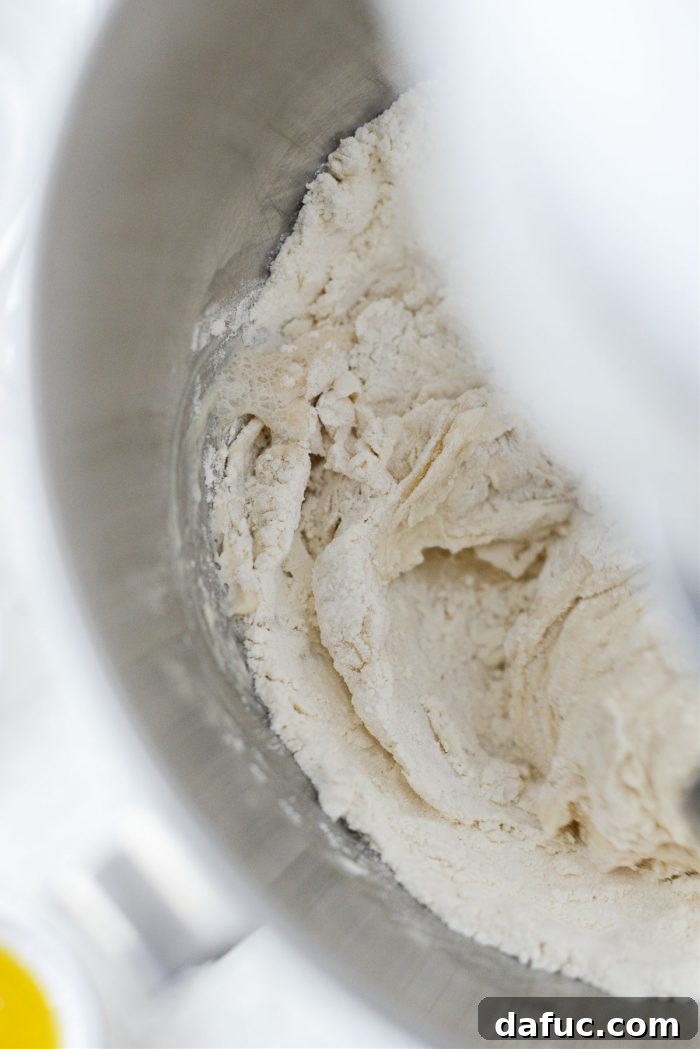
Periodically stop the mixer to scrape down the sides of the bowl. This ensures all the flour is fully incorporated into the dough.
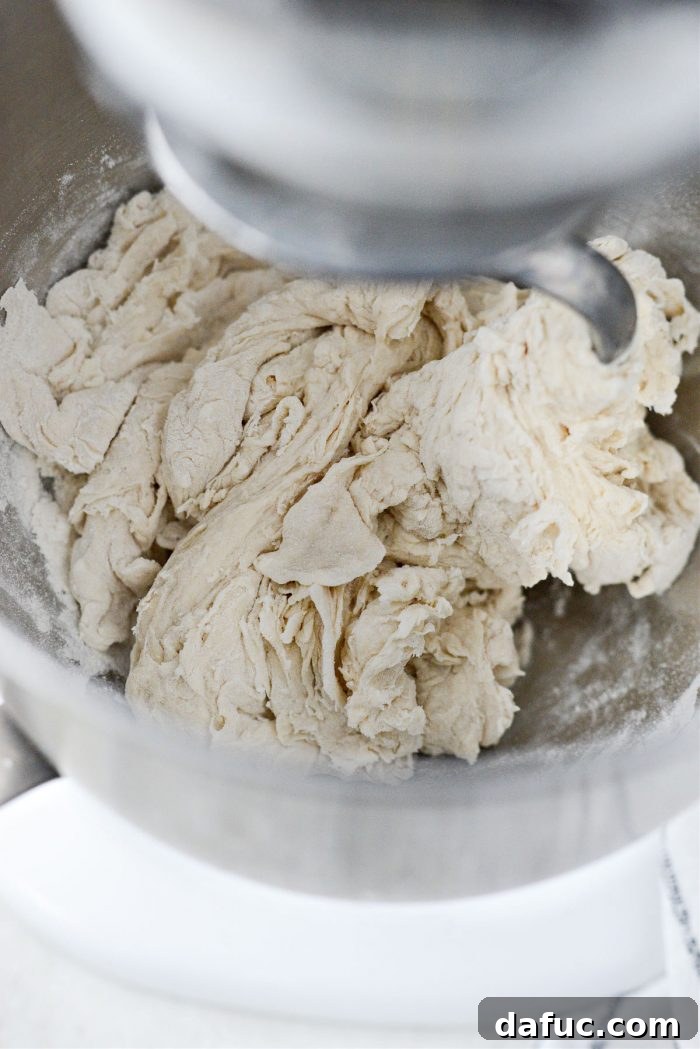
Continue mixing until the dough is just about combined, forming a shaggy mass. Avoid overmixing at this stage.
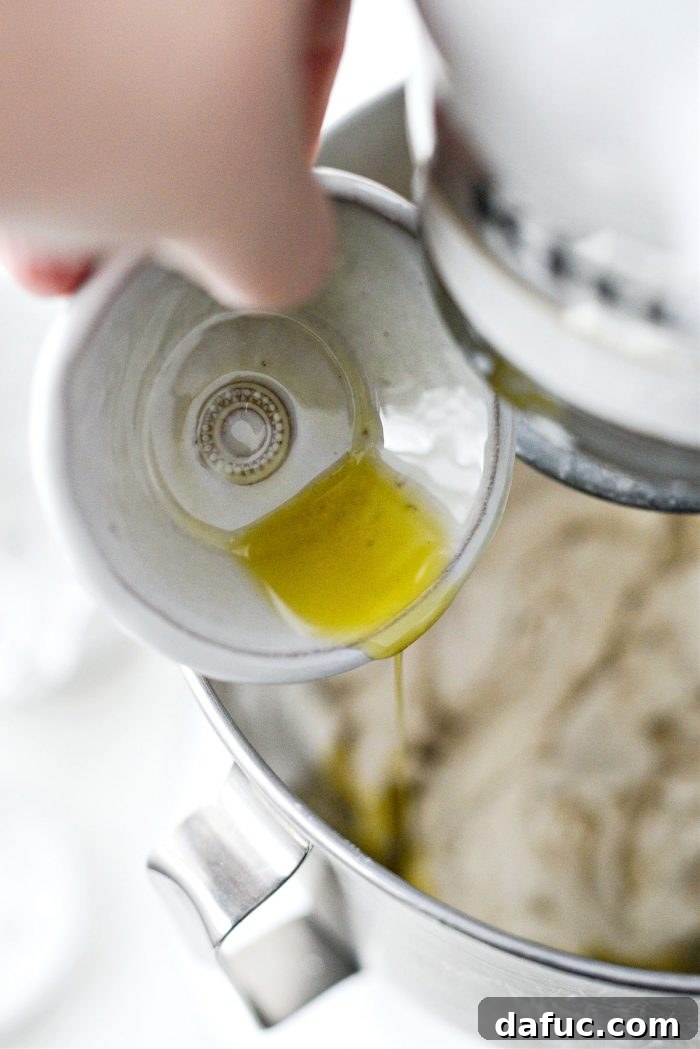
Now, pour in 2 tablespoons of high-quality olive oil. This is crucial for focaccia’s flavor and texture.
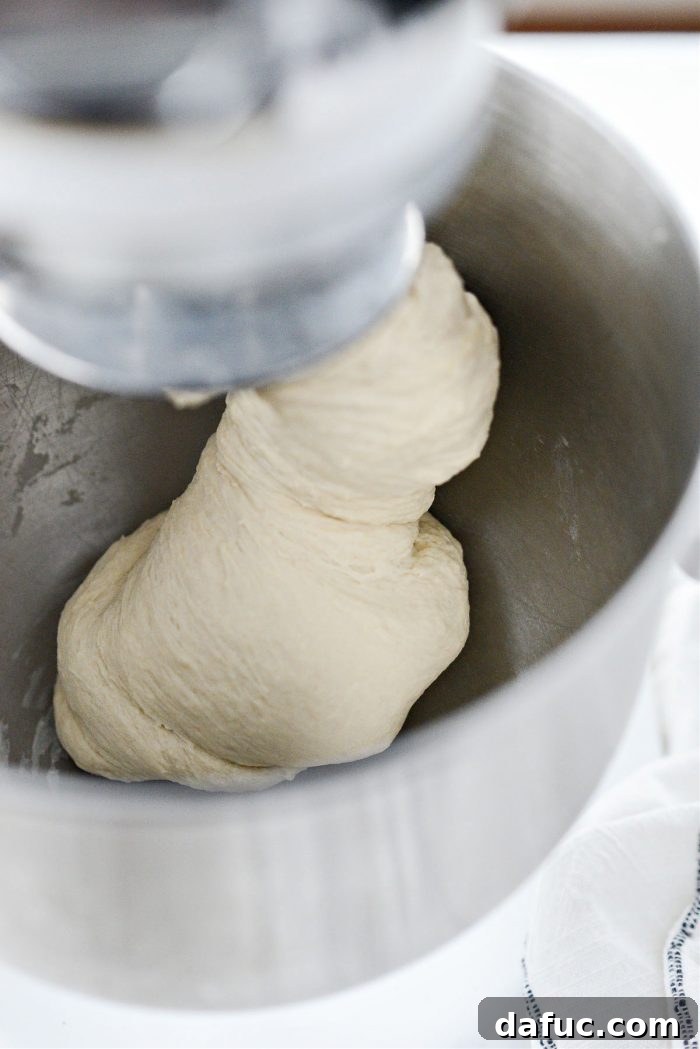
Increase the mixer speed to low and let it knead the dough for a full 4 minutes. During this time, the dough will transform, becoming smooth, supple, and elastic. It should eventually climb up the dough hook, indicating proper gluten development.
Step 4: The First Rise (Bulk Fermentation)
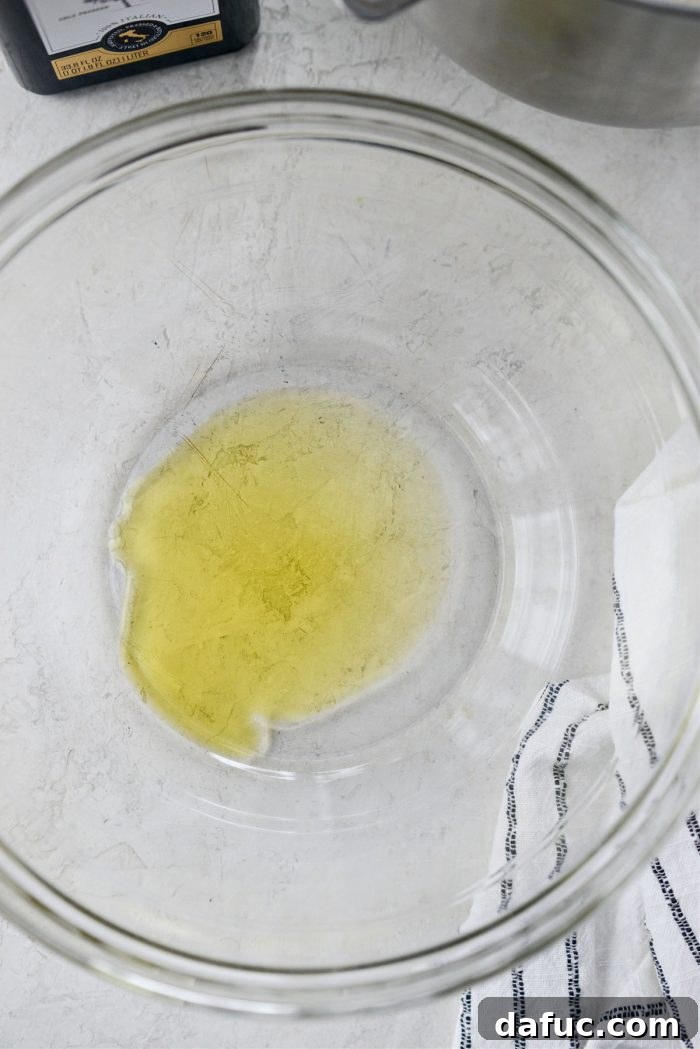
Add 1 tablespoon of olive oil to a large, clean mixing bowl. This will prevent the dough from sticking during its rise.
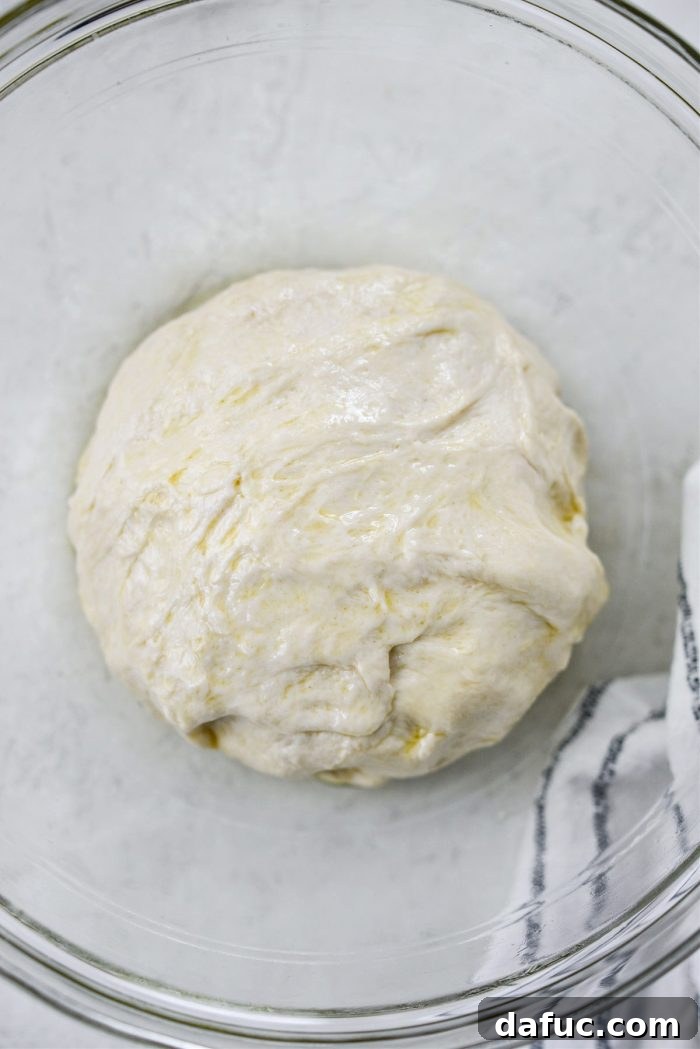
Gently remove the dough from the mixer and shape it into a smooth ball. Transfer the dough to the oiled bowl, turning it once or twice to ensure it and the sides of the bowl are thoroughly coated with the olive oil.
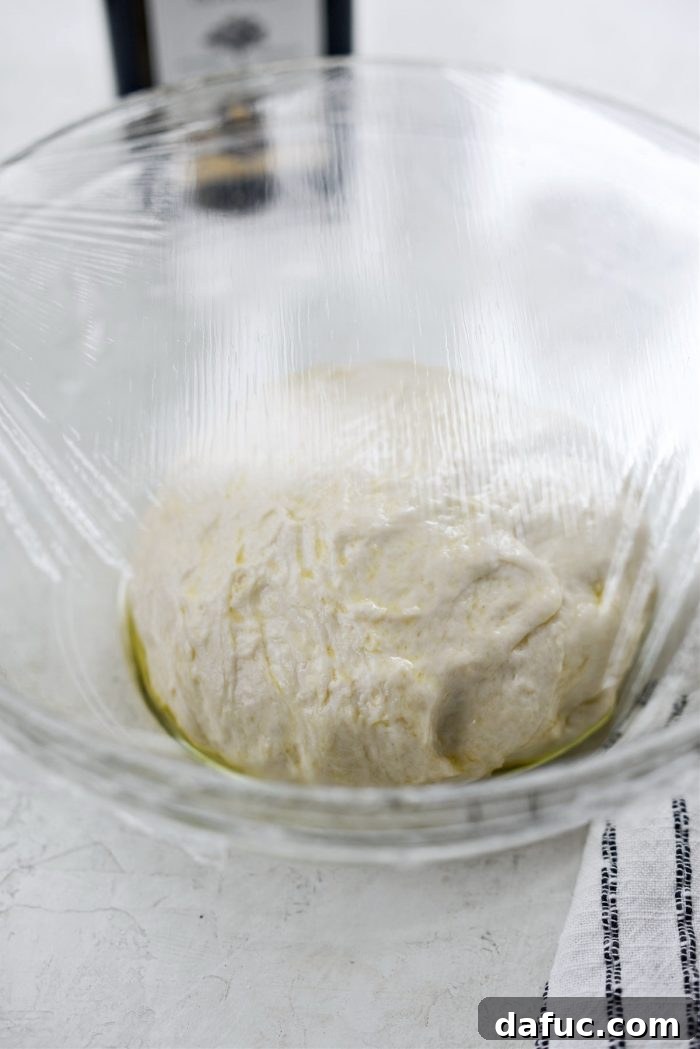
Cover the bowl tightly with plastic wrap to prevent a skin from forming on the dough. Place it in a warm, draft-free spot in your kitchen. This initial rise, known as bulk fermentation, should take approximately 1 hour.
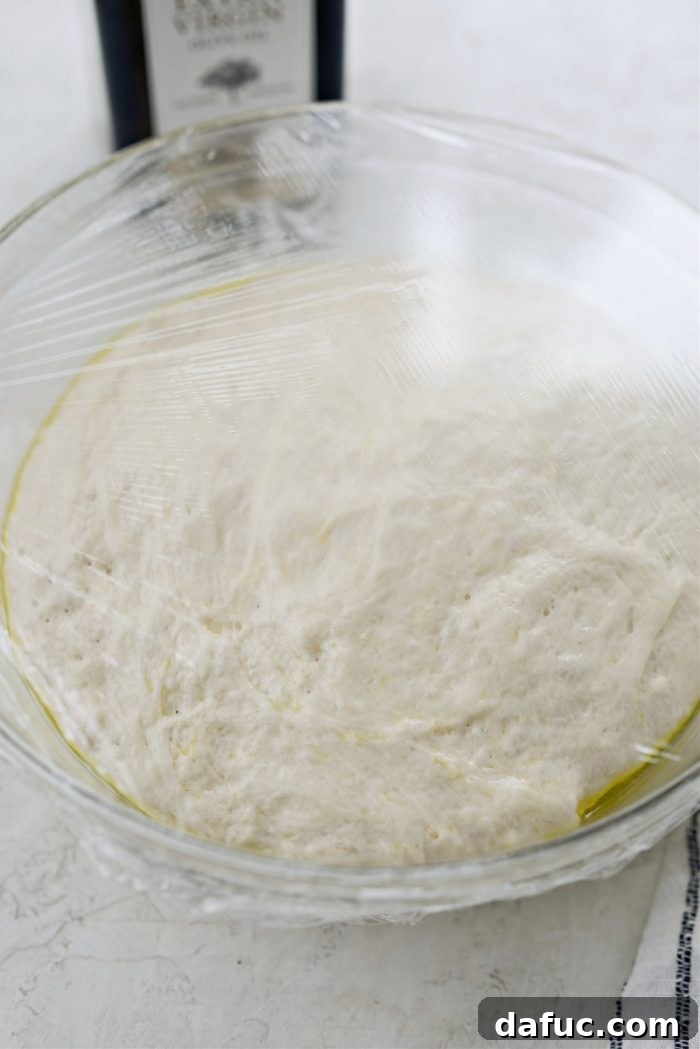
After 1 hour, your dough should have proudly doubled in size, appearing puffy and light. This indicates the yeast has been hard at work producing gas.
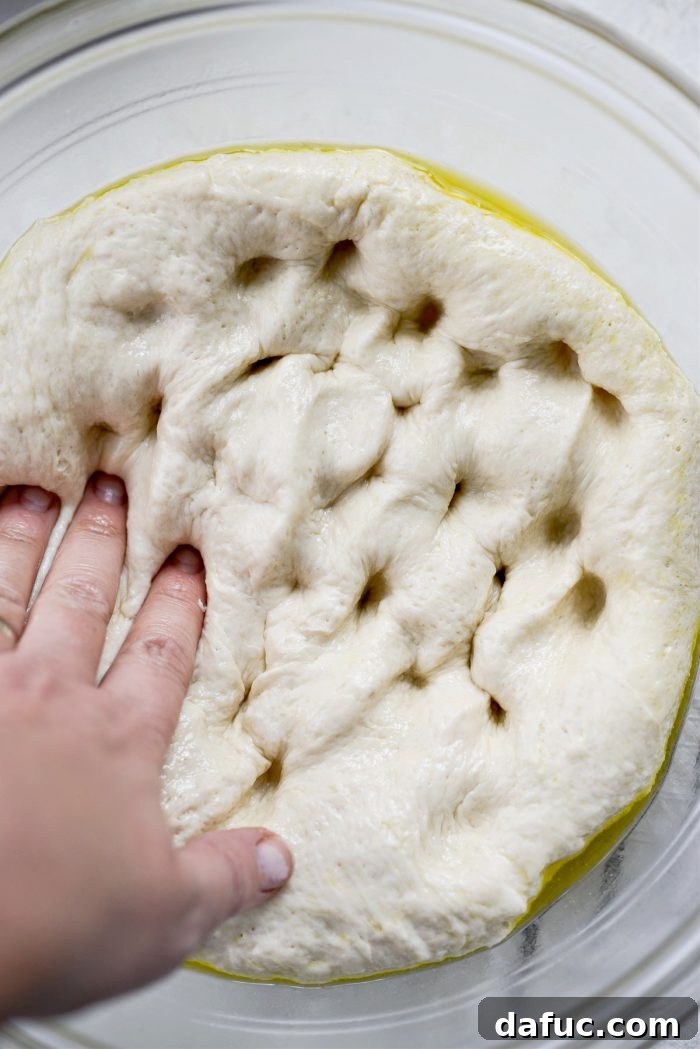
Gently press or “punch down” the dough to release the accumulated air. This redistributes the yeast and helps create an even texture in the final bread.
Step 5: Preparing the Baking Pan and Second Rise
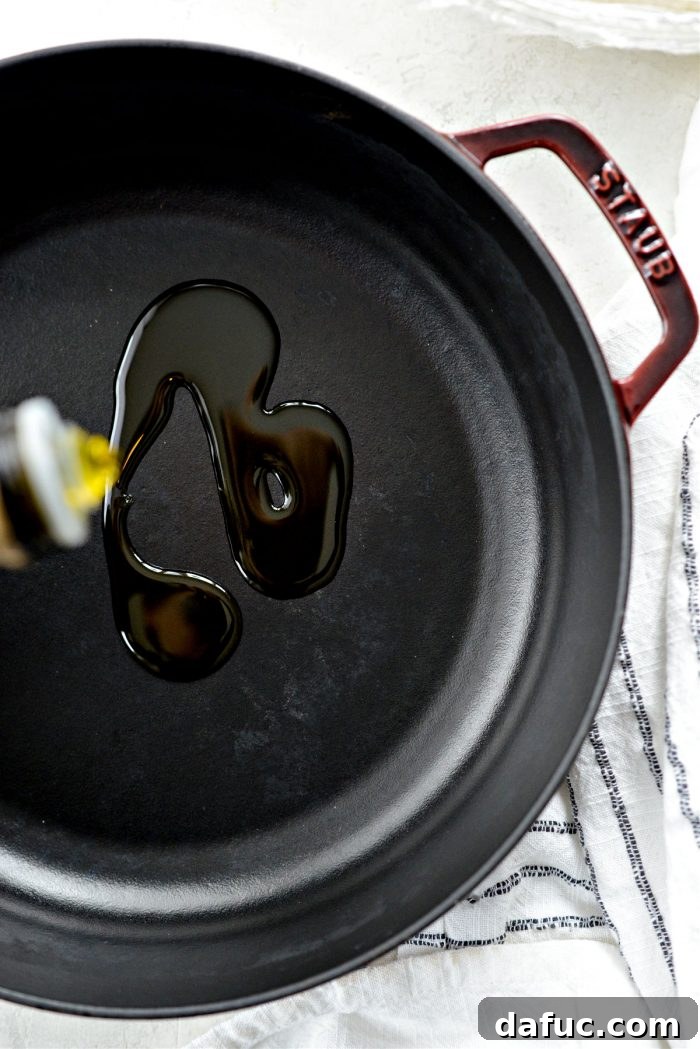
Generously grease a 9×13 inch nonstick baking vessel (or an equivalent size, such as a cast iron skillet) with plenty of olive oil. Don’t be shy with the oil; it’s essential for achieving that beautifully crisp bottom crust.
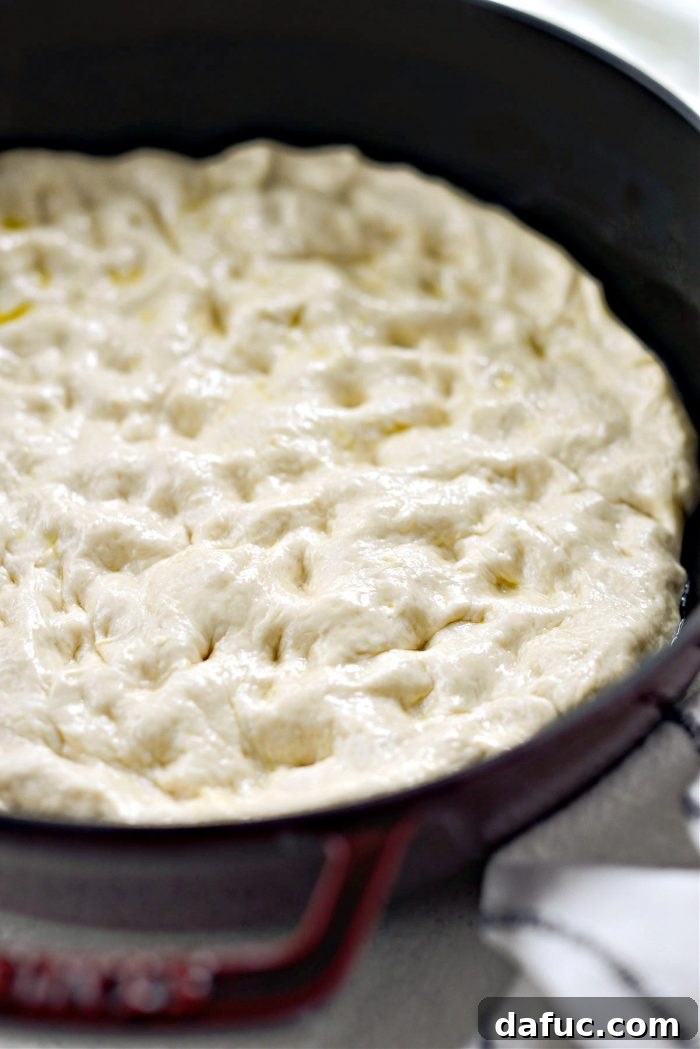
Transfer the dough to the prepared pan. Using your fingertips, gently press and stretch the dough to fill the pan. If the dough resists, let it rest for a few minutes and then continue stretching. This gentle handling preserves the airy structure.
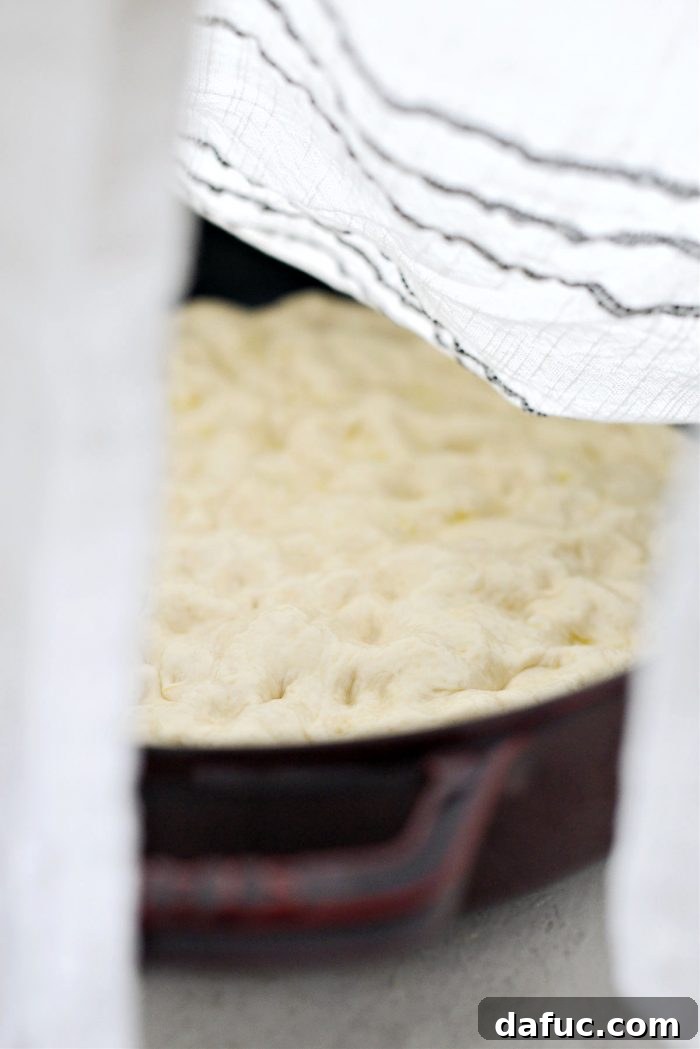
Cover the pan loosely with plastic wrap or a clean kitchen towel. Allow the dough to rise for a second time for 30 minutes. Meanwhile, position an oven rack in the lower third of your oven and preheat your oven to 425°F (220°C).
Step 6: Final Touches and Baking
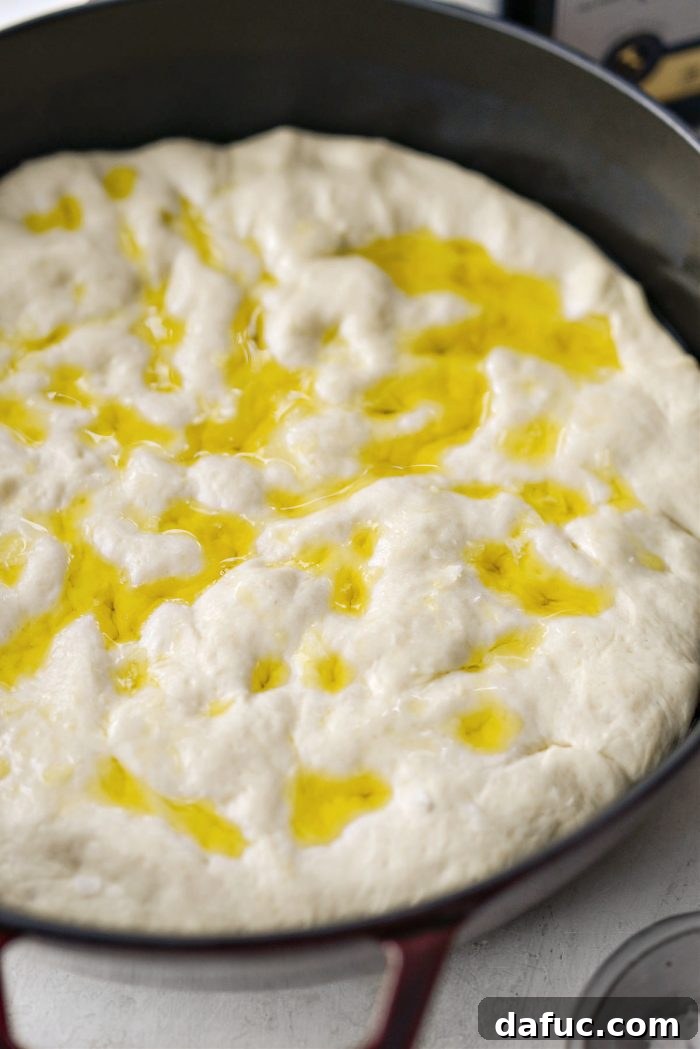
Once the dough has completed its second rise, you’ll notice it’s puffy and soft. Using your oiled fingertips, create the signature focaccia dimples across the surface of the dough. Then, generously drizzle more olive oil over the top and sprinkle with a few generous pinches of flaky sea salt. The dimples will hold the oil, creating pockets of flavor and texture.
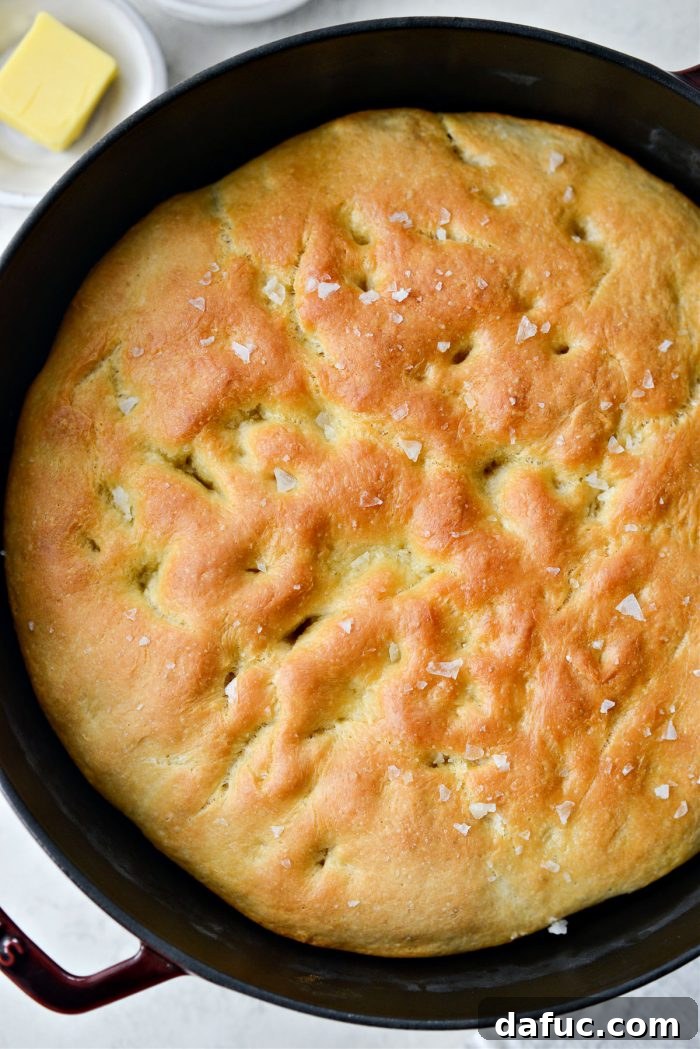
Carefully transfer the pan to your preheated oven. Bake for 25 to 28 minutes. To ensure even baking and a consistent golden-brown crust, rotate the pan halfway through the baking time.
Step 7: Cooling and Serving
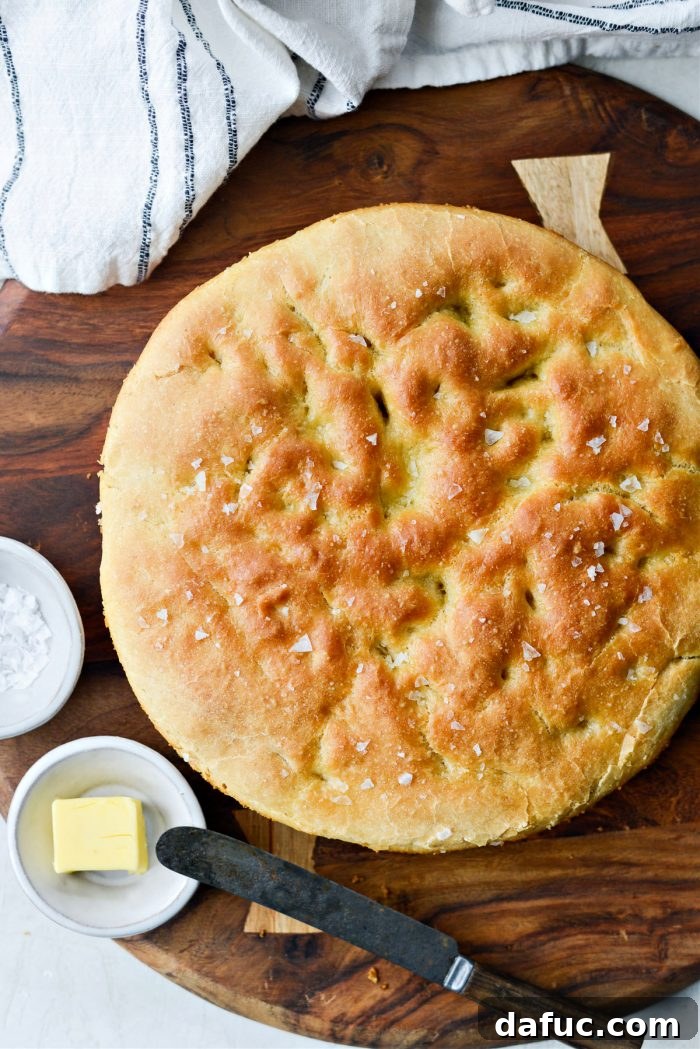
Once baked, your focaccia will be gorgeously golden brown. Let it rest in the pan for 10 minutes. This brief resting period allows the bread to set. Then, carefully transfer it to a wire rack to cool completely. Cooling on a rack prevents the bottom from becoming soggy and helps maintain that desirable crispness.
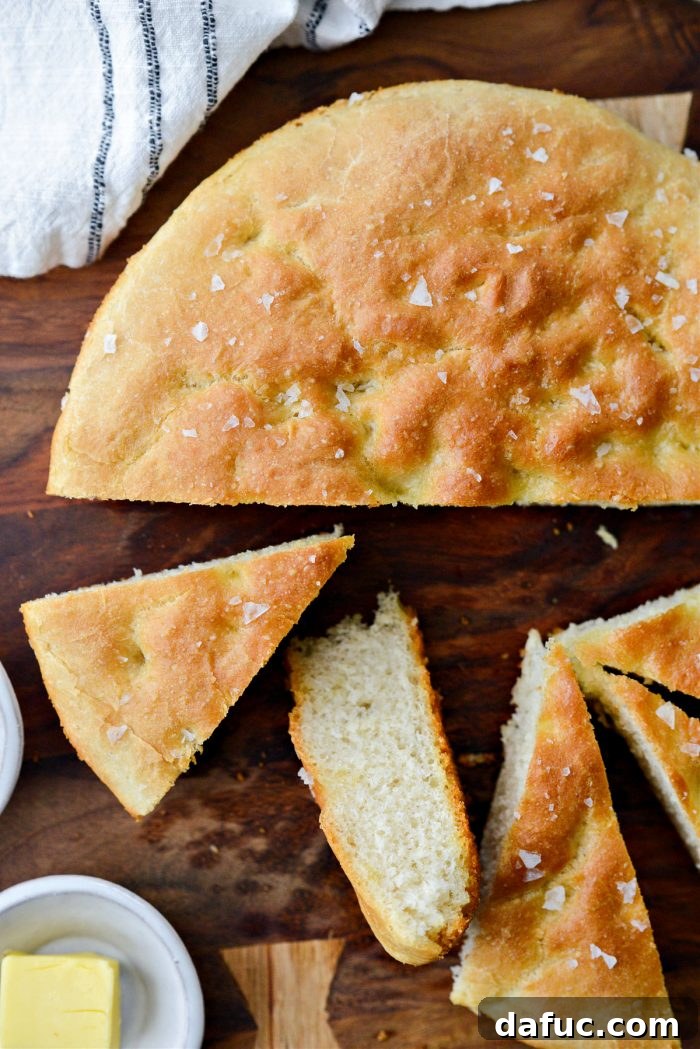
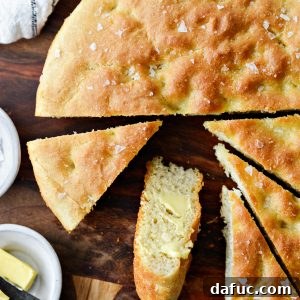
Slice your beautiful homemade focaccia and serve it warm. A simple accompaniment of salted butter and an extra sprinkle of flaky sea salt enhances its natural flavors beautifully.
Enjoying Your Homemade Focaccia: A Culinary Delight
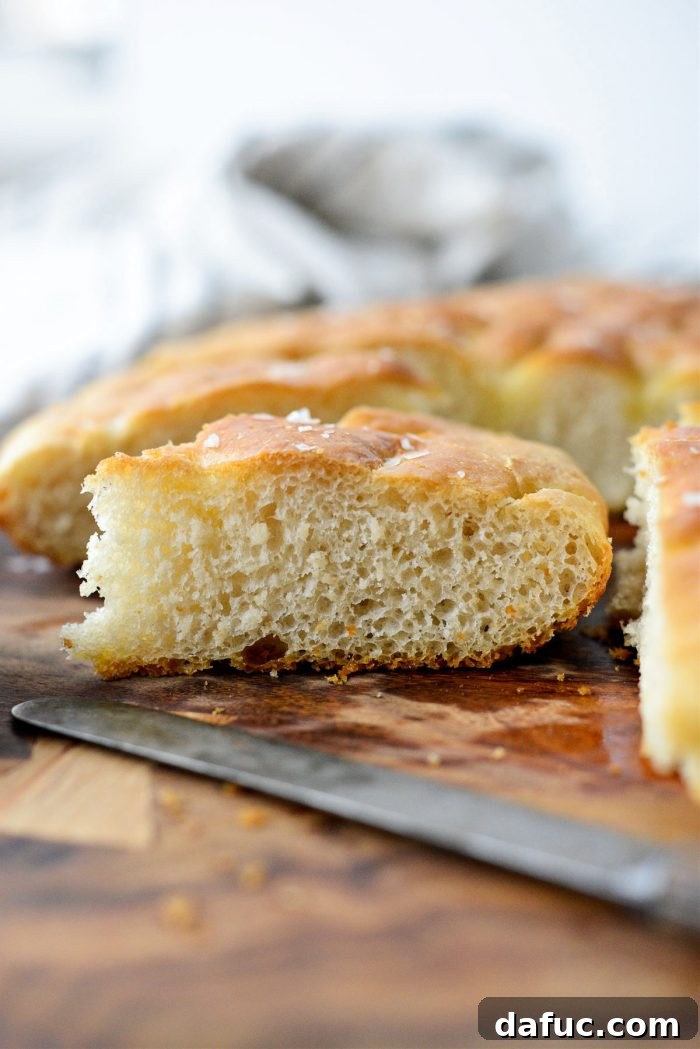
This focaccia is truly a marvel. Its interior is wonderfully light, almost fluffy, while the exterior boasts an irresistible crisp and crunchy texture. It’s magnificent on its own, offering a pure taste of artisan baking. However, its versatility allows it to shine in countless ways. Serve it alongside a hearty soup or a rich pasta dish to soak up every last drop of sauce. It makes an incredible base for a rustic pizza or can be sliced horizontally for delicious sandwiches, filled with your favorite meats, cheeses, and vegetables.
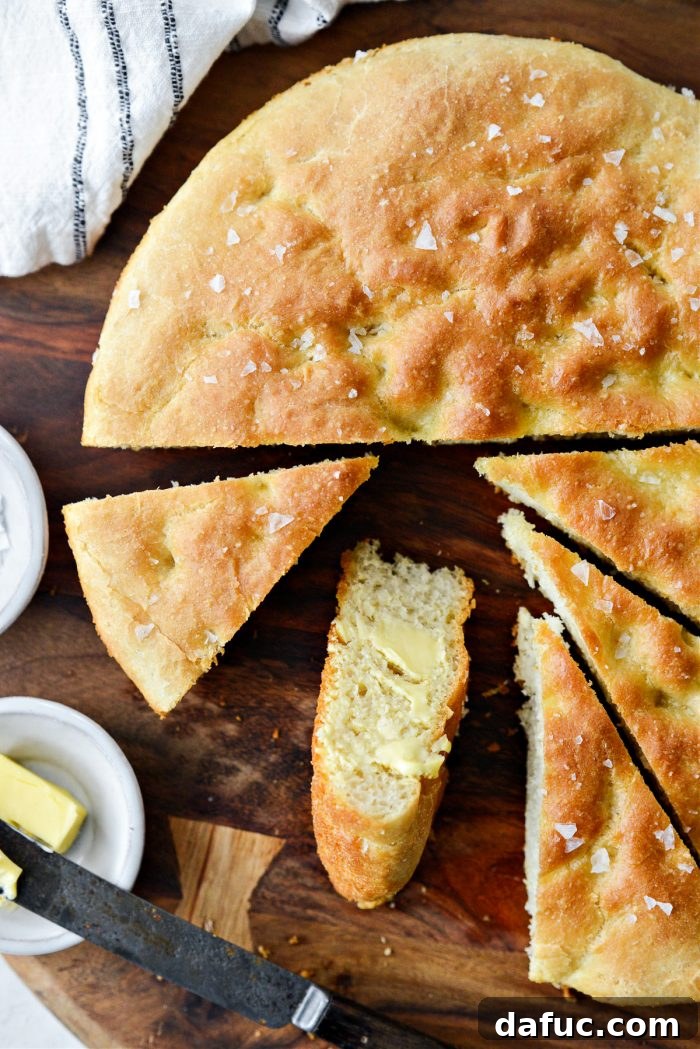
Enjoy your culinary creation! If you give this Homemade Focaccia recipe a try, we’d love to hear about it. Share your masterpiece by snapping a photo and tagging us on Twitter or Instagram! Your baking success is our greatest reward.
Print Recipe
Pin Recipe
1
loaf
Homemade Focaccia
20
mins
18
mins
1
hr
30
mins
2
hrs
8
mins
Ingredients
- 1 teaspoon honey
- 1 cup warm water, 110-115°
- 2¼ teaspoons active dry yeast
- 2⅔ cup unbleached bread flour
- 1 teaspoon kosher salt
- 2 tablespoons olive oil, plus more for greasing and drizzling
- 2 pinches flaky sea salt
Equipment
-
Kitchen Aid 7-Quart Pro-Line Stand Mixer
-
Polder Digital In-Oven Meat Thermometer with Heat Resistant Probe and Digital Timer
Instructions
-
Add honey to a liquid measuring cup. Whisk in warm water (105-110°) and then the yeast. Set off to the side for 5 minutes to allow the yeast to bloom.
-
Meanwhile add bread flour and kosher salt to the bowl of your stand mixer fitted with the hook attachment. Stir until combined.
-
Once the yeast mixture is frothy, turn your mixer on low-speed and gradually pour in yeast water. Mix until just incorporated, stopping to scrape down the sides as you go.
-
Add in the olive oil and mix on low-speed for 4 minutes.
-
Add 1 tablespoon of olive oil to a mixing bowl. Shape the dough into a ball. Transfer dough to bowl (with the oil) and toss and coat the dough and inside of the bowl with the oil.
-
Cover the bowl tightly with plastic wrap and place in a warm spot to rise for 1 hour.
-
Preheat your oven to 425°F (220°C) and generously grease a 9×13 (or equivalent) nonstick baking pan with olive oil.
-
Transfer dough to greased pan. Use your fingers to press and stretch the dough to fit. Cover with clean kitchen towel and let rise a second time for 30 minutes while your oven preheats.
-
Drizzle olive oil over top of the risen dough and sprinkle with flaky salt.
-
Once oven has preheated, reduce the heat to 375°F (190°C) and place the pan on the middle rack. Bake for 25 to 28 minutes, rotating the pan halfway through baking.
-
Let rest for 10 minutes before transferring to a wire rack to cool before serving.
Notes
Calories: 1560kcal,
Carbohydrates: 259g,
Protein: 51g,
Fat: 36g,
Saturated Fat: 5g,
Polyunsaturated Fat: 5g,
Monounsaturated Fat: 22g,
Sodium: 3134mg,
Potassium: 596mg,
Fiber: 15g,
Sugar: 7g,
Vitamin A: 7IU,
Vitamin C: 1mg,
Calcium: 68mg,
Iron: 4mg
Laurie McNamara
Breads & Baked Goods, Kitchen Basics
Italian