
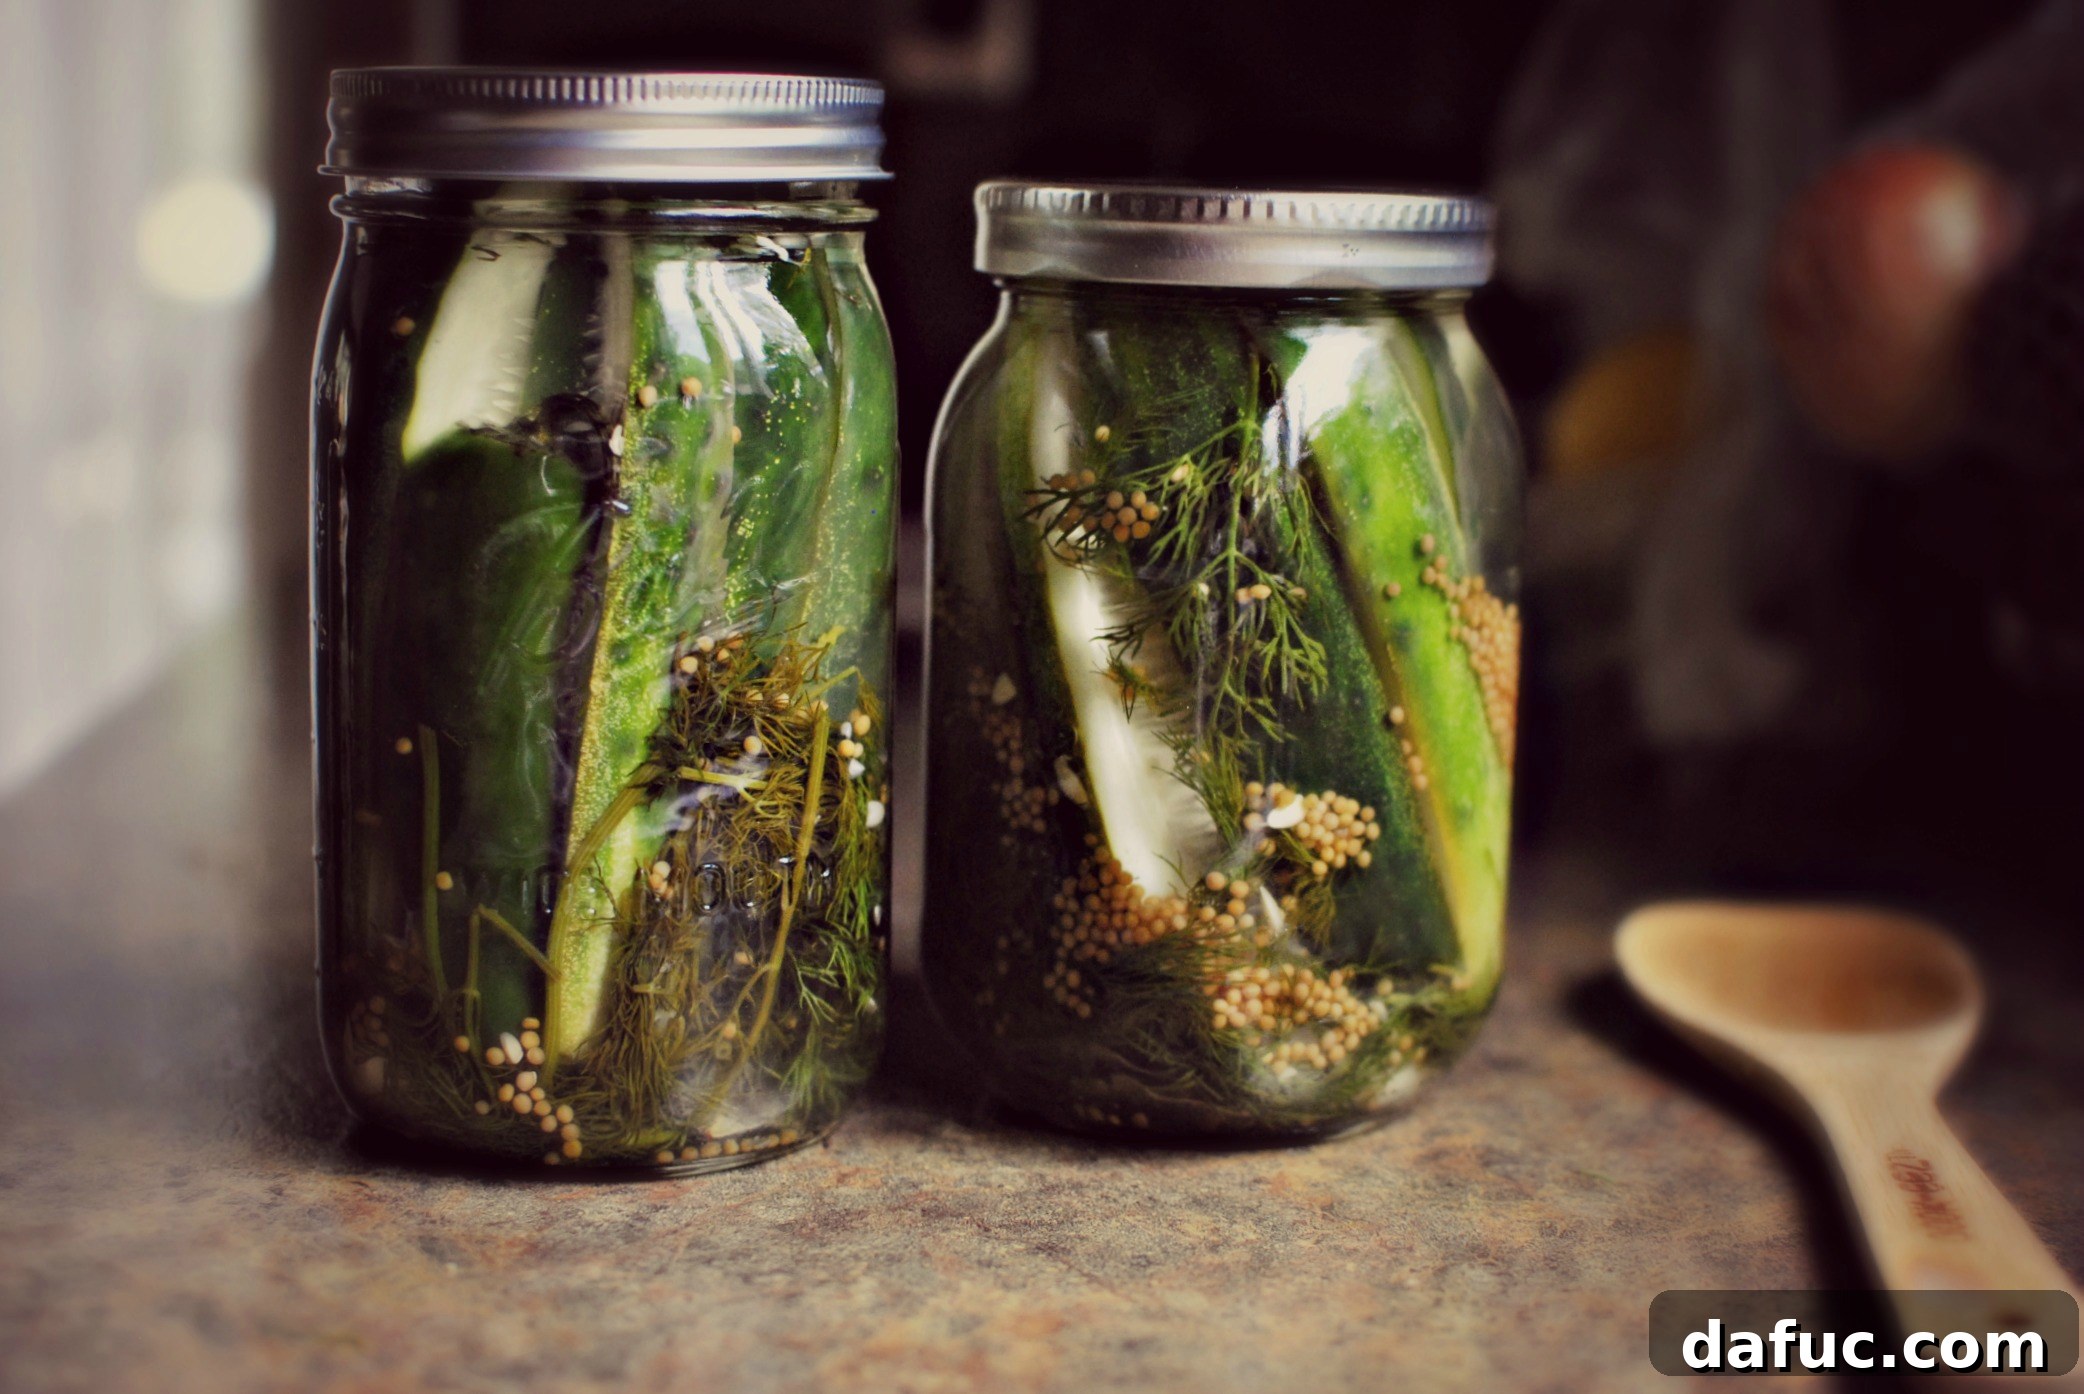
Welcome to the ultimate guide for crafting your own batch of incredibly Easy Homemade Sour & Spicy Dill Pickle Spears, often affectionately known as “refrigerator pickles.” Forget the daunting process of traditional canning; this recipe requires no special equipment, just a few simple ingredients and a little patience. Get ready to transform fresh cucumbers into crunchy, tangy, and subtly spicy delights that will quickly become a household favorite. Perfect for snacking, alongside sandwiches, or as a vibrant addition to any meal, these pickles are a testament to the joy of homemade goodness.
For many home cooks, the idea of preserving fresh produce can be intimidating. Questions about sterile jars, boiling water baths, and proper sealing often lead to hesitation. However, with refrigerator pickles, those worries are a thing of the past. This method focuses on quick pickling, where ingredients are combined and then allowed to marinate and develop flavor in the cool environment of your refrigerator. It’s a low-stress, high-reward approach that makes homemade pickles accessible to everyone, from novice kitchen enthusiasts to seasoned culinary adventurers.
Embrace the Simplicity: Why Refrigerator Pickles are a Game Changer
Unlike conventional canning, which relies on high heat to create a vacuum seal for long-term shelf stability at room temperature, refrigerator pickles are designed for shorter-term storage in the fridge. This means you skip the complex steps of sterilizing jars in a boiling water bath and pressure canning. Instead, you simply prepare your ingredients, pack them into clean jars, pour over a flavorful brine, and let time work its magic in the cold. This streamlined process not only saves time and effort but also ensures a wonderfully crisp texture that is often lost in traditional canning methods.
This “no canning required” approach is particularly appealing for those who want to enjoy fresh, vibrant pickle flavors without committing to large batches or extensive kitchen projects. It’s an ideal way to utilize seasonal cucumbers from your garden or local farmer’s market, turning them into a delicious condiment that’s bursting with fresh ingredients. The convenience factor alone makes refrigerator pickles a go-to recipe for anyone looking to add a homemade touch to their meals with minimal fuss.
The beauty of these pickles lies in their fresh, punchy flavor. The combination of sour vinegar, aromatic dill, pungent garlic, and a hint of spicy jalapeño creates a complex profile that tantalizes the taste buds. Each bite offers a satisfying crunch, followed by a burst of tangy-sweet brine and a gentle warmth that lingers. This recipe is also highly adaptable, allowing you to adjust the spice level to your preference or experiment with other herbs and spices to create your signature pickle.
The Art of Flavor: Crafting Your Perfect Dill Pickles
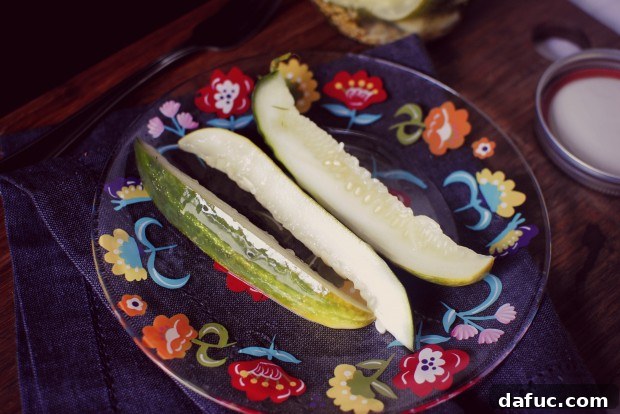
Homemade pickles offer an unparalleled depth of flavor that store-bought varieties simply can’t match. When you make them yourself, you control every ingredient, ensuring freshness and quality. Our sour and spicy dill pickle spears are designed to deliver a robust flavor profile that balances tanginess with a subtle heat, complemented by the unmistakable aroma of fresh dill and garlic. This recipe isn’t just about preserving cucumbers; it’s about creating a culinary experience that elevates your everyday meals and snacks.
The magic happens as the cucumbers absorb the seasoned brine over several days in the refrigerator. This slow infusion process allows all the vibrant flavors to meld beautifully, resulting in pickles that are not only delicious but also incredibly satisfying. The crunch of a well-made refrigerator pickle is truly something special, providing a textural contrast that enhances any dish. Whether you’re a pickle connoisseur or new to the world of pickling, this recipe promises an exciting journey into flavor that’s both rewarding and enjoyable.
Gathering Your Essential Ingredients for Zesty Dill Pickles
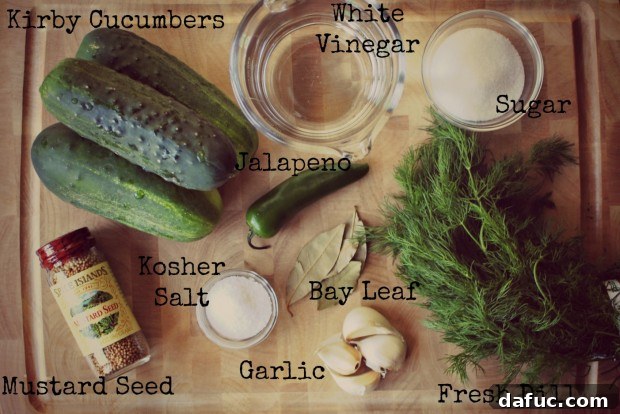
The success of these homemade pickles starts with fresh, high-quality ingredients. Selecting the right cucumbers is paramount – look for firm, blemish-free Kirby cucumbers, also known as pickling cucumbers. These varieties have thinner skins and fewer seeds, making them ideal for soaking up the brine and maintaining their crispness. Beyond the cucumbers, a blend of simple pantry staples and fresh aromatics will create a brine that’s both flavorful and perfectly balanced.
- Fresh Kirby Cucumbers: Approximately 3 to 4, washed thoroughly and ready for slicing. These are crucial for that signature pickle crunch.
- Garlic: 4 fresh cloves, essential for a pungent, aromatic base. Smashing them gently releases their potent oils.
- Bay Leaves: 4 small bay leaves add a subtle, herbaceous note that complements the dill beautifully.
- Jalapeño: 1 jalapeño, halved lengthwise. This provides the “spicy” element, adjustable to your heat preference.
- Fresh Dill: A generous handful of fresh dill sprigs. Dill is non-negotiable for classic dill pickle flavor.
- White Distilled Vinegar: 2 cups, forming the acidic backbone of your brine. Its clean, sharp taste is perfect for pickling.
- Granulated Sugar: 3 tablespoons, to balance the tartness of the vinegar and enhance other flavors.
- Kosher Salt: 4 teaspoons. Always use kosher salt for pickling as it lacks anti-caking agents found in table salt that can cloud your brine.
- Mustard Seed: 4 teaspoons. These small seeds contribute a classic, tangy, and slightly pungent flavor that is characteristic of dill pickles.
This carefully chosen combination of ingredients ensures that every jar of your homemade pickles will be bursting with a complex and satisfying flavor. While these pickles do require a week or so to fully develop their flavor in the fridge, the minimal active preparation time and the incredible result make them absolutely worth the wait.
Step-by-Step Guide to Crafting Perfect Refrigerator Dill Pickles
Creating these delightful sour and spicy dill pickle spears is a straightforward process. Follow these detailed steps to ensure each jar is packed with flavor and primed for perfection. You’ll be amazed at how easily you can achieve restaurant-quality pickles right in your own kitchen.
Preparation is Key: Setting the Stage for Flavor
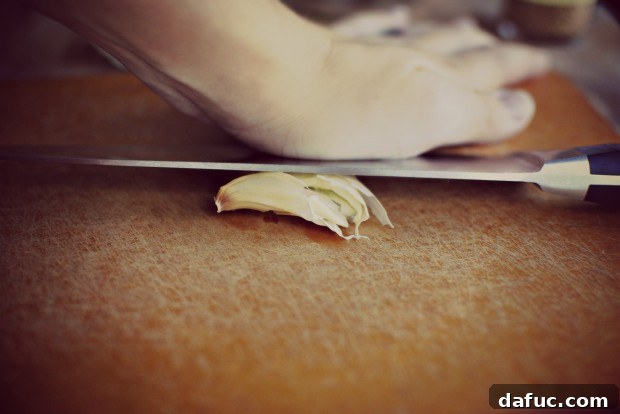
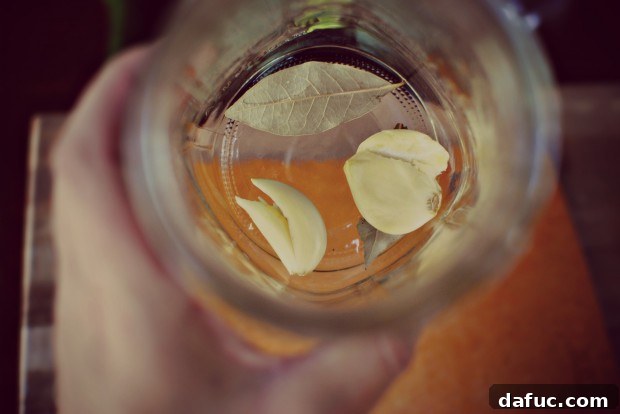
Begin by preparing your aromatic foundation. Take your 4 fresh garlic cloves and give them a good smash with the side of a knife. This helps to release their oils and potent flavor. After smashing, easily peel away the skin. These aromatic powerhouses will infuse your pickles with incredible depth. Next, give your fresh dill a quick wash under cool water and gently pat it dry. It’s better to use fresh dill rather than dried for a brighter, more vibrant flavor. Have two clean, large glass jars ready. While traditional canning demands sterilization, for refrigerator pickles, ensuring your jars are impeccably clean is sufficient.
Building Your Flavor Foundation: Packing the Jars
Once your garlic and dill are prepped, it’s time to assemble the base flavors in your jars. Into each of your two clean glass jars, place 2 smashed and peeled garlic cloves along with 2 small bay leaves. These will slowly release their flavors into the brine, adding a subtle complexity. Next, generously pack a handful of the freshly washed and dried dill into each jar. Don’t worry about precise measurements here; simply tear and stuff until the jars feel sufficiently filled with the fragrant herb. The more dill, the more pronounced that classic dill pickle taste will be.
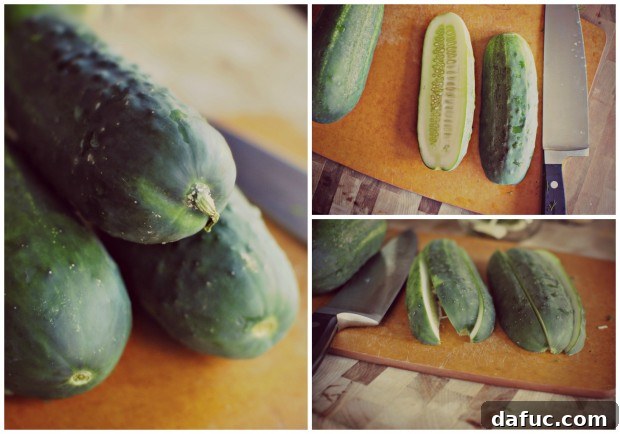
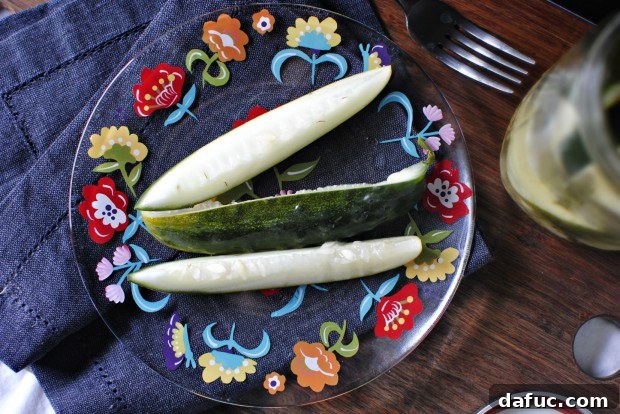
Now, focus on your cucumbers. It’s important to use “pickling” cucumbers, such as Kirby cucumbers, which are specifically bred for their firm texture and small seed cavities. Regular slicing cucumbers tend to become soft and mushy when pickled, so seek out the right variety for that satisfying crunch. You can often find them at local farm stands or specialty grocery stores. Once you slice into them, you’ll immediately notice their fresh, appealing aroma – a true sign of quality produce. Slice each Kirby cucumber in half lengthwise, then cut these halves into 3-4 spears, creating uniform pieces that will fit nicely into your jars and pickle evenly. Tightly pack these cucumber spears into your prepared jars, arranging them vertically to maximize space and ensure they remain submerged in the brine.
For that gentle kick of heat, slice a jalapeño pepper in half lengthwise. Place one half into each jar alongside the cucumbers. This will impart a subtle warmth without overwhelming the other flavors. These pickles won’t set your mouth on fire; rather, they offer a pleasant whisper of heat that enhances the overall taste experience. If you prefer more spice, you can add a few extra slices or even leave some of the seeds in.
Crafting the Brine: The Heart of Your Pickles
The pickling liquid, or brine, is what transforms the fresh cucumbers into flavorful pickles. In a small saucepan, combine 2 cups of white distilled vinegar, 3 tablespoons of granulated sugar, 4 teaspoons of kosher salt, and 4 teaspoons of mustard seed. Place the saucepan over medium heat and bring the mixture to a gentle simmer, stirring continuously until the sugar and salt are completely dissolved. It’s important not to boil the brine excessively, just enough to dissolve the solids. Once dissolved, remove the brine from the heat.
Carefully divide the warm pickling liquid evenly between your two prepared jars, ensuring it covers the cucumbers and other ingredients. If the brine doesn’t quite reach the top of the cucumbers, simply top off each jar with filtered water until all the vegetables are fully submerged. This ensures even pickling and prevents spoilage. Allow the jars to cool completely at room temperature before proceeding to the next step. This cooling process is important to prevent thermal shock and maintain the crispness of the cucumbers.
The Waiting Game: Patience for Perfect Pickles
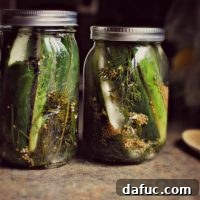
Once the jars have cooled to room temperature, securely fasten their lids. Now comes the most challenging part: waiting! Transfer the sealed jars to your refrigerator and let them sit undisturbed for 5 to 7 days. This crucial resting period allows the cucumbers to fully absorb the flavorful brine, transforming them into those irresistible sour and spicy dill pickle spears you’ve been dreaming of. Resist the urge to open them early, as the flavor development is worth every moment of anticipation.
After the waiting period, your homemade sour and spicy dill pickle spears are ready to be enjoyed! Grab a jar from the fridge, twist off the lid, and prepare for a burst of tangy, savory, and subtly spicy flavor. The satisfaction of biting into a crisp, homemade pickle is unmatched. Remember, these pickles will keep well in the refrigerator for several weeks, continuing to develop flavor as they age. However, they’re usually devoured long before they have a chance to get old!
Tips for Success & Creative Variations
- **Cucumber Choice:** Always opt for firm, fresh pickling cucumbers like Kirby or Persian cucumbers. Avoid larger, waxy slicing cucumbers which can become soft.
- **Spice Level:** Adjust the amount of jalapeño to your liking. For more heat, leave some seeds and membranes in, or add a pinch of red pepper flakes to the brine. For less heat, remove all seeds and membranes.
- **Herb Alternatives:** While dill is classic, feel free to experiment with other herbs like fresh thyme, oregano, or even a sprig of rosemary for a different flavor profile.
- **Garlic Intensity:** If you adore garlic, you can add an extra clove or two per jar. For a milder garlic flavor, slightly reduce the amount.
- **Sweetness Factor:** The sugar helps balance the vinegar. If you prefer a sweeter pickle, you can slightly increase the sugar, or decrease it for a tangier result.
- **Flavor Boosters:** Consider adding a few black peppercorns, a pinch of coriander seeds, or a slice of onion to the jars for additional layers of flavor.
Serving Suggestions for Your Delicious Homemade Pickles
These sour and spicy dill pickle spears are incredibly versatile. Enjoy them straight from the jar as a refreshing snack, or pair them with your favorite meals. They are fantastic alongside grilled cheeses, juicy burgers, or classic deli sandwiches, where their crisp tang cuts through richness. Chop them up for a vibrant addition to tuna salad, chicken salad, or potato salad. They also make a fantastic accompaniment to a charcuterie board or a simple cheese and cracker spread. Don’t be afraid to get creative; these pickles are designed to enhance almost any savory dish!
Storage and Longevity
Since these are refrigerator pickles, they must always be stored in the refrigerator. Properly stored in airtight jars, they will remain wonderfully crisp and flavorful for up to 3-4 weeks. The flavors will continue to deepen over time, making them even more enjoyable a week or two after the initial pickling period. Always ensure the cucumbers remain submerged in the brine for optimal freshness and safety.
Before you dive headfirst into these garlicky delights, a friendly word of caution: the wonderful, pungent garlic flavor that makes these pickles so irresistible also means you might want to consider your immediate company after indulging. Unless, of course, you’re hoping to keep certain people at arm’s length! #garlicbreath, but oh so worth it!
Enjoy! We hope you love this Easy Homemade Sour and Spicy Dill Pickle Spears recipe. If you give it a try, we’d love to see your creations! Snap a photo and tag us on Twitter or Instagram!
Easy Homemade Spicy & Sour Dill Pickle Spears
Easy and delicious Homemade Sour & Spicy Dill Pickle Spears, or also known as refrigerator pickles. No canning required!
Yield: 12 servings
Prep Time: 10 mins
Cook Time: 5 mins
Additional Time: 7 days (for flavor development)
Total Time: 7 days 15 mins
Ingredients
- 3 to 4 Kirby cucumbers, washed well
- 4 cloves garlic, smashed and peeled
- 4 small bay leaves
- 1 jalapeño, halved lengthwise
- Fresh dill (a generous handful)
- 2 cups white distilled vinegar
- 3 tablespoons sugar
- 4 teaspoons kosher salt
- 4 teaspoons mustard seed
Instructions
- Slice cucumbers in half lengthwise, then cut into spears.
- In two large, impeccably clean glass jars, divide the smashed and peeled garlic cloves, bay leaves, and stuff with a handful of fresh dill.
- Tightly pack the cucumber spears along with one jalapeño half into each of the jars.
- In a small saucepan, add vinegar, sugar, kosher salt, and mustard seeds. Heat just until the sugar dissolves. Transfer the pickling liquid to a liquid measuring cup and pour half the liquid into each jar.
- If the pickling liquid doesn’t reach the top of the cucumbers, fill with filtered water until the liquid covers the vegetables.
- Let the jars cool completely at room temperature before securing the lids.
- Once cool, place the jars into your fridge for 5-7 days before opening and enjoying your delicious homemade pickles.
Author: Laurie McNamara
Course: Appetizers & Snacks
Cuisine: American