
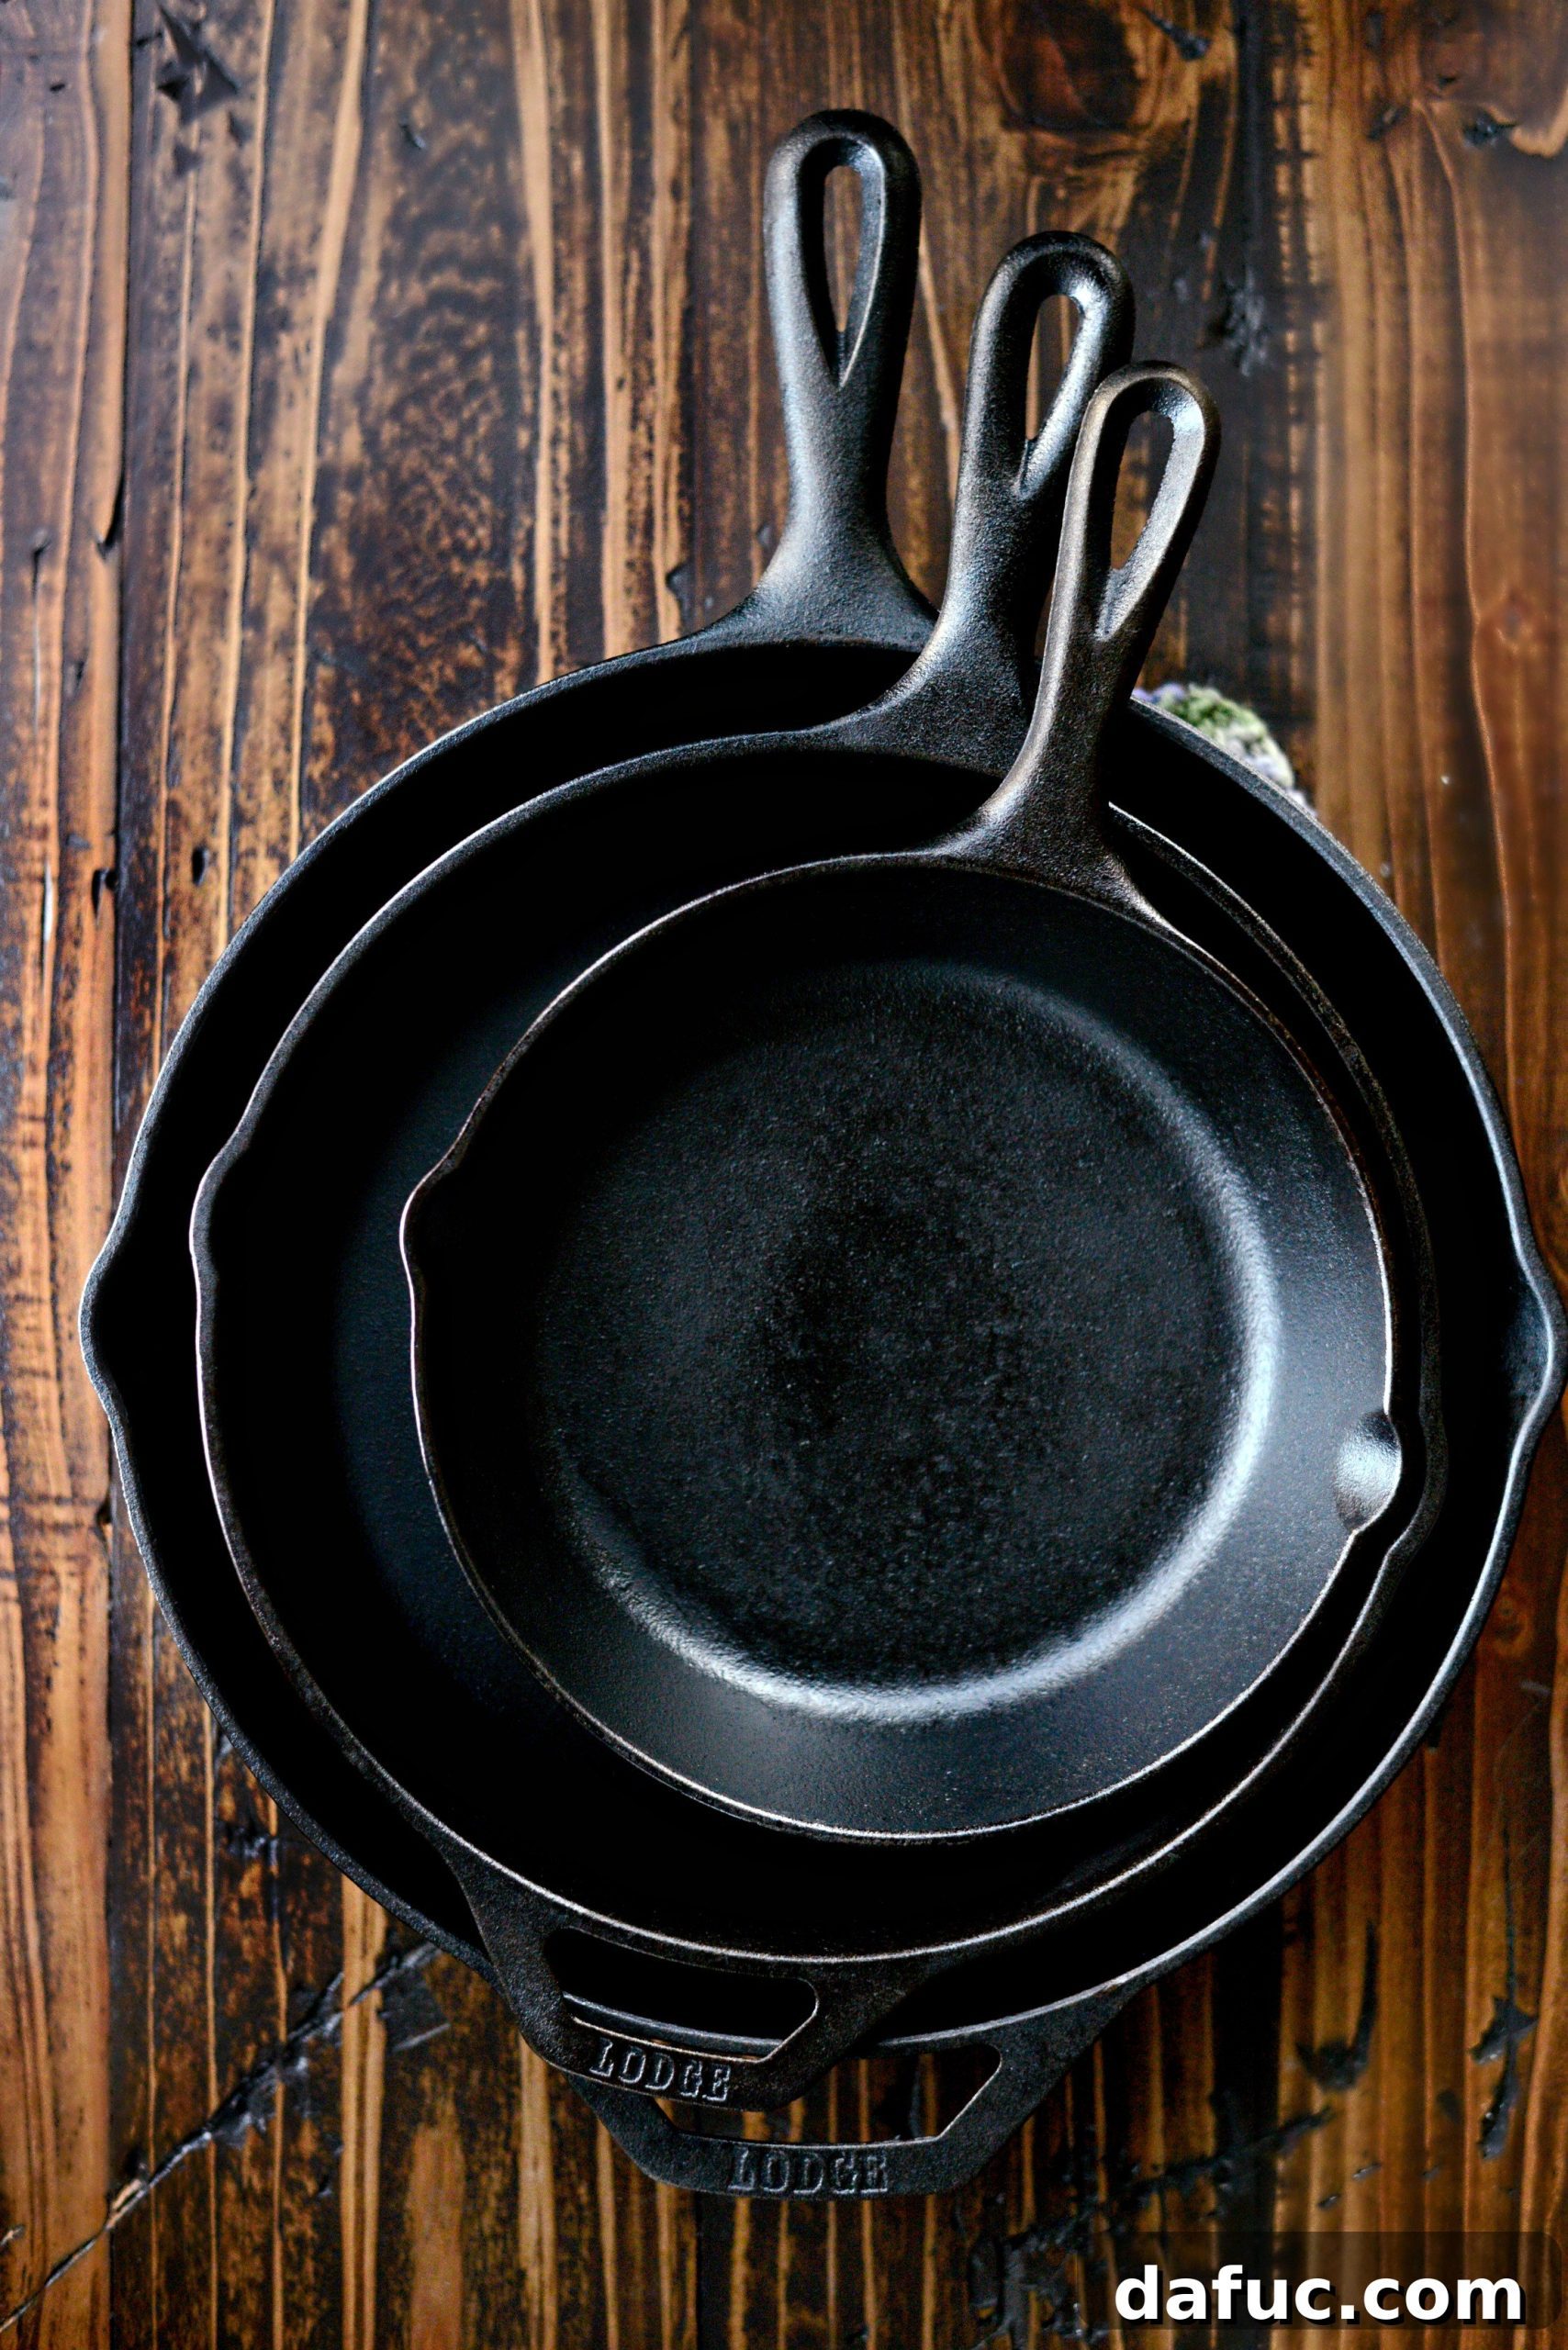
Unlock the secret to perfect cooking and lifelong durability with your cast iron cookware. If you’ve ever struggled with food sticking or seen unsightly rust on your beloved skillet, you’re not alone. This comprehensive guide will walk you through the essential process of seasoning and cleaning cast iron, transforming your pans into culinary powerhouses that will last for generations. Forget everything you thought you knew about “pre-seasoned” pans; we’re diving deep into creating that naturally non-stick, beautifully maintained surface your cast iron deserves.
Cast iron isn’t just a cooking vessel; it’s an heirloom, a piece of culinary history passed down through families. But its legendary status comes with a caveat: it requires proper care. The cornerstone of this care is “seasoning”—a protective, non-stick layer built up from polymerized oil. Without it, cast iron can be a sticky, rusty nightmare. With it, it’s a dream to cook with, offering superior heat retention, even cooking, and a naturally chemical-free surface. This guide will dispel common myths, provide clear, step-by-step instructions for restoring even the most neglected pans, and teach you the daily maintenance rituals to keep them in pristine condition.
It’s confession time. Are you ready?
Okay, so I have never ever properly seasoned my cast iron. Not one single time.
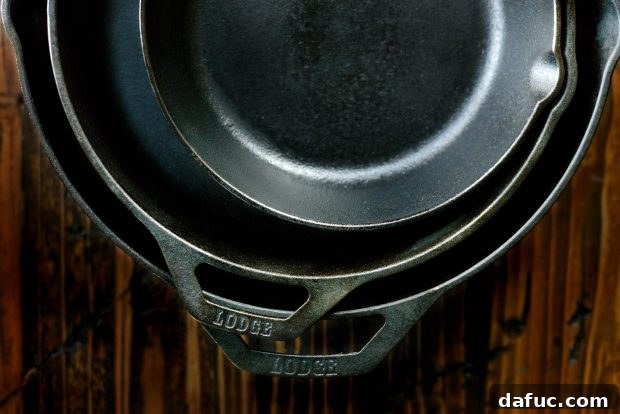
Mostly because the labels that came stuck to the pans claim that the pan is pre-seasoned, and honestly, I took their word for it. Really, I should’ve known better. Seasoning is what truly gives your cast iron that coveted slick, non-stick surface, and rarely is a “factory pre-seasoned” pan genuinely ready for prime-time cooking straight out of the box. At least, it certainly wasn’t for me.
I genuinely thought I was “seasoning” it after each use by wiping the inside with bacon fat. While bacon fat is great for cooking *in* cast iron, a simple wipe-down isn’t enough to build or maintain a robust, polymerized seasoning layer. It was a common misconception I held for far too long, leading to less-than-ideal cooking experiences.
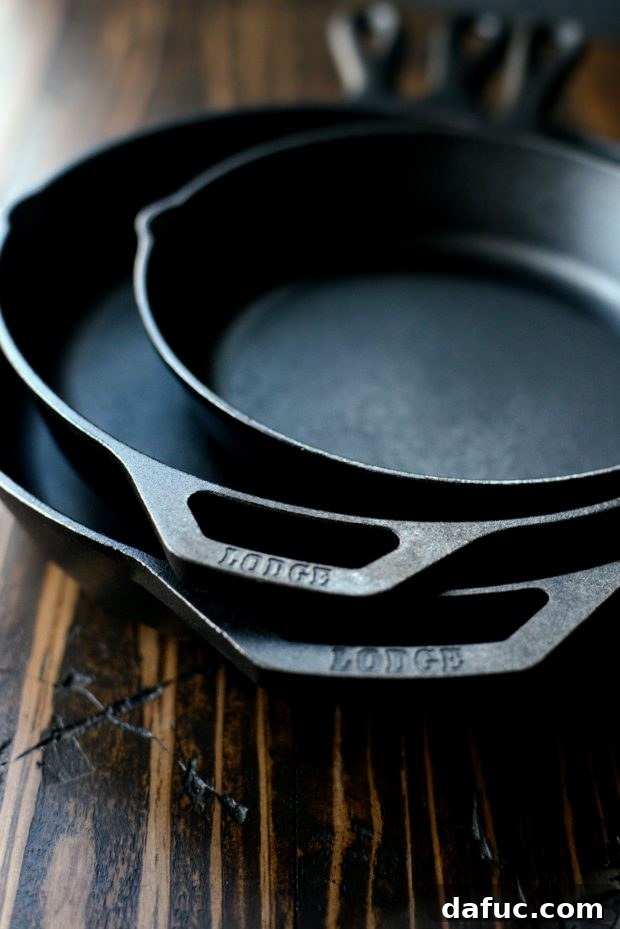
Lesson learned. Take my advice and always, ALWAYS properly season your pan before putting it to serious use. It’s a process that is surprisingly easy, though it does require a little time and moderate effort. But trust me, it’s well worth every minute. If you skip this crucial step… well, just scroll down and you’ll see the unfortunate state my pans were in.
When cared for correctly, a cast iron pan can easily last for generations, becoming a cherished family heirloom. Proper seasoning and diligent cleaning are the twin pillars of ensuring its longevity and performance.
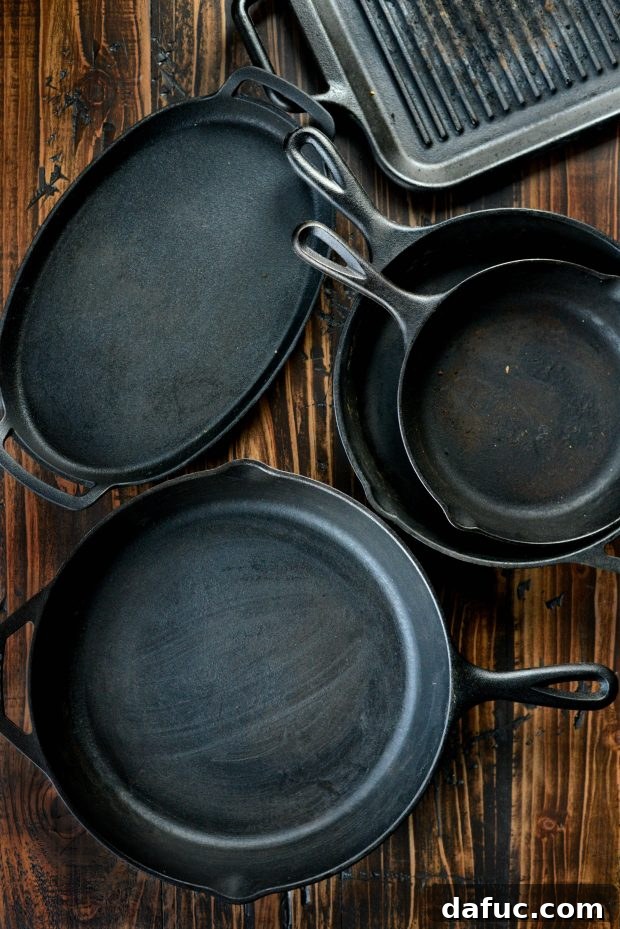
These are my pans. My honest-to-goodness, straight out of the cupboard, not prettied up for the camera, real-life pans. They were a mess, sticky, prone to rust, and definitely not non-stick. My grill pan, in particular, was in dire need of intervention!
After seeing a truly inspiring video in my Facebook feed demonstrating just how necessary and surprisingly easy it is to properly strip, season, and clean cast iron, I was instantly motivated. My mission became clear: strip my pans down to their bare metal and start the seasoning process over from scratch. And, naturally, I decided to document the entire process, leading to this very “How To” post on mastering cast iron seasoning and cleaning.
My Trusted Cast Iron Collection
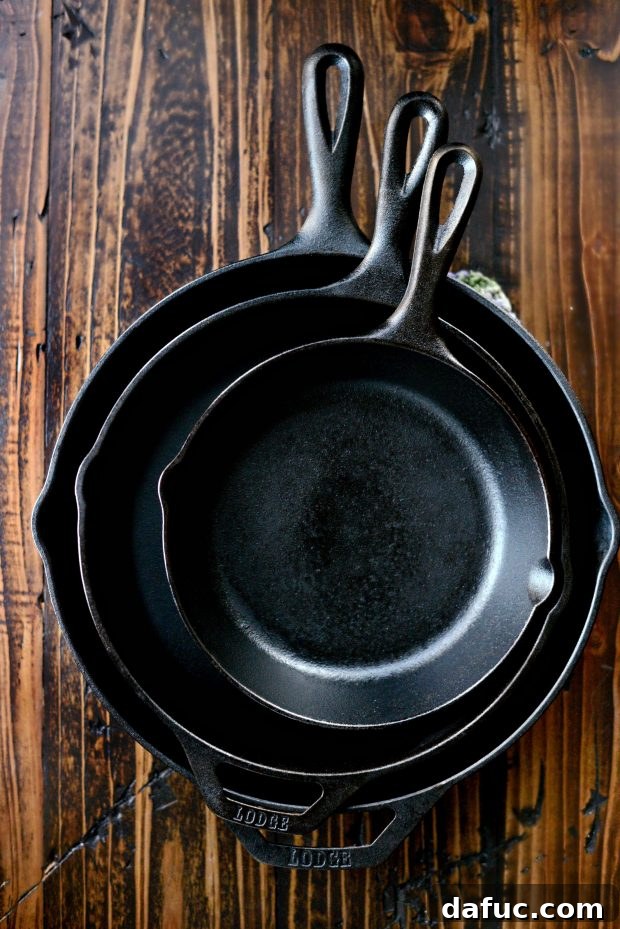
Before diving into the restoration process, it’s worth noting the specific cast iron pieces I own and love. These pans have seen countless meals and, despite my initial neglect, have proven their incredible durability. With proper care, they are truly versatile workhorses in any kitchen.
-
A Lodge 12-inch Skillet: This large skillet is an absolute champion for searing big cuts of meat, achieving perfect crusts on steaks, or frying up generous batches of crispy bacon. Its size makes it ideal for family-sized meals.
-
A Lodge 10-inch Skillet: This is my go-to pan for a multitude of tasks. It’s excellent for baking delectable skillet cookies or brownies, whipping up fluffy biscuits, cooking ground meats like taco meat, or preparing hearty breakfast skillets, and perfectly frying eggs.
-
Lodge 6.5-inch Skillet: This smaller skillet is incredibly handy for single servings or small batch cooking. It’s fantastic for preparing warm dips, frying an egg or two, or delicately sautéing aromatic ingredients like onions and garlic.
-
I also have a Lodge Square Grill Pan: This grill pan is a savior for achieving those perfect grill marks indoors, regardless of the weather! I’ve successfully grilled everything from tender chicken breasts, vibrant kebabs, flaky salmon, and succulent shrimp. As you can probably tell from its “before” state, it gets a lot of love in my house!
-
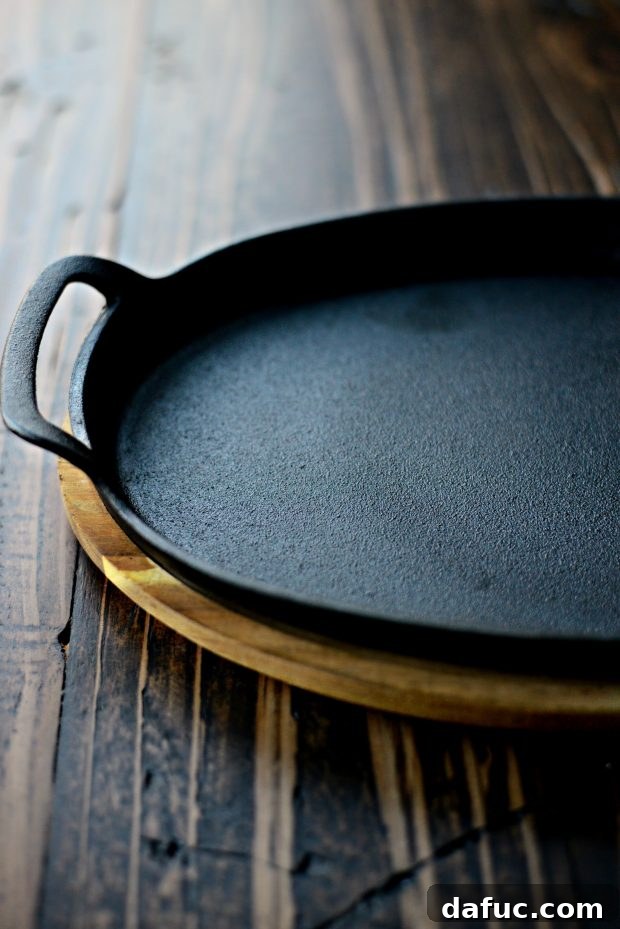
And a Bobby Flay Sizzle Pan: I primarily use this fantastic pan for fajita vegetables, giving them a perfect char. However, it would also be excellent for searing small items while grilling, adding to its versatility.
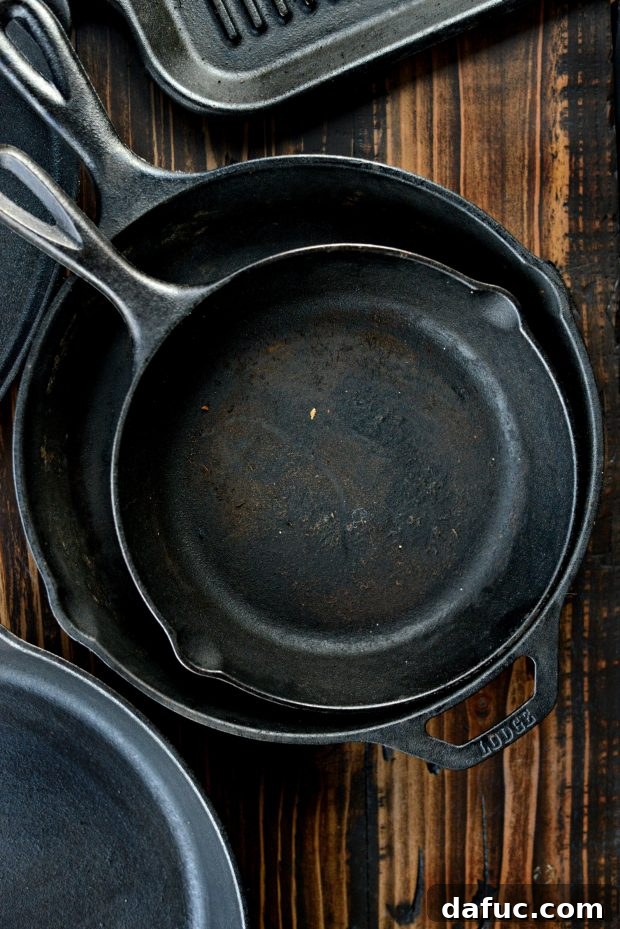
So, yes, this is my cast iron pan collection. And as you can plainly see, these pans were, frankly, gross. They were so improperly seasoned, or rather, unseasoned, that it was quite embarrassing. The neglect had left them sticky, dull, and far from the non-stick surfaces they were meant to be.
My pans were pretty far gone, so much in fact that I had completely stopped using them, relegating them to the back of the cupboard. Over time, the outside had developed a sticky, greasy film that was a nightmare to touch. And don’t even get me started on the inside of the pan; I’m pretty sure the pictures speak for themselves regarding the accumulated gunk and lack of a proper cooking surface.
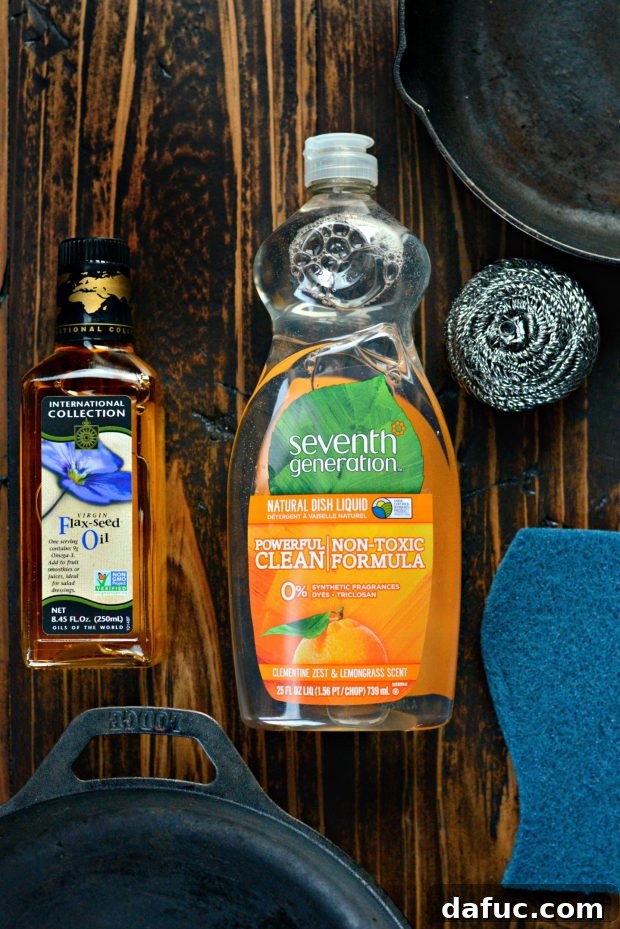
Essential Tools and Ingredients for Cast Iron Restoration
To successfully season your cast iron, you don’t need a pantry full of specialized, expensive cleaners. The magic happens with just a few basic, yet effective, tools and a specific type of oil. Here’s what you’ll need:
- Stainless Steel Pot and Pan Scrubbers: For tackling the really stubborn, baked-on crud and sticky residue during the initial deep clean.
- Non-Abrasive Scrubber: A gentler option for the final scrub and for routine cleaning post-seasoning.
- Mild Dish Soap: Crucial for stripping away old, sticky seasoning and grime when you’re starting fresh. (Note: this is usually a no-go for maintenance, but necessary for restoration).
- Flaxseed Oil or Canola Oil: In the video that inspired me, it was stated that flaxseed oil is the new gold standard for seasoning due to its excellent polymerization properties, creating a durable, hard surface. It is a bit pricey (this bottle was $7), but they also mentioned that common canola oil could be used as a more economical alternative. I personally don’t cook with canola, so I opted for the flaxseed oil route for its superior results. Other good options include grapeseed oil or even lard. The key is to choose an oil with a high smoke point and good polymerization qualities.
- Paper Towels or Clean Cloths: For applying and thoroughly wiping off excess oil.
- Oven Mitts: For safely handling hot pans.
Step-by-Step Guide to Stripping and Re-Seasoning Your Cast Iron
1. The Deep Clean: Stripping Away the Old
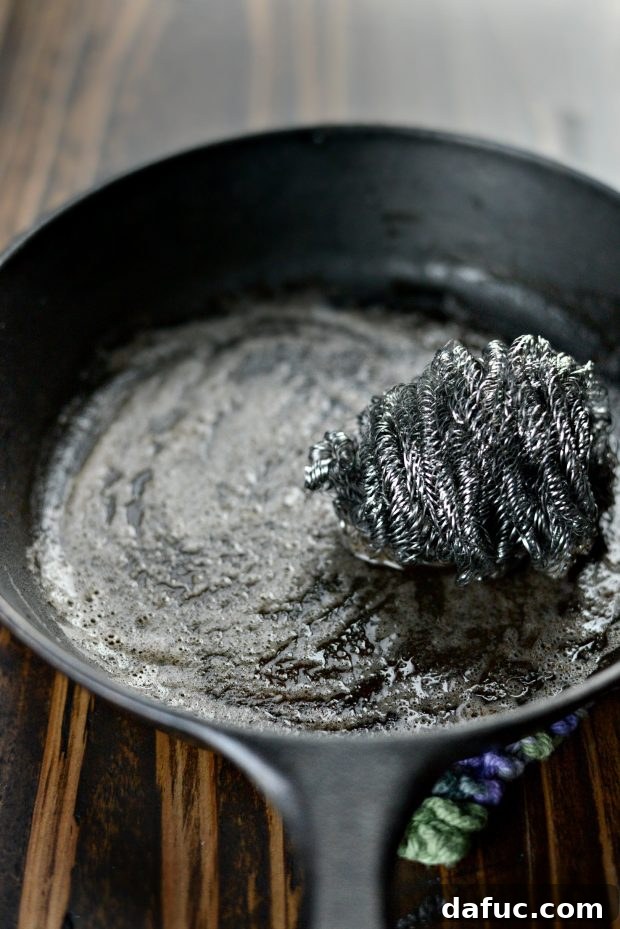
Alright, so normally I would NEVER wash my cast iron with soap and water for routine cleaning. Soap can strip away the precious seasoning layer. However, since I’m embarking on a complete overhaul and starting fresh, a thorough wash with soap is absolutely necessary to remove all the built-up crud, sticky residue, and any hints of rust. This ensures you have a clean slate for new, proper seasoning.
Squirt a few drops of a mild dish soap onto your pan. Use a damp stainless steel scrubbing pad and start scouring the pan vigorously, working on both the inside and outside surfaces. Don’t forget the handle and the bottom! You want to remove everything, getting it as close to bare metal as possible. You’ll be surprised by the amount of dark, greasy water that comes off – that’s all the old, ineffective seasoning and grime being removed.
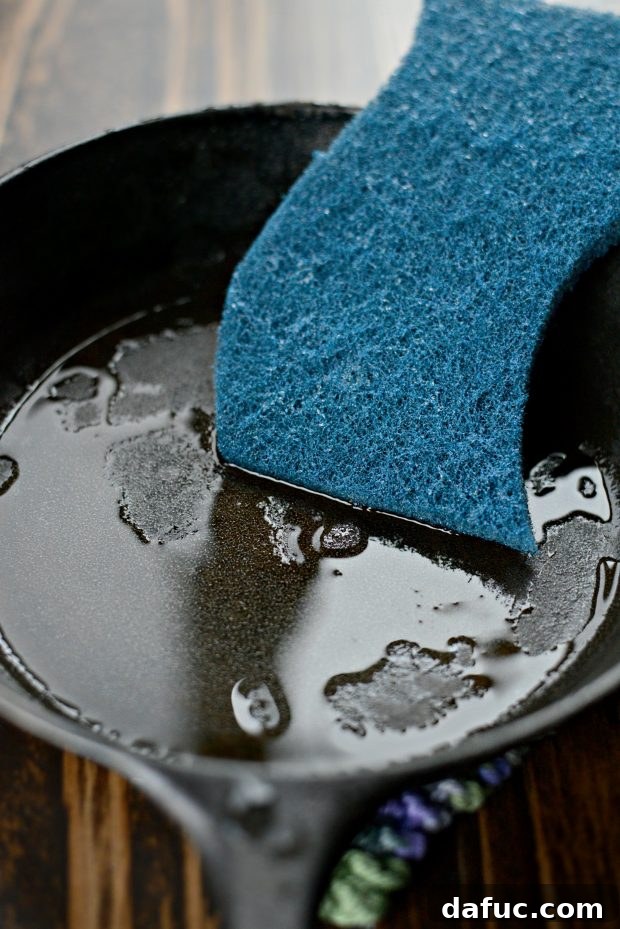
Already, you’ll be able to see a huge difference as the pan brightens up and its true surface begins to emerge. Now, rinse the pan thoroughly under hot water. For an extra clean, add another drop of soap and proceed to the next step.
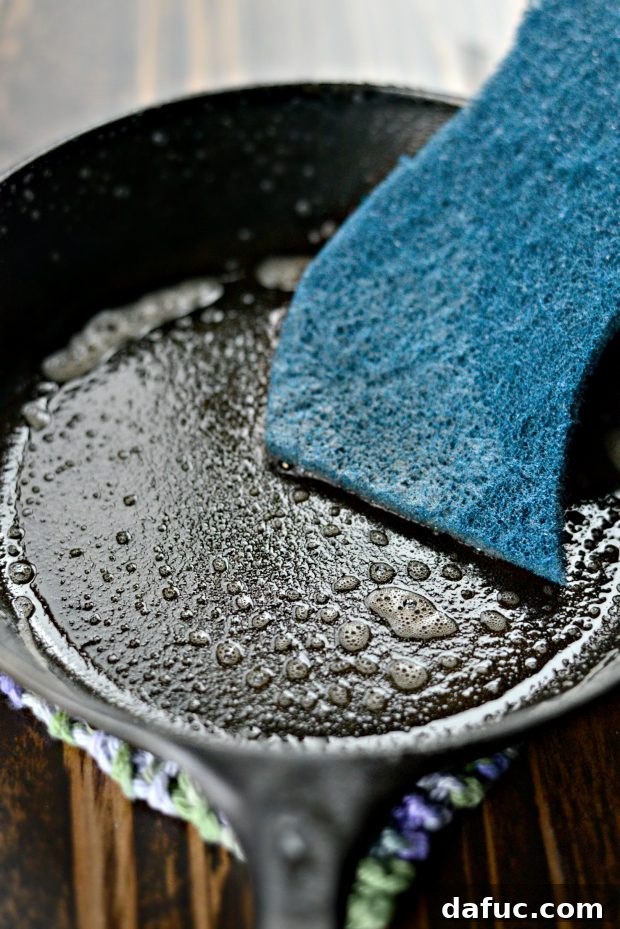
To get rid of any remaining stuck-on grease or grime that the steel scrubber might have missed, use the non-abrasive sponge and scrub one last time with a little more soap. This ensures every nook and cranny is squeaky clean and free of old residues. Rinse thoroughly again under hot water.
2. Thorough Drying: Banishing Rust
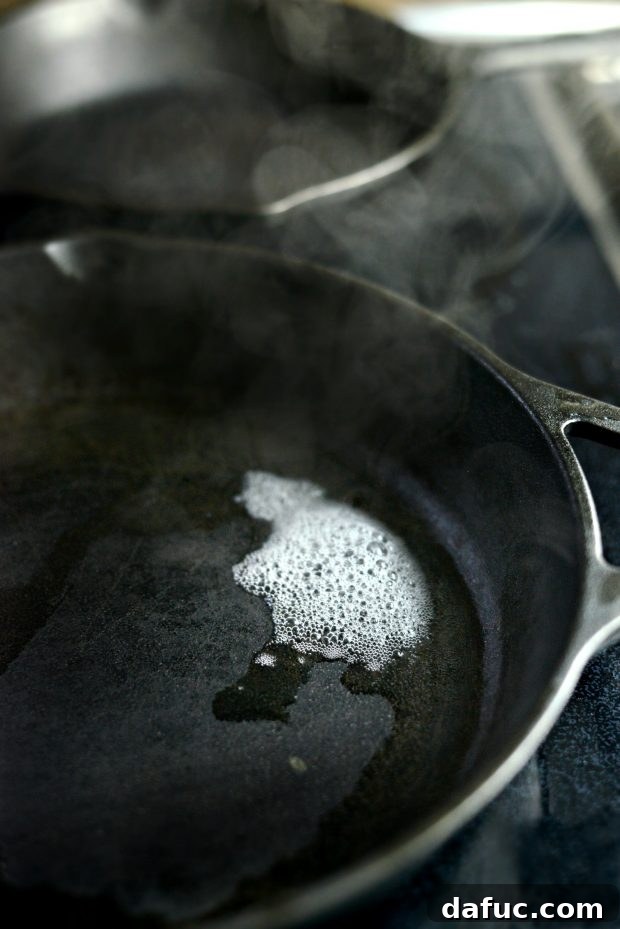
Next, after rinsing, immediately place the pot or pan onto your stovetop. Heat the pan on medium-high to high heat until all the water evaporates and the pan is bone dry. This step is critical! Remember the golden rule: water + cast iron = rust. Even a tiny bit of moisture left on the porous surface can lead to rust spots. So, always place it on the stovetop and heat it until it’s completely dry and slightly smoking. You’ll see the water literally steam off, leaving a perfectly dry surface.
3. Applying the Seasoning Oil: Less is More
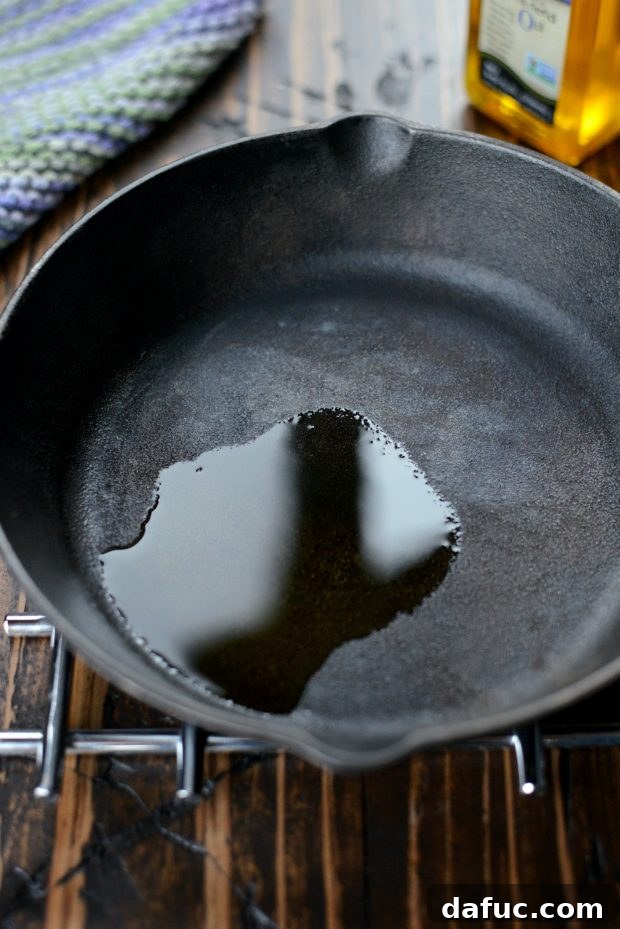
If the pan is still hot from the stovetop, give it a moment to cool down to a safe temperature where you can comfortably handle it. Then, add just a small amount—about a dime-sized drop—of your chosen seasoning oil (flaxseed or canola) into the pan. Use a few paper towels to rub this oil meticulously all over the pan. Ensure you cover every single surface: the inside, the outside, the underneath, and especially don’t forget the handle! You want a very thin, even layer.
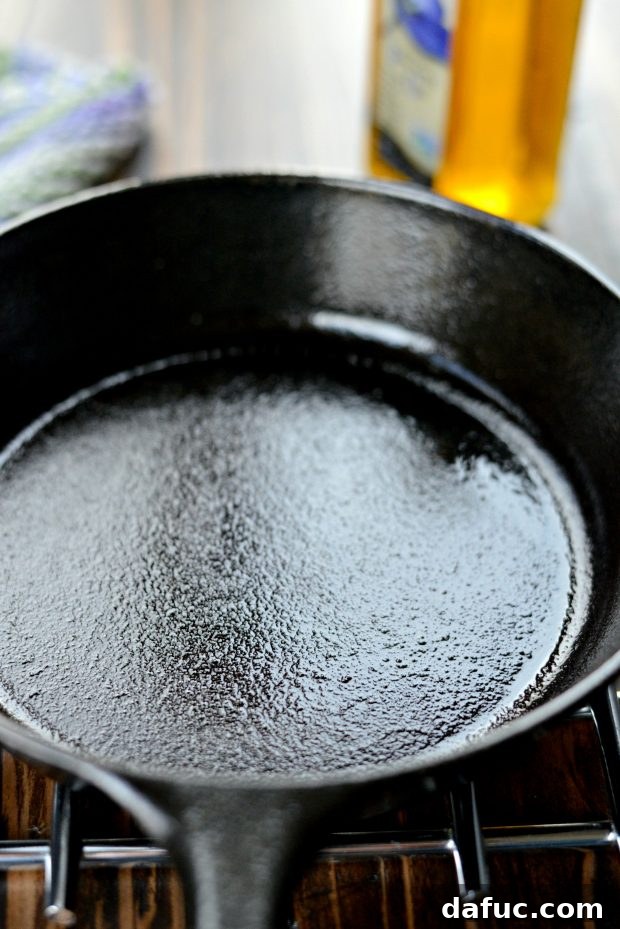
Now, this next step is arguably the most important for achieving a non-sticky, perfect seasoning: unfold the paper towel, and use a clean, unused part to wipe off any and all excess oil from the pan. You want it to look almost as if there’s no oil on it at all. Too much oil will not polymerize correctly and will result in that sticky, greasy film I was telling you about earlier – the very thing we’re trying to avoid! A truly well-oiled pan for seasoning should appear dry to the touch, with just a microscopic layer of oil remaining.
4. The Baking Process: Creating the Non-Stick Layer
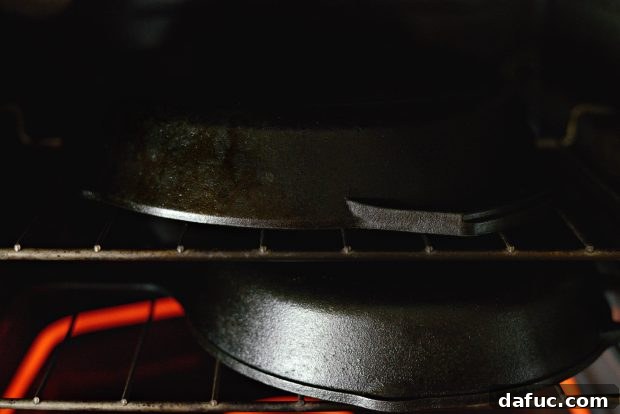
Once your pan is thinly oiled and wiped clean, slide it (or them, if you’re doing multiple) into a preheated oven set to 500°F (or the highest temperature your oven can safely reach, typically around 450-500°F). Place the pan(s) upside down on the middle rack to allow any excess oil to drip off, and place aluminum foil on the rack below to catch these drips. Set a timer for 1 hour. This high heat is crucial; it pushes the oil beyond its smoke point, forcing it to polymerize and bond with the iron, creating the hard, non-stick surface you’re after.
Once the hour is up, turn off the oven and either allow the pans to cool completely inside your oven or carefully transfer them to a heat-safe trivet to cool. Allowing them to cool slowly in the oven helps the seasoning set firmly. Be mindful that seasoning cast iron at such high temperatures can produce a distinct “metal” smell in the air. I highly recommend doing this on a day when you can open a few windows to ensure good ventilation, especially if you have company coming over!
The Astonishing Transformation: From Neglect to Perfection
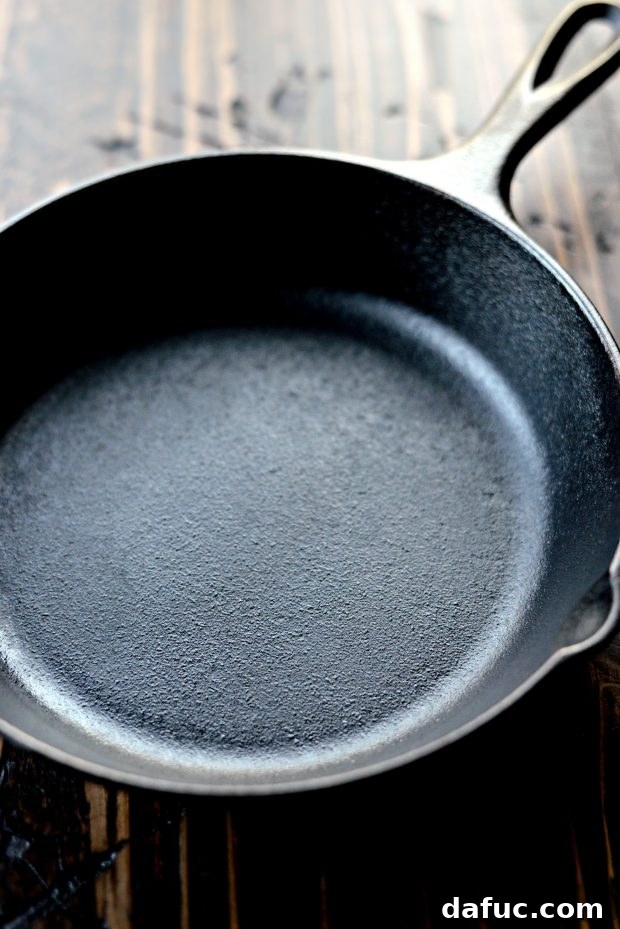
Yes, this is the very same pan that I showed you in the beginning of this post, laden with sticky residue and grime. The transformation is absolutely incredible, almost unbelievable!
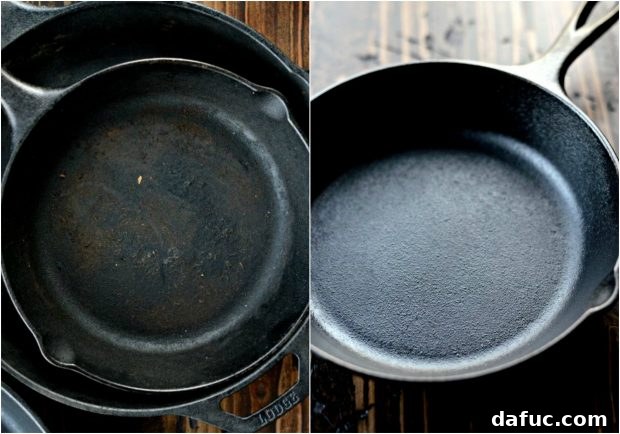
Seriously, I cannot believe the difference. The pan now boasts a beautiful, even, dark sheen that indicates a robust, new seasoning layer. It feels smooth to the touch and looks ready for anything.
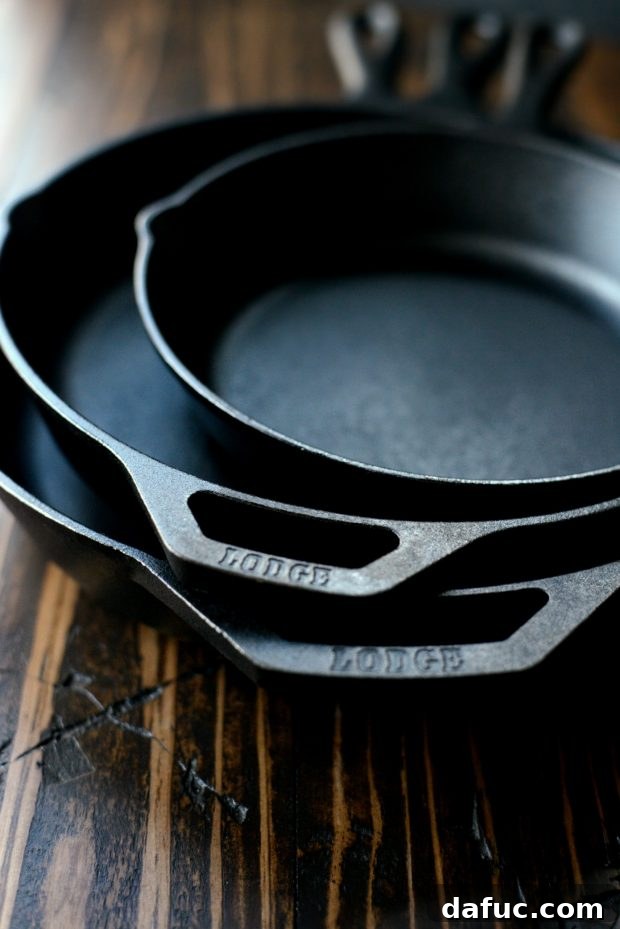
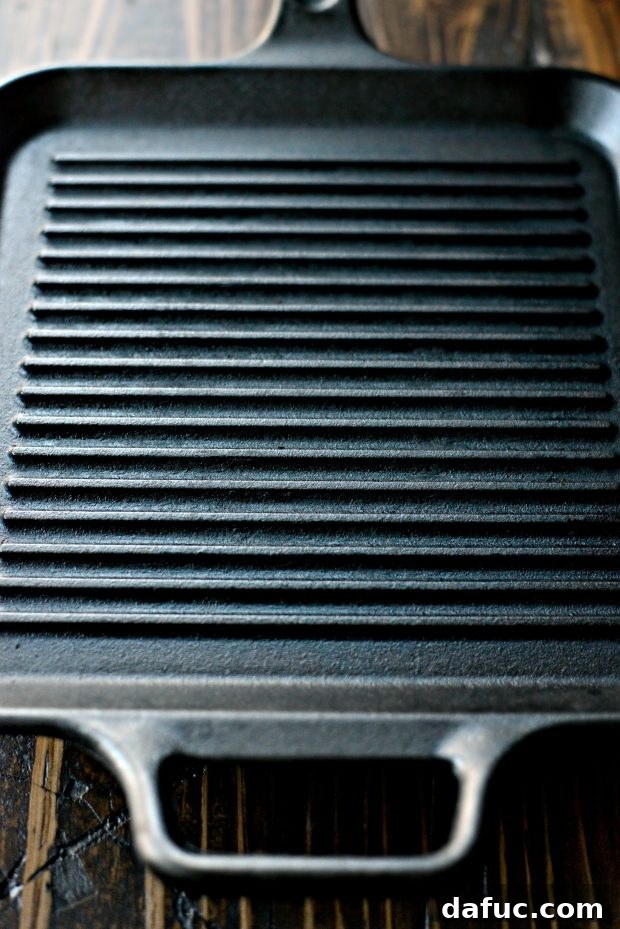
My cast iron collection now looks brand spanking new! Each pan, including my much-loved grill pan, has been reborn. I’d never thought I would see my grill pan look so darn pretty and ready for action. This successful re-seasoning has not only restored their appearance but their functionality, too. They are now truly non-stick and a joy to cook with.
Let me know if you give this method a try! I’d love to hear about your own cast iron transformation stories.
Maintaining Your Cast Iron: Post-Cook Cleaning Rituals
Once you’ve properly seasoned your cast iron, the journey isn’t over; it’s just beginning! Regular maintenance after each use is vital to preserve that hard-earned non-stick layer and prevent rust. The method I use depends entirely on what I’ve cooked.
1. Gentle Cleaning for Stubborn Bits
If I sear meat or cook something that leaves bits stuck to the pan, I follow a specific routine to preserve the seasoning. Immediately after cooking (while the pan is still warm but not scorching hot), I’ll rinse it out with hot water. Then, I scrub my pan with a generous amount of kosher salt and either a paper towel or a dedicated kitchen cloth. The kosher salt acts as a gentle, natural abrasive that effectively lifts off any stuck-on food particles without damaging the seasoning. Crucially, in this routine cleaning, never use dish soap. (Unless, of course, you’re intentionally prepping for another full re-seasoning like we just did).
2. Everyday Cleaning for Lighter Use
For everyday cooking where food hasn’t significantly stuck, I simply run the pan under hot water and use one of those non-abrasive scour pads (the blue, flat ones are perfect) until it’s clean. This is usually sufficient to remove residual food and grease without being too harsh on the seasoning.
3. The Non-Negotiable Drying and Re-Oiling Step
Regardless of the cleaning method used, the next step is absolutely critical: you must place the cast iron pot or pan back onto the stovetop and heat it on medium-high to high heat until the pot is completely dry. Cast iron is a porous material, and even a tiny amount of residual moisture can lead to rust. Towel drying is simply not enough, as invisible moisture can linger. Heating it on the stovetop ensures it’s bone-dry and rust-proof.
Once the pan is dry and has cooled down slightly (but is still warm), I rub in another single drop of seasoning oil (flaxseed or canola) all over the cooking surface and the exterior, wiping any excess off with a clean paper towel. This thin layer of oil provides ongoing protection and reinforces the seasoning, keeping your pan ready for its next culinary adventure!
Why Proper Cast Iron Care Matters: Benefits Beyond the Kitchen
Investing the time in properly seasoning and caring for your cast iron isn’t just about avoiding sticky food; it offers a multitude of benefits that elevate your cooking experience and kitchen efficiency:
- Superior Non-Stick Surface: A well-seasoned cast iron pan develops a natural, chemical-free non-stick surface that can rival modern non-stick coatings. This means less oil is needed for cooking, and cleanup becomes a breeze.
- Unmatched Durability and Longevity: With proper care, cast iron pans truly last for centuries. They are impervious to scratches from metal utensils and can withstand extremely high temperatures, unlike synthetic non-stick pans that degrade over time.
- Excellent Heat Retention and Even Cooking: Cast iron heats slowly but retains heat exceptionally well, distributing it evenly across the cooking surface. This makes it ideal for searing, frying, and achieving consistent results, especially when cooking meats.
- Natural Iron Supplementation: Cooking in cast iron can actually leach small amounts of dietary iron into your food, which can be a beneficial supplement, particularly for those with iron deficiencies.
- Versatility: From stovetop to oven to campfire, cast iron is incredibly versatile. You can bake, fry, sear, roast, and sauté with ease, often transitioning between cooking methods with the same pan.
- Economic and Sustainable Choice: A cast iron pan is a one-time investment. Unlike other cookware that needs periodic replacement, a well-cared-for cast iron pan eliminates waste and saves you money in the long run.
Common Cast Iron Problems and How to Solve Them
Even with the best intentions, you might encounter some common issues. Here’s how to troubleshoot them:
- Sticky Residue: This is almost always caused by too much oil during seasoning or maintenance. The oil didn’t fully polymerize. To fix, scrub off the sticky layer with soap and a scrubber (like in our initial strip), then re-season with a much thinner coat of oil.
- Rust Spots: Rust appears when moisture is left on the pan. If you see rust, scrub it vigorously with a stainless steel scrubber and hot water (and a little soap if needed) until the rust is gone. Immediately dry the pan thoroughly on the stovetop and apply a thin layer of oil, then re-season if necessary.
- Food Sticking: If food is still sticking after seasoning, it often means the seasoning isn’t strong enough yet. Continue to cook with fat, avoid acidic foods for a while, and ensure you’re doing the oil rub after each stovetop drying. Multiple thin layers of seasoning built up over time create the best non-stick surface.
- Dull or Dry Appearance: This indicates the seasoning is wearing thin. Simply give it a good clean, dry it on the stovetop, and apply a fresh thin layer of oil. You can even do a quick oven re-seasoning (bake for 30-60 minutes at 400°F) if it needs a boost.
By understanding these simple fixes, you can keep your cast iron performing beautifully and looking its best.
Enjoy! And if you give this Seasoning and Cleaning Cast Iron method a try, let me know! Snap a photo and tag me on Twitter or Instagram!
My cookbook Simply Scratch : 120 Wholesome Homemade Recipes Made Easy is now available! CLICK HERE for details and THANK YOU in advance!
[This post contains affiliate links.]