
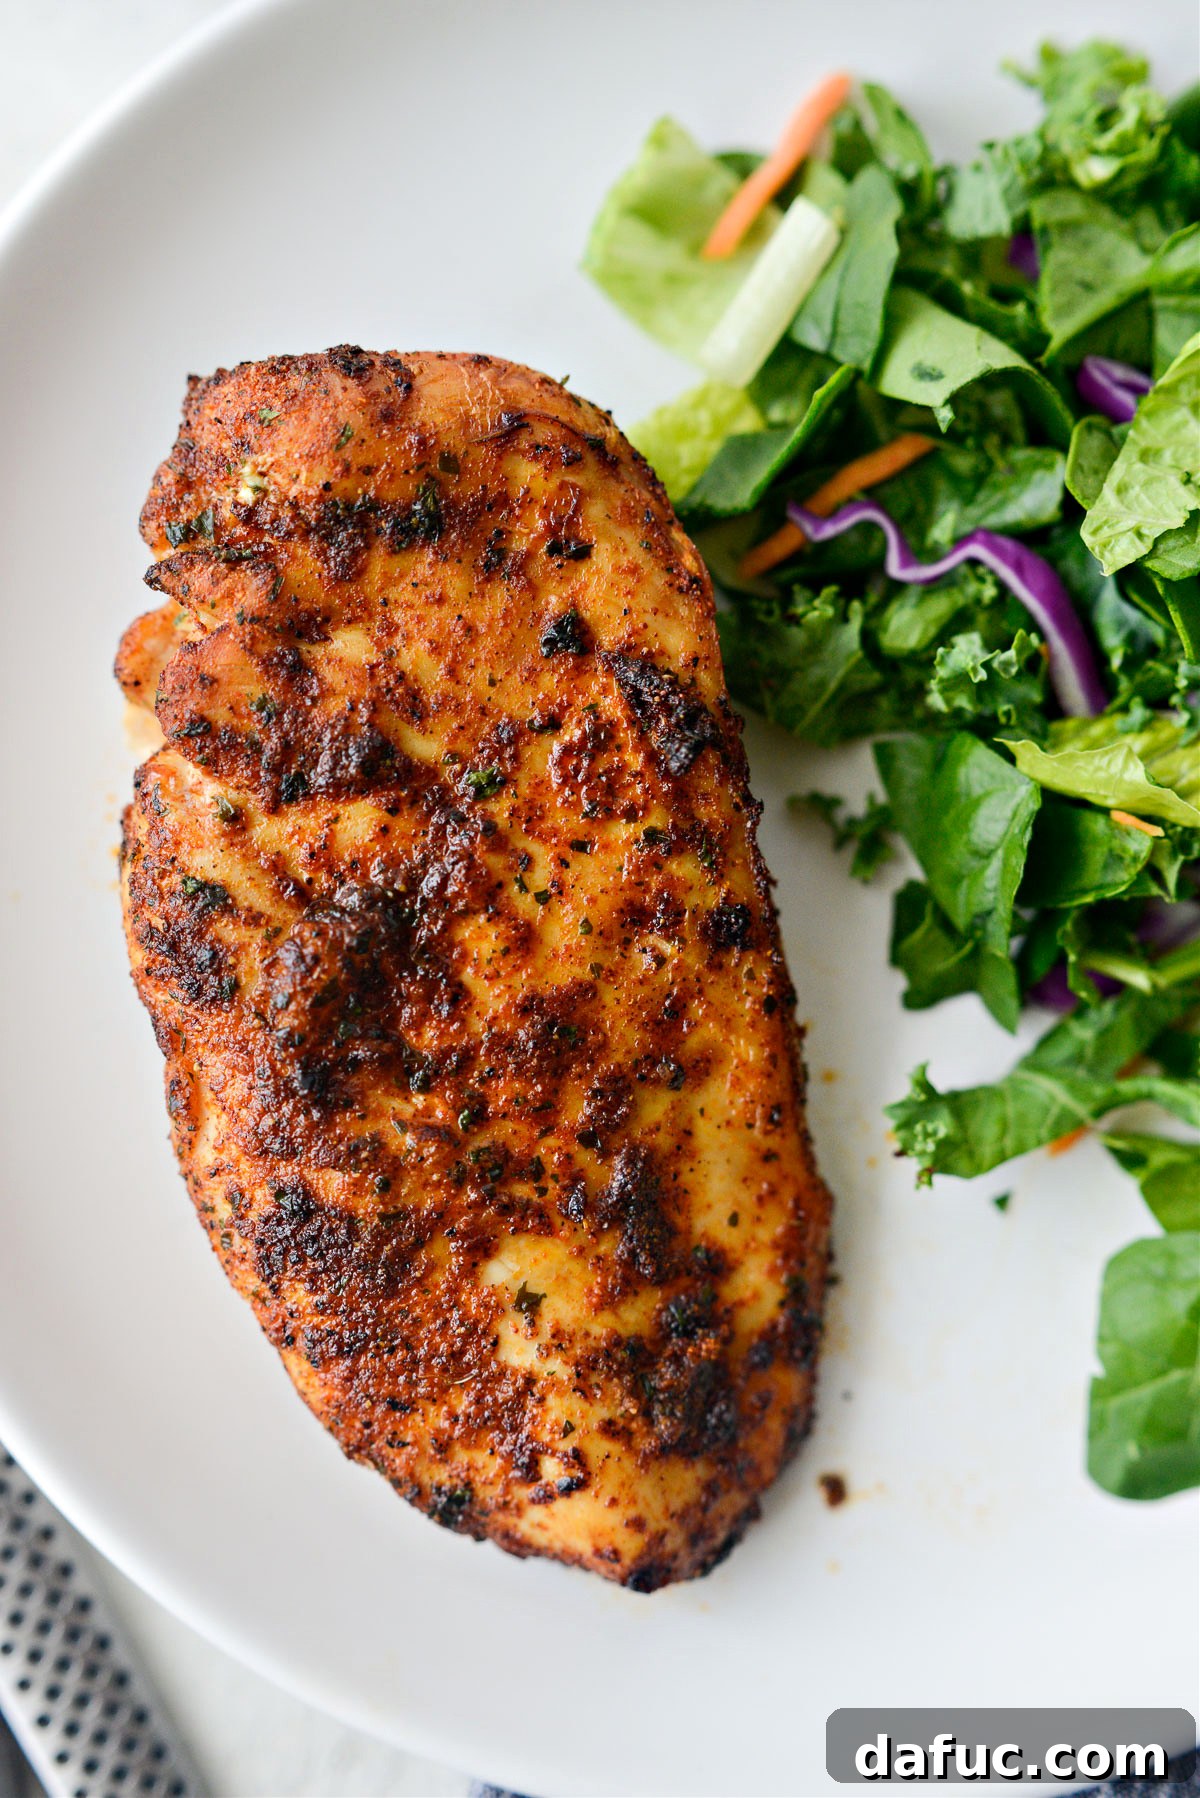
Welcome to the ultimate guide for creating incredibly Air Fryer Chicken Breasts that are consistently juicy, tender, and bursting with flavor! This simple recipe is a game-changer for anyone seeking a healthy, quick, and satisfying meal. Forget dry, bland chicken; with just a few common ingredients and a little time, you’ll master the art of perfectly cooked chicken breasts that can be enjoyed in countless ways. Whether you pair them with your favorite healthy sides, slice them over a crisp, fresh salad, or tuck them into a hearty sandwich or wrap, this chicken is sure to impress. This versatile recipe is designed for two chicken breasts, but it’s incredibly easy to adjust – halve it for a single serving or double (or triple!) it to feed a larger family or for convenient meal prep.
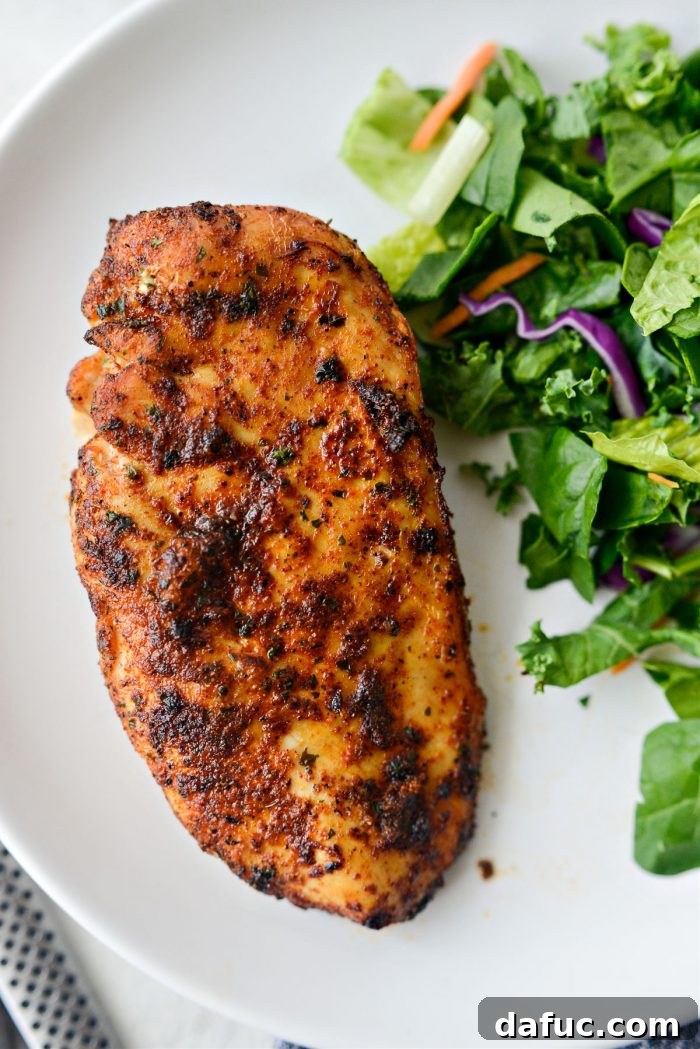
Mastering Juicy Air Fryer Chicken Breasts: A Quick & Healthy Weeknight Meal
It’s always a debate, isn’t it? The changing seasons and the rush towards holidays often catch us off guard. While some are already decking their halls, I’m still savoring the last bits of summer salads and perhaps a rogue piece of Halloween candy here and there. It’s November 1st (as I write this!), and I still can’t quite believe how fast the year is flying by. Before we dive headfirst into the rich, decadent flavors of Thanksgiving, I wanted to share a recipe that epitomizes ease, health, and incredible flavor – my go-to for juicy chicken in mere minutes.
To say I make this recipe frequently would be a massive understatement. It’s a staple in our dinner rotation, and I often prepare a double batch. The leftovers are perfect for chopping and adding to vibrant salads, creating delicious paninis, or wrapping up for a quick and satisfying lunch. There was even one memorable occasion when I made a quesadilla using this very chicken for my daughter, Malloree. Her verdict? “It was the best chicken she’d ever eaten.” Honestly, receiving that compliment felt like being handed a dozen roses and the ‘Mother of the Year’ award all at once! 🥰
Seriously, this chicken is *that* good. And if you haven’t yet welcomed an air fryer into your kitchen, what are you waiting for? This appliance will revolutionize your cooking, making healthy meals both faster and tastier.
Essential Ingredients for Your Air Fryer Chicken Breasts
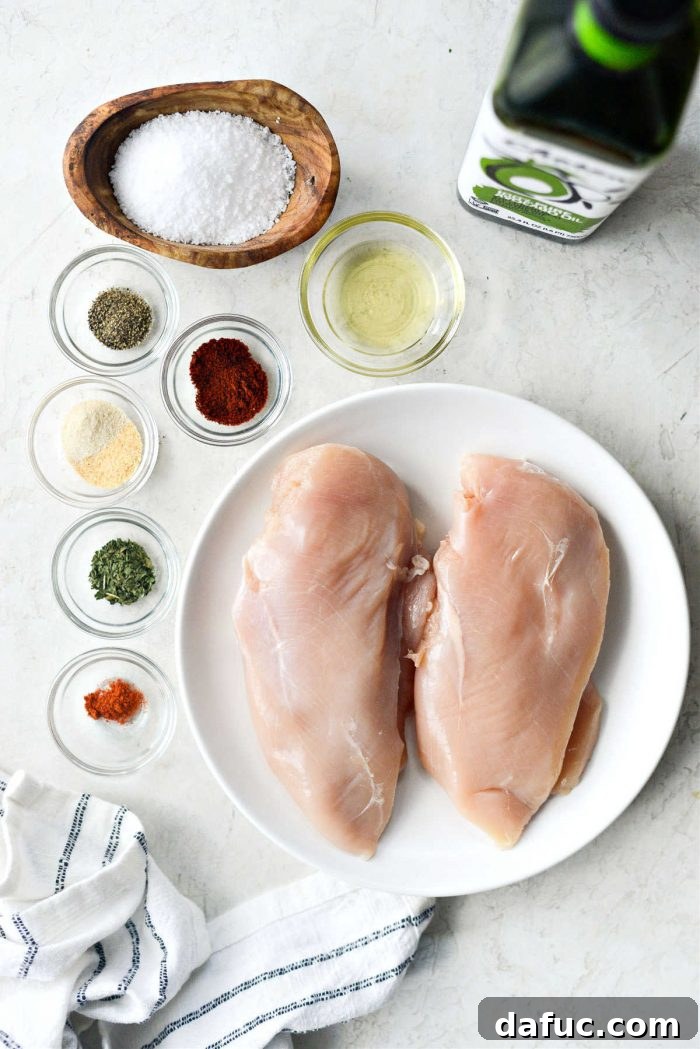
Crafting these perfectly juicy chicken breasts requires only a handful of staple ingredients, many of which you likely already have in your pantry. The key lies in the quality of the chicken and the thoughtful blend of seasonings that infuse every bite with incredible flavor. Here’s what you’ll need to gather:
- Boneless, Skinless Chicken Breasts: The lean protein base for our meal.
- Kosher Salt: Crucial for the dry brining process, which we’ll discuss in detail.
- Paprika: Adds a touch of warmth, color, and subtle sweetness.
- Garlic Powder: A foundational flavor enhancer that complements almost any dish.
- Onion Powder: Provides a savory depth that balances the garlic.
- Dried Parsley: Offers a fresh, herbaceous note and a pop of green for visual appeal.
- Black Pepper: Freshly ground for a pungent kick and aromatic finish.
- Cayenne Pepper: An optional addition for those who enjoy a subtle, spicy warmth. Adjust to your preference.
- High-Heat Oil (e.g., Avocado Oil): Essential for achieving a beautiful golden crust without burning.
Step-by-Step Preparation: Achieving Tender Perfection
The journey to truly spectacular air fryer chicken breasts begins with a few crucial preparatory steps. These simple techniques ensure even cooking, maximum flavor, and that sought-after tender texture.
1. Preparing the Chicken Breasts for Even Cooking
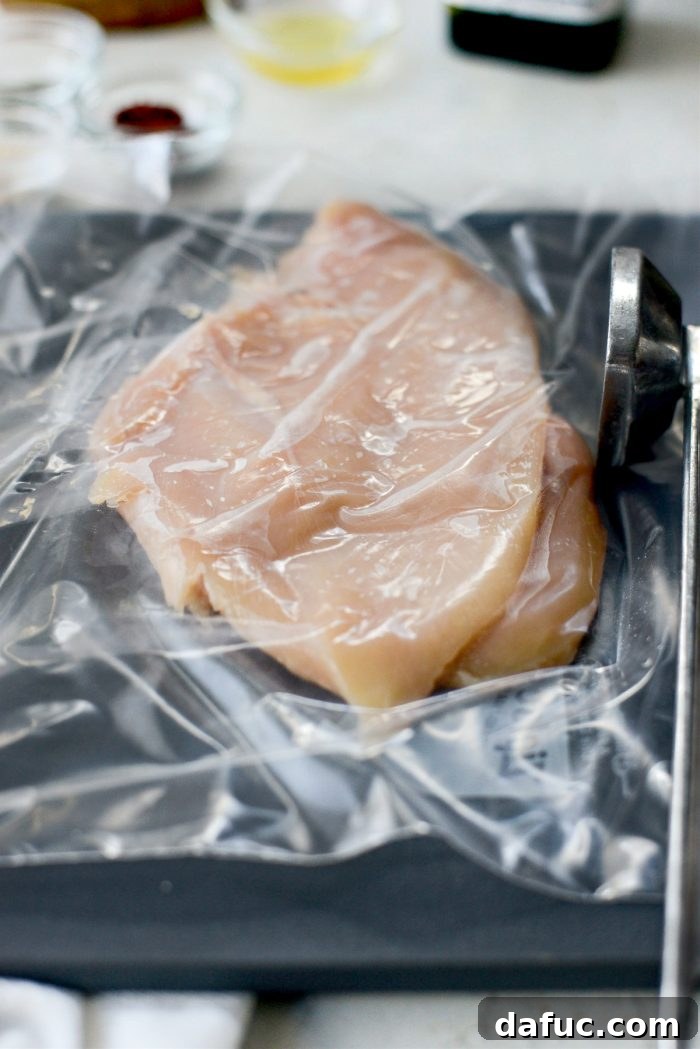
Start by thoroughly patting your boneless, skinless chicken breasts dry with a paper towel. This step is vital as it helps the seasonings adhere better and promotes a crispier exterior. Next, place one chicken breast at a time into a gallon-sized re-sealable bag or between two sheets of plastic wrap. Using the flat side of a meat tenderizer, gently but firmly pound the chicken until it reaches an even thickness, ideally about 3/4 to 1 inch. This isn’t just about tenderizing; it’s a critical step that guarantees your chicken cooks uniformly, preventing thinner edges from drying out while the thicker parts finish cooking.
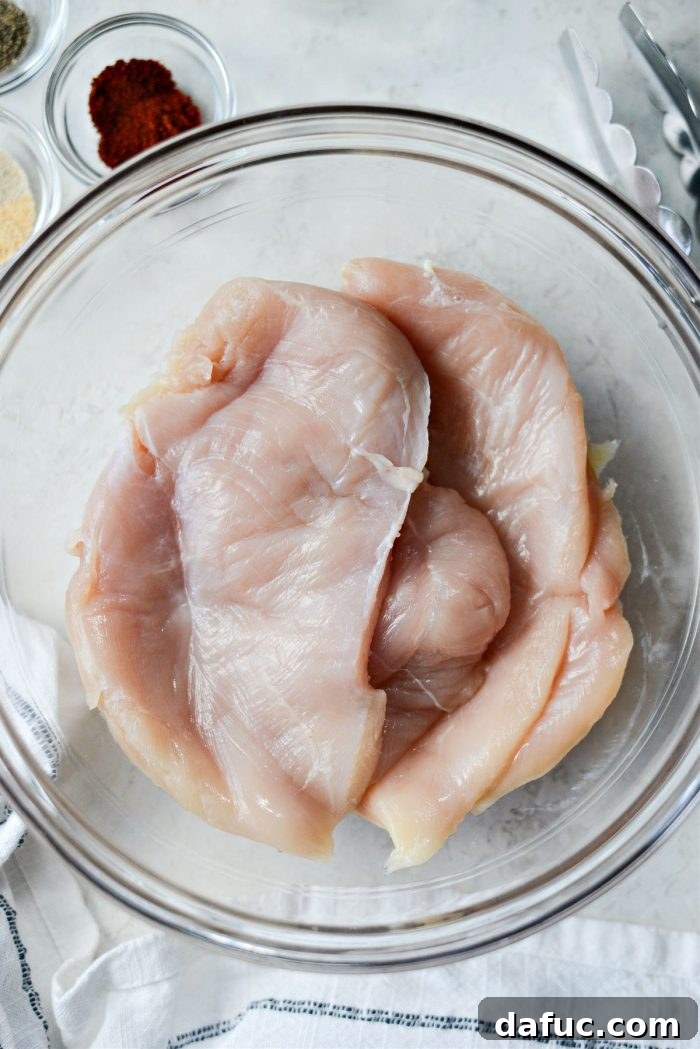
Once all your chicken breasts are pounded to an even thickness, transfer them to a clean mixing bowl, ready for the next transformative step.
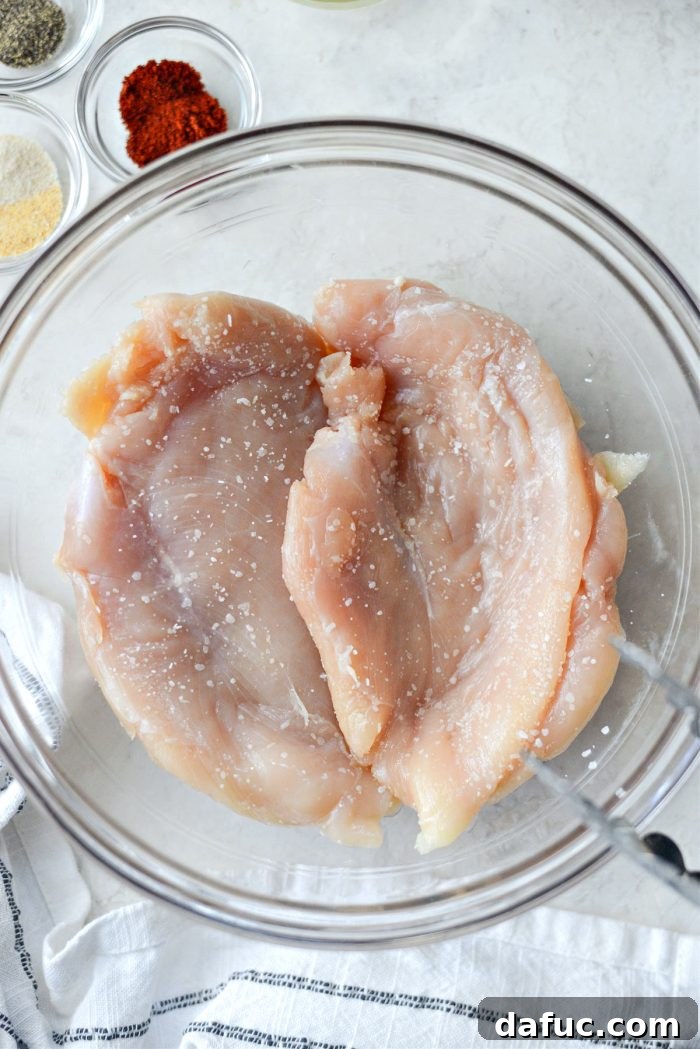
2. The Magic of Dry Brining for Unbeatable Juiciness
Now, sprinkle the chicken breasts generously with 1/2 to 3/4 teaspoon of kosher salt. The exact amount will depend on the size of your chicken breasts; for larger breasts, lean towards 3/4 teaspoon. Once salted, set the bowl aside at room temperature for 25 to 30 minutes, or even up to an hour for boneless, skinless chicken breasts. This technique is called dry brining, and it’s a simple yet incredibly effective way to enhance both the flavor and moisture of your chicken. I first discovered this quick magical trick when smoking chicken breasts with Pat over the summer, and it has since become an indispensable part of my chicken preparation.
What Exactly Is Dry Brining?
Dry brining is a brilliant, time-saving alternative to traditional wet brining. In essence, it involves salting your meat and allowing it to rest before cooking. This process works by drawing out some of the chicken’s natural moisture to the surface. The salt then dissolves in this moisture, creating a highly concentrated brine. Through osmosis, this salty solution is reabsorbed back into the chicken, deeply seasoning the meat from within and tenderizing it by breaking down muscle fibers. Crucially, dry brining does not dry out your chicken whatsoever. Instead, it yields consistently juicy, tender, and incredibly flavorful chicken every single time – provided, of course, that you don’t overcook it! 😉
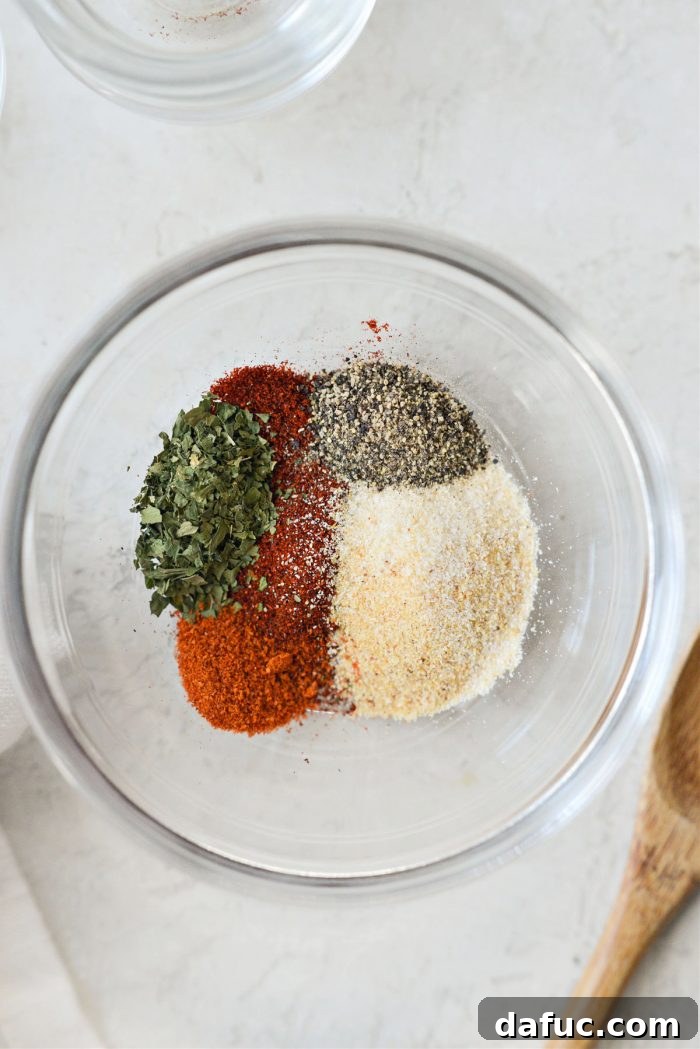
3. Crafting Your Signature Seasoning Blend
While your chicken is dry brining, take the opportunity to prepare your seasoning blend. This particular combination is my absolute go-to for air-fried chicken, offering a balanced and delicious flavor profile. It’s quite similar to my beloved all-purpose seasoning salt, but with the salt omitted (since we’re dry brining!) and the addition of dried parsley for that lovely pop of color and herbaceous freshness.
However, the beauty of this recipe is its adaptability. Feel free to customize the seasoning to match your cravings! Craving a Mexican-inspired meal? Opt for taco or fajita seasoning. In the mood for something bolder? Try a blackened seasoning blend. For a wealth of inspiration, explore my collection of homemade seasoning and spice blends. Choose your own culinary adventure!
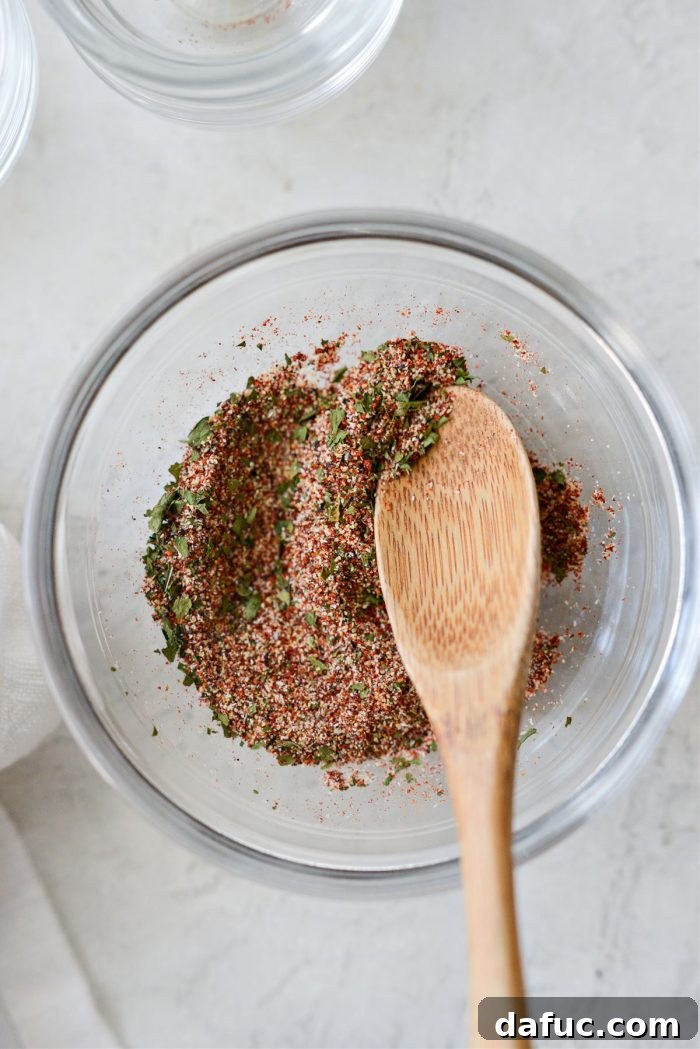
Simply stir all the chosen spices together in a small bowl until thoroughly combined, creating a fragrant and ready-to-use blend.
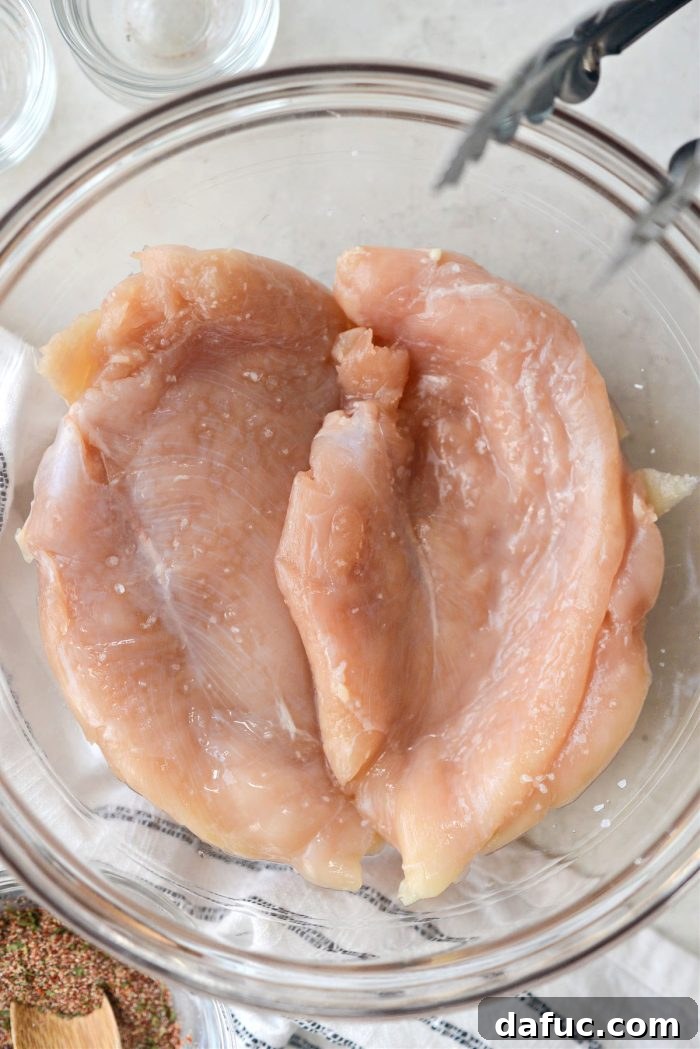
4. Seasoning and Preparing for the Air Fryer
Once the dry brining period is complete, it’s time to prepare the chicken for cooking. Drizzle the chicken with approximately 2 teaspoons of a high-smoke-point oil. I prefer using avocado oil due to its neutral flavor and high heat tolerance, but any light oil suitable for high-temperature cooking, such as extra light olive oil or grapeseed oil, will work beautifully here. Avocado oil, in particular, helps create that desirable crispy exterior without imparting unwanted flavors.
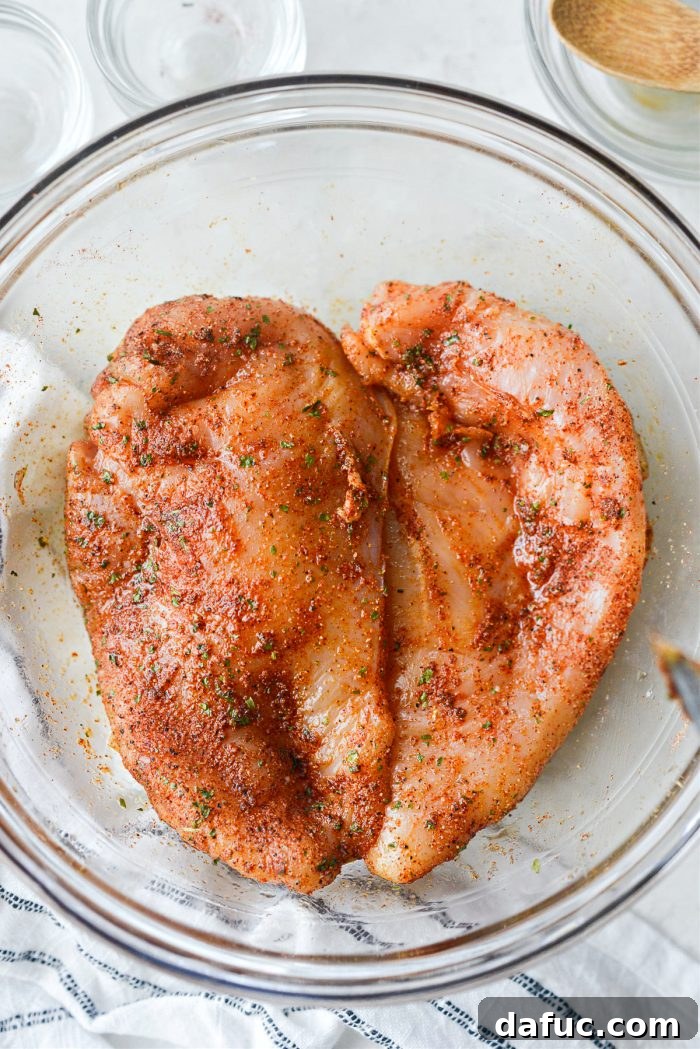
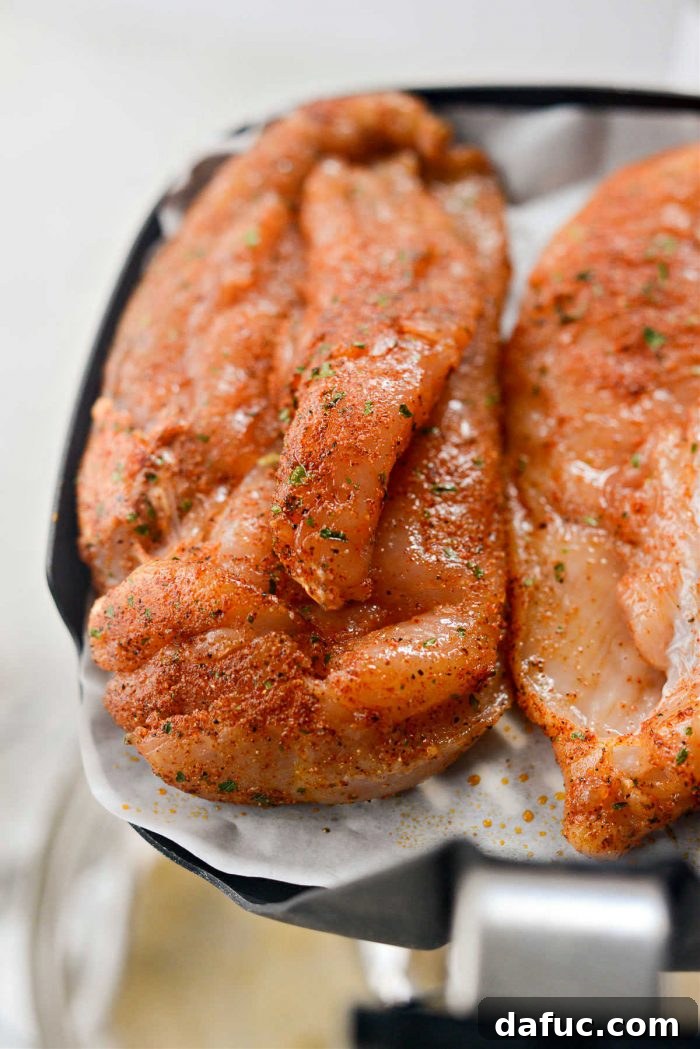
After adding the oil, generously sprinkle both sides of the chicken breasts with your prepared seasoning blend. Toss everything well to ensure that each piece of chicken is evenly coated. This robust layer of seasoning will form a flavorful crust as it cooks in the air fryer, locking in moisture and adding incredible depth.
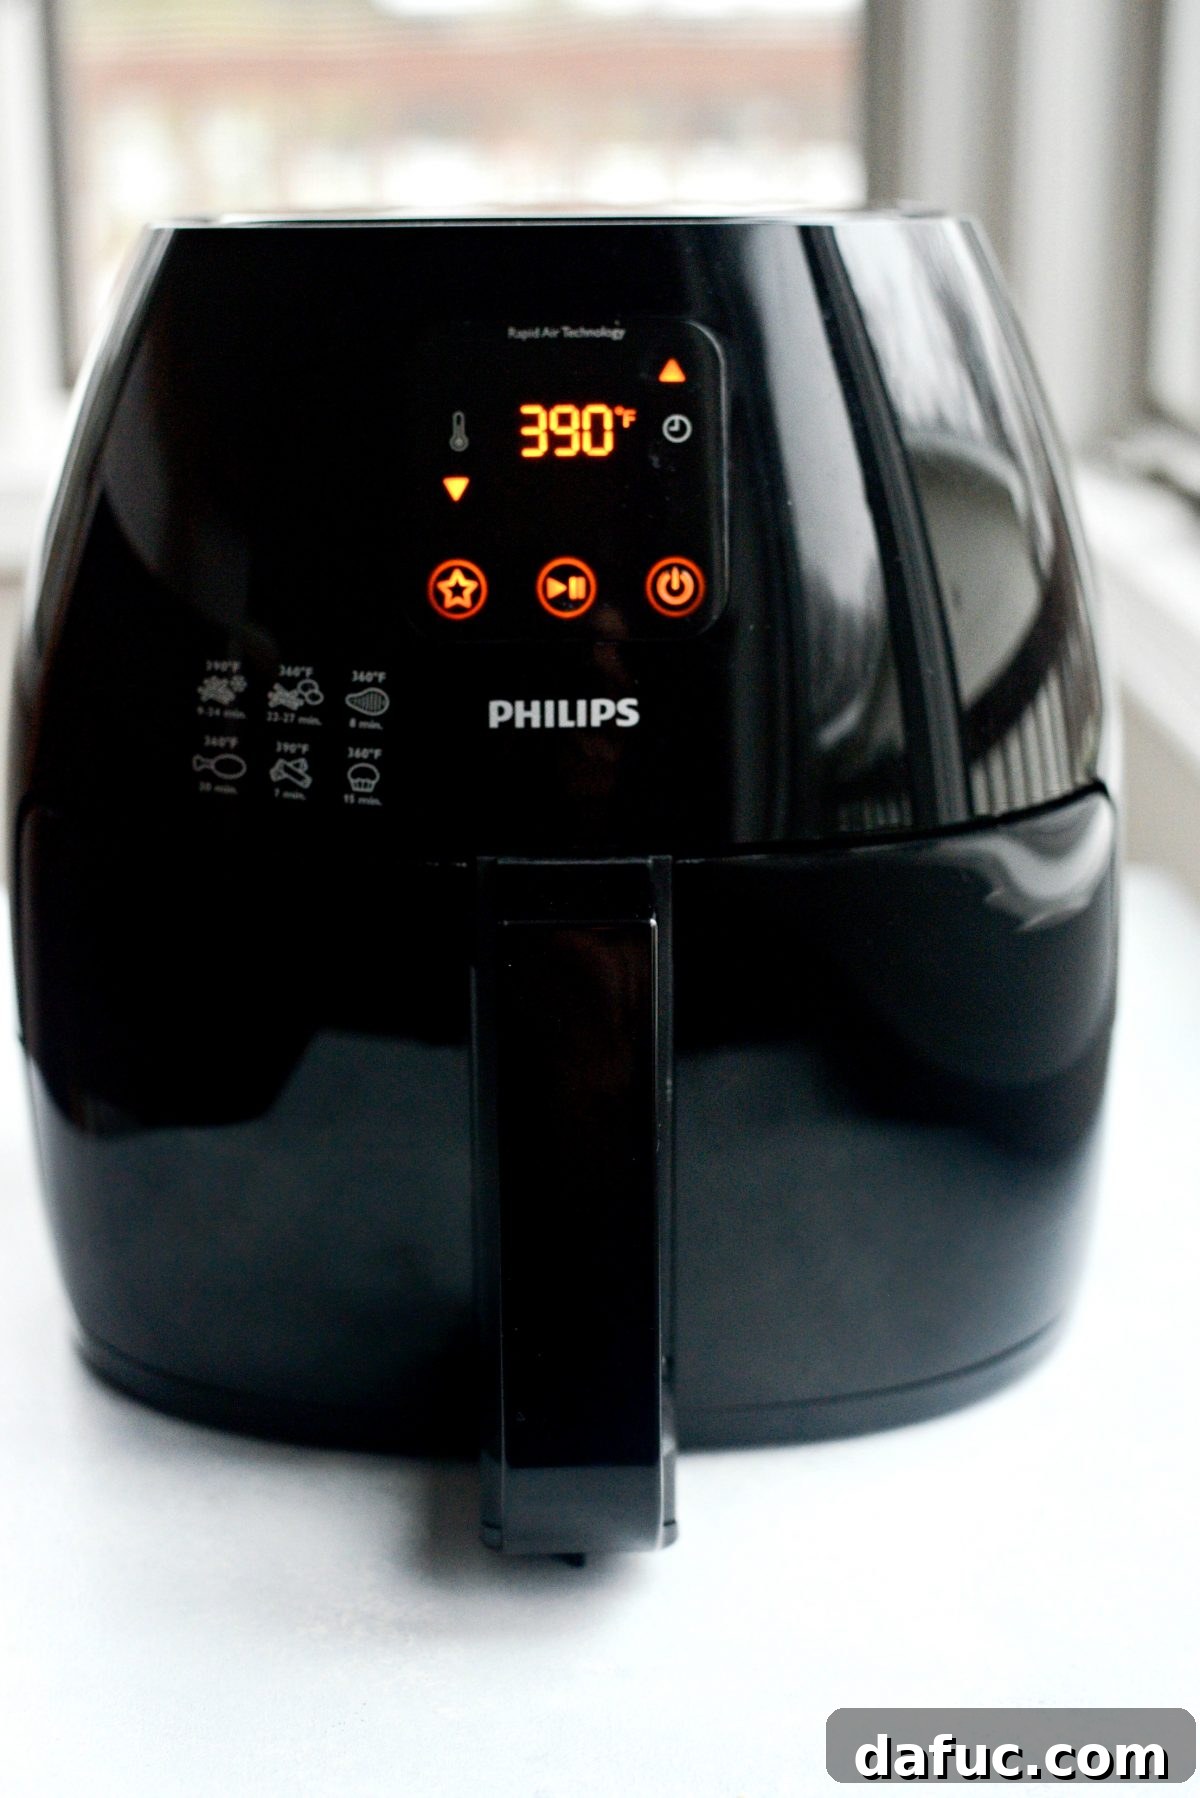
Meanwhile, don’t forget to preheat your air fryer to 390℉ or 400℉ (approximately 200℃).
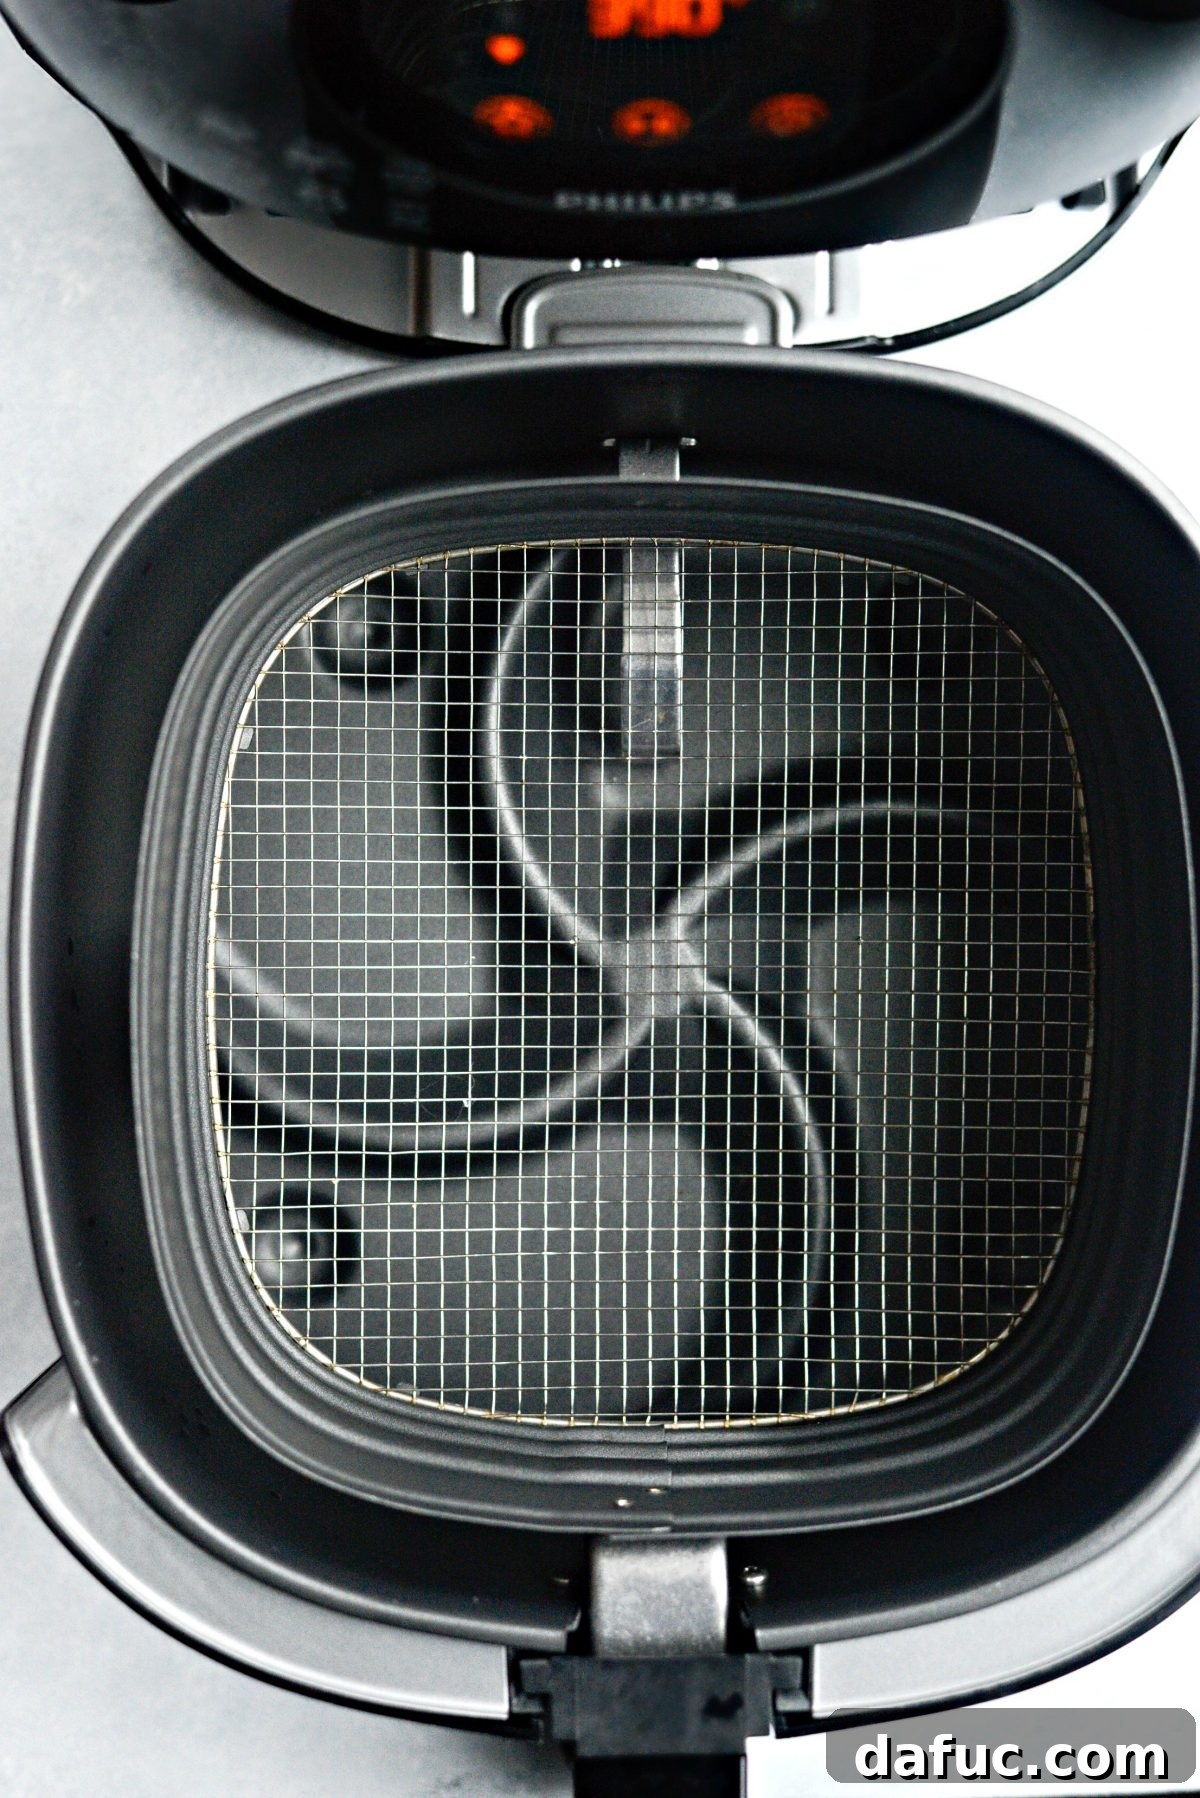
Unveiling the Power of Air Frying: What You Need to Know
For those new to the air fryer craze, let’s demystify this incredible kitchen appliance and understand why it’s become a favorite for healthy cooking.
What Is Air Frying?
- An air fryer is a countertop appliance that uses rapid air circulation technology to cook food. It functions much like a convection oven, but on a smaller scale and with a more intense airflow. This powerful hot air movement surrounds the food, creating a crispy, golden exterior that remarkably mimics the texture of deep-fried dishes, but with a fraction of the oil – often just a few sprays or a tablespoon.
- The intense heat and circulating air allow food to cook significantly faster than in a conventional oven, making it perfect for quick weeknight meals.
- There’s a wide array of air fryer makes and models available, from compact basket styles to larger oven-style units. My husband, ever the researcher, found this Philips Air Fryer XXL to be one of the best for its capacity and performance. However, I always recommend doing your own research to find one that best fits your specific cooking needs and lifestyle.
How Is Air Frying Healthier?
- The primary health benefit of air frying stems from its minimal oil requirement. Instead of submerging food in a vat of hot oil, you only need a thin layer to coat the surface. The circulating hot air then crisps this lightly oiled surface, resulting in delicious, crunchy food without the excessive fat and calories associated with traditional deep frying. This means you can enjoy many of your favorite “fried” foods guilt-free, without sacrificing any of the flavor or texture.
- It’s important to remember that not all air fryers are created equal. Some models require preheating, while others don’t. Basket sizes vary significantly, so you may need to cook in smaller batches if you have a more compact unit to ensure proper air circulation and even cooking. Always check your specific air fryer’s manual for best practices.
For more delicious and innovative Air Fryer recipes to expand your culinary repertoire, be sure to click here and explore my growing collection!
The Air Frying Process: Cooking to Perfection
Once your air fryer is preheated and your chicken is seasoned, it’s time to cook! Carefully place the chicken breasts in the air fryer basket, ensuring they are not overcrowded. For best results, place them smooth side facing down first. Air fry for approximately 5 to 6 minutes. Then, using tongs, carefully flip the chicken breasts and continue to cook for another 3 to 7 minutes, or until an instant-read thermometer inserted into the thickest part registers 162-163°F (72-73°C).
How Long Should You Cook Your Chicken Breast in the Air Fryer?
The cooking time for chicken breasts in an air fryer can vary depending on their size and thickness. Pounding them to an even thickness as we did earlier helps standardize this, but here’s a general guide:
- Smaller Breasts (about 4-5 oz): Typically take around 8-10 minutes total.
- Medium Breasts (about 6-7 oz): Will usually require about 10-12 minutes.
- Larger Breasts (8 oz+): May need 12-14 minutes or even slightly longer.
Always use a meat thermometer to ensure accuracy and food safety.
The Secret to Getting a Consistently Juicy Chicken Breast?
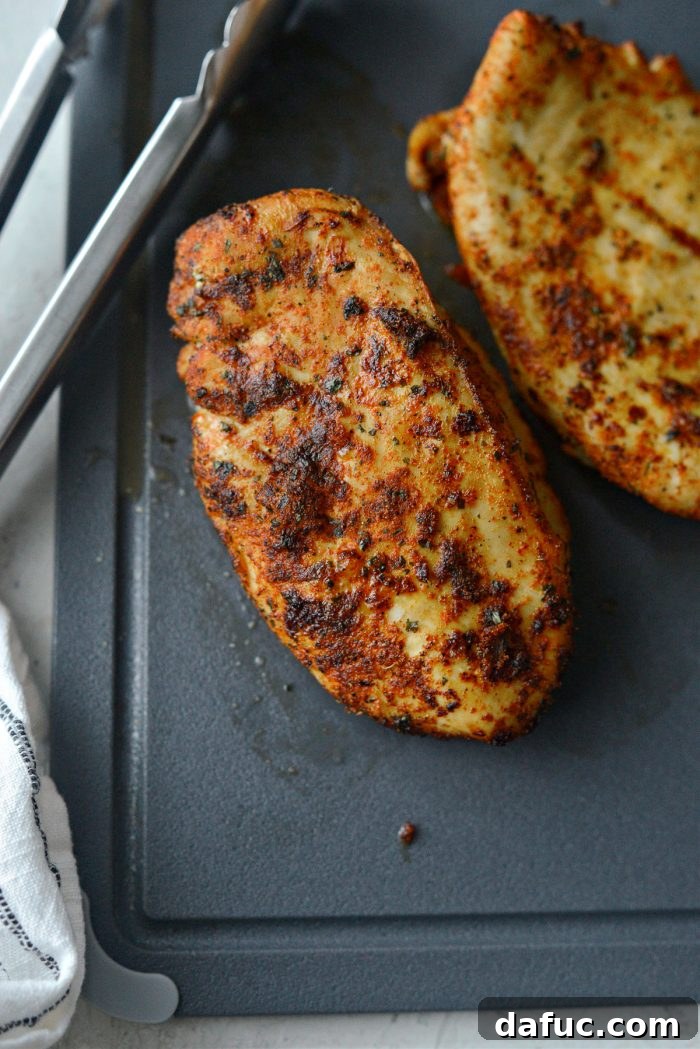
It’s surprisingly easy: simply do not overcook your chicken breasts! I understand that cooking chicken can make some people nervous about undercooking. If this is the case, I highly, highly recommend investing in a reliable instant-read thermometer. It is undeniably the best tool to know precisely when your chicken is perfectly cooked and safe to eat. All you need to do is insert the probe into the thickest part of the chicken breast, away from the bone, and in a matter of seconds, you’ll get an accurate reading.
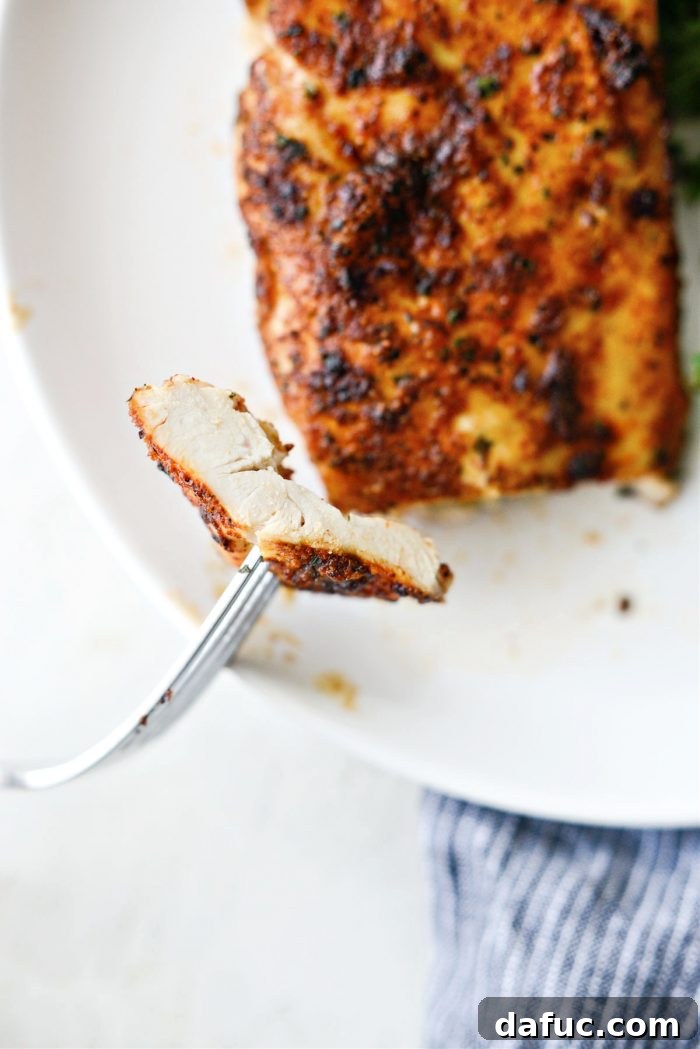
Chicken is considered fully cooked and safe at 165°F (74°C). However, for maximum juiciness, I pull my chicken breasts from the air fryer when they reach 162-163°F (72-73°C). I then immediately transfer them to a small carving board and tent them loosely with foil. While the chicken rests for 3 to 5 minutes under the foil, a phenomenon known as “carryover cooking” occurs. The residual heat within the chicken continues to cook it, bringing the internal temperature up those last few degrees until it reaches a perfect 165°F. This resting period also allows the juices to redistribute throughout the meat, resulting in chicken that is exceptionally juicy, tender, and incredibly flavorful. Patience during this final step truly makes all the difference!
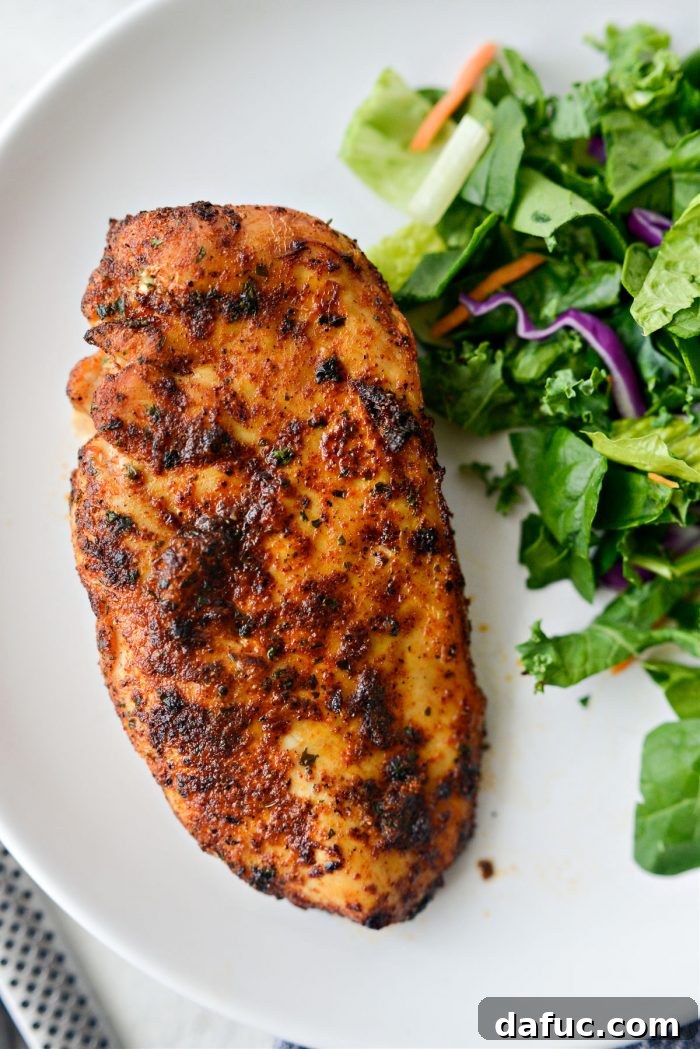
Once the chicken has rested and is perfectly juicy, it’s ready to slice, serve, and savor! Enjoy it however you like – the possibilities are endless.
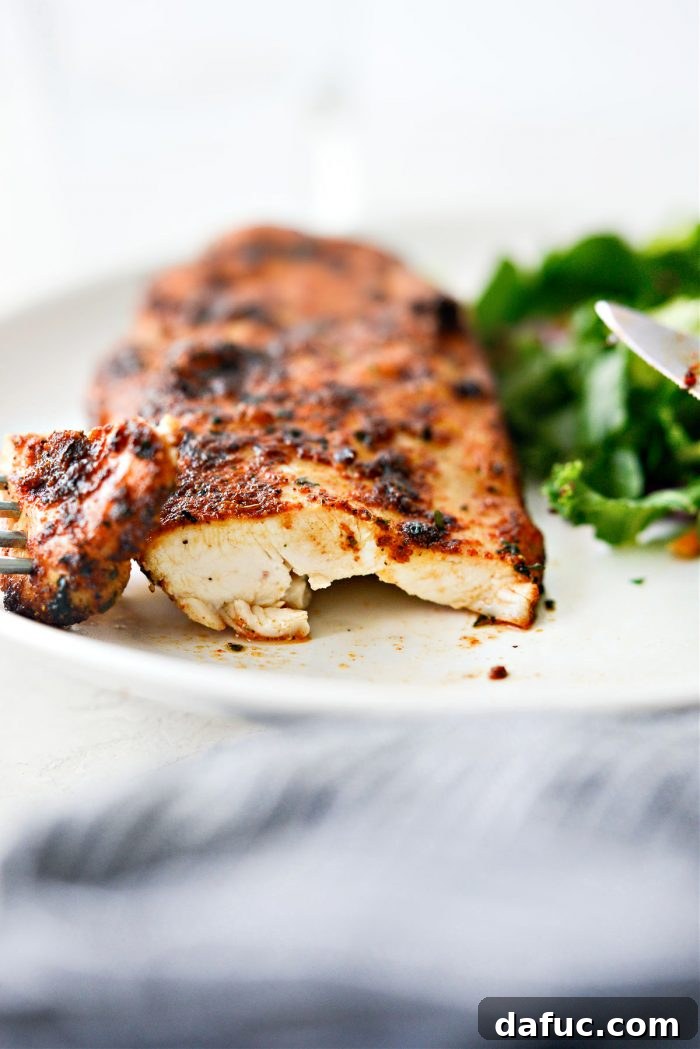
Enjoy this fantastic Air Fryer Chicken Breasts recipe! If you give it a try, I’d love to hear from you. Snap a photo of your delicious creation and tag me on Twitter or Instagram! Your feedback and shares make my day.
Print Recipe
Pin Recipe
Leave a Review »
Air Fryer Chicken Breasts
Ingredients
- 2 boneless skinless chicken breasts
- 1/2 to 3/4 teaspoon kosher salt, depending on size of chicken breasts
- 3/4 teaspoon paprika
- 3/4 teaspoon garlic powder
- 1/2 teaspoon dried parsley flakes
- 1/2 teaspoon onion powder
- 1/4 teaspoon black pepper, freshly ground
- 1/8 teaspoon cayenne pepper
- 2 teaspoons avocado oil, or extra light olive oil
Equipment
-
Philips Air Fryer XXL
Instructions
-
Pat the chicken breasts with paper towel. Place 1 chicken breast at a time in a gallon size re-sealable bag or between to pieces of plastic wrap.
-
Using the flat side of a meat tenderizer, pound the chicken to even thickness. This step is important as it will help cook your chicken evenly.
-
Transfer chicken to a bowl and sprinkle both sides of the chicken with salt and let sit for 25 to 30 minutes on the counter.
-
Preheat your air-fryer to 390 to 400℉ (or 200℃).
-
In a small bowl, combine paprika, garlic and onion powder, parsley flakes, black pepper and cayenne.
-
After 30 minutes, toss the chicken breasts in 2 teaspoons oil and the seasoning until evenly coated.
-
Once preheated, place chicken breasts in the air fryer (if using parchment paper, make sure it’s meant for the air fryer and never preheat your air fryer with parchment paper inside) and cook for 5 to 6 minutes.
-
Flip and continue cooking 4 to 5 minutes or until fully cooked and no longer pink. An instant read thermometer should register 165° (see notes) when inserted into the thickest part.
-
Transfer the chicken to a cutting board and allow to rest for 3 to 5 minutes under tented foil.
Notes
Looking To Buy An Air Fryer?
I recommend this one or one from this company that fits your needs. This is not sponsored, just an honest opinion!