
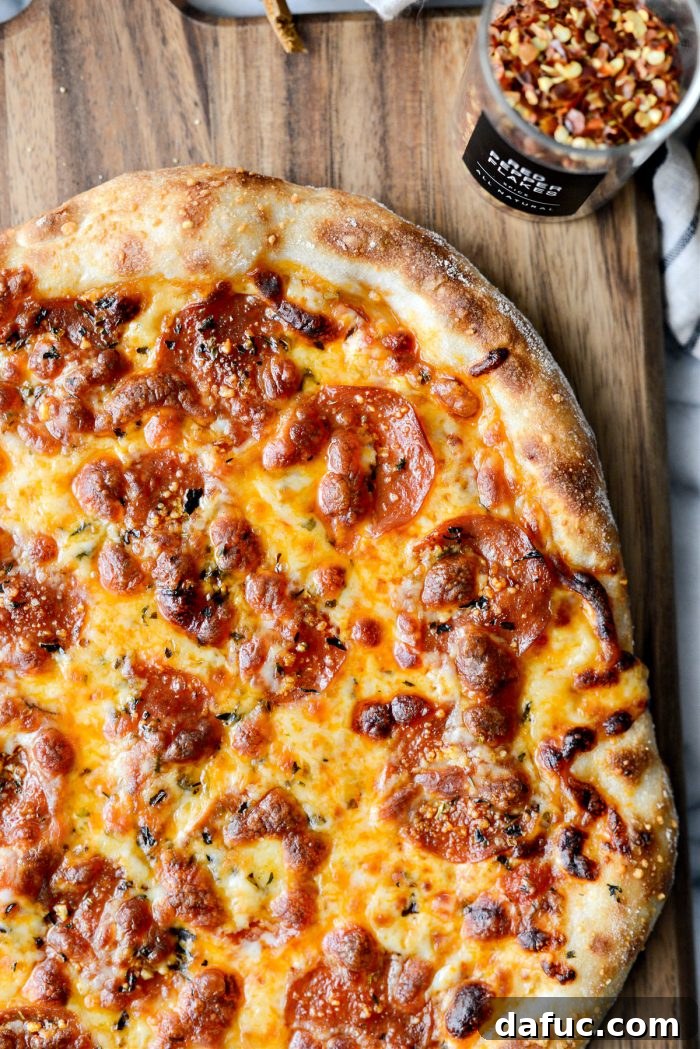
Unlock the secret to incredible homemade pizza with minimal effort! This ultimate No-Knead Pizza Dough recipe simplifies the pizza-making process, allowing you to create pizzeria-quality pies right in your own kitchen. Forget the strenuous kneading and complex techniques; with just a few basic ingredients and a little patience, you’ll have a wonderfully elastic and flavorful dough ready to transform into your favorite pizzas. Whether you’re aiming for one large, two medium, or four personal pizzas, this recipe delivers a crisp, chewy crust with that coveted brick-oven look and taste, especially when baked on a preheated pizza stone in a very hot oven.
Embrace the Ease: Why No-Knead Pizza Dough is a Game Changer
There’s a special joy in crafting your own pizza from scratch. Over the years, I’ve fallen in love with the simplicity and superior results of no-knead bread recipes, and it was only a matter of time before I adapted this revolutionary method for pizza dough. The outcome? Nothing short of spectacular! This no-knead version takes all the intimidation out of working with dough, making homemade pizza an accessible and enjoyable weekly tradition.
If you’ve ever felt hesitant about tackling pizza dough, this recipe is tailor-made for you. It’s incredibly forgiving and consistently produces a magnificent crust. I encourage you to read through all the tips and tricks shared here; they’re designed to ensure your pizza-making journey is not only easy but also exceptionally rewarding. Get ready to impress yourself and your loved ones with perfect homemade pizzas every time!
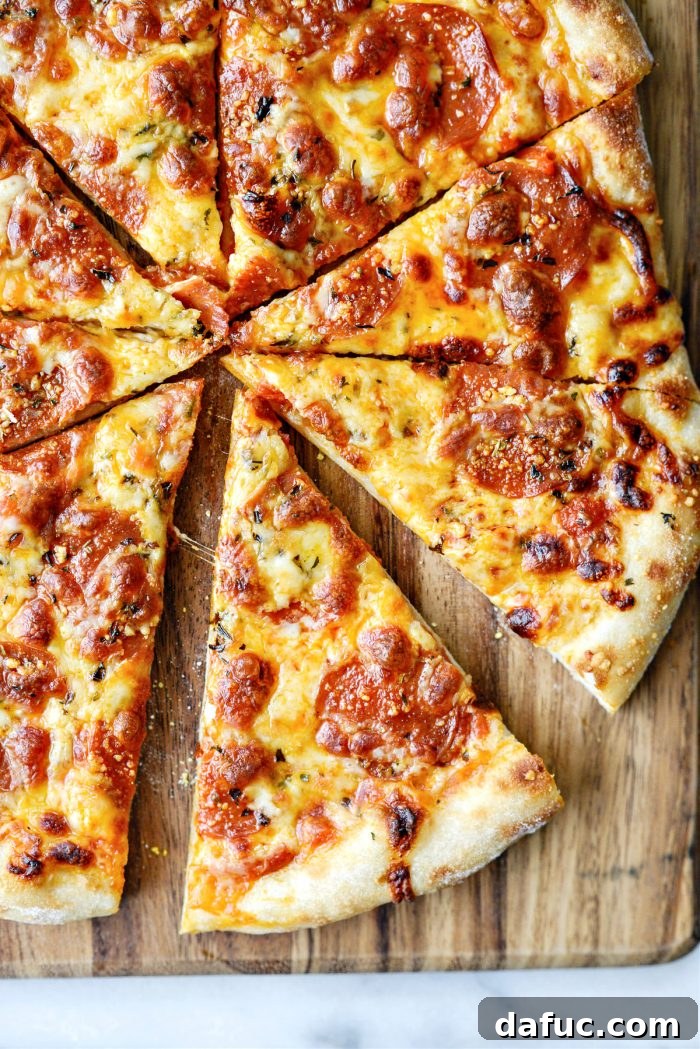
Creating delicious pizza at home has never been simpler.
Gather Your Simple Ingredients for No-Knead Pizza Dough
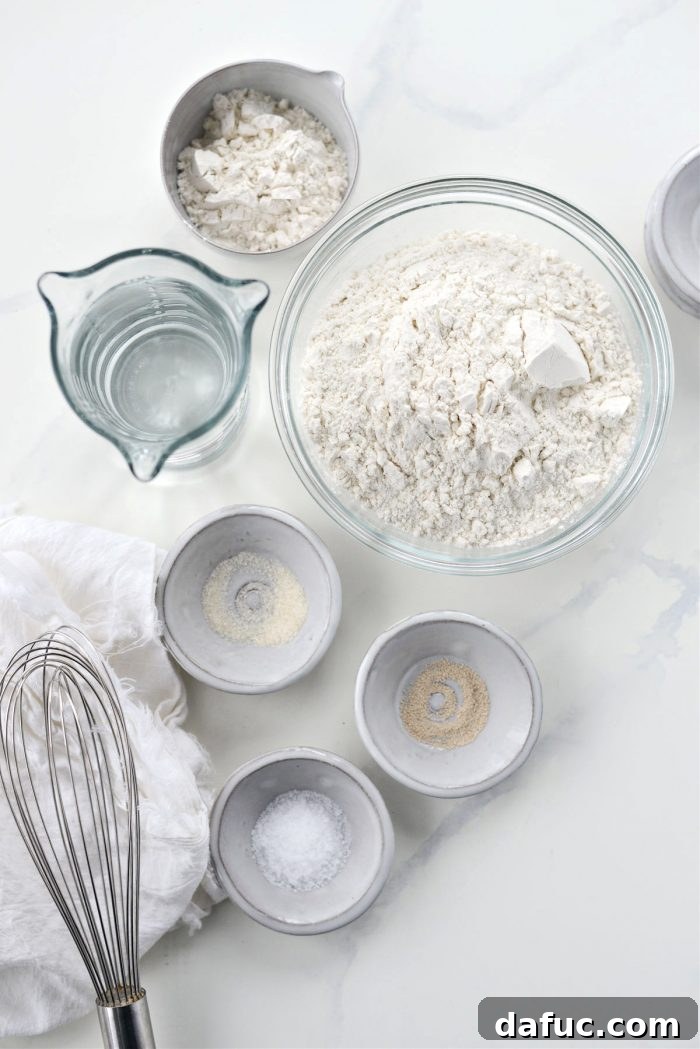
One of the beauties of this recipe lies in its straightforward ingredient list. You likely have most of these pantry staples already, proving that extraordinary results don’t require exotic components. For a batch of our fantastic no-knead pizza dough, you will need:
- **Unbleached Bread Flour:** The star of our dough, providing the necessary protein for that desirable chewy texture.
- **Active Dry Yeast:** Our leavening agent, responsible for the dough’s rise and incredible airy structure.
- **Granulated Sugar:** A touch of sweetness that helps activate the yeast and adds subtle flavor to the crust.
- **Kosher Salt:** Essential for enhancing the flavor of the dough and regulating yeast activity.
- **Lukewarm Water:** The liquid component that brings everything together, ideally between 105-115°F (40-46°C) to activate the yeast without killing it.
The Flour Factor: Bread Flour vs. All-Purpose
When it comes to dough, not all flours are created equal. The choice between all-purpose and bread flour significantly impacts the final texture of your pizza crust. Bread flour, as its name suggests, is specifically milled for bread-making due to its higher protein content (typically 12-14%). This higher protein level is crucial for developing strong gluten networks, which are responsible for the dough’s elasticity, extensibility, and chewiness. Gluten is what allows the dough to stretch without tearing and traps the gases produced by yeast, resulting in those beautiful, airy bubbles in your crust. (Fun fact from Bakerpedia: protein content affects water absorption, cohesiveness, viscoelasticity, dough strength, texture, loaf volume, and crumb grain.)
For yeast-leavened recipes like our pizza dough, bread flour is almost always the superior choice. It yields a crust that is both sturdy enough to hold toppings and wonderfully chewy. All-purpose flour, with its lower protein content (around 10-12%), is better suited for chemically leavened baked goods like cakes, cookies, and biscuits, where a tender, less chewy crumb is desired.
The Easy Process: Mixing Your No-Knead Pizza Dough
This recipe offers flexibility in mixing, ensuring success no matter your preferred method. The key is simply combining the ingredients thoroughly to allow the magic of time to work.
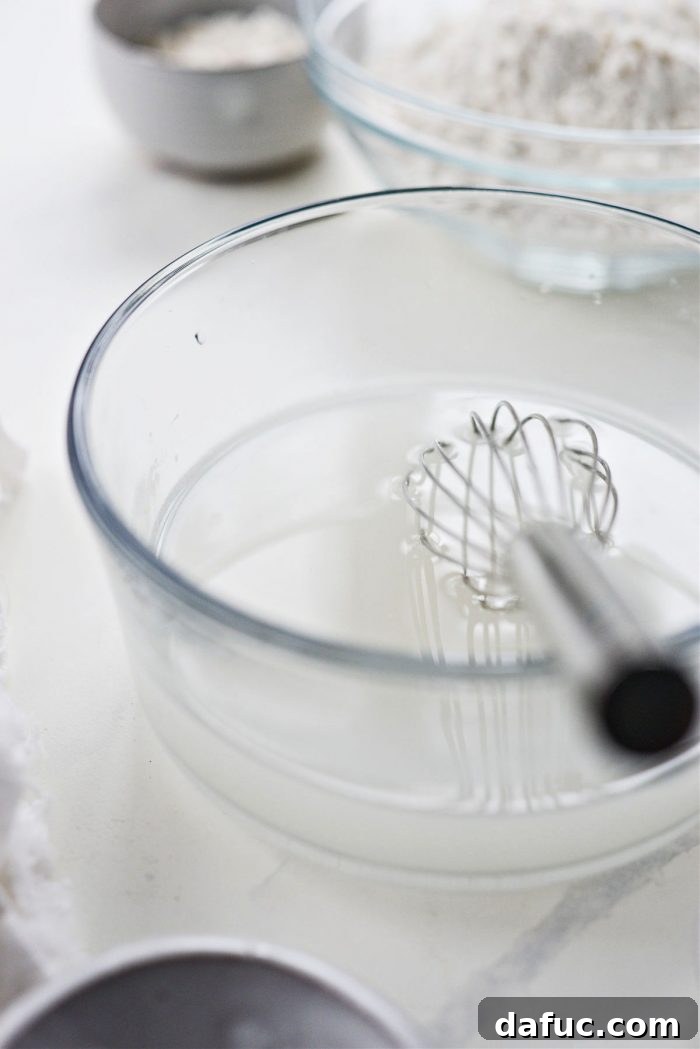
One approach is to begin by gently dissolving 1/8 teaspoon of active dry yeast and 1/2 teaspoon of sugar in 1 cup of lukewarm water. This step helps ensure the yeast is active and ready to get to work.
Alternatively, during recipe development, I experimented with simply mixing all the dry ingredients together in a bowl before adding the water and combining with a spatula. Both methods yield equally fantastic results, so feel free to choose whichever process you find most comfortable and convenient. The “no-knead” philosophy means minimal fuss, maximum flavor.
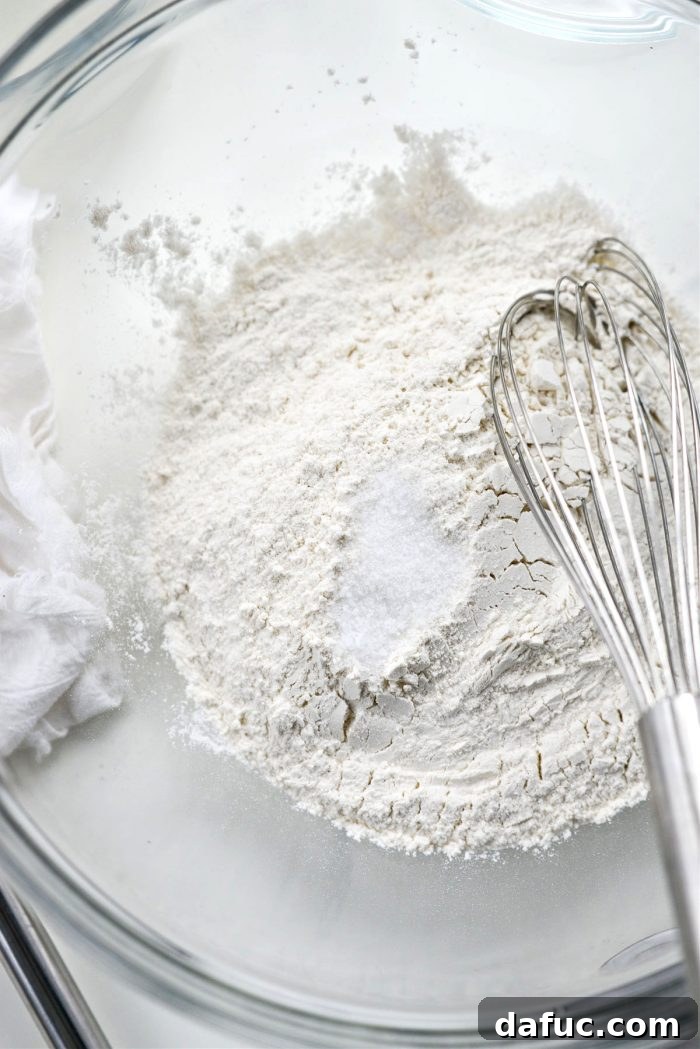
In a spacious mixing bowl, accurately measure 2 cups of unbleached bread flour, then add 1 teaspoon of kosher salt.
Mastering Flour Measurement: A Quick Tip
Properly measuring flour is essential for consistent baking results. To avoid over-measuring, which can lead to a dry, dense dough, follow this simple technique:
- Give the flour in its container a quick stir or fluff with a spoon to aerate it.
- Gently spoon the flour into your measuring cup until it overflows slightly.
- Use the flat side of a knife or a straight edge to level off the excess flour, ensuring an accurate measurement. Avoid packing the flour down into the cup.
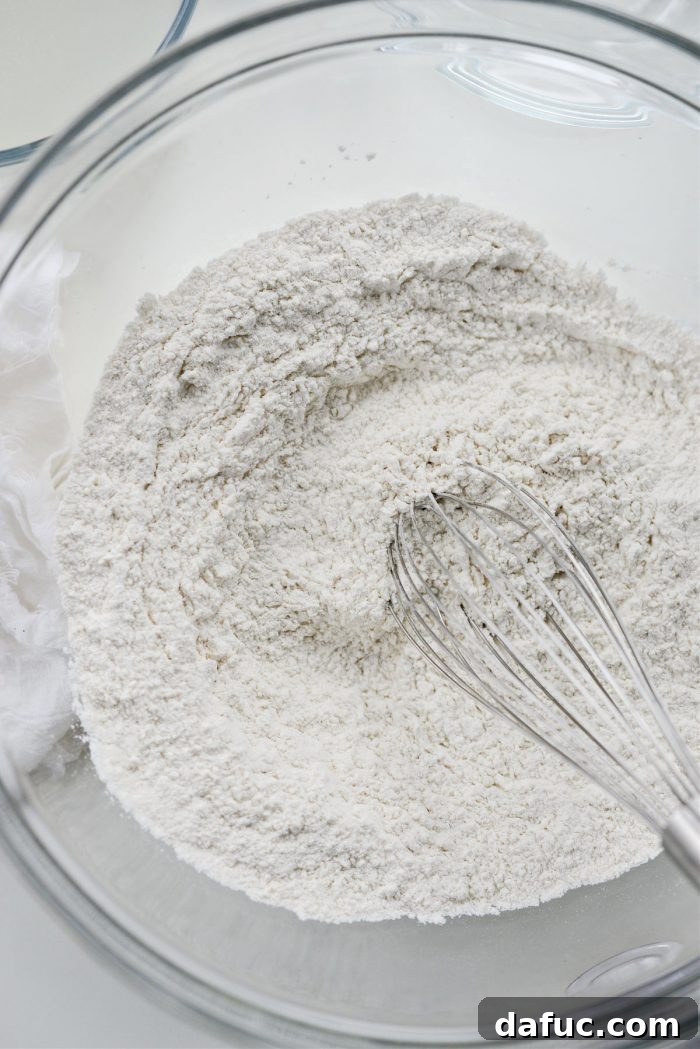
Give the dry ingredients a good whisk to ensure they are thoroughly combined and evenly distributed.
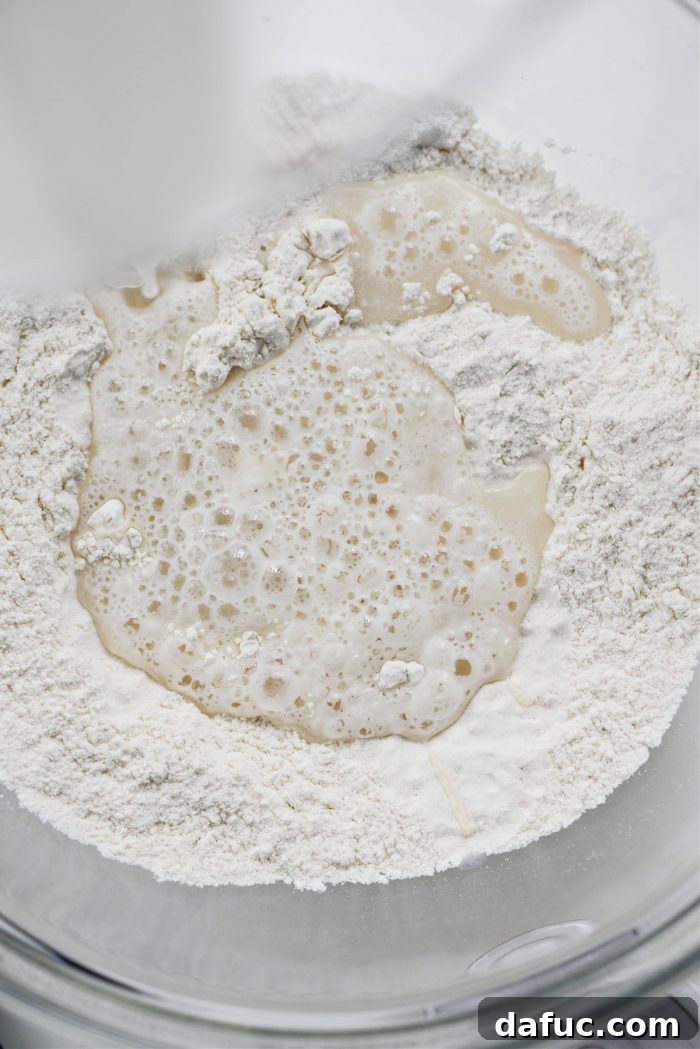
Now, pour the yeast/sugar-water mixture directly into the bowl with your dry ingredients.
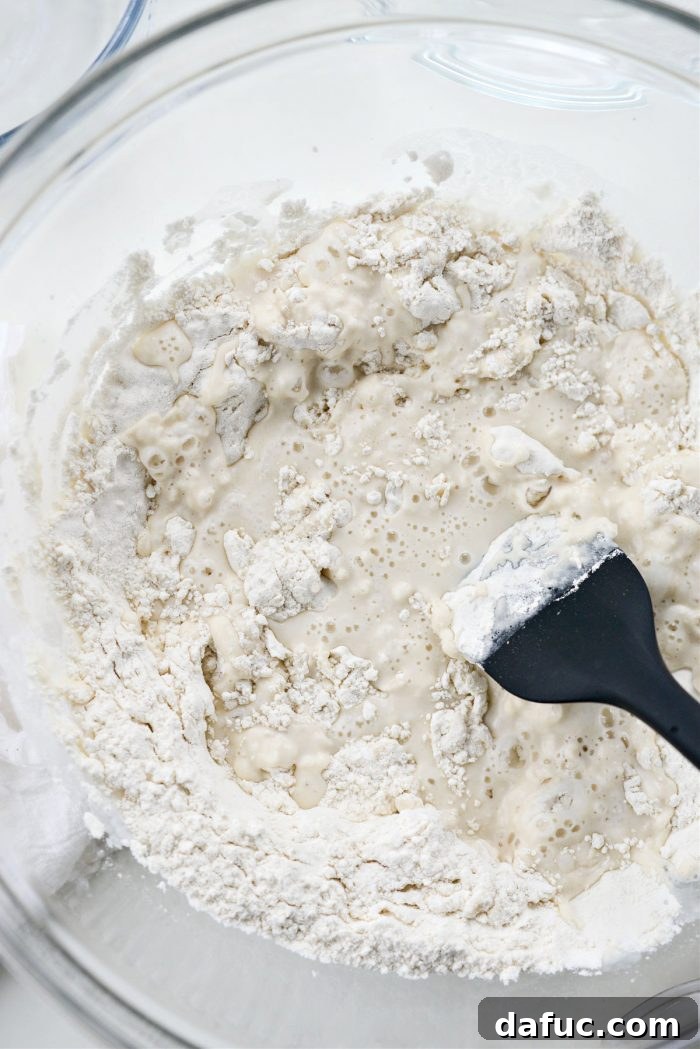
Switch to a sturdy rubber spatula and stir the mixture until all the flour is incorporated and a shaggy dough begins to form. Continue stirring, making sure to scrape down the sides of the bowl as you go, until the dough comes together into a cohesive ball.
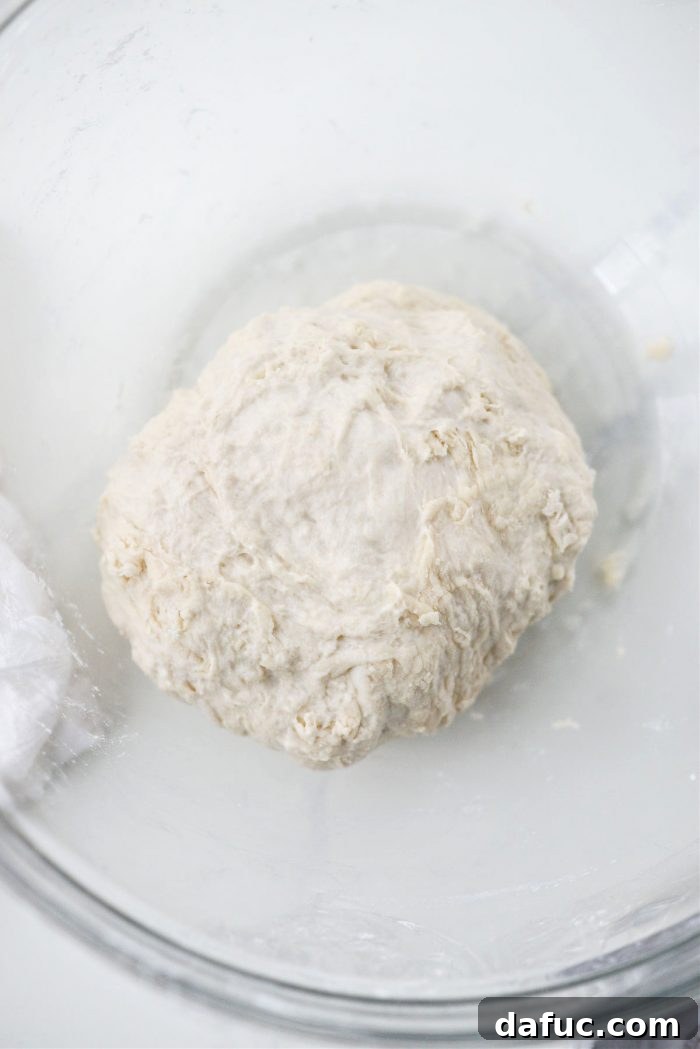
Once your dough has formed, shape it into a rough ball, then cover the bowl tightly with plastic wrap. Place the covered bowl on your kitchen counter and allow it to rest undisturbed for a full 24 hours. This extended fermentation period is crucial for developing the rich flavor and characteristic open crumb of no-knead dough.
Storing Your No-Knead Pizza Dough: Refrigeration Options
After its initial 24-hour fermentation, your no-knead pizza dough is ready to use. However, you also have the option to refrigerate it for up to 6 days. Chilling the dough slows down the fermentation process, allowing for even deeper flavor development and a more complex taste profile. If you choose to refrigerate, remember to give the dough ample time—2 to 3 hours—in a dry, warm spot on your counter to come back to room temperature before you plan to shape and bake your pizza. This makes the dough much easier to work with.
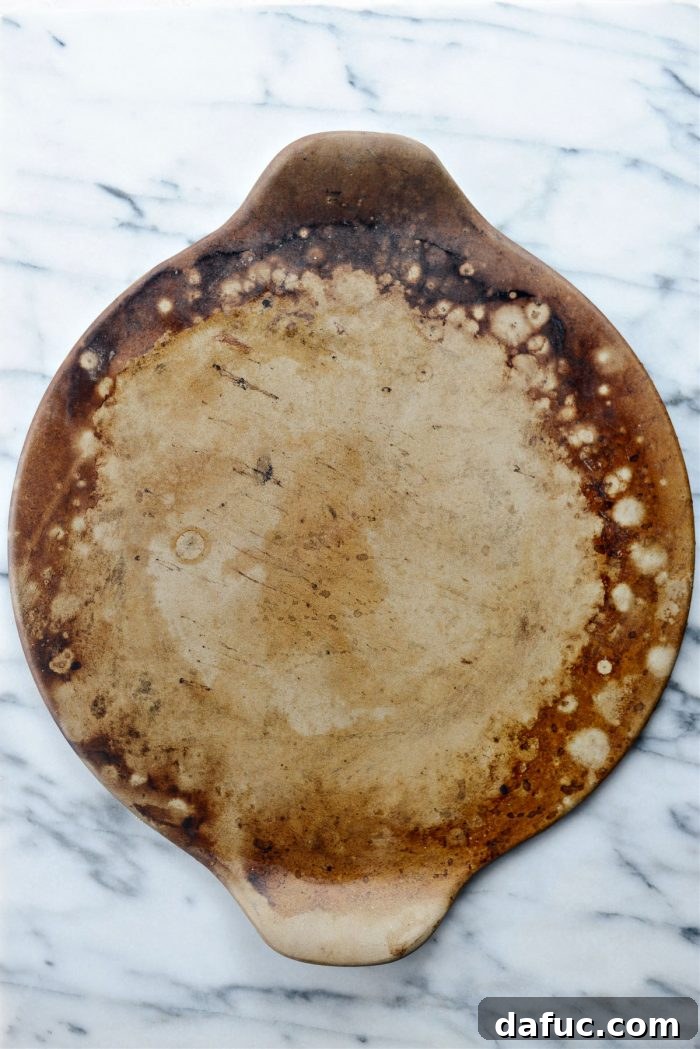
Achieving Brick-Oven Perfection: The Power of a Pizza Stone or Steel
If your goal is to recreate the crispy, blistered crust of a traditional brick-oven pizza at home, investing in a quality baking stone or steel is highly recommended. While I personally adore my pizza stone (a Pampered Chef favorite!), many home bakers also swear by baking steels for their superior heat conductivity.
Regardless of whether you choose a stone or a steel, always consult the manufacturer’s instructions for proper usage, cleaning, and, most importantly, specific preheating guidelines. For instance, some pizza stones, like mine, have a maximum preheating time without food on them (e.g., 30 minutes). Other brands may allow longer periods. A little research will ensure your stone or steel lasts for years and performs optimally.
Preheating is Paramount: Setting the Stage for Success
Once you’re ready to start shaping your dough, it’s time to preheat your oven and baking surface. Place your pizza stone or steel on the lower third rack of your oven. Then, preheat your oven to its maximum temperature, typically 500°F (260°C). Once the oven reaches temperature, set a timer for at least 30 minutes. This extended preheating period is absolutely critical; it allows your stone or steel to absorb and retain enough heat to instantly crisp the bottom of your pizza crust, mimicking the intense heat of a professional pizza oven. Resist the urge to slide your pizza onto the stone until this preheating time is complete.
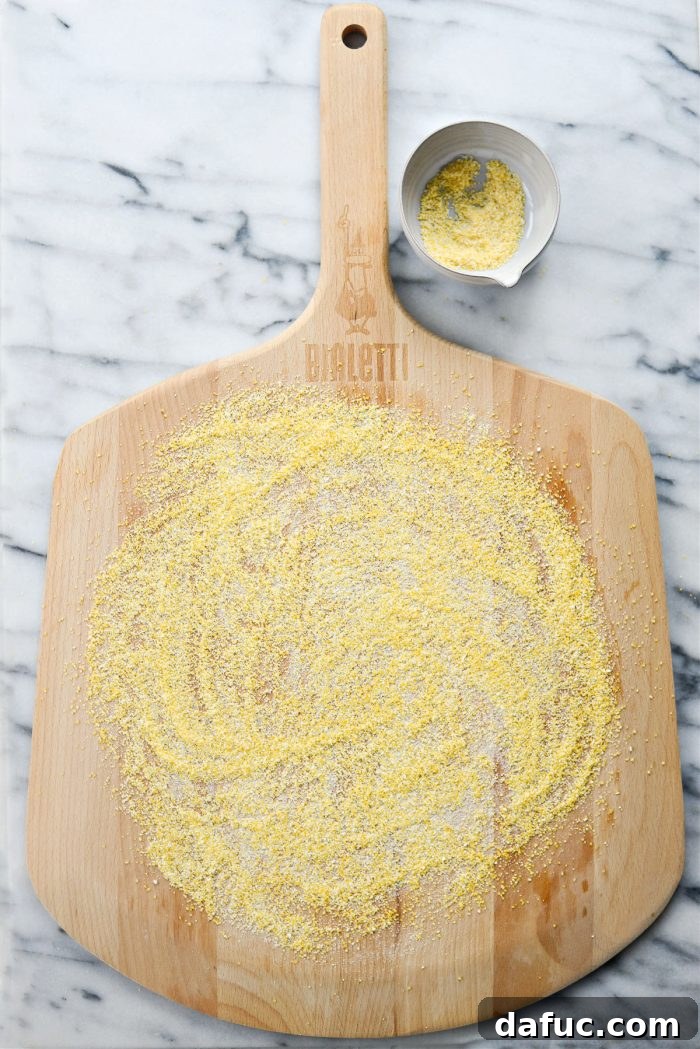
Essential Tool: The Pizza Peel and the Non-Stick Secret
Another indispensable tool for homemade pizza success is a pizza peel. I found mine years ago, but they are widely available online and in kitchen supply stores. The key to using a pizza peel effectively is ensuring your dough doesn’t stick. To achieve this, generously load the peel with fine cornmeal or semolina flour. When you think you’ve added enough, add a little more! You want a thick, even layer that creates a ball-bearing-like surface, allowing your pizza to effortlessly slide from the peel onto the hot stone in the oven. This prevents frustrating sticking incidents that can ruin your perfect pizza.
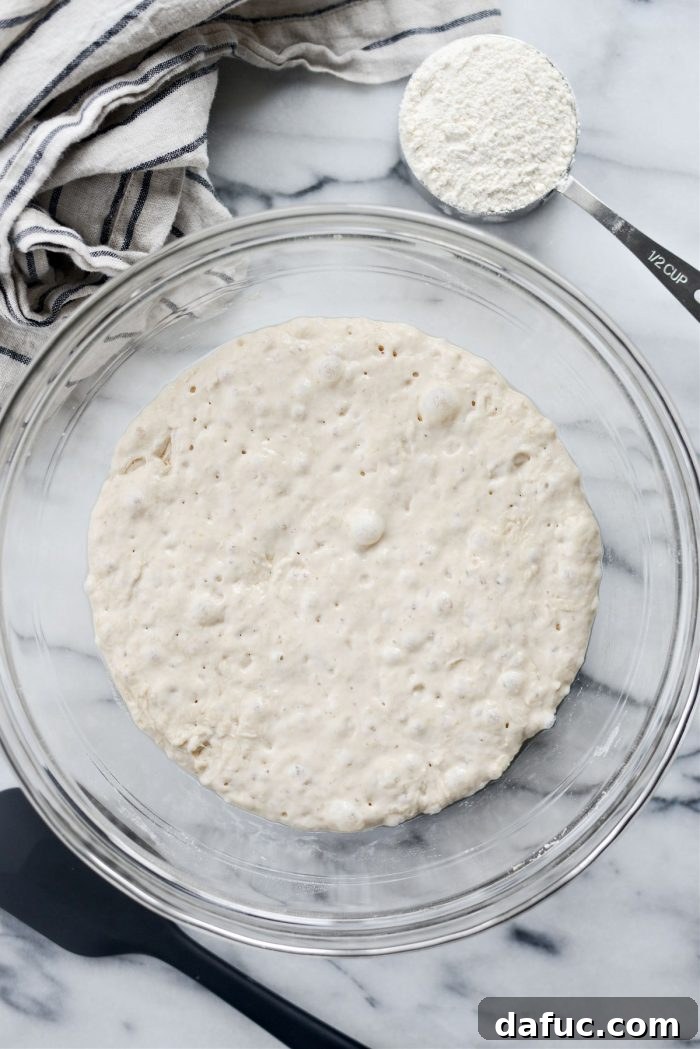
The Dough Awakens: Ready for Shaping
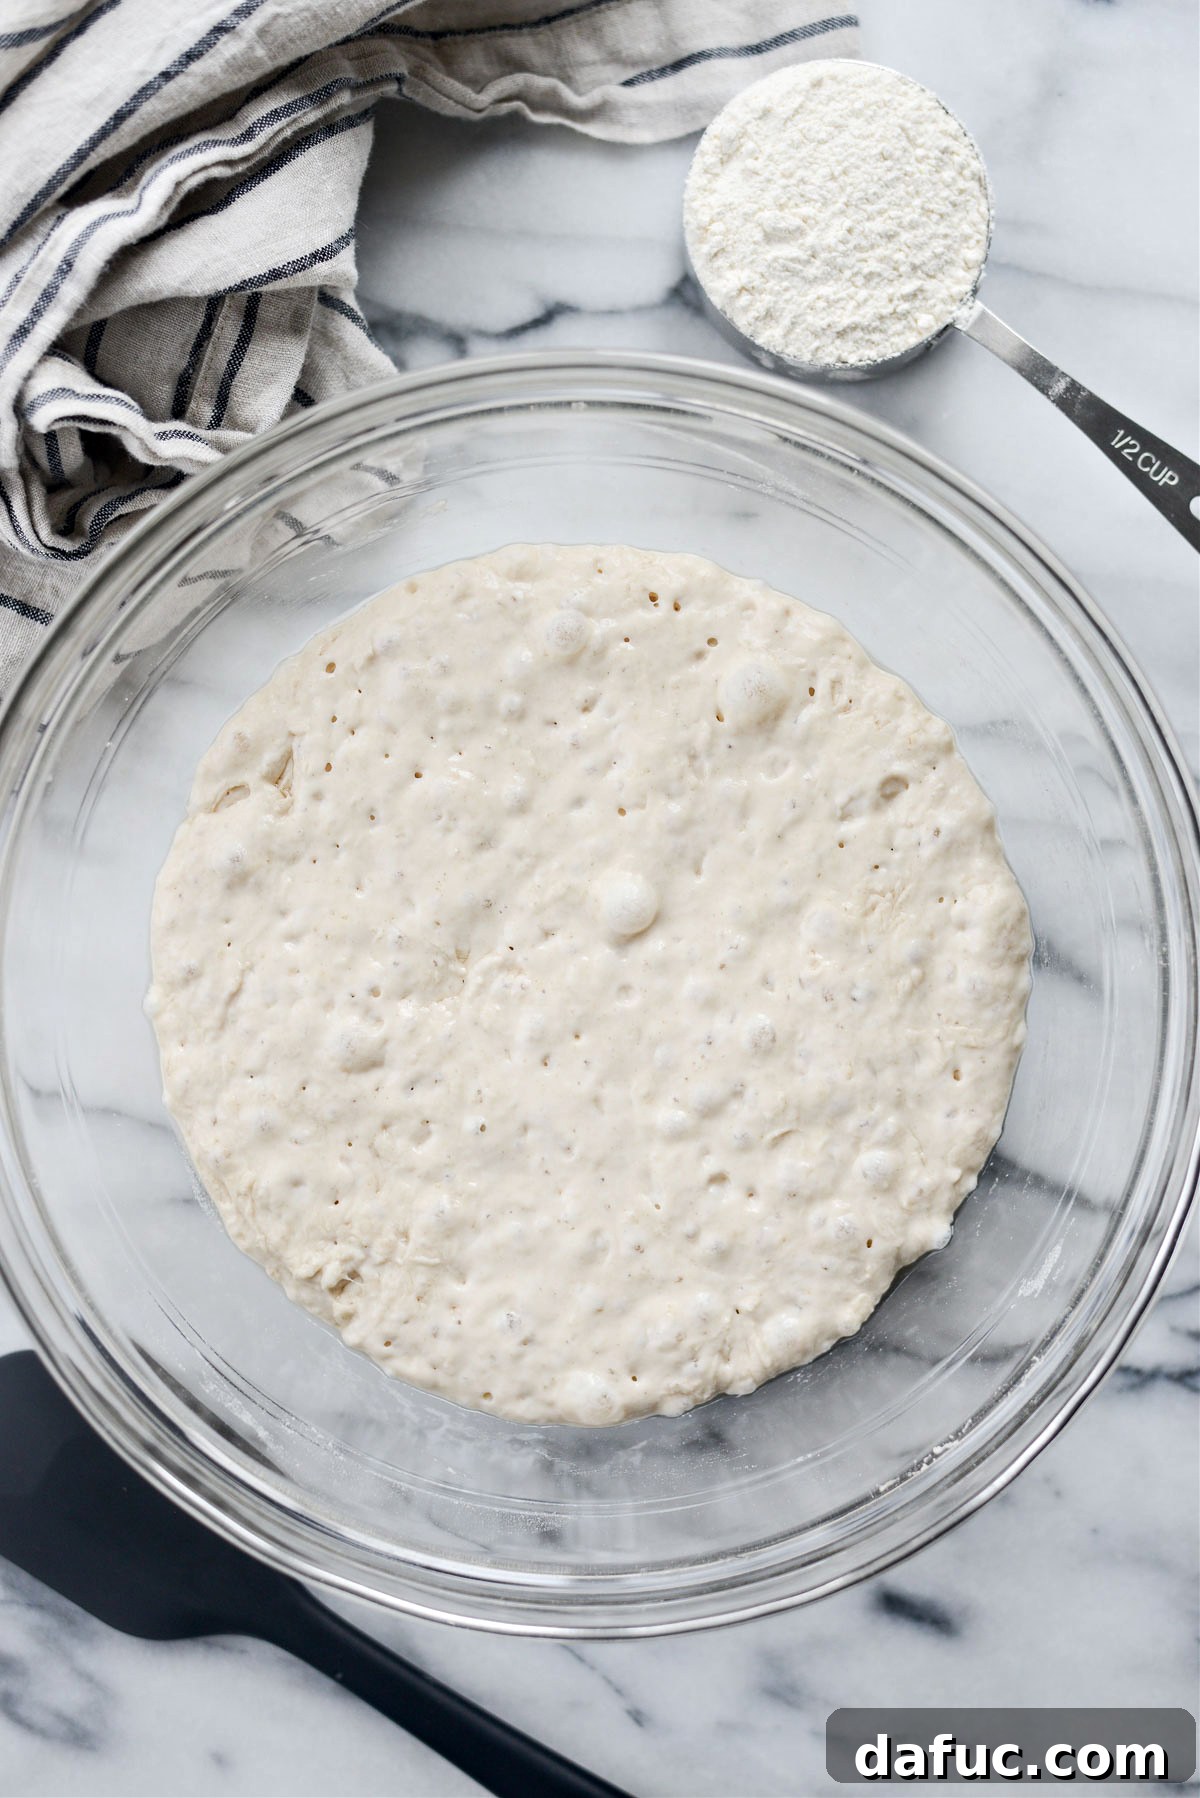
After its dedicated 24-hour rest, your no-knead pizza dough will have visibly doubled in size. It will also be quite sticky and beautifully riddled with numerous air bubbles – these are all signs of a healthy, well-fermented dough bursting with flavor and potential for an amazing crust.
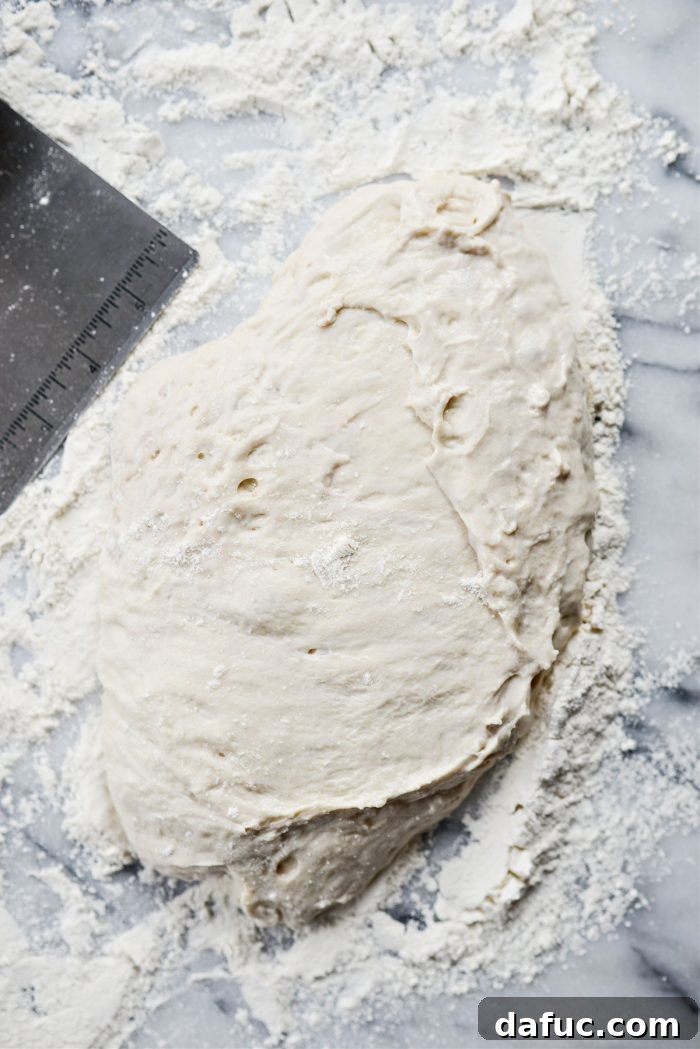
Prepare a clean work surface by generously dusting it with about 1/4 cup of bread flour. Don’t be shy with the flour; this dough is sticky by nature and can handle the extra coating without becoming tough. Using a rubber spatula, gently scrape the risen dough out of its bowl and onto the floured surface.
Trust me on the flour. This dough’s high hydration means it will be quite pliable and sticky, but the generous dusting on your surface and hands will make it manageable.
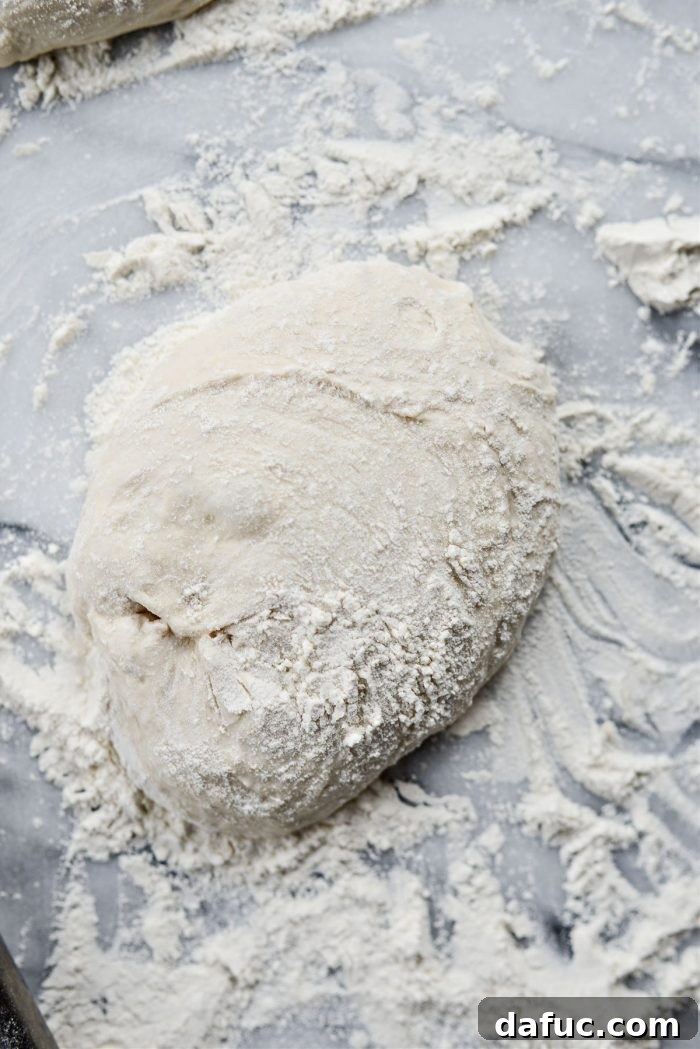
Using a bench scraper or a sharp knife, divide the dough into the desired number of portions (one large, two medium, or four personal pizzas). Set one half aside while you work with the first portion. Lightly dust the top and sides of this portion with more flour.
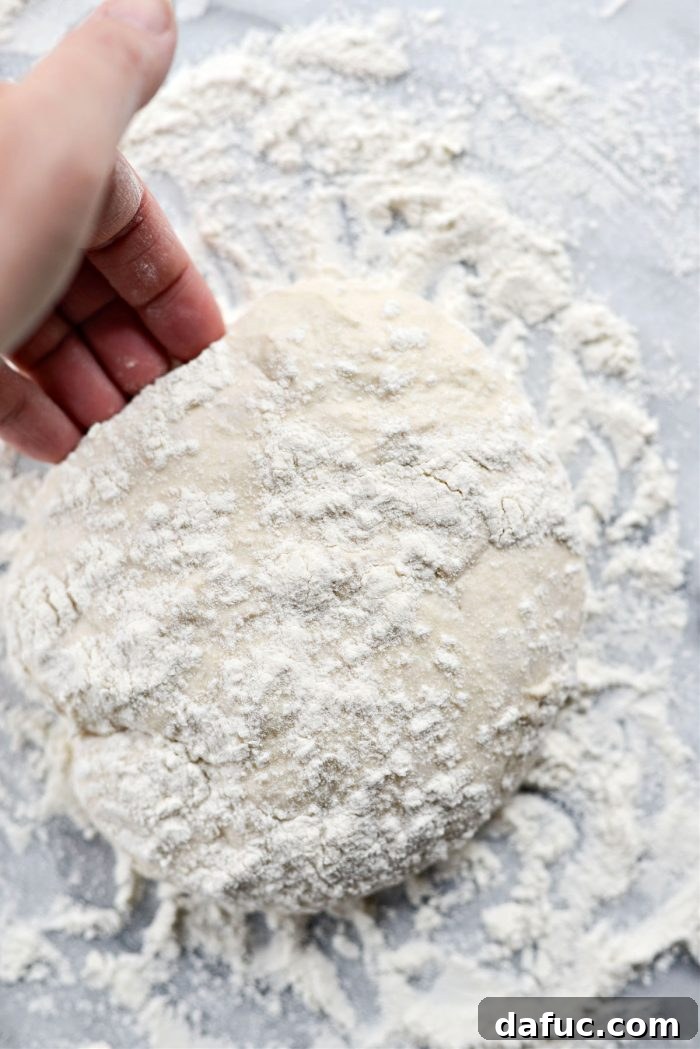
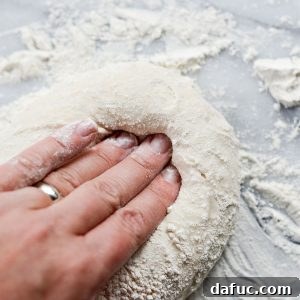
With floured fingertips, gently coax the first half of the dough into a loose ball shape. Handle it with care to preserve those precious air bubbles.
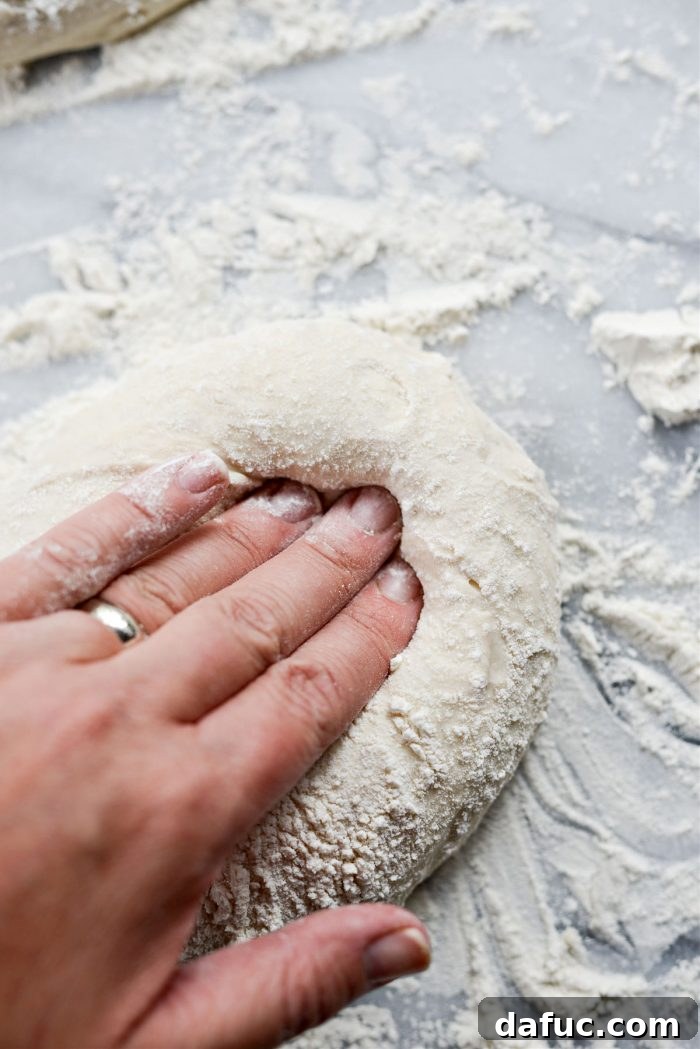
Now, using your fingers, gently press and stretch the dough outwards from the center to form a circular shape. As you stretch, be mindful to leave a slightly thicker edge around the perimeter—this will become your beautiful, bubbly crust, often referred to as the “cornicione.”
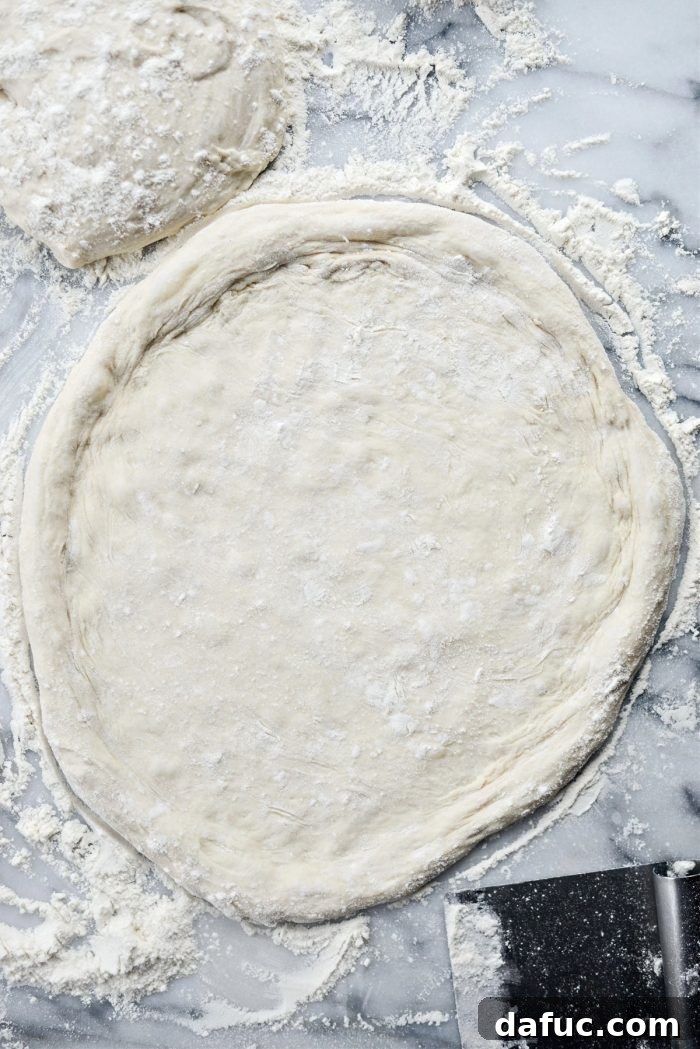
It’s always a good idea to stretch the dough a little larger than your desired final pizza size. The dough has a tendency to shrink back slightly in the hot oven, so a bit of overstretching will compensate for this.
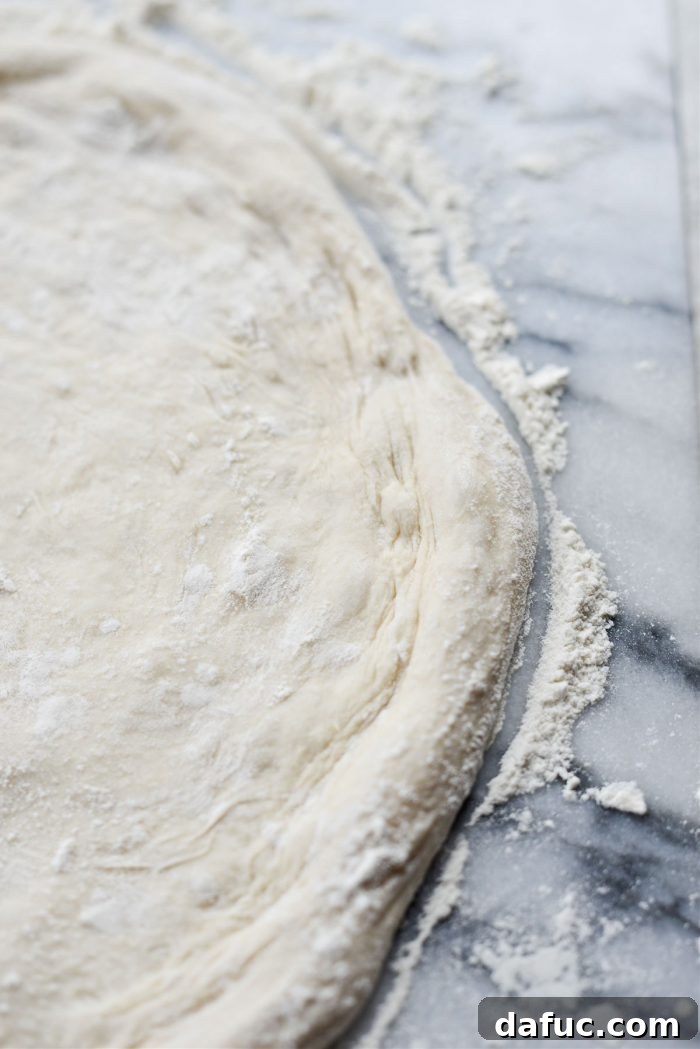
And whatever you do, resist the urge to pop any of the lovely air bubbles you see forming in the dough! These bubbles are precisely what give homemade pizza that authentic, rustic, brick-oven appearance and an irresistibly airy texture. They are your friends!
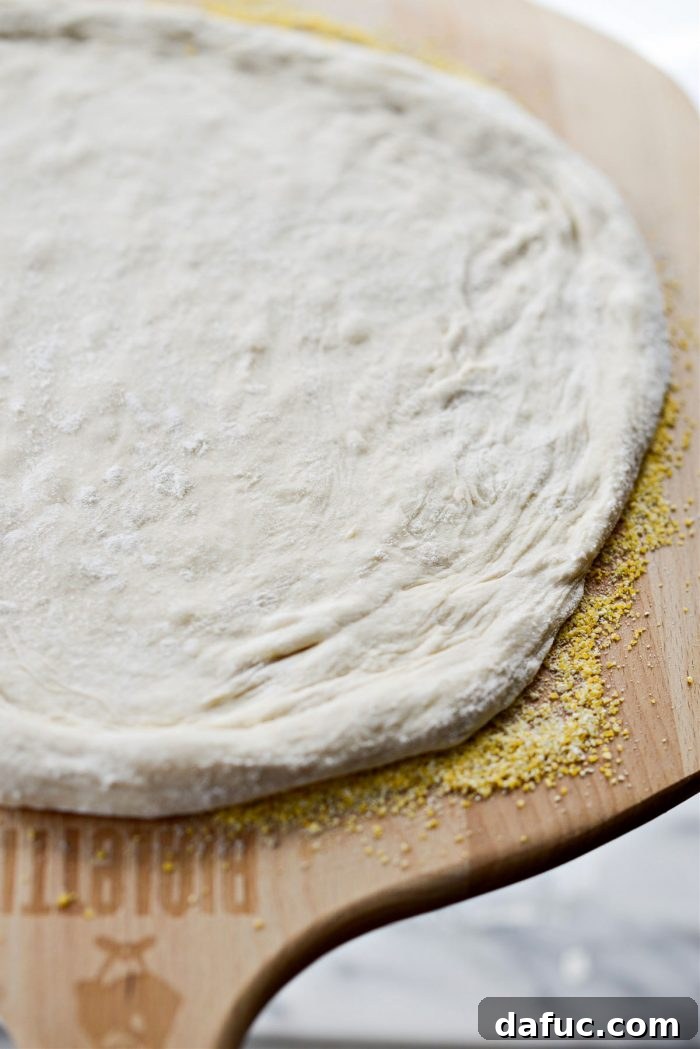
Once your dough is shaped, carefully transfer it to the pizza peel that you’ve generously coated with cornmeal or semolina flour. Give the peel a few gentle shakes to ensure the dough slides freely. If you feel any resistance, lift the edge of the dough and sprinkle more cornmeal underneath. Position the dough towards the back of the peel; this allows you room to slide it smoothly off the peel and onto the hot pizza stone in the oven. Now, quickly add your favorite sauce and toppings!
The Art of Topping: Keep it Light
While it’s tempting to load up your pizza with an abundance of delicious toppings, try to keep them relatively light, especially for your first few attempts. A lighter load ensures the pizza can easily slide off the peel and onto the hot baking stone without sticking or collapsing. It also allows the crust to cook evenly and crisp up beautifully.
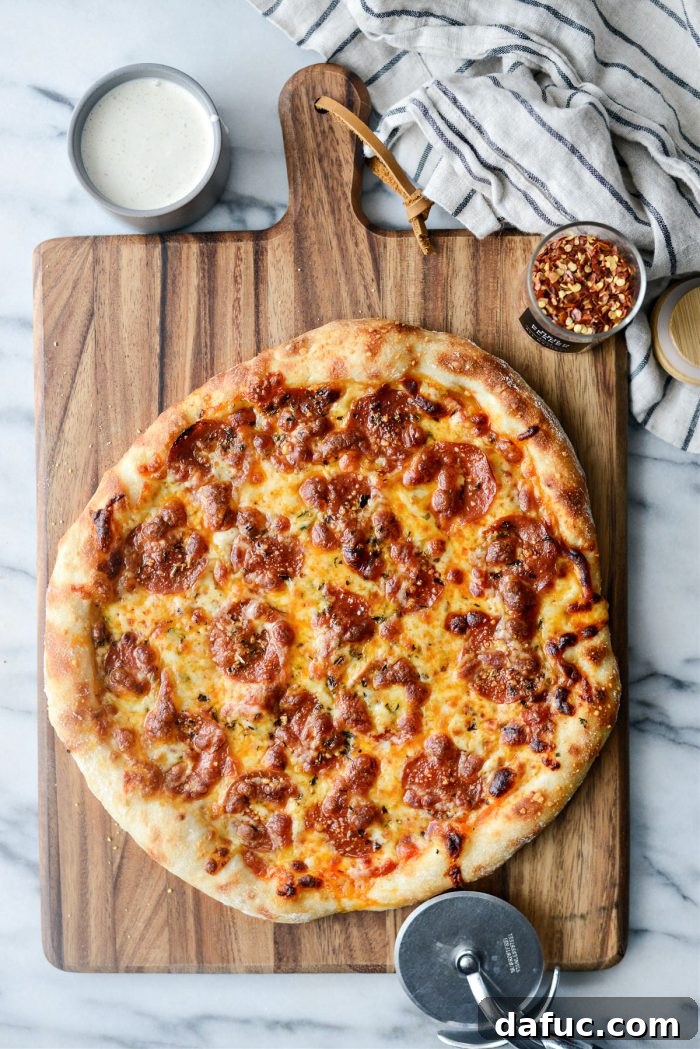
With your oven and stone screaming hot, carefully slide your topped pizza onto the preheated stone. Bake each pizza for a quick 5 to 6 minutes, or until the crust is beautifully golden brown and the cheese is bubbly, gooey, and perfectly melted. Keep a close eye on it, as high temperatures cook fast!
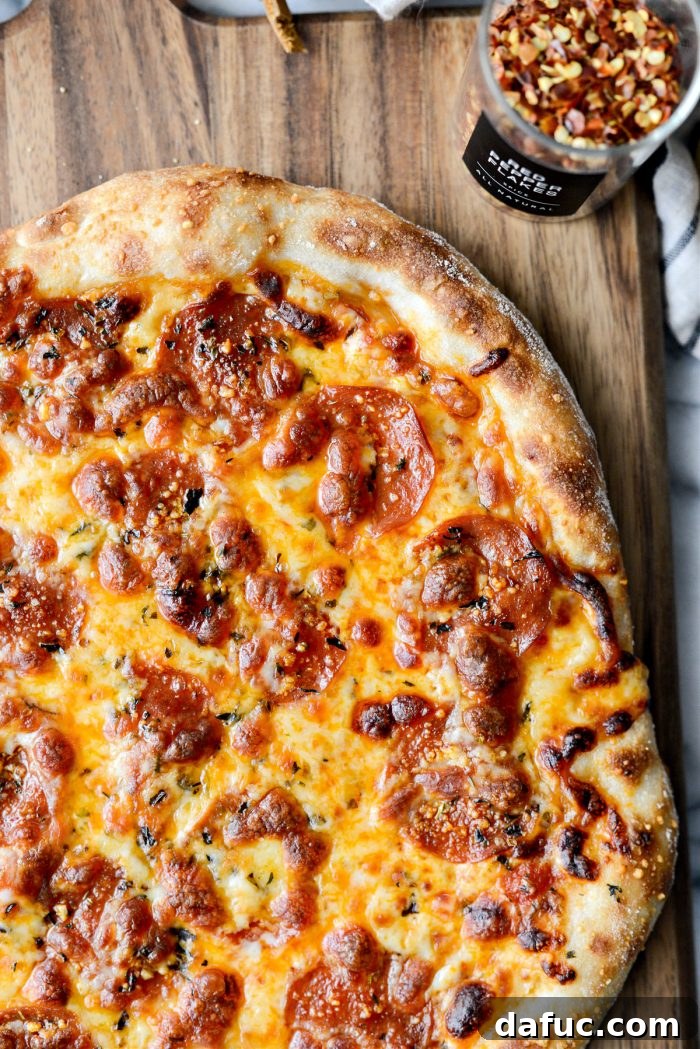
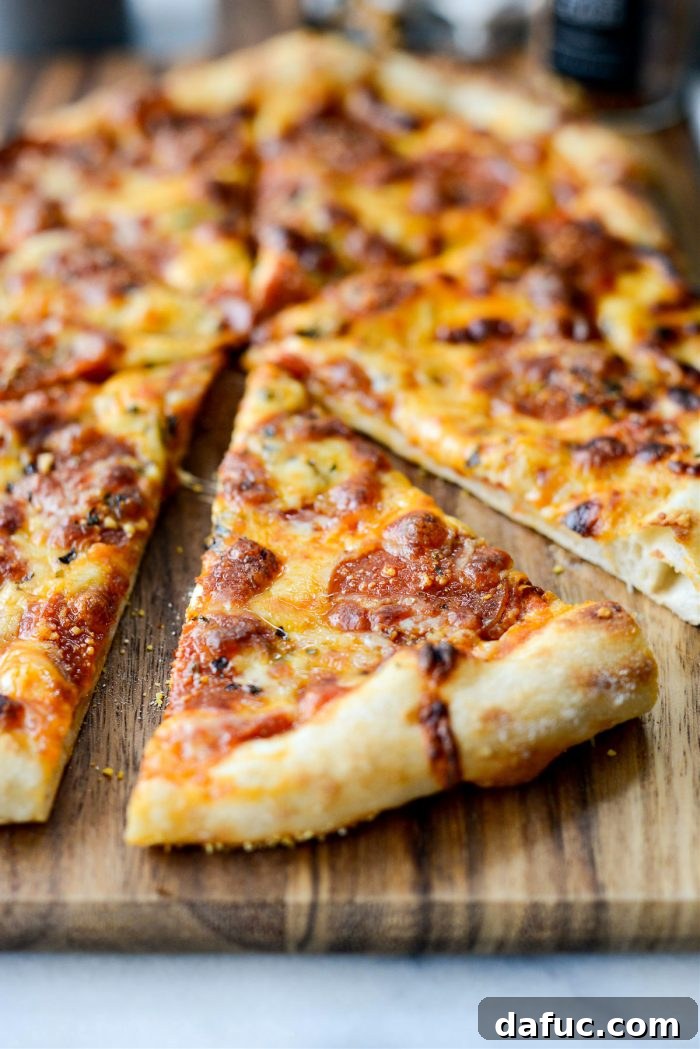
I can confidently say that I have never made a better pizza in my life. This no-knead method has become my absolute go-to for pizza crust. Not only is the process remarkably easy, but the resulting texture is absolutely spot on, with a delightful chewiness and those incredible, characteristic air bubbles in the crust. And, of course, it tastes every bit as amazing as it looks!
Key Takeaways for Crafting the Best No-Knead Pizza
To ensure your pizza-making experience is a resounding success, keep these crucial tips in mind:
- **Bread Flour is Best:** Opt for **bread flour** to achieve that desirable chewy crust synonymous with great pizza.
- **Yeast Activation (or not!):** You can dissolve the **yeast** in water with sugar, or simply whisk all dry ingredients together before adding water. Both methods work perfectly.
- **Patience is a Virtue:** Allow your no-knead pizza dough to ferment on your counter for **no less than 24 hours**. This extended rest is key to flavor development.
- **Essential Equipment:** Invest in a **pizza stone** (or steel) for superior heat retention and a **pizza peel** for easy transfer. Trust me, you’ll want both!
- **Non-Stick Assurance:** Load your **pizza peel** generously with fine cornmeal or semolina flour to prevent any sticking. More is always better here.
- **Know Your Gear:** Always read the **manufacturer’s instructions** for your pizza stone or steel regarding specific preheating times and cleaning.
- **Thorough Preheating:** **Preheat your stone** (following instructions) for at least 30 minutes to ensure it’s intensely hot.
- **Maximum Heat:** Your oven needs to be **HOT!** We’re talking 500°F (260°C). This high temperature is vital for a quick cook, ensuring a bubbly, beautifully browned, and crispy crust.
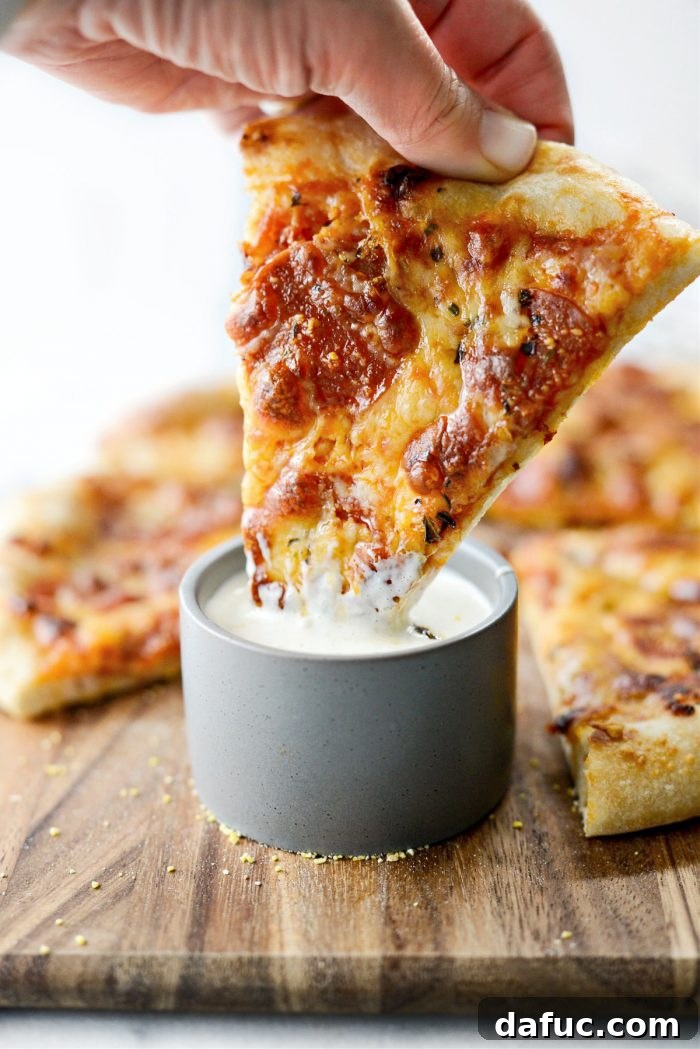
Enjoy! If you try this amazing No-Knead Pizza Dough recipe, I’d love to hear about it! Snap a photo and share your creations with me on Twitter or Instagram!
Print Recipe
Pin Recipe
No-Knead Pizza Dough
Pizza making doesn’t get much easier than starting with this simple No-Knead Pizza Dough recipe! Combine the ingredients, cover, and in 24 hours you have dough that’s ready to be shaped, sauced, and sprinkled with your favorite toppings. Baking on a pizza stone in a very hot oven really gives this pizza that brick oven look and taste.
Prep Time: 5 mins
Rest Time: 1 day
Total Time: 1 day 5 mins
Ingredients
- 2½ cups unbleached bread flour, divided
- 1 teaspoon kosher salt
- ½ teaspoon sugar
- ⅛ teaspoon active dry yeast
- 1 cup lukewarm water
Equipment
- Premium Acacia Pizza Peel
- Pampered Chef Large Pizza Stone
- Large Mixing Bowl
- Rubber Spatula
- Plastic Wrap
Instructions
- **Method 1:** Whisk 2 cups of bread flour and the salt in a large bowl. In a separate small bowl, dissolve the sugar and yeast in lukewarm water. Once dissolved, pour the wet mixture into the flour mixture and stir until combined.
- **OR Method 2:** Measure and add 2 cups of bread flour, yeast, sugar, and salt to a large mixing bowl. Whisk to combine. Pour in the lukewarm water. Switch to a rubber spatula and mix until combined and the dough roughly forms into a ball.
- *(Note: Both mixing methods yield identical results; choose the one you prefer!)*
- Cover the bowl tightly with plastic wrap and let it sit on your kitchen counter for 24 hours to ferment.
- **Prepare for Baking:** Position your oven rack in the lower third of your oven and place your pizza stone or steel onto the rack. Preheat your oven to 500°F (260°C). Once preheated, set a timer for at least 30 minutes to allow the stone to thoroughly heat up. (Refer to notes regarding specific stone preheating instructions).
- Generously coat a pizza peel with cornmeal or semolina flour and set it aside.
- Dust a clean work surface with the remaining 1/4 cup of bread flour. Use a rubber spatula to gently scrape the sticky dough out of the bowl and onto the floured surface.
- Divide the dough in half (or into your desired number of portions). Take one portion, lightly sprinkle it with flour, and use your fingertips to gently shape it into a loose ball. Then, working from the center outwards, press and gently stretch the dough into a round/circular shape, being sure to leave a slightly thicker rim for the crust. Avoid popping any air bubbles!
- Carefully transfer the shaped dough to your prepped pizza peel. Gently shake the peel to ensure the pizza dough moves freely. If it catches anywhere, lift the edge and add more cornmeal underneath. Position the pizza dough towards the back of the peel, allowing room for it to slide smoothly onto the stone.
- Top your pizza with your desired sauce and toppings. Repeat the shaping and topping process with the second half of the dough (or remaining portions).
- Once the oven and stone have preheated for the full 30+ minutes (adjusting based on your stone/steel type), carefully shake and slide the pizza from the peel onto the hot stone.
- Bake for 5 to 6 minutes, or until the crust is golden brown and the cheese is melted and bubbly. Watch carefully to prevent burning, as high oven temperatures cook very quickly.
Notes
When using a pizza stone or steel, always read the manufacturer’s instructions. Some stones have specific limits on how long they can preheat without a pizza on them.
Nutrition Disclaimer: All information presented on this site is intended for informational purposes only. I am not a certified nutritionist and any nutritional information shared on SimplyScratch.com should only be used as a general guideline.
Nutrition Information (per recipe)
- Serving: 1 recipe
- Calories: 1141 kcal
- Carbohydrates: 229g
- Protein: 38g
- Fat: 5g
- Saturated Fat: 1g
- Polyunsaturated Fat: 2g
- Monounsaturated Fat: 1g
- Sodium: 2344mg
- Potassium: 327mg
- Fiber: 8g
- Sugar: 3g
- Vitamin A: 6 IU
- Calcium: 56mg
- Iron: 3mg
Author: Laurie McNamara
Course: Kitchen Basics, Mains & Entrees
Cuisine: Italian