

There are few culinary delights as emblematic of a city as the Detroit Style Coney Dog is to Detroit. More than just a hot dog, it’s a cultural icon, a beloved comfort food, and a staple of Michigan’s vibrant food scene. This classic creation features a perfectly steamed hot dog, encased in a natural casing for that satisfying snap, nestled in a soft, fluffy bun. It’s then generously topped with a rich, savory, no-bean beef chili, a zig-zag of vibrant yellow mustard, and a sprinkle of finely diced white onions. The combination is a symphony of flavors and textures that has captivated locals and visitors alike for generations. Ready to recreate this legendary dish in your own kitchen? This recipe will guide you through making 8 authentic Detroit Coney Dogs in approximately 40-50 minutes, bringing a taste of the Motor City right to your home.

Flint or Detroit Style: Understanding the Coney Dog Divide
For those unfamiliar with Michigan’s hot dog culture, encountering the choice between “Flint” or “Detroit” style coney dogs can be perplexing. While both cities are located in the southeastern region of the “Mitten State” and are synonymous with this iconic dish, they each boast a distinct interpretation. This regional rivalry over the best coney dog style is a playful yet deeply cherished part of Michigan’s culinary identity, often sparking lively debates among enthusiasts.
What Sets Flint and Detroit Style Coney Dogs Apart?
The core difference between Flint and Detroit style coney dogs lies primarily in their signature chili toppings. A Flint-style Coney is characterized by its “dry” or “loose” beef topping. This topping, often finely ground and seasoned, has a crumbly texture and is served atop the hot dog, typically with mustard and chopped onions. It’s a simpler, meatier topping that focuses on the beef’s natural flavors and spices.
In contrast, a Detroit-style Coney features a wet, savory chili. This chili is a creamy, tomato-based, no-bean concoction that blankets the hot dog generously. Like its Flint counterpart, it’s also traditionally served with yellow mustard and finely diced white onions. The Detroit chili is known for its depth of flavor, a result of slow simmering and a carefully selected blend of spices, offering a more saucy and complex profile.
Despite their differences, both styles often share common elements that contribute to their classic appeal. Many traditional Coney Island restaurants across Michigan, particularly in Metro Detroit, proudly serve hot dogs from local purveyors like Koegel’s Viennas, renowned for their natural casings and quality. These are almost always served in soft, white hot dog buns, perfect for soaking up the delicious toppings. When visiting a Coney Island in Michigan, you’ll frequently find both Flint and Detroit styles available, allowing you to choose your preferred regional specialty. My personal preference leans heavily towards the Detroit-style, with its rich, creamy chili, mustard, and finely minced onions – often accompanied by a side of chili cheese fries for the ultimate indulgence!

This deep affection for the Detroit-style coney is not just about the taste; it’s about the experience. The anticipation of that first bite, the comforting warmth of the chili, and the satisfying crunch of the onion create a culinary memory that many Michiganders cherish. It’s more than just a meal; it’s a tradition passed down through generations, a quick and delicious antidote to a busy day, and a symbol of local pride. Whether you’re a lifelong resident or a curious visitor, trying a Detroit-style coney dog is an essential part of understanding the state’s culinary landscape.
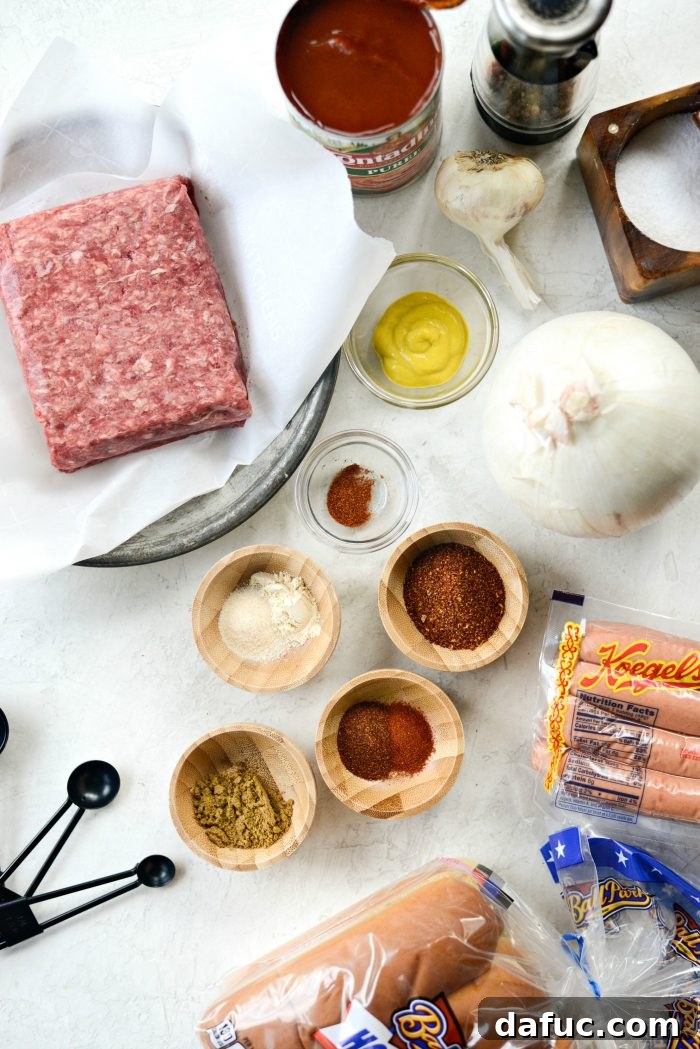
Essential Ingredients for Authentic Detroit Style Coney Dogs
Crafting the perfect Detroit Style Coney Dog starts with selecting the right ingredients, particularly for its distinctive no-bean chili. While some traditional establishments might use less common ingredients like beef heart or suet to achieve a specific texture and richness, this home-cook friendly recipe focuses on readily available components that deliver an equally delicious and authentic flavor profile. Our goal is to create that signature creamy, savory, and slightly spicy chili that makes a Detroit coney so irresistible.
For the Signature No-Bean Coney Chili, You Will Need:
- Ground Beef: We recommend a lean blend, such as 85/15, to achieve the desired richness without excessive grease. This forms the hearty base of our chili.
- White Onion: Both for the chili base and finely diced as a crucial topping. It adds a sharp, fresh contrast to the rich chili.
- Fresh Garlic: Minced garlic provides aromatic depth, enhancing the overall savory profile of the chili.
- Tomato Puree: This is key to the chili’s creamy, tomato-based texture. Be sure to use puree, not tomato sauce, for the correct consistency.
- Yellow Mustard: Essential for both flavoring the chili and for the iconic zig-zag topping. Its tang cuts through the richness of the beef.
- Regular Chili Powder: The primary spice that gives the chili its characteristic warmth and color.
- Kosher Salt: To season the chili perfectly. Adjust to your taste.
- Ground Cumin: Adds an earthy, warm note, integral to classic chili flavor.
- Paprika (Sweet and Smoked): A combination of sweet paprika for color and mild flavor, and smoked paprika for a subtle, smoky undertone that adds complexity.
- Onion Powder & Garlic Powder: These provide concentrated, uniform flavor throughout the chili, complementing the fresh ingredients.
- Freshly Ground Black Pepper: For a touch of heat and aromatic freshness.
- A few Pinches of Sugar: A secret ingredient that balances the acidity of the tomatoes and rounds out the chili’s flavor.
- A Pinch of Cayenne Pepper (Optional): For those who like a little extra kick in their coney chili.
For Assembling Your Coney Dogs, Gather:
- Hot Dogs with Natural Casing: This is non-negotiable for an authentic Detroit coney. The natural casing provides that essential “snap” when you bite into it. Michigan’s own Koegel’s Viennas are a traditional choice, but any high-quality natural casing hot dog will do.
- Soft Hot Dog Buns: A soft, steamy bun is crucial for complementing the chili and hot dog.
- Extra Yellow Mustard & Finely Diced White Onion: For garnishing your finished coney dogs, allowing everyone to customize their perfect bite.
While traditionalists might argue for beef heart or suet, this recipe aims for accessibility without compromising on that beloved Detroit flavor. Using lean ground beef ensures a rich, flavorful chili that’s still authentic and incredibly satisfying. Let’s get cooking and bring this iconic taste to your table!
Crafting the Perfect Detroit Style Coney Chili: Step-by-Step
The heart of any Detroit Style Coney Dog is its unique, no-bean chili. This recipe guides you through creating a rich, savory, and perfectly textured chili that captures the authentic taste of Detroit. Follow these steps carefully to ensure every bite of your coney dog is a flavor explosion.
Step 1: Browning the Beef Base
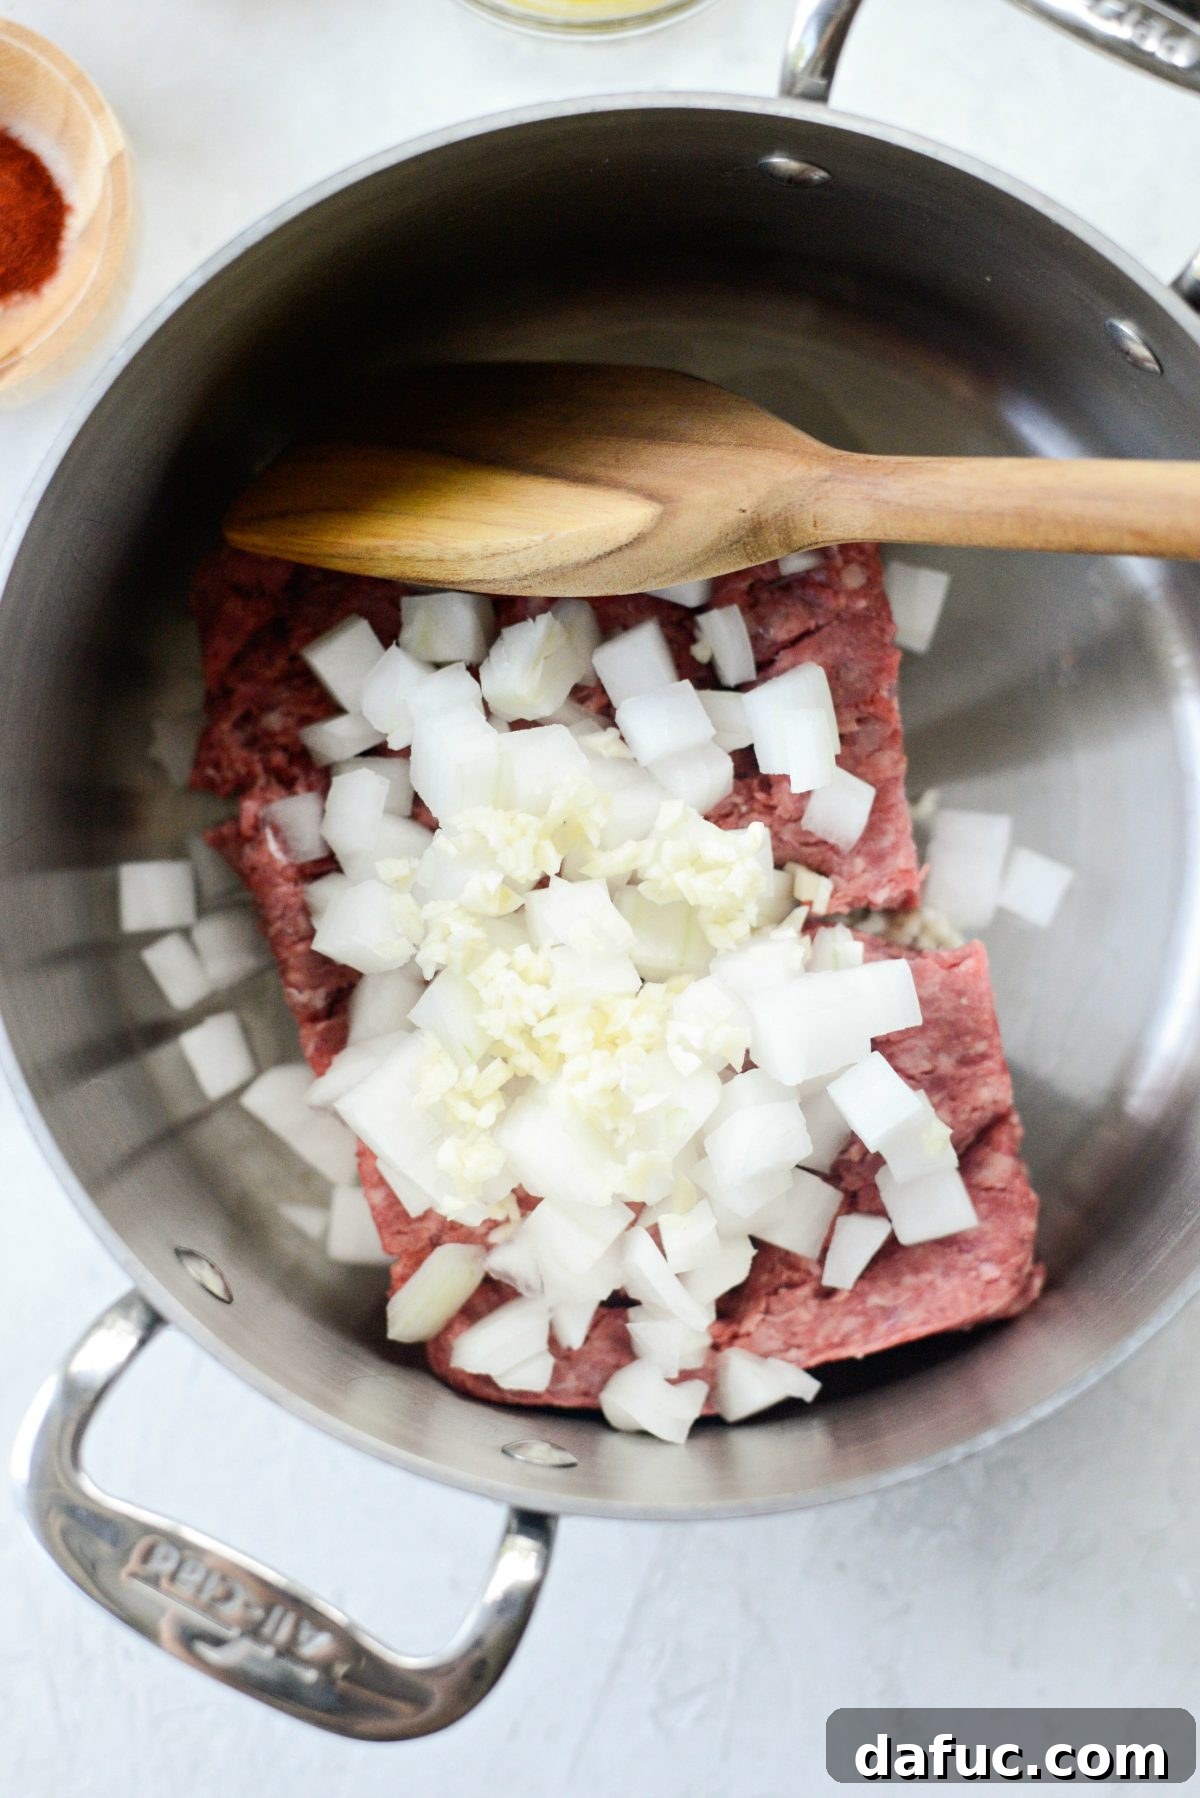
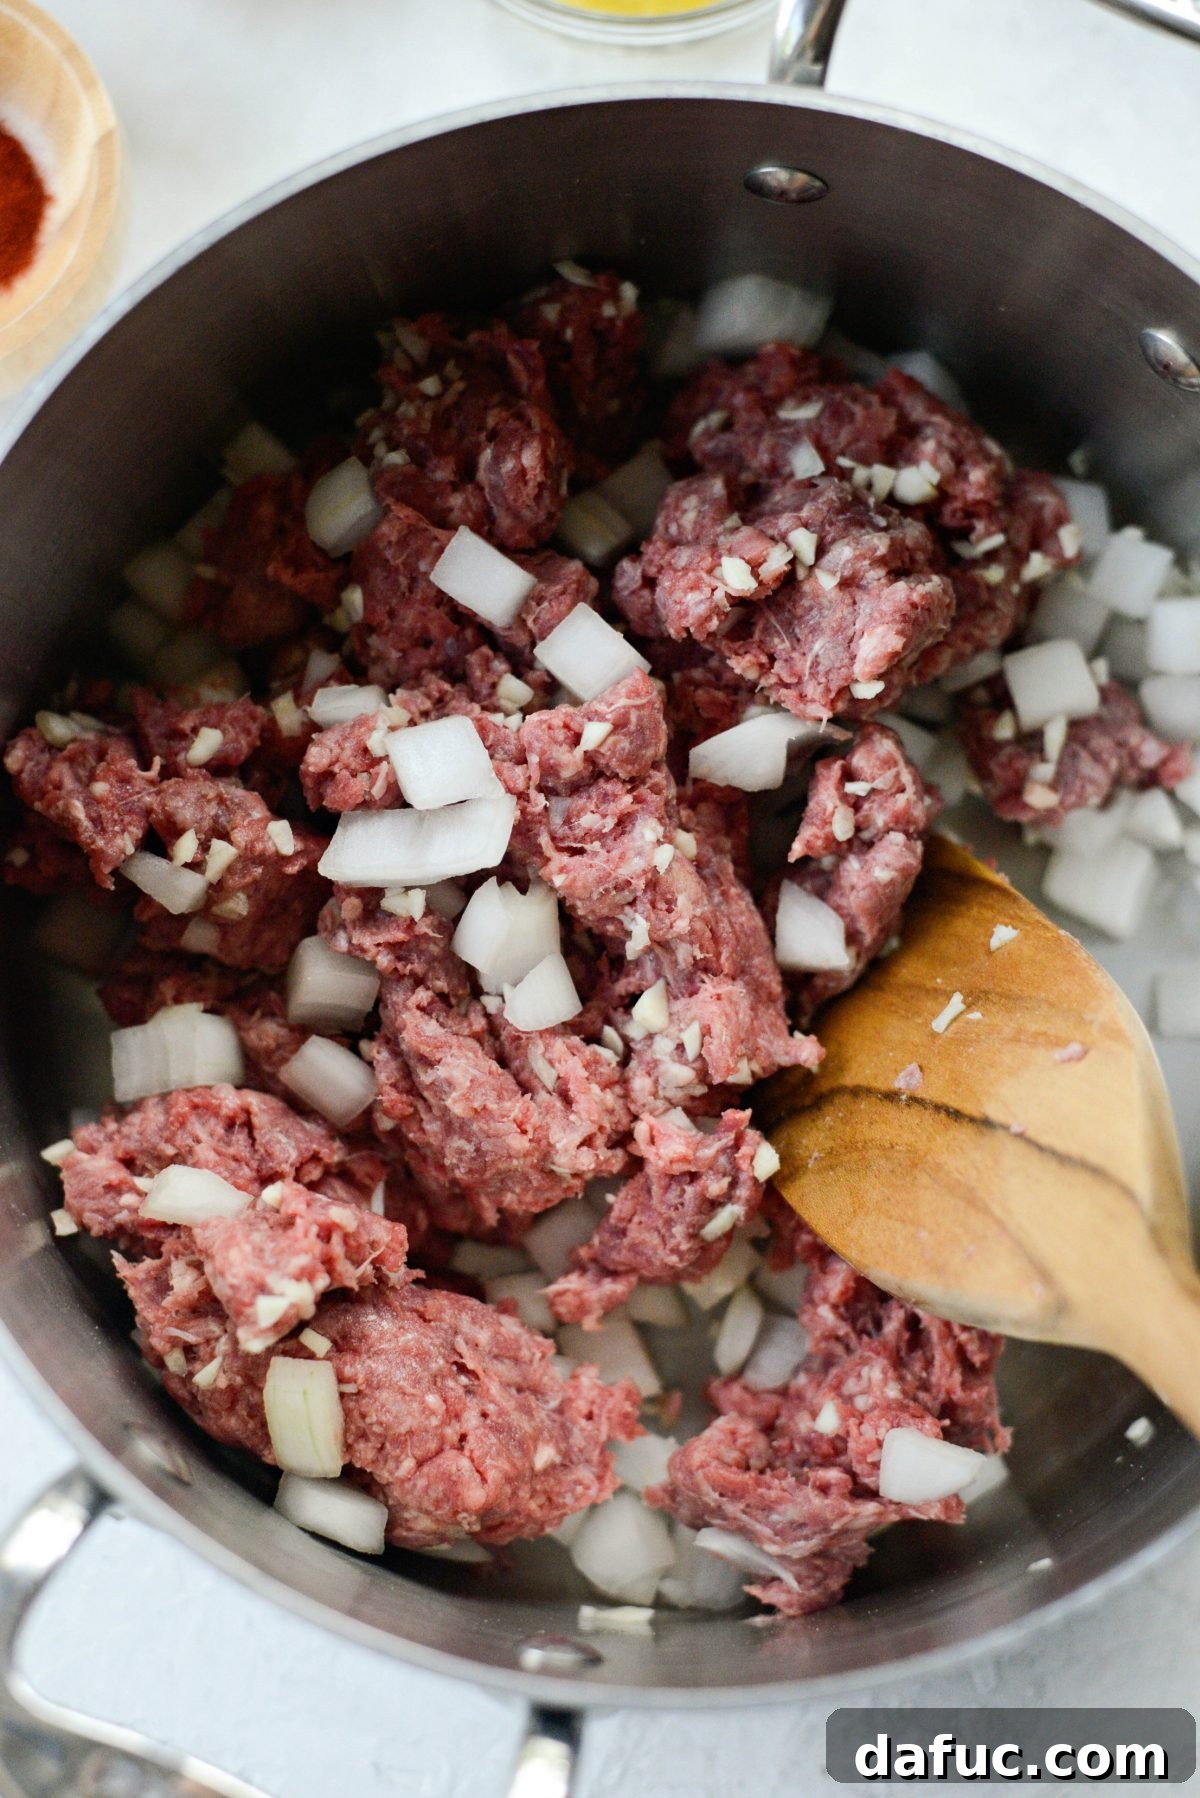
Begin by adding one pound of lean ground beef (we recommend an 85/15 blend for optimal flavor and texture), one cup of finely diced white onions (remember to save some extra diced onion for garnishing your finished coney dogs), and two cloves of minced fresh garlic to a medium-sized pot or a small Dutch oven. Place the pot over medium heat. Using a wooden spatula or spoon, break up the ground beef into very small, fine crumbles. This is a crucial step for Detroit chili, as the beef should be almost indistinguishable in texture once the chili is finished. Continue to cook, stirring occasionally, until the beef is no longer pink and the onions have softened and become translucent, typically taking about 10 to 12 minutes. The goal is to brown the meat thoroughly without drying it out.
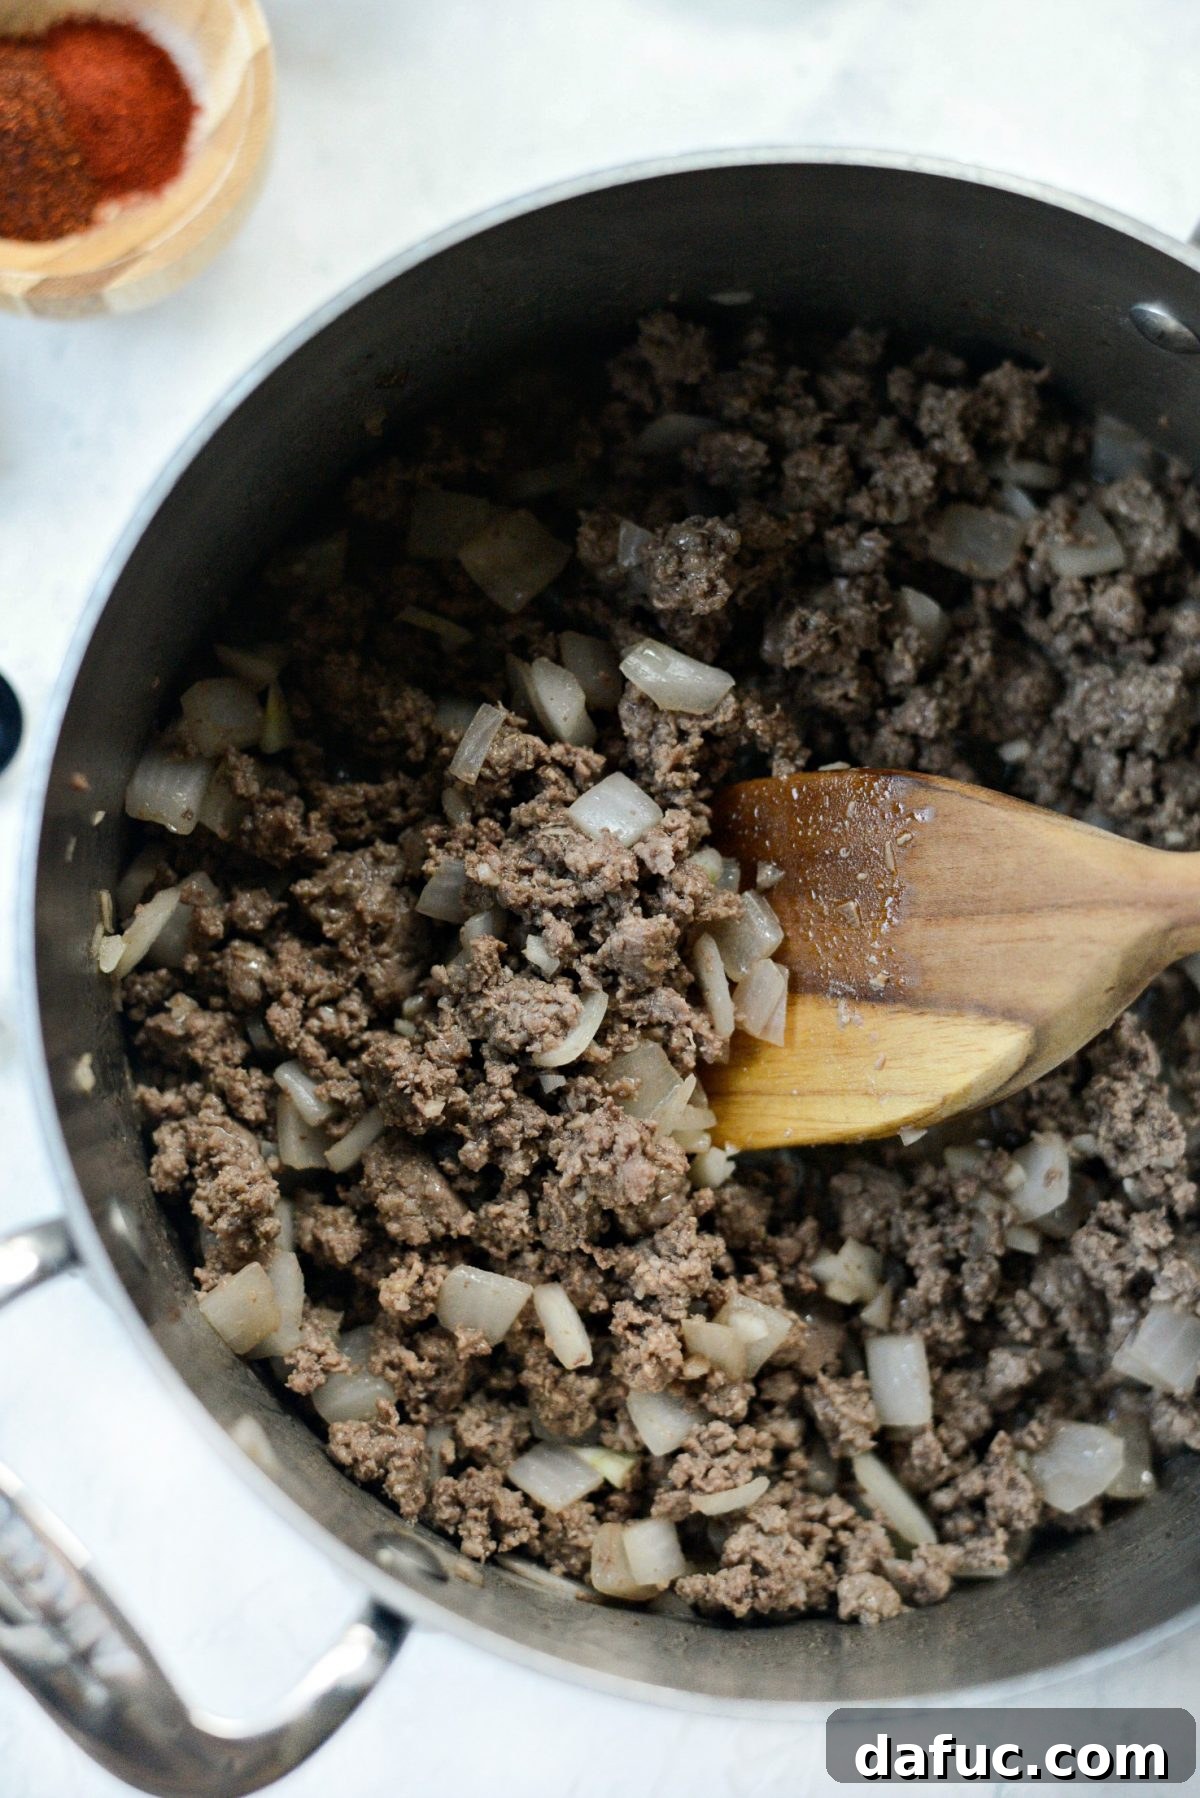
Step 2: Building the Flavor with Spices and Aromatics
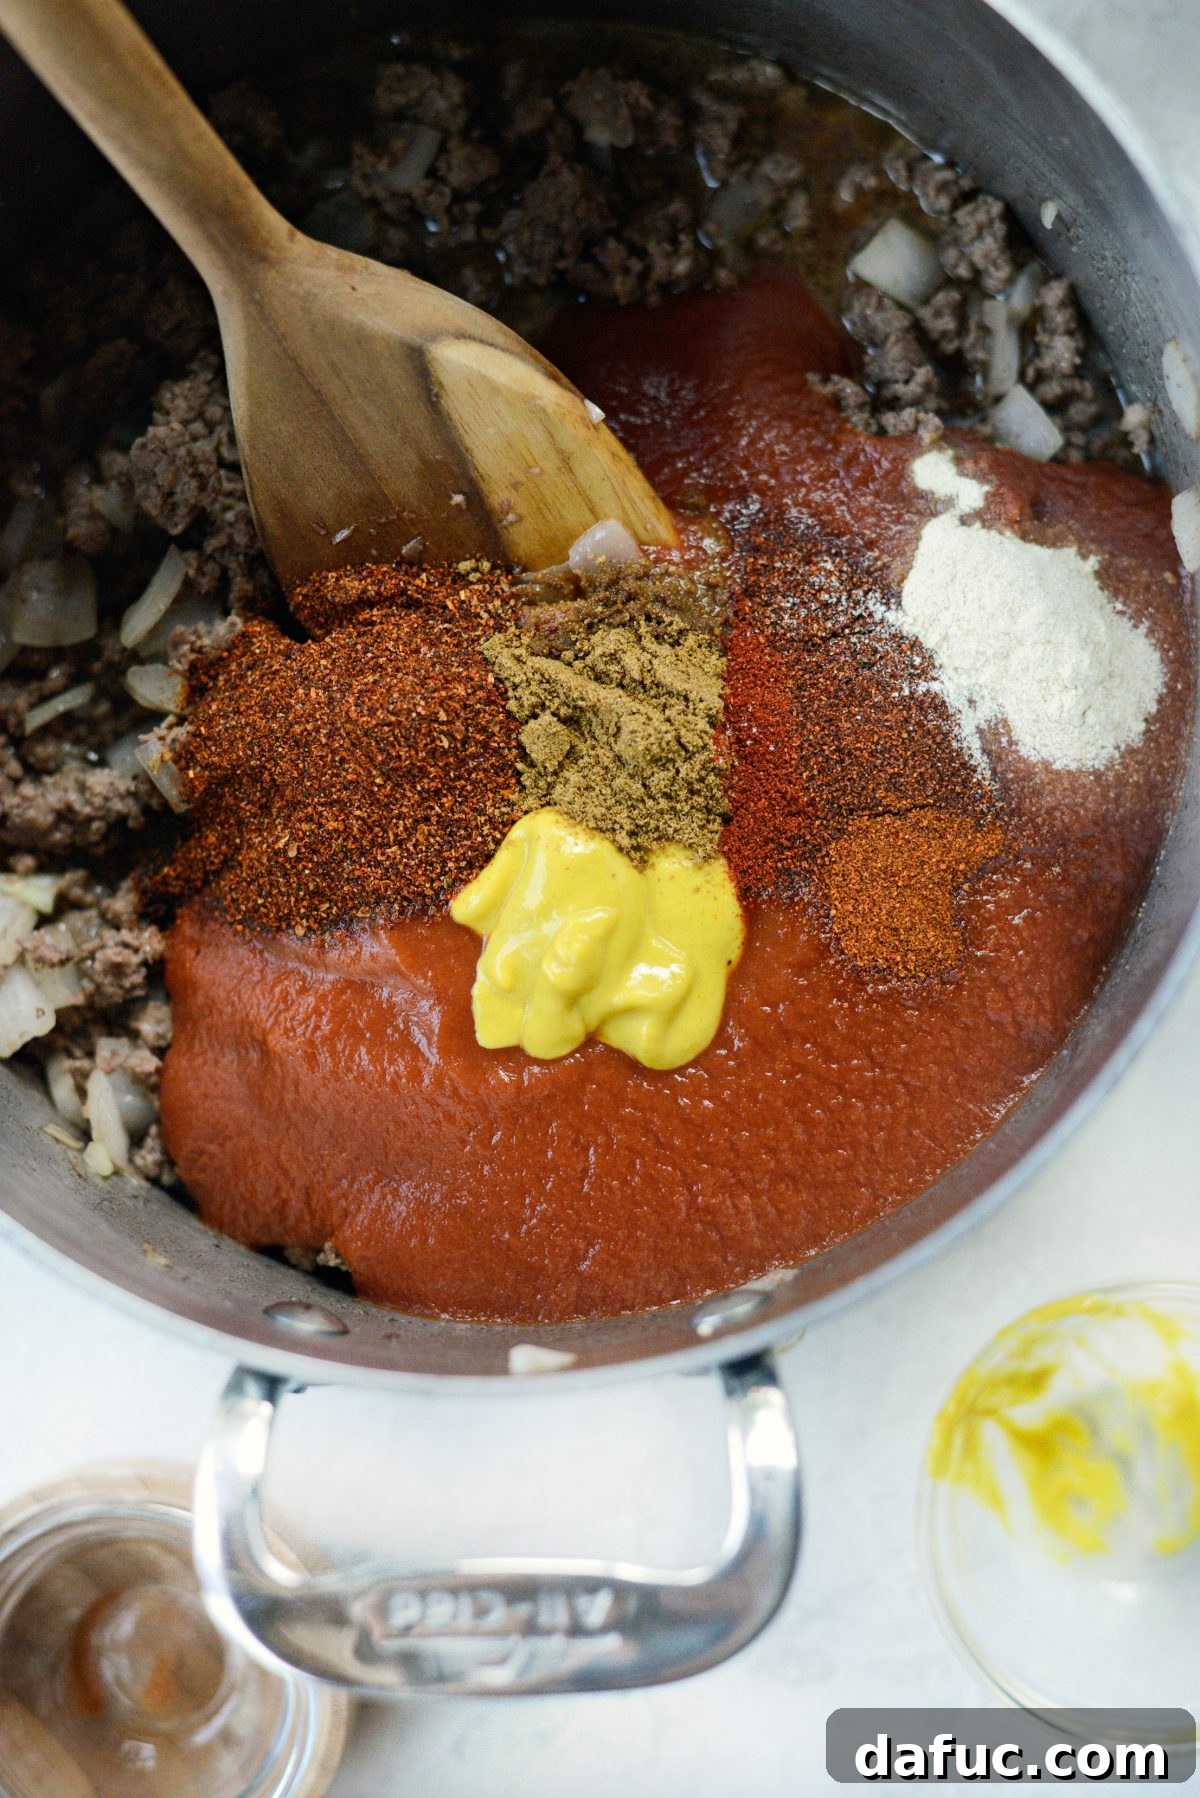
Once your beef is perfectly browned and the onions are tender, it’s time to infuse the mixture with the iconic flavors of Detroit chili. Add the following spices and seasonings directly to the pot: 1½ tablespoons of chili powder, 1½ teaspoons of kosher salt (you can adjust this later to taste), 1 teaspoon of ground cumin, ¾ teaspoon of sweet paprika, ½ teaspoon of smoked paprika, ½ teaspoon each of onion powder and garlic powder, and a generous amount of freshly ground black pepper. For a subtle hint of heat, add a few shakes of cayenne pepper. Finally, incorporate a couple of small pinches of sugar; this seemingly minor addition is vital for balancing the acidity of the tomatoes and rounding out the chili’s complex flavor profile. Stir everything together thoroughly, ensuring the spices are well distributed and fragrant.
Step 3: Creating the Creamy Chili Base
After the spices have had a moment to bloom, pour in one 15-ounce can of tomato puree. It is important to use tomato puree and not tomato sauce, as the puree provides the perfect consistency for this chili. Next, measure and add 3 to 4 tablespoons of prepared yellow mustard (I personally prefer 4 tablespoons for a bolder flavor). Finally, stir in ¼ cup of water to help bring everything together and ensure a smooth, saucy texture.
Do You Need to Drain the Fat? The Answer is No.
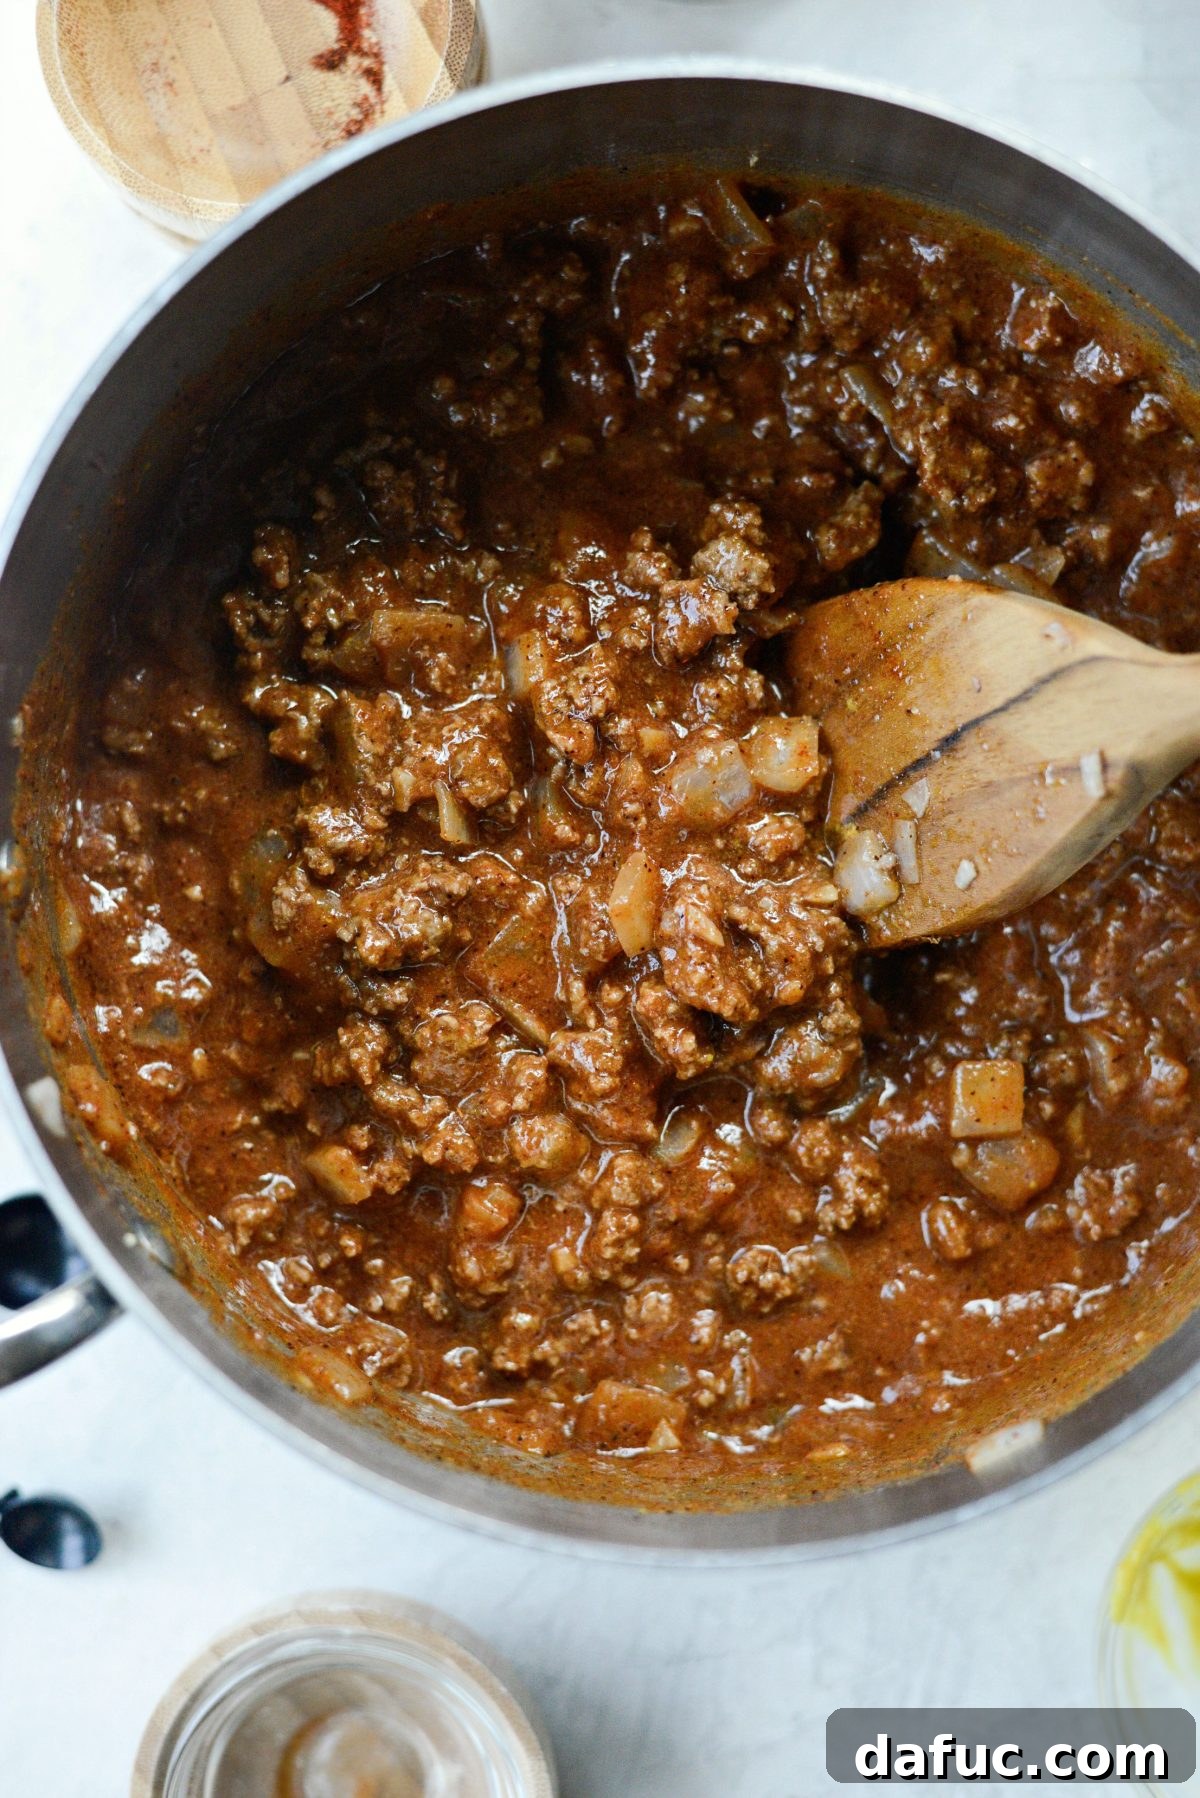
A common question when making chili with ground beef is whether to drain off the fat. For authentic Detroit coney chili, the answer is a firm no. Fat is a carrier of flavor, and in traditional Detroit-style chili, it contributes significantly to the richness and creaminess. However, this doesn’t mean you want an overly greasy chili. This is precisely why we recommend using a leaner ground beef, such as an 85/15 blend. It provides enough fat for flavor without making the chili unpleasantly oily.
Step 4: Simmering to Perfection
Once all ingredients are combined, give the chili a good stir. Reduce the heat to low, cover the pot, and let it simmer for 30 minutes. Stir occasionally during this time to prevent sticking and ensure even cooking. Simmering allows the flavors to meld and deepen, creating that signature rich taste. After 30 minutes, remove the lid and continue to simmer for an additional 10 minutes. This uncovered simmering period is crucial for thickening the chili to the ideal consistency, making it perfect for topping hot dogs without being too watery.
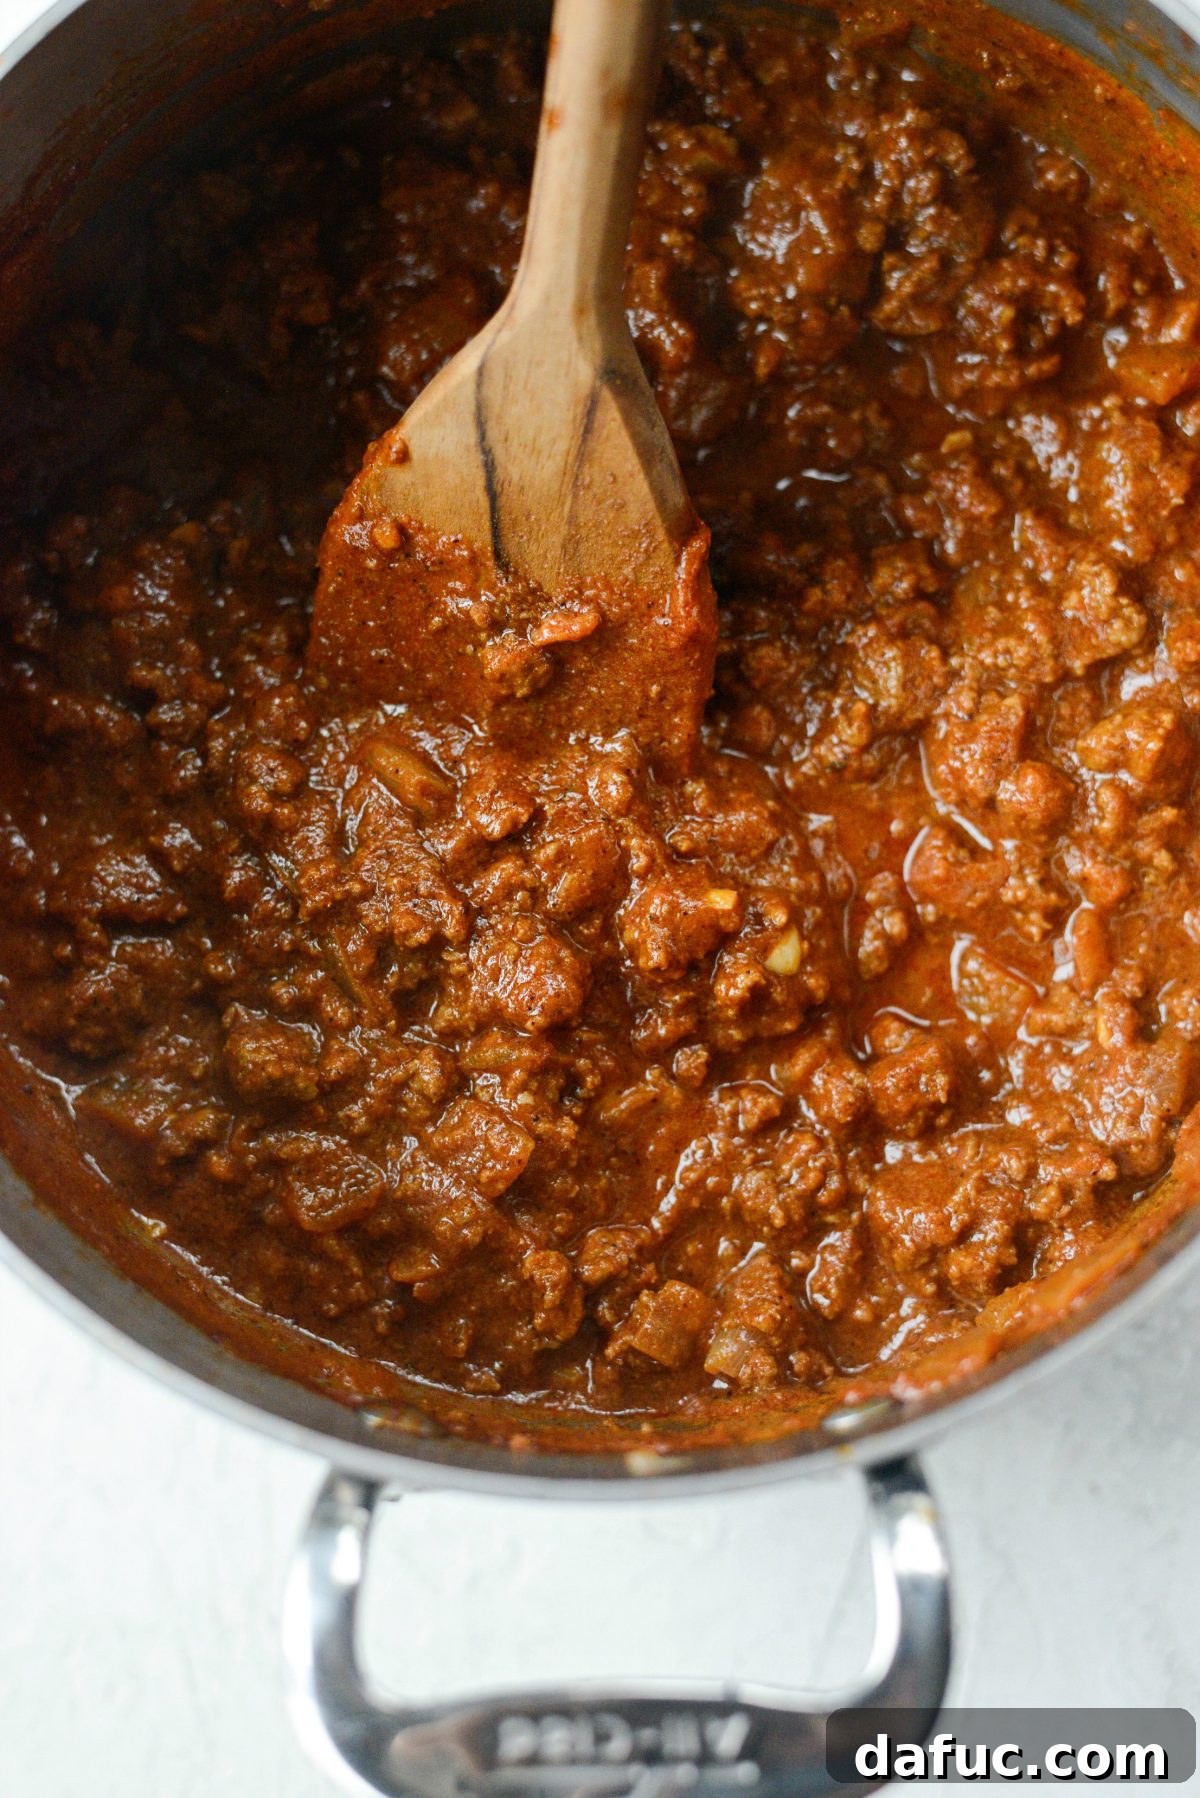
A note on authenticity: While some purists argue that true Detroit-style coney chili must contain beef heart or suet, this recipe offers a delicious and widely accepted alternative using only ground beef. As a home cook, I prefer ingredients that are easily accessible and appealing to my family. Rest assured, this recipe delivers an incredibly flavorful and authentic experience. Please feel free to adapt if you wish to include beef heart; however, it’s certainly not required for a fantastic result.

Assembling and Serving Your Detroit Style Coney Dogs
With your rich, flavorful no-bean chili perfected, it’s time for the exciting part: assembling your authentic Detroit Style Coney Dogs! The assembly is as crucial as the chili itself, bringing together all the elements for that iconic, satisfying experience. Prepare for a delicious, slightly messy, and thoroughly enjoyable meal.
The Final Steps to Coney Perfection:
- Prepare the Hot Dogs: While your chili is simmering, prepare your hot dogs. The traditional method is steaming, which helps the natural casing hot dogs plump up and gives them that characteristic “snap.” You can steam them over boiling water, grill them, or pan-fry them until warmed through and slightly browned to your preference. Remember, a high-quality hot dog with a natural casing is key for the best texture and taste.
- Warm the Buns: Lightly steam or warm your soft hot dog buns. A warm, pliable bun is essential for a truly authentic coney experience, as it cradles the hot dog and chili perfectly.
- Assemble Your Coney Dogs: Place a warm hot dog into each warm bun. Then, generously ladle your homemade Detroit-style chili over the hot dog. Don’t be shy – it’s completely normal for a Detroit coney dog to be piled high with chili, so much so that you might need a fork and knife to eat it! This overflowing abundance is part of its charm and tradition.
- Add the Toppings: Finish your coney dogs with the classic garnishes. Zigzag a few stripes of yellow mustard over the chili. The tang of the mustard provides a delightful contrast to the richness of the beef chili. Finally, sprinkle a generous amount of finely minced white onion on top. The crisp, sharp bite of the fresh onion adds a crucial layer of flavor and texture that truly completes the Detroit coney dog experience.
Serving Suggestions and Enjoying Your Coney Dogs:
Detroit-style coney dogs are a meal in themselves, but they pair wonderfully with classic American diner sides. Consider serving them with a generous helping of potato chips, crispy seasoned fries, a creamy classic coleslaw, or a comforting potato salad. For an extra treat, turn some of your leftover chili into chili cheese fries!

Gluten-Free and Other Variations:
If you’re looking for a gluten-free option, simply substitute the hot dog buns with your favorite gluten-free buns. Alternatively, you can enjoy the delicious chili and hot dogs without a bun at all! One fantastic idea is to create a “coney bowl” by topping two hot dogs with coney chili, then loading them up with crushed Fritos, diced jalapeños, extra mustard, onion, and cheddar cheese. While not technically a “coney dog,” it’s an incredibly satisfying and flavorful meal that embraces the spirit of the coney.
We are confident you’ll find this Detroit Style Coney Dog recipe incredibly delicious and wonderfully satisfying. It truly captures the essence of this beloved Michigan classic. Enjoy every messy, flavorful bite!

Make Ahead & Freezing Tips for Your Coney Chili
One of the best things about making a batch of Detroit Style Coney Chili is that it freezes beautifully, allowing you to enjoy homemade coney dogs anytime the craving strikes. Preparing a larger batch and freezing the excess is a smart way to have a delicious meal ready in a pinch. Follow these guidelines for properly freezing and reheating your chili to maintain its quality and flavor.
How To Freeze Chili and Reheat Later:
- Cool Completely: Before freezing, it is absolutely crucial that your chili is completely cool. Never place hot or very warm food directly into the freezer (or even the refrigerator), as this can raise the temperature of other frozen items, potentially thawing them and affecting their quality or safety. Allow the chili to cool to room temperature on the counter before proceeding.
- Portion Appropriately: Once cooled, divide the chili into desired portions. Whether you prefer single servings, or portions for two or four people, separate the chili into freezer-safe bags or air-tight containers. Freezer-safe bags are often preferred because they allow you to remove as much air as possible, which helps prevent freezer burn and makes for more efficient storage.
- Flatten for Storage (if using bags): If using freezer bags, lay them flat on a rimmed baking sheet once portioned. Freeze them flat for a few hours until solid. This “flat-freezing” technique is excellent for saving freezer space, as the rigid, flat portions can then be stacked vertically or horizontally.
- Store Effectively: Once frozen solid, whether in bags or containers, store your chili in the freezer. Properly stored chili will maintain its best quality for up to 6 months. Label your containers or bags with the date of freezing for easy tracking.
- Reheat Safely: For reheating, the safest and best method is to thaw the frozen chili overnight in the refrigerator. If you’re short on time, you can immerse a sealed freezer bag of chili in a sink filled with lukewarm water for 20 to 30 minutes, flipping it occasionally and changing the water once or twice to speed up thawing. Alternatively, you can defrost it in the microwave until thawed. Once thawed, transfer the chili to a saucepan or Dutch oven and heat it over medium-low heat, stirring frequently, until it is thoroughly heated throughout and bubbling gently.
Explore More Chili Recipes!
If you love the versatility and flavor of chili, be sure to explore more recipes that feature this incredible comfort food. From hearty stews to innovative bowls, there’s a world of chili deliciousness waiting for you.

Enjoy! And if you give this Detroit Style Coney Dogs recipe a try, we’d love to hear about it! Snap a photo and share your culinary creation on social media. Tag us on Twitter or Instagram!


Pin Recipe
Leave a Review »
Detroit-Style Coney Dogs
Ingredients
- 1 pound ground beef
- 1 cup diced white onion
- 2 cloves garlic, minced
- 1½ tablespoons chili powder
- 1½ teaspoons kosher salt, more or less to taste
- 1 teaspoon ground cumin
- 3/4 teaspoon paprika
- 1/2 teaspoon smoked paprika
- 1/2 teaspoon onion powder
- 1/2 teaspoon garlic powder
- 1/2 teaspoon freshly ground black pepper
- 1 pinch cayenne pepper
- 2 small pinches sugar
- 1 (15 ounce) can tomato puree, not tomato sauce
- 3 to 4 tablespoons yellow prepared mustard, or to taste – I use 4 Tbsp
- 8 hotdogs with natural casing (see notes below)
- 8 hotdog buns
- Yellow mustard, for serving
- Finely diced white onion, for serving
Instructions
- Place the ground beef, 1 cup of diced white onion, and minced garlic into a medium pot or Dutch oven. Cook over medium heat, using a wooden spoon to break up the meat into very small crumbles.
- Once the meat is fully cooked (do not drain off fat), add in the spices (chili powder, kosher salt, cumin, paprika, smoked paprika, onion powder, garlic powder, black pepper, cayenne pepper, sugar), tomato puree, and 3-4 tablespoons of mustard. Stir to combine. Reduce the heat to low, cover, and simmer for 30 minutes, stirring occasionally.
- Then uncover, stir, and simmer for an additional 10 minutes to thicken the chili to the desired consistency.
- While the chili finishes, prepare the eight hot dogs until warmed throughout (steamed, grilled, or pan-fried). Serve the hot dogs in warm hot dog buns and top generously with the chili, followed by a zig-zag of yellow mustard and a sprinkle of finely minced white onion.
Notes
For the hot dogs, I used Koegel’s, a Michigan-based company, but you can use your favorite brand as long as it’s a hot dog with a natural casing for that authentic “snap.”
Nutrition Facts (per serving)
- Serving: 1 coney dog
- Calories: 450 kcal
- Carbohydrates: 31g
- Protein: 21g
- Fat: 27g
- Saturated Fat: 10g
- Polyunsaturated Fat: 2g
- Monounsaturated Fat: 12g
- Trans Fat: 1g
- Cholesterol: 65mg
- Sodium: 1253mg
- Potassium: 582mg
- Fiber: 3g
- Sugar: 7g
- Vitamin A: 806IU
- Vitamin C: 9mg
- Calcium: 116mg
- Iron: 5mg