
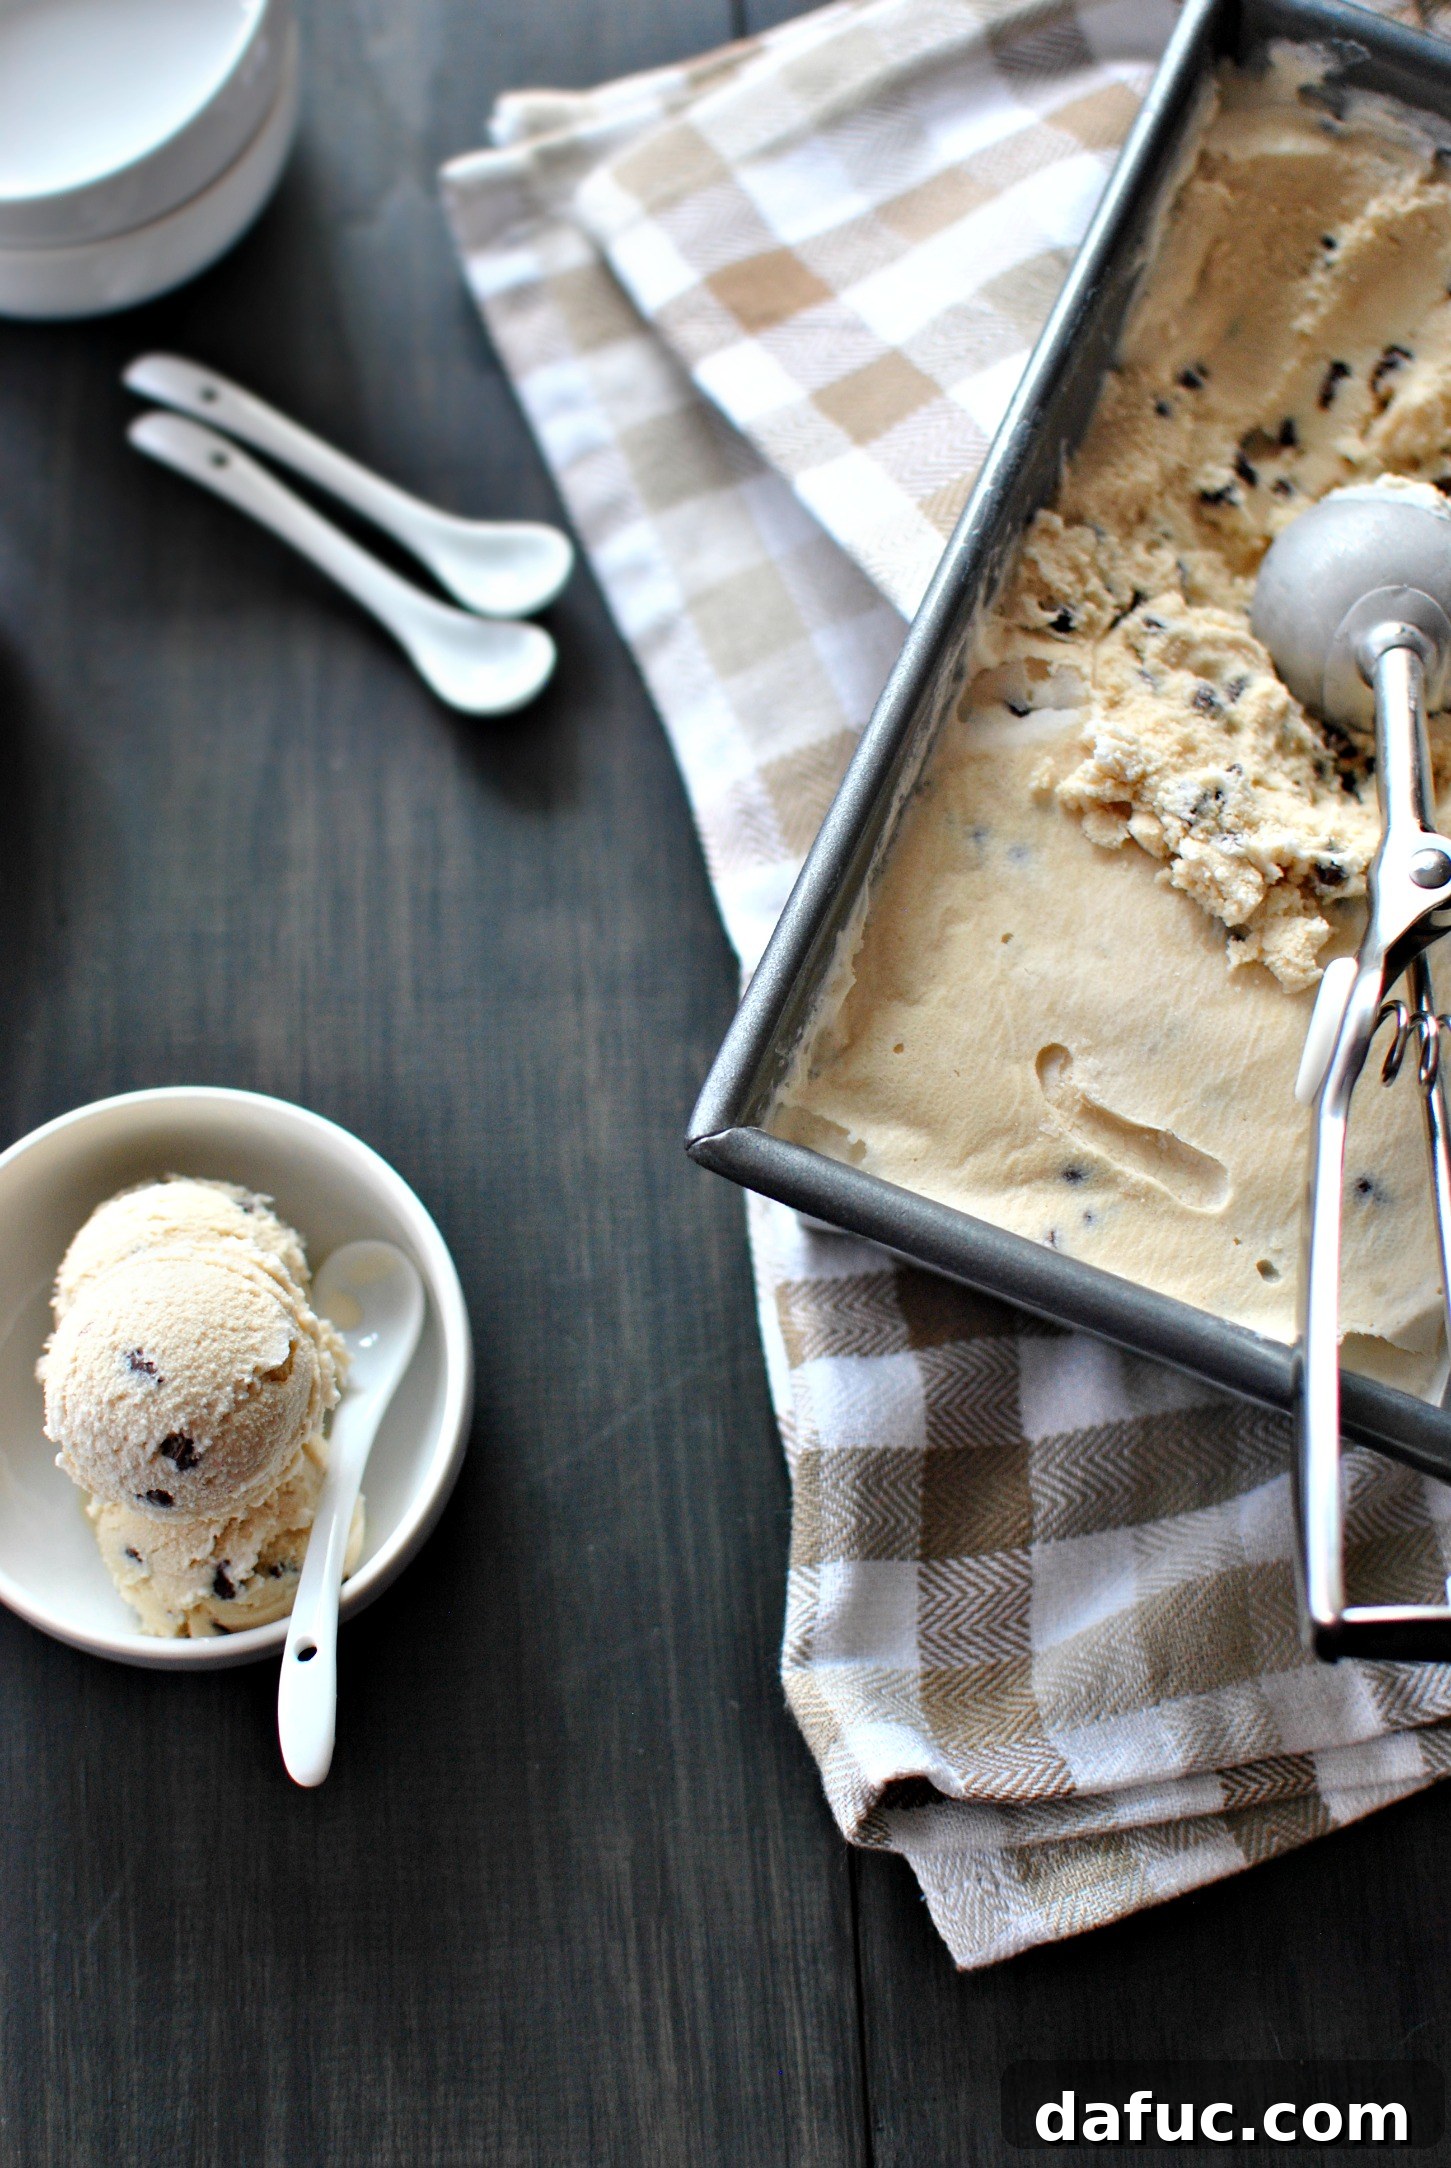
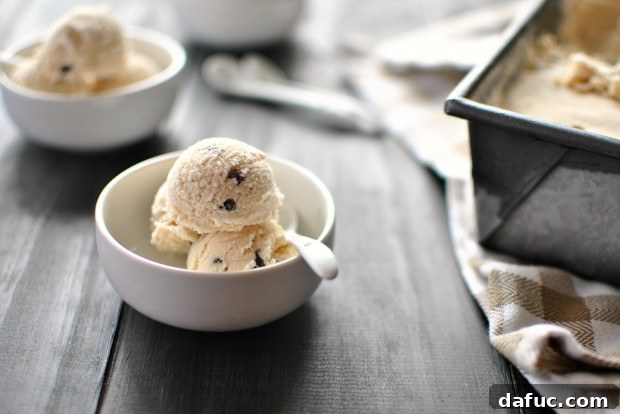
Indulge in Homemade Chocolate Chip Coffee Ice Cream: Your Ultimate Guide
There’s nothing quite like the creamy, rich taste of homemade ice cream, and this Chocolate Chip Coffee Ice Cream recipe takes that experience to a whole new level. Imagine the deep, aromatic flavor of your favorite coffee perfectly blended with sweet, creamy vanilla notes and studded with delightful mini chocolate chips. It’s truly like enjoying your most cherished coffee frappe, but in a wonderfully frozen, scoopable form – a delightful symphony of flavors that coffee and dessert lovers alike will adore. This isn’t just ice cream; it’s a sensory journey that transforms simple ingredients into an extraordinary treat.
My Ongoing Quest for the Perfect Scoop: A Love Affair with Homemade Ice Cream
My culinary aspirations for any given spring and summer season often revolve around one simple, yet profoundly satisfying goal: making more homemade ice cream. Some might call it a realistic goal, others an obsession, but for me, it’s a fundamental truth. Giving up ice cream? That’s simply not in my vocabulary. It’s my ultimate weakness, a comforting indulgence that always hits the spot. If I had to choose a favorite among the endless possibilities, it would be a tough call between classic mint chocolate chip or the pure simplicity of plain chocolate. Over the years, I’ve consumed countless cups, developing what some might call a discerning palate – an “ice cream snob,” if you will. But perhaps I’ve mellowed with age, as I genuinely love exploring new and exciting flavors. Yet, no matter how many exotic tastes I try, I invariably find myself drawn back to the timeless, comforting classics. This journey of exploration and return to the familiar is precisely what led me to create this exceptional Chocolate Chip Coffee Ice Cream.
With that lifelong appreciation for ice cream in mind, I decided to marry my absolute favorite beverage—coffee—with adorable, tiny chocolate chips, all nestled within a beautifully simple ice cream base. The anticipation during the freezing process was almost unbearable, followed by the agonizing wait for it to soften just enough for that perfect scoop. But oh, was it worth it! Spooning that exquisite concoction directly into my mouth felt like a record-breaking feat, consumed in a mere 2.2 seconds. Honestly, part of me wonders if I could have just skipped the freezing step altogether and enjoyed it through a straw in its non-frozen, chilled state. Patience, after all, has never been my strongest virtue, especially when something this delicious is involved.
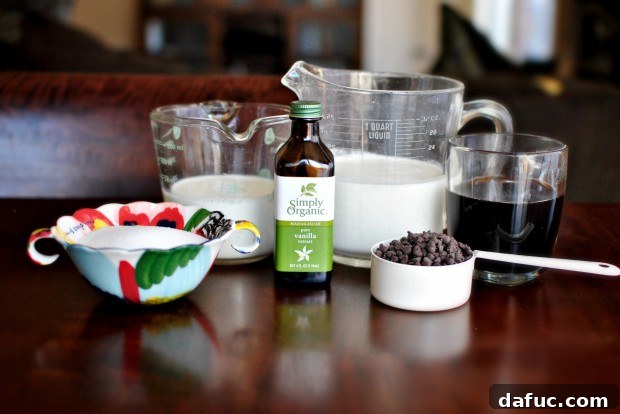
The Simplicity of a No-Custard Base: Flavor Without the Fuss
What truly sets this particular recipe apart for me is its brilliant simplicity: there’s no need for a custard base. While I have nothing against traditional custard-based ice creams – they certainly have their place in the world of frozen desserts – I find myself constantly gravitating towards recipes that require less cleanup and fewer complicated steps. The thought of fewer dirty dishes is a powerful motivator in my kitchen, and I suspect many home cooks can relate! This recipe proves that you don’t need to temper eggs or meticulously cook a base to achieve an incredibly creamy, intensely flavorful ice cream. It’s all about combining the right ingredients in the right proportions, letting their natural richness shine through, and enjoying a streamlined process from start to finish. This approach makes homemade ice cream more accessible and enjoyable for everyone, without compromising on that luxurious texture and vibrant taste we all crave.
Step-by-Step Guide to Crafting Your Coffee & Chocolate Masterpiece
Creating this irresistible Chocolate Chip Coffee Ice Cream is a straightforward process, ensuring a fantastic result with minimal fuss. Follow these detailed steps to bring this delightful treat to life in your own kitchen.
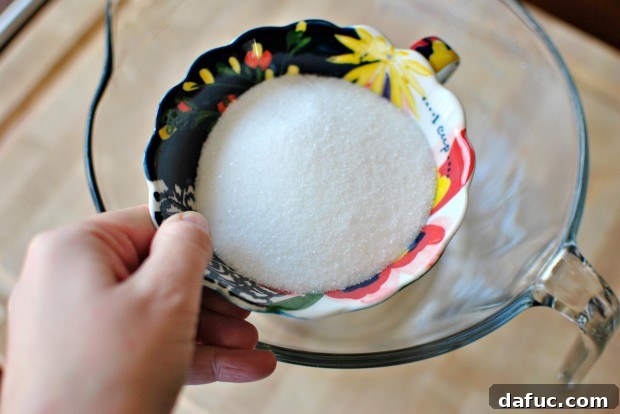
Step 1: Sweet Beginnings with Sugar. Begin by accurately measuring out ¾ cup of granulated white sugar. This amount provides the perfect balance of sweetness without overpowering the rich coffee flavor. Pour this into a spacious 8-cup liquid measuring cup or a large mixing bowl, which will provide ample room for combining all your ingredients.
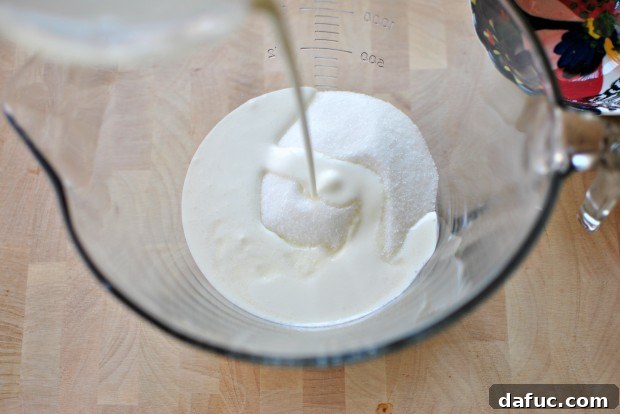
Step 2: Incorporating Creamy Richness. Next, pour in two full cups of heavy cream. Heavy cream is the backbone of this ice cream, providing the essential fat content for an incredibly smooth, luxurious, and decadent texture. Its richness is key to achieving that perfect scoopable consistency and mouthfeel.
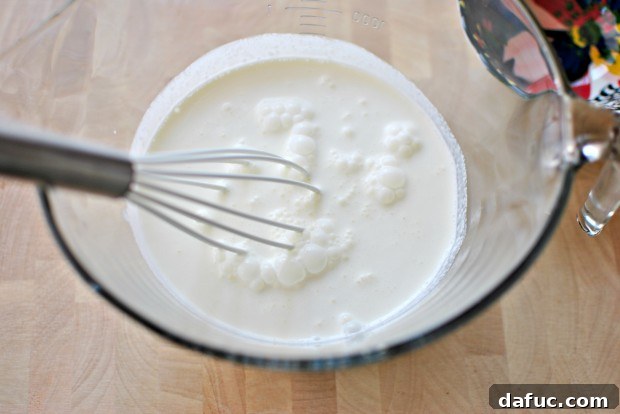
Step 3: Whisking to Perfection. With the sugar and heavy cream now in the bowl, grab a whisk and thoroughly combine them. Continue whisking until the sugar has completely dissolved into the cream. You’ll notice the mixture becoming slightly frothy and homogeneous. This ensures no grainy texture in your final ice cream and helps to aerate the base slightly.
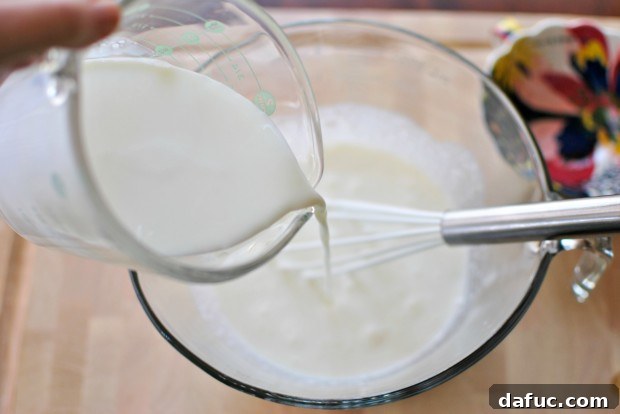
Step 4: Balancing with Whole Milk. Following the cream, add one cup of whole milk. Whole milk contributes to the overall creaminess and helps to thin the mixture just enough for optimal churning without sacrificing flavor or richness. Its fat content is crucial for a smooth, less icy result.
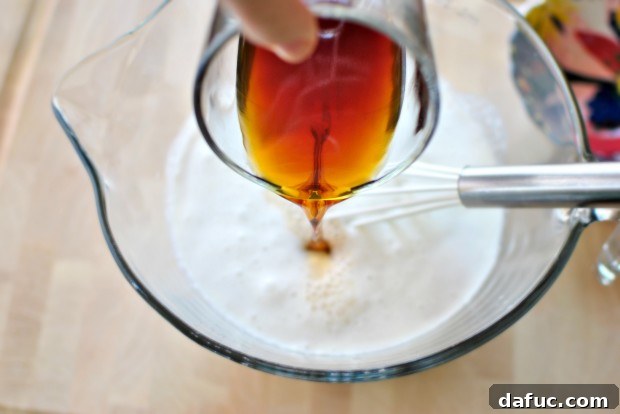
Step 5: The Star Flavor: Coffee. Now for the star of the show! Pour in one cup of strong, medium roast coffee that has been brewed and thoroughly cooled. Using strong coffee is essential to ensure that its flavor isn’t lost during the freezing process. Cooling the coffee prevents it from warming the dairy mixture, which is crucial for achieving the best texture when churning.
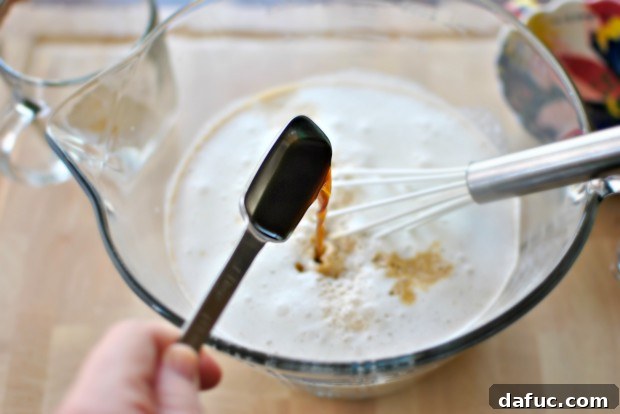
Step 6: A Touch of Vanilla Essence. Measure and add one tablespoon of pure vanilla extract. Vanilla is a magical ingredient that enhances and complements the coffee and chocolate flavors, adding a layer of depth and warmth to the ice cream. Don’t skimp on good quality vanilla!
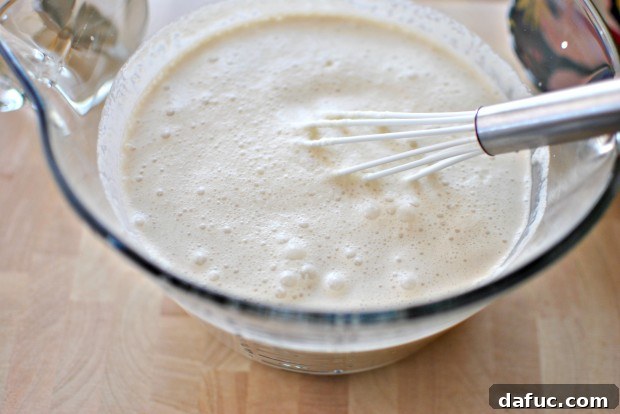
Step 7: Final Mix of the Base. Give the entire mixture another good whisk until all the ingredients are fully combined and evenly distributed. This ensures a consistent flavor throughout your ice cream.
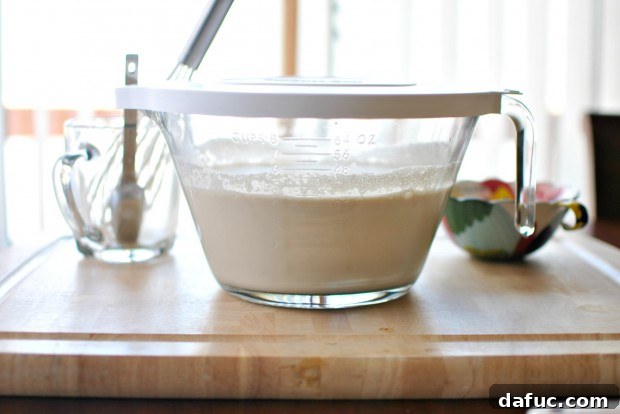
Step 8: Chilling for Optimal Churning. Cover your liquid measuring cup or bowl and place it in the refrigerator to chill for at least one to two hours. This chilling period is vital; a cold base churns faster and produces a smoother, creamier ice cream, preventing the formation of large ice crystals.
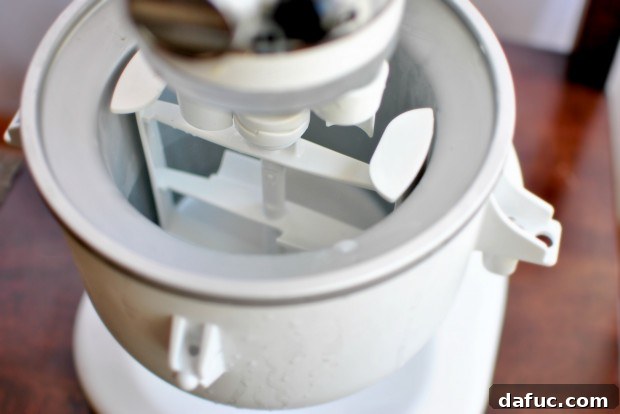
Step 9: Preparing Your Ice Cream Maker. Once your base is thoroughly chilled, retrieve your ice cream maker. Ensure the freezer bowl (if applicable) is completely frozen and the machine is assembled according to the manufacturer’s instructions. A properly prepared machine is key to successful churning.
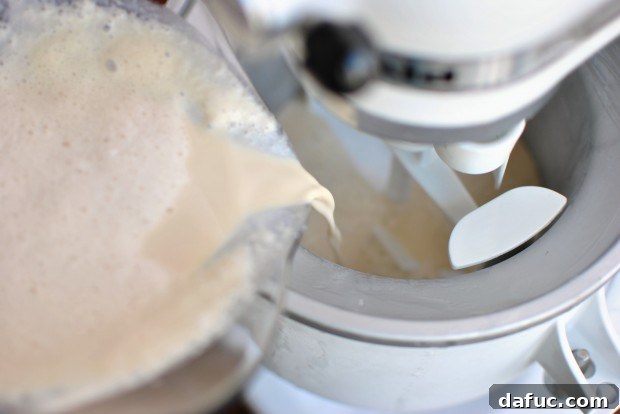
Step 10: Churning the Base. Pour the chilled coffee ice cream base directly into your ice cream maker. Turn the machine on (following your specific model’s instructions) and let it churn. The churning process typically takes about 20-30 minutes, or until the mixture becomes thick and semi-frozen, resembling soft-serve ice cream.
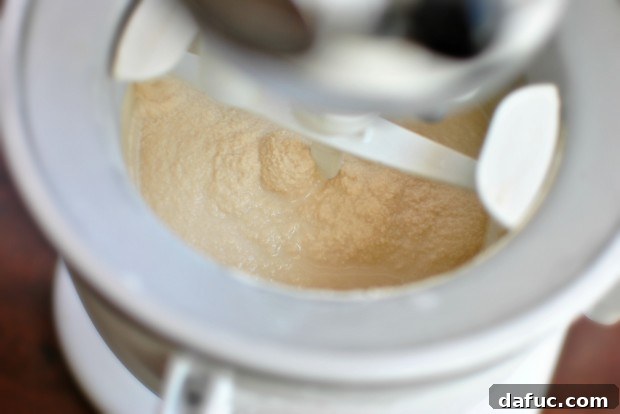
Step 11: The Perfect Thickness. Continue churning until the ice cream base reaches a thick, semi-frozen consistency. It should be soft enough to stir but firm enough to hold its shape. This is the ideal point before adding your chocolate chips.
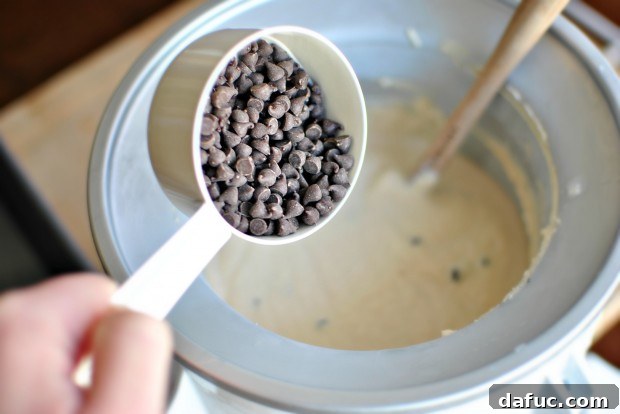
Step 12: Stirring in the Chocolate Chips. Now for the much-anticipated chocolate! Add ½ to ¾ cup of mini chocolate chips to the churning ice cream. Mini chips are preferred as they distribute more evenly and remain soft enough to enjoy in a frozen dessert. Let the machine churn for just a few more minutes, or gently fold them in by hand, to ensure they are well incorporated throughout the mixture.
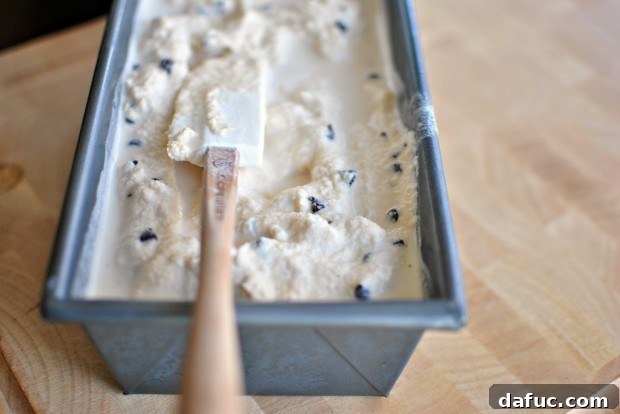
Step 13: Transferring to a Freezer-Safe Container. Carefully spoon or pour the churned ice cream into any freezer-safe container. I often opt for a metal pan, as its thermal conductivity helps to speed up the final freezing process, ensuring your ice cream sets faster and more evenly.
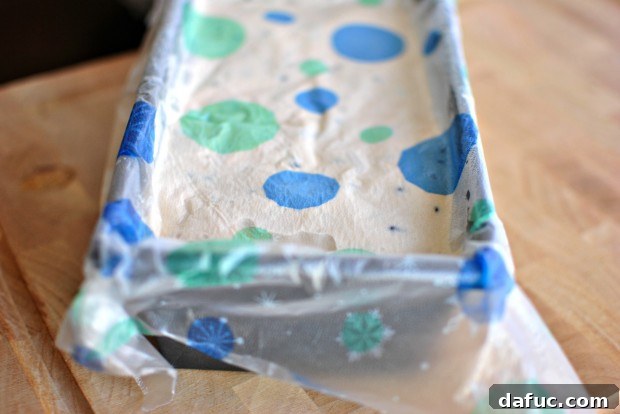
Step 14: Final Freezing for Firmness. To prevent ice crystals and maintain a creamy texture, press a piece of plastic wrap directly onto the surface of the ice cream before securing the lid (if your container has one). Then, transfer it to the freezer and allow it to freeze for at least 4-6 hours, or ideally, overnight. This final freezing time is crucial for the ice cream to firm up to the perfect consistency.
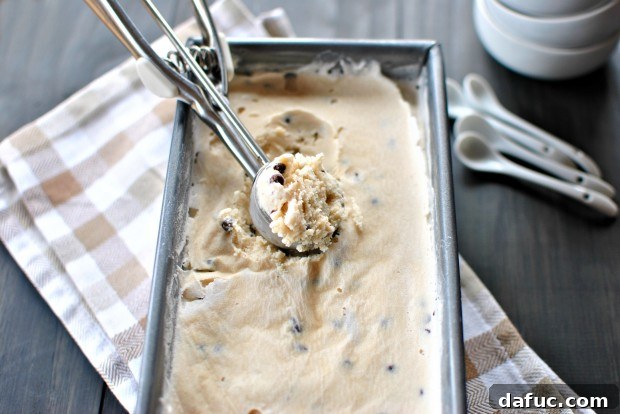
Step 15: The Art of Scooping. Once your homemade chocolate chip coffee ice cream is fully frozen, it will be quite firm. For the best scooping experience and to fully appreciate its creamy texture, I highly recommend pulling it out of the freezer and letting it sit on the counter for a good 20-25 minutes before scooping and serving. This allows it to soften slightly, making it easier to scoop and more enjoyable to eat.
Serving Suggestions: Go Big or Go Home!
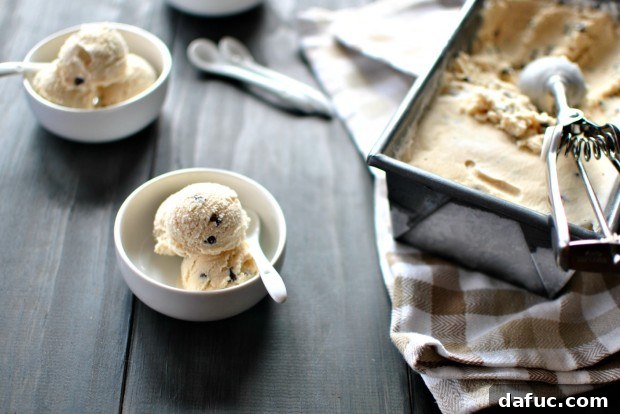
When it comes to serving this magnificent homemade ice cream, forget the delicate approach. Some might suggest tiny bowls with tiny spoons. That’s a lie! Embrace the indulgence. Reach for your biggest bowls – even bigger if you have them – and your most generously sized spoons. Because honestly, who would ever use tiny spoons for something this glorious? This chocolate chip coffee ice cream deserves to be savored in generous, decadent spoonfuls, allowing you to fully immerse yourself in its rich, complex flavors.
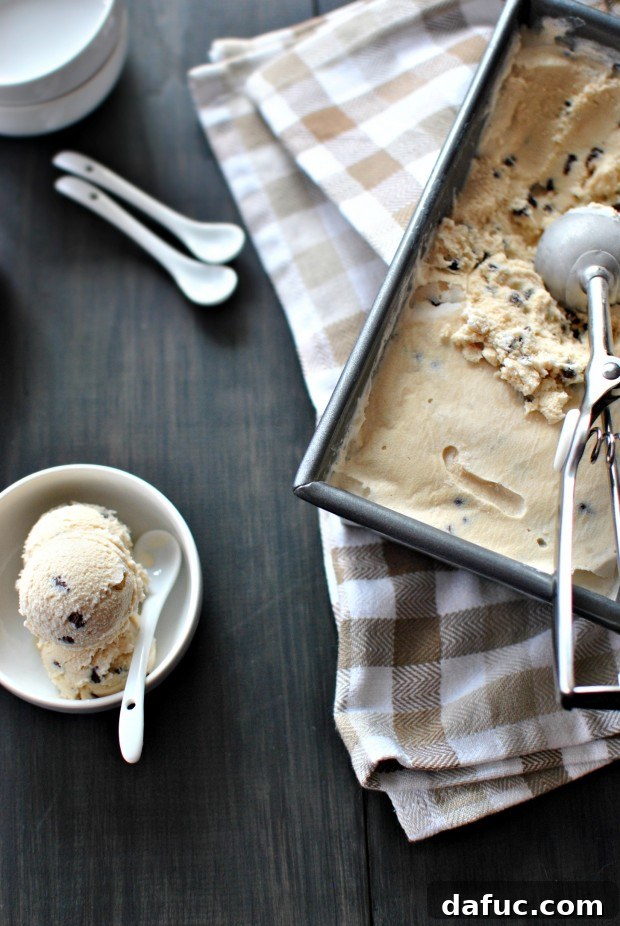
What’s absolutely not a lie is how truly, incredibly delicious this Chocolate Chip Coffee Ice Cream is. It’s an exquisite fusion of vanilla’s sweetness, coffee’s invigorating depth, and chocolate chips’ delightful crunch. Each bite is a harmonious blend, reminiscent of a chilled coffee frappe but with the luxurious mouthfeel of premium ice cream. Imagine if your favorite strong coffee, creamy coffee creamer, and a generous sprinkle of chocolate chips had an ice cream baby – this would be it. Too far? Perhaps, but the flavor journey is undeniably worth every hyperbolic description.
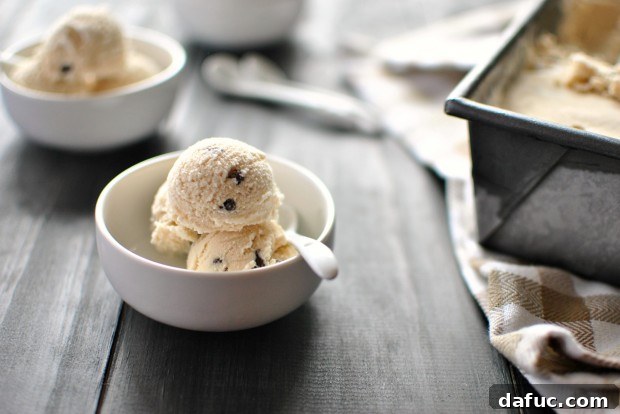
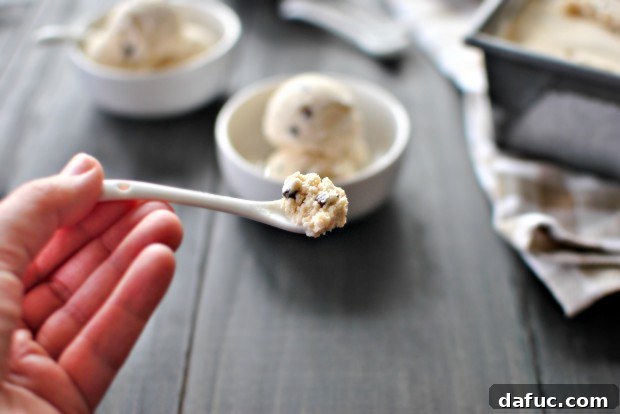
Enjoy this heavenly dessert! If you try your hand at this Chocolate Chip Coffee Ice Cream recipe, I’d absolutely love to hear from you. Snap a photo of your creation and share it with me on Twitter or Instagram! Don’t forget to tag me so I can see your delicious results!

Print Recipe
Pin Recipe
Rating: 4.50 from 10 ratings
Leave a Review »
8
servings
Chocolate Chip Coffee Ice Cream
1 hr 5 mins
6 hrs
7 hrs 5 mins
Ingredients
-
2
cups
heavy cream -
3/4
cup
sugar -
1
cup
whole milk -
1
cup
strong coffee,
cooled -
1
tablespoon
pure vanilla extract -
1/2 to 3/4
cup
mini-chocolate chips
Equipment
-
Stand Mixer (e.g., KitchenAid KP26M1XWH 6 Qt. Professional 600 Series Bowl-Lift Stand Mixer)
-
Ice Cream Maker Attachment (e.g., KitchenAid KICA0WH 2 Quart Ice Cream Maker Stand Mixer Attachment)
Instructions
-
In a large liquid measuring cup or mixing bowl, combine the sugar and heavy cream. Whisk vigorously until the sugar is completely dissolved and the mixture is slightly frothy. Then, measure and pour in the whole milk, cooled strong coffee, and pure vanilla extract. Stir well to ensure all ingredients are thoroughly combined. Cover the mixture and chill in the refrigerator for at least one to two hours to ensure it is very cold before churning.
-
Once the base is well-chilled, pour it into your ice cream maker. Follow the specific instructions for your ice cream maker model, and churn the mixture until it becomes thick and semi-frozen, resembling soft-serve ice cream. At this stage, gently fold in the mini chocolate chips until they are evenly distributed throughout the ice cream.
-
Transfer the churned ice cream into a freezer-safe container. To prevent ice crystal formation, press a piece of plastic wrap directly onto the surface of the ice cream before covering the container with its lid. Place in the freezer and allow it to freeze for 4-6 hours, or ideally, overnight, until it reaches a firm, scoopable consistency.
-
Before serving, remove the ice cream from the freezer and let it sit on your kitchen counter for 20-25 minutes. This allows it to soften slightly, making it much easier to scoop and enhancing its creamy texture for an optimal dessert experience.
Nutrition Information (Estimated per serving):
- Calories: 350 kcal
- Carbohydrates: 28g
- Protein: 3g
- Fat: 26g
- Saturated Fat: 16g
- Polyunsaturated Fat: 1g
- Monounsaturated Fat: 7g
- Trans Fat: 1g
- Cholesterol: 86mg
- Sodium: 44mg
- Potassium: 102mg
- Fiber: 1g
- Sugar: 25g
- Vitamin A: 949 IU
- Vitamin C: 1mg
- Calcium: 87mg
- Iron: 1mg
Laurie McNamara
Desserts & Sweet Treats
American
Please note: This post may contain affiliate links, meaning I may earn a small commission if you make a purchase through them, at no extra cost to you. These commissions help support this blog and allow me to continue sharing delicious recipes like this one. Thank you for your support!