
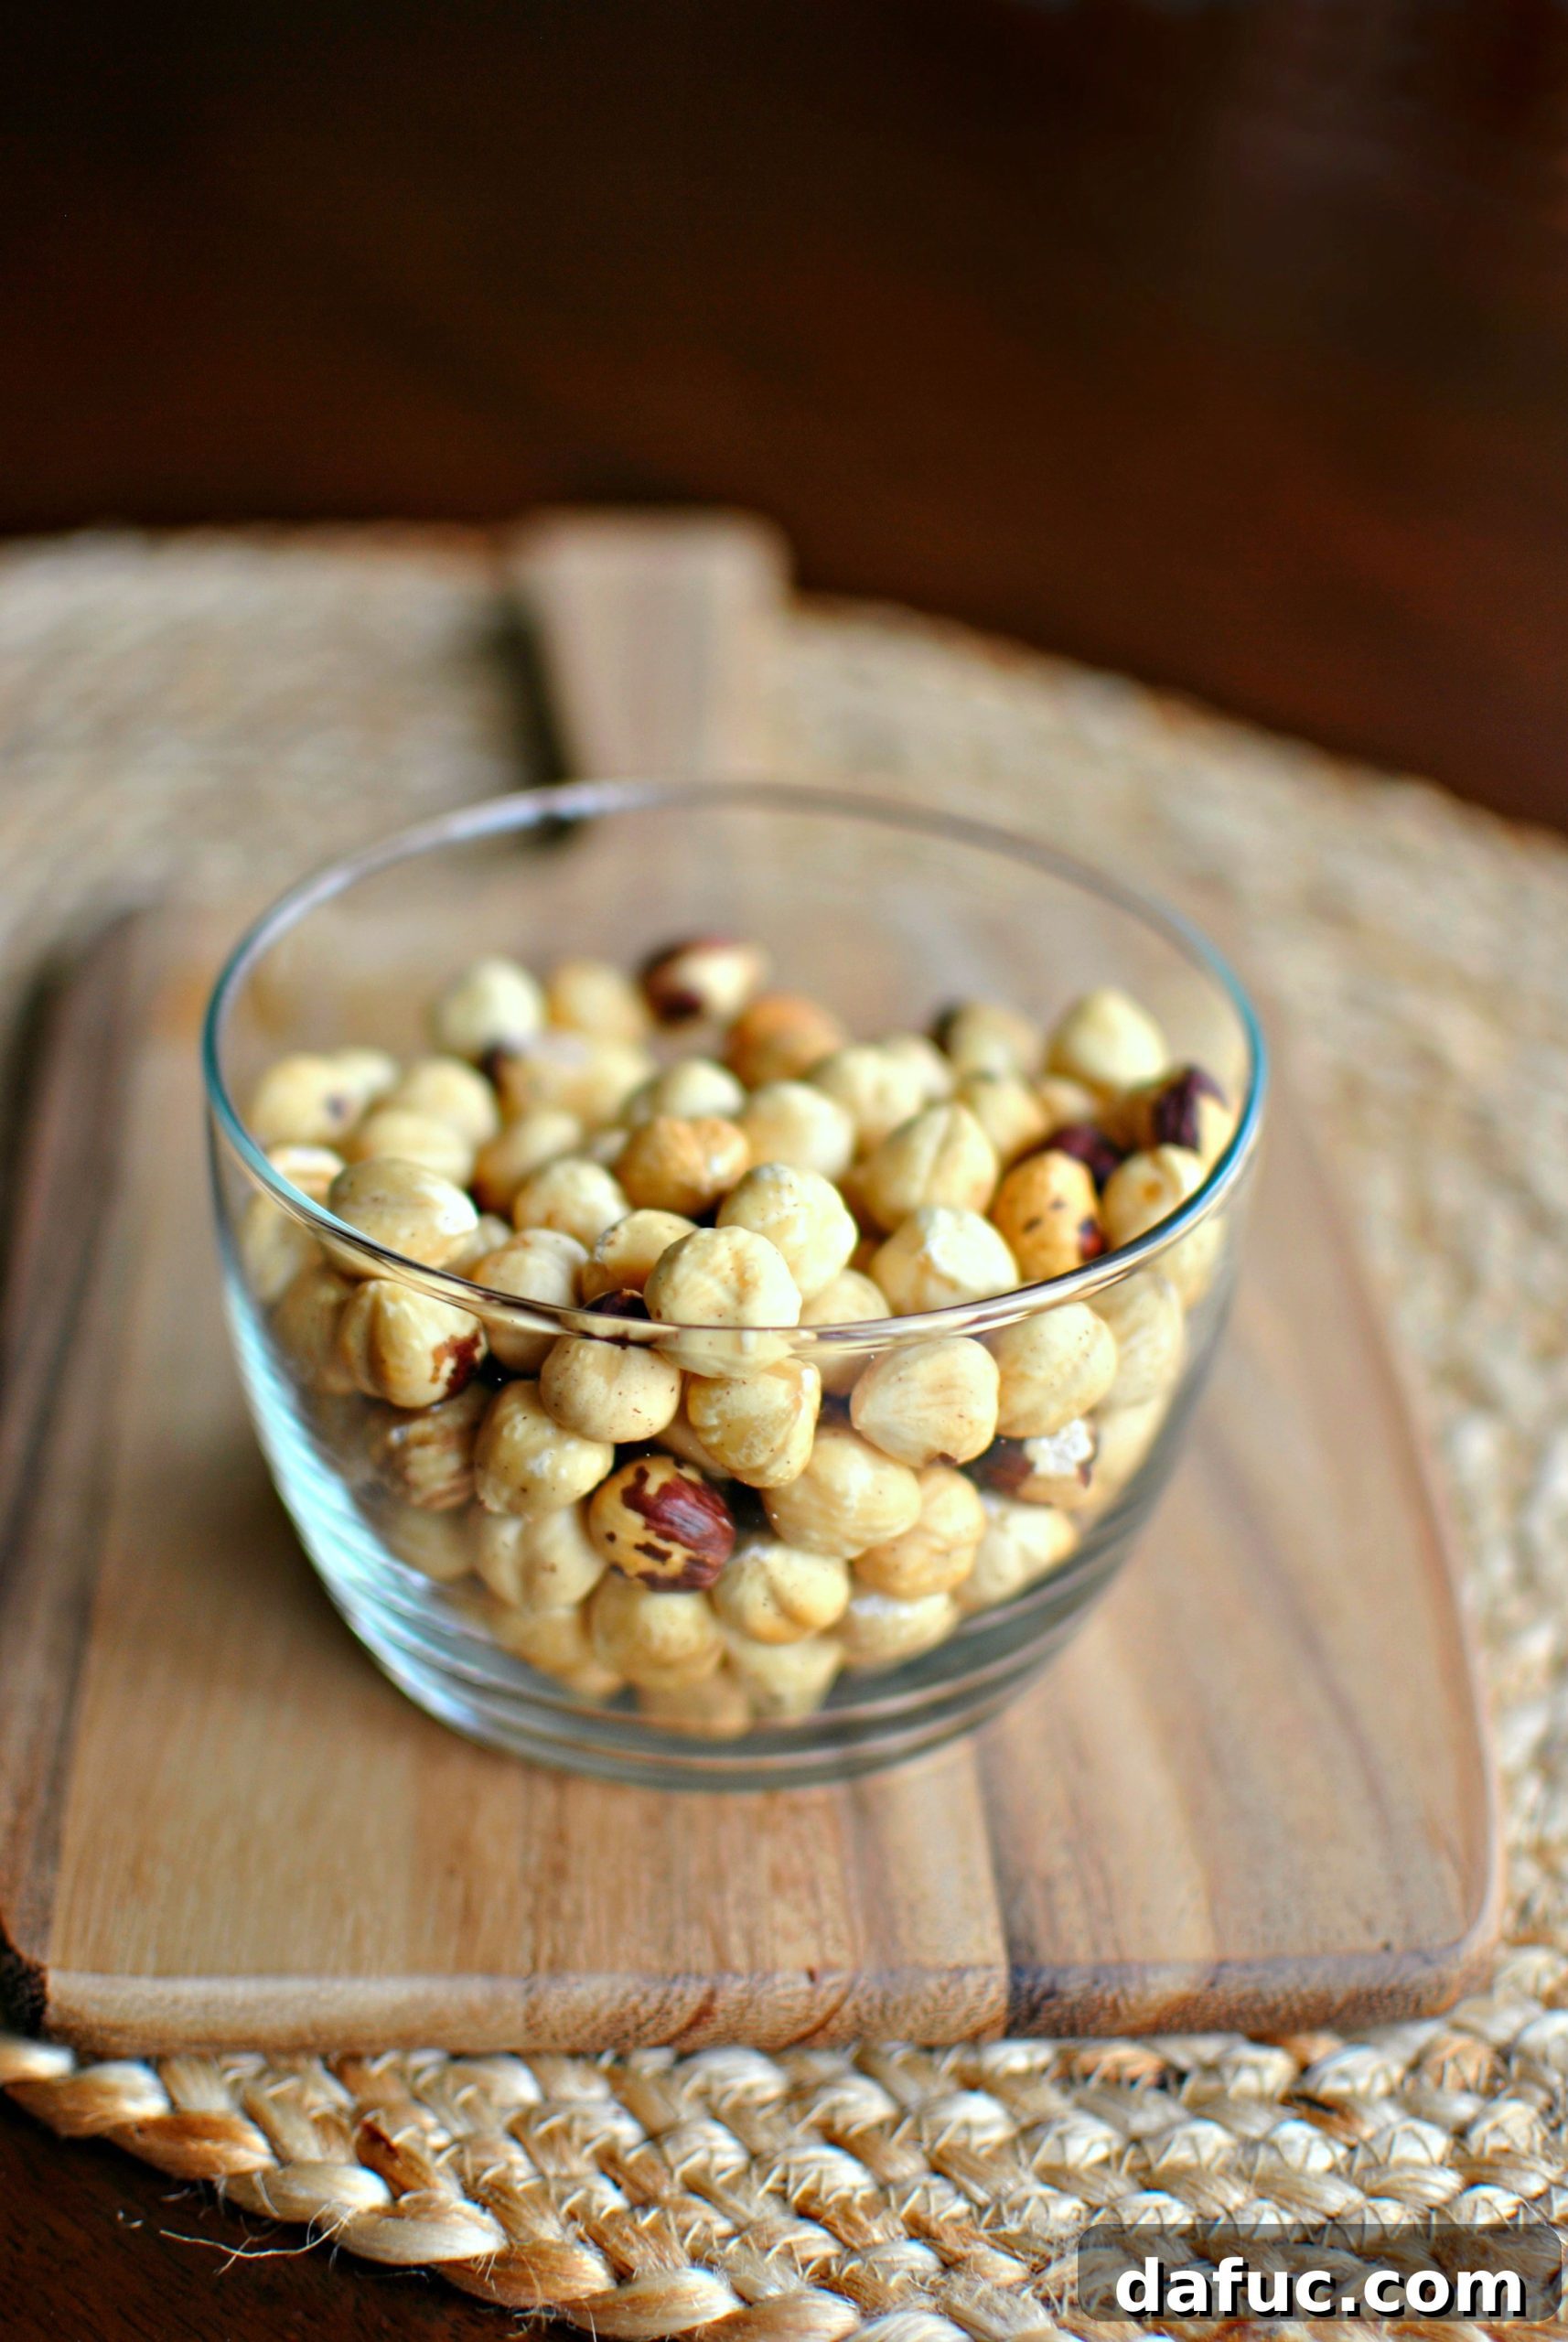
Mastering the Art of Roasting & Skinning Hazelnuts: A Complete Guide
Welcome to the ultimate guide on how to perfectly roast and effortlessly skin hazelnuts! If you’ve ever wondered about transforming plain raw hazelnuts into a deeply flavorful, aromatic ingredient for your culinary creations, you’re in the right place. This comprehensive, step-by-step guide will demystify the entire process, ensuring you achieve beautifully roasted and skin-free hazelnuts every time. Get ready to elevate your baking, cooking, and snacking experiences with this simple yet impactful kitchen skill.
Why Roasting Hazelnuts is a Culinary Game-Changer
Roasting hazelnuts isn’t just a step in preparation; it’s a fundamental transformation that unlocks their true potential. The heat intensifies their inherent sweetness, deepens their nutty flavor, and gives them a wonderfully crisp texture. This process also makes the papery skins much easier to remove, which is crucial for many recipes where a smooth finish and pure hazelnut flavor are desired.
Think about it: have you ever imagined adding a gourmet touch to your cookies, granola, biscotti, or even savory dishes? Freshly roasted hazelnuts are the secret ingredient that will make your creations truly shine. They offer a depth of flavor that un-roasted nuts simply can’t match, changing your perception of this versatile nut forever.
The Nutritional Powerhouse of Hazelnuts
Beyond their incredible taste, hazelnuts are packed with nutritional benefits. They are an excellent source of healthy monounsaturated fats, which are known to be good for heart health. These delightful nuts also provide significant amounts of dietary fiber, promoting digestive wellness. Furthermore, hazelnuts are rich in essential vitamins and minerals, including Vitamin E (a powerful antioxidant), B vitamins, magnesium, copper, and manganese. Incorporating roasted hazelnuts into your diet not only adds exquisite flavor but also a boost of vital nutrients. They’re so delicious, it’s easy to pop them like candy, guilt-free!
Essential Equipment You’ll Need
To embark on your hazelnut roasting journey, you’ll need a few basic kitchen tools. Gathering these beforehand will make the process smooth and efficient:
- Raw Hazelnuts: The star of our show. Ensure they are unshelled (if purchasing with shells) and unblemished.
- Rimmed Baking Sheet: A sturdy baking sheet with a rim will prevent nuts from rolling off and ensure even roasting.
- Clean Kitchen Towel: A robust, clean kitchen towel (preferably lint-free) is absolutely essential for the skinning process.
- Oven: Your primary cooking tool for achieving that perfect toast.
- Spatula or Wooden Spoon (Optional): Useful for tossing the nuts, though shaking the pan works just as well.
- Oven Mitts: For safe handling of the hot pan and nuts.
Step-by-Step Guide: How to Roast and Skin Hazelnuts
Step 1: Preheat Your Oven to Perfection
Begin by preheating your oven to 350°F (175°C). This precise temperature is ideal for gradually toasting the hazelnuts, allowing their flavors to develop without burning. Ensure your oven is fully preheated before placing the nuts inside for consistent results.
Step 2: Prepare the Hazelnuts for Roasting
Carefully pour your desired amount of raw hazelnuts onto a rimmed baking sheet. While the recipe card specifies 8 ounces for nutritional calculations, you can easily adjust the quantity based on your needs. For optimal roasting, spread the hazelnuts out into a single, even layer across the baking sheet. This ensures that each nut receives equal heat exposure, preventing some from burning while others remain under-roasted. Avoid overcrowding the pan, as this can steam the nuts instead of toasting them.
Step 3: Initial Roast and Observation
Once the hazelnuts are evenly spread, place the baking sheet into your preheated oven. Begin by roasting them for an initial 4 minutes. Keep a close eye on them during this stage. After the first 4 minutes, you’ll likely start to observe the skins beginning to crackle and peel. This fascinating process occurs as the moisture within the hazelnut evaporates, causing the kernel to slightly shrink and separate from its thin outer skin. This is a clear indicator that the roasting process is well underway.
Step 4: Agitate and Continue Roasting
After the initial 4 minutes, carefully remove the pan from the oven using oven mitts. It’s crucial to toss or shuffle the nuts around. You can use a spatula or simply shake the baking sheet vigorously to redistribute them. This ensures even roasting on all sides, preventing one side from getting too dark while another remains pale. Return the pan to the oven for another 4 minutes.
Step 5: The Fragrant Finish
Repeat the tossing and roasting step (Step 4) an additional 2 to 3 times. The total roasting time will typically range from 12 to 20 minutes, depending on your oven and the hazelnuts themselves. The key indicators that your hazelnuts are perfectly roasted are their aroma and appearance. They should smell wonderfully nutty and fragrant, filling your kitchen with a delightful scent. Visually, their skins will be significantly crackled and they’ll have a slightly darker, golden-brown hue. Be cautious not to over-roast them, as they can burn quickly, resulting in a bitter taste.
Step 6: The Towel Method for Easy Skin Removal
Immediately after removing the perfectly roasted hazelnuts from the oven, and while they are still hot, carefully pour them into the center of a clean, thick kitchen towel. The residual heat is crucial for loosening the skins even further. Gather the corners and ends of the towel, twisting them together to create a secure bundle. Now comes the fun part: vigorously shake and rub the bundle of nuts within the towel. The friction generated by the hazelnuts rubbing against each other and the coarse texture of the towel will effectively strip away their skins. Don’t be shy; a good amount of effort here will yield the best results. You’ll hear the skins crackle and separate, and feel them shedding inside the towel.
Step 7: Separate and Enjoy Your Perfect Hazelnuts
After a good minute or two of vigorous shaking, unwrap the towel. You’ll be amazed at how easily the skins have detached! Most of them will remain in the towel, along with a fine “skin-dust.” Simply handpick the clean, skinless hazelnuts out of the towel. Don’t worry if a few stubborn specks of skin remain; they are harmless and won’t significantly impact the taste or texture. Discard the flaky skins unless you have a specific culinary use for them (some people use them for flavoring stocks or compost). And just like that, you have perfectly roasted and skinned hazelnuts, ready to be incorporated into your favorite dishes or enjoyed as a delicious, healthy snack.
Creative Uses for Your Freshly Roasted Hazelnuts
Now that you have a batch of these delectable, skinless wonders, the culinary possibilities are endless! Here are some ideas to inspire you:
- Baking: Fold them into chocolate chip cookies, brownies, muffins, or use them as a crunchy topping for cakes and tarts. They are superb in biscotti, adding a robust nutty flavor.
- Desserts: Garnish ice cream, yogurt parfaits, or fruit salads. Make homemade hazelnut butter or praline for an irresistible treat.
- Breakfast: Sprinkle over oatmeal, cereal, or homemade granola for added texture and nutrients.
- Savory Dishes: Don’t limit yourself to sweet! Roasted hazelnuts are fantastic in salads, especially those with goat cheese and berries. They can also be a unique crust for fish or chicken, or finely chopped and added to pilafs and couscous.
- Snacking: Enjoy them plain as a healthy and satisfying snack.
- Nut Spreads: Make your own rich, creamy hazelnut spread (like a homemade Nutella) by blending them with cocoa powder and a sweetener.
Proper Storage for Maximum Freshness
Proper storage is key to maintaining the exquisite flavor and crunch of your freshly roasted hazelnuts. Exposure to air, light, and heat can cause nuts to go rancid quickly due to their high oil content.
Shelled vs. Unshelled Hazelnuts
While you’ve just skinned your hazelnuts, it’s worth noting that unshelled hazelnuts generally have a longer shelf life as their shells provide natural protection. However, once roasted and shelled, they become more vulnerable.
Pantry, Refrigerator, and Freezer Options
- Pantry Storage: If you plan to use them within a few weeks, store your shelled, roasted hazelnuts in an airtight container in a cool, dark pantry. They can keep for up to 6 months this way, though their peak freshness is best within 2-3 months.
- Refrigerator Storage: For extended freshness, keep them in an airtight container in the refrigerator. This can prolong their shelf life significantly, up to 1 year. The cool temperature slows down the oxidation of their natural oils.
- Freezer Storage: For the longest possible storage, transfer them to a freezer-safe, resealable bag. Squeeze out as much air as possible before sealing. Frozen roasted hazelnuts can last for up to 2 years without losing their quality. When ready to use, simply take out the desired amount; they thaw quickly at room temperature.
Always check for any off-smells or bitter tastes before using stored nuts, as these are signs of rancidity.
Enjoy! This simple method for roasting and skinning hazelnuts will quickly become a favorite in your kitchen. There’s truly nothing like the flavor of freshly prepared nuts. If you try this method, we’d love to see your creations! Snap a photo and tag us on Twitter or Instagram!
Print Recipe
Pin Recipe
Leave a Review »
How To Roast and Remove Skin from Hazelnuts
Ingredients
- 8 ounces hazelnuts, or as needed
Equipment
-
Nordic Ware Natural Aluminum Commercial Baker’s Half Sheet (2 Pack), Silver
Instructions
-
Preheat your oven to 350°F (175°C).
-
Pour the desired amount of hazelnuts onto a rimmed sheet pan, spreading them out evenly in a single layer. (While 8 ounces is noted for nutritional purposes, adjust quantity as needed.)
Place the pan in the preheated oven and roast for 4 minutes.
-
After the initial 4 minutes, observe the hazelnut skins beginning to crackle and peel.
-
Carefully remove the pan, toss the hazelnuts to redistribute them, and return to the oven for another 4 minutes.
-
Repeat the tossing and roasting step 2 to 3 more times until the hazelnuts are deeply fragrant and visibly toasted. Total roasting time will be approximately 12-20 minutes.
-
Immediately transfer the hot roasted hazelnuts into the center of a clean kitchen towel.
-
Gather the ends of the towel, twist them together securely, and vigorously rub and shake the hazelnuts inside. The friction will cause the skins to loosen and rub off.
-
Unwrap the towel and handpick the skinless hazelnuts, discarding the flaky skins.
-
Use immediately or store in an airtight container. Pantry: up to 6 months. Refrigerator: up to 1 year. Freezer: up to 2 years.
[This post contains affiliate links.]