
Master the Art of Baking: Your Essential Guide to Perfectly Lining a Cake Pan with Parchment Paper
Baking a cake can be one of life’s most rewarding culinary experiences, but nothing is quite as disheartening as a delicious cake that refuses to release cleanly from its pan. Achieving that flawless, professional-looking finish starts with a crucial yet often overlooked step: properly lining your cake pan. This comprehensive guide will walk you through an easy, effortless method to line any standard cake pan with parchment paper, ensuring your creations never stick again. Say goodbye to broken cakes and hello to perfect presentation every single time!
Why Lining Your Cake Pan is Non-Negotiable for Bakers
Whether you’re celebrating a milestone birthday, an anniversary, or simply whipping up a delightful two-tier strawberry shortcake because it’s summer, the ultimate goal is a beautifully baked cake that comes out of the pan effortlessly. While greasing and flouring are standard practices, a parchment paper liner provides an additional, almost foolproof, barrier against sticking. This simple technique offers a multitude of benefits:
- Flawless Release: The primary advantage is guaranteeing that the bottom of your cake will never stick, preserving its integrity and presentation.
- Even Baking: Parchment paper can help distribute heat more evenly, preventing over-browning on the bottom crust.
- Easy Cleanup: A lined pan means less batter residue directly on the metal, making washing up significantly easier.
- Professional Finish: A perfectly flat, unmarred cake bottom is the foundation for elegant layering and decorating.
- Versatility: This method is adaptable to various pan sizes and shapes, ensuring consistency across all your baking projects.
Once you adopt this “how-to,” you’ll wonder how you ever baked a cake without it. It’s a game-changer for both novice and experienced bakers alike, transforming a potentially stressful part of baking into a simple, confidence-boosting step.
Essential Tools for Lining Your Cake Pan
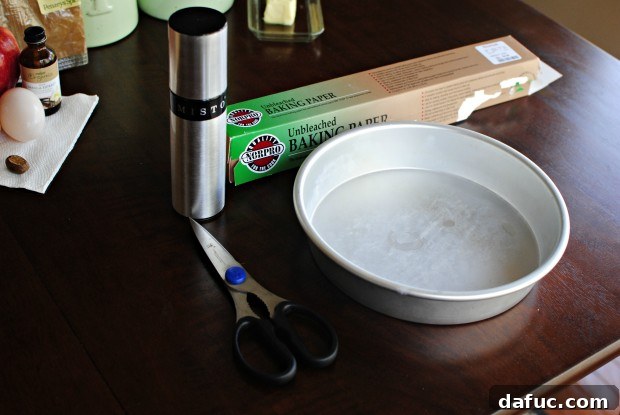
The beauty of this technique lies in its simplicity and the minimal tools required. Before you begin, gather these everyday kitchen items:
- Parchment Paper: This is the star of our show. Parchment paper is heat-resistant and non-stick, making it ideal for baking. While wax paper can be used for tracing and some cold applications, it’s generally not recommended for direct contact with high heat in the oven as it can melt or smoke. Always opt for parchment paper for baking.
- Cake Pan: The pan you intend to use for your cake. This method works for any size or shape!
- Pencil or Pen: For tracing the outline of your cake pan.
- Scissors: Sharp kitchen scissors will make cutting out your perfect circle or shape a breeze.
- Optional: Non-stick baking spray or butter and flour for greasing the pan (even with parchment, a little extra security never hurts!).
This straightforward approach ensures that anyone can achieve beautifully lined pans with confidence, setting the stage for baking success.
Step-by-Step Guide: How to Perfectly Line a Round Cake Pan
This method is incredibly simple and effective. Follow these steps to create a custom parchment paper liner for any round cake pan. For square or rectangular pans, you can simply measure and cut a rectangle of parchment paper to fit the bottom, ensuring it’s slightly smaller than the base so it lies flat.
Step 1: Prepare Your Workspace and Lay Out Parchment Paper
Begin by clearing a clean, flat surface on your kitchen counter or table. Unroll a generous sheet of parchment paper, ensuring it’s large enough to comfortably fit the base of your cake pan with some room around the edges. Lay the paper flat and smooth out any wrinkles.
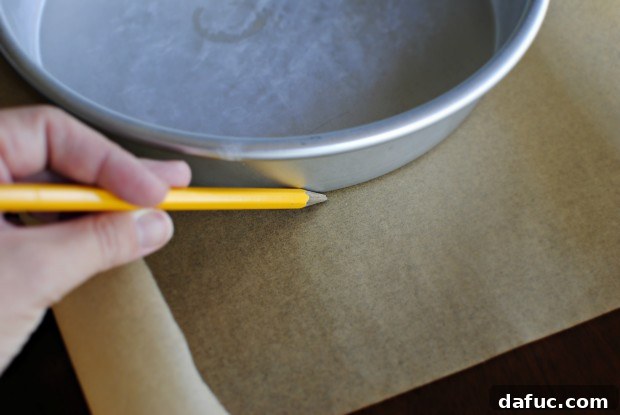
Step 2: Position Your Cake Pan and Trace the Base
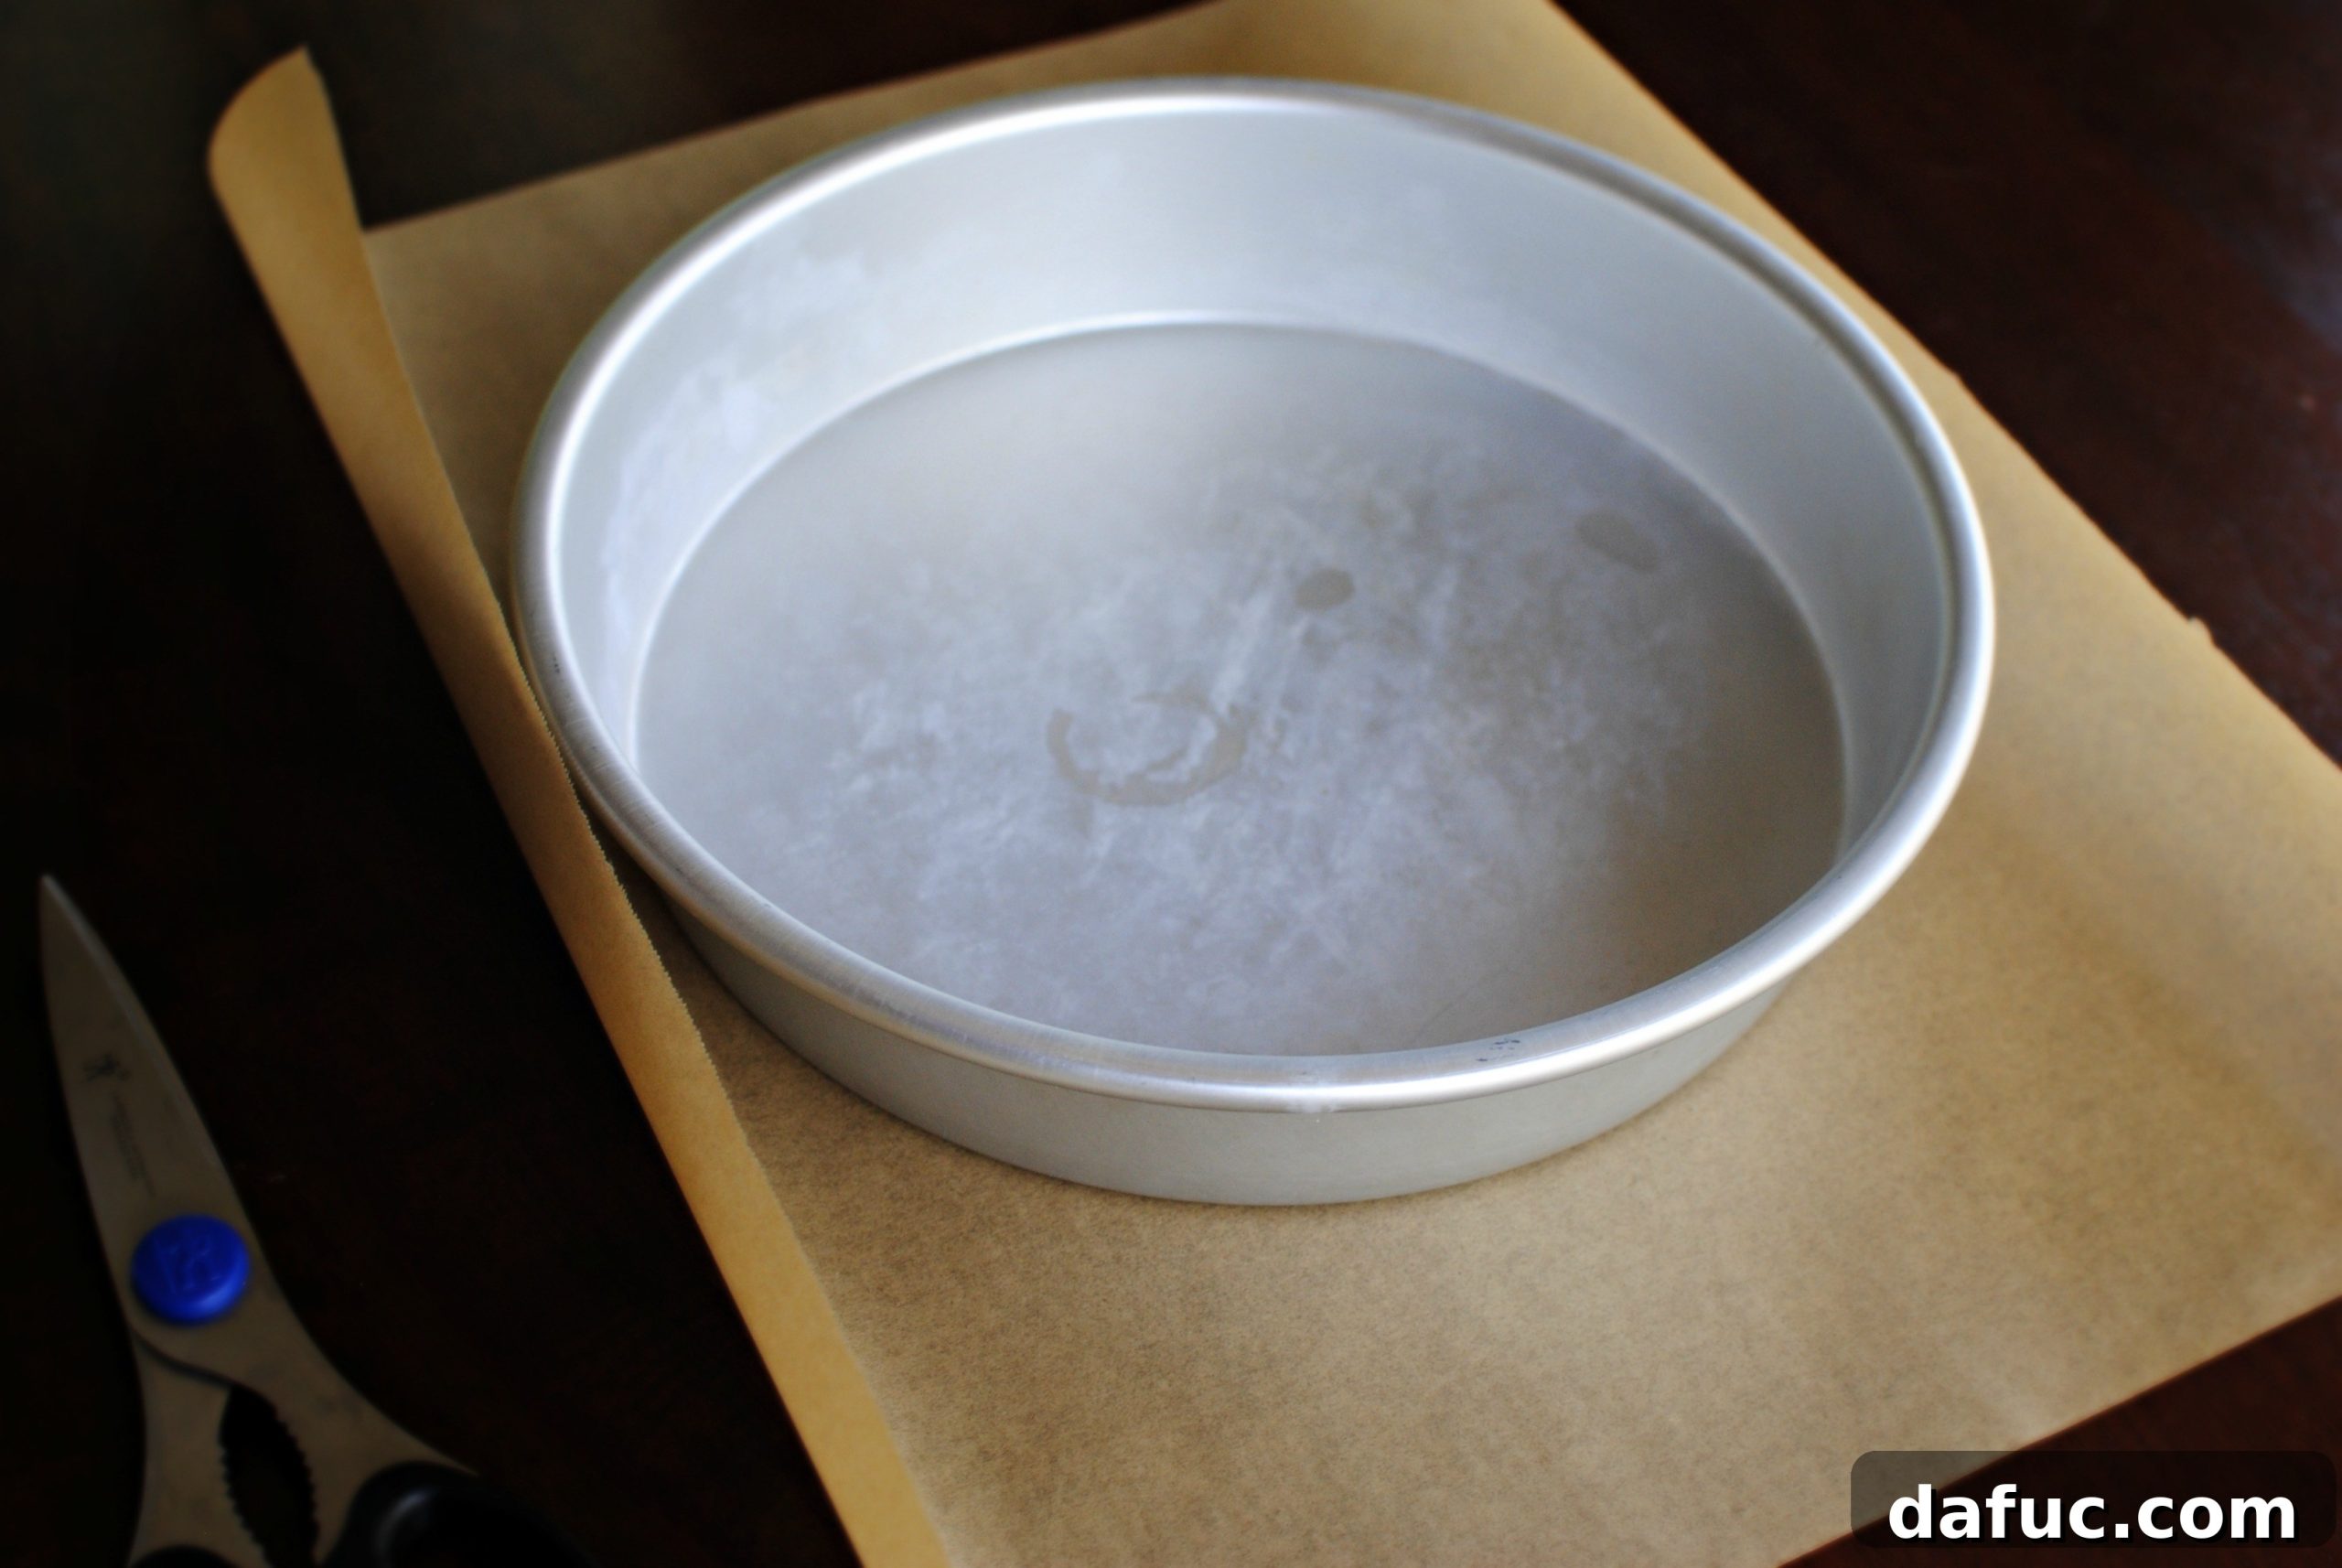
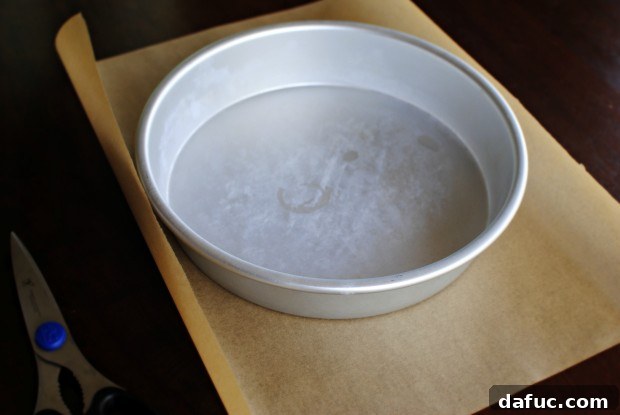
Carefully place your cake pan directly in the center of the parchment paper. This ensures you have ample paper for tracing and cutting. Using your pencil or pen, firmly trace around the entire outer edge of the cake pan’s bottom. Try to keep the pencil as vertical as possible against the pan to get an accurate outline. This outline will serve as your guide for cutting.
Step 3: Fold the Parchment Paper for Precise Cutting
Remove the cake pan from the paper. Now, you have a perfect circle traced. To make cutting easier and more precise, gently fold the parchment paper in half, aligning the edges of your traced circle as closely as possible. For even greater precision, especially with larger circles, you can fold it in half again, creating a quarter circle. Some bakers even fold it into an eighth, like a pizza slice, for a very sharp cut.
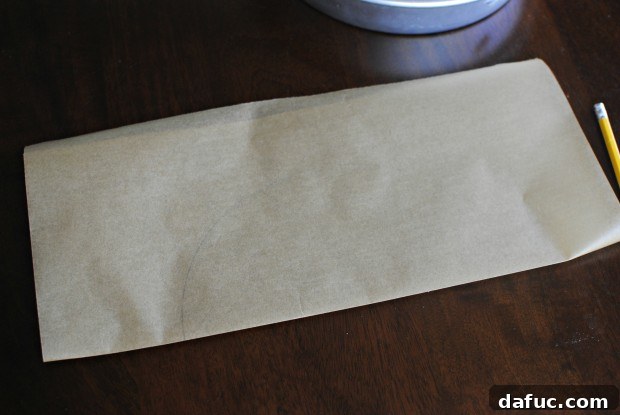
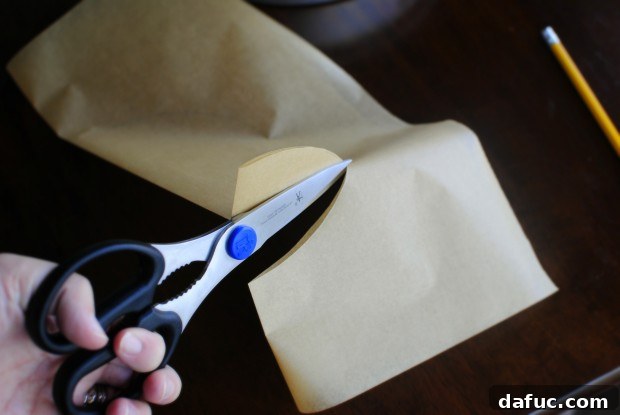
Step 4: Cut Just Inside the Pencil Line
With the paper folded, take your scissors and carefully cut just inside the pencil line. The key here is to cut slightly *within* the traced circle, rather than directly on it or outside it. This small adjustment ensures that your parchment paper disk will fit snugly into the bottom of the pan without any overlapping edges or curling upwards. A clean, tight fit is crucial for a smooth cake bottom.
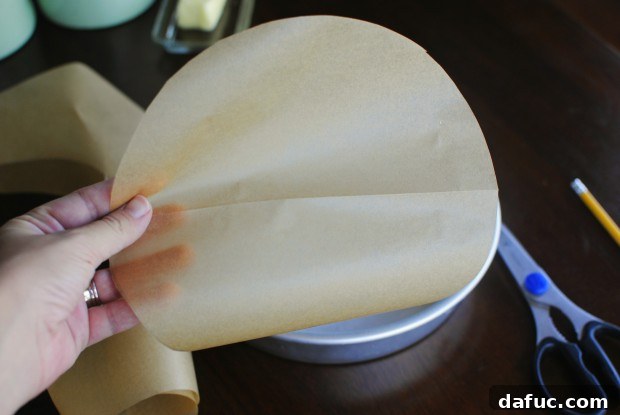
Step 5: Unfold and Test Your Perfect Parchment Circle
Once you’ve made your cut, unfold the parchment paper. You should now have a perfectly shaped circle (or square/rectangle if you’re using a different pan shape), ready to be placed in your pan. For a standard 9-inch cake pan, you will now have a precisely cut 9-inch parchment paper disk!
Step 6: Prepare the Pan and Insert the Liner
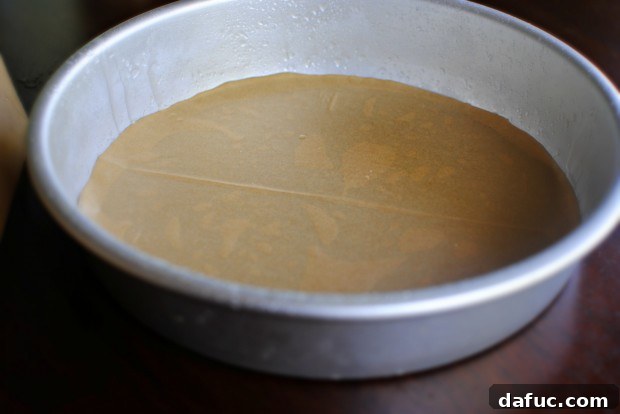
Before placing the parchment circle, it’s a good practice to lightly grease the bottom of your cake pan with butter, shortening, or non-stick baking spray. This acts as an adhesive, helping the parchment paper stay flat and in place. Then, gently press your freshly cut parchment paper disk into the bottom of the pan, ensuring it lies completely flat against the greased surface. If baking a very delicate cake, you can even lightly grease and flour *on top* of the parchment paper for maximum non-stick security.
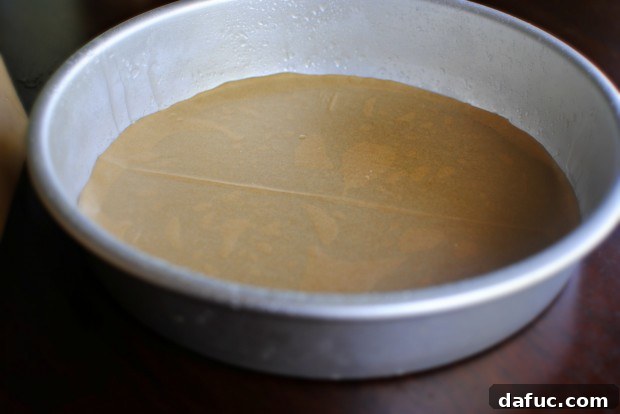
Your pan is now perfectly prepared, creating an unbeatable non-stick surface that guarantees a clean release every time. This simple step will help you out big time, ensuring the bottoms of your cakes won’t stick, providing a smooth foundation for frosting and decorating. It’s an indispensable baking hack that elevates your results from homemade to professional.
Advanced Tips for Cake Pan Lining Success
- For High Sides: For taller cakes or very delicate batters, consider cutting a long strip of parchment paper to line the sides of the pan as well. Grease the sides, press the strip in, then place your bottom circle.
- Batch Prep: If you frequently bake with the same size pans, cut multiple parchment circles in advance and store them in a zip-top bag or container. This saves time during your next baking session.
- Alternative Shapes: For square or rectangular pans, simply measure the base and cut a corresponding piece of parchment. For more complex shapes, you can still trace and cut, just be mindful of corners.
- Wax Paper vs. Parchment Paper: As mentioned, always use parchment paper for baking. Wax paper, while useful for tracing, chilling, or separating candies, is coated with wax and can melt or burn at high oven temperatures.
- Grease and Flour: Even with parchment, a light coating of baking spray or butter and flour around the sides of the pan and lightly on top of the parchment paper ensures the entire cake releases perfectly, especially the edges.
Mastering this simple technique will significantly improve your baking confidence and the consistency of your results. No more stuck cakes, no more ruined presentations – just perfectly baked, easily released masterpieces every time.
Explore More Baking Delights: Simply Scratch Cake Recipes
Now that your cake pan is perfectly lined and ready for action, it’s time to choose your next baking adventure! Here are some delightful cake recipes from Simply Scratch that are sure to impress:
- Rhubarb Almond Cake: A delightful balance of tart rhubarb and sweet almond notes, perfect for spring and summer.
- Strawberry Shortcake Cake: A classic favorite, reimagined as a lush cake with layers of fresh strawberries and cream.
- Clementine Cake: Bright, citrusy, and incredibly moist, a refreshing treat for any occasion.
- Homemade White Cake with Buttercream Frosting: The quintessential celebration cake, light, fluffy, and universally loved.
- Chocolate Guinness Cake: Rich, dark, and wonderfully moist with a hint of stout, often topped with cream cheese frosting.
- Pumpkin Coffee Cake: A cozy and flavorful cake, perfect for autumn mornings or afternoon tea.
- Homemade Chocolate Cake with Chocolate Almond Frosting: A decadent double chocolate delight for serious chocolate lovers.
- Homemade Carrot Cake: Spiced, moist, and often packed with nuts and raisins, topped with tangy cream cheese frosting.
- Yellow Cake with Whipped Chocolate Frosting: A nostalgic classic, offering a tender crumb and a cloud of chocolatey sweetness.
- Honey Butter Blackberry Lemon Polenta Cake: An intriguing blend of textures and flavors, combining fruity, citrusy, and earthy notes.
- Classic Red Velvet Cake: Famous for its vibrant color and subtle cocoa flavor, traditionally paired with cream cheese frosting.
- Apple Cinnamon Cake: A comforting cake bursting with the warmth of apples and cinnamon, perfect for any season.
- Martha’s Rhubarb Upside Down Cake: A beautiful and tangy upside-down cake featuring the unique flavor of rhubarb.
- Chocolatey Chocolate Cake with Chocolate Buttercream Frosting: For the ultimate chocolate indulgence, a rich cake smothered in creamy frosting.
- Carrot Coconut Cake: A tropical twist on a beloved classic, combining the earthiness of carrot with the sweetness of coconut.
- Coconut Lime Cake: A refreshing and zesty cake that transports you to a sunny paradise with every bite.
Elevate Your Skills with More How-To Guides!
Beyond perfectly lined cake pans, there’s a world of kitchen basics and culinary techniques waiting to be explored. Enhance your baking and cooking repertoire with more expert tips and tricks. For a treasure trove of helpful guides, simply Click Here and continue your journey to becoming a kitchen pro!
Enjoy your baking adventures! We love seeing your culinary creations. If you give this tutorial on How To Line A Cake Pan a try, make sure to let us know! Snap a photo of your perfectly released cakes and tag us on Twitter or Instagram. Happy baking!