
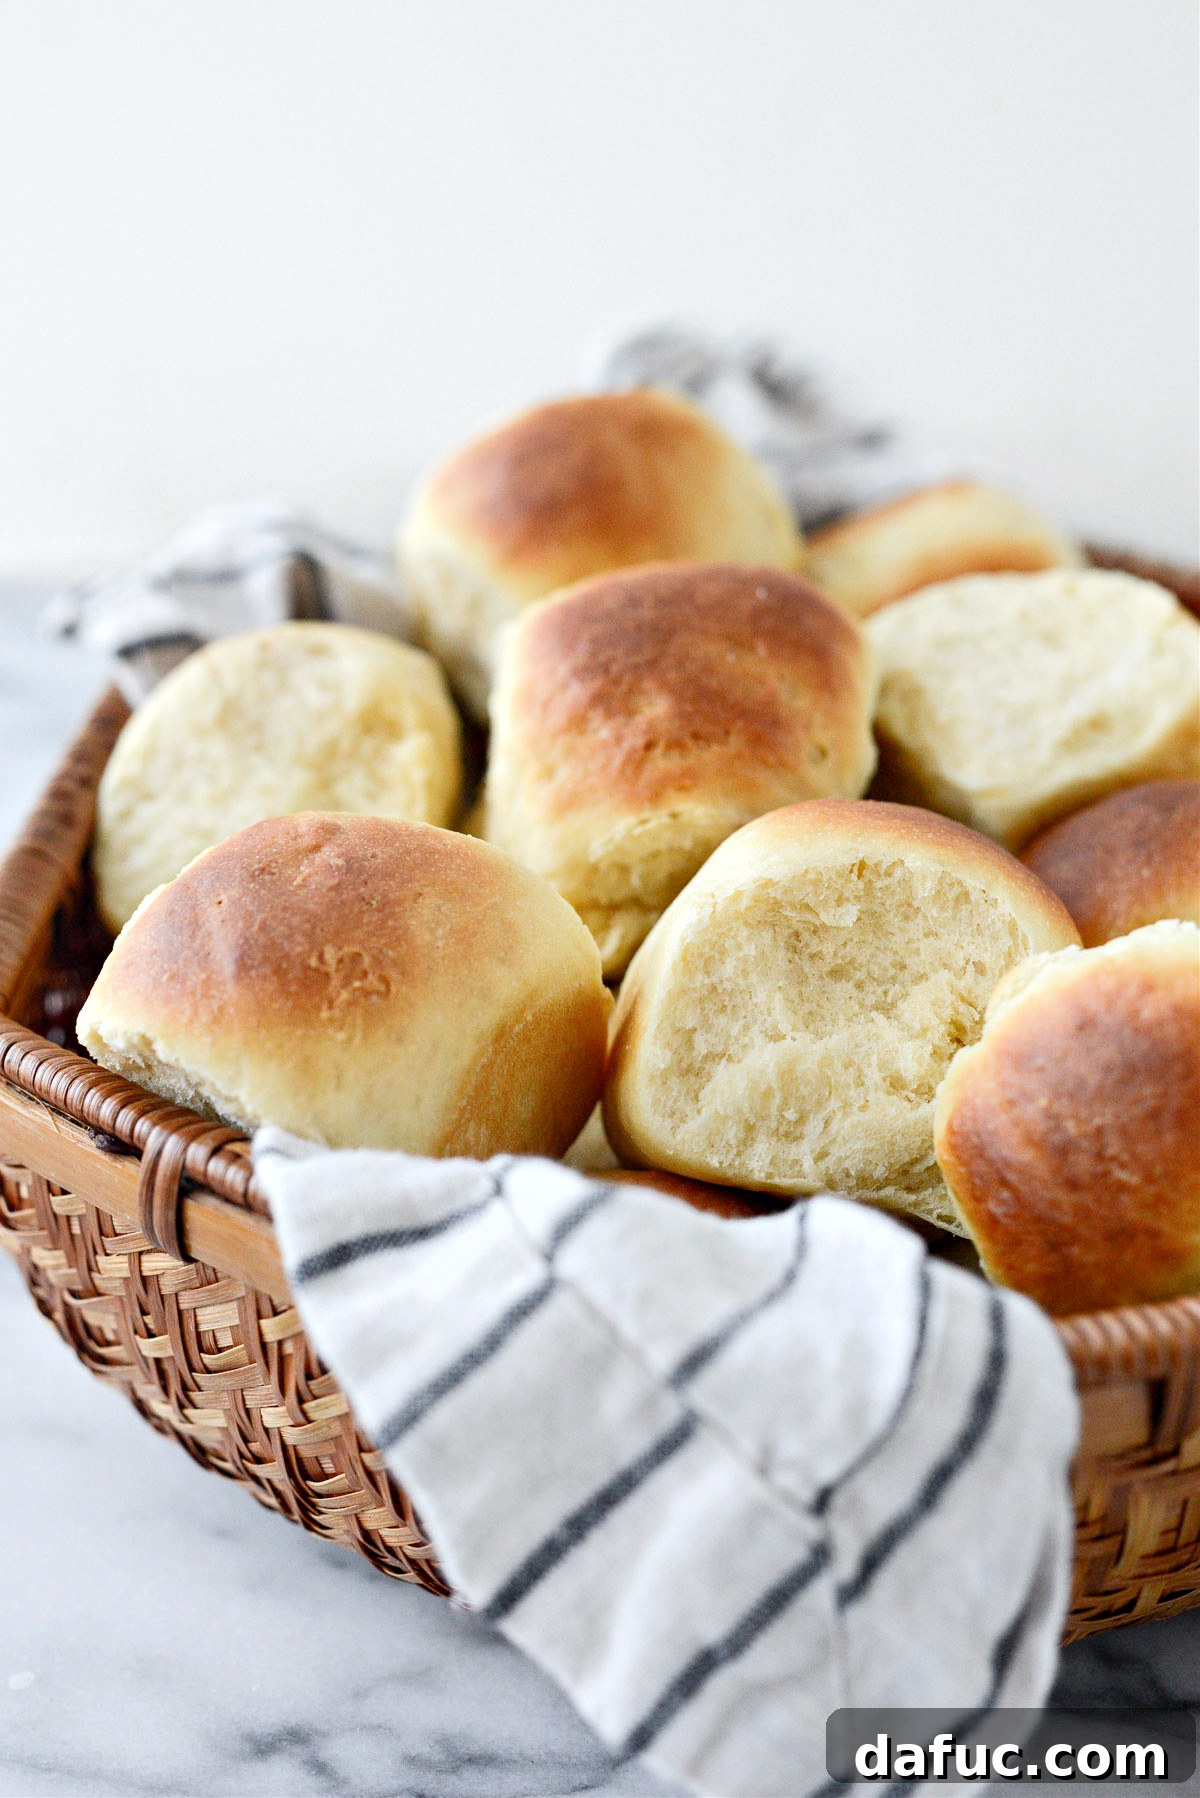
Perfectly Soft and Fluffy Homemade Dinner Rolls: Your Ultimate Guide
There’s something uniquely comforting and irresistibly delicious about a basket of warm, freshly baked dinner rolls. Their soft, tender crumb and subtly sweet flavor make them a staple on any table, whether for a casual weeknight meal or a festive holiday feast. These easy homemade dinner rolls are designed to be effortlessly pull-apart, yielding 24 perfect servings that are sure to impress without overwhelming your schedule.
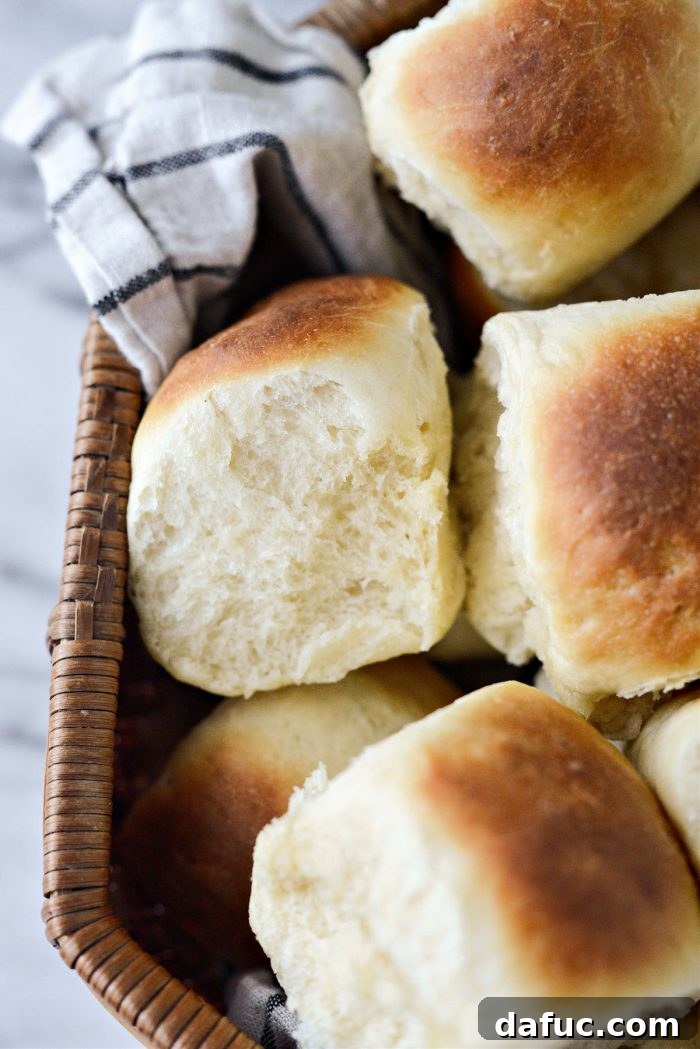
The Enduring Allure of a Warm Dinner Roll
For many, dinner rolls are more than just a side dish; they are a cherished culinary experience, evoking memories of family gatherings and cozy meals. What’s not to love? They are the quintessential vessel for soaking up rich gravy, generously slathering with butter, or crafting miniature sandwiches from leftover holiday turkey. The simplicity and versatility of a good roll are unmatched, transforming an ordinary meal into something truly special.
My personal fondness for dinner rolls runs deep, stemming from a lifelong tradition of enjoying them – perhaps a little too enthusiastically! I confess, in my younger days, I was known for stockpiling a small “wreath” of rolls around my dinner plate, ensuring an ample supply for myself. While my approach to roll consumption has matured (mostly!), the tradition of recounting those festive moments still brings a smile to my family’s faces during holiday meals. It’s a testament to how these humble baked goods weave themselves into our most treasured memories.
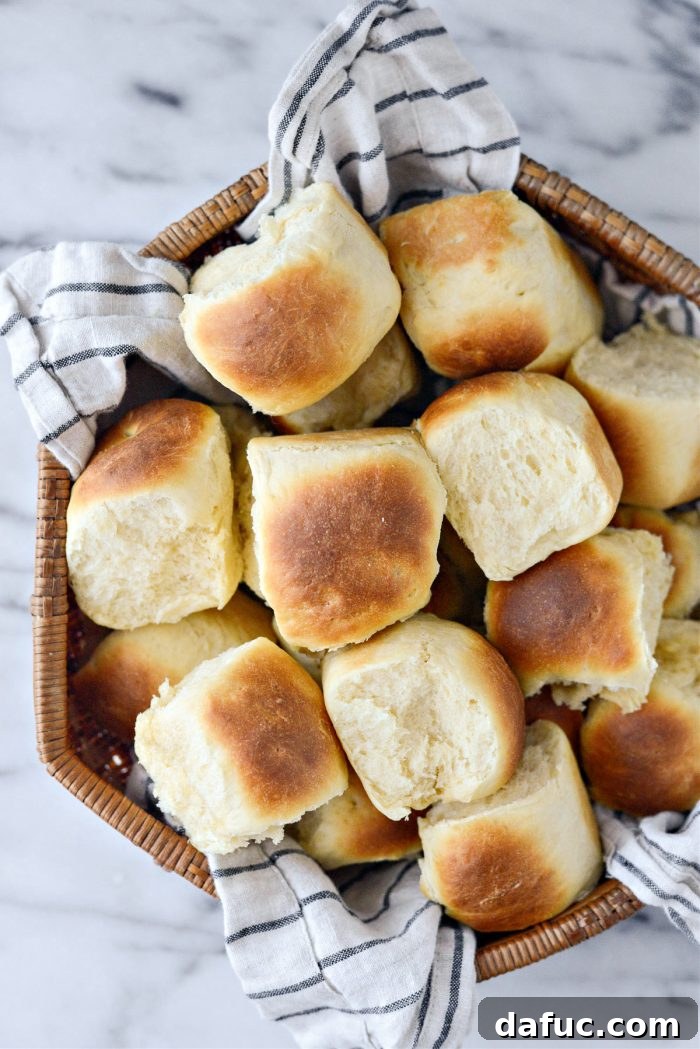
With the holiday season often sparking a desire for comforting homemade treats, I’m thrilled to share one of my all-time favorite recipes for these soft, slightly sweet, and wonderfully yeasty dinner rolls. This recipe is straightforward, making it accessible for bakers of all skill levels, and the results are consistently outstanding.
Essential Ingredients for Perfect Homemade Dinner Rolls
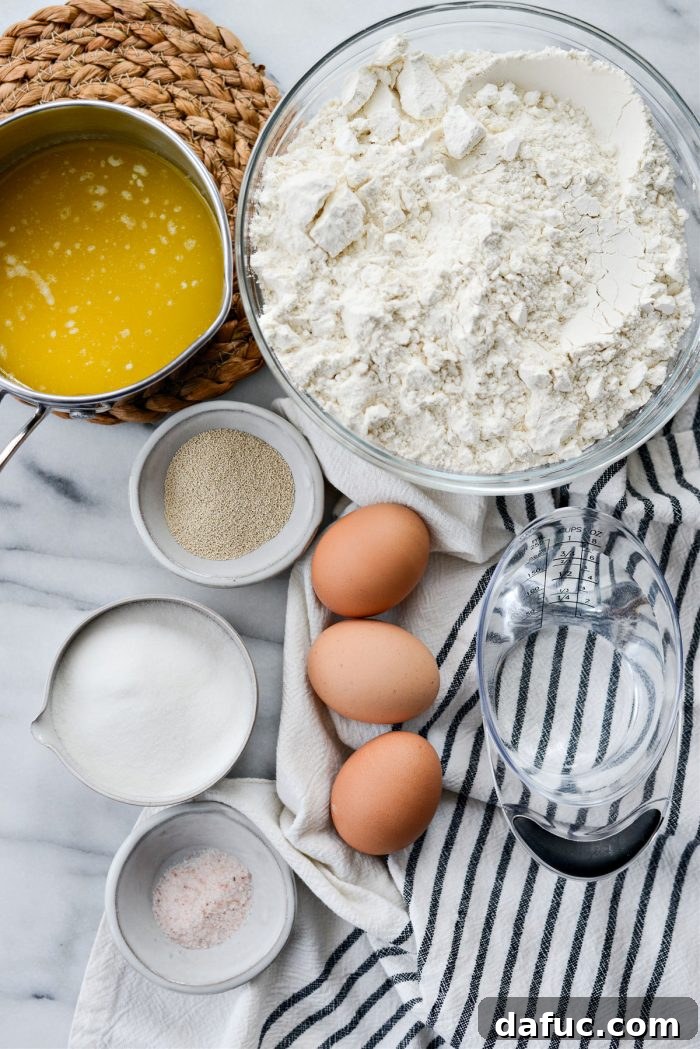
Crafting the perfect dinner roll starts with understanding the role each ingredient plays. This recipe calls for a simple list of pantry staples, each contributing to the rolls’ ultimate flavor and texture:
- Warm Water: Crucial for activating the yeast. Aim for a temperature between 95°F and 100°F (35°C-38°C). A kitchen thermometer is ideal for accuracy; water that’s too hot can kill the yeast, while water that’s too cold won’t activate it sufficiently.
- Active Dry Yeast: The leavening agent that gives the rolls their light, airy structure. Ensure your yeast is active and not expired for optimal rise.
- Unsalted Butter (Melted): Adds richness, moisture, and a tender crumb to the rolls. Melting it and allowing it to cool slightly ensures it incorporates smoothly without cooking the eggs.
- Granulated Sugar (White Sugar): Provides sweetness and serves as food for the yeast, which in turn helps achieve a soft, moist, and tender texture. It also aids in browning.
- Eggs: Contribute to the rolls’ richness, flavor, and color. They also help create a softer, fluffier texture and a slightly more golden crust.
- Fine Salt: Essential for enhancing flavor and balancing the sweetness. It also acts as a yeast inhibitor, controlling the fermentation process to prevent the yeast from consuming all the sugar too quickly. Fine sea salt or pink Himalayan salt are excellent choices.
- Unbleached Bread Flour: The preferred choice for a chewier, more structured dinner roll due to its higher protein content. If unbleached all-purpose flour is substituted, the rolls will still be delicious but may have a slightly different, less chewy texture.
Step-by-Step Instructions for Irresistible Dinner Rolls
1. Activate the Yeast
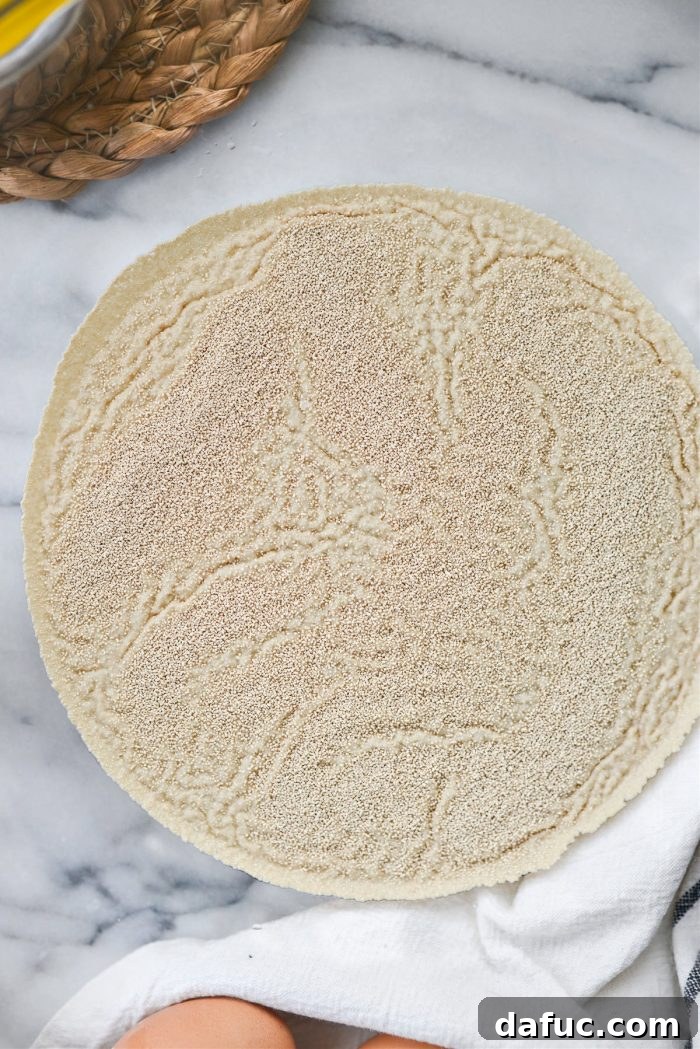
Begin by pouring 1 cup of warm water (between 95°F and 100°F or 35°C-38°C) into a large mixing bowl. Immediately sprinkle 4½ teaspoons of active dry yeast (or the contents of two 0.25-ounce packets) over the warm water. Let the mixture sit undisturbed for about 5 minutes. This process, known as “blooming,” allows the yeast to activate and ensures it’s alive and ready to make your rolls rise beautifully. You’ll see a foamy layer form on the surface, indicating the yeast is active.
2. Prepare the Dry Ingredients
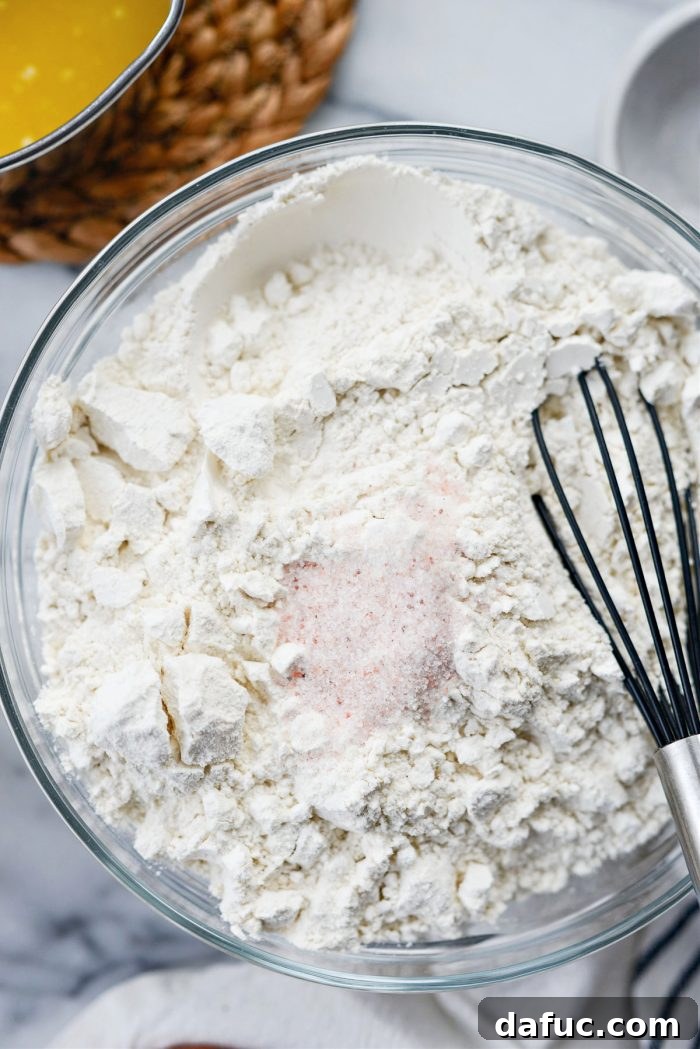
While your yeast is blooming, in a separate bowl, combine 4¼ cups of unbleached bread flour with 1 teaspoon of fine salt. Whisk these dry ingredients together thoroughly to ensure the salt is evenly distributed throughout the flour. This prevents pockets of overly salty dough and helps the salt act as an effective yeast inhibitor.
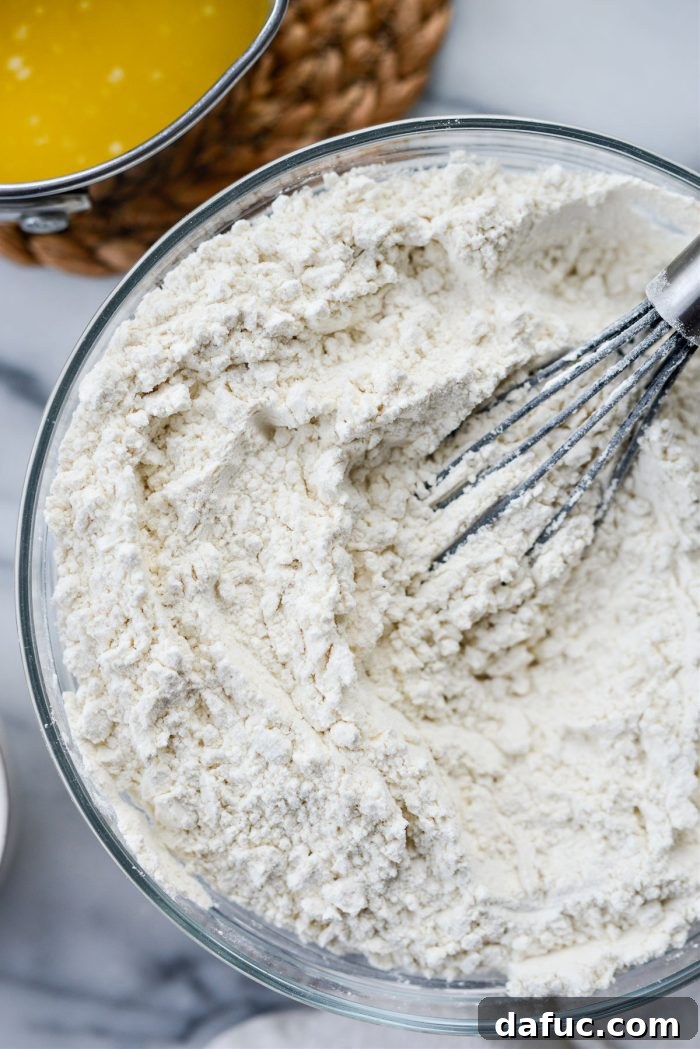
Whisk the flour and salt until well combined.
3. Combine Wet Ingredients
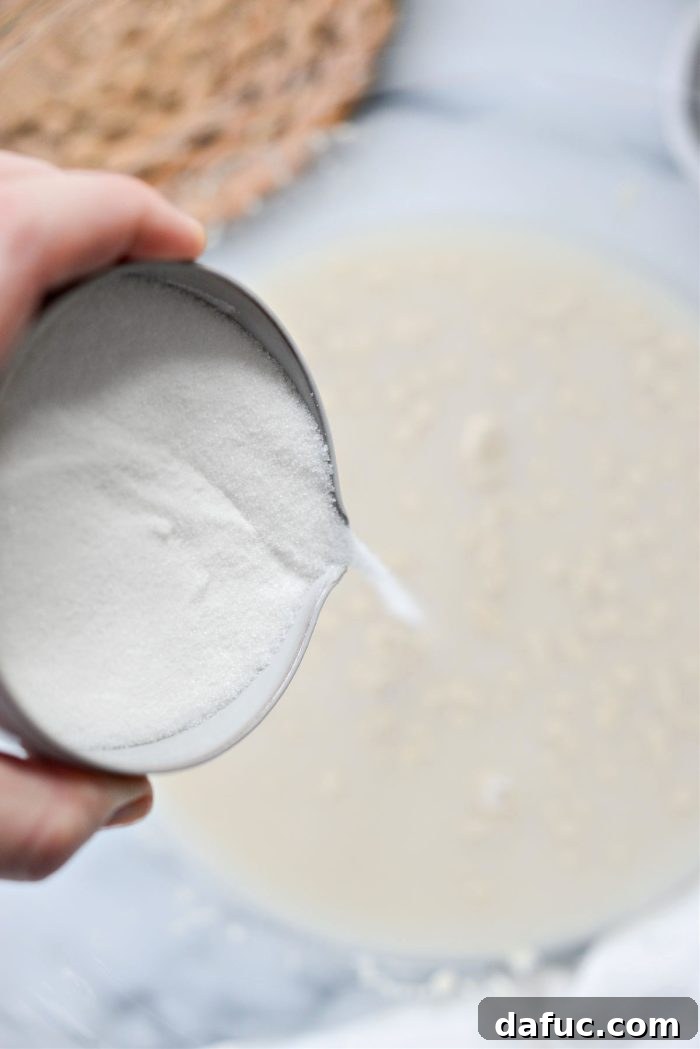
Once your yeast has bloomed and created a frothy surface, add ½ cup of granulated white sugar to the yeast mixture. This provides immediate food for the yeast.
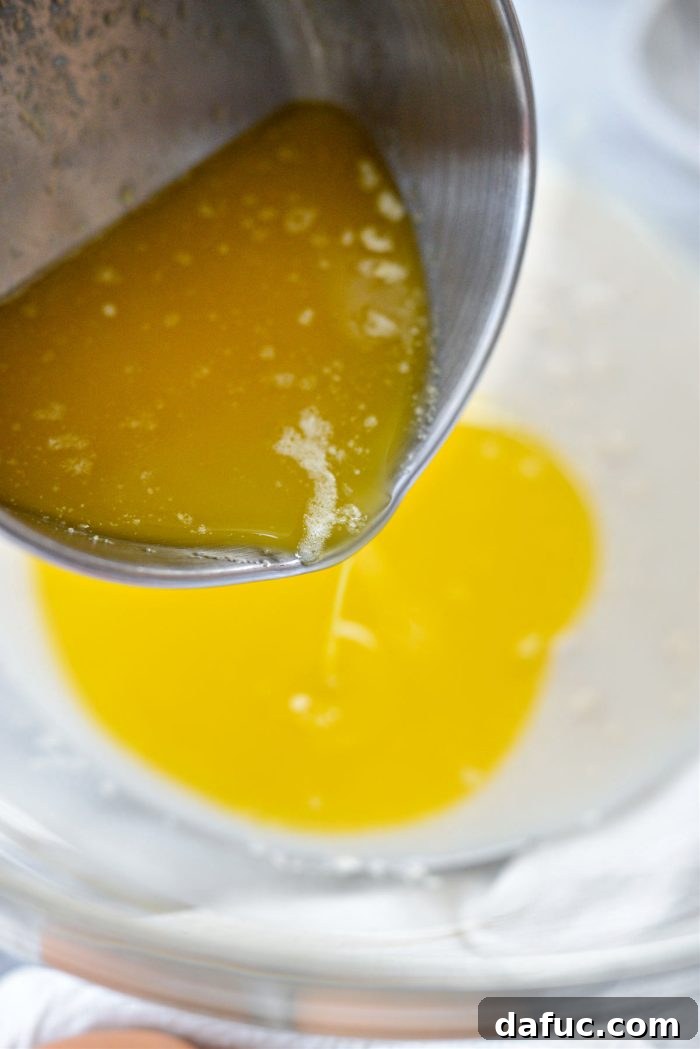
Next, pour in 1 stick (½ cup) of melted unsalted butter. It’s crucial that the butter is melted and slightly cooled, not hot. Hot butter could prematurely cook the eggs you’re about to add, affecting the dough’s texture.
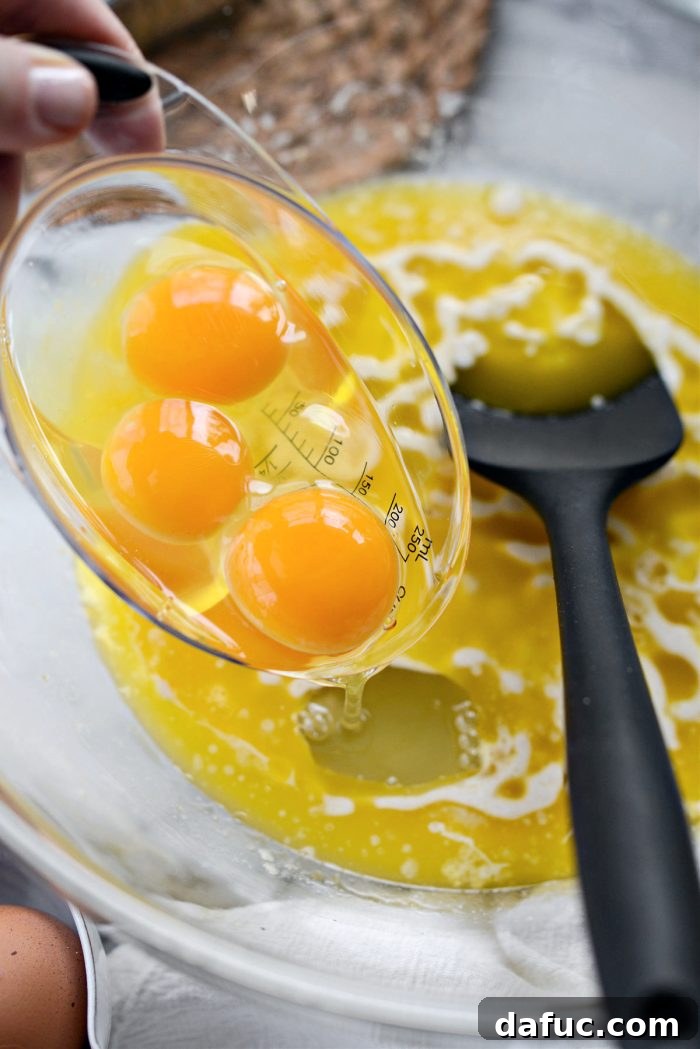
Finally, crack 3 large eggs into the bowl with the wet ingredients.
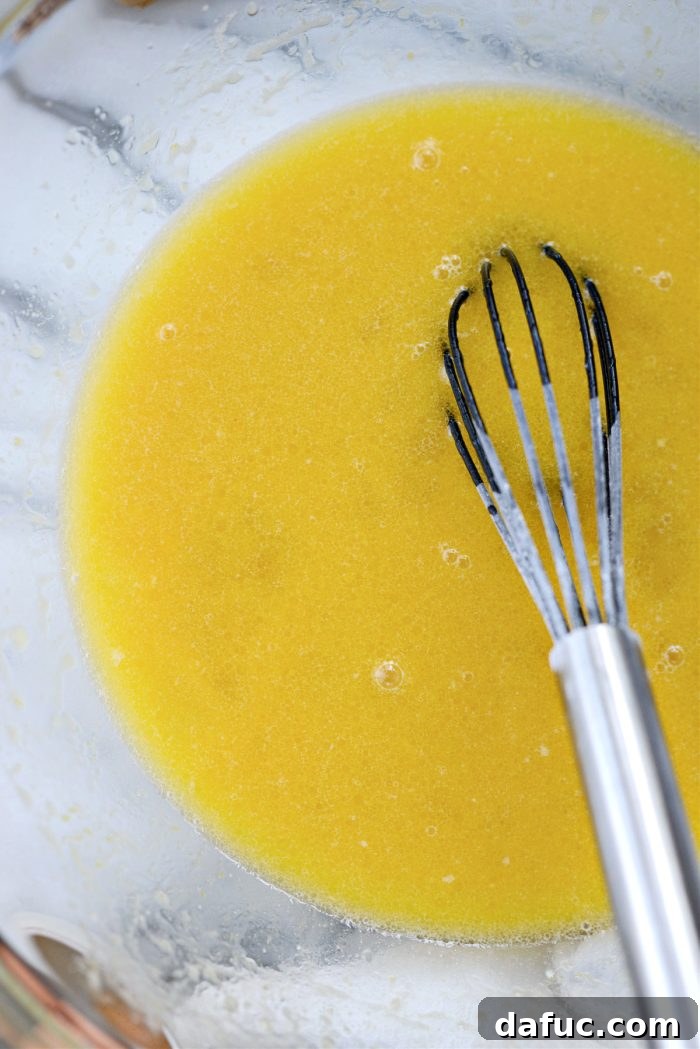
Whisk all these wet ingredients together thoroughly until they are well combined and smooth.
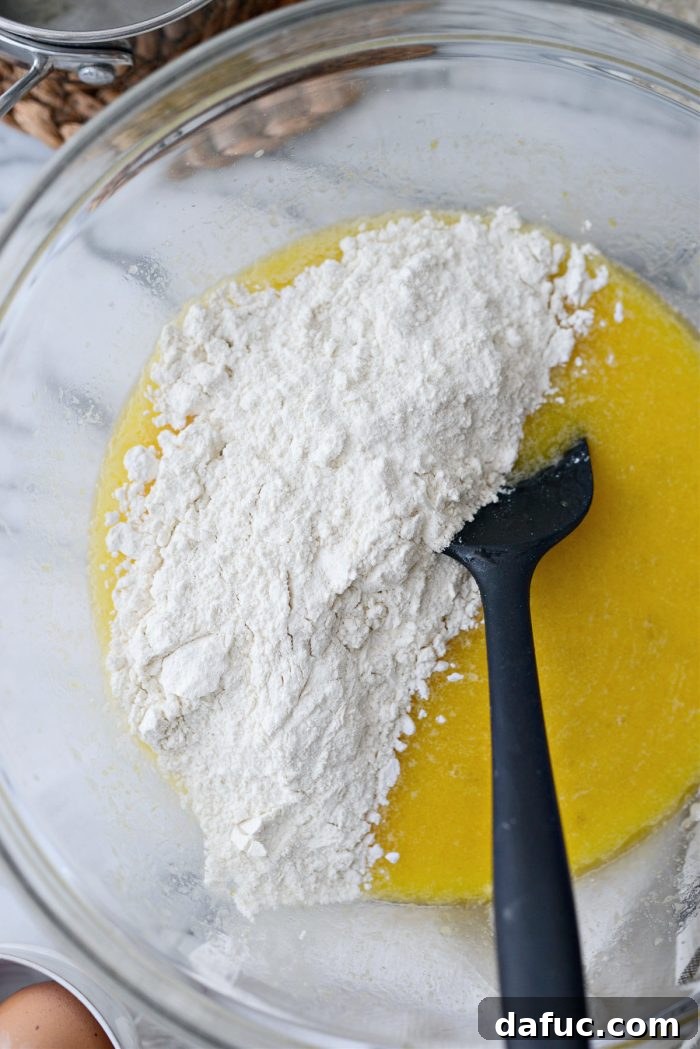
4. Form the Dough
Gradually add the flour and salt mixture to the wet ingredients. Start by adding about one-third of the dry ingredients. Stir gently with a spoon or spatula until just combined. Repeat this process with another third of the flour mixture, stirring until just incorporated. Do this one last time with the remaining flour until a shaggy dough forms.
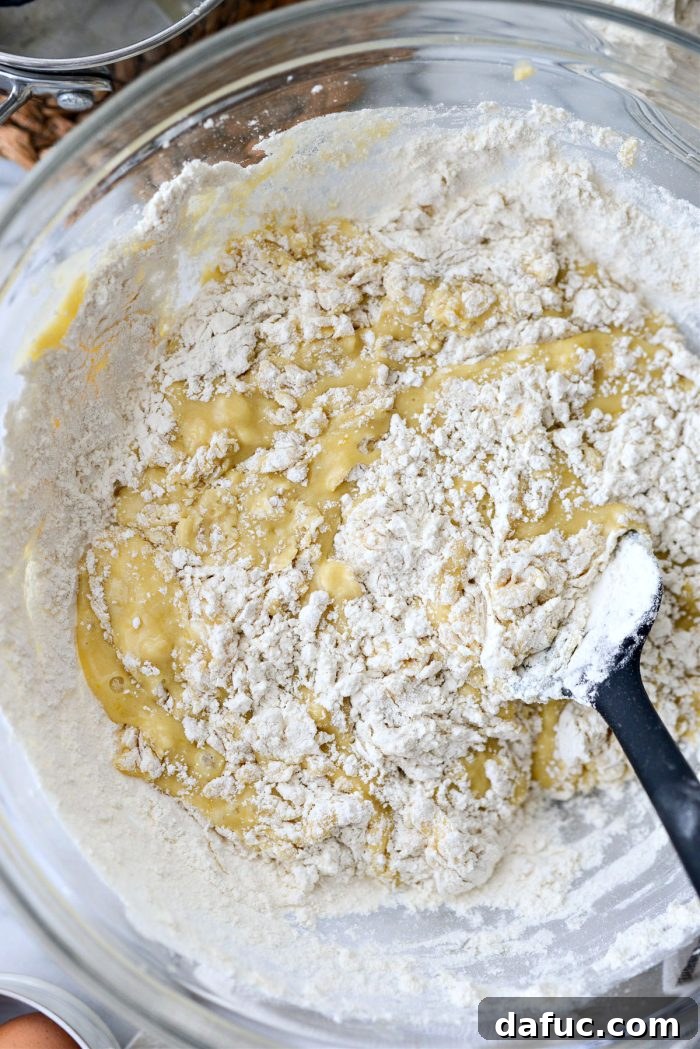
Continue stirring until all the flour is incorporated and the dough comes together. It might still be a bit sticky, which is perfectly normal for a soft roll dough.
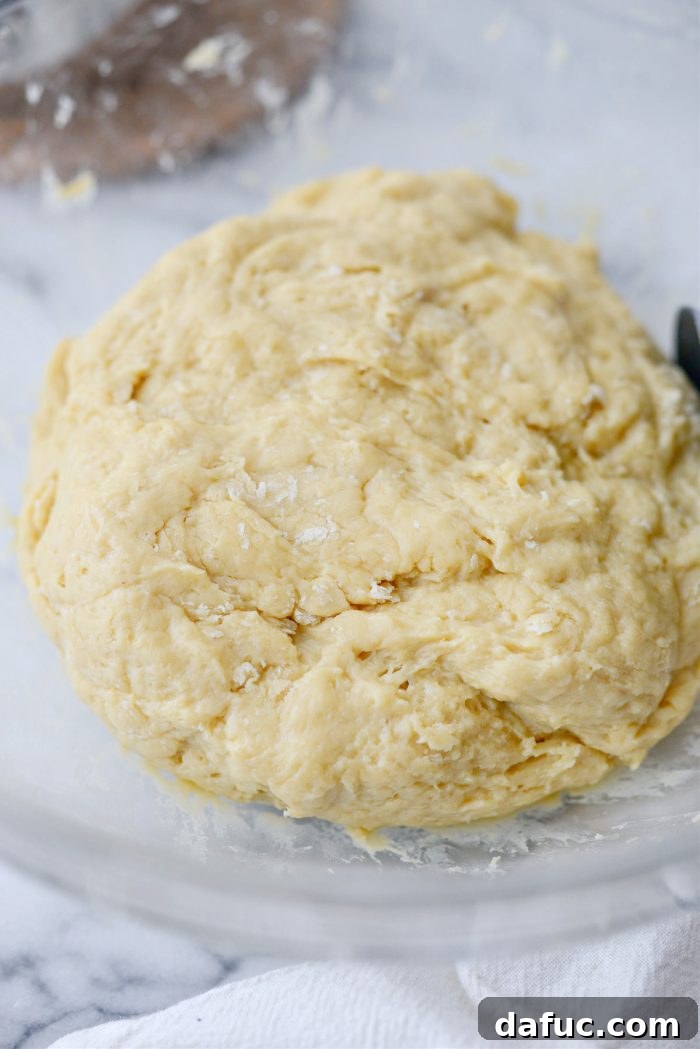
5. The Cold Rise (First Proof)
Once the dough has formed, gather it into a large ball within the bowl. Cover the bowl tightly with plastic wrap or a clean tea towel. Place the covered bowl in the refrigerator to rise for 2 to 3 hours, or even overnight. This technique is known as cold-proving or a cold rise.
Understanding the Cold Rise: A Game-Changer for Flavor and Convenience
While bread dough often rises in a warm environment, allowing it to rise slowly in the refrigerator offers significant advantages. The cold temperature slows down the yeast’s fermentation process, giving it a longer period to work on the sugars in the dough. This extended fermentation develops a deeper, more complex flavor profile and improves the dough’s texture, resulting in a superior roll. Furthermore, a cold rise provides incredible flexibility, allowing you to prepare the dough in advance and bake fresh rolls the next day, making it perfect for busy schedules, especially around holidays.
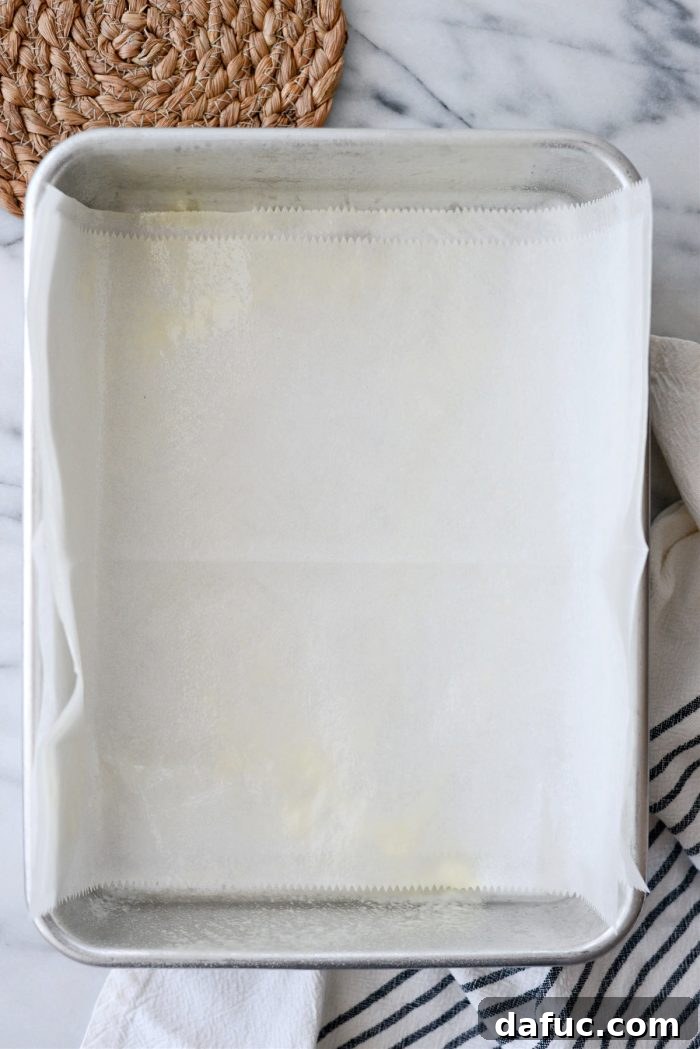
6. Prepare Your Baking Pan
About an hour before you plan to bake, line a 9×13 inch baking pan with parchment paper, leaving an overhang on the longer sides to create “handles” for easy removal later. Lightly grease the parchment paper with butter or spray with a nonstick baking spray containing flour. This ensures your beautiful rolls won’t stick.
Preheat your oven to 375°F (190°C).
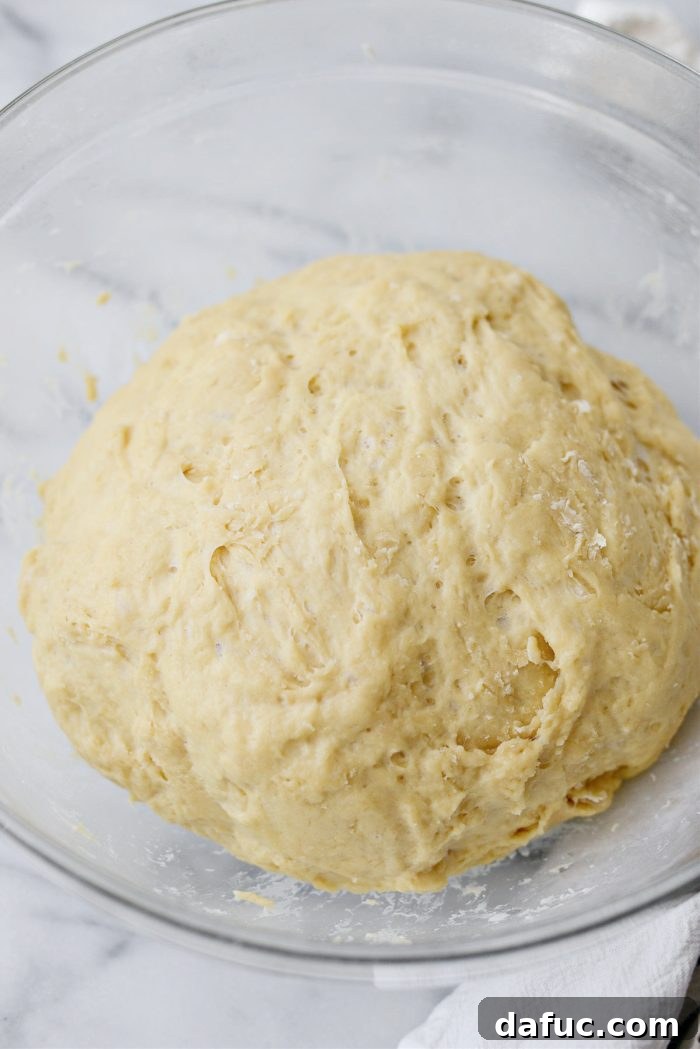
7. Shape the Rolls
After 2 to 3 hours (or overnight), your dough should have noticeably risen. Remove the bowl from the refrigerator, uncover it, and lightly dust your work surface with a small amount of bread flour. Turn the dough out onto the floured surface (a spatula can help scrape it out if sticky).
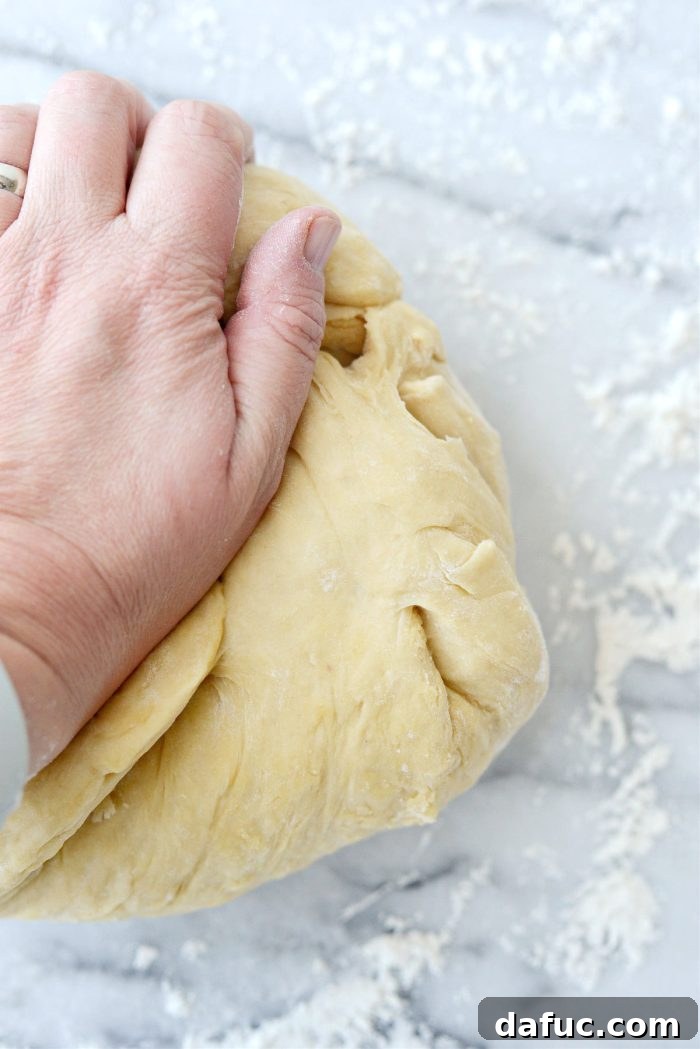
Gently knead the dough a few times, just until it feels smooth and elastic. Over-kneading at this stage isn’t necessary, as the cold rise has already done much of the work.
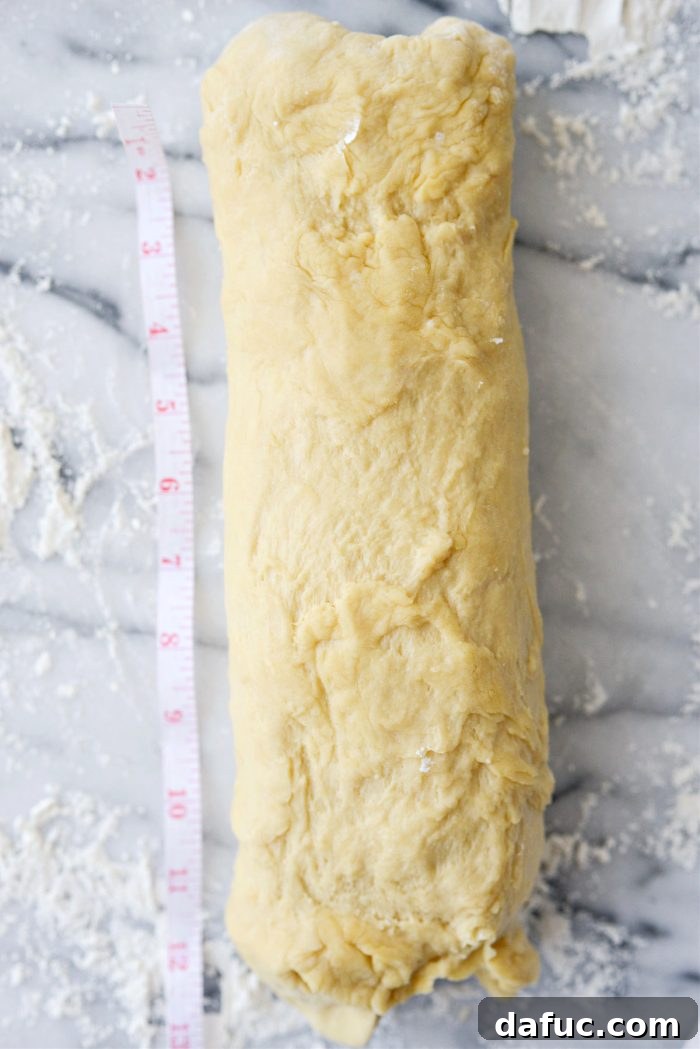
Roll and gently shape the dough into a symmetrical 12-inch log. Aim for a consistent thickness across the log to ensure even roll sizes.
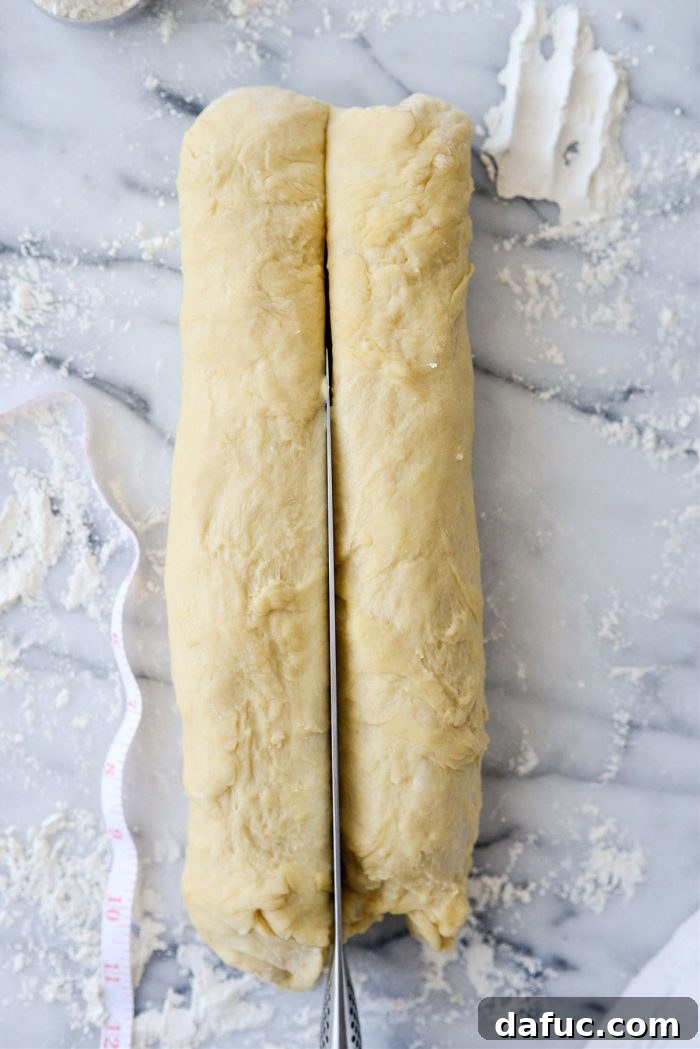
Using a sharp knife or a bench scraper, divide the 12-inch log in half lengthwise.
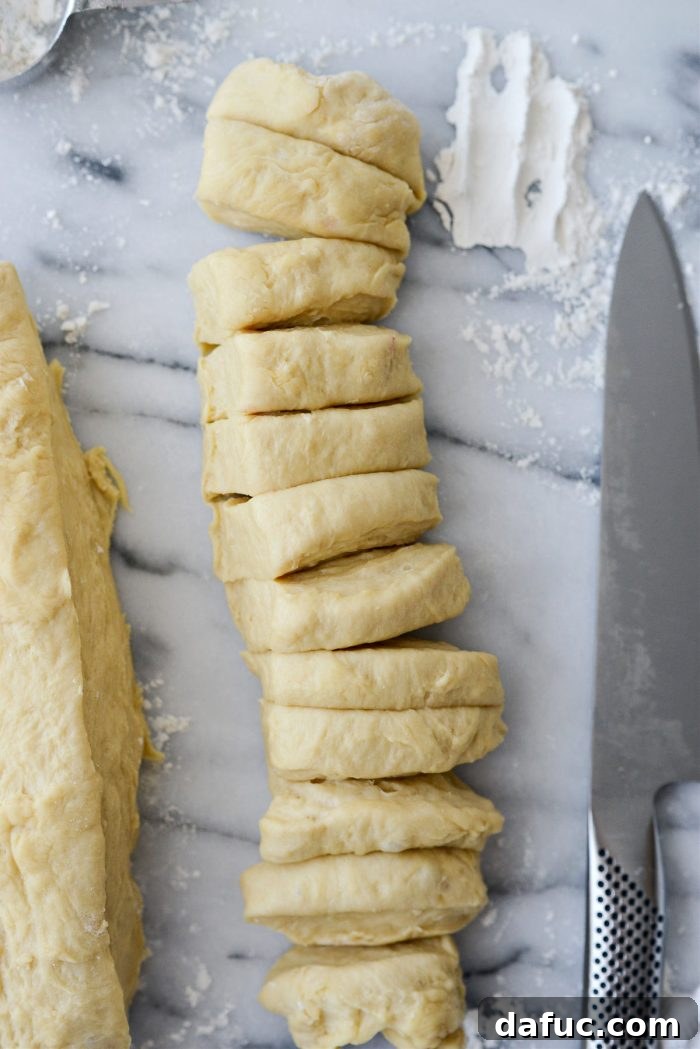
Working with the first half of the log, cut it crosswise into two equal sections. Then, cut each of these sections into 6 equal pieces, yielding a total of 12 pieces from this half. Repeat this same process with the second half of the log, so you end up with 24 pieces of dough in total.
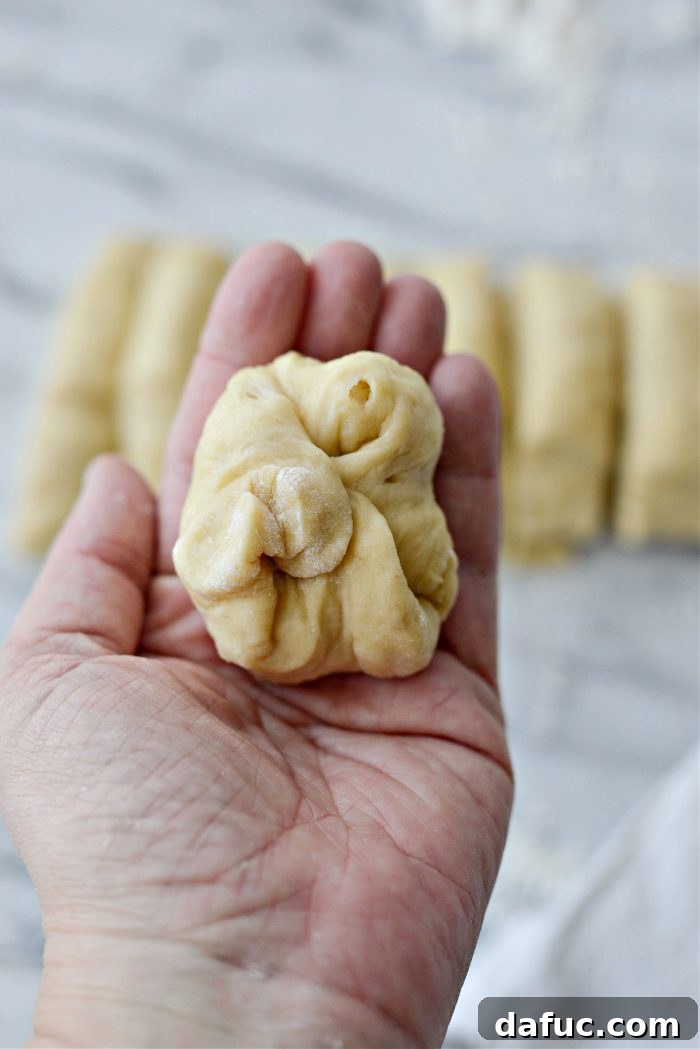
Take one piece of dough at a time. Gently gather the ends towards the center and pinch them together at the bottom. This creates a smooth, taut surface on top of the dough ball.
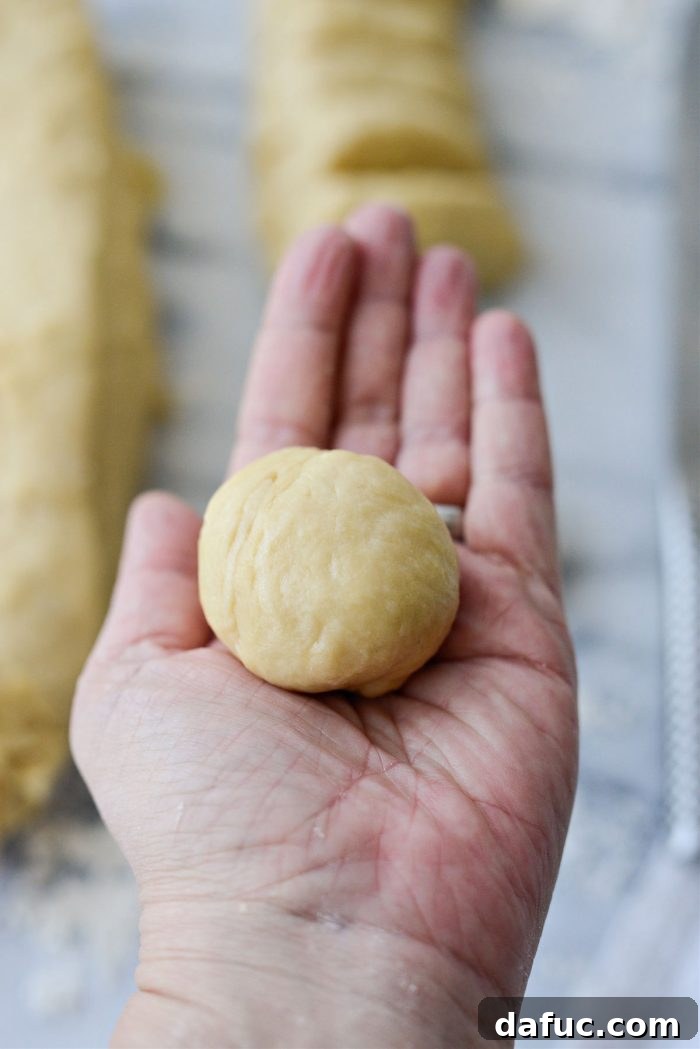
Roll each piece of dough between the palms of your hands or against your work surface in a circular motion to form a perfectly round, smooth ball. This tension created on the surface is key to a beautiful rise.
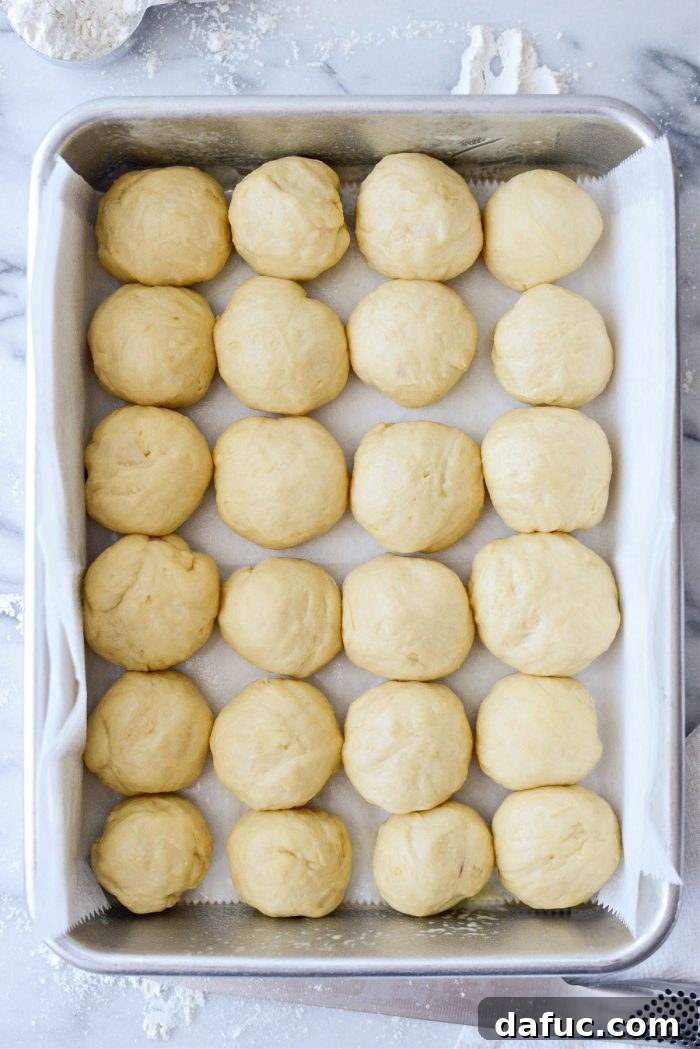
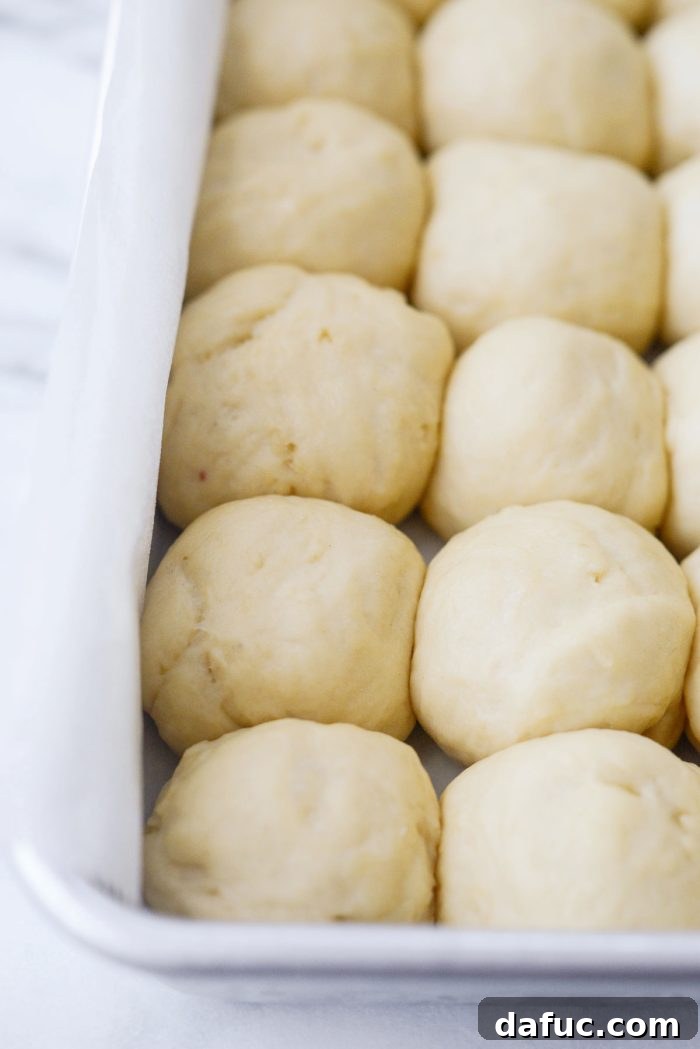
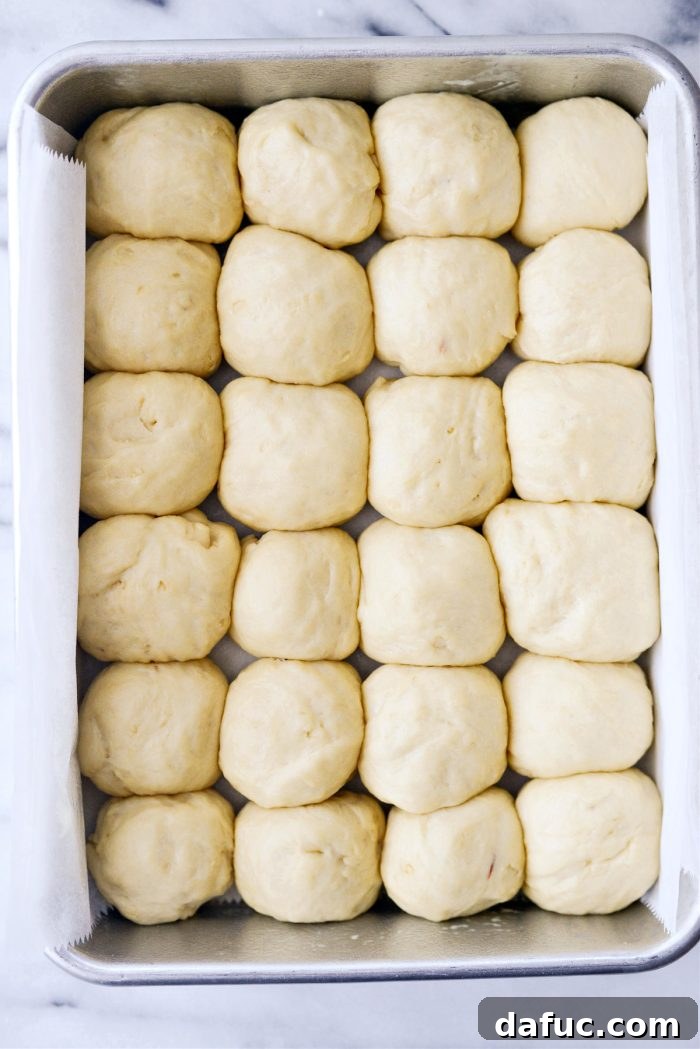
Arrange the shaped dough balls into the prepared 9×13 inch pan. You should place them in a grid, with six dough balls along the longer side of the pan and four along the shorter side, fitting snugly to allow for that classic pull-apart texture.
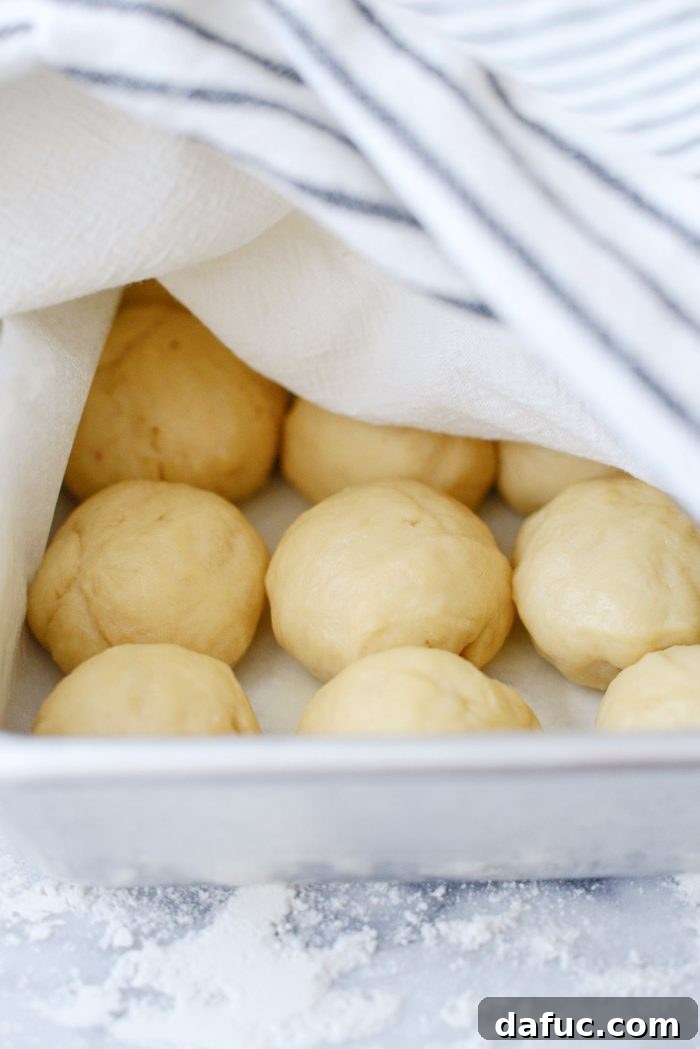
8. Second Rise (Proofing)
Loosely cover the pan with a clean kitchen towel. Place the pan in a warm spot in your kitchen to allow the rolls to rise for a second time, for approximately 1 hour. During this final proof, the rolls will expand and become noticeably puffier, almost touching each other.
Meanwhile, ensure your oven rack is positioned in the lower third of your oven, and that your oven is preheated to 375°F (190°C).
9. Bake to Golden Perfection
Once the rolls have completed their second rise and are beautifully puffy, uncover the pan and place it into your preheated oven. Bake the easy homemade dinner rolls for 20 to 22 minutes, or until they are a gorgeous golden brown on top. For even baking and consistent browning, be sure to rotate the pan halfway through the baking time.
How to Determine When Your Dinner Rolls Are Perfectly Done
Beyond the visual cue of a golden-brown crust, you can confidently check for doneness using a digital instant-read thermometer. Carefully insert the thermometer into the center of a middle roll, ensuring it doesn’t touch the bottom of the pan. A perfectly baked roll will register an internal temperature of about 190°F (88°C). This ensures they are cooked through and have that wonderfully soft, fully baked interior.
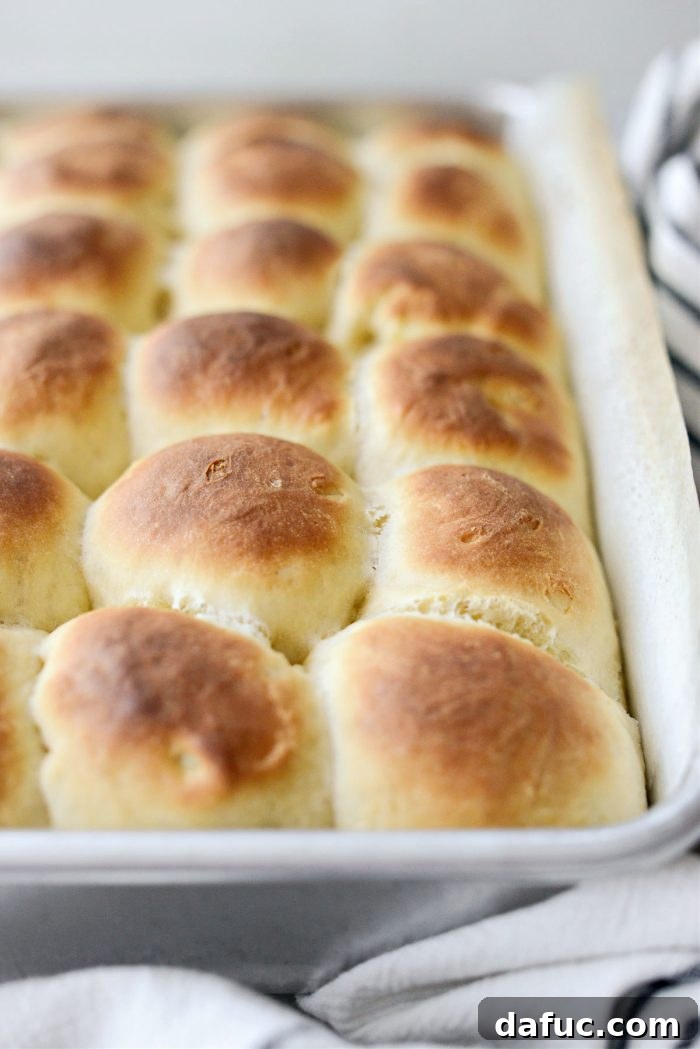
Your freshly baked dinner rolls should emerge from the oven with a rich, deep golden color. Allow them to cool in the pan for a few minutes before using the parchment paper handles to carefully lift the entire slab of rolls out onto a wire rack to cool further. This brief cooling period helps the rolls set and makes them easier to handle.
Serving and Enjoying Your Homemade Masterpiece
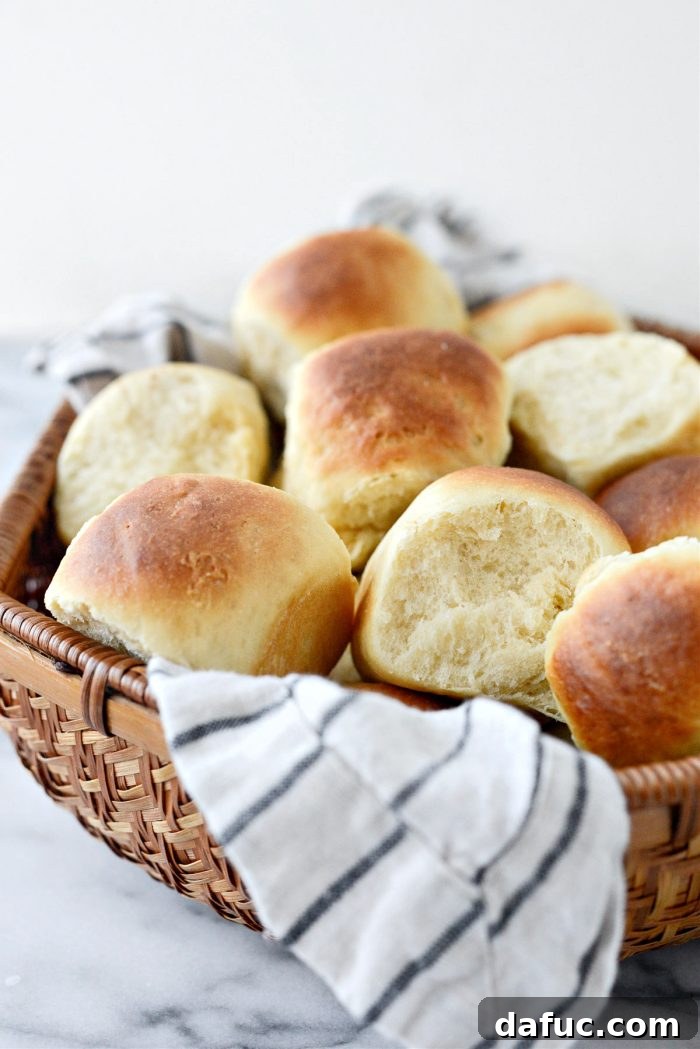
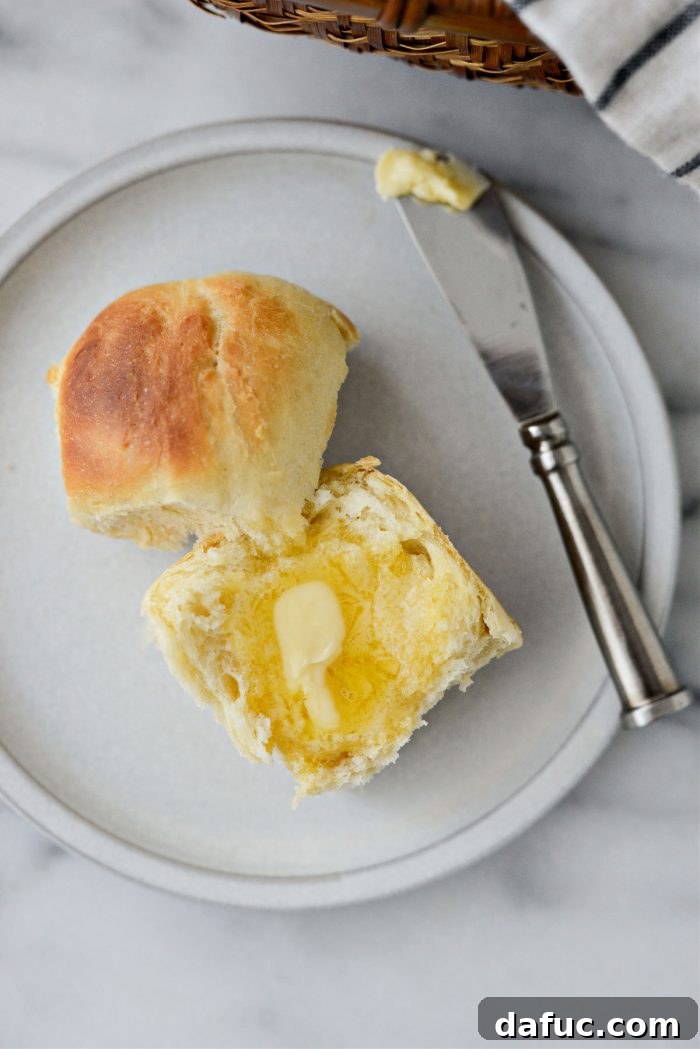
These pull-apart dinner rolls live up to their name – they separate with incredible ease, revealing their soft, fluffy interiors. For the ultimate experience, serve them slightly warm in a towel-lined basket to keep them cozy. One pan of this recipe yields a generous 24 dinner rolls, making it perfect for feeding a small crowd, ensuring everyone gets to enjoy these delightful homemade treats!
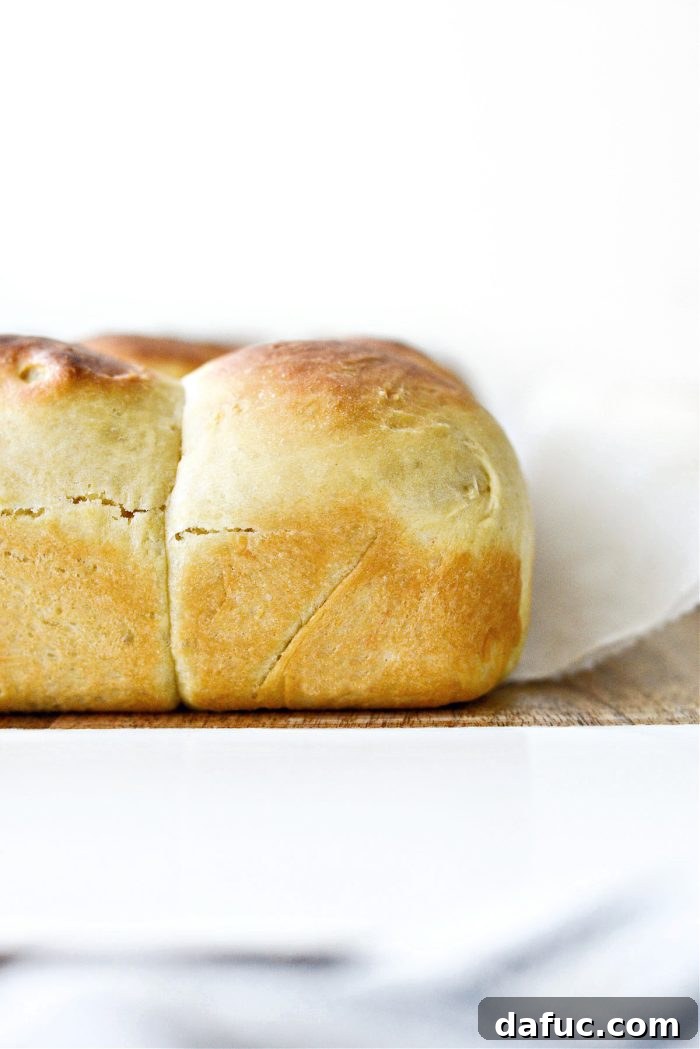
Enjoy! There’s nothing quite like the taste of homemade bread. If you give this Easy Homemade Dinner Rolls recipe a try, I’d love to hear about it! Snap a photo and share your creations with me on Twitter or Instagram!
Easy Homemade Dinner Rolls
These Easy Homemade Dinner rolls are soft, tender and are casual enough for a weeknight dinner yet special enough for a holiday meal.
Yield: 24 rolls
Prep Time: 2 hrs 15 mins
Cook Time: 25 mins
Second Rise Time: 1 hr
Total Time: 3 hrs 40 mins
Ingredients
- 1 cup warm water (about 95 to 100°)
- 4½ teaspoons active dry yeast (NOT quick rising, or 2 (1/4 ounce) envelopes)
- ½ cup granulated white sugar
- ½ cup unsalted butter (melted and cooled slightly)
- 3 large eggs
- 4¼ cups unbleached bread flour (plus more for dusting work surface)
- 1 teaspoon fine salt
Instructions
- In a large bowl, add the warm water and sprinkle the yeast over the top. Let it stand for a few minutes so the yeast can bloom.
- Combine bread flour with the teaspoon of fine salt, and set aside.
- Once the yeast has bloomed, add in the sugar, (melted and cooled) butter and eggs. Whisk to combine.
- Gradually add in 1/3 of the flour mixture. Stir until just combined and then repeat with another third of the flour mixture, stir and repeat one last time with the remaining flour.
- When the dough comes together, form it into a large ball. Cover the bowl with plastic wrap or tea towel and pop it in the refrigerator to rise for 2-3 hours or overnight.
- When just about risen, line a 9×13 baking pan with parchment paper and grease with butter or spray with nonstick baking spray with flour.
- After the 2 to 3 hours your dough should have risen. Remove from the fridge, uncover and dust your work surface with some bread flour. Turn the dough out (using a spatula to scrape) onto the floured surface and knead the dough a few times until the dough is smooth.
- Gently roll and shape into a symmetrical 12-inch by 3 to 4-inch log. Use a knife or bench scraper to divide the log in half lengthwise.
- Working with the first half of the log, cut in half (crosswise) and then each half into 6 equal pieces – yielding twelve pieces. Repeat this with the second half of the log, so you end up with 24 pieces of dough total.
- Working with one piece of dough at a time, gather the ends, pulling it back and pinch to expose a smooth surface. Roll each piece of dough into a ball between the palms of your hands. Place into the prepared pan and repeat. You should have six dough-balls going along the longer side of the pan and 4 along the shorter side of the pan. Cover the pan with a clean kitchen towel and let the rolls rise for 1 more hour.
- Meanwhile position an oven rack in the lower third of your oven and preheat your oven to 375°F. Uncover and bake the rolls for 20 to 22 minutes or until golden brown. Be sure to rotate the pan of rolls halfway during the baking time for even baking.
- Allow the rolls to cool before using the parchment to lift the rolls out of the pan. Once cool enough to handle, pull apart the rolls and serve in a basket or bowl lined with a clean kitchen towel.
Notes
Nutrition Disclaimer: All information presented on this site is intended for informational purposes only. I am not a certified nutritionist and any nutritional information shared on SimplyScratch.com should only be used as a general guideline.
Serving: 1 roll, Calories: 146kcal, Carbohydrates: 21g, Protein: 4g, Fat: 5g, Saturated Fat: 3g, Polyunsaturated Fat: 0.4g, Monounsaturated Fat: 1g, Trans Fat: 0.2g, Cholesterol: 33mg, Sodium: 108mg, Potassium: 53mg, Fiber: 1g, Sugar: 4g, Vitamin A: 152IU, Vitamin C: 0.01mg, Calcium: 9mg, Iron: 0.4mg
Author: Laurie McNamara
Course: Breads & Baked Goods
Cuisine: American