
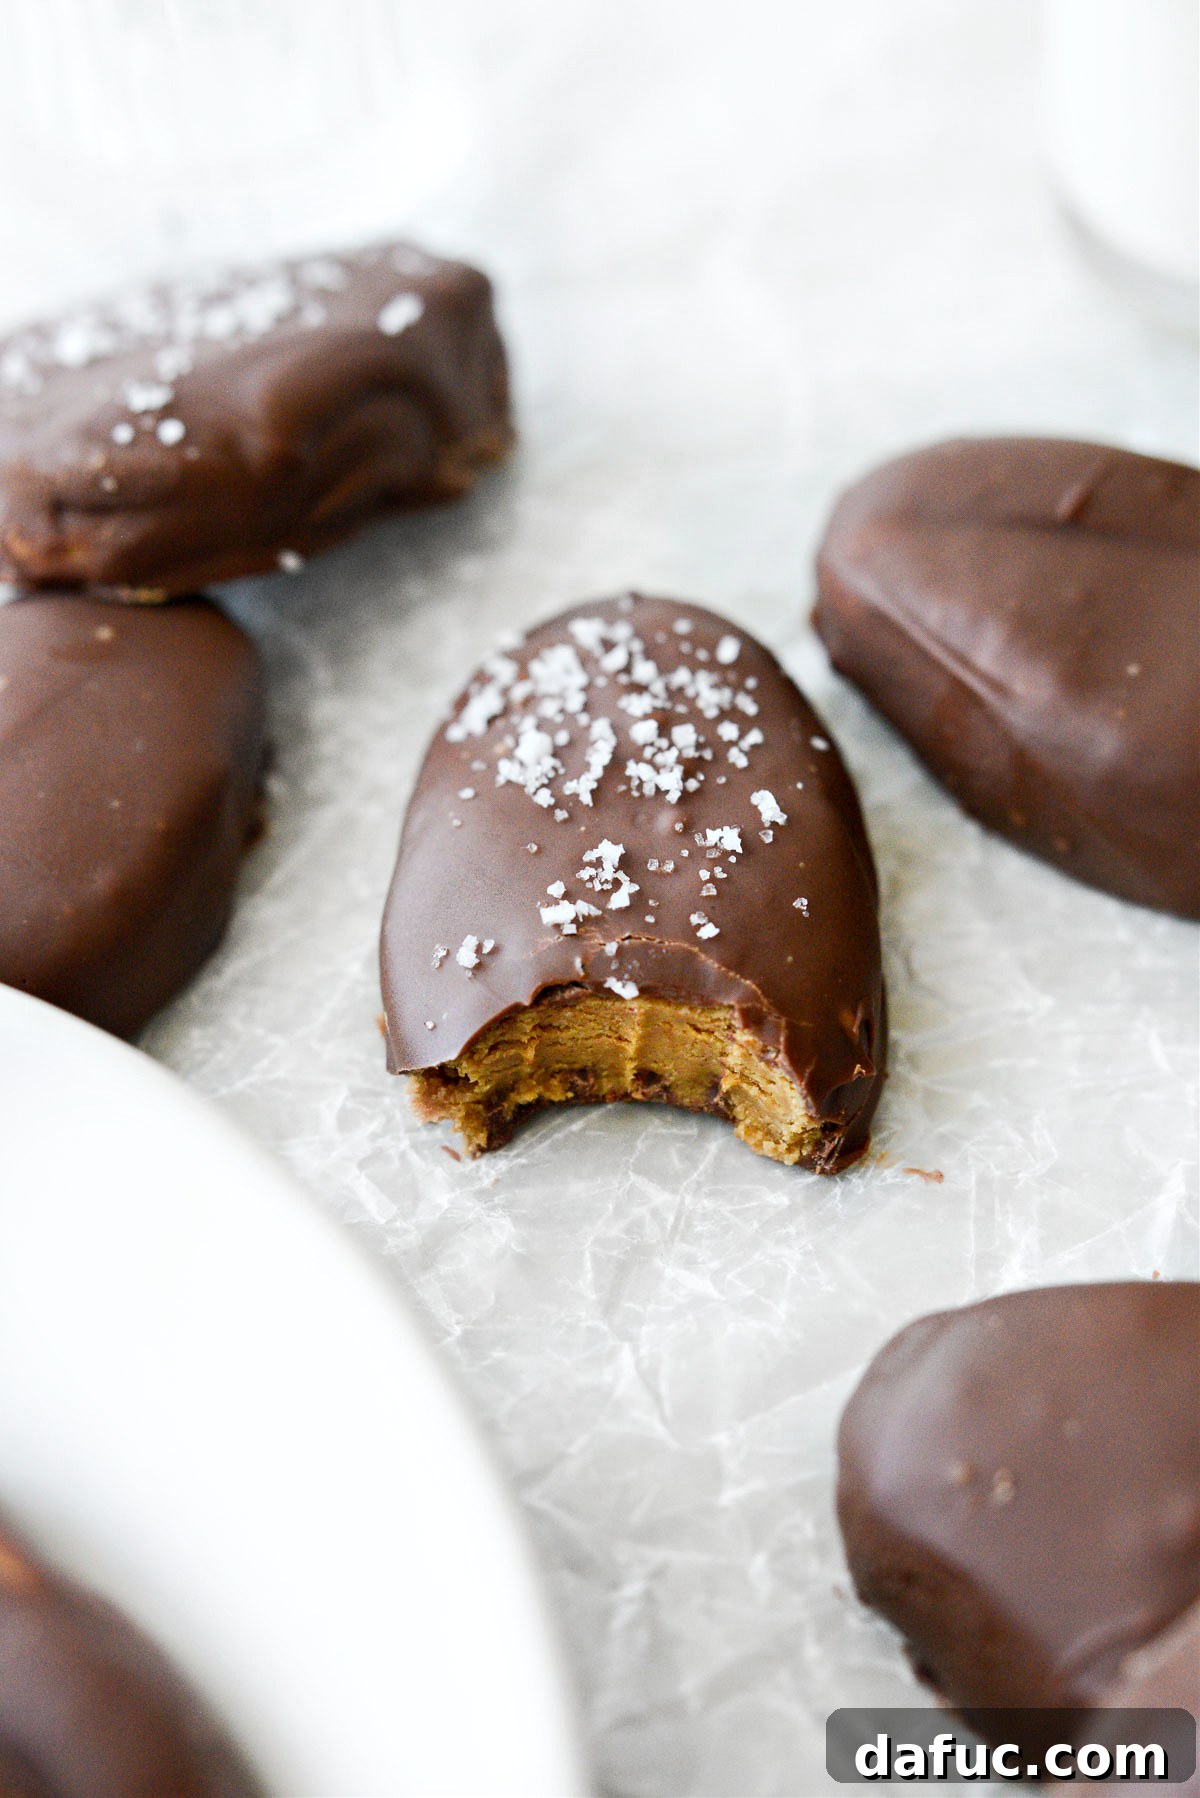
Indulge in Homemade Peanut Butter Eggs: A Delightful Easter Treat (Better Than Reese’s!)
Are you ready to create a truly unforgettable Easter treat that might just outshine your favorite store-bought candies? These Homemade Peanut Butter Eggs are incredibly easy to make, and dare I say, they often get rave reviews for being even better than the iconic Reese’s peanut butter eggs! With just a few simple, wholesome ingredients like creamy peanut butter, oat flour, pure maple syrup, and a hint of vanilla, you can whip up a batch of these delectable delights. They’re perfectly shaped, generously dipped in rich milk chocolate, and are ideal for Easter celebrations or any occasion that calls for a sweet, satisfying bite. This recipe yields approximately 13 irresistible peanut butter eggs, bringing joy to every recipient.
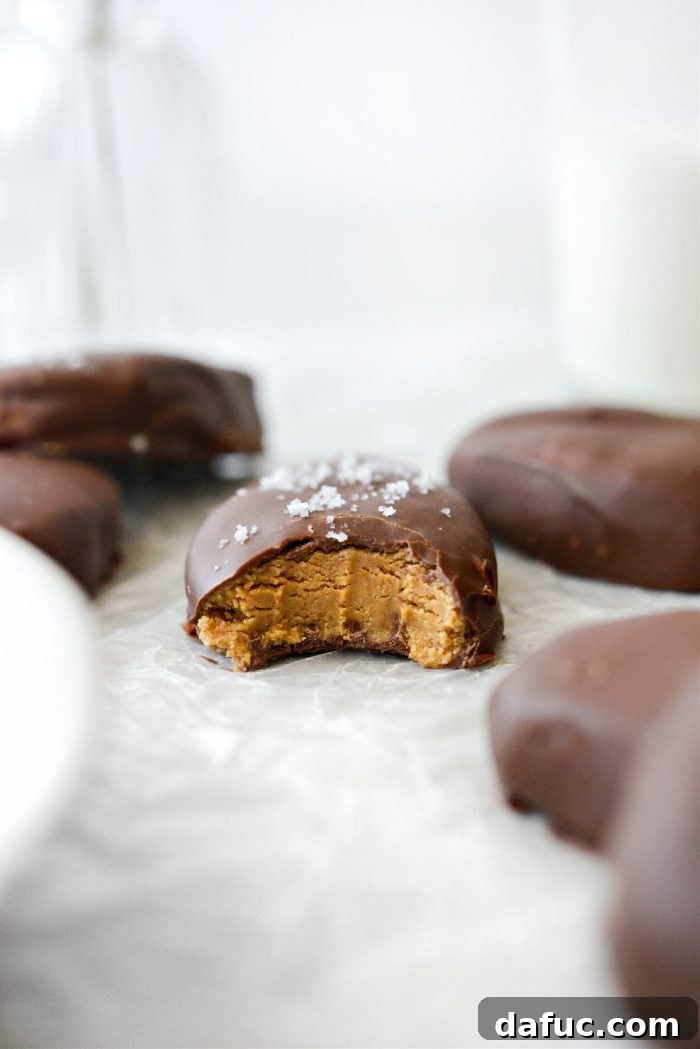
What’s Your Favorite Easter Candy? The Allure of Peanut Butter and Chocolate
For many, Easter isn’t complete without a specific sweet indulgence. My family, for instance, would unanimously declare the chocolate Cadbury mini eggs as their top pick. However, there’s another contender that holds a special place in my heart, and in my husband Pat’s too: the classic Reese’s peanut butter egg. While Pat isn’t a huge candy connoisseur, even he can’t resist the magic of that soft, creamy peanut butter center enveloped in a smooth, milk chocolate shell. It’s a flavor combination that simply can’t be beaten, right?
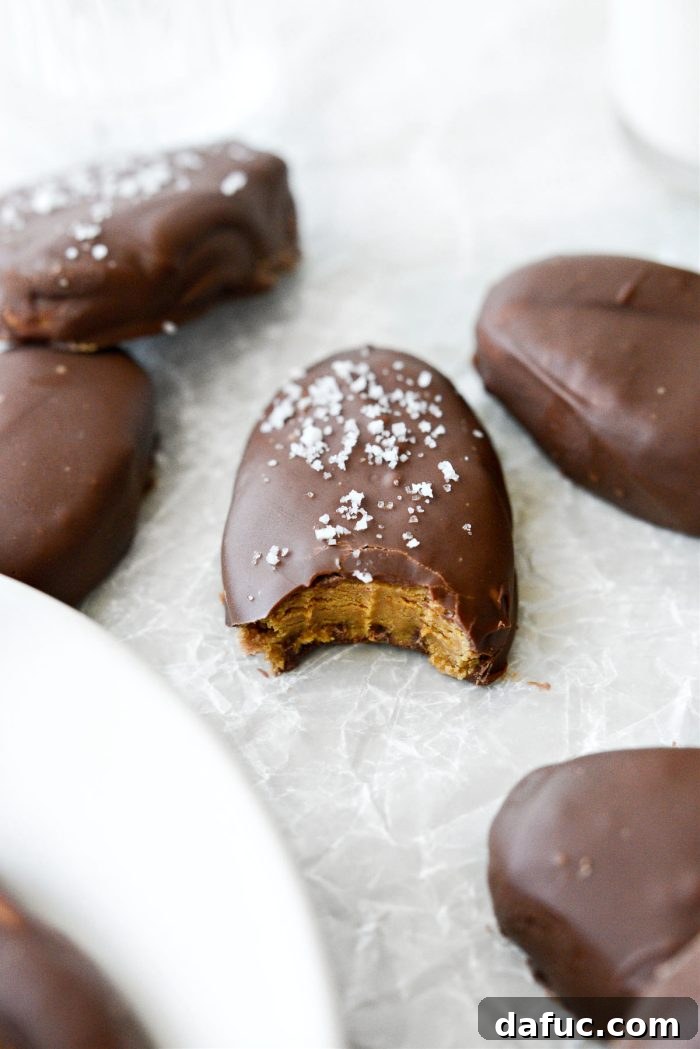
Well, I’m here to share a secret: you can easily create an even better version of these beloved peanut butter eggs right in your own kitchen. Forget the long ingredient lists and artificial flavors often found in commercial candies. This recipe requires just a handful of straightforward ingredients, minimal effort, and perhaps a touch of patience for the chilling steps. It’s truly my kind of recipe – simple, satisfying, and utterly delicious!
Why Choose Homemade Peanut Butter Eggs Over Store-Bought?
The appeal of making your own treats goes beyond just the joy of baking. Crafting your own chocolate covered peanut butter eggs offers several compelling advantages:
- Unbeatable Freshness and Flavor: Store-bought candies often sit on shelves for weeks. Homemade versions, on the other hand, are made with fresh ingredients, resulting in a more vibrant and intense flavor that truly shines.
- Customizable Ingredients: You have complete control over what goes into your peanut butter eggs. Want organic peanut butter? Prefer a specific brand of chocolate? Looking for a gluten-free option? This recipe allows you to tailor it to your preferences and dietary needs.
- No Artificial Preservatives: Say goodbye to cryptic ingredients and unnecessary additives. With this recipe, you’re using natural components, ensuring a treat you can feel good about sharing with your family and friends.
- Perfect Texture: We all know the magic lies in that soft, melt-in-your-mouth peanut butter filling. This recipe is designed to achieve that ideal creamy consistency, complemented by a perfectly tempered chocolate coating.
- Cost-Effective: Making treats at home can often be more economical than buying specialty candies, especially when you’re making a batch for a crowd or for multiple occasions.
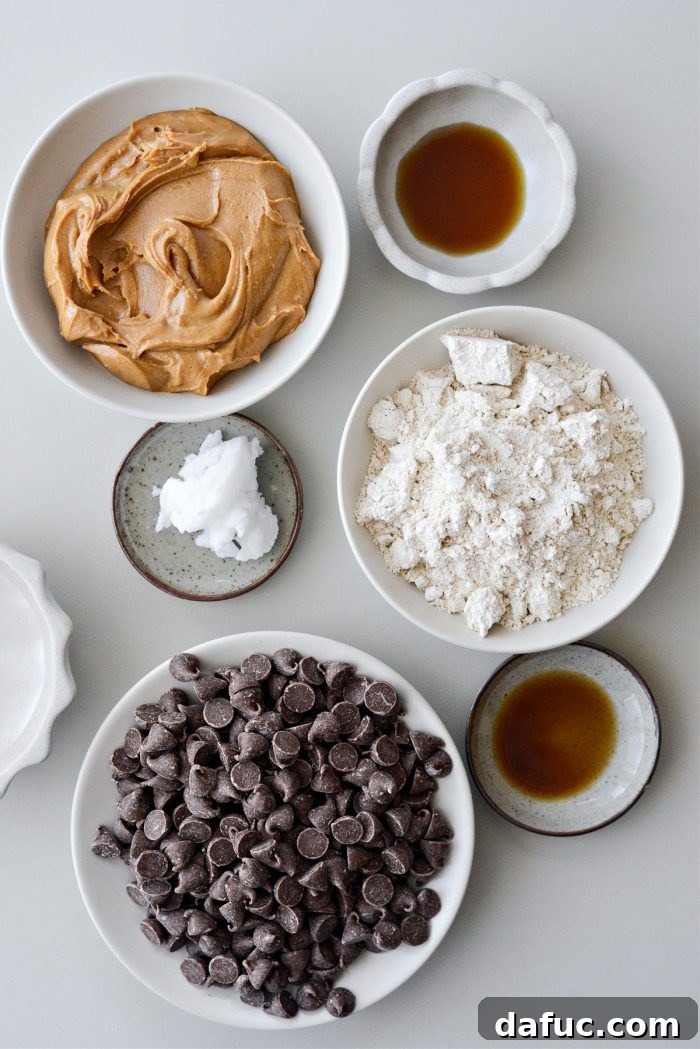
Essential Ingredients for Your Homemade Peanut Butter Eggs
Gathering your ingredients is the first step to creating these delightful Easter peanut butter eggs. The beauty of this recipe lies in its simplicity and the quality of its components:
- Creamy Peanut Butter: Opt for a smooth, creamy variety. Natural peanut butter (without added sugar or oil) works wonderfully, but ensure it’s well-stirred to prevent separation. Feel free to experiment with other nut or seed butters like almond butter, cashew butter, or sunflower seed butter for a unique twist or if you have allergy concerns.
- Oat Flour: This provides structure and a lovely subtle flavor to the peanut butter filling. You can easily make your own by finely grinding rolled oats in a blender or food processor, or use store-bought oat flour (brands like Bob’s Red Mill are excellent for a super fine texture). Oat flour makes these peanut butter eggs naturally gluten-free, a great bonus for those with sensitivities.
- Maple Syrup: Our natural sweetener of choice. Maple syrup adds a touch of sweetness without being overpowering, and its liquid form helps bind the ingredients together. For an alternative, you could use agave nectar or honey, adjusting to your preferred sweetness level.
- Real Vanilla Extract: A crucial ingredient that elevates the rich peanut butter flavor, adding warmth and depth to the filling. Always use pure vanilla extract for the best results.
- Milk Chocolate Chips: The classic choice for a reason, milk chocolate provides a sweet, creamy coating that perfectly complements the peanut butter. However, feel free to use your favorite chocolate! Dark chocolate offers a more intense flavor, while semi-sweet chocolate is a popular middle ground. High-quality chocolate chips melt more smoothly and provide a better finish.
- Coconut Oil: A little coconut oil is essential for achieving that beautifully smooth, glossy chocolate coating that sets quickly and hardens nicely. It helps to thin out the melted chocolate and gives it a snap when chilled.
Crafting Your Peanut Butter Eggs: Step-by-Step Instructions
Prepare the Irresistible Peanut Butter Filling
The heart of these homemade peanut butter eggs is their luscious filling. Making it is incredibly straightforward:
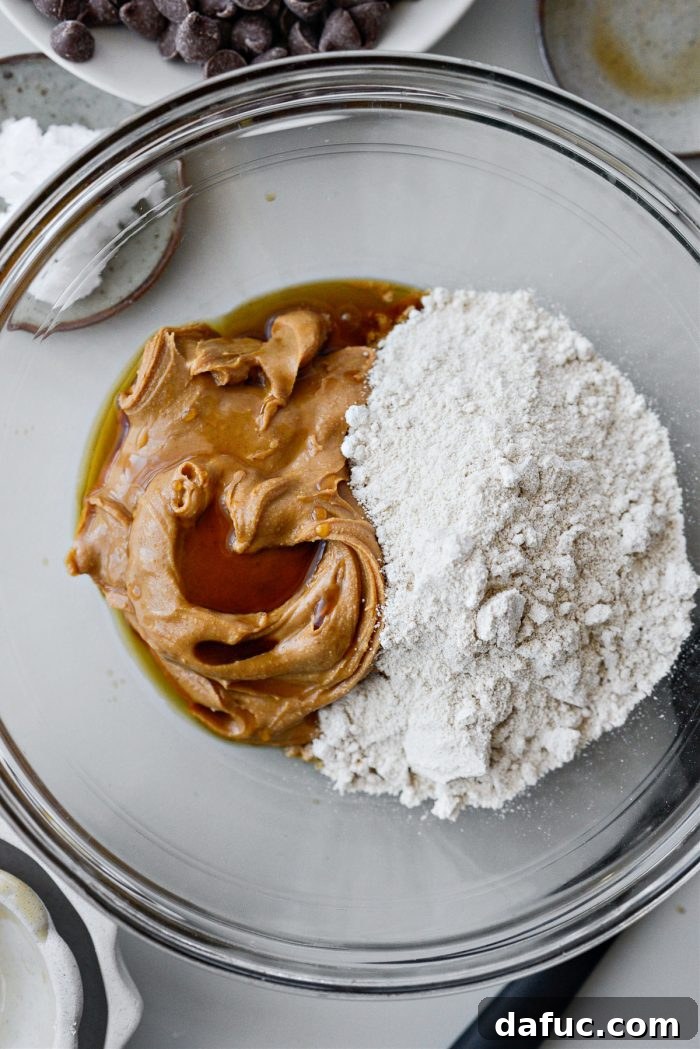
- In a medium-sized mixing bowl, precisely measure and combine 1 cup of creamy peanut butter, 1 cup of oat flour, 1 tablespoon of real maple syrup, and 3/4 teaspoon of vanilla extract.
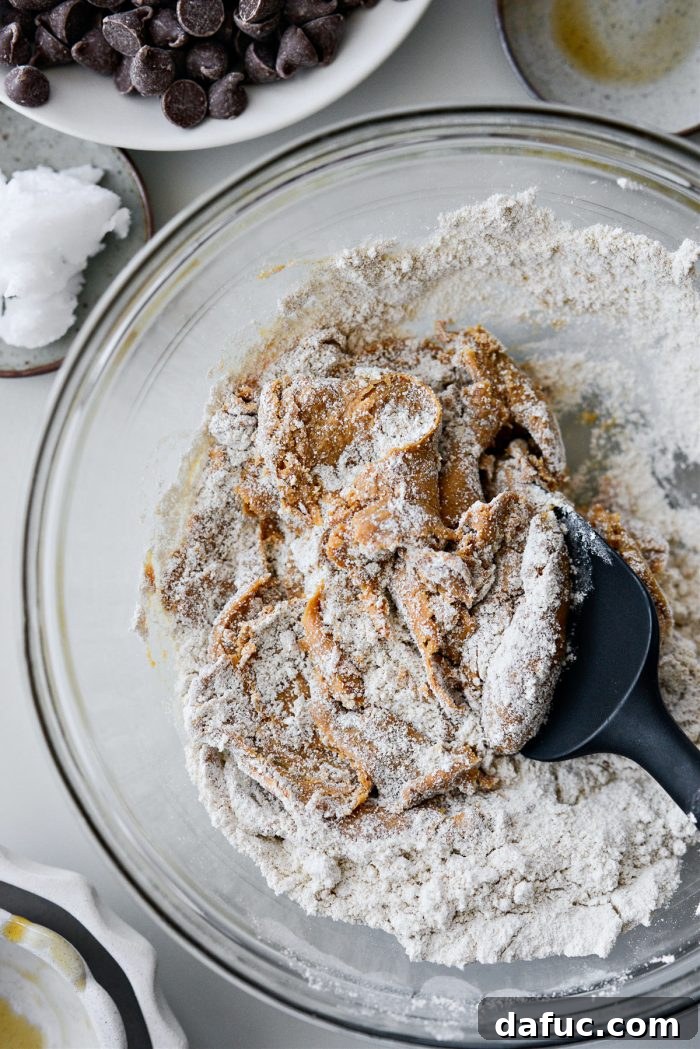
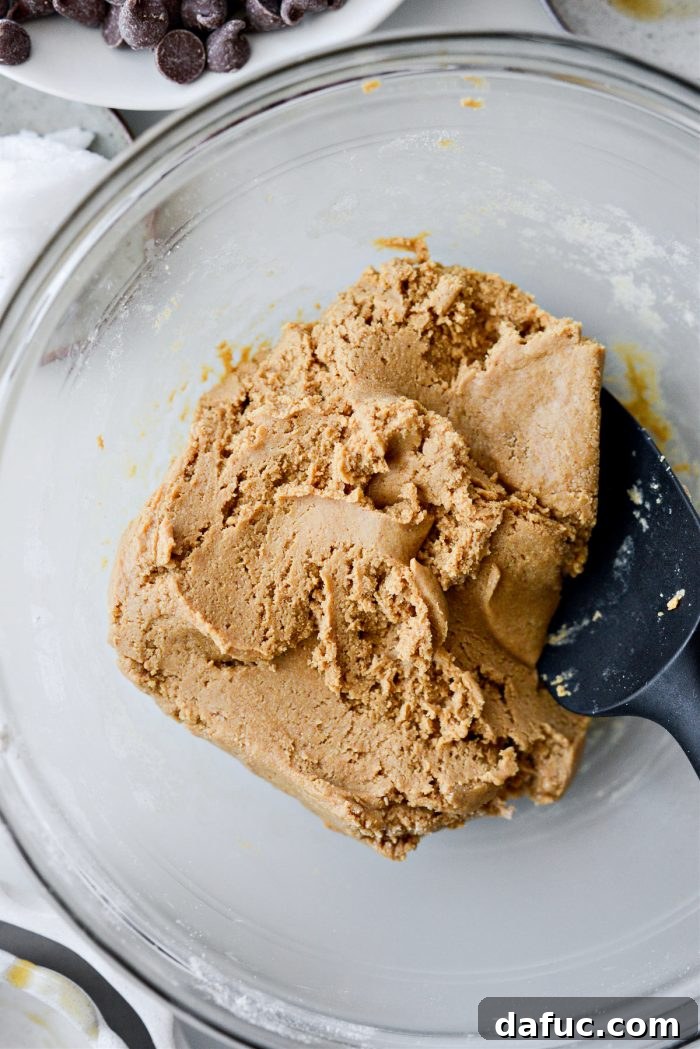
- Stir all the ingredients thoroughly until they are well combined. You’ll notice the mixture transforming into a thick, cohesive dough.
- Once combined, cover the bowl with plastic wrap and refrigerate the mixture for at least 30 minutes. This chilling period is crucial as it allows the dough to firm up, making it much easier to handle and shape.
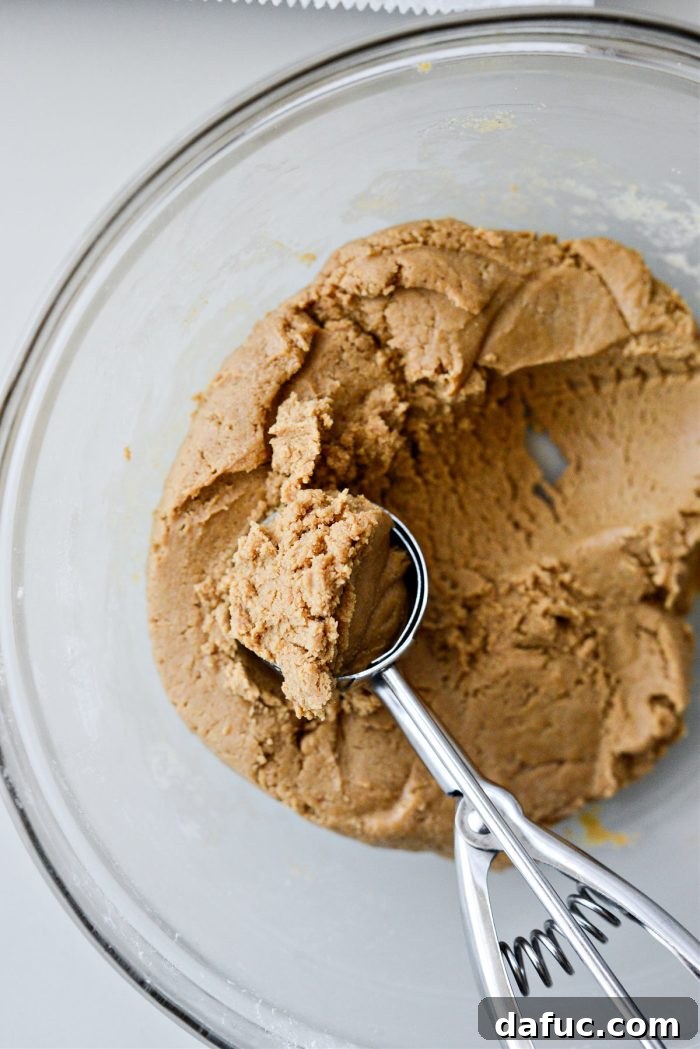
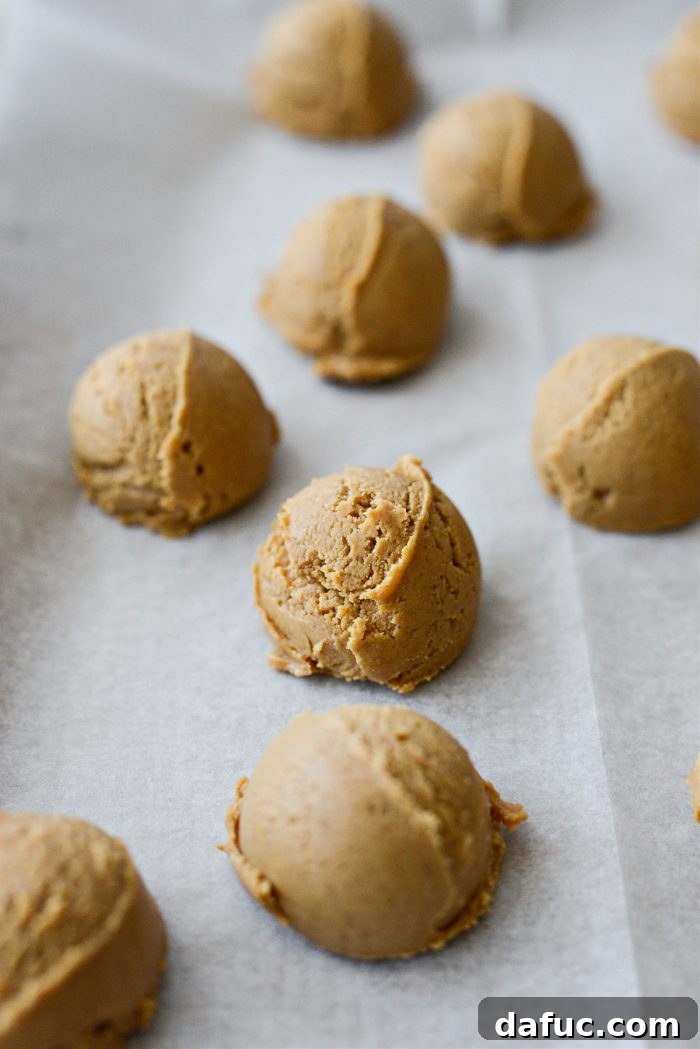
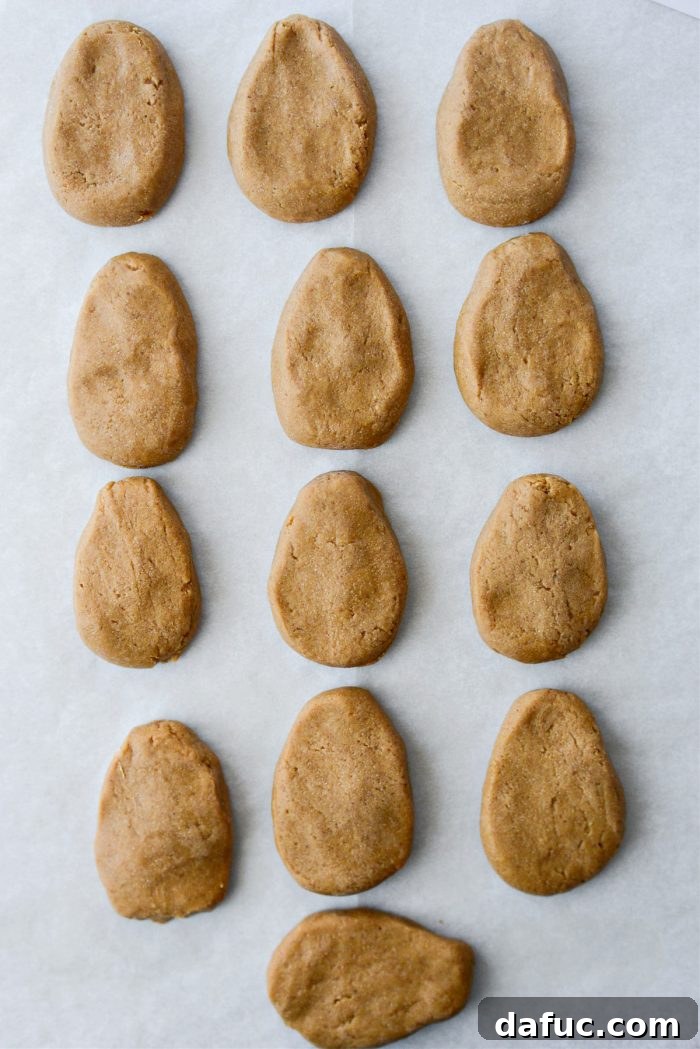
- After chilling, retrieve the mixture. Using a 1½ tablespoon scoop, measure out individual portions of the peanut butter mixture. This size typically yields about 13 perfectly portioned eggs, but you can always use a smaller scoop if you prefer to make mini peanut butter eggs!
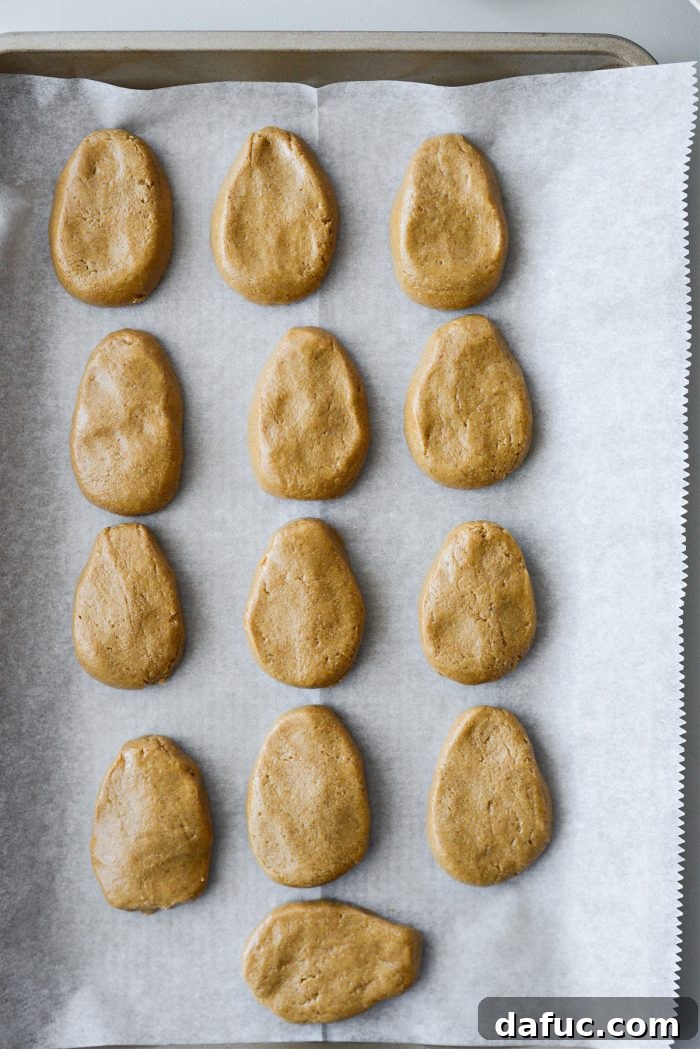
- With impeccably clean hands, gently shape each measured portion into an egg-like oval. Place these shaped peanut butter eggs onto a parchment-lined baking sheet.
- Freeze the shaped eggs for 1 to 2 hours. While 1 hour can work in a pinch, I highly recommend freezing for the full 2 hours. This extra freezing time is vital; it ensures the peanut butter centers are firm enough to withstand the warmth of the melted chocolate without softening too quickly, which helps prevent them from losing their shape during the dipping process.
Melt the Velvety Chocolate Coating
A perfectly smooth chocolate coating is key to these homemade peanut butter eggs. Here’s how to achieve it:
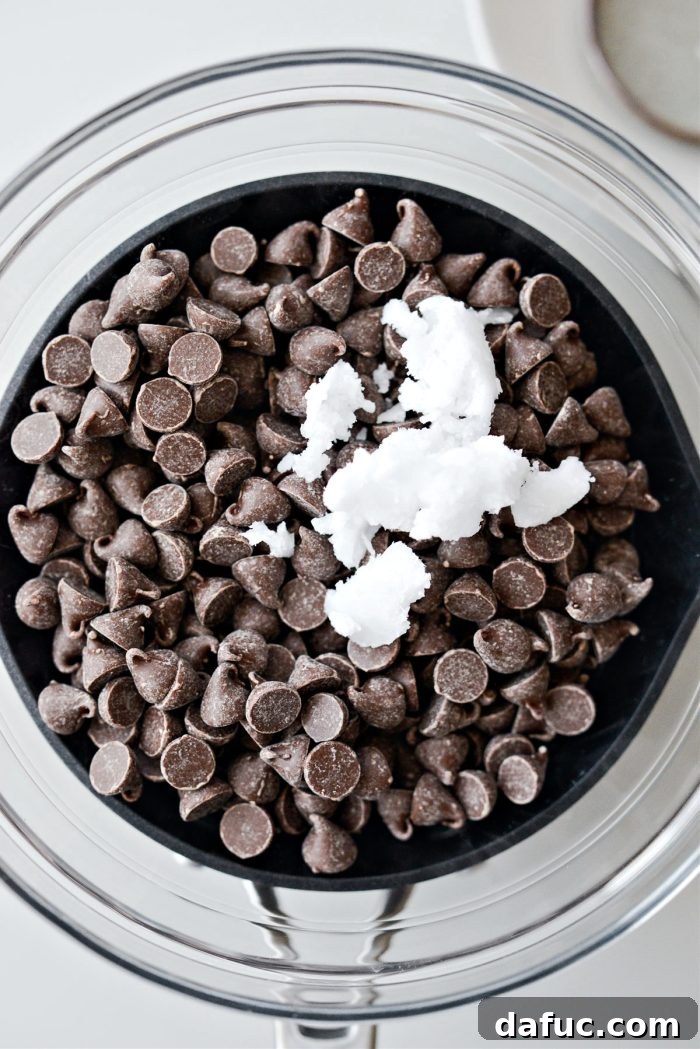
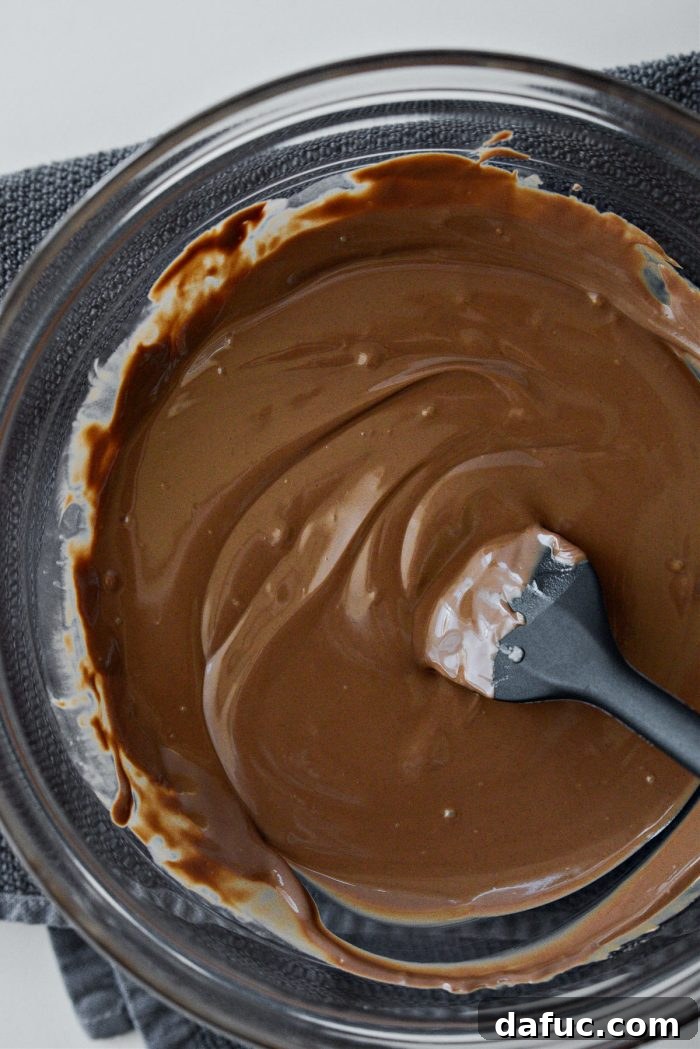
- Just before you retrieve your frozen peanut butter eggs from the freezer, prepare your chocolate. In a heat-safe mixing bowl, combine 1½ cups (approximately an 11.5-ounce bag) of milk chocolate chips with 1 tablespoon of coconut oil.
- Set this bowl over a saucepan containing a shallow amount of simmering water, ensuring the bottom of the bowl does not touch the water. This creates a double boiler, which melts chocolate gently and prevents it from burning.
- Being extremely mindful of the steam, stir the chocolate and coconut oil gently and continuously.
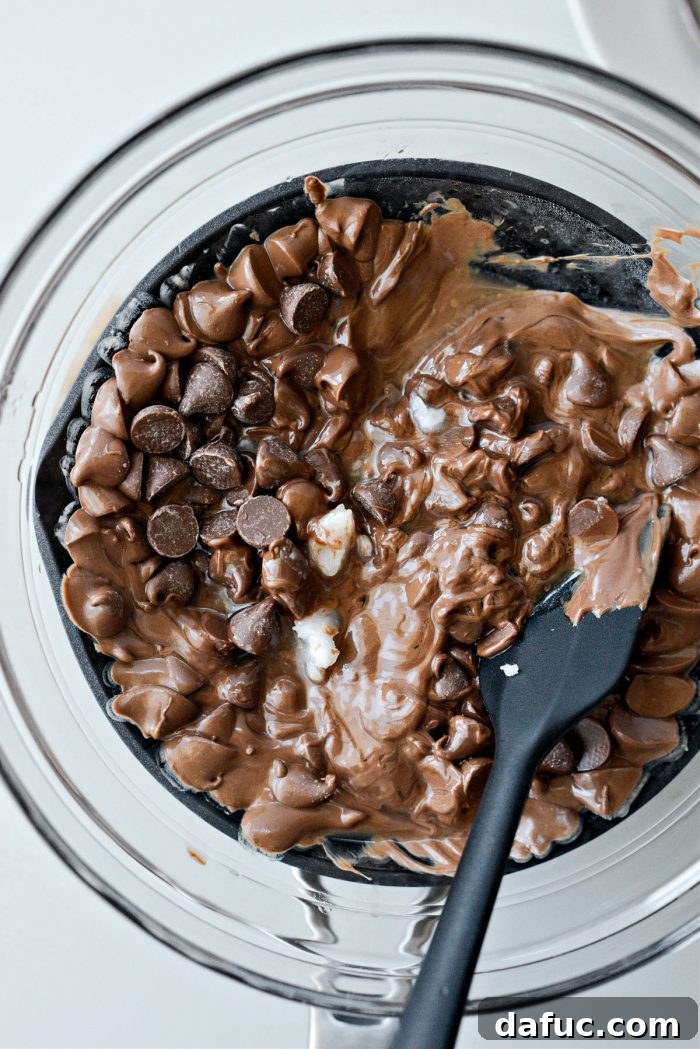
- Once the chocolate is about three-quarters melted, carefully remove the bowl from over the simmering water using oven mitts or a kitchen towel. Place it on a heat-safe surface or trivet.
- Continue to stir the chocolate until it is completely smooth and free of any lumps. The residual heat will finish the melting process.
- Allow the melted chocolate to cool for a minute or two. It should still be liquid and easy to work with, but not excessively hot, which could cause the frozen peanut butter eggs to melt too quickly.
Dipping and Finishing Your Peanut Butter Eggs
With your frozen peanut butter eggs and perfectly melted chocolate ready, it’s time for the final, satisfying step:
- Grab your sheet of frozen peanut butter eggs and arrange your workstation. Ensure you have your melted chocolate, a clean fork, and a fresh parchment-lined baking sheet (ideally a cold one, to help the chocolate set faster) ready.
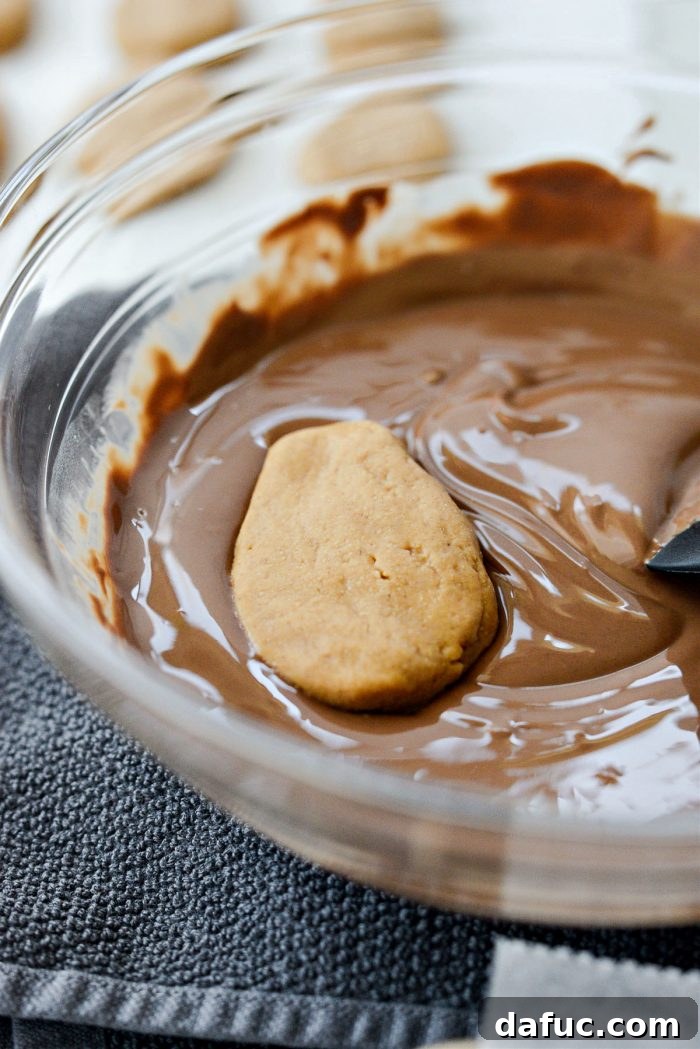
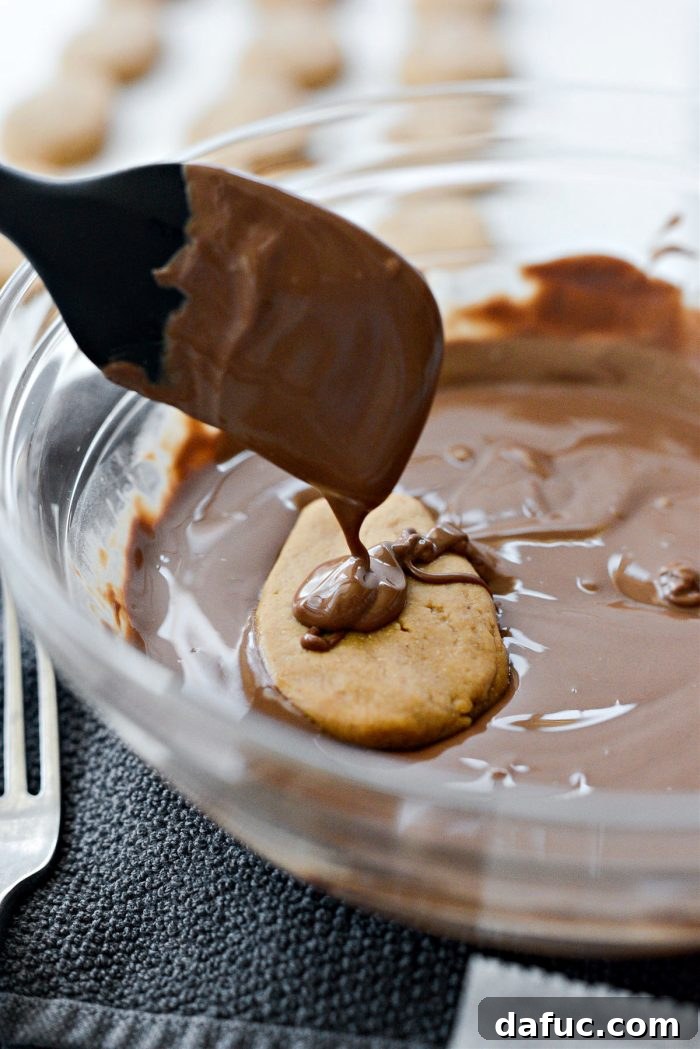
- Working quickly, dip the bottom of one peanut butter egg into the melted chocolate. Then, using a spoon or by drizzling, cover the entire egg with chocolate.
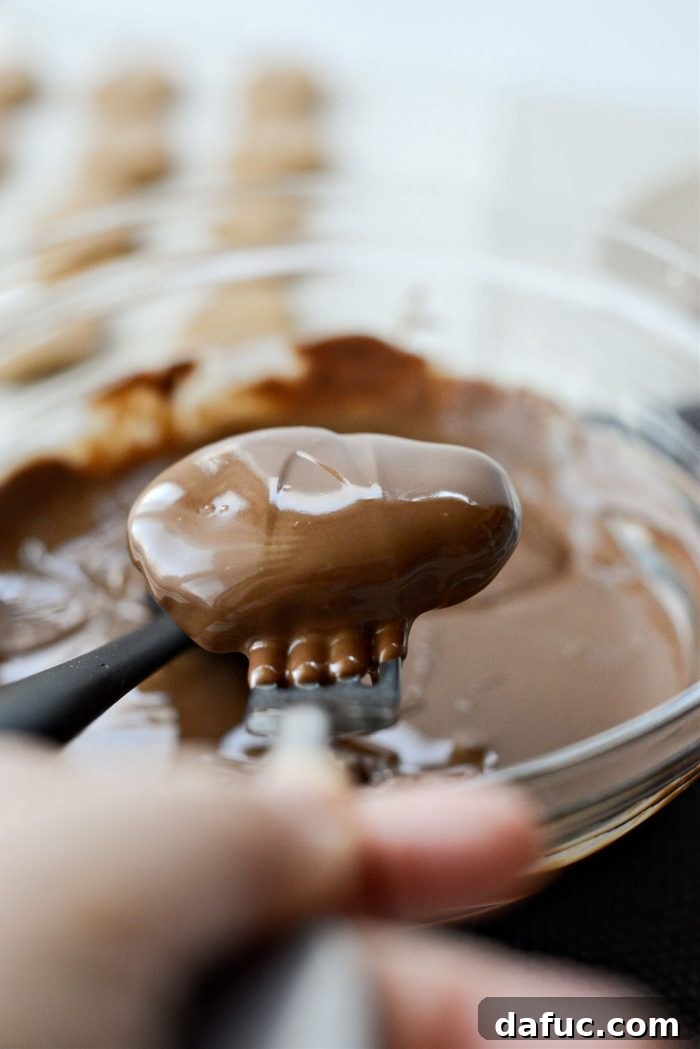
- Carefully lift the chocolate-covered egg out of the bowl with a fork. Gently tap the fork against the side of the bowl to allow any excess chocolate to drip off, ensuring a neat, even coating.
- Place the freshly coated egg back onto the clean parchment paper. The cold pan beneath the parchment will help the chocolate on the bottom set almost instantly.
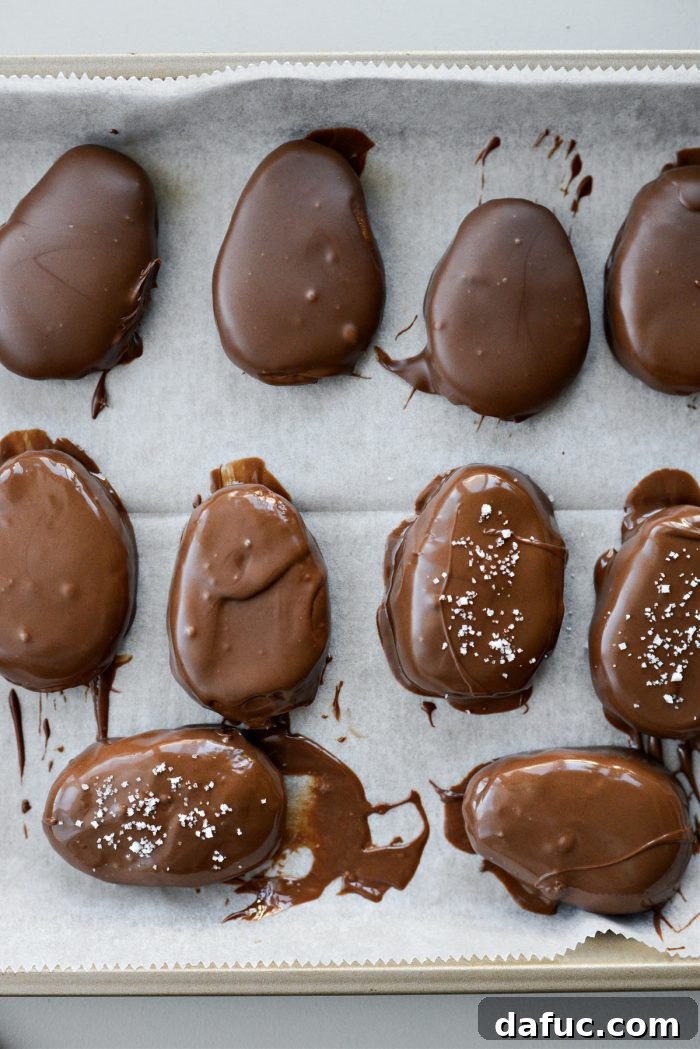
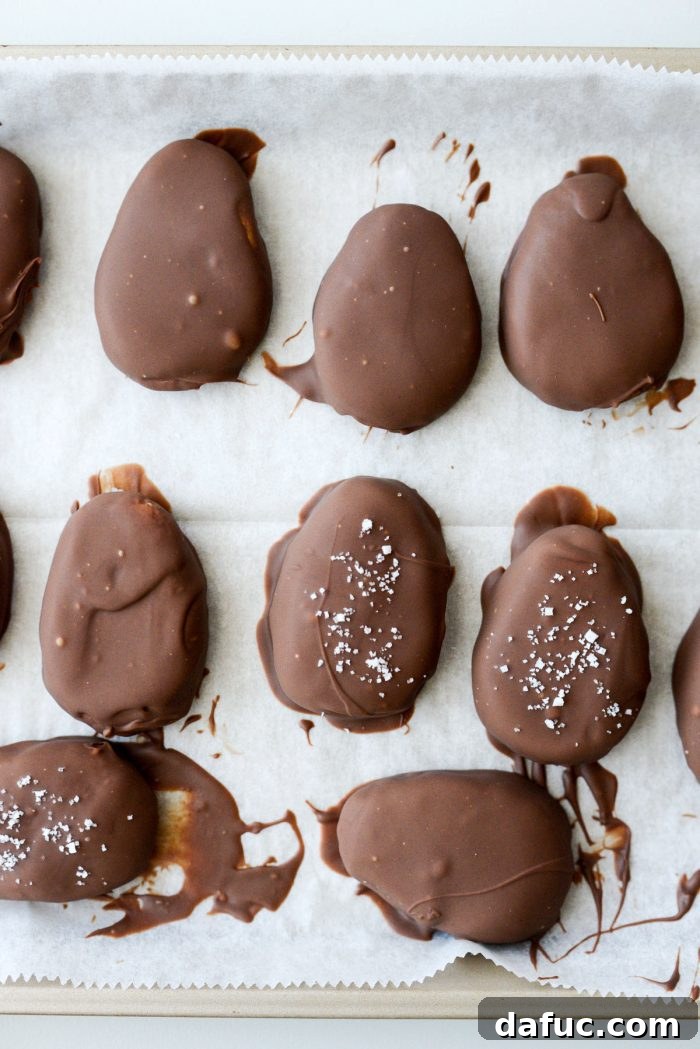
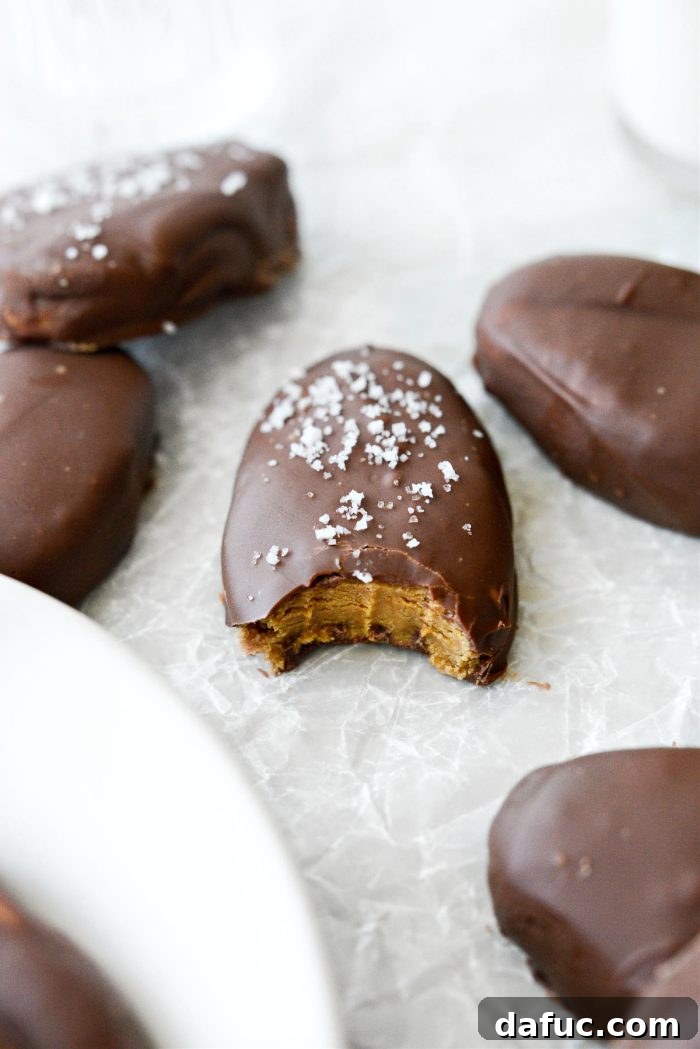
- Repeat this process with the remaining peanut butter eggs. For an extra touch of gourmet flavor, consider sprinkling a tiny pinch of flaky sea salt (fleur de sel) over some of the eggs while the chocolate is still wet – this creates an incredible sweet and salty combination that’s truly addictive!
- Once all the eggs are dipped, transfer the baking sheet back into the fridge or freezer for a final 30 minutes. This will allow the chocolate to fully set and firm up, giving you that satisfying “snap” when you bite into them.
The Verdict: A Homemade Masterpiece!
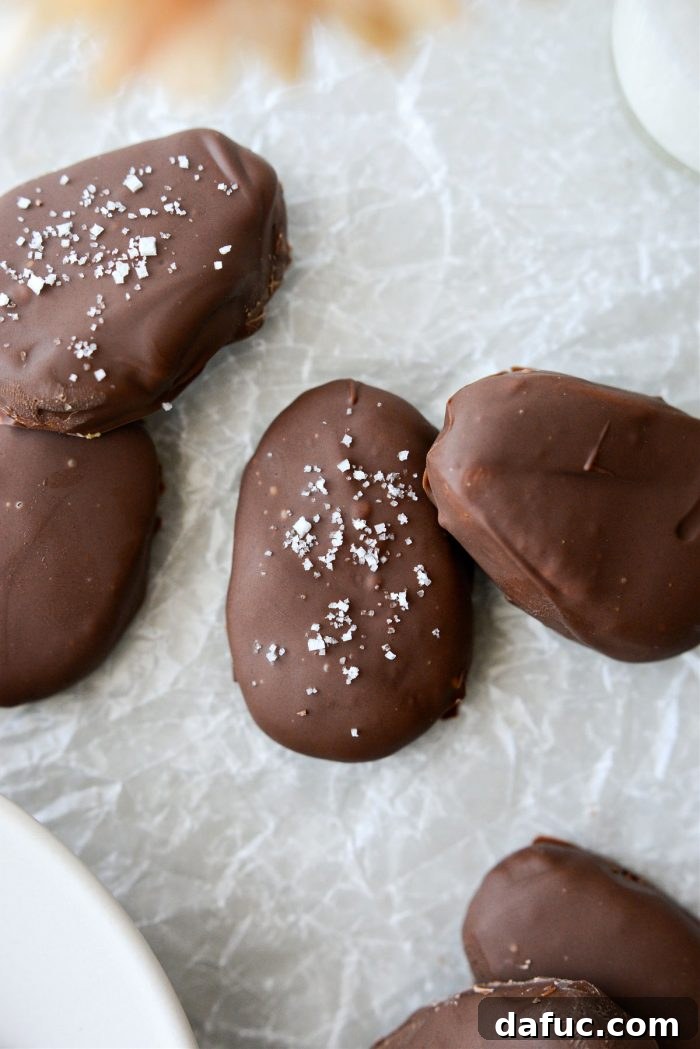
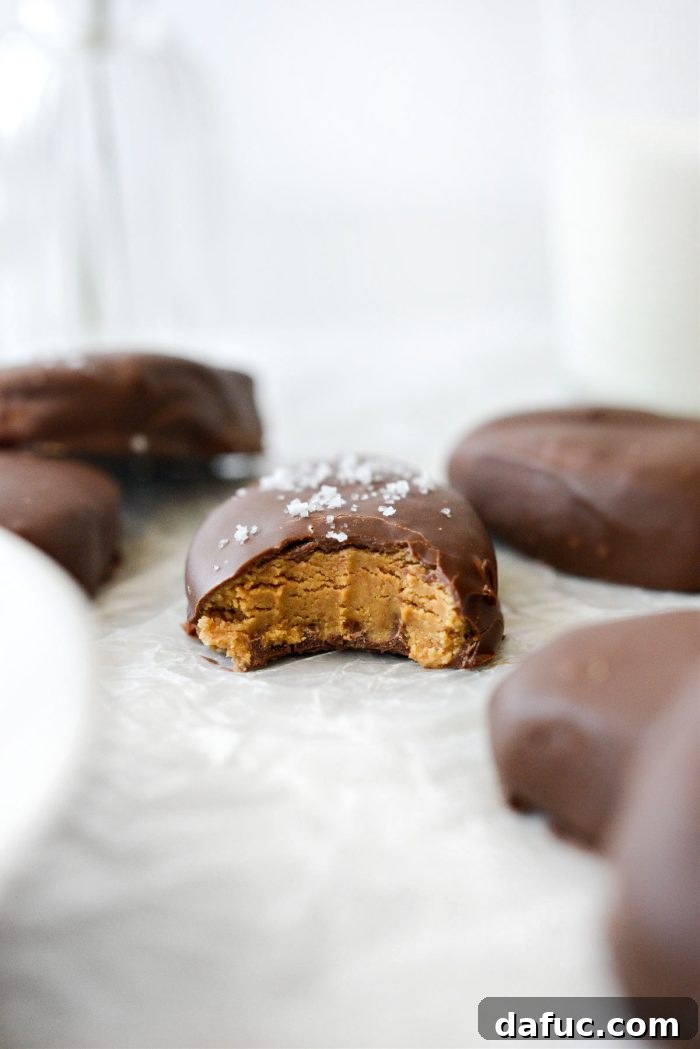
And there you have it! Your very own batch of irresistible homemade peanut butter eggs. The first time I made these, I admit I was a little nervous. After all, “what could possibly beat a Reese’s?” But the reactions were overwhelmingly positive! My daughter, Mal, grabbed one right before heading out for class and absolutely loved them – a definite win! When Pat tried his, he gave me *that look* and declared them “really good” and super close to a Reese’s. I couldn’t agree more; they strike the perfect balance of creamy, sweet, and utterly satisfying. Prepare to fall in love with these homemade chocolate covered peanut butter eggs!
Storage Tips for Your Homemade Peanut Butter Eggs
To keep your delicious homemade peanut butter eggs fresh and delightful, proper storage is key. You can store them in an airtight container in the refrigerator for up to a few weeks. If you’re concerned about them sticking together, you can separate layers with wax paper or parchment paper. For longer storage, these treats freeze beautifully for up to 2 months. Simply thaw them in the refrigerator for a few hours or enjoy them straight from the freezer for a firmer, chilled experience. Though, let’s be honest, they’re so good they probably won’t last that long!
Enjoy Every Bite! If you try this fantastic Homemade Peanut Butter Eggs recipe, I’d love to hear from you! Snap a photo of your creations and tag me on Twitter or Instagram!

Yield: 13 servings
Chocolate Covered Peanut Butter Eggs
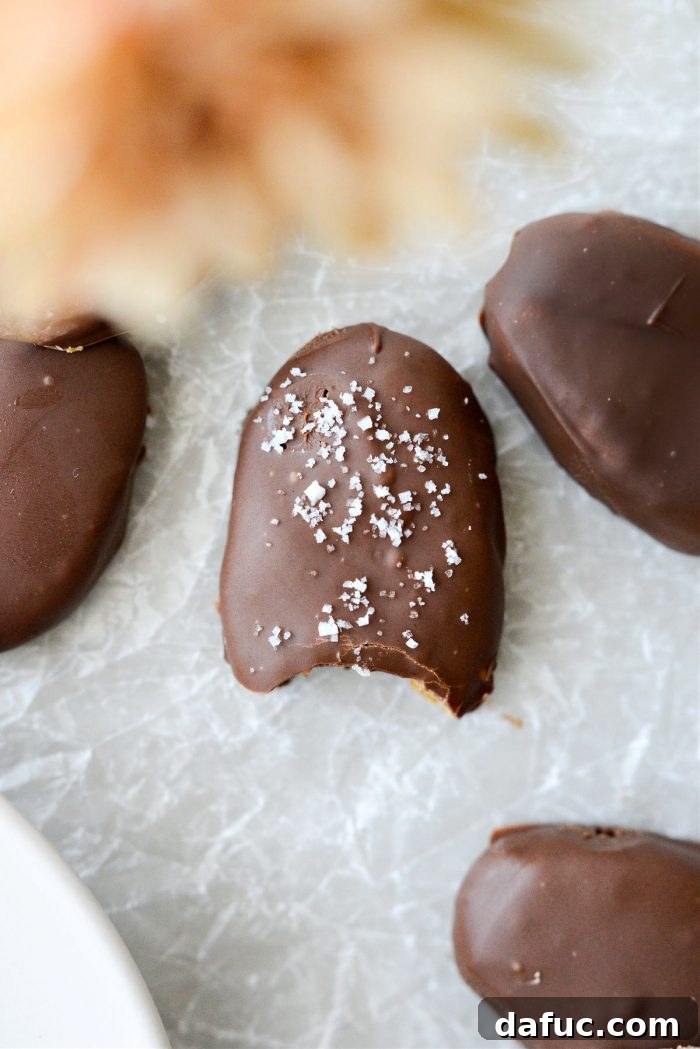
Homemade Peanut Butter Eggs are so easy and, dare I say, better than Reese’s? Simple ingredients like peanut butter, oat flour, maple syrup and vanilla are combined, shaped and dipped in milk chocolate. Perfect for Easter (or any occasion really)! Yields 13 peanut butter eggs.
Prep Time: 10 mins
Chill Time: 2 hrs 30 mins
Total Time: 2 hrs 40 mins
Ingredients
- 1 cup creamy peanut butter (smooth)
- 1 cup oat flour, finely ground
- 1 tablespoon real maple syrup
- 3/4 teaspoon vanilla extract
- 11.5 ounces milk chocolate chips (approx. 1½ cups)
- 1 tablespoon coconut oil
Instructions
- In a mixing bowl, measure and add the creamy peanut butter, oat flour, maple syrup, and vanilla. Stir well to combine until a thick dough forms.
- Cover the bowl and refrigerate for 30 minutes to firm up the mixture.
- Once chilled, use a 1½ tablespoon scoop to measure out each portion. You should get approximately 13 scoops. With clean hands, shape each portion into an egg shape. Freeze the shaped eggs for 1 to 2 hours (2 hours is ideal as warm chocolate can soften them too quickly after just 1 hour).
- Before removing the frozen peanut butter eggs from the freezer, prepare the chocolate coating. Add the milk chocolate chips and coconut oil to a mixing bowl set over a saucepan of shallow simmering water (creating a double boiler).
- Stir gently, being mindful of the steam. Once about 3/4 of the chocolate is melted, carefully remove the bowl from the heat. Continue stirring until the chocolate is completely smooth. Let it cool for a minute or so to prevent it from being excessively hot when dipping the eggs.
- Quickly dip the bottom of an egg into the melted chocolate, then drizzle to cover completely. Use a fork to lift the egg out of the chocolate and gently tap to remove any excess. Place the chocolate-covered egg back onto the parchment-lined, cold pan. The cold surface will help the chocolate set quickly. Repeat with all remaining eggs.
- Optionally, sprinkle a pinch of flaky sea salt on top of some eggs while the chocolate is still wet for a sweet and salty touch.
- Pop the finished eggs into the fridge or freezer for 30 minutes to ensure the chocolate is fully set and firm.
- Refer to the recipe notes for detailed storage guidelines.
Notes
Nutrition Disclaimer: All information presented on this site is intended for informational purposes only. I am not a certified nutritionist, and any nutritional information shared here should only be used as a general guideline.
*Keep in mind the nutritional value provided includes the entire amount of chocolate chips. You will not use all the melted chocolate when dipping, so the actual caloric intake per egg will be slightly lower than indicated.
Nutrition Information
Serving: 1 egg
Calories: 295 kcal
Carbohydrates: 28 g
Protein: 6 g
Fat: 19 g
Saturated Fat: 8 g
Polyunsaturated Fat: 3 g
Monounsaturated Fat: 5 g
Sodium: 87 mg
Potassium: 222 mg
Fiber: 2 g
Sugar: 17 g
Calcium: 34 mg
Iron: 1 mg
Author: Laurie McNamara
Course: Desserts & Sweet Treats
Cuisine: American