
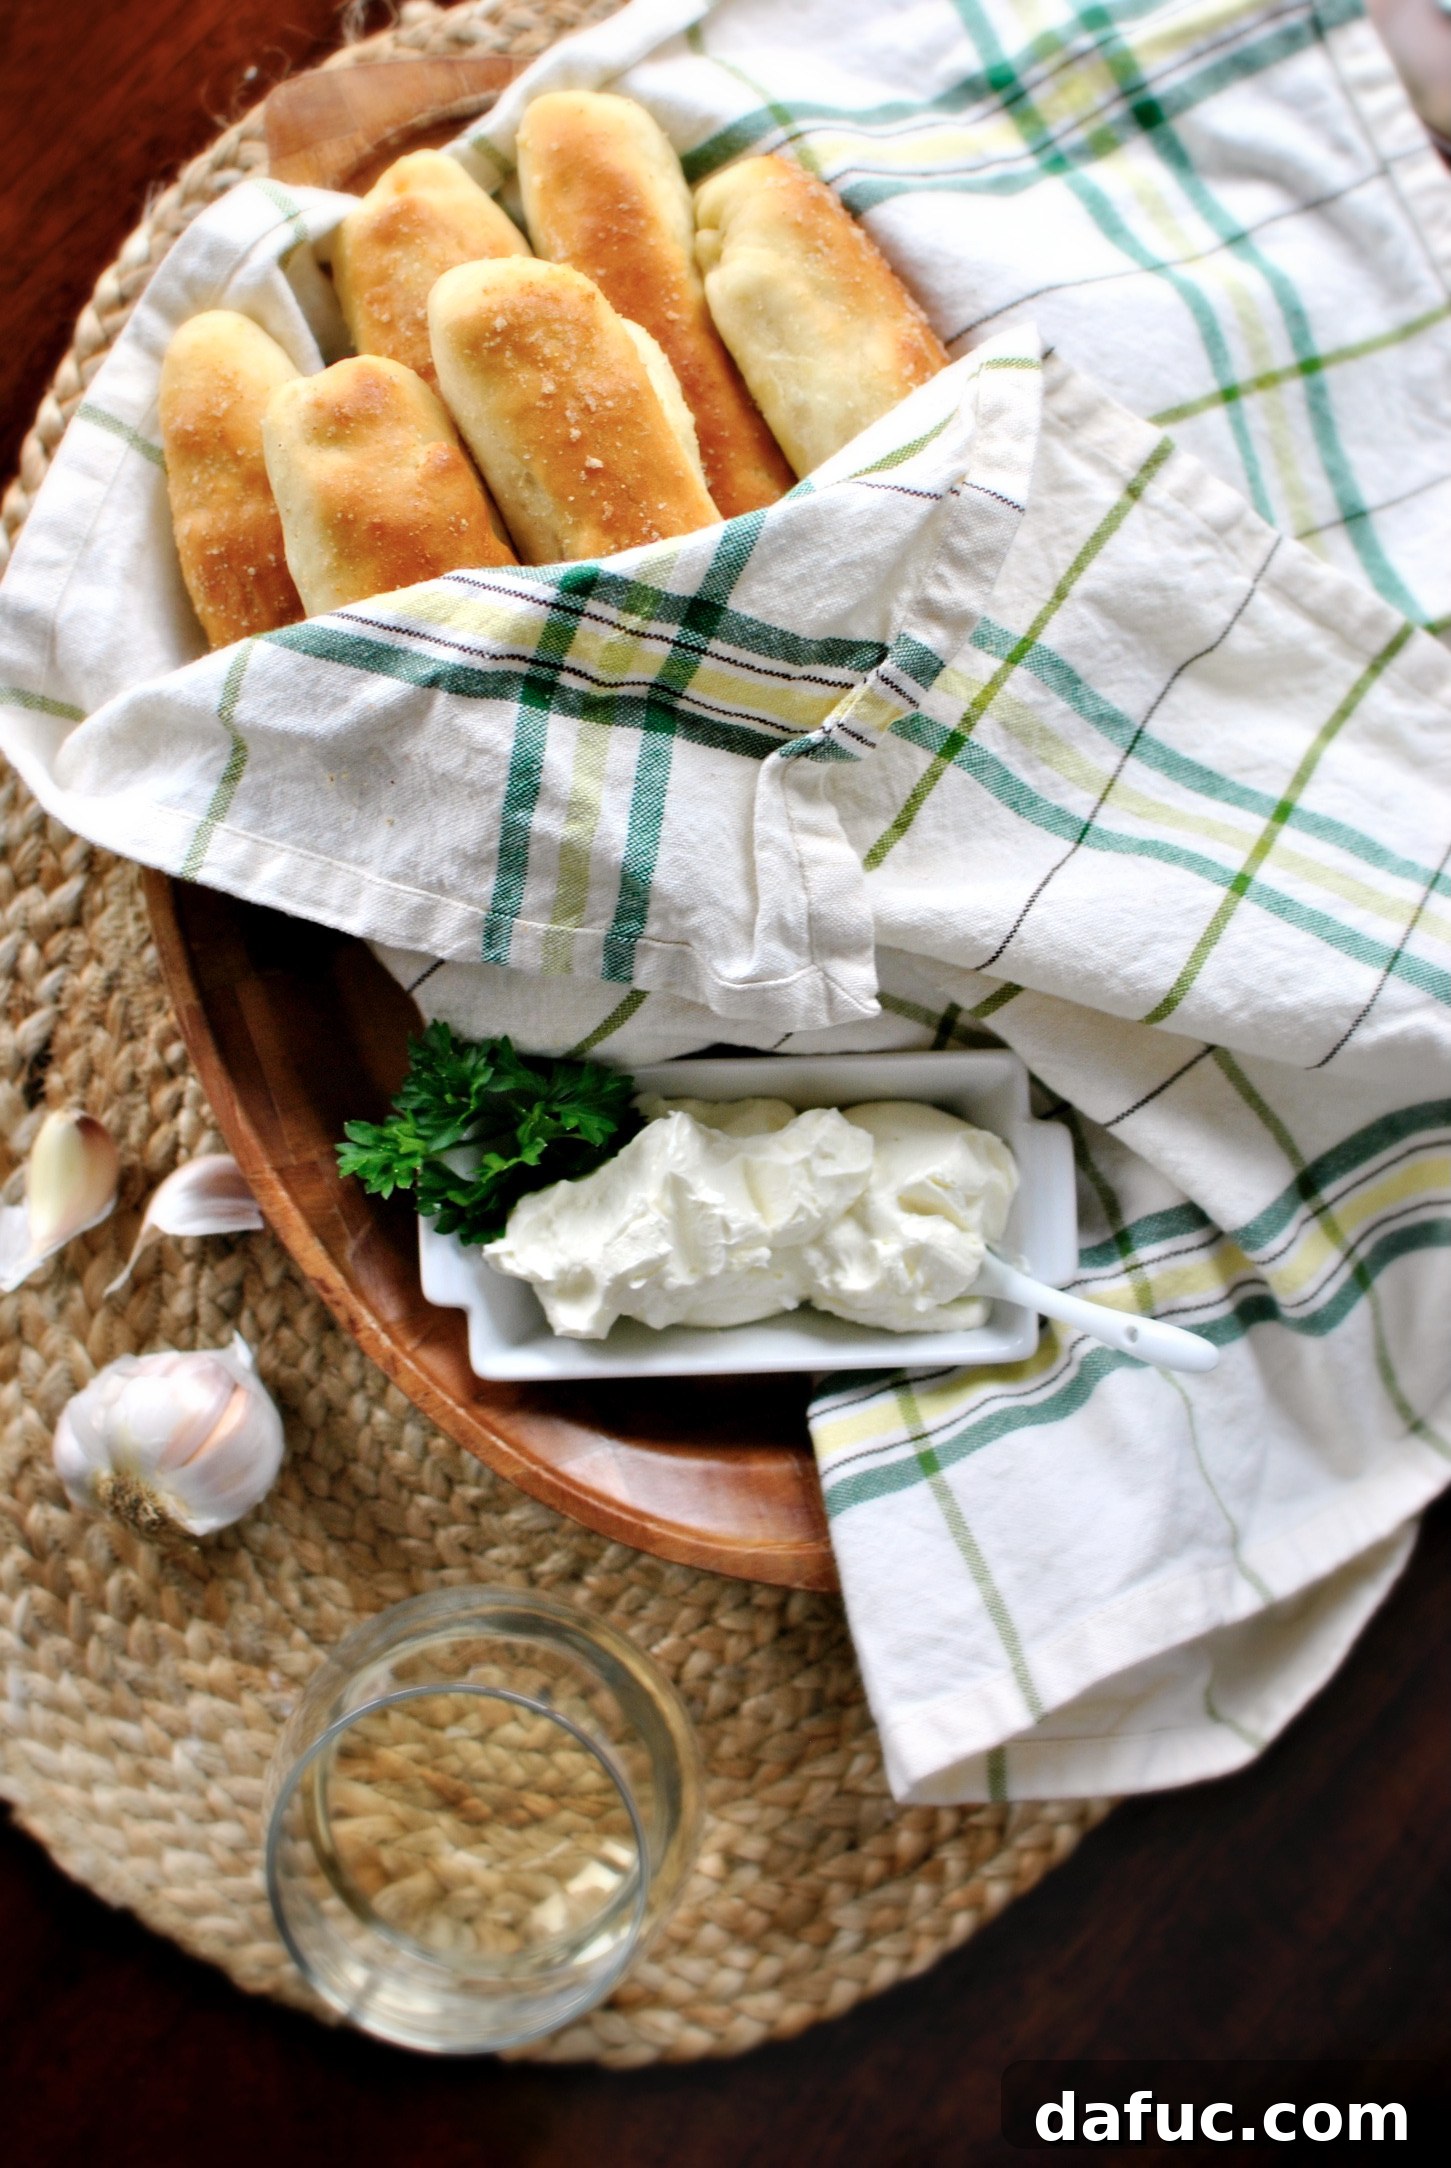
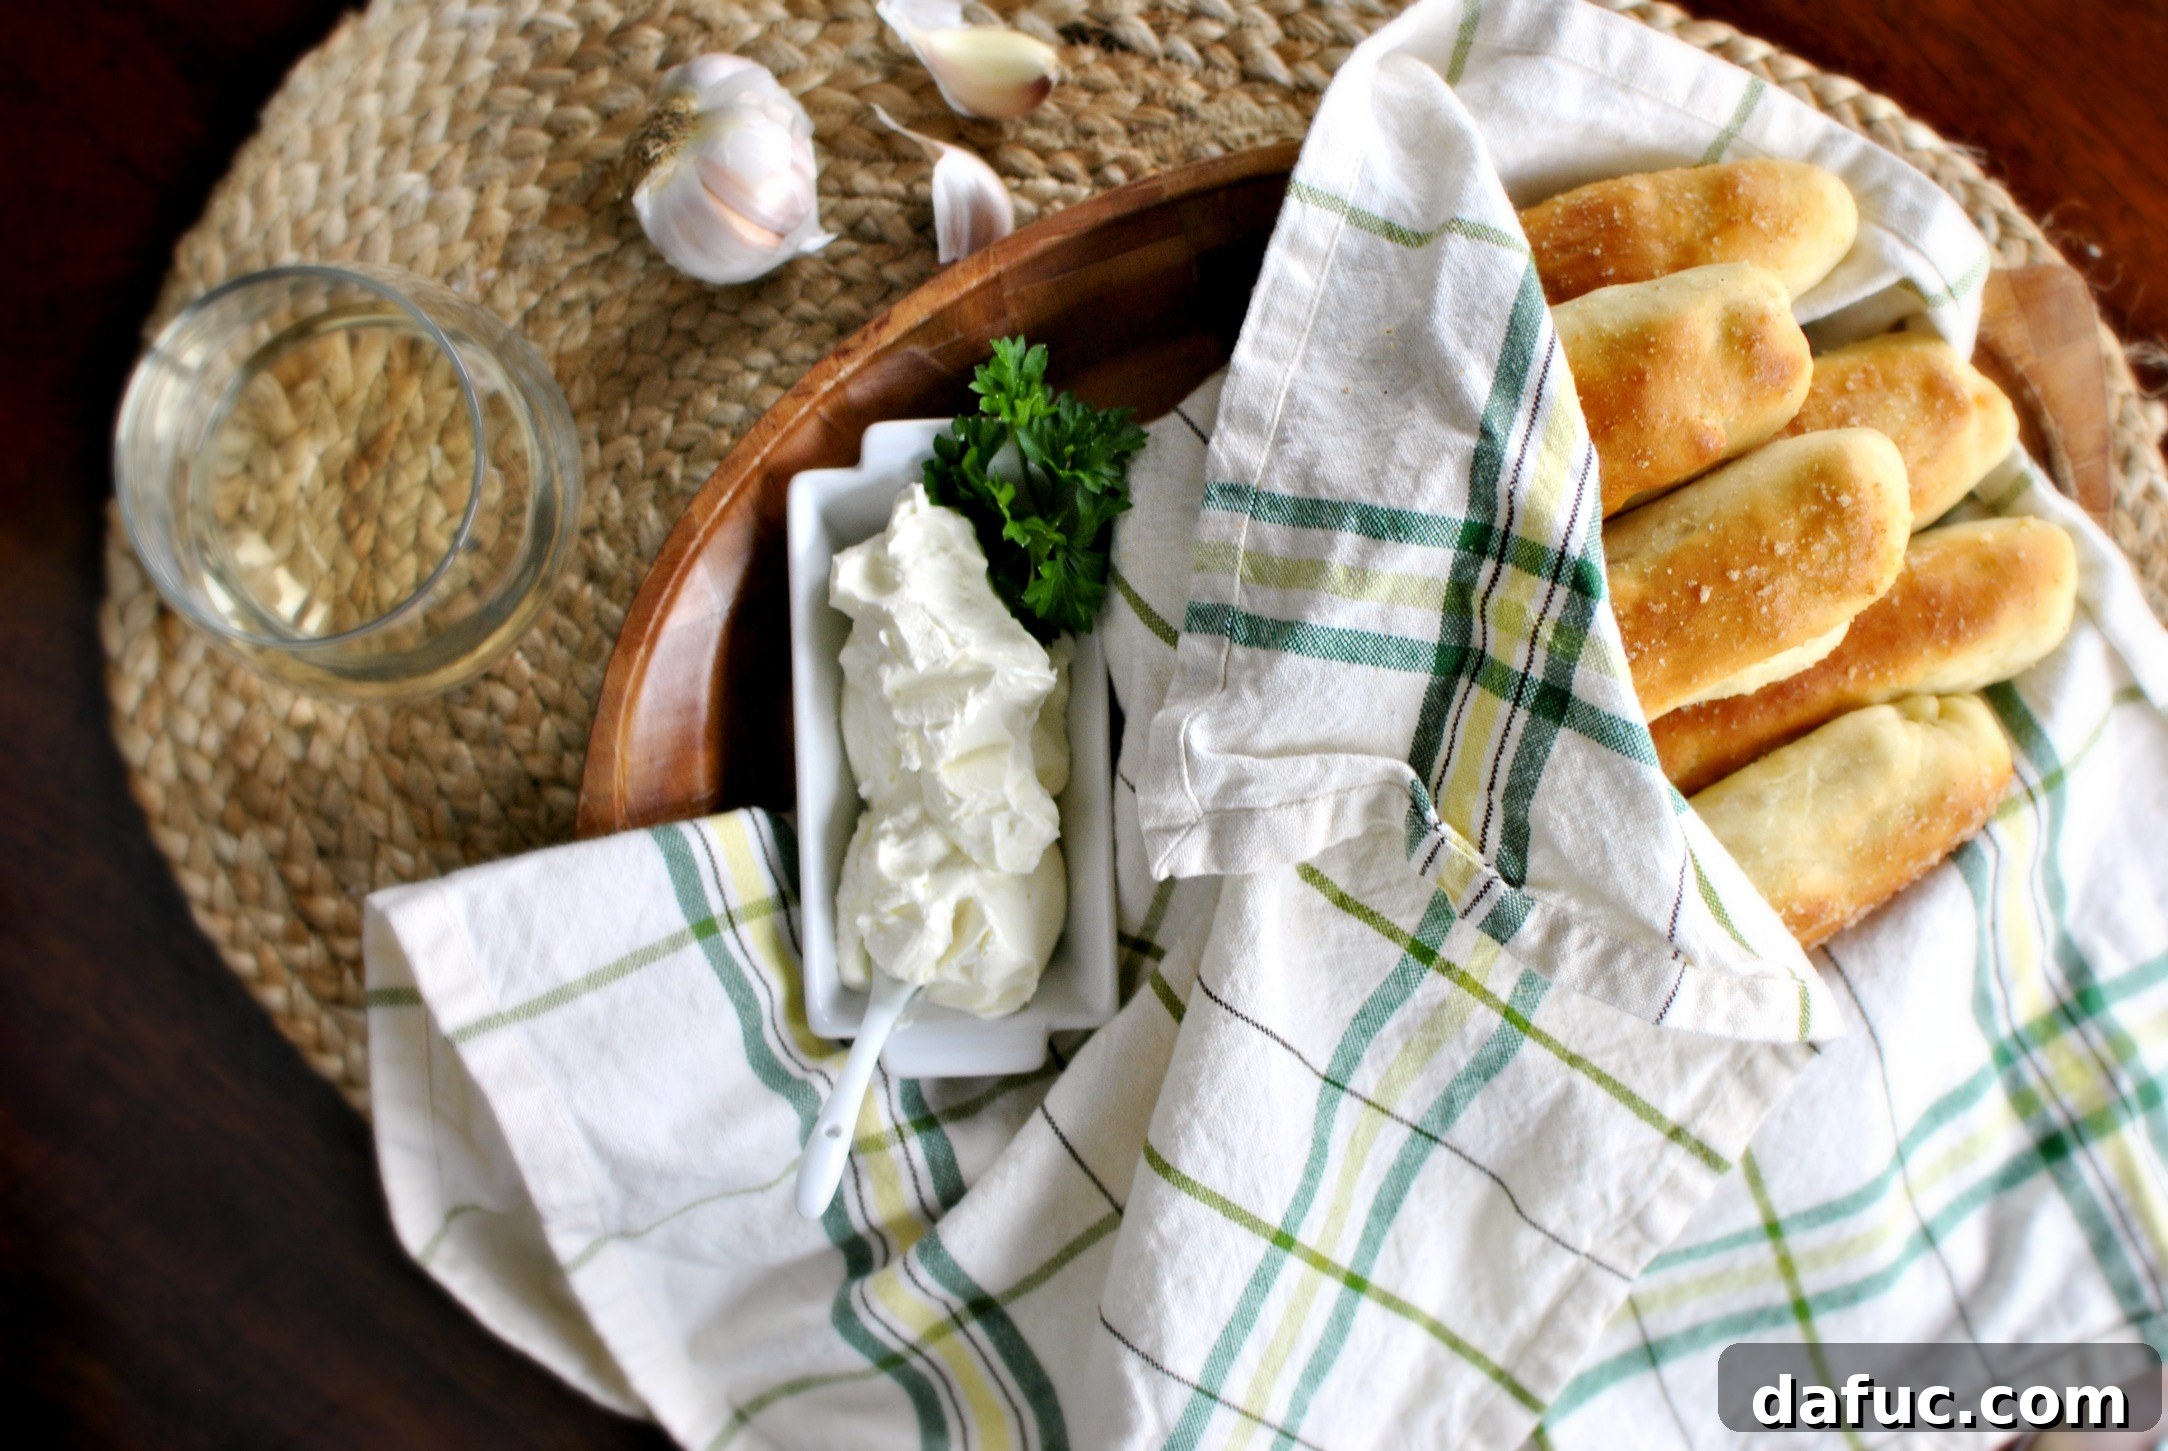
There’s an undeniable magic in the simple pleasure of fresh, warm, homemade bread. Imagine soft, pillowy breadsticks, baked to golden perfection, pulled straight from the oven, and ready to be dipped into a cool, creamy, exquisitely garlicky cheese dip. It’s an experience that truly has no equal – a symphony of textures and flavors that transforms an ordinary meal into something extraordinary. This isn’t just a recipe; it’s an invitation to create comforting memories and savor the rewarding process of baking from scratch.
For many, the thought of baking bread can be daunting. The yeast, the rising, the kneading – it all sounds a bit intimidating. But I’m here to tell you that with a straightforward approach and a little patience, anyone can master the art of homemade breadsticks. This recipe is designed to demystify bread-making, making it accessible and enjoyable for even novice bakers. Forget those store-bought versions; once you taste the difference, you’ll never look back. The rich aroma filling your kitchen alone is worth the effort, but the taste? Absolutely divine.
The Irresistible Allure of Homemade Breadsticks
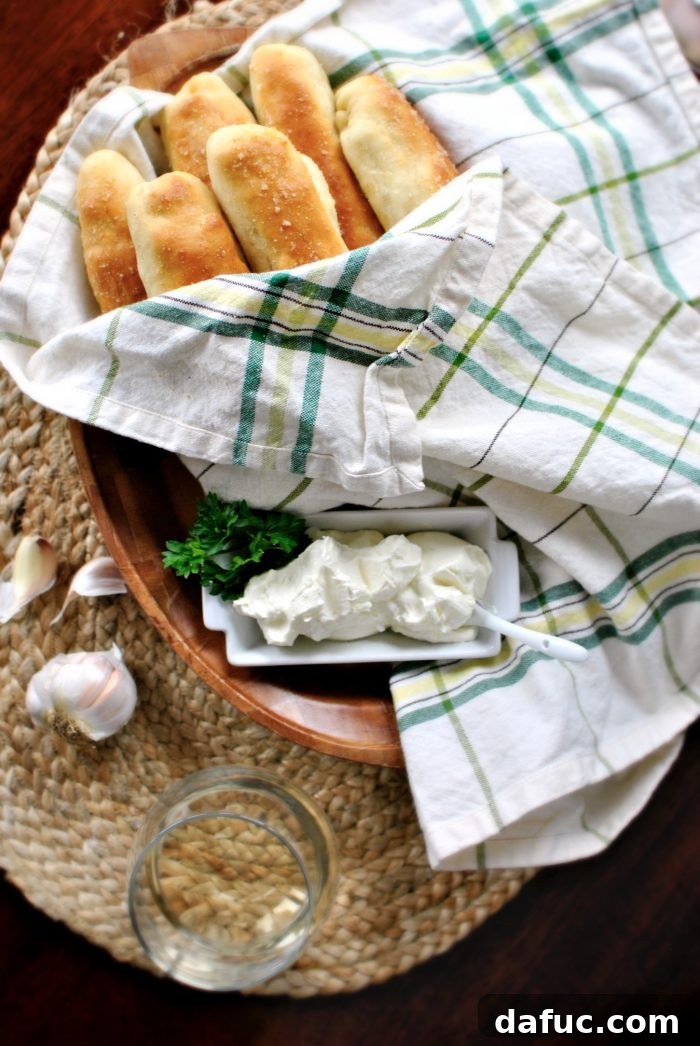
Breadsticks hold a special place in our hearts for their incredible versatility and comforting appeal. They are an essential accompaniment to a hearty bowl of spaghetti or your favorite pasta dish, perfect for soaking up every last drop of flavorful sauce. Leftovers (if there are any!) reheat beautifully for a quick and satisfying snack. But where these breadsticks truly shine is alongside a hot pizza, especially when paired with our sensational garlic cheese dip. It’s a combination that elevates any casual meal into a delightful feast.
Many people find the idea of making bread from scratch to be a challenge, a culinary frontier best left unexplored. I once felt the same way. However, I discovered that the more you push yourself to try, the more confident and skilled you become. It’s a journey of learning, and each successful loaf or batch of breadsticks builds your confidence. So, I wholeheartedly encourage you to take the plunge. Dive into this recipe and discover the pure joy and satisfaction of creating these truly fantastical, homemade breadsticks.
Gathering Your Simple Ingredients for Amazing Results
The beauty of this recipe lies in its simplicity. You’ll need only basic pantry staples to create something truly extraordinary. Don’t be fooled by the humble list; these everyday ingredients combine to form a flavorful foundation for our beloved breadsticks. A few simple measurements, a little mixing, and some patience are all that stand between you and a batch of warm, garlicky goodness. Let’s get started on bringing these incredible flavors to life!
First, measure two tablespoons of honey and add it into the bowl of your stand mixer. Honey not only adds a touch of sweetness but also helps activate the yeast and gives the breadsticks a beautiful golden hue. Next, pour in one and a half cups of warm water. The temperature is crucial here; aim for water between 110-120 degrees Fahrenheit. If it’s too cold, the yeast won’t activate; too hot, and it will kill it. Sprinkle one packet of active dry yeast (about 2¼ teaspoons) over the warm water and honey mixture. Let this sit for about 5-7 minutes. You’ll see the yeast begin to “bloom” or foam on the surface, indicating it’s alive and ready to work its magic. This process is called proofing the yeast, and it’s a vital step for light and airy breadsticks.
While your yeast is proofing, prepare your dry ingredients. In a large separate bowl, combine 4¼ cups of unbleached all-purpose flour with one tablespoon of kosher salt. Give these dry ingredients a good whisk to ensure they are thoroughly combined. This even distribution of salt is important for flavor in every bite of your homemade breadsticks. Once your yeast mixture is foamy, carefully pour the flour and salt mixture into the mixing bowl with the yeast. Next, melt two tablespoons of unsalted butter in a small saucepan over low heat until fully liquid. Once melted, add this golden butter to your mixing bowl. The butter will contribute to the rich flavor and tender crumb of the breadsticks.
Creating the Perfect Dough
Now, it’s time to bring it all together. Attach the dough hook to your stand mixer and mix on low speed. Watch as the ingredients combine and a dough ball begins to form. Continue mixing until the dough pulls cleanly away from the sides of the mixing bowl and forms a large, smooth, elastic ball. This typically takes about 5-7 minutes. If the dough seems too sticky, add a tablespoon of flour at a time until it reaches the desired consistency. Conversely, if it’s too dry, add a teaspoon of warm water until it becomes pliable. The key is to achieve a dough that is soft, smooth, and no longer tacky.
Once your dough is perfectly formed, remove it from the bowl and gently shape it into a rectangle on a lightly floured surface. Now, divide the dough into 12 to 18 even sections. The number of sections depends on your desired breadstick size – opt for 12 for larger, more substantial breadsticks, or 18 for thinner, more delicate ones. Take each section and roll it between your hands to form a smooth, uniform “breadstick” shape. Don’t worry about perfection; rustic charm is part of homemade appeal! Place the shaped breadsticks onto a baking sheet lined with parchment paper or a silicone baking mat. Cover them with a damp towel and place the baking sheet in a warm spot in your kitchen. Let them rise for approximately one hour. During this time, the yeast will continue to work, causing the breadsticks to double in size, becoming light and airy.
The Heavenly Garlic Cheese Dip: A Perfect Companion
While your homemade breadsticks are rising, you can whip up the truly exceptional garlic cheese dip. This creamy, cold dip is the ideal counterpoint to the warm, savory breadsticks, creating a flavor combination that is simply irresistible. Whether you call it a dip or a spread, its rich, garlicky flavor will leave you craving more.
Like all truly good things, this dip starts with a softened 8-ounce block of cream cheese. Ensuring the cream cheese is at room temperature will make it much easier to mix to a smooth consistency. Next, for that essential garlicky punch, I recommend using a garlic press. Take one good-sized clove of fresh garlic and press it directly into the bowl with the cream cheese. A garlic press not only finely mashes the garlic, but it also extracts all those flavorful garlic juices, which are often missed when simply mincing with a knife. This ensures a potent and delicious garlic flavor that permeates the entire dip. After adding the garlic, pour in a couple of tablespoons of whole milk. The milk helps achieve a luscious, spreadable consistency. Mix everything together thoroughly, adding more milk one tablespoon at a time if necessary, until the dip reaches your desired creaminess. Once mixed, cover the dip and refrigerate it until you’re ready to serve with your freshly baked breadsticks. Chilling the dip allows the flavors to meld beautifully and provides a refreshing contrast to the warm bread.
Baking Your Masterpiece: Golden Breadsticks with Garlic Butter
After an hour, take a moment to admire your risen breadsticks! They should look wonderfully plump and ready for the oven. But before they go into the heat, we need to give them a delicious final flourish – a savory garlic butter topping that takes them to the next level.
In the same small saucepan you used earlier, melt six tablespoons of unsalted butter over low heat. Once melted, remove from heat and stir in one teaspoon of kosher salt and one teaspoon of garlic powder. This mixture will create a fragrant and flavorful coating for your breadsticks. Grab a pastry brush – it will be your best friend for this step. Generously brush the buttery garlic mixture over the top of each breadstick. Ensure an even coating, as this contributes to both flavor and a beautiful golden crust.
Preheat your oven to 400°F (200°C). Once hot, carefully place the baking sheet with the breadsticks into the oven and bake for 6 minutes. After this initial bake, remove the breadsticks from the oven and give them another generous brush with the remaining garlic butter mixture. This double application locks in moisture and amplifies the garlicky flavor. Return them to the oven and bake for an additional 6 to 8 minutes, or until they are golden brown and cooked through. Keep an eye on them, as oven temperatures can vary. I often find it helpful to rotate the pan halfway through the second baking stage to ensure even browning. For an extra boost of flavor and shine, I like to give them one final brush with any leftover garlic butter as soon as they emerge from the oven, still sizzling hot.
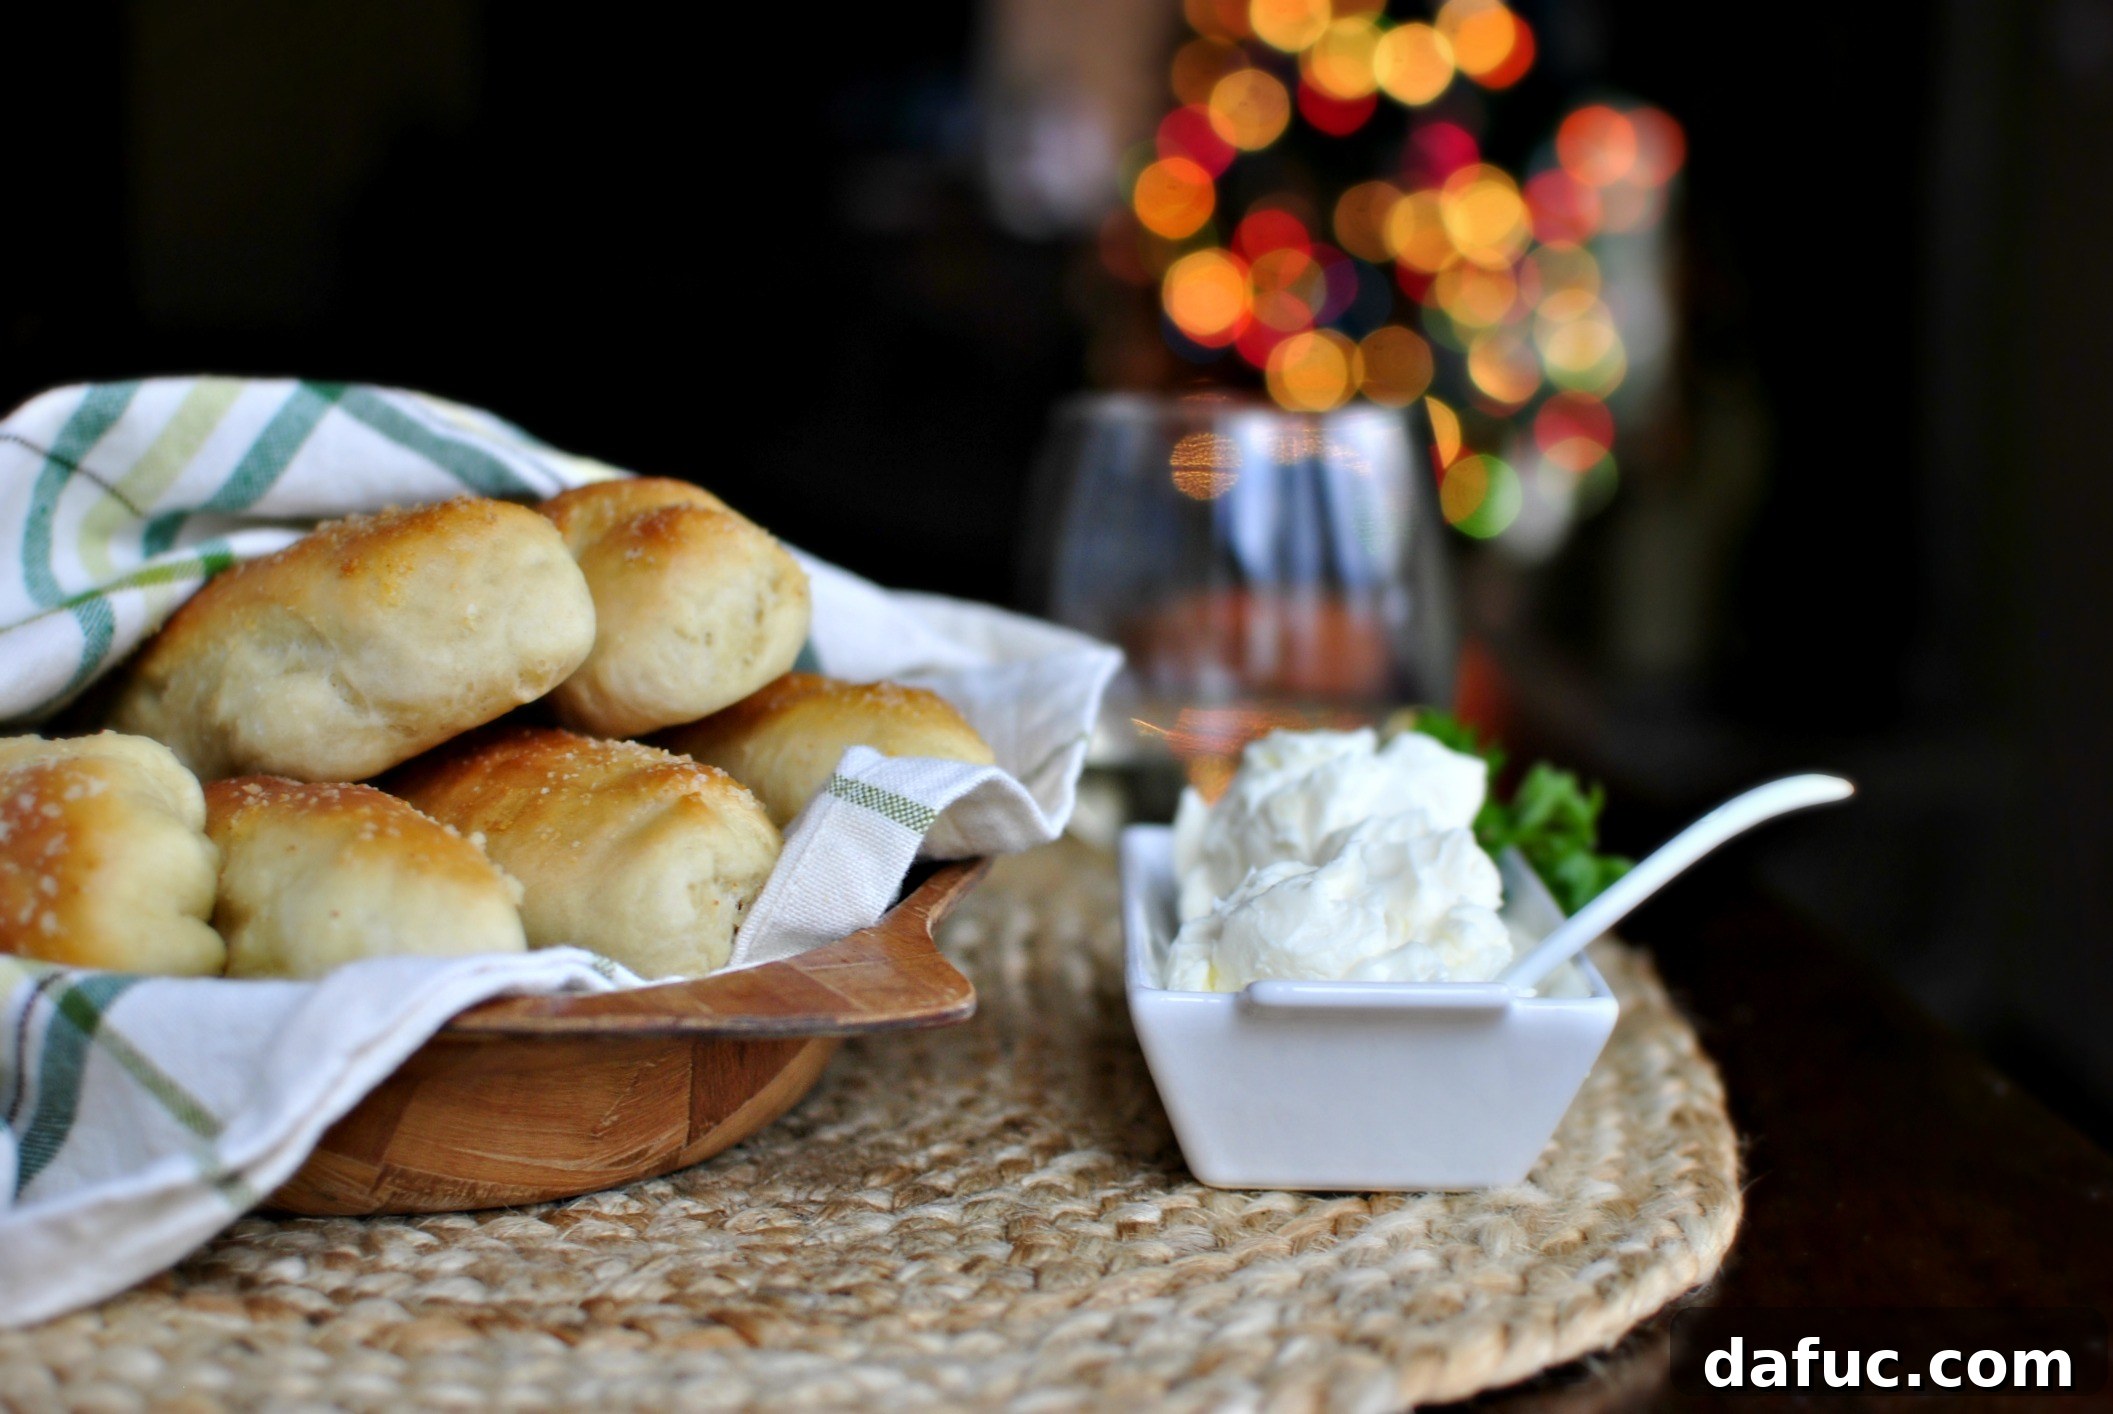
The moment has arrived! Serve these incredible homemade breadsticks immediately, still warm from the oven, alongside your chilled garlic cheese dip. The contrast between the soft, warm bread and the cool, creamy dip is truly a culinary delight. Put on some quaint Italian restaurant music, gather your loved ones, and savor every garlicky, buttery, cheesy bite. Enjoy the fruits of your labor!
Homemade Breadsticks with Garlic Cheese Dip Recipe
Print Recipe
Pin Recipe
Yield: 18 servings
Homemade Breadsticks with Garlic Cheese Dip
Soft, warm straight-out-of-the-oven, homemade breadsticks with a cold garlicky dip. There’s nothing quite like it. Serve with your pizza or pasta!
Prep Time: 1 hr 20 mins
Cook Time: 15 mins
Total Time: 1 hr 35 mins
Ingredients
FOR THE BREADSTICKS:
- 2 tablespoons honey
- 1½ cups warm water, between 110 – 120° F
- 2¼ teaspoons active dry yeast, or 1 envelope
- 4¼ cups unbleached all-purpose flour
- 1 tablespoon kosher salt
- 2 tablespoons unsalted butter, melted
BREADSTICK TOPPING:
- 6 tablespoons unsalted butter, melted
- 1 teaspoon kosher salt
- 1 teaspoon garlic powder
FOR THE GARLIC CHEESE DIP:
- 8 ounces cream cheese, softened
- 1 clove garlic, grated or squeezed in a garlic press
- 2 tablespoons whole milk, or more as needed to thin cheese dip
Instructions
MAKE THE BREADSTICKS:
- In the bowl of your mixer; combine the honey, warm water and yeast. Let that sit for 5 minutes to proof.
- In a large bowl; combine the flour and salt. Add the flour mixture to the mixing bowl.
- Add in the two tablespoons of melted butter. Turn your mixer (fitted with a dough hook) on low speed until the dough forms a ball and pulls freely from the sides of the bowl.
- Form the dough into a rectangle and cut evenly into 12 to 18 pieces depending on the size of breadsticks you’re after. Roll each piece between your hands to form a smooth breadstick shape.
- Place on a silpat or parchment lined rimmed baking sheet and cover with a damp towel. Place the pan in a warm spot to rise for one hour.
- In a small saucepan, melt six tablespoons of unsalted butter over low heat. Add in the teaspoon of kosher salt and garlic powder. Stir and brush over the risen breadsticks.
- Pop the breadsticks in a preheated 400 degree oven to bake for 6 minutes. Remove and brush with more of the butter/garlic mixture and return them back to the oven for 6-8 more minutes. You can brush one last time right when they come out of the oven if that’s what your heart desires!
- Serve warm.
MAKE THE GARLIC CHEESE DIP:
- In a medium bowl combine the cream cheese, garlic and gradually add in the milk stopping when it has reached a spreadable consistency.
Nutrition Information (per 1 breadstick serving): Calories: 209kcal, Carbohydrates: 26g, Protein: 5g, Fat: 10g, Saturated Fat: 6g, Polyunsaturated Fat: 1g, Monounsaturated Fat: 2g, Trans Fat: 1g, Cholesterol: 27mg, Sodium: 561mg, Potassium: 71mg, Fiber: 1g, Sugar: 2g, Vitamin A: 328IU, Vitamin C: 1mg, Calcium: 22mg, Iron: 1mg
Author: Laurie McNamara
Course: Appetizers & Snacks, Breads & Baked Goods
Cuisine: American
If you give this homemade breadsticks recipe a try, I’d love to hear about it! Snap a photo and tag me on Twitter or Instagram! Your creations inspire me.
Looking for more easy and wholesome recipes? My cookbook Simply Scratch: 120 Wholesome Homemade Recipes Made Easy is now available! CLICK HERE for details and thank you in advance for your support!
[This post contains affiliate links.]