Cookout Recipes
From-scratch Pickled Banana Peppers at Home
Got peppers? How about making your own from-scratch pickled banana peppers? I haven’t seen my counter tops in weeks. So that might be a teensy bit of an exaggeration. But between my neighbor Charlie and his
- Serves 1 jar
- Prep 1 hour
- Total 1 hour
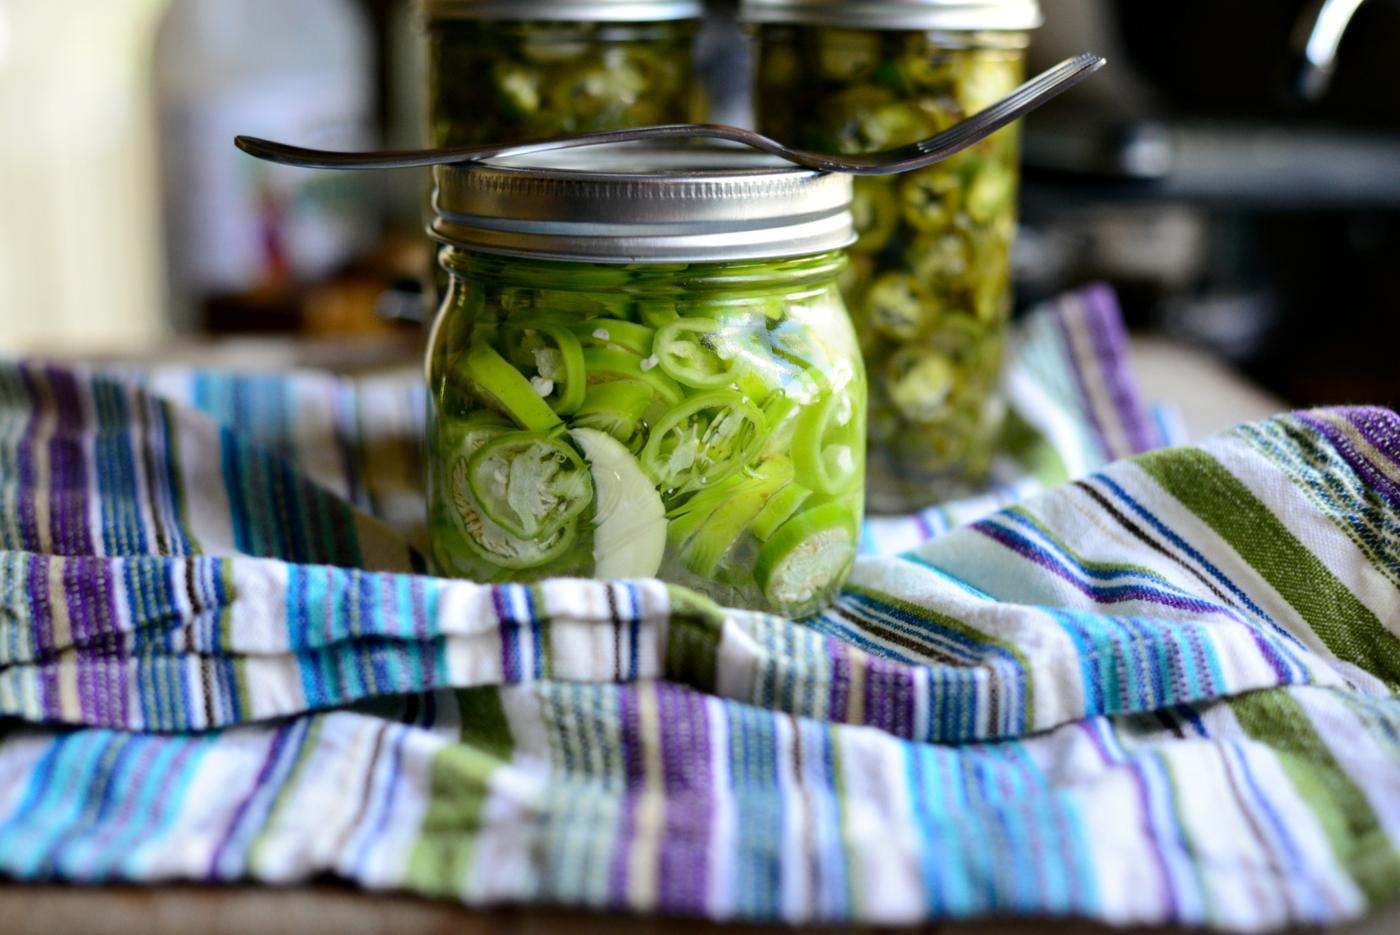
Got peppers? How about making your own from-scratch pickled banana peppers?
I haven’t seen my counter tops in weeks.
So that might be a teensy bit of an exaggeration. But between my neighbor Charlie and his Cadillac-sized zucchinis and our friends Craig and Kelly… my counters have been covered in garden produce. Not that I’m complaining or anything. 🙂
From our friends garden I was given a bunch of these greenish yellowish peppers.
So I did a little Google search to find out exactly what kind of peppers these were. I came back only as confused. They may be banana peppers they may be Hungarian wax {maybe a little of each?}. Luckily either can be used in this method, the Hungarian Wax being the spicier option which is what we prefer. I took a sampling of one and they were a smidgen spicy but nothing like a jalapeno.
So yeah I guess these from-scratch pickled banana peppers that are genuinely pickled Hungarian wax? Maybe both? Honestly simply use whichever you like or have growing in your garden this summer. And if you’re like me and can’t genuinely tell the difference simply throw them both together and have a mixed batch.
To Make These Pickled Banana Peppers Set out:
- Banana or Hungarian Wax peppers
- garlic
- distilled white vinegar
- water
- salt
- sugar
Start by washing, drying and slicing 1 pound of banana or {Hungarian wax} peppers. I didn’t have a full pound so I simply adjusted the amounts. However I’ve given the full recipe in the printable at the end of this post.
Throw a smashed and peeled garlic clove into a jar.
At first I couldn’t find a jar to hold this batch so that’s why you see two smaller jars. I split large garlic clove in half and put one half in each jar. Moments later I found the jar {behind my coffee mugs} so I added them to the larger jar. Clearly I need to reorganize my cupboards.
Add the sliced peppers to the jar with the garlic.
In a medium pot add in 3 cups of vinegar plus two cups of water.
Measure and add in two tablespoons of kosher salt and one tablespoon sugar.
Bring it to a boil, stirring until the sugar and salt have dissolved then remove off of the heat. For crisp pepper rings allow the pickling liquids to cool before pouring over top.
Once cooled, pour the liquids over top of the pepper slices. Wouldn’t you know it was at this point that I found the larger jar so I simply combined the two smaller jars into the larger one.
That’s all folks!
At this point they still are little on the green side, but as they sit in the fridge they will turn that familiar yellow color and get even more memorable.
A REGULAR HERE these kitchen-made pickled banana peppers! Sweet and spicy and dependable on top of pizza, salads, hot dogs… straight out of the jar with a fork. Truly, the list goes on. Now go on and get your pickled-pepper-on.
Simply like my pickled jalapeno recipe (those are them, pictured in the background) I would treat this jar as you would refrigerator pickles and will lose their pungency and heat as the jarred peppers become past their prime.
How To Store From-scratch Pickled Banana Peppers:
Store in an air-tight container and keep refrigerated.
How long Will Kitchen-made Pickled banana Peppers Last?
If stored properly, kitchen-made banana peppers will last 2 to 3 weeks.
Enjoy! And if you give this Pickled Banana Pepper recipe a try, let me know! Snap a photo and tag me on twitter or instagram!
The recipe
Peppers: From-scratch Pickled Banana
Short refrigerated pickled banana peppers. Crisp, savory with a smidgen of heat!
- Serves 1 jar
- Prep 1 hour
- Total 1 hour
Ingredients
- 1 pound banana or Hungarian wax peppers (washed and sliced {about 10-12 peppers))
- 1 large clove fresh garlic (smashed and peeled)
- 3 cups distilled white vinegar
- 2 cups water
- 2 tablespoons kosher salt
- 1 tablespoon sugar
Method
- 1
In a medium pot add the vinegar, water, salt and sugar. Bring to a boil, stirring until the sugar and salt dissolve. Allow to cool.
- 2
Meanwhile add a clove of smashed and peeled garlic clove along with the pepper slices into a pint-size glass mason jar or whichever sized jar you seem fits go-to.
- 3
Ladle the cooled pickling liquids over top and secure the lid. Refrigerate for 18 to 24 hours before using.
From the cook
It is in no way a canning expert, please be sure to follow the USDA guidelines. FOR CANNING: To can these start by following standard canning procedures. Like boiling jars and lids for at least 5 to 8 minutes. Then add in the garlic clove and pack the peppers into a jar and pour in the brine leaving a 1/2 inch to 1 inch space from the top. Run a knife or fork around the inside parameter of the jar to remove any air bubbles. Screw on the caps, place into a pot with water that covers the jar(s) completely and bring to a boil for 10-15 minutes. Carefully remove and allow the jars to cool. The lids should give that tell tale "pop" sound.
Per serving
- Serving1 jar
- Calories188 kcal
- Carbohydrates28 g
- Protein0.2 g
- Fat0.1 g
- Polyunsaturated Fat0.01 g
- Sodium18782 mg
- Potassium30 mg
- Fiber0.1 g
- Sugar12 g
- Vitamin A0.3 IU
- Vitamin C92 mg
- Calcium74 mg
- Iron9 mg