
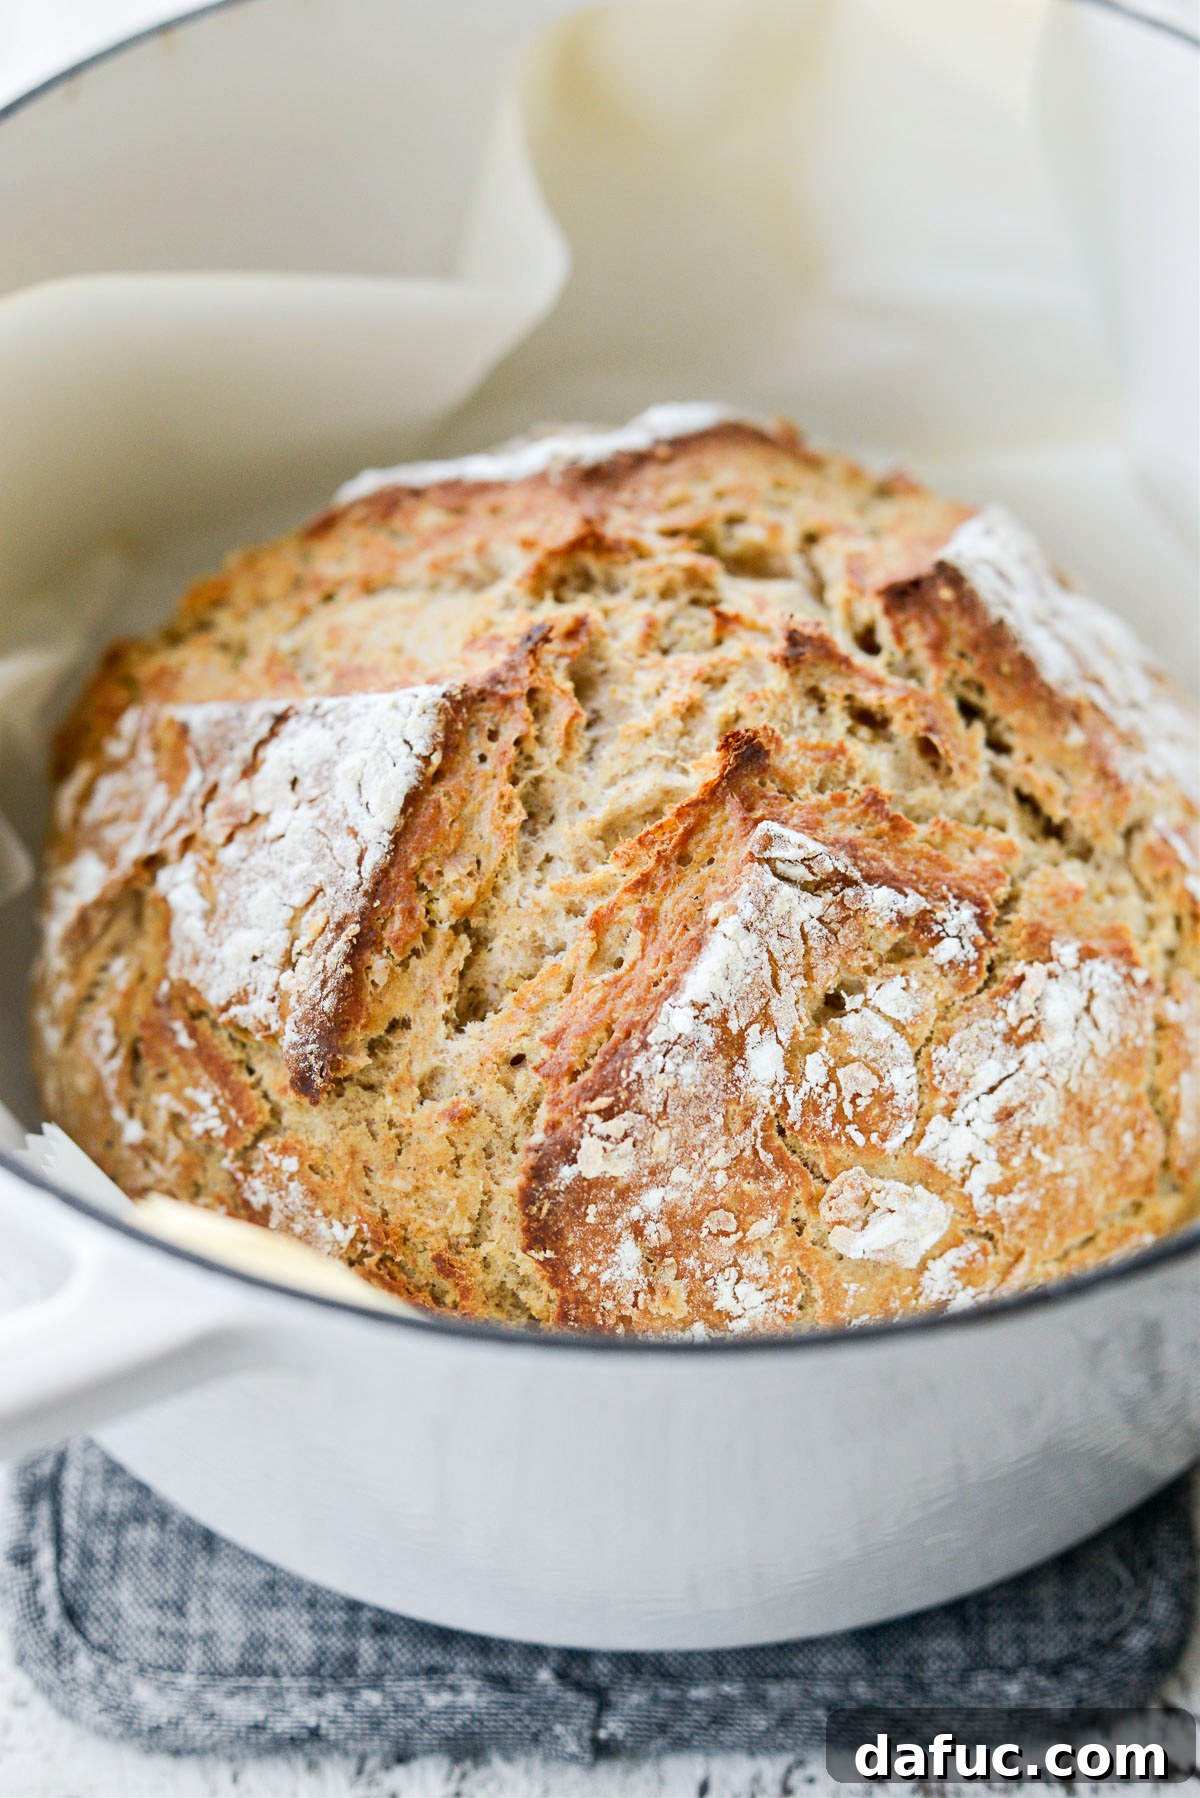
Irish Soda Bread is more than just a quick bread; it’s a staple of Irish culinary tradition, especially cherished around St. Patrick’s Day. This delightful loaf, characterized by its mild flavor and a soft, scone-like interior, is incredibly simple to make, requiring no yeast and minimal kneading. Instead, it relies on the chemical reaction between baking soda and buttermilk for its signature rise, making it an ideal choice for bakers of all skill levels. Whether you’re craving a comforting breakfast, a hearty side for your dinner, or a simple snack, a warm slice of Irish Soda Bread, generously spread with salted butter and a dollop of jam, is pure bliss. It’s also famously paired with savory dishes like eggs and corned beef hash, offering a versatile addition to any meal. Typically, one homemade loaf provides 8 to 10 satisfying slices, perfect for sharing or enjoying over several days.
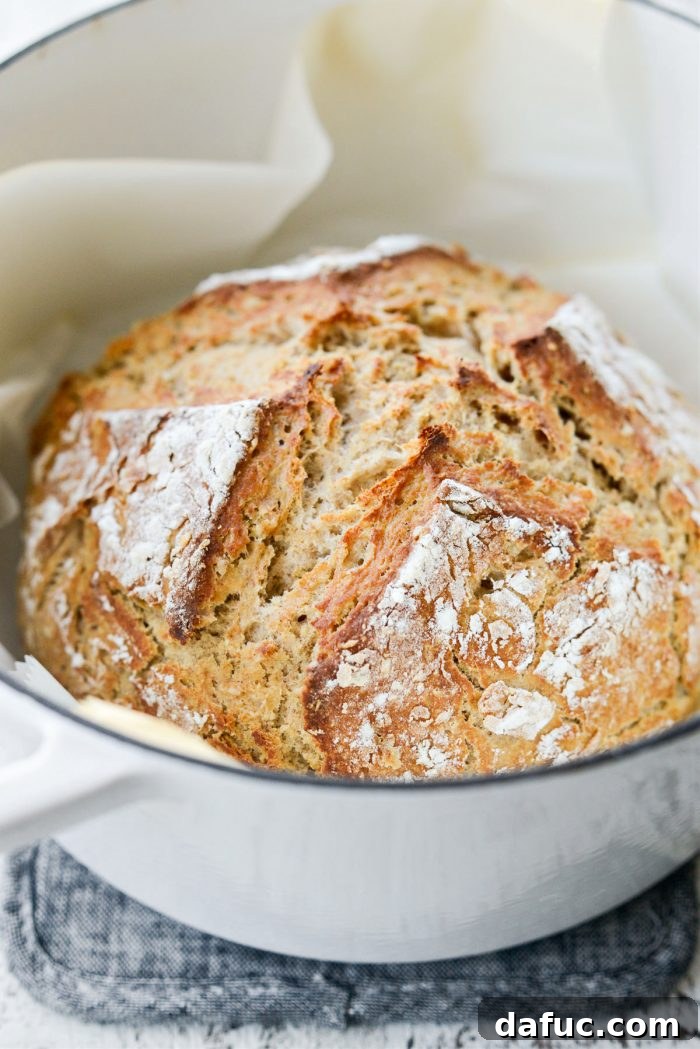
The Irresistible Allure of Freshly Baked Bread
Few things compare to the comforting and enticing aroma of freshly baked bread wafting through your home. It’s a sensory experience that instantly evokes warmth, nostalgia, and anticipation. From the crusty sophistication of French bread to the rustic charm of Italian ciabatta, the magic of baking a simple loaf is undeniable. And when it comes to quick breads, Irish Soda Bread holds a special place. With St. Patrick’s Day just around the corner, there’s no better time to embrace this classic, simple, and incredibly rewarding recipe. It’s a testament to how humble ingredients can come together to create something truly extraordinary, proving that you don’t need yeast or hours of proofing to enjoy a magnificent homemade loaf.
This recipe for Irish Soda Bread not only yields an impressive-looking loaf but also comes together with remarkable speed. From mixing to baking, you can have a warm, fragrant loaf on your table in under an hour, making it perfect for last-minute gatherings or a spontaneous craving for homemade goodness. Its straightforward preparation makes it an excellent project for beginner bakers, offering a delicious reward with minimal fuss and maximum flavor.
A Taste of Ireland: Perfect Pairings and Versatility
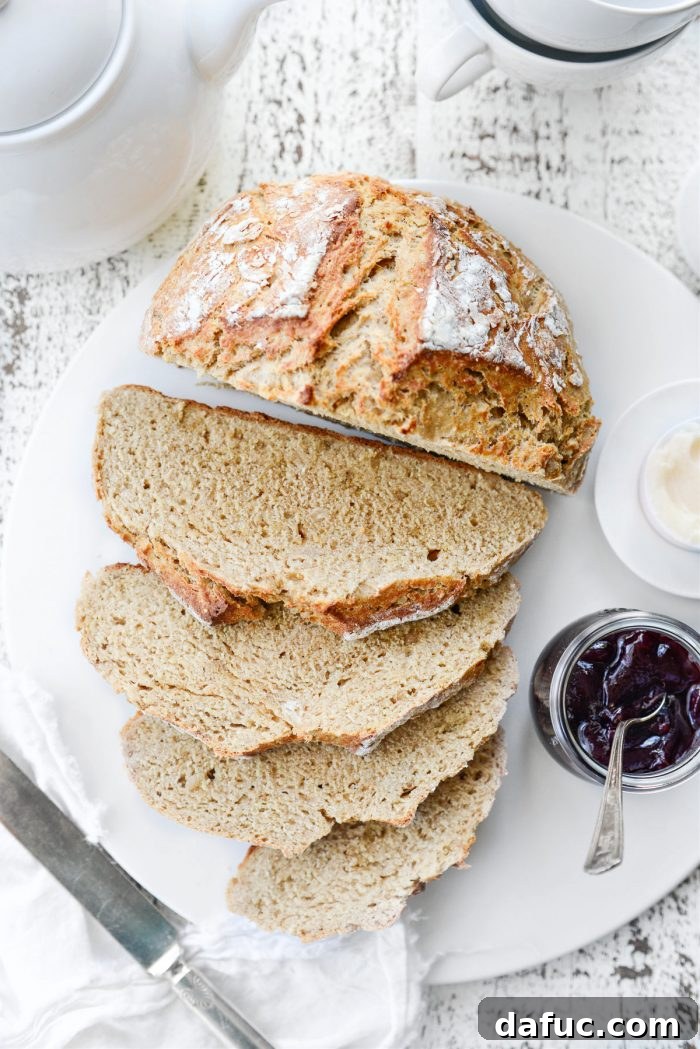
The versatility of Irish Soda Bread is one of its most appealing qualities. While it shines brightly during St. Patrick’s Day festivities, its mild, slightly tangy flavor makes it a wonderful accompaniment year-round. Imagine a cozy morning starting with a slice of this bread, toasted to perfection, and served alongside a plate of hearty corned beef hash and fried eggs. The bread’s subtle sweetness and satisfying chew provide a delightful contrast to the savory hash, creating a balanced and fulfilling meal. For a simpler, yet equally satisfying treat, enjoy it warm from the oven, slathered with rich, salted butter that melts into its tender crumb, perhaps with a spoonful of your favorite berry jam or marmalade. Its robust texture also makes it a fantastic partner for comforting soups and stews, soaking up every last drop of flavorful broth.
Understanding the Magic: Key Ingredients in Irish Soda Bread
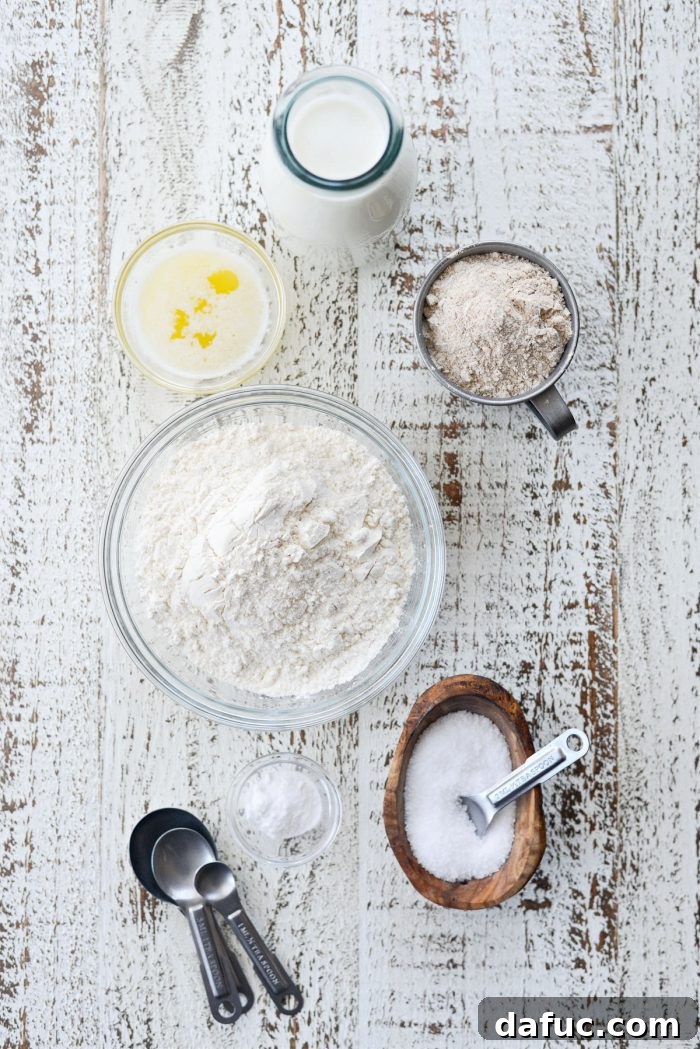
At its heart, Irish Soda Bread is a celebration of simple, wholesome ingredients. The magic happens through a fascinating chemical reaction, making it a true “quick bread” that doesn’t rely on traditional yeast fermentation. Let’s delve into the role of each component:
- Unbleached All-Purpose Flour: This forms the primary structure of our bread. Using unbleached flour can sometimes contribute a slightly nuttier flavor and a stronger gluten structure compared to bleached varieties, resulting in a more characterful loaf.
- Whole Wheat Flour: The thoughtful addition of whole wheat flour not only adds a wonderful depth of flavor and a slightly coarser, more rustic texture but it also boosts the nutritional profile with extra fiber. It lends a hearty, authentic feel, reminiscent of traditional Irish baking practices.
- Baking Soda: The star of the show and the reason for the “soda” in its name! Baking soda (sodium bicarbonate) is the sole leavening agent in this bread. When combined with an acidic ingredient like buttermilk, it produces carbon dioxide gas, creating the essential air pockets that give the bread its characteristic rise and tender crumb without the need for yeast or lengthy proofing times.
- Kosher Salt: An absolutely essential ingredient, salt does more than just make the bread salty; it balances and amplifies the other flavors, preventing the loaf from tasting bland and enhancing the overall depth of taste.
- Unsalted Butter: Butter contributes a beautiful richness and inherent tenderness to the dough. By using unsalted butter, you gain precise control over the total salt content in your recipe, ensuring perfect seasoning. When melted and cooled, it disperses evenly throughout the dough, making it more pliable and infusing it with delightful flavor.
- Low-Fat Buttermilk: This is the crucial acidic component that initiates the reaction with the baking soda, causing the bread to rise. Beyond its leavening role, buttermilk also imparts a delightful tanginess and significant moisture to the bread, contributing profoundly to its unique flavor and exceptionally tender texture. If you find yourself without low-fat buttermilk, a quick substitute can be made by adding 1-2 tablespoons of lemon juice or white vinegar to regular milk and letting it sit for 5-10 minutes until it visibly curdles and thickens slightly.
Simple Steps to Bake Your Own Authentic Irish Soda Bread
Baking Irish Soda Bread is a wonderfully straightforward process, perfect for a relaxed afternoon in the kitchen. Follow these steps for a perfect, golden loaf that will impress friends and family alike:
Preparation is Key: Setting Up Your Workspace
First, optimize your oven for baking. Move an oven rack to the lower third of your oven. This strategic positioning helps ensure the bottom of the bread cooks thoroughly and develops a proper crust without the top becoming excessively browned too quickly. Then, preheat your oven to a robust 450°F (230°C). A very hot oven is crucial for achieving that initial burst of rise and promoting the formation of a beautiful, crisp crust.
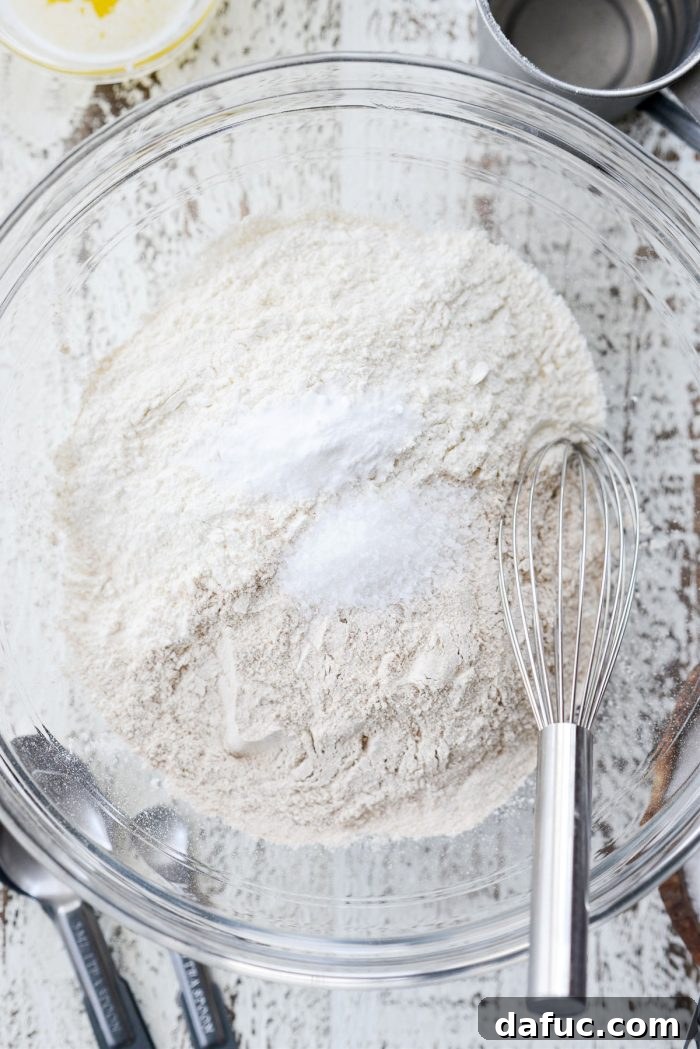
In a large mixing bowl, meticulously combine the dry ingredients. Carefully measure 3 cups of unbleached all-purpose flour, 1 cup of whole wheat flour, 1 teaspoon of baking soda, and 1-1/2 teaspoons of kosher salt. Accuracy in these measurements is important for the bread’s texture and rise.
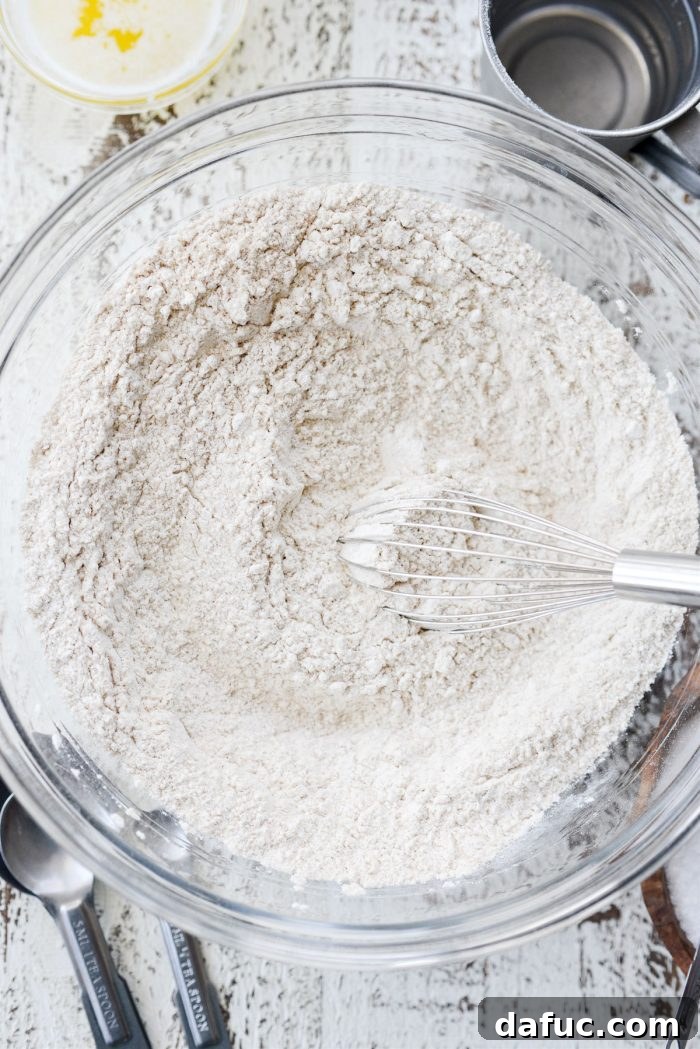
Whisk these dry ingredients together thoroughly for about 30 seconds to a minute. This step is more important than it seems, as it ensures that the baking soda and salt are perfectly and evenly distributed throughout the flours. This even distribution is critical for a consistent rise, uniform texture, and balanced flavor in your finished bread.
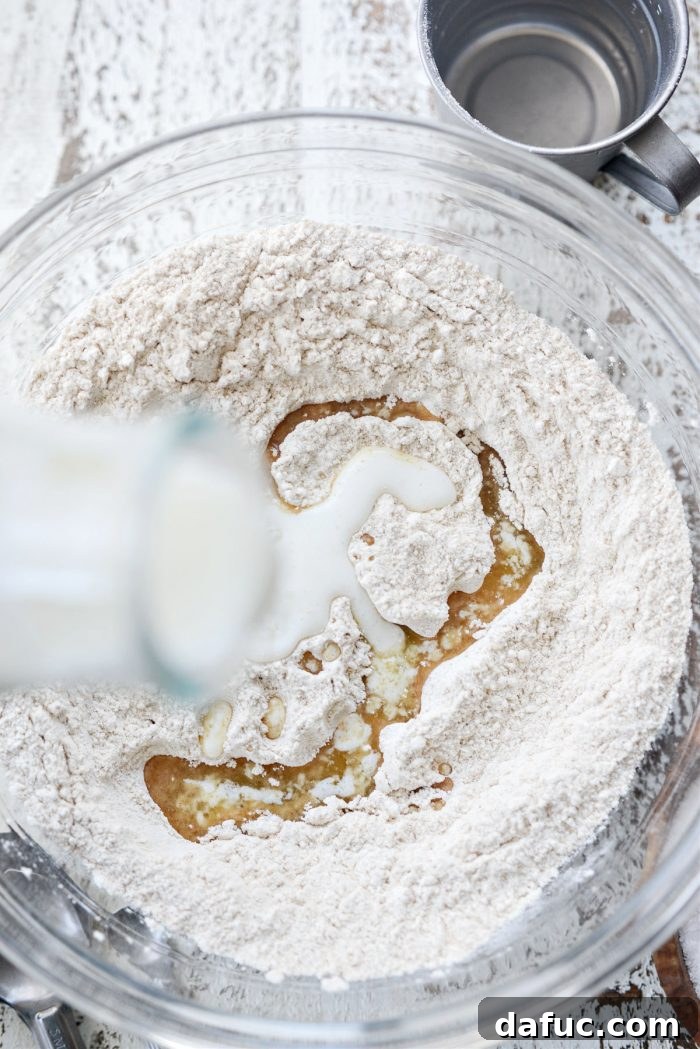
Next, it’s time to introduce the wet ingredients, where the chemical magic truly begins. Pour in 2 tablespoons of unsalted butter (it’s vital that the butter is melted and then cooled slightly to avoid accidentally cooking the flour) and 1-3/4 cups of low-fat buttermilk. The interaction between the buttermilk’s acidity and the baking soda will start immediately, so aim to work efficiently once these liquids are added.
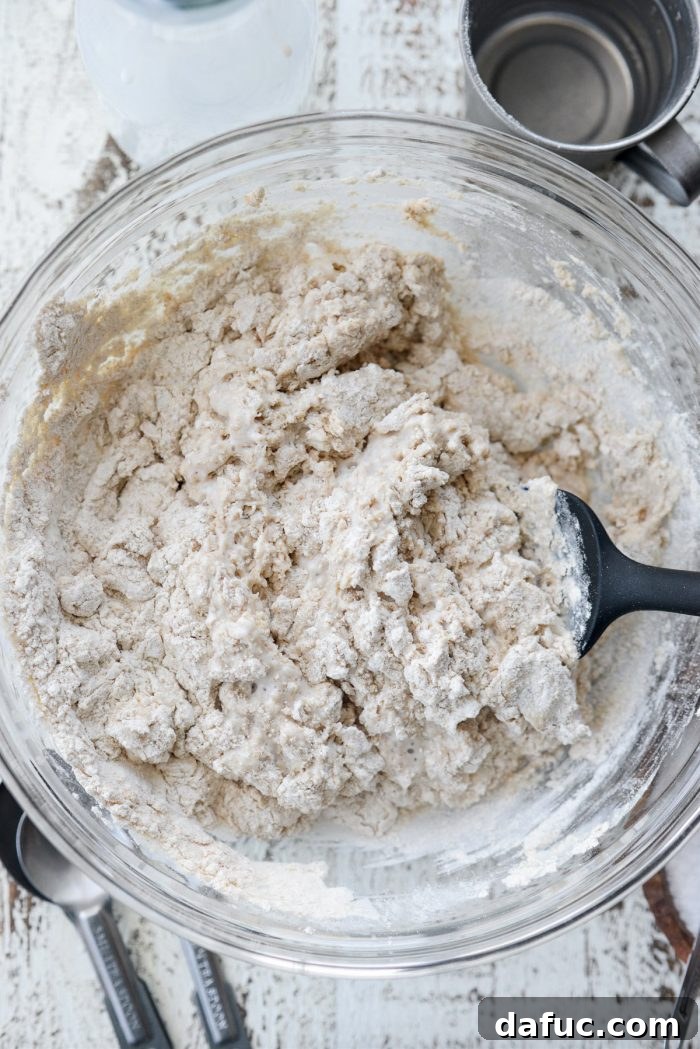
Using a sturdy rubber spatula, gently mix the wet into the dry ingredients. Stir just until they are combined and you no longer see any dry streaks of flour. The dough will appear sticky and somewhat shaggy, which is perfectly normal. Resist the strong urge to overmix, as this can lead to a dense, tough bread. Quick breads thrive on minimal handling.
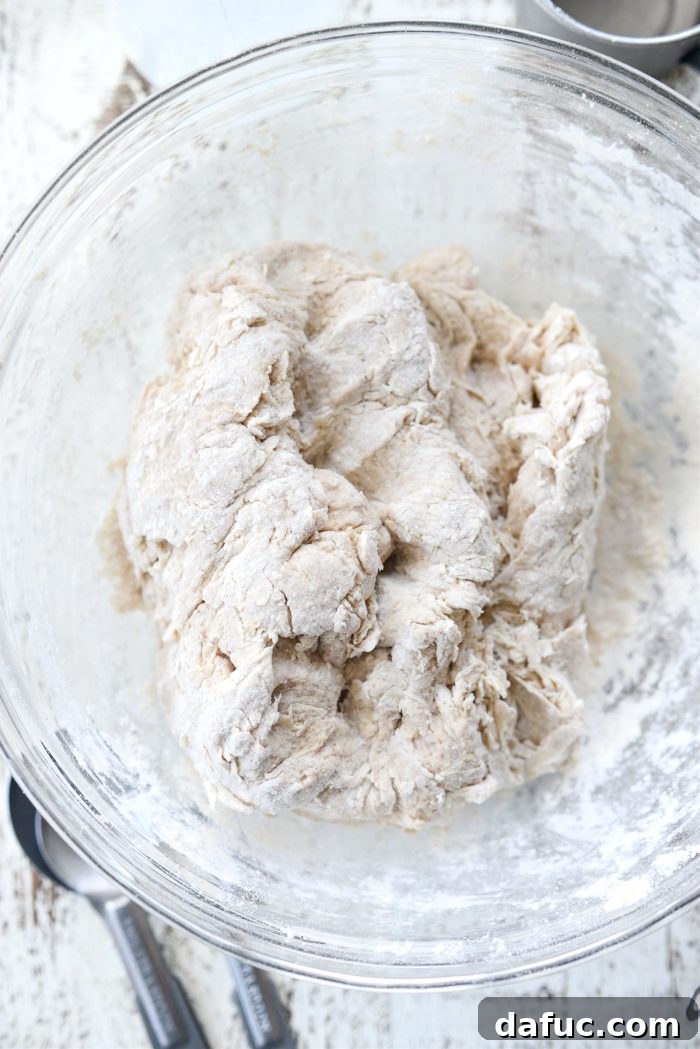
Once the ingredients are just combined, lightly flour your hands. Gently knead the dough for precisely 1 minute. This can be done directly in the mixing bowl to minimize mess. The sole purpose of this brief kneading is simply to bring the dough together into a cohesive, workable mass, not to develop gluten extensively as you would with yeast breads. Over-kneading is the enemy of tender soda bread, so keep it short and sweet.
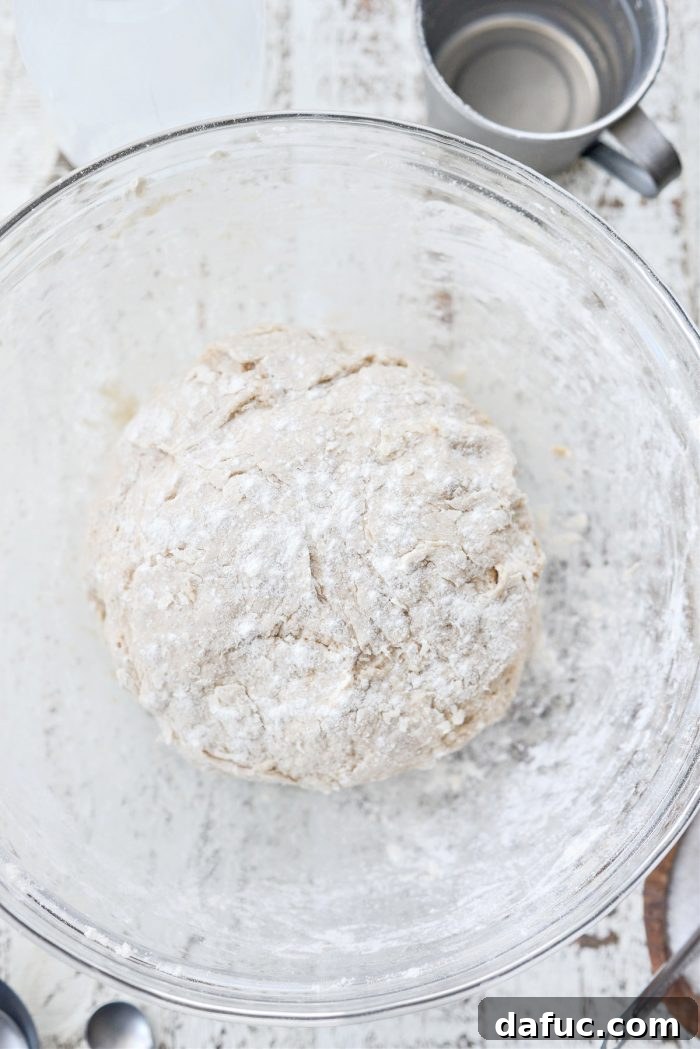
Shape the dough into a rustic, round ball and carefully place it onto a piece of parchment paper. Lightly dust the top of the dough with a little extra flour to prevent sticking and aid in browning. Then, using a sharp knife, score a deep “X” into the top of the loaf. This scoring is not merely for aesthetics; it plays a functional role in allowing the bread to expand evenly during baking and ensuring that the center cooks through properly, yielding a perfectly baked loaf.
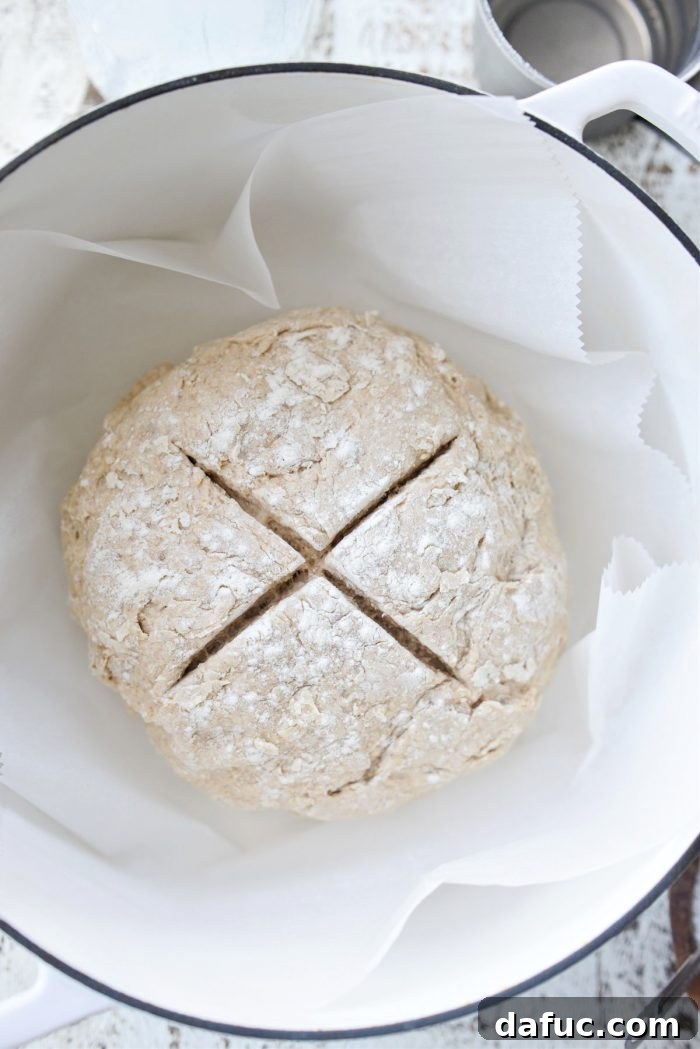
Carefully use the parchment paper, grasping its corners, to gently lower the dough into a round Dutch oven. Baking in a Dutch oven is highly recommended as it creates a steamy environment that significantly promotes a beautiful, exceptionally crusty exterior while simultaneously locking in moisture, resulting in a wonderfully tender interior. If you don’t have a Dutch oven, you can bake it on a baking sheet, but be aware the crust might be less dramatic and the interior slightly drier.
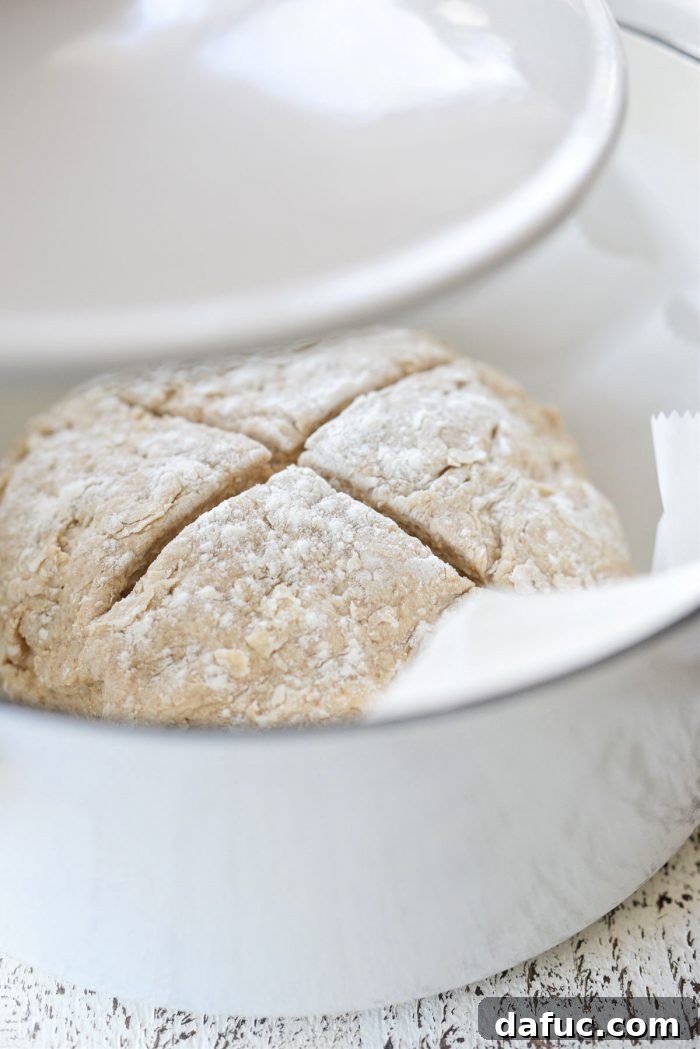
Replace the lid securely on the Dutch oven and bake in the lower third of your preheated oven for 40 minutes. This initial covered baking period is essential; it allows the bread to steam within the confined space, helping it achieve its maximum rise and develop a soft, moist interior before the crust has a chance to fully form and harden.
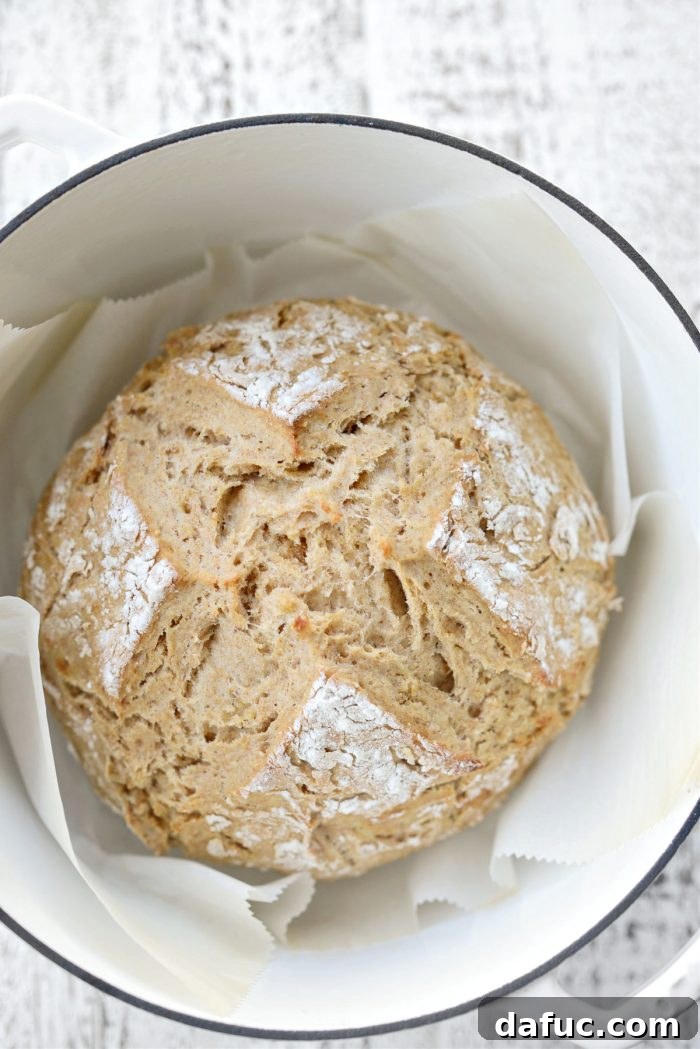
After the initial 40 minutes, carefully remove the lid from the Dutch oven. You’ll be greeted by a beautifully risen, though still pale, loaf. Take a moment to appreciate its impressive transformation, then continue baking uncovered for another 10 minutes or more. This final uncovered baking phase is where the crust truly shines, developing its glorious golden-brown color and irresistible crispness.
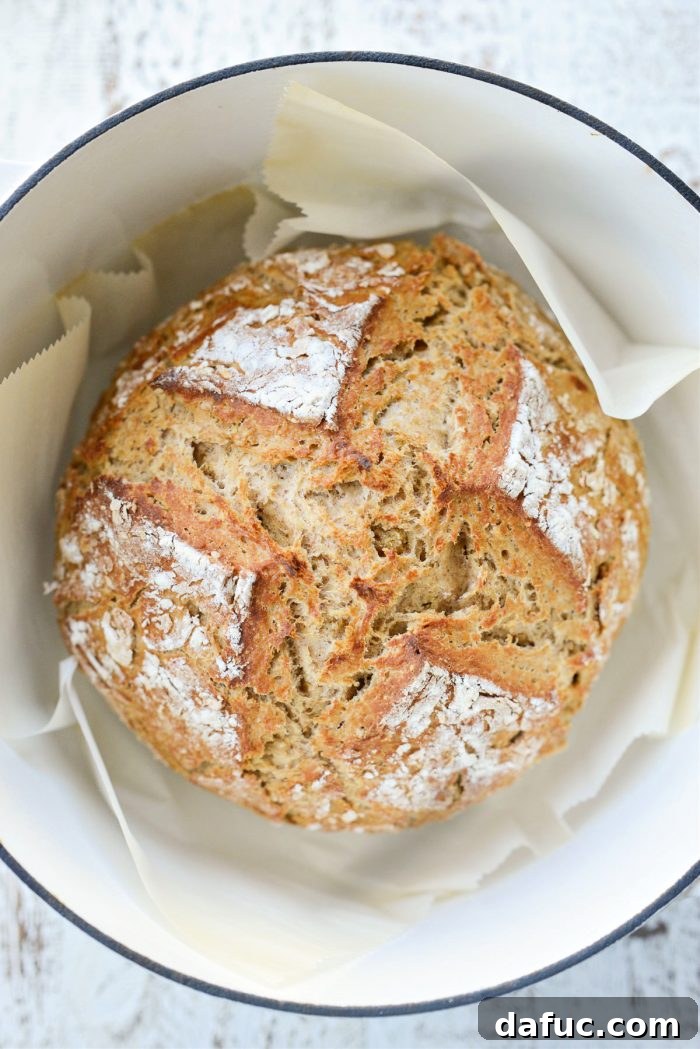
Keep a close eye on your bread during this final stage, as oven temperatures can vary. In most ovens, 10 minutes will yield a perfect golden-brown crust, but it might take a few minutes longer in yours. You’re aiming for a deep, rich golden color without any signs of burning. To check for doneness, you can carefully tap the bottom of the loaf; it should sound satisfyingly hollow when fully cooked through.
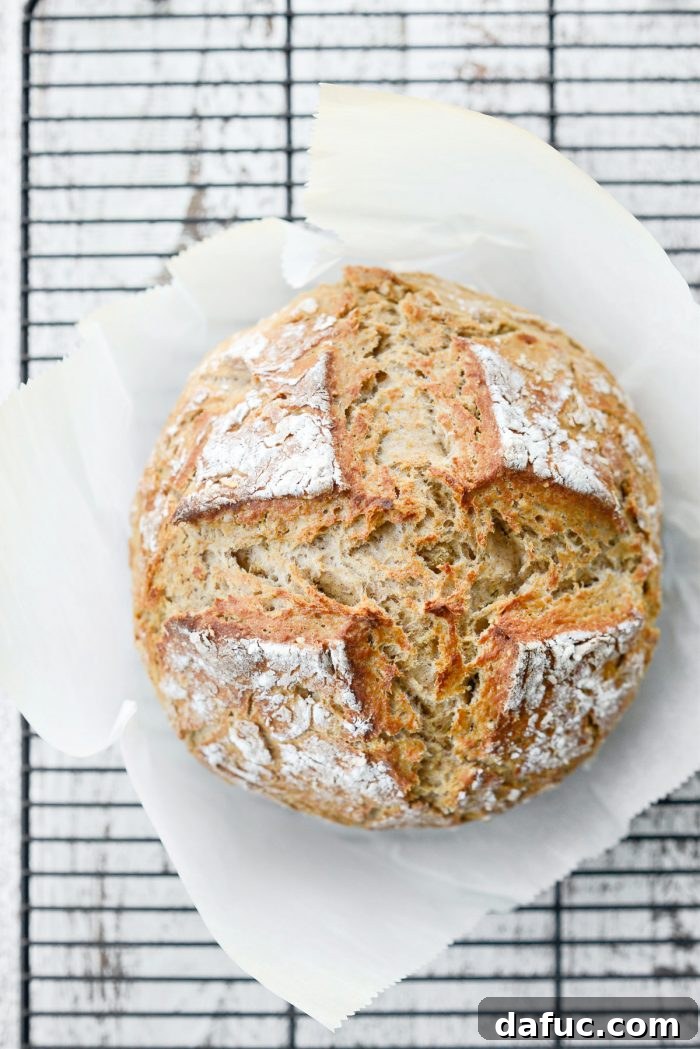
Once baked to golden perfection, carefully use the parchment paper to lift the hot soda bread out of the Dutch oven. Transfer it immediately to a wire rack to cool slightly. Cooling on a rack is crucial as it allows air to circulate around the entire loaf, preventing the bottom from becoming soggy and ensuring that lovely crisp crust is maintained.
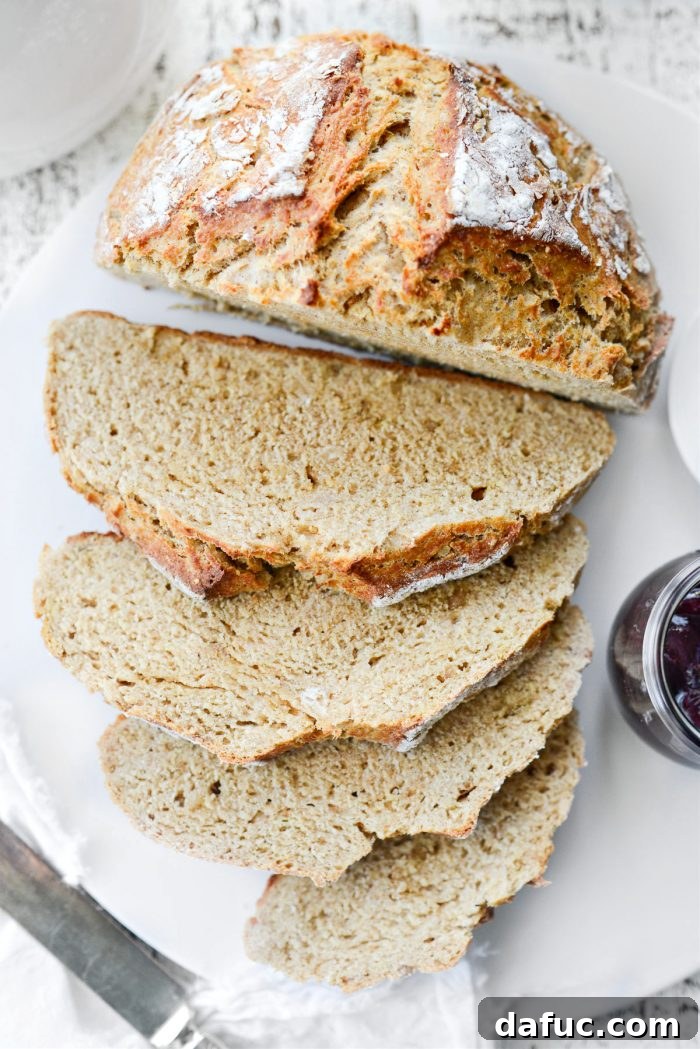
When the bread is cool enough to handle comfortably, transfer it to a sturdy cutting board. Using a sharp, serrated bread knife, slice it into approximately ten 3/4-inch slices. The interior should reveal a soft, tender crumb with a subtle tanginess from the buttermilk – a hallmark of authentic Irish Soda Bread.
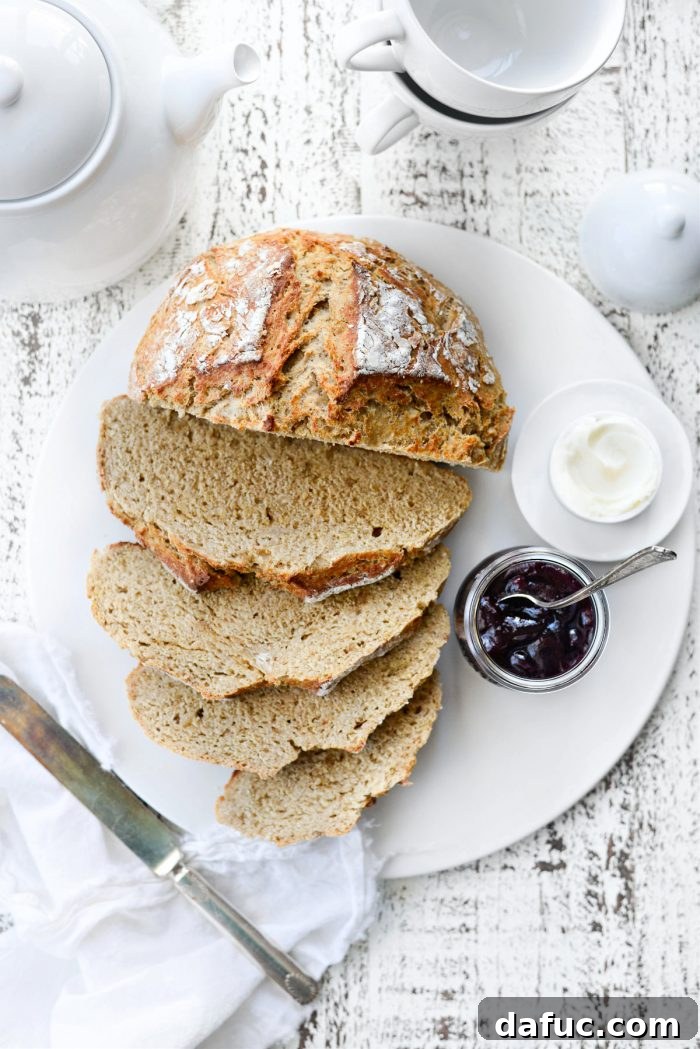
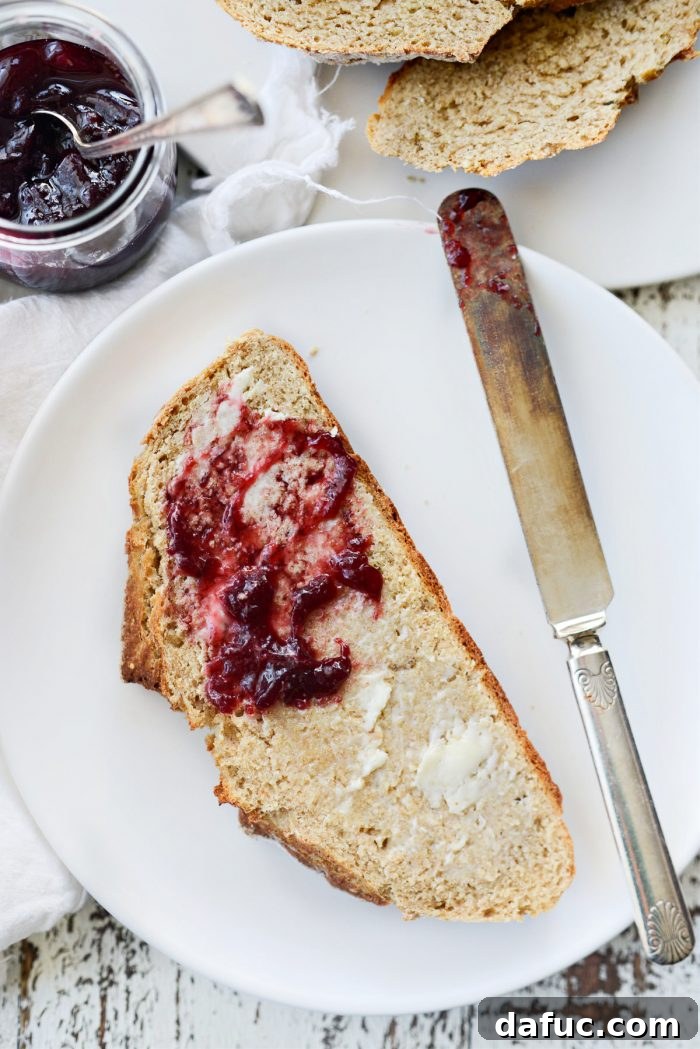
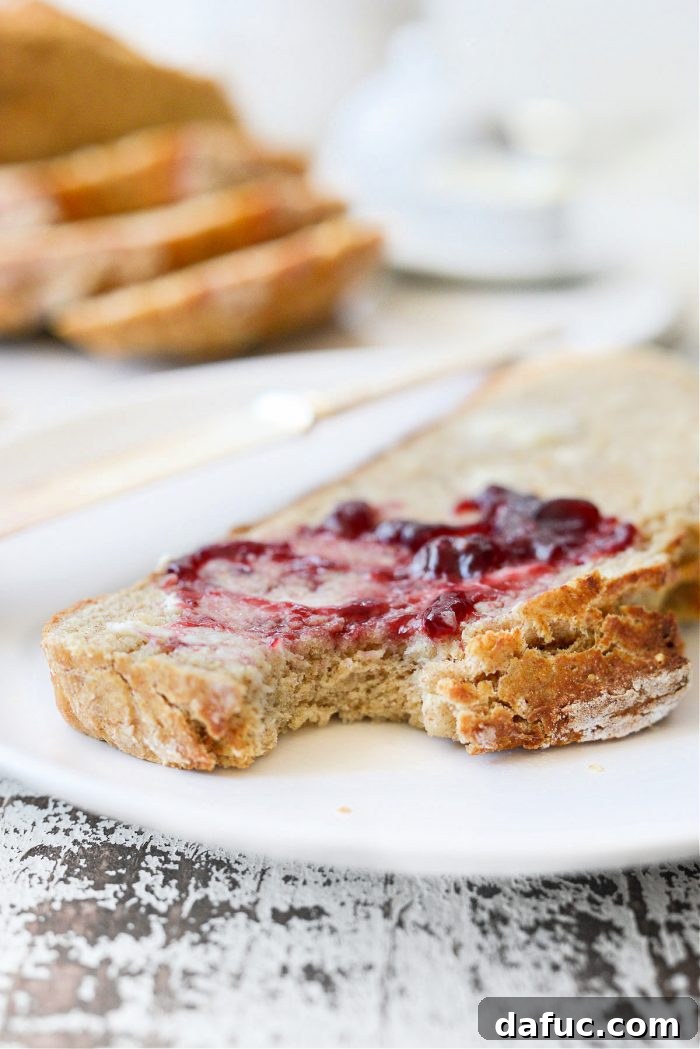
Serve your beautiful Irish Soda Bread warm to truly experience its comforting texture and flavor. It’s absolutely delightful with softened salted butter, allowing the butter to melt into its tender crumb. For an extra touch of sweetness and fruity flavor, add a generous spoonful of your favorite jam or preserves. Enjoy the simple, yet profound, fruits of your labor!
We hope you love this simple and delicious Irish Soda Bread recipe! If you give it a try, we’d love to hear from you. Share your creations and let us know how it turned out – your feedback inspires us!
Print Recipe
Pin Recipe
Irish Soda Bread
Irish Soda Bread is a quick-bread recipe consisting of traditional ingredients like flour, baking soda, salt, butter and buttermilk. The flavor is mild with texture similar to the inside of a biscuit. Delicious served warm, spread with salted butter and jam or toasted and served with eggs and corned beef hash.
Ingredients
- 3 cups unbleached all-purpose flour
- 1 cup whole wheat flour
- 1 teaspoon baking soda
- 1½ teaspoons kosher salt
- 2 tablespoon unsalted butter, melted and cooled
- 1¾ cup low-fat buttermilk
Instructions
- Move oven rack to the lower third of your oven and preheat to 450°F (230°C).
- In a large mixing bowl, measure and add the flours, baking soda and salt. Whisk to combine thoroughly for even distribution.
- Next, pour in the melted and cooled butter and buttermilk. Use a rubber spatula to mix until just incorporated; do not overmix.
- With lightly floured hands, knead the dough (directly in the bowl, if preferred) for 1 minute to bring it together into a cohesive ball.
- Shape the dough into a ball and place on a piece of parchment paper. Sprinkle the top with a little flour before scoring a deep “X” on the top with a sharp knife.
- Use the parchment paper to carefully lower the dough into a round Dutch oven.
- Cover the Dutch oven with its lid and bake for 40 minutes. Then, remove the lid and continue to bake for another 10 minutes or until the top is beautifully golden brown to your preference.
- Carefully use the parchment to lift the baked Irish soda bread out of the pot and transfer it to a wire rack to cool slightly.
- Once safe to handle, transfer the loaf to a cutting board and use a serrated knife to slice it.
- Serve warm with softened salted butter, with or without jam, and enjoy!
Notes
Nutrition Disclaimer: All information presented on this site is intended for informational purposes only. I am not a certified nutritionist and any nutritional information shared on this platform should only be used as a general guideline.
Nutrition Information (per slice)
- Serving: 1 slice
- Calories: 214 kcal
- Carbohydrates: 39g
- Protein: 7g
- Fat: 3g
- Saturated Fat: 2g
- Polyunsaturated Fat: 1g
- Monounsaturated Fat: 1g
- Trans Fat: 1g
- Cholesterol: 8mg
- Sodium: 504mg
- Potassium: 148mg
- Fiber: 2g
- Sugar: 2g
- Vitamin A: 92 IU
- Vitamin C: 1mg
- Calcium: 59mg
- Iron: 2mg