
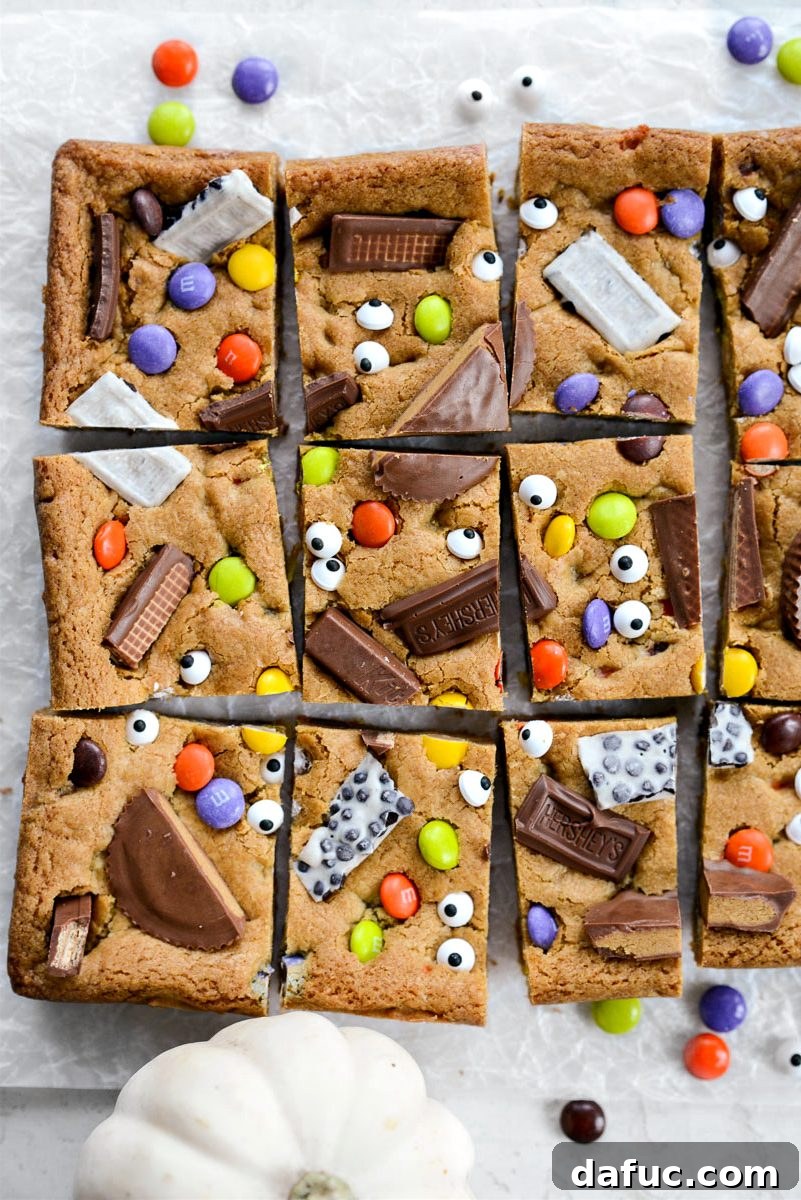
As the crisp autumn air descends and golden leaves crunch underfoot, there’s an undeniable magic that fills the atmosphere, culminating in the joyous celebration of Halloween. Beyond the costumes and spooky decorations, one thing truly defines this season for many: candy! But what happens when the trick-or-treating hauls become mountains of chocolate and sugary delights? Instead of letting them linger or succumbing to the temptation of eating them all straight from the bag, why not transform those festive treats into something even more extraordinary? Presenting the ultimate solution for your Halloween candy dilemma – these incredibly fun and utterly delicious Halloween Candy Cookie Bars! Imagine a buttery, homemade cookie dough, generously studded with chocolate and peanut butter candies, baked to golden perfection, then immediately crowned with an assortment of your favorite Halloween treats and playful candy spooky eyes. This recipe isn’t just about using up leftovers; it’s about elevating your Halloween experience with a dessert that’s as delightful to make as it is to devour. Yielding 18 decadent bars, it’s perfect for sharing, or simply ensuring you have a sweet treat on hand for days to come.
Embracing the Sweet Chaos of Halloween
Halloween has a way of turning even the most disciplined among us into confectionery connoisseurs. Just the thought of those brightly wrapped candies, the nostalgic aroma of chocolate and sugar, can be enough to break any diet resolve. It’s a time of year when our inner child takes over, and the sheer abundance of candy often leads to a delightful (or perhaps slightly overwhelming) stash. Take my recent experience, for instance. My partner Pat and I ventured to Costco, armed with good intentions to buy reasonable amounts of full-size candy bars for trick-or-treaters. However, our willpower proved to be as fragile as a spider web on a windy night. Before Halloween even arrived, all the Reese’s Peanut Butter Cups had vanished, and the KitKat bars were dangerously low. It seems some traditions are just too powerful to resist!
This delightful lack of self-control is exactly what sparked the inspiration for these amazing Halloween Candy Cookie Bars. I found myself with a few extra bags of candy – a necessary “backup” for the trick-or-treaters, of course! But once those bags were open, the vibrant colors and tempting scents made it clear that eating them all, one by one, was a real possibility. That’s when the lightbulb moment happened: why not channel this sugary enthusiasm into a creative baking project? Instead of just consuming candy, we could transform it into an even grander, more shareable indulgence. These cookie bars are not only a fantastic way to utilize any leftover Halloween candy, but they also offer a fun, interactive baking experience that captures the festive spirit perfectly. The added candy eyeballs bring a touch of playful spookiness, making them truly Instagram-worthy.
Transforming Leftover Treats into Delightful Bars
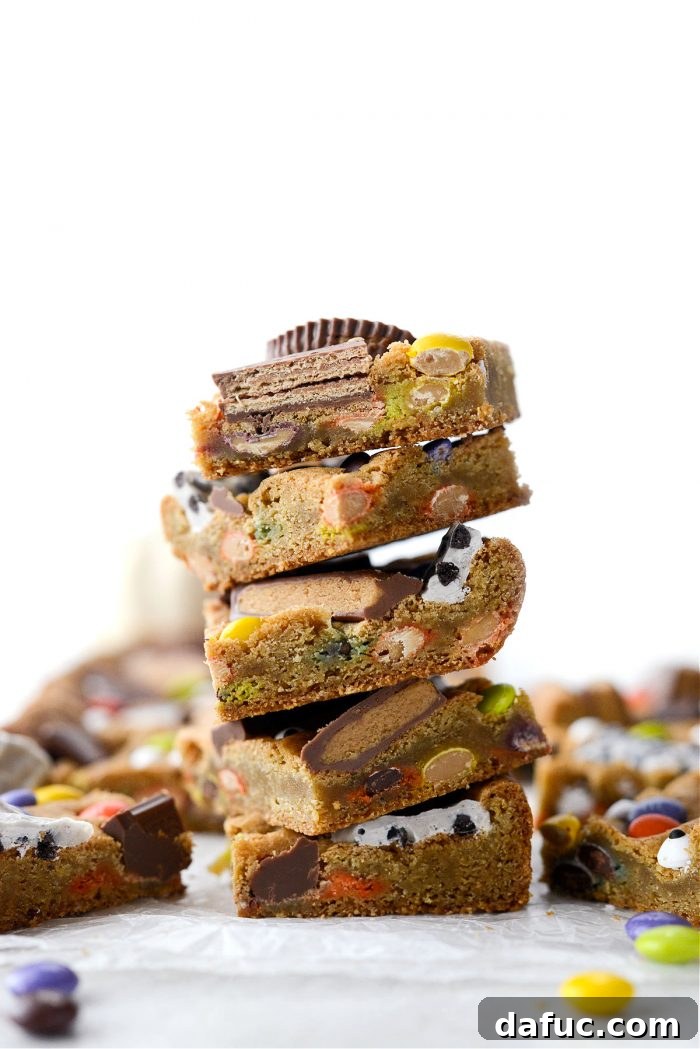
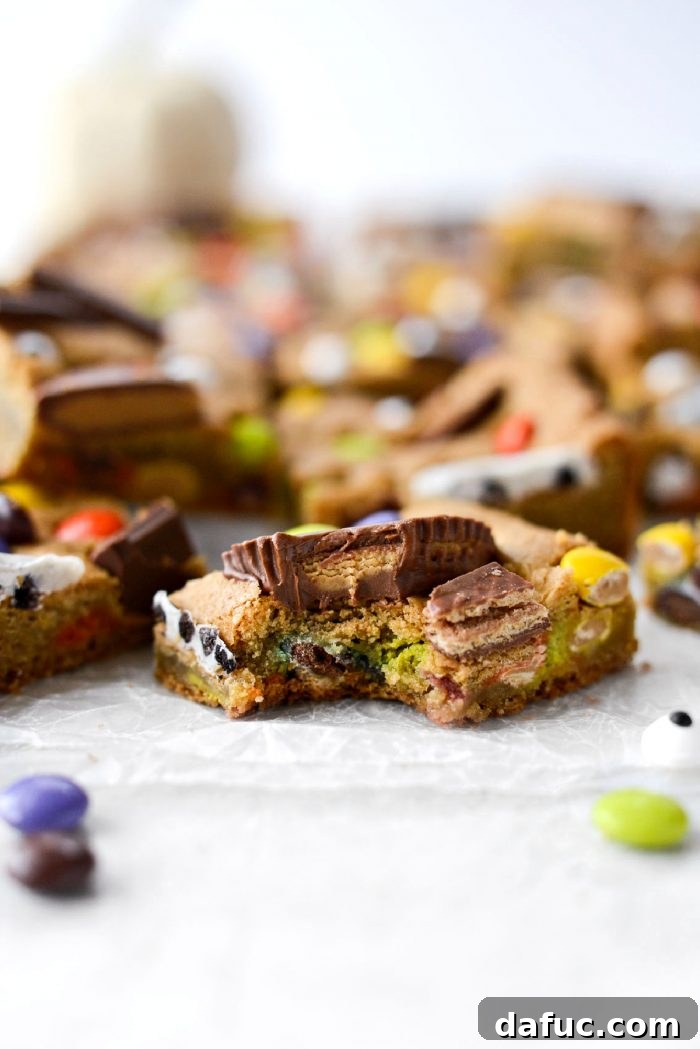
One of the best aspects of these cookie bars is their incredible versatility. While I personally gravitated towards my all-time favorites – creamy Reese’s Peanut Butter Cups, classic KitKat bars, and rich Hershey’s chocolate – the beauty of this recipe lies in its adaptability. You can truly use any chocolate or peanut butter-based Halloween candy that calls to you. And let’s not forget the delightful addition of candy eyeballs! These whimsical little decorations elevate the fun factor instantly, transforming simple cookie bars into adorable, spooky-eyed masterpieces. They add a little “somethin’-somethin'” that just makes them pop, don’t you think? Imagine the delight on people’s faces when they see these charmingly eerie treats!
Essential Ingredients for Spooky Sweetness
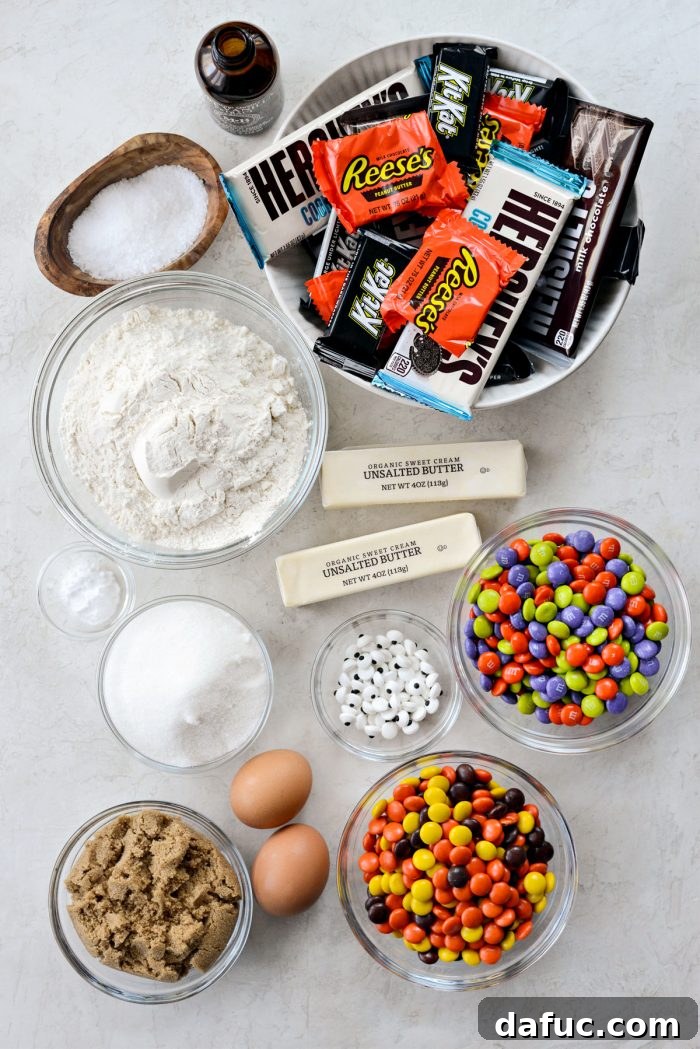
Crafting the perfect Halloween Candy Cookie Bars starts with a carefully selected list of ingredients that balance richness, chewiness, and that irresistible sweet and salty combination. Here’s what you’ll need to gather:
- Unbleached all-purpose flour
- Baking soda
- Kosher salt
- Unsalted butter, at room temperature
- Dark brown sugar
- Granulated sugar
- Large eggs
- Real vanilla extract
- Reese’s Pieces
- Chocolate M&M’s
- Assorted leftover Halloween candy (your favorites!)
- Candy eyes, for that extra spooky touch
Each ingredient plays a crucial role in creating the ultimate cookie bar. Unbleached all-purpose flour provides the ideal structure, while baking soda ensures a soft, tender crumb. Kosher salt is essential for balancing the sweetness and enhancing all the chocolate and peanut butter flavors. The combination of dark brown sugar and granulated sugar contributes to both the deep, molasses-like flavor and the wonderfully chewy texture. Using unsalted butter at room temperature is key for a smooth, creamy base when mixed with sugars, and large eggs bind everything together, adding richness and moisture. Don’t skimp on real vanilla extract – its aromatic notes elevate the entire flavor profile. And, of course, the Reese’s Pieces and M&M’s are folded directly into the dough, providing bursts of color and candy goodness in every bite, setting the stage for the glorious toppings to come.
Step-by-Step Guide to Baking Perfection
Baking these Halloween Candy Cookie Bars is a straightforward and rewarding process. Follow these detailed steps to ensure perfectly chewy and flavorful results every time.
Preparing Your Baking Haven
First things first, let’s get your oven ready and your pan lined. Accuracy in baking begins with proper preparation.
- Preheat your oven to 350℉ (or 180℃). This ensures your cookie bars bake evenly from the moment they enter the oven.
- Line a 9 x 13 x 2 inch baking pan with parchment paper, leaving an overhang on the sides to easily lift the bars out later. Lightly spray the parchment paper with nonstick cooking spray to prevent sticking. Set this prepared pan aside.
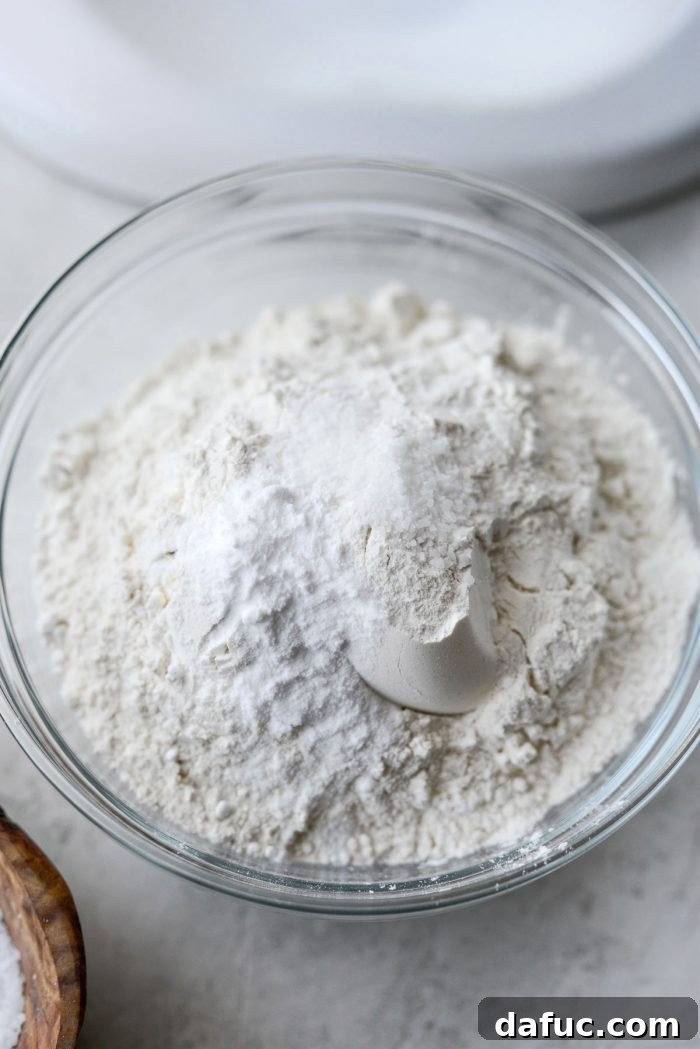
- In a medium-sized bowl, combine 2-1/4 cups unbleached all-purpose flour, 1 teaspoon baking soda, and 3/4 teaspoon kosher salt. Whisk these dry ingredients together thoroughly to ensure the leavening agent and salt are evenly distributed. Set this bowl aside for later.
Crafting the Cookie Dough Base
The heart of these cookie bars is a rich, tender dough. Achieving the right consistency is vital for that perfect chewy texture.
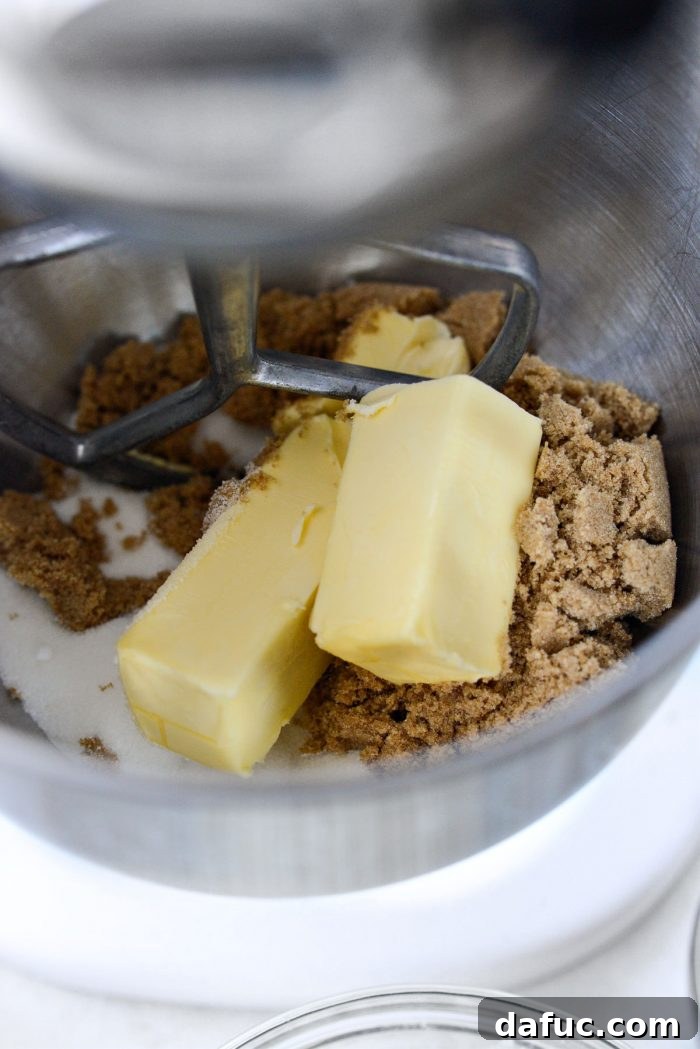
- In the bowl of your stand mixer, fitted with the paddle attachment, add 3/4 cup unsalted butter (ensure it’s at room temperature for optimal creaming), 3/4 cup dark brown sugar, and 3/4 cup granulated sugar.
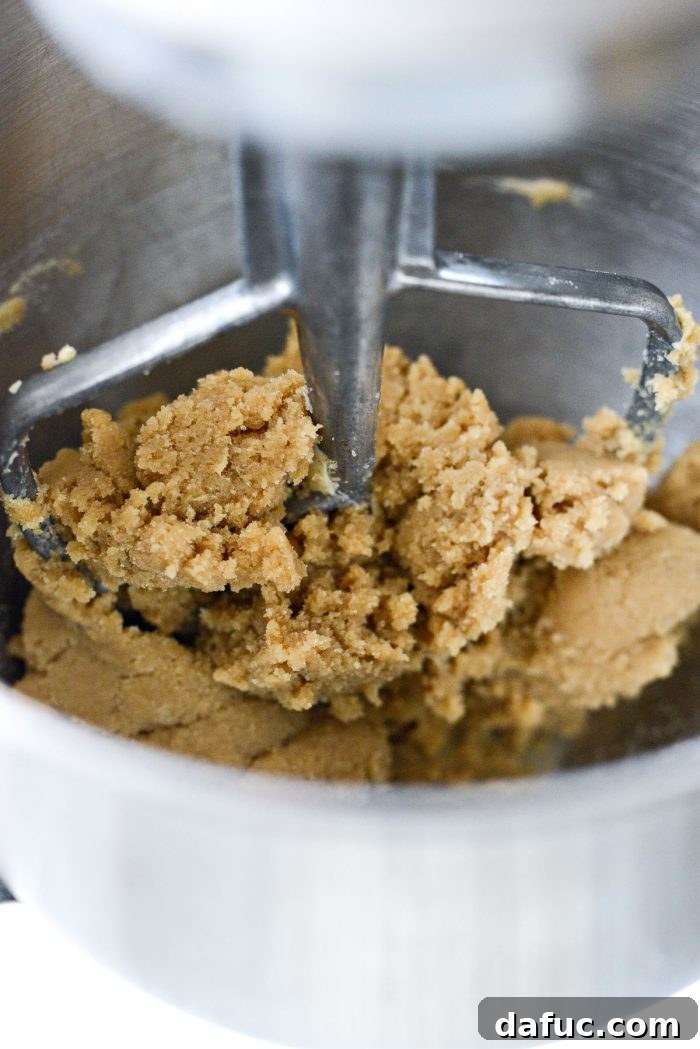
- Blend these ingredients on medium to medium-low speed until the mixture becomes light, fluffy, and creamy, typically taking 2-3 minutes. This creaming process incorporates air, which contributes to the bars’ tender texture.
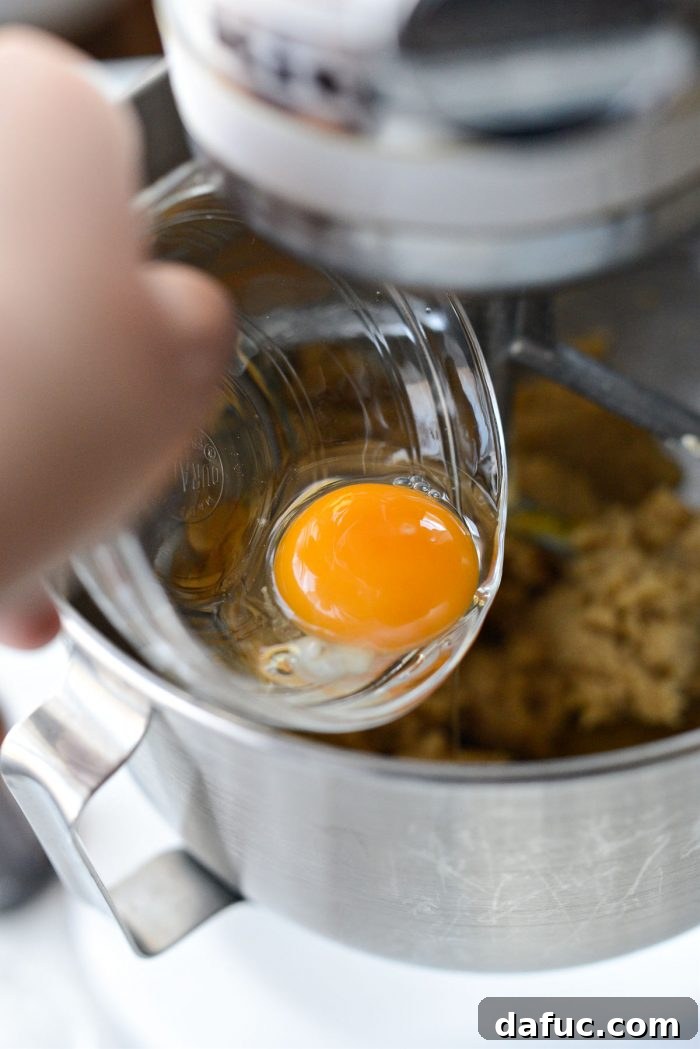
- Add the eggs one at a time, mixing well after each addition until just combined. Scrape down the sides of the bowl with a rubber spatula as needed to ensure all ingredients are fully incorporated.
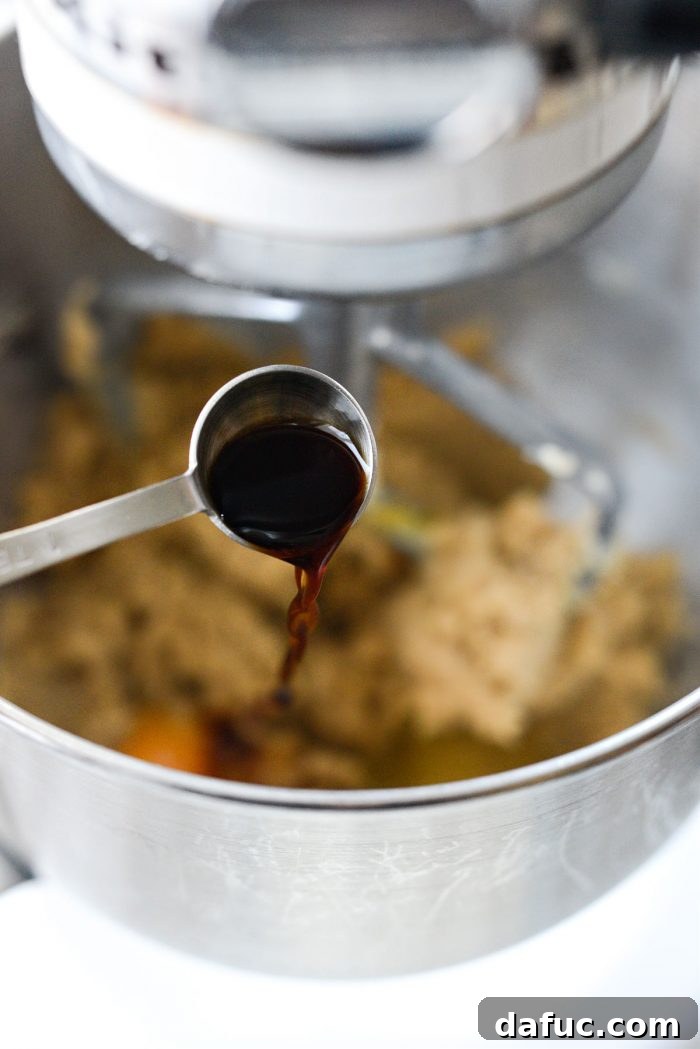
- With the last egg, measure and add 1-1/2 teaspoons of real vanilla extract. Continue mixing until the final egg and vanilla have been fully incorporated into the mixture. Again, take a moment to scrape down the sides and bottom of the bowl, ensuring no streaks of unmixed butter or sugar remain.
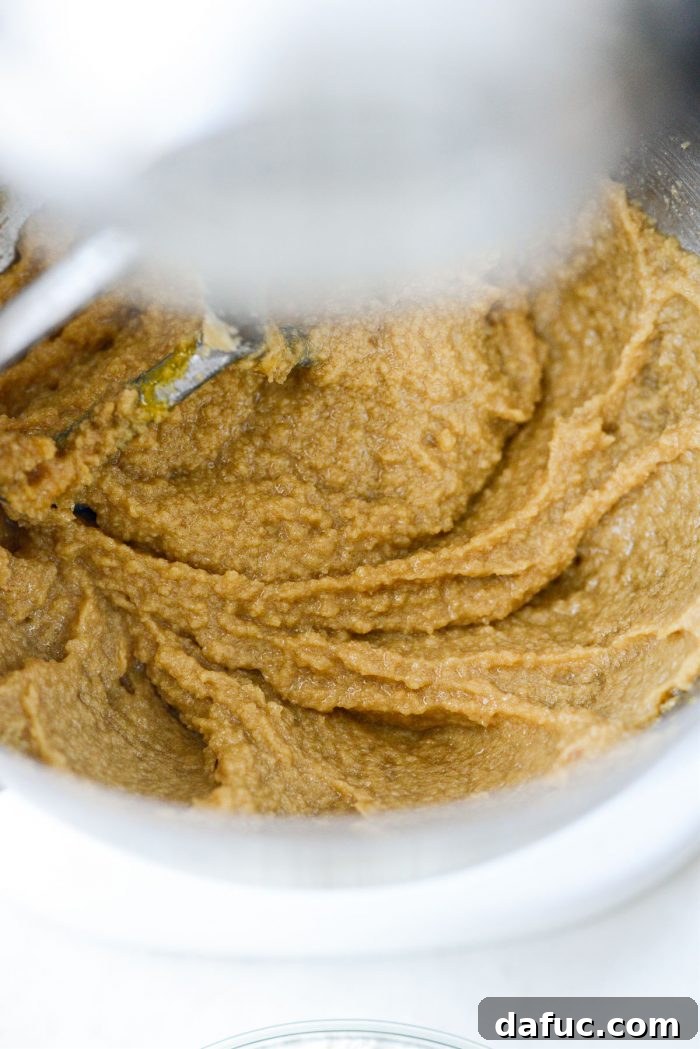
Now it’s time to bring in the dry ingredients, but remember, the key is to not overmix! Overmixing can lead to tough cookie bars.
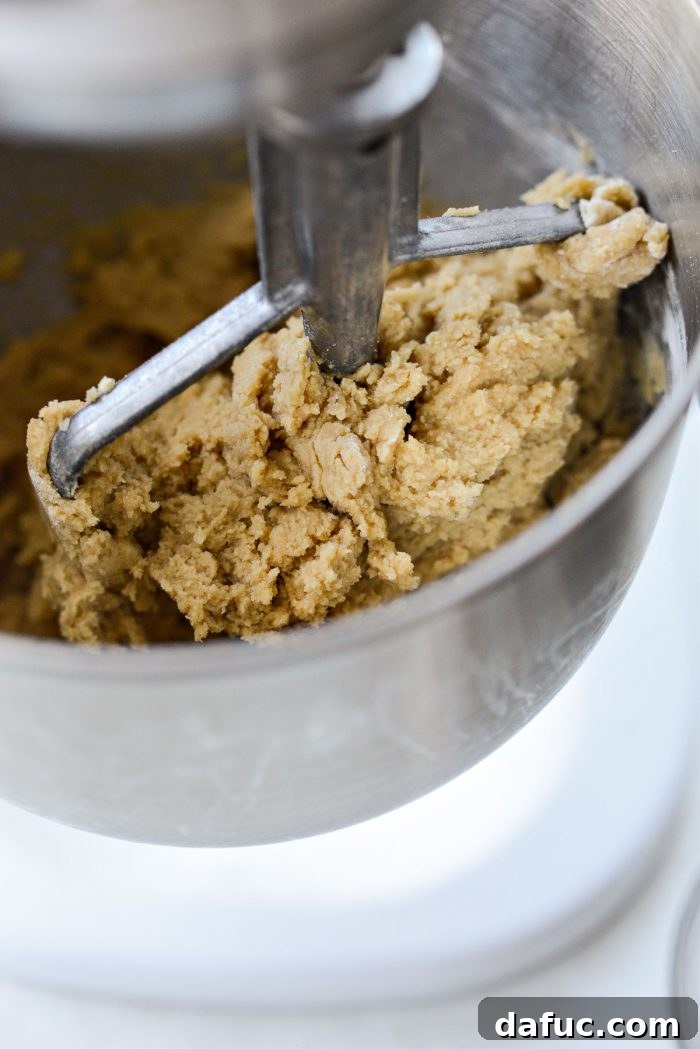
- Add half of the reserved flour mixture to the wet ingredients in the stand mixer. Mix on low speed until just incorporated, then add the remaining flour mixture. Continue mixing on low speed until the flour streaks have almost disappeared, but do not overmix. A few small streaks are fine, as you’ll mix it again slightly by hand.
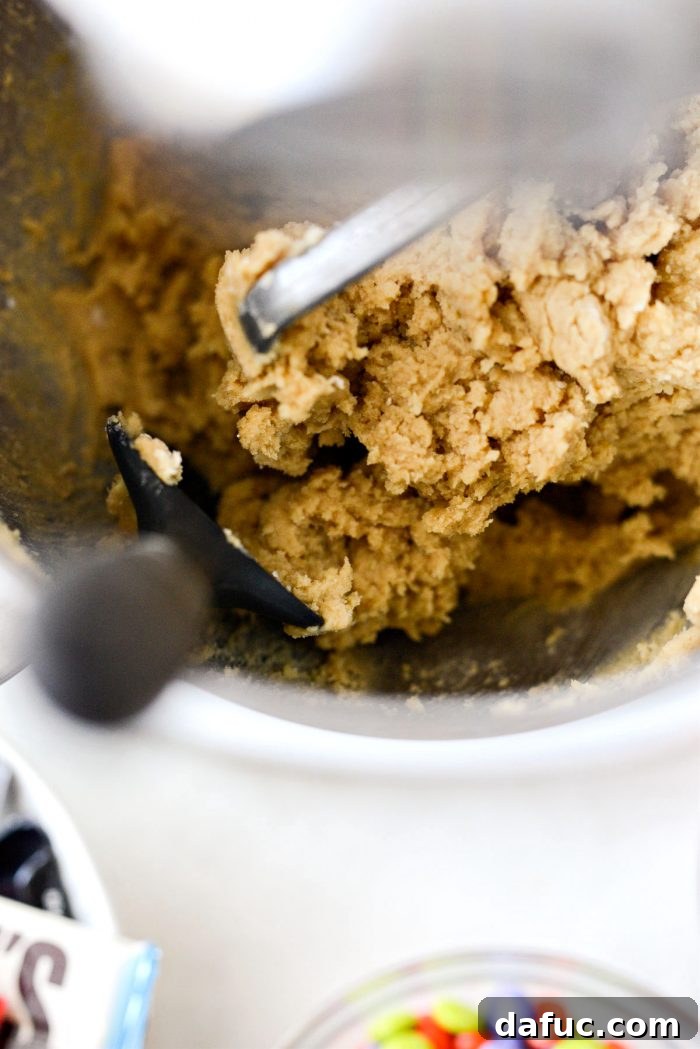
- Once again, scrape down the sides and bottom of the bowl one last time with your rubber spatula to ensure everything is evenly combined.
Infusing the Dough with Halloween Spirit
The magic truly begins when we add the internal candy goodness.
- To the prepared cookie dough, add 1/2 cup each of Reese’s Pieces and chocolate M&M’s.
- Using a sturdy rubber spatula, gently fold these candies into the dough by hand until they are evenly distributed throughout. Mixing by hand at this stage prevents overmixing the dough and ensures the candies maintain their shape.
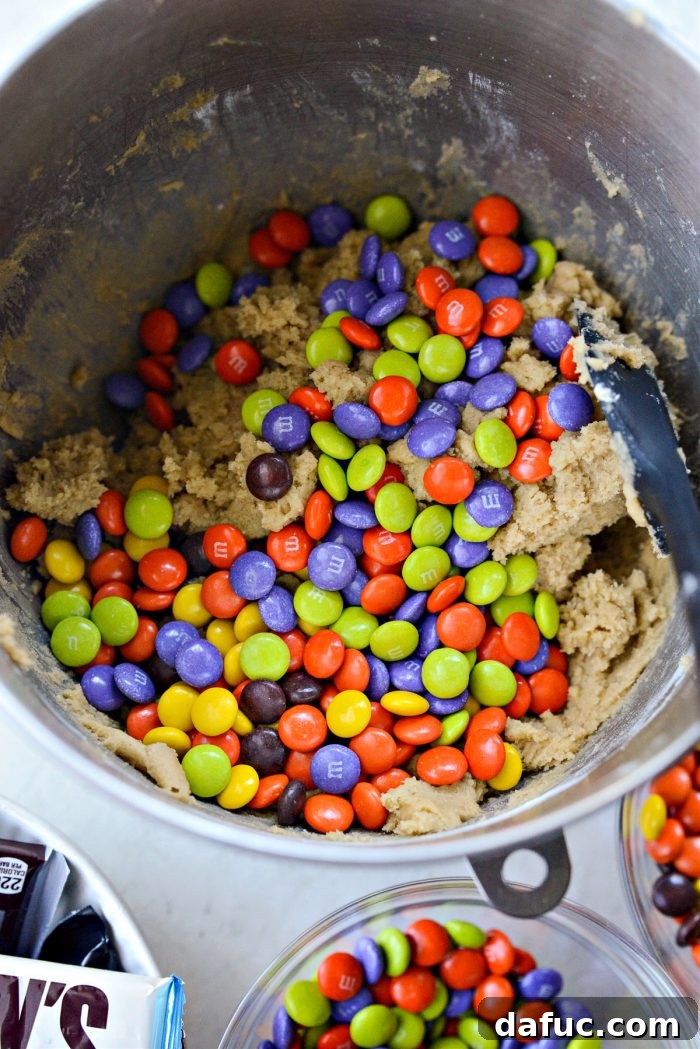
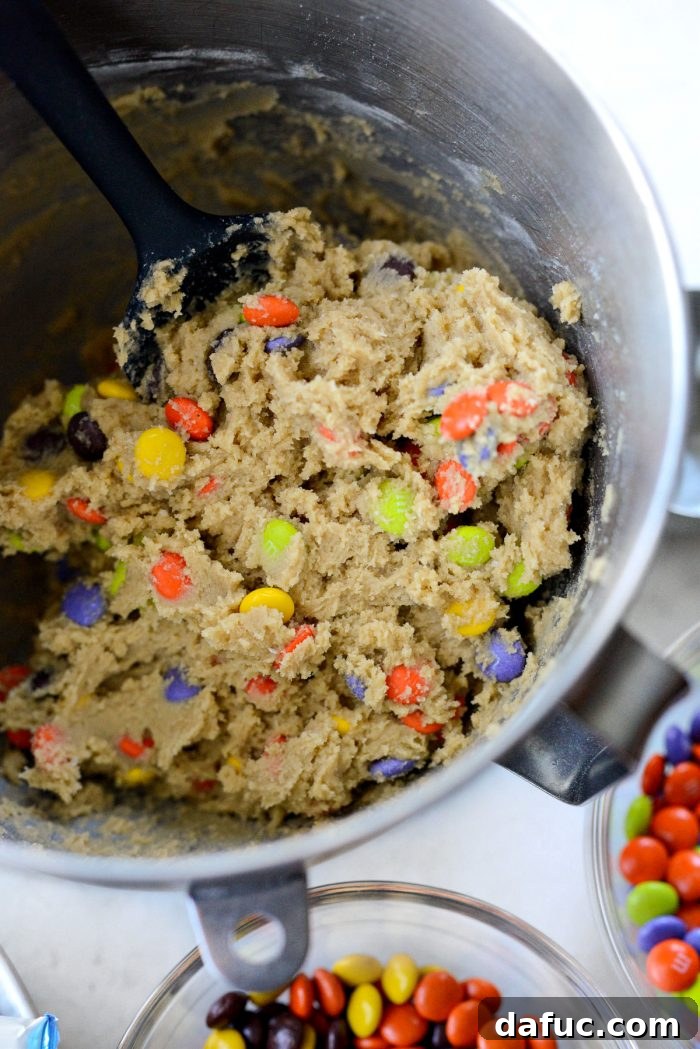
Now, it’s time to get that dough into the pan and ready for baking!
- Transfer the entire cookie dough mixture to your prepared 9×13 inch baking pan.
- To press the dough evenly into the pan, you have a couple of options:
- Lightly spray your fingers with nonstick cooking spray and gently press the dough into an even layer across the bottom of the pan.
- Alternatively, place a sheet of wax paper or parchment paper over the dough and use your hands to press it down evenly. This method is often the cleanest and easiest, ensuring uniform thickness for even baking.
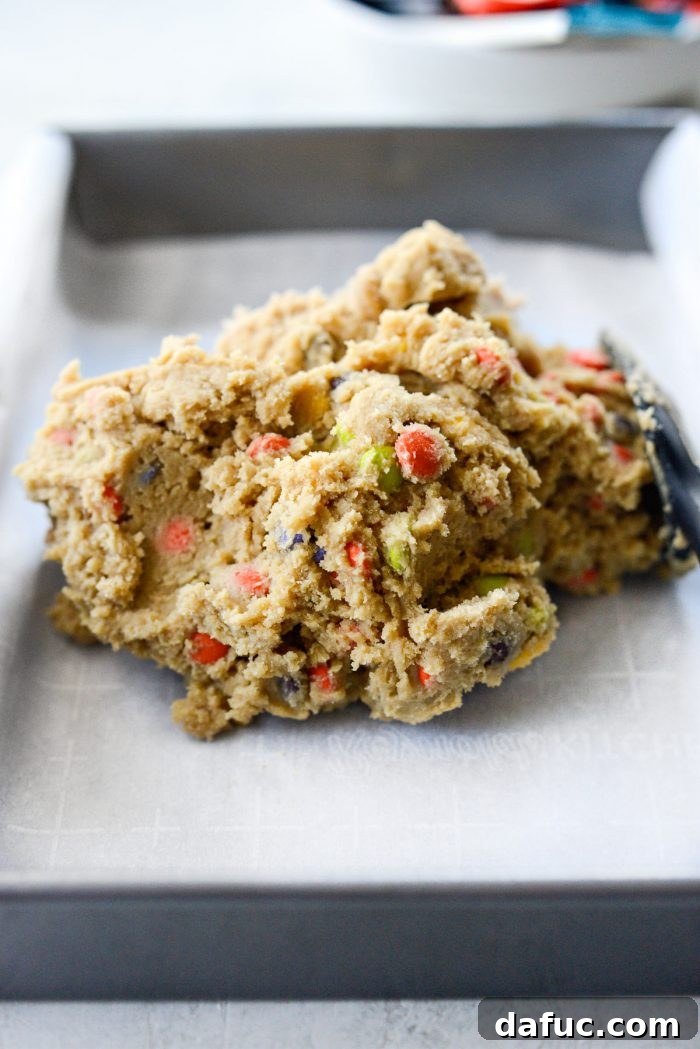
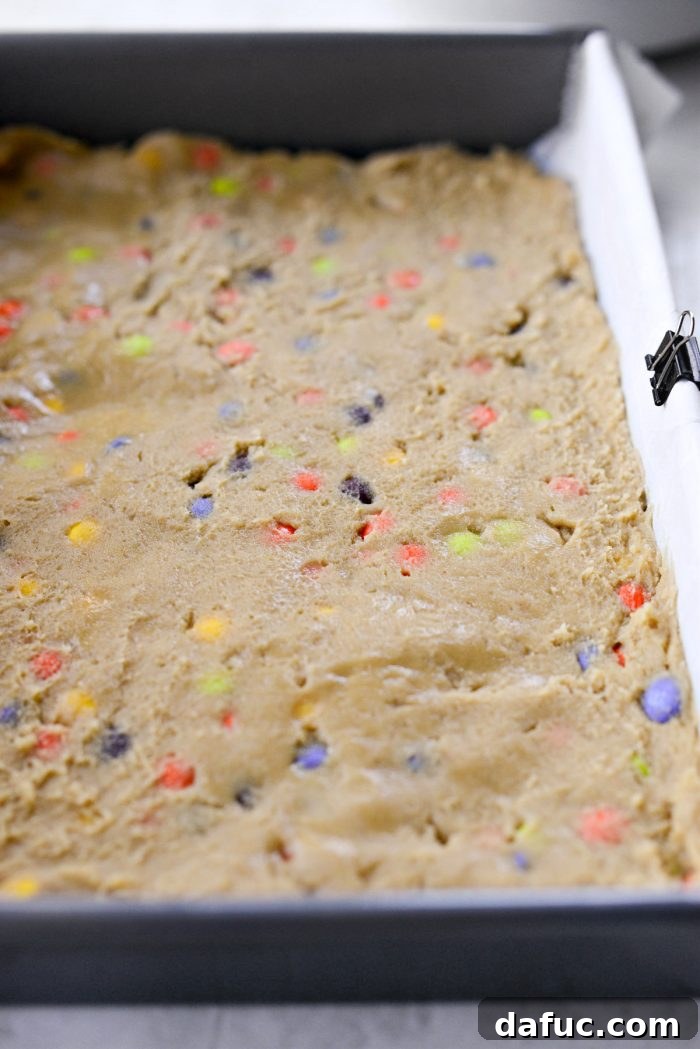
Slip the pan onto the middle rack of your preheated oven. Bake for 18 to 20 minutes, rotating the pan halfway through the baking time to ensure even browning. While the cookie base is baking, take this time to prepare your candy toppings.
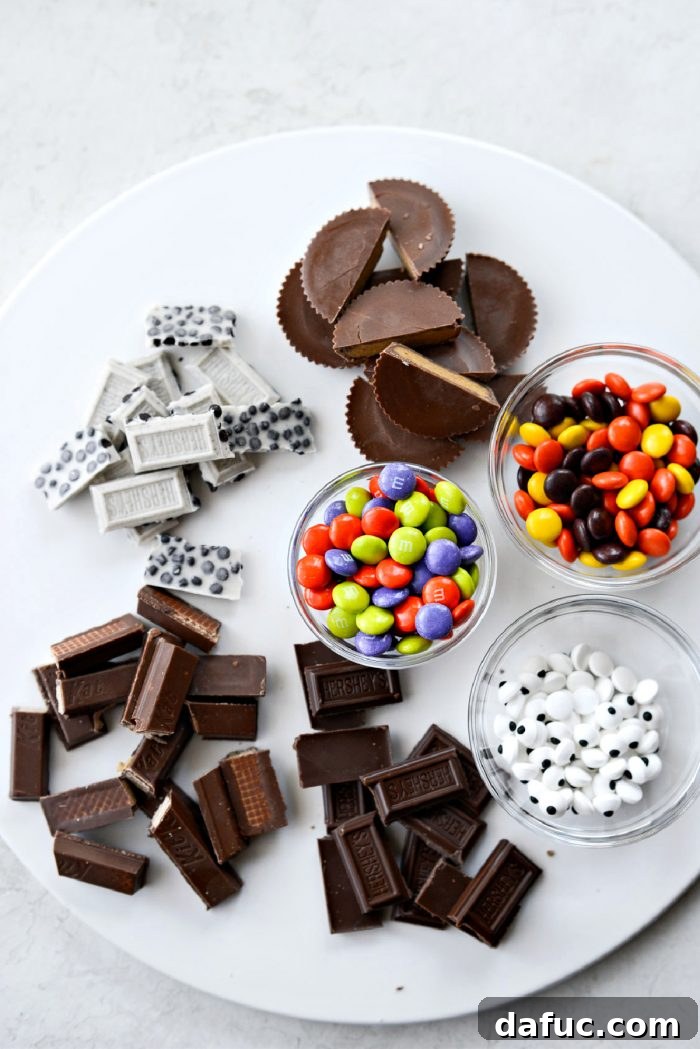
The Grand Finale: Topping Your Cookie Bars
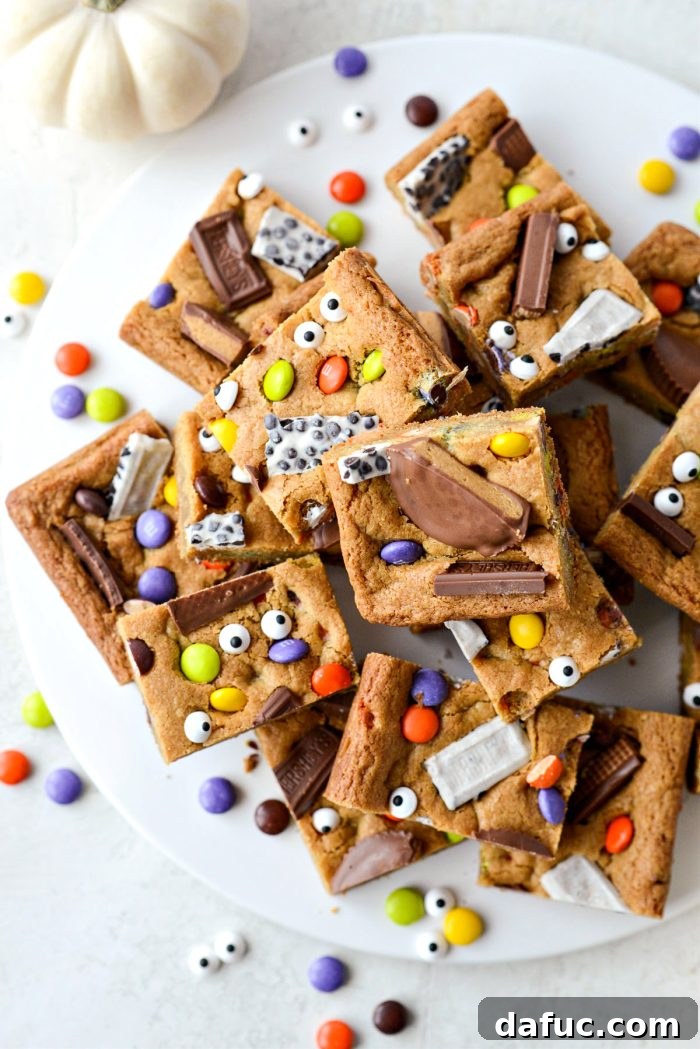
This is where the real Halloween magic happens! The key to creating truly spectacular cookie bars is how you handle the candy topping. While your cookie base bakes, unwrap, break up, or chop any larger chocolate candies you plan to use for the topping. For my bars, I opted for a festive mix of Reese’s Peanut Butter Cups, classic Hershey’s bars, crunchy KitKat bars, more M&M’s, extra Reese’s Pieces, and, of course, those adorable candy eyes. But don’t feel limited! Get creative with your favorite treats: Snickers, Butterfingers, Twix, 100 Grand bars, Take 5s – the possibilities are endless! This also provides a fantastic opportunity to use up any specific candies you might have an abundance of.
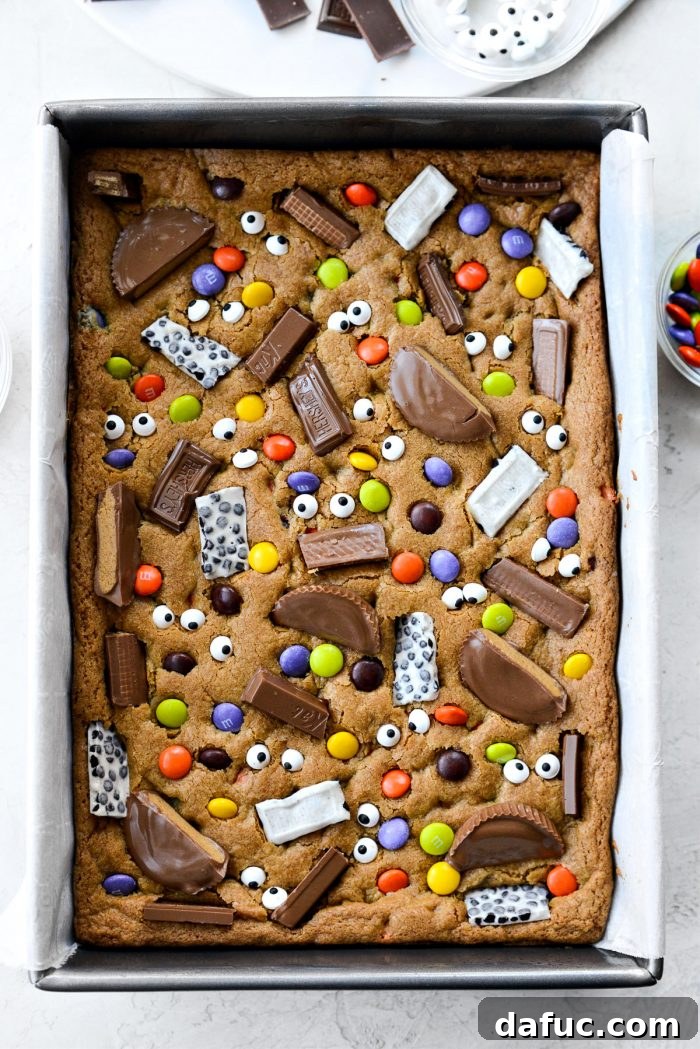
Once your cookie bars emerge from the oven, golden and fragrant, act quickly! Immediately and firmly press your prepared candy pieces into the warm, soft top of the bars. This step is crucial. The residual heat from the freshly baked cookie base is what allows the candies to melt slightly and adhere perfectly, ensuring they won’t fall off once the bars cool. Trust me, this is the only way to get them to stick without issue.
Why We Don’t Bake Candies on Top
You might be wondering why we don’t just bake the bars with the candy toppings already on them. While it might seem simpler, baking chocolate candies directly on top of the cookie dough often leads to undesirable results. The high oven temperature can do “weird things” to the chocolate, causing it to melt excessively, discolor, or even burn, altering its texture and flavor in a way that isn’t appealing. Candy bars are generally not designed to withstand prolonged high heat, unless they are fully encased within the dough. By adding them immediately after baking, we leverage the warmth to create adhesion while preserving the candies’ original texture, vibrant colors, and delicious taste, ensuring a picture-perfect and tasty finish every time. The candy eyes, in particular, would melt and lose their charming shape if baked.
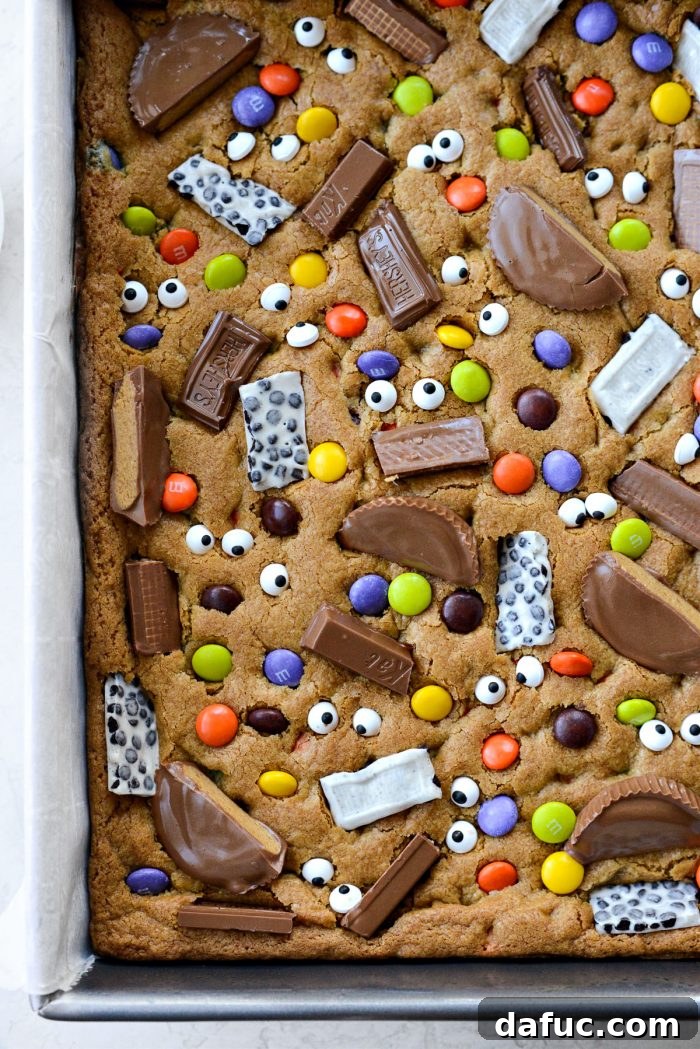
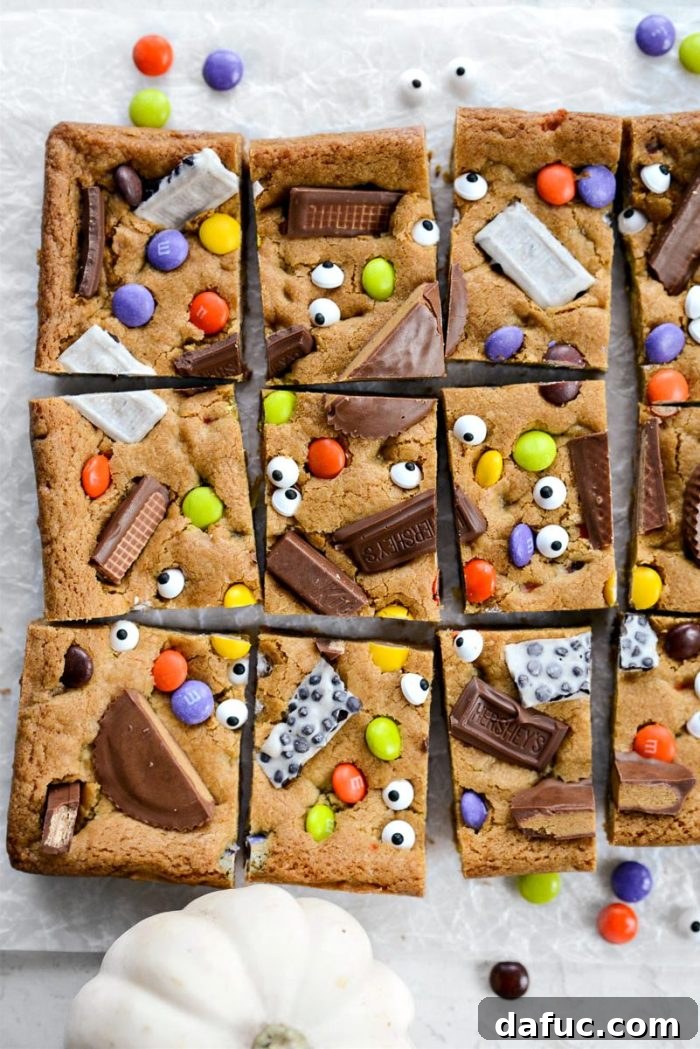
I mean… how undeniably CUTE are these? The vibrant colors and playful candy eyes truly make these bars a standout treat, perfect for any Halloween gathering or just a fun family dessert. The combination of the chewy cookie base and the assorted candy toppings creates an explosion of textures and flavors in every bite.
Serving, Storage & Enjoyment
Patience is a virtue, especially when it comes to cutting dessert bars! Allow the Halloween Candy Cookie Bars to cool completely in the pan before attempting to slice them into squares. This step is vital because if you cut them while warm, they’ll be too soft and prone to crumbling, and the melted candy toppings might smear. Once fully cooled, the bars will firm up, allowing for clean, neat cuts. If you’re anything like me, cutting dessert bars neatly can be a challenge – but don’t worry, even imperfectly cut bars taste absolutely delicious!
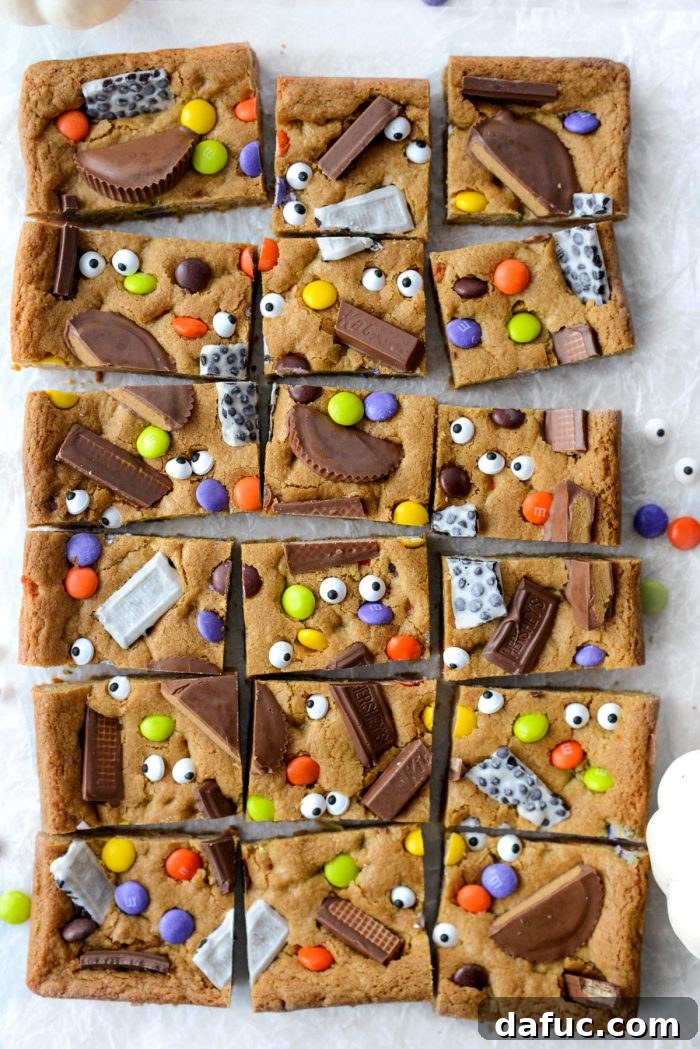
These bars are best enjoyed within 3-4 days of baking. Store them in an airtight container at room temperature to maintain their freshness and chewiness. If you want to extend their life, they can also be frozen for up to 2-3 months. Just be sure to wrap them tightly in plastic wrap and then aluminum foil before placing them in a freezer-safe bag or container. Thaw them at room temperature when you’re ready for another sweet indulgence.
Enjoy! And if you give this Halloween Candy Cookie Bars recipe a try, I’d love to hear from you! Snap a photo and share your creations on social media. You can tag me on Twitter or Instagram!
Halloween Candy Cookie Bars Recipe

These super fun Halloween Candy Cookie Bars are the perfect way to use up leftover Halloween candy! Homemade cookie dough mixed with chocolate and peanut butter candies are first baked and then pressed with all the best Halloween treats plus candy spooky eyes.
Quick Facts
- Yield: 18 servings
- Prep Time: 15 mins
- Cook Time: 18 mins
- Total Time: 33 mins
Ingredients
- 2¼ cups unbleached all-purpose flour
- 1 teaspoon baking soda
- ¾ teaspoon kosher salt
- ¾ cup unsalted butter, room temperature
- ¾ cup dark brown sugar
- ¾ cup granulated sugar
- 2 large eggs
- 1½ teaspoons real vanilla extract
- ½ cup Reese’s Pieces
- ½ cup chocolate M&M’s
- Leftover Halloween candy* (for topping)
- Candy eyes (for topping)
Equipment
- USA Pan Bakeware Rectangular Cake Pan (9×13 inch)
- Stand mixer or hand mixer
- Large mixing bowl
- Rubber spatula
- Parchment paper
Instructions
- Preheat your oven to 350℉ (180℃). Line a 9x13x2 baking pan with parchment paper and spray lightly with nonstick spray. Set aside.
- In a medium bowl, combine the flour, baking soda, and kosher salt. Stir well and set aside.
- In the bowl of your stand mixer, add the room temperature butter and both sugars. Mix on medium speed until creamy and fluffy, about 2-3 minutes.
- Add the eggs one at a time, mixing well after each addition until fully incorporated. Add the vanilla extract with the last egg. Scrape down the sides and bottom of the bowl.
- Add half of the flour mixture to the wet ingredients and mix on low speed until just combined. Then add the remaining flour mixture and mix until almost no dry streaks remain. Do not overmix. Scrape down the sides and bottom of the bowl one last time.
- Add ½ cup Reese’s Pieces and ½ cup chocolate M&M’s to the cookie dough. Use a rubber spatula to fold them in gently until incorporated throughout the dough.
- Transfer the dough to the prepared pan. With lightly greased fingers or a sheet of wax paper/parchment, press the dough evenly into the pan.
- Bake on the middle rack for 18 to 20 minutes, rotating the pan halfway through. Meanwhile, prep your chosen Halloween candy toppings by unwrapping, breaking apart, or cutting larger pieces into smaller, manageable sizes.
- Once the cookie bars are baked and removed from the oven, immediately press the prepared candy pieces and candy eyes into the top of the warm, soft cookie bars.
- Allow the bars to cool completely in the pan before slicing into squares and serving. This ensures they firm up and are easy to cut cleanly.
Chef’s Notes
*For the leftover Halloween candy topping, feel free to use your absolute favorites! Great options include Reese’s Peanut Butter Cups (chopped), Hershey bars (any variety, broken into pieces), Twix bars (chopped), Snickers (chopped), Butterfinger (chopped), and more M&M’s or Reese’s Pieces. The more variety, the more fun!
NOTE: The nutritional information provided below is an estimate and will vary significantly depending on the specific types and amounts of candy used for the topping.
Nutrition Information (per serving)
- Serving: 1 bar
- Calories: 255kcal
- Carbohydrates: 36g
- Protein: 3g
- Fat: 11g
- Saturated Fat: 7g
- Polyunsaturated Fat: 1g
- Monounsaturated Fat: 2g
- Trans Fat: 0.3g
- Cholesterol: 39mg
- Sodium: 183mg
- Potassium: 57mg
- Fiber: 1g
- Sugar: 24g
- Vitamin A: 276IU
- Vitamin C: 0.03mg
- Calcium: 25mg
- Iron: 1mg
Recipe Details
- Author: Laurie McNamara
- Course: Desserts & Sweet Treats
- Cuisine: American