
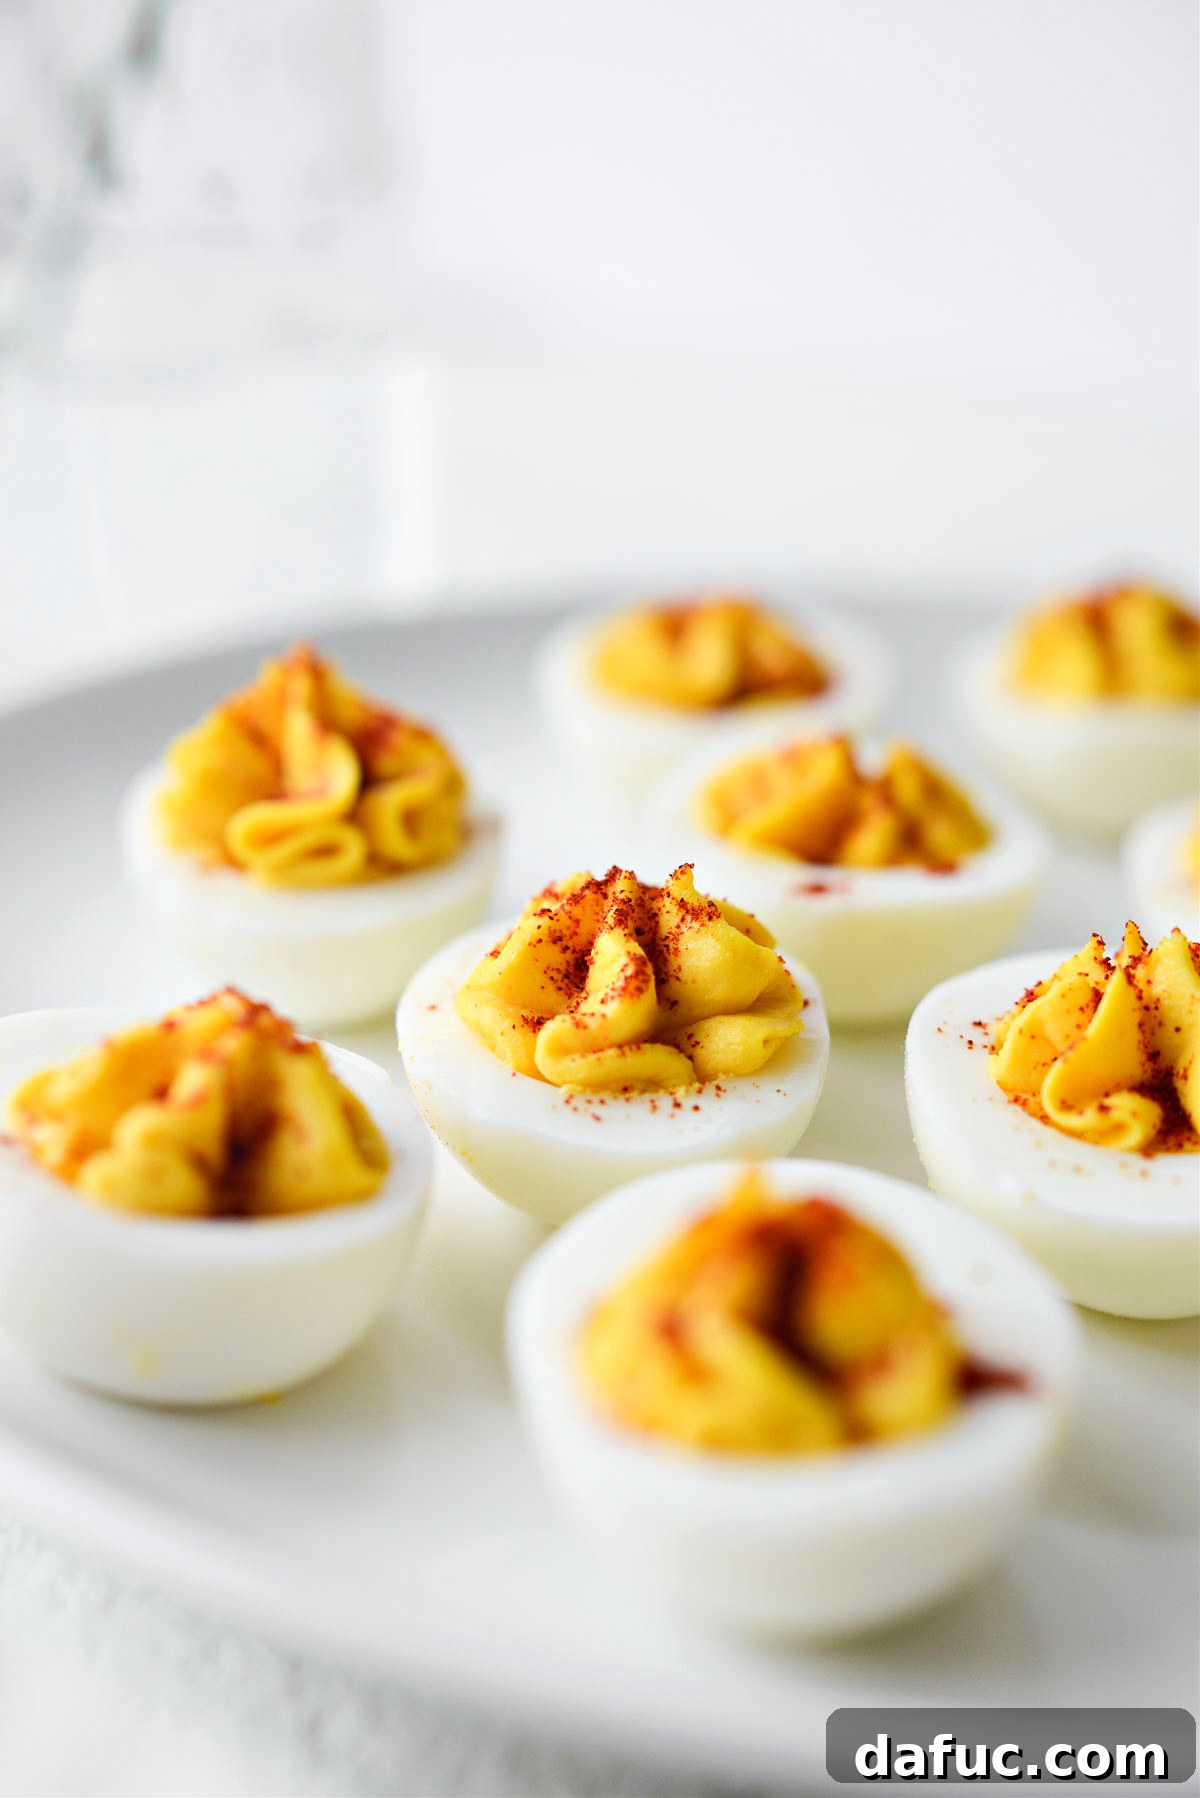
There are certain dishes that instantly evoke a sense of warmth, nostalgia, and celebration. For many, especially during festive seasons like Easter, that dish is the classic deviled egg. More than just a simple appetizer, deviled eggs are a beloved staple, a true crowd-pleaser that embodies comfort food at its finest. This isn’t just *another* recipe; it’s your definitive guide to crafting the most incredibly easy, flavorful, and utterly delicious deviled eggs you’ve ever tasted. Designed to be your go-to, this recipe yields 12 perfect deviled eggs, but it’s effortlessly scalable, allowing you to double or even triple the batch for larger gatherings.
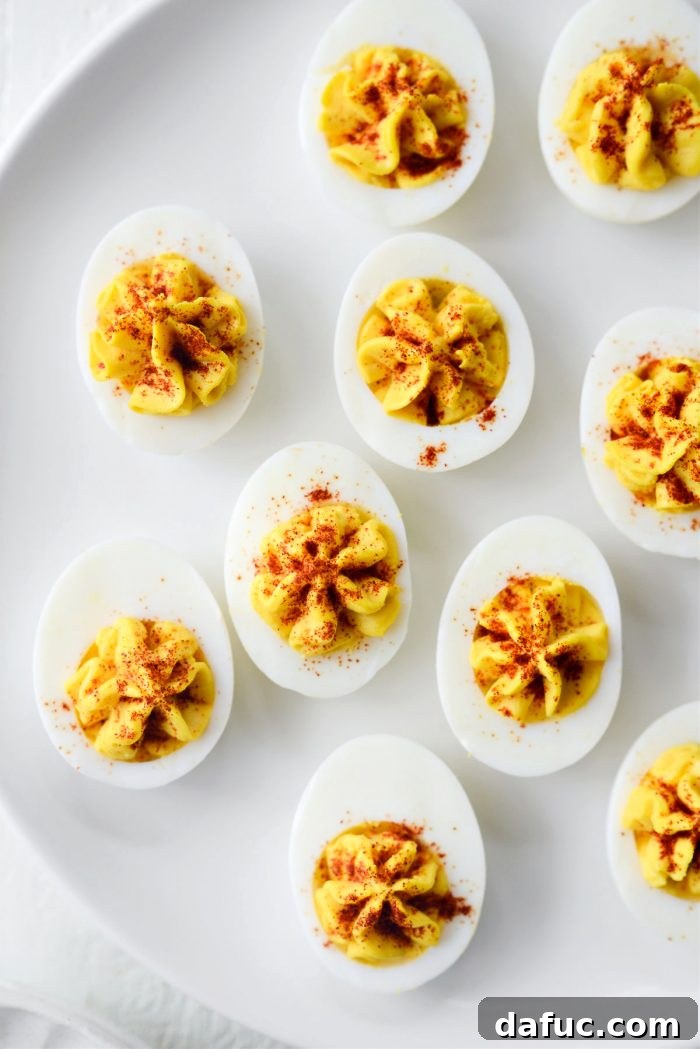
The Undeniable Allure of Classic Deviled Eggs
Deviled eggs hold a special place on any table. From backyard barbecues to elegant holiday brunches, their rich, creamy texture and savory flavor are simply irresistible. Seriously, I could happily make a meal out of deviled eggs alone! It’s one of those culinary delights that, after the first blissful bite, always makes me wonder why I limit myself to preparing them only around Easter. This recipe ensures that every batch is a masterpiece, proving that you don’t need a special occasion to enjoy these delightful bites.
The journey to deviled egg perfection begins with mastering the art of the perfect hard-boiled egg. Forget those frustrating green rings or stubbornly peeling shells. My method ensures consistently golden, tender yolks and shells that slip off with ease every single time. Once you have your perfectly cooked eggs, the magic truly happens by combining those vibrant golden yolks with just the right proportions of creamy mayonnaise, a hint of zesty mustard, and a carefully selected blend of spices. But here’s where this recipe truly shines: a subtle addition of pickle juice. This unexpected ingredient introduces a delightful tang and depth of flavor that elevates the entire dish, transforming a simple appetizer into something truly special and memorable.
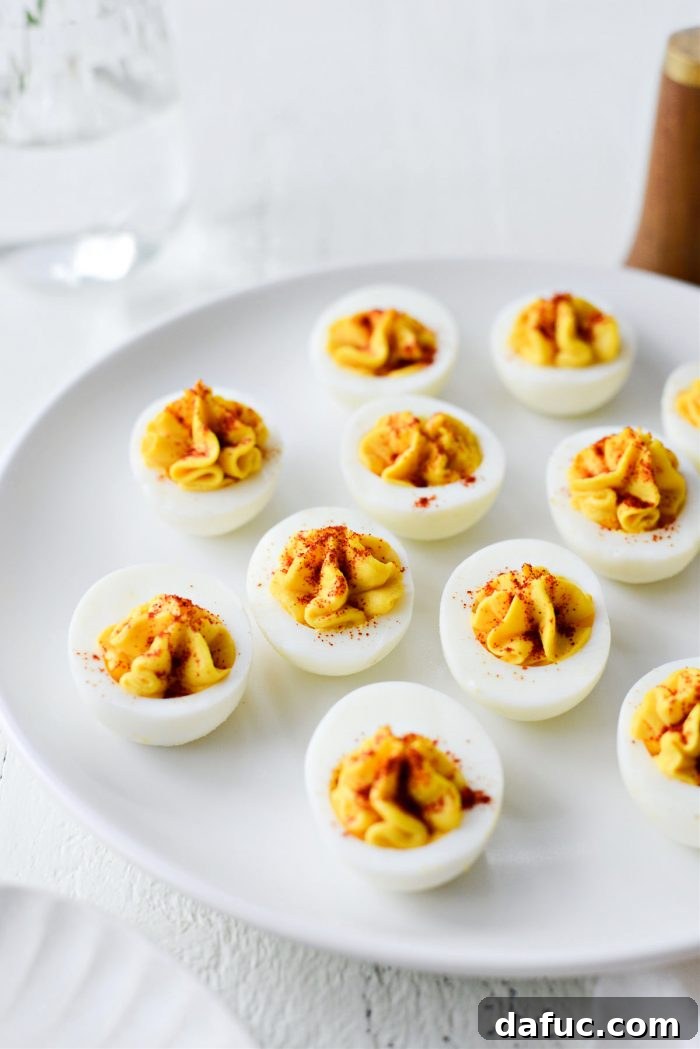
These exquisite treats are the quintessential two-bite appetizer or a fantastic side dish that complements almost any meal. Their satisfying creaminess and vibrant presentation make them a focal point on any platter.
Why This Classic Deviled Eggs Recipe Stands Out
What makes a deviled egg truly exceptional? It’s a delicate balance of texture, flavor, and visual appeal. This recipe hits all those marks with precision. We focus on achieving a silken, smooth filling, avoiding any graininess often found in less carefully prepared versions. The seasoning is spot-on, ensuring each bite is perfectly balanced – neither too bland nor overpowering. Plus, the slight tang from the pickle juice adds a layer of complexity that will have your guests asking for your secret ingredient.
Beyond the taste, the simplicity of this method is a game-changer. Even if you consider yourself a novice in the kitchen, you’ll find these instructions straightforward and easy to follow. We’ll guide you through each step, from boiling the eggs to the final garnish, ensuring a flawless result every time. This recipe is more than just ingredients and steps; it’s a foolproof system for deviled egg mastery.
Essential Ingredients for Your Classic Deviled Eggs
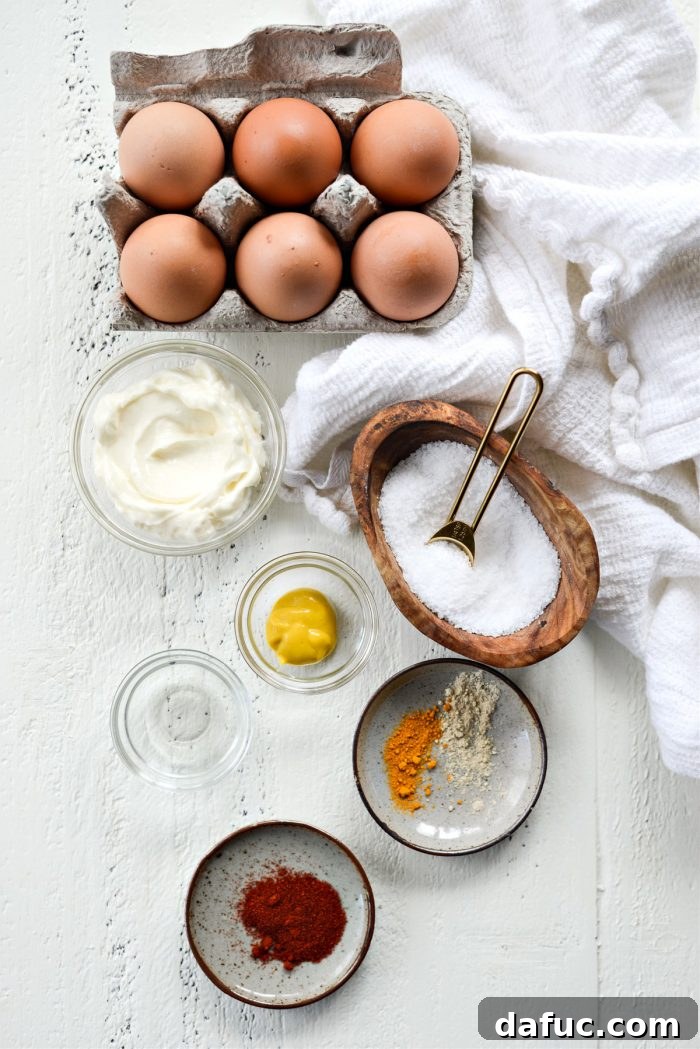
Creating the perfect deviled egg filling relies on a few key components. While the list might seem simple, the quality and freshness of each ingredient truly make a difference. Here’s what you’ll need to gather:
- Fresh Eggs: The fresher your eggs are, the easier they tend to peel after boiling. While older eggs can work, fresh ones are preferred for a smoother peeling experience.
- Mayonnaise: This forms the creamy base of our filling. Opt for a good quality full-fat mayonnaise for the richest flavor and texture.
- Yellow Mustard (or Dijon): A touch of mustard adds a necessary tang and a subtle warmth. Yellow mustard provides that classic deviled egg flavor, but a good Dijon can offer a more sophisticated, slightly spicier note.
- Pickle Juice: This is our secret ingredient! Just a small amount brightens the flavor profile and adds an irresistible zing that makes these deviled eggs unforgettable.
- Kosher Salt: Essential for seasoning, kosher salt provides a clean, pure salty taste without being overly aggressive. Season to taste to ensure perfect balance.
- Turmeric: A pinch of ground turmeric not only adds a beautiful golden hue to your filling, enhancing its visual appeal, but also contributes a subtle earthy flavor.
- White Pepper: Unlike black pepper, white pepper provides a gentle warmth without the visible specks, keeping your filling looking smooth and pristine.
- Paprika: Primarily used as a garnish, paprika adds a pop of color and a mild, sweet, peppery aroma to the finished deviled eggs. Smoked paprika can add an interesting depth.
Having these ingredients at the ready will set you up for success. Remember, each component plays a crucial role in building the layered flavors of this classic appetizer.
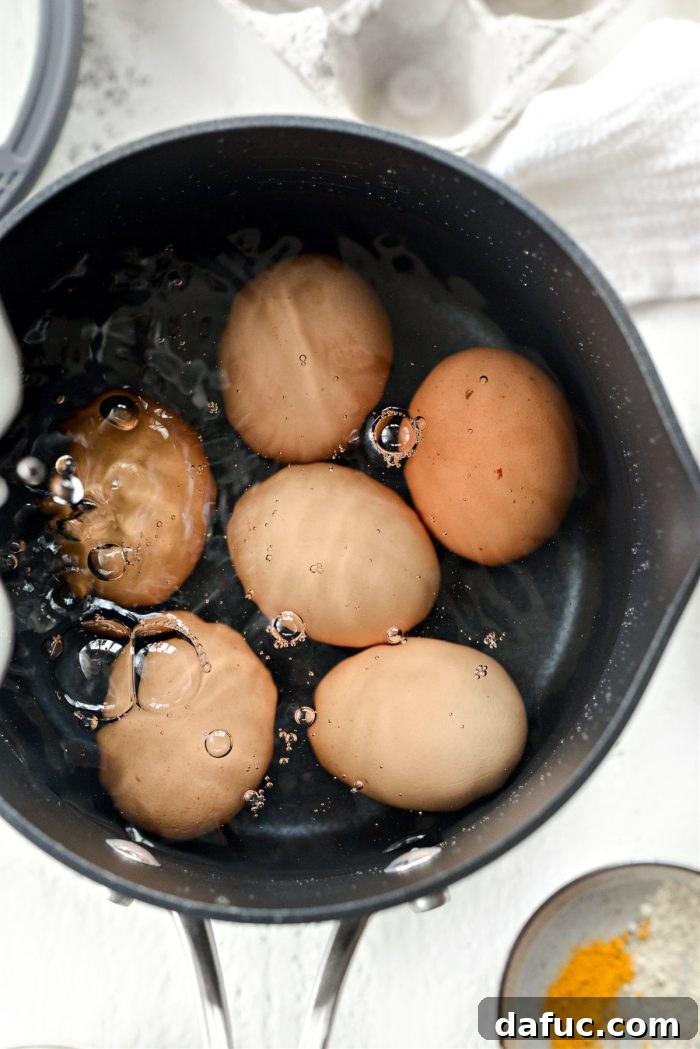
Step-by-Step Guide to Perfect Hard-Boiled Eggs
The foundation of any great deviled egg recipe is, of course, a perfectly cooked and easily peelable hard-boiled egg. This method virtually guarantees success, leaving you with beautiful, vibrant yellow yolks every time.
- Prepare the Eggs and Pot: Carefully place 6 eggs, straight from the refrigerator, into a medium saucepan. Gently fill the saucepan with cold water, ensuring the eggs are covered by at least an inch or two of water.

- Boil and Steep: Cover the saucepan with a lid and bring the water to a rapid boil over high heat. As soon as the water reaches a vigorous, rolling boil, immediately turn off the heat. Keep the saucepan on the hot burner and set a timer for precisely 12 minutes. Do not lift the lid during this steeping period.
- Prepare the Ice Bath: While the eggs are steeping, fill a medium-sized bowl generously with ice cubes and cold water. This ice bath is a critical step for stopping the cooking process and facilitating easy peeling.
- Transfer to Ice Bath: Once the 12 minutes are up, use tongs to quickly and carefully transfer the hot eggs from the saucepan directly into the prepared bowl of ice water. Allow the eggs to cool completely in the ice bath for at least 5-10 minutes. This abrupt temperature change helps the egg whites contract, separating them from the shell membrane, which makes peeling significantly easier.
- Peel and Halve: Once the eggs are completely cool to the touch, gently peel them under cool running water or in the ice bath itself. The shells should come off with minimal effort. Slice each peeled egg in half lengthwise, carefully separating the yolks from the whites. Place the egg whites on a platter and transfer the cooked egg yolks to a small bowl or directly into your food processor.
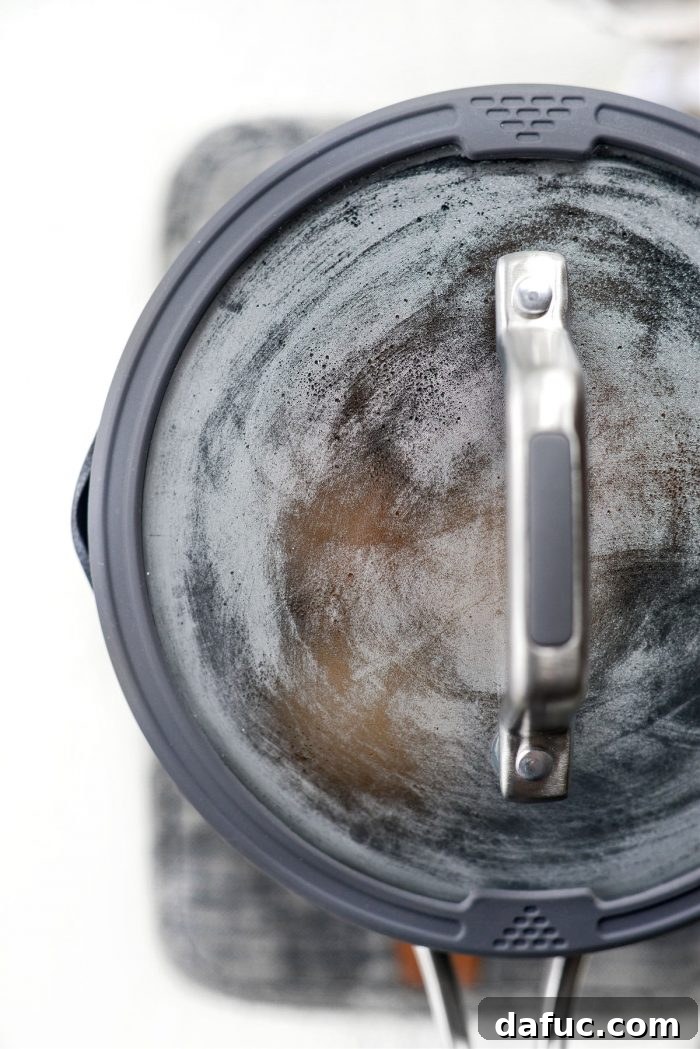
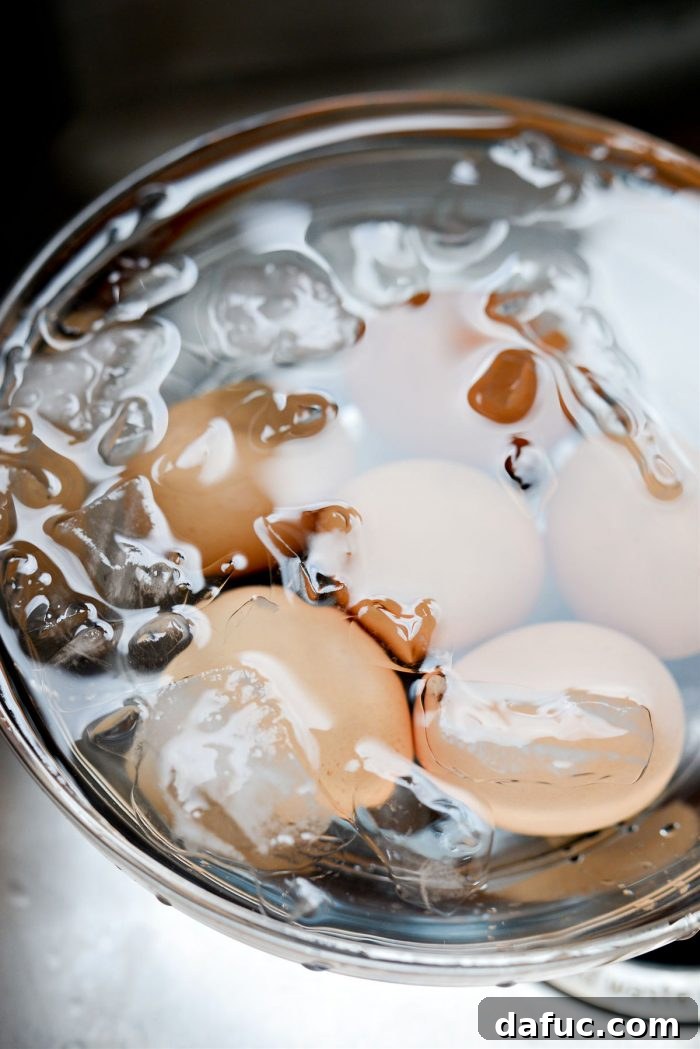
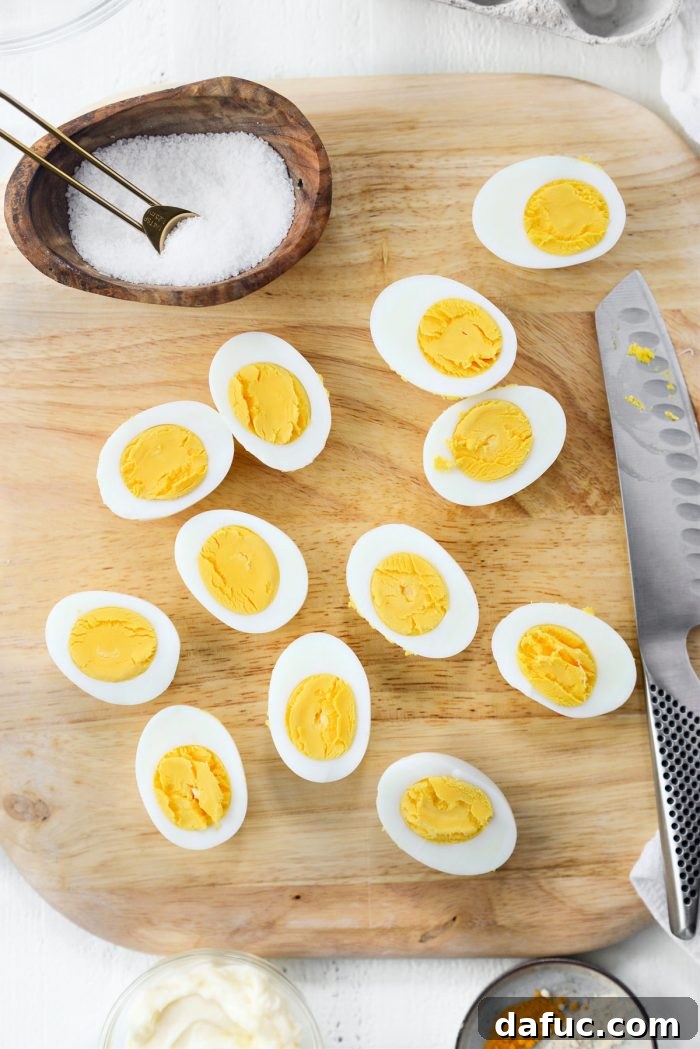
This method ensures beautiful, perfectly cooked yolks without any unsightly green discoloration, and shells that are a breeze to remove!
Crafting the Creamy Deviled Egg Filling
With your perfectly hard-boiled eggs ready, it’s time to transform those golden yolks into a luxurious, flavorful filling.
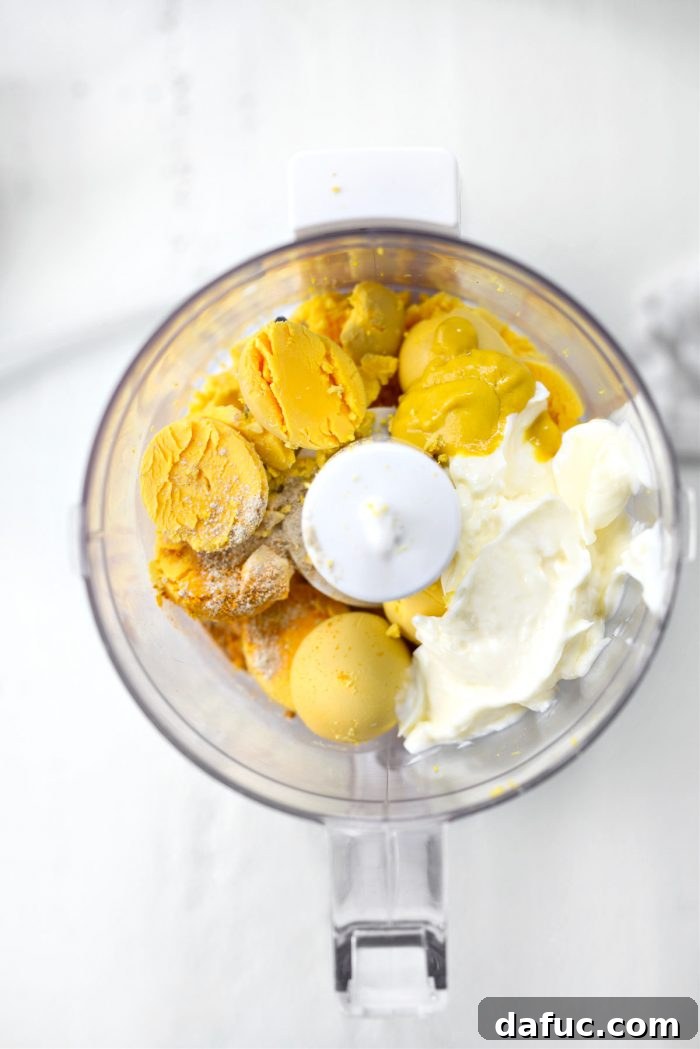
- Combine Ingredients: Transfer all the cooked egg yolks to a food processor. Add 3 tablespoons of creamy mayonnaise, a rounded ½ teaspoon of yellow mustard (or Dijon for a sharper taste), ½ teaspoon of pickle juice, a small pinch (1-2 pinches) of ground turmeric, 1-2 pinches of ground white pepper, and kosher salt to taste.
- Processor Size Tip: For this recipe size (6 eggs / 12 deviled egg halves), a mini food processor is ideal for achieving a super smooth consistency. If you’re doubling the recipe for a larger gathering, a full-size food processor would be more suitable.
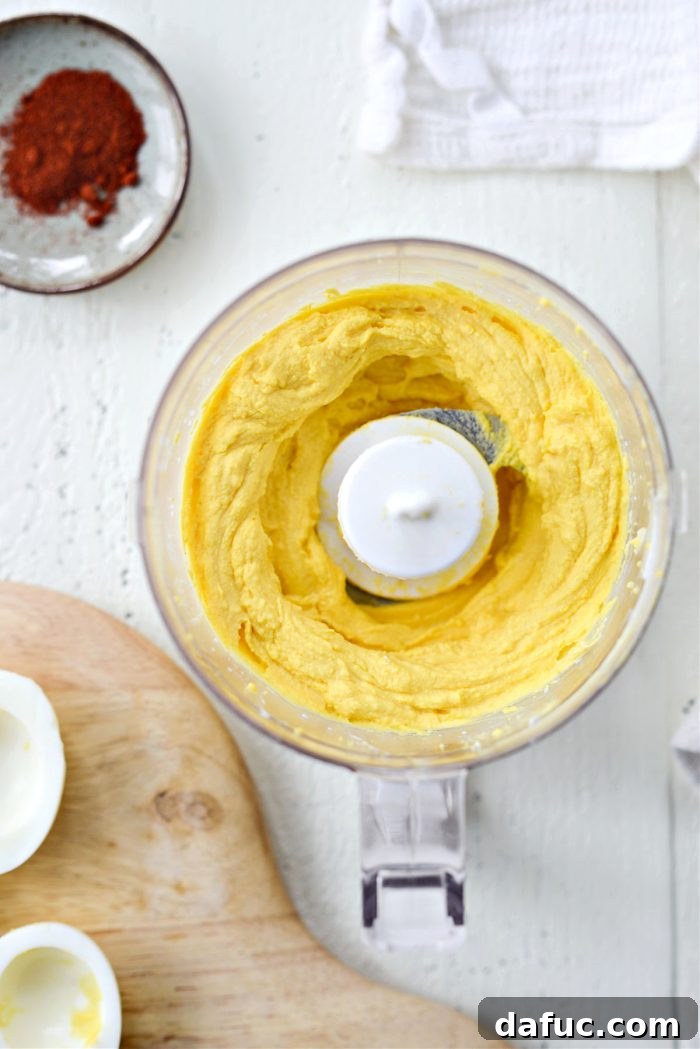
- Process Until Smooth: Secure the lid on your food processor and blend the mixture until it is completely smooth and creamy. Stop periodically to scrape down the sides of the bowl with a spatula to ensure all ingredients are thoroughly incorporated. Taste the filling and adjust seasoning if necessary – you might want a bit more salt, mustard, or pickle juice to suit your preference.
Filling, Garnishing, and Serving Your Deviled Eggs
The final steps bring your deviled eggs to life, transforming them into visually appealing and utterly delectable appetizers.
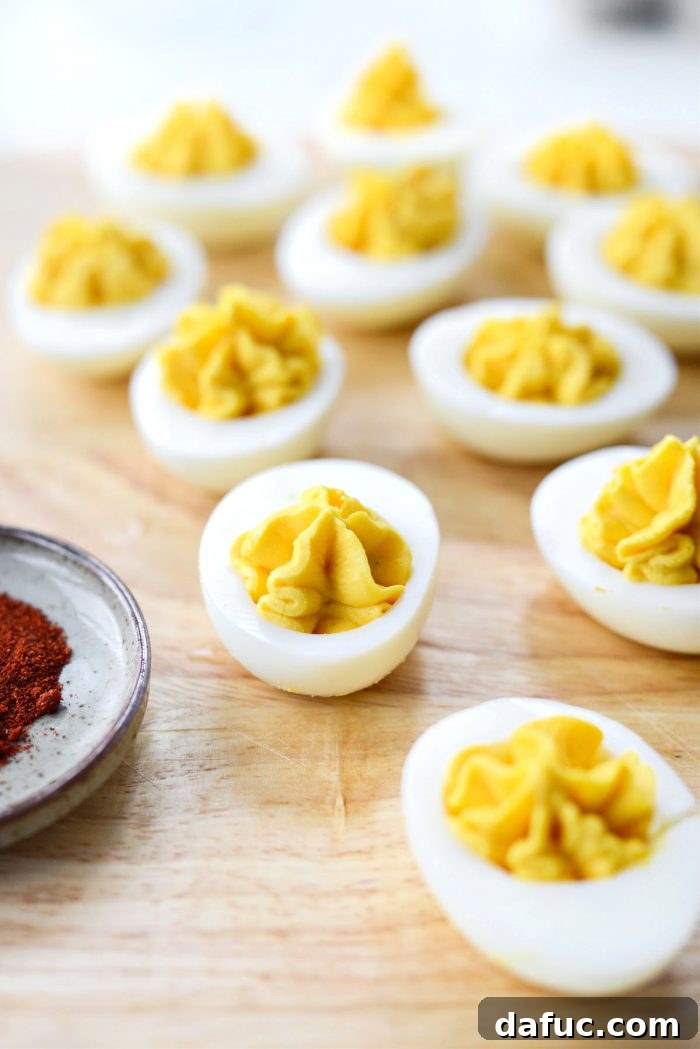
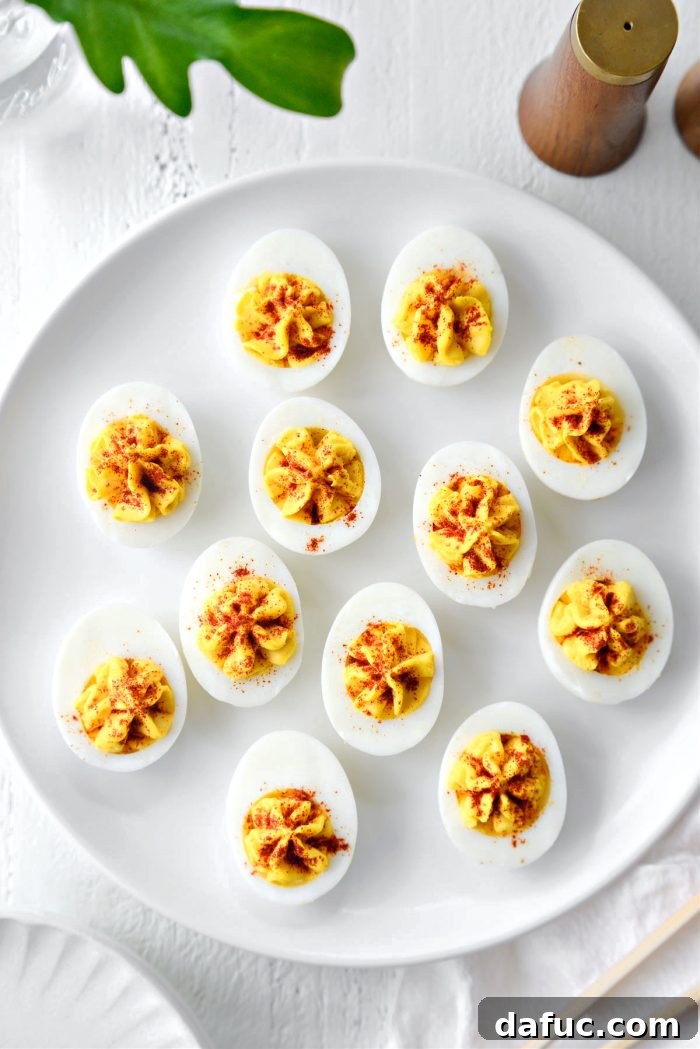
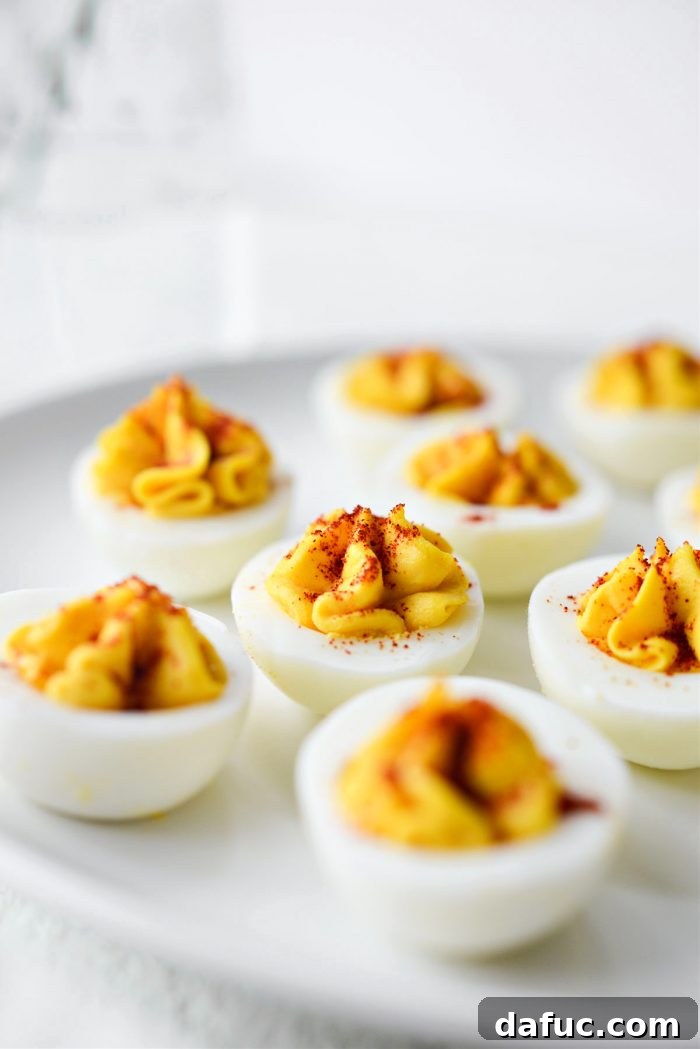
- Fill the Egg Whites: Once your filling is perfectly creamy, it’s time to fill the reserved egg whites. For a professional, elegant presentation, transfer the filling to a piping bag fitted with a star tip (or your favorite decorative tip). If you don’t have a piping bag, a small spoon or spatula works perfectly well for a more rustic look. Carefully pipe or spoon the filling into each egg white half, mounding it slightly in the center.
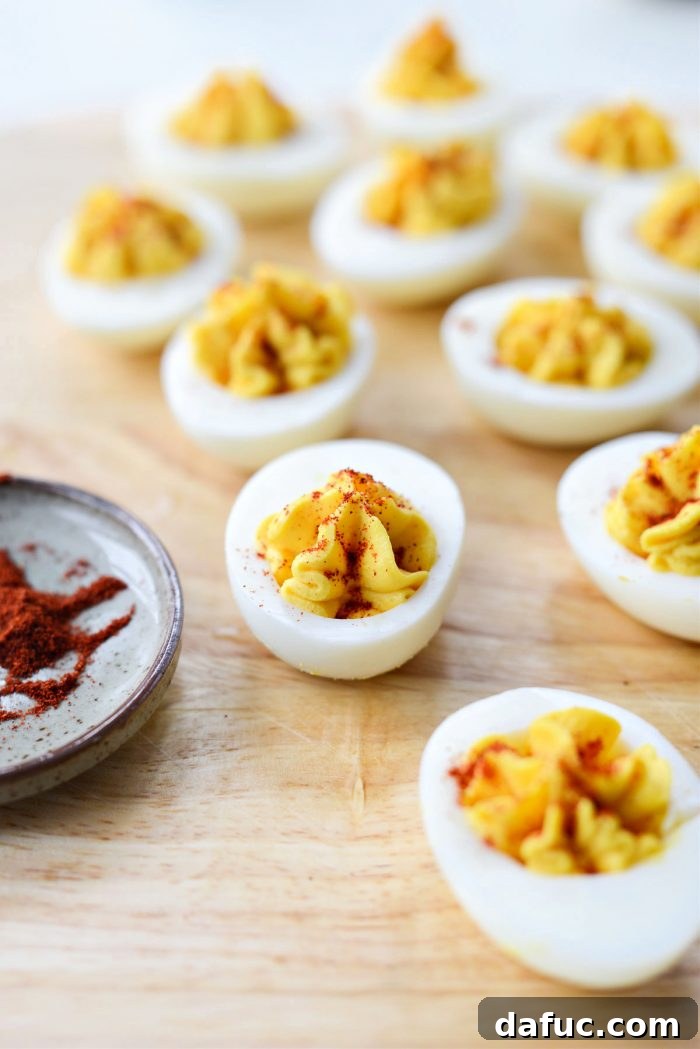
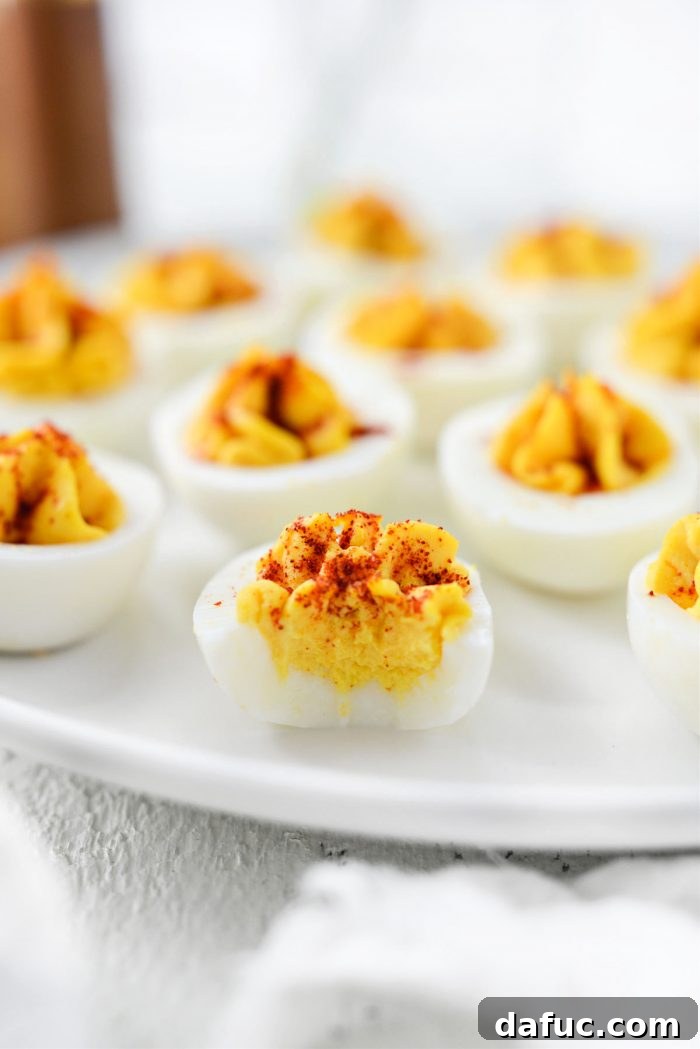
- Garnish and Chill: Lightly sprinkle the tops of your filled deviled eggs with paprika. This adds a lovely pop of color and a subtle flavor enhancement. For an extra touch, you can also sprinkle with finely chopped fresh chives or a tiny sprig of dill.
- Serve Chilled: Arrange your finished deviled eggs on a serving platter. It’s crucial to keep them chilled until you are ready to serve to maintain their freshness and food safety.
Tips for Deviled Egg Perfection
- Egg Freshness: While older eggs are often recommended for easier peeling, I find that very fresh eggs boiled using the rapid boil then steep and ice bath method peel just as easily, and sometimes even better! Experiment to find what works best for your eggs.
- Don’t Overcook: Overcooked eggs will result in that dreaded green ring around the yolk. Sticking to the 12-minute steeping time after boiling will prevent this.
- Ice Bath is Key: Don’t skip the ice bath! It’s essential for both stopping the cooking process and making the eggs easy to peel.
- Taste and Adjust: The beauty of deviled eggs is that you can customize the flavor. Always taste your filling before piping and adjust the salt, mustard, or pickle juice to your preference.
- Smooth Filling: Using a food processor is the best way to get a perfectly smooth, lump-free filling. If you don’t have one, you can mash the yolks with a fork and then whisk vigorously with the other ingredients, but it will require more effort.
- Make Ahead: You can prepare the hard-boiled eggs up to 2-3 days in advance and store them in the refrigerator. The filling can also be made a day ahead and stored in an airtight container. Assemble just before serving for the freshest taste and best presentation.
Creative Variations to Explore
While the classic deviled egg is perfect in its simplicity, don’t hesitate to get creative with additions and garnishes! Here are a few ideas to inspire you:
- Spicy Kick: Add a dash of hot sauce (like Sriracha or Tabasco) or a pinch of cayenne pepper to the filling.
- Herbal Freshness: Mix in finely chopped fresh herbs such as chives, dill, parsley, or tarragon.
- Smoky Delight: Crumble crispy cooked bacon on top, or add a hint of smoked paprika to the filling.
- Mediterranean Twist: Stir in a small amount of finely chopped sun-dried tomatoes, capers, or olives.
- Avocado Creaminess: For an extra rich and slightly green filling, mash in a quarter of a ripe avocado.
- Curry Infusion: Add a pinch of curry powder for a unique, aromatic flavor.
- Sweet Relish: Swap out the pickle juice for a teaspoon of sweet pickle relish for a different kind of tang and texture.
Feel free to experiment and find your new favorite deviled egg variation!
For even more delightful deviled egg creations, you can Click Here to explore additional recipes!
Whether you’re making them for a special occasion or just because, this classic deviled eggs recipe is sure to impress. Its straightforward approach and incredible flavor make it a recipe you’ll return to again and again.
Enjoy! And if you give this Classic Deviled Eggs Recipe a try, please let me know! I love seeing your creations. Snap a photo and tag me on Twitter or Instagram!

Print Recipe
Pin Recipe
Leave a Review »
Classic Deviled Eggs Recipe
Ingredients
- 6 fresh eggs, cold, straight out of the fridge
- 3 tablespoons mayonnaise
- 1/2 teaspoon yellow mustard, or dijon mustard
- 1/2 teaspoon pickle juice, more or less to taste
- 1-2 pinches ground turmeric
- 1-2 pinches ground white pepper
- kosher salt, to taste
- paprika, for garnish
Equipment
-
KitchenAid Cordless 5-cup Food Chopper
Instructions
-
Place eggs into a saucepan and fill with water by 1 to 2 inches. Cover and bring to a boil over high heat. Once rapidly boiling, turn off the heat, leaving the saucepan on the burner. Set a timer for 12 minutes.
-
Meanwhile, fill a medium bowl with ice and water.
-
When the 12 minutes are up, use tongs to quickly transfer the eggs to the ice bath.
-
Once the eggs are cool, peel and slice in half.
-
Pop the cooked egg yolks out of the egg whites and into your food processor. Then measure and add in the mayonnaise, mustard, pickle juice, ground turmeric, white pepper and salt.
-
Secure the lid and process until smooth and creamy. Scrape down the sides of the bowl as needed. Taste and add more salt if needed.
-
Transfer the filling to a piping bag or use a spatula to fill the egg whites.
-
Keep refrigerated until ready to serve and garnish with sprinkle with paprika.