
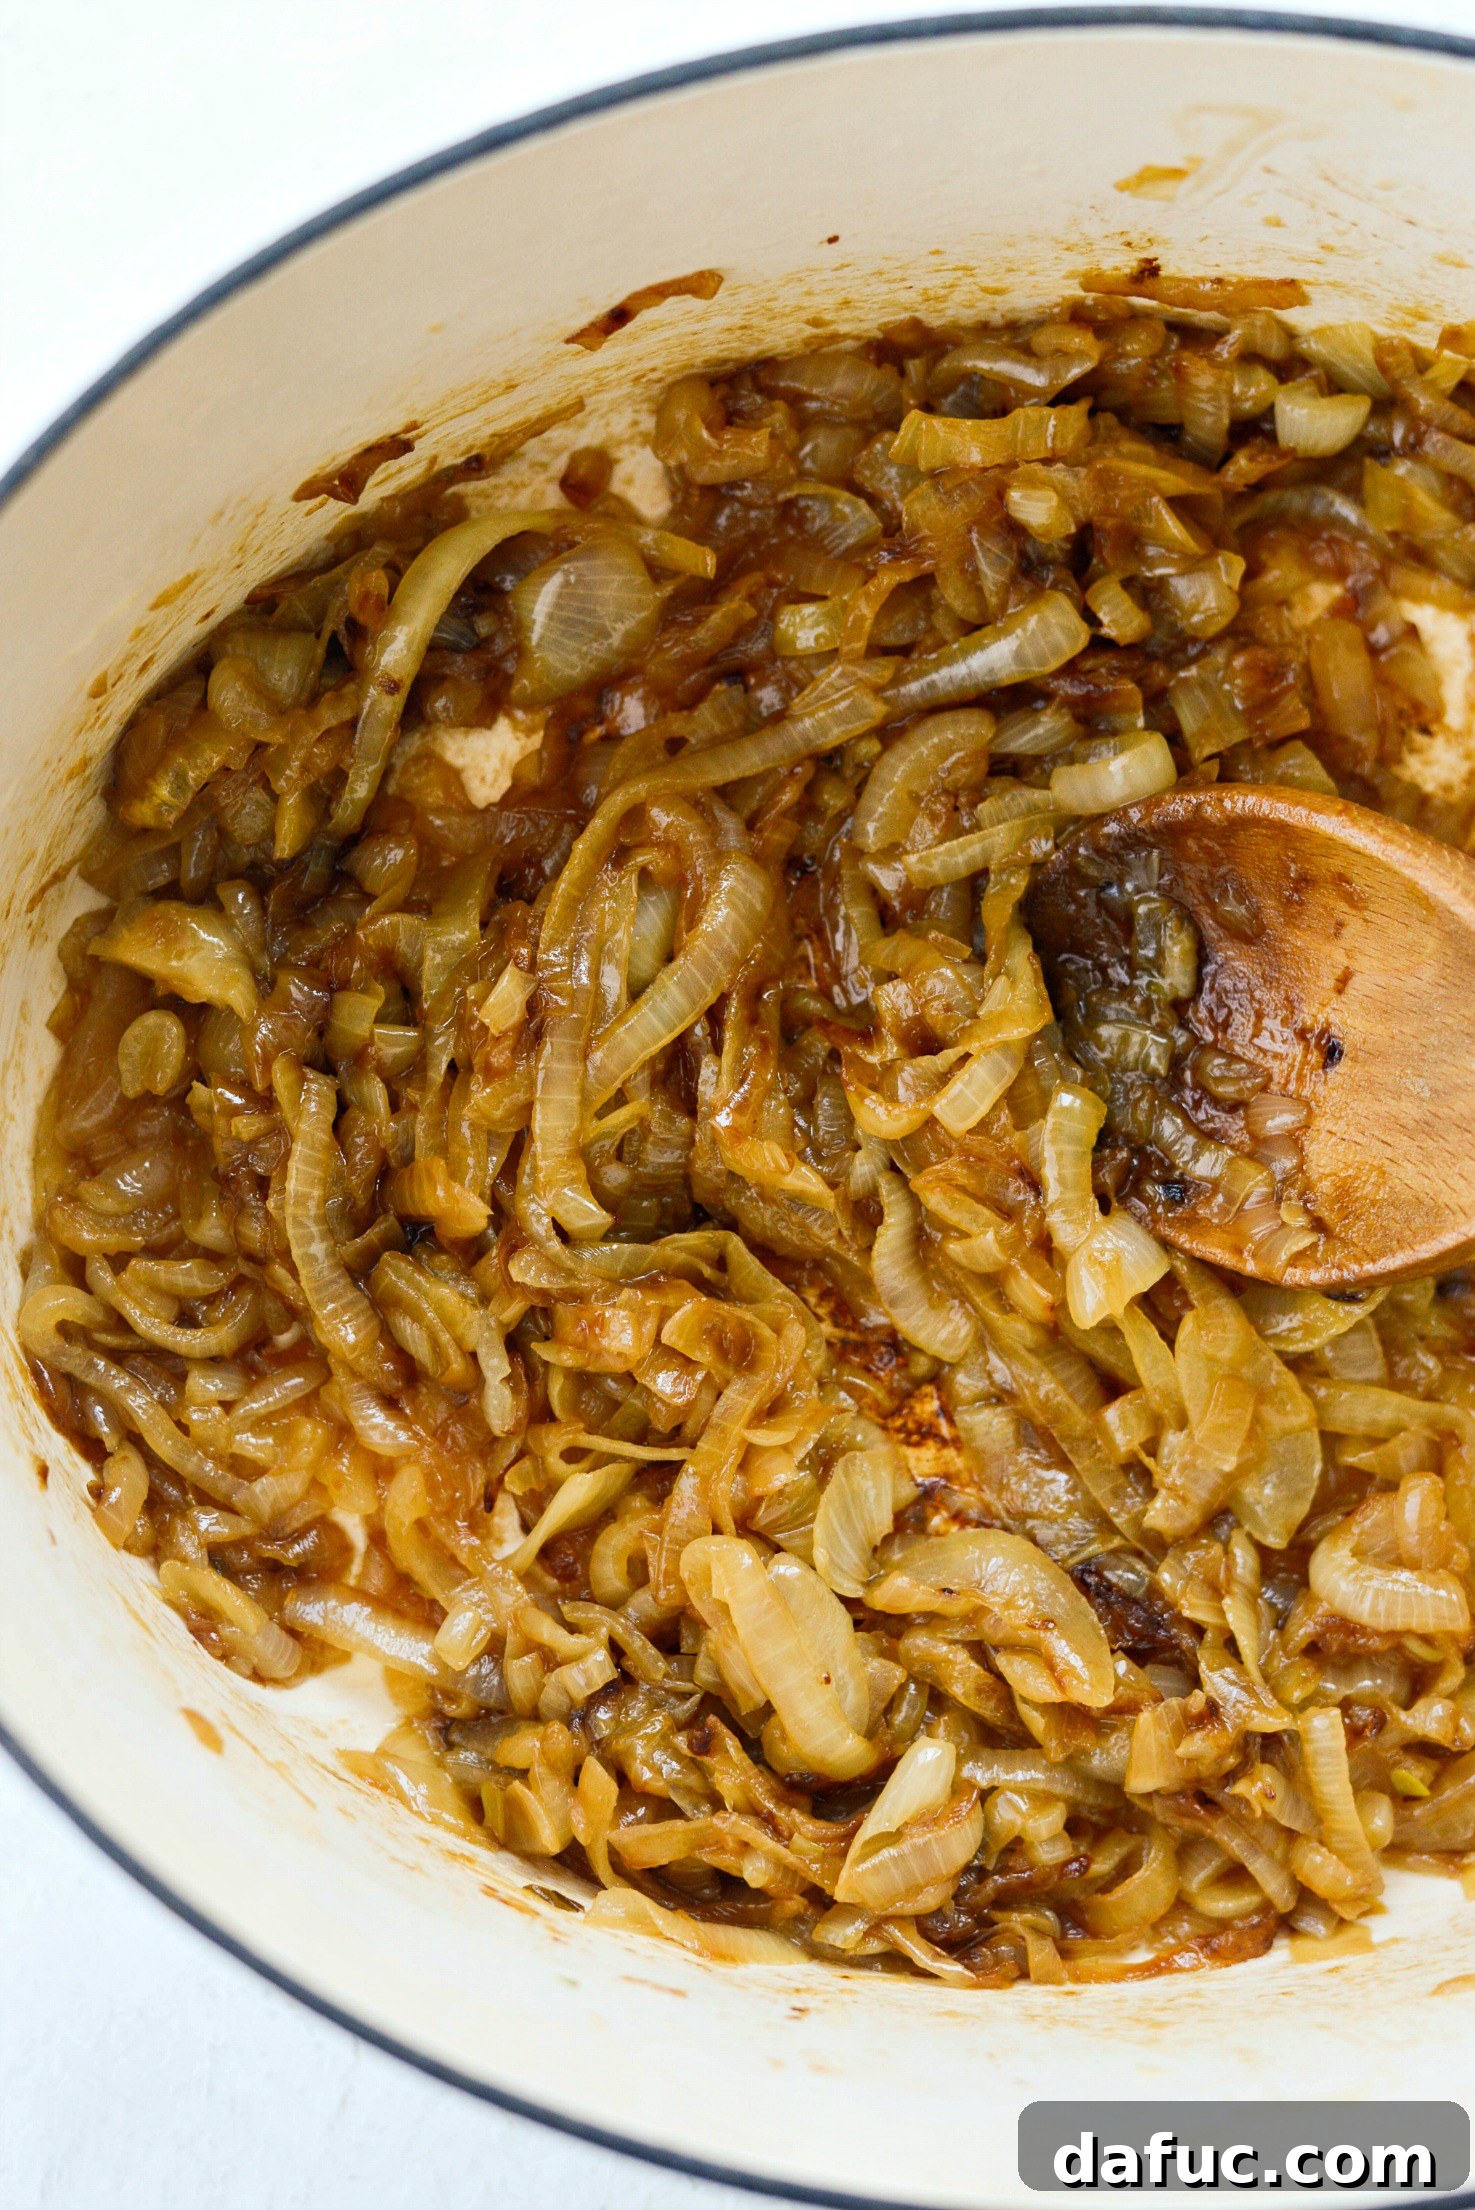
Are you ready to transform humble onions into a culinary masterpiece? Wondering how to caramelize onions to perfection? You’ve come to the right place! This comprehensive guide will walk you through easy-to-follow, step-by-step instructions, ensuring you can achieve perfectly rich, sweet caramelized onions in about an hour, adding a gourmet touch to countless dishes.
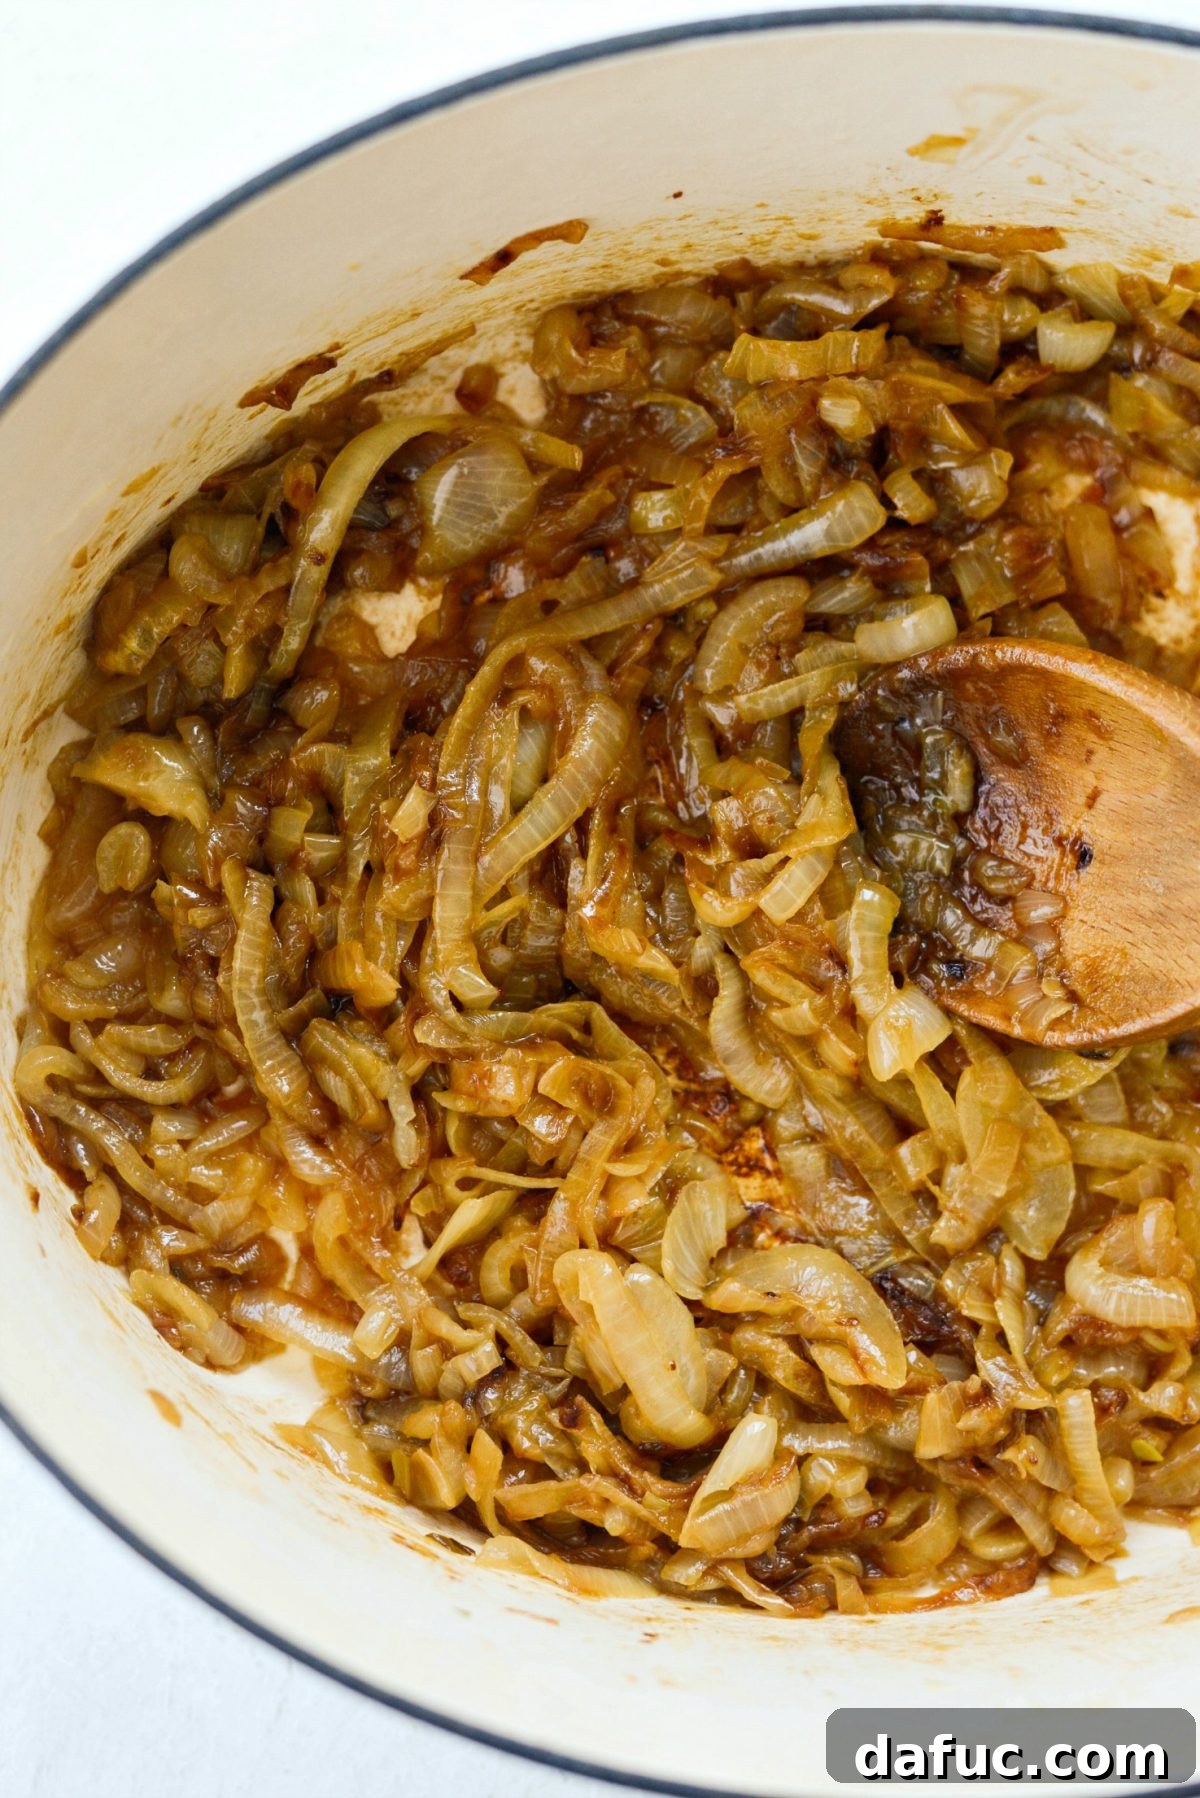
Caramelized onions are more than just cooked onions; they are a deep, sweet, and intensely flavorful ingredient that can elevate almost any meal. If you haven’t experienced the magic of truly caramelized onions yet, now is the perfect time to discover this simple yet profound cooking technique. Their rich umami and sugary notes make them incredibly versatile – they’re fantastic on top of grilled hot dogs, juicy burgers, and succulent steaks, or folded into creamy soups, savory dips, and luxurious sauces. The possibilities are truly endless!
Beyond onions and butter, the only other essential ingredient you need is a bit of patience and time. The slow cooking process is what unlocks the incredible sweetness and depth of flavor, making every minute worthwhile.
What Exactly Are Caramelized Onions?
Caramelization is a process that involves slowly cooking onions over low to medium heat, allowing their natural sugars to break down and brown. This isn’t just about browning; it’s a chemical transformation known as the Maillard reaction, which creates hundreds of new flavor compounds, resulting in a complex, sweet, savory, and slightly tangy taste profile. Unlike simply sautéing onions until translucent, caramelizing them requires time for these sugars to fully develop, yielding a soft, jammy texture and a deep, rich golden-amber hue. It’s a fundamental technique that transforms a pungent vegetable into a sweet, earthy, and incredibly versatile ingredient.
Why Should You Master Caramelizing Onions?
- **Unmatched Flavor:** The slow cooking process brings out an incredible sweetness and depth of flavor that raw or quickly sautéed onions simply can’t offer. They add a sophisticated layer of taste to everything they touch.
- **Versatility in the Kitchen:** From appetizers to main courses, caramelized onions fit almost anywhere. They can be a star ingredient or a subtle enhancement, always adding value.
- **Easy to Make (Just Requires Patience):** While it takes time, the actual effort involved is minimal. Most of the cooking is hands-off, making it a perfect weekend project.
- **Economical and Elevating:** Onions are inexpensive, and caramelizing them is a simple way to elevate everyday dishes to gourmet status without breaking the bank.
Choosing and Preparing Your Onions for Caramelization
The type of onion you choose can influence the final flavor, but most varieties will work beautifully. Sweet onions, such as Vidalia or Walla Walla, are often preferred for their higher sugar content, which makes for a naturally sweeter caramelized product. Yellow onions are also an excellent choice, offering a balanced flavor that caramelizes wonderfully. Red onions can be used, providing a slightly sharper initial taste that mellows beautifully with caramelization, though they will yield a darker, purplish-brown result.
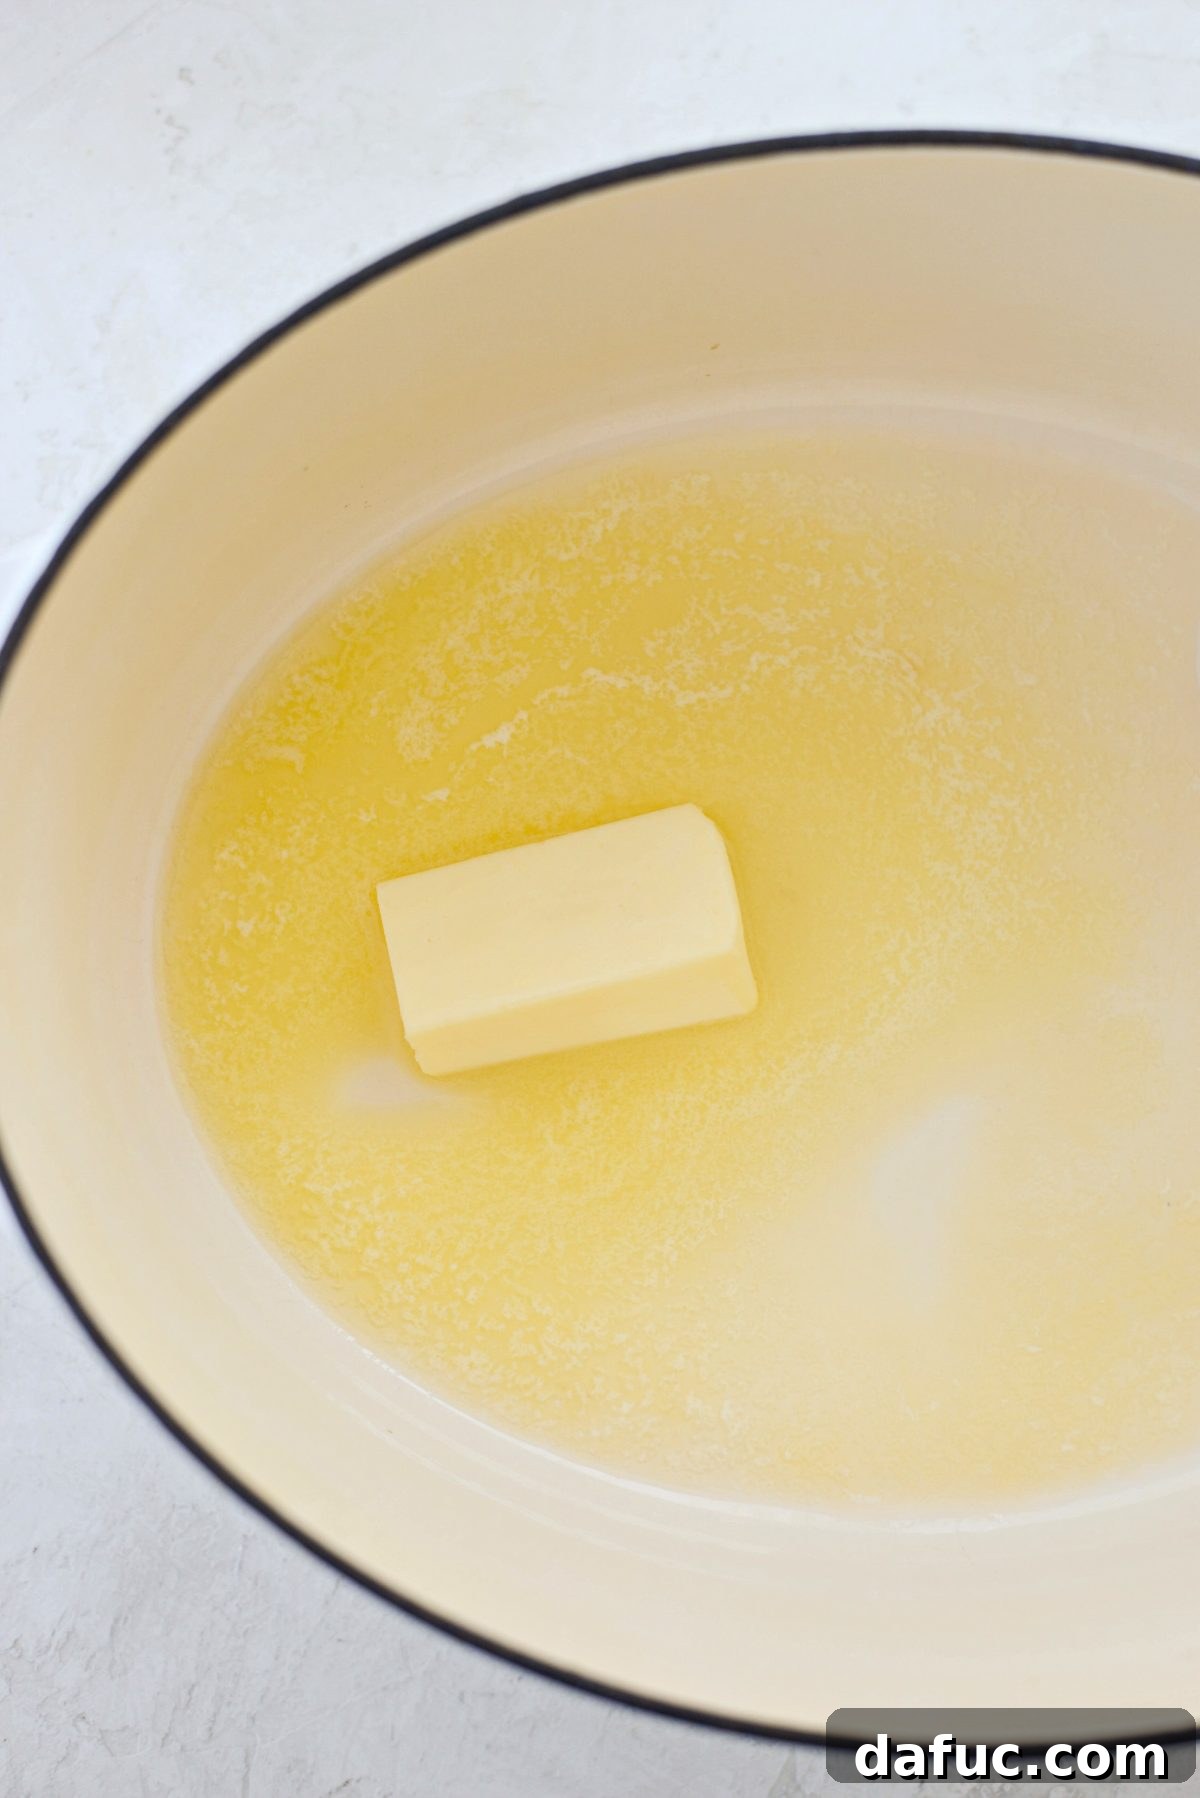
For optimal caramelization, uniform slicing is key. This ensures that all the onion pieces cook evenly and reach that perfect tender, golden state at the same time. Aim for slices approximately 1/4-inch thick. You’ll want to remove the papery outer skin, trim off both ends, and then slice the onion from root to tip or across the equator, depending on your preferred shape.
The quantity of onions you use will depend entirely on your recipe, but remember that onions shrink considerably during caramelization. Two pounds of onions might seem like a lot initially, but they will reduce down to about 1 to 1.5 cups of finished product. A good rule of thumb is to use 1 tablespoon of butter for every large sweet onion (roughly 1 pound).
Step-by-Step Guide to Perfect Caramelized Onions
Equipment You’ll Need:
- A large, heavy-bottomed pan or Dutch oven (cast iron or enamel-coated cast iron works exceptionally well for even heat distribution).
- A sturdy wooden spoon or heat-resistant spatula for stirring.
- A cutting board and sharp knife.
Ingredients:
- 4 tablespoons unsalted butter (or a combination of butter and olive oil for a higher smoke point)
- 2 pounds sweet onions (or yellow onions), sliced 1/4-inch thick
- 3/4 teaspoon kosher salt
Let’s Get Cooking!
Step 1: Melt the Butter
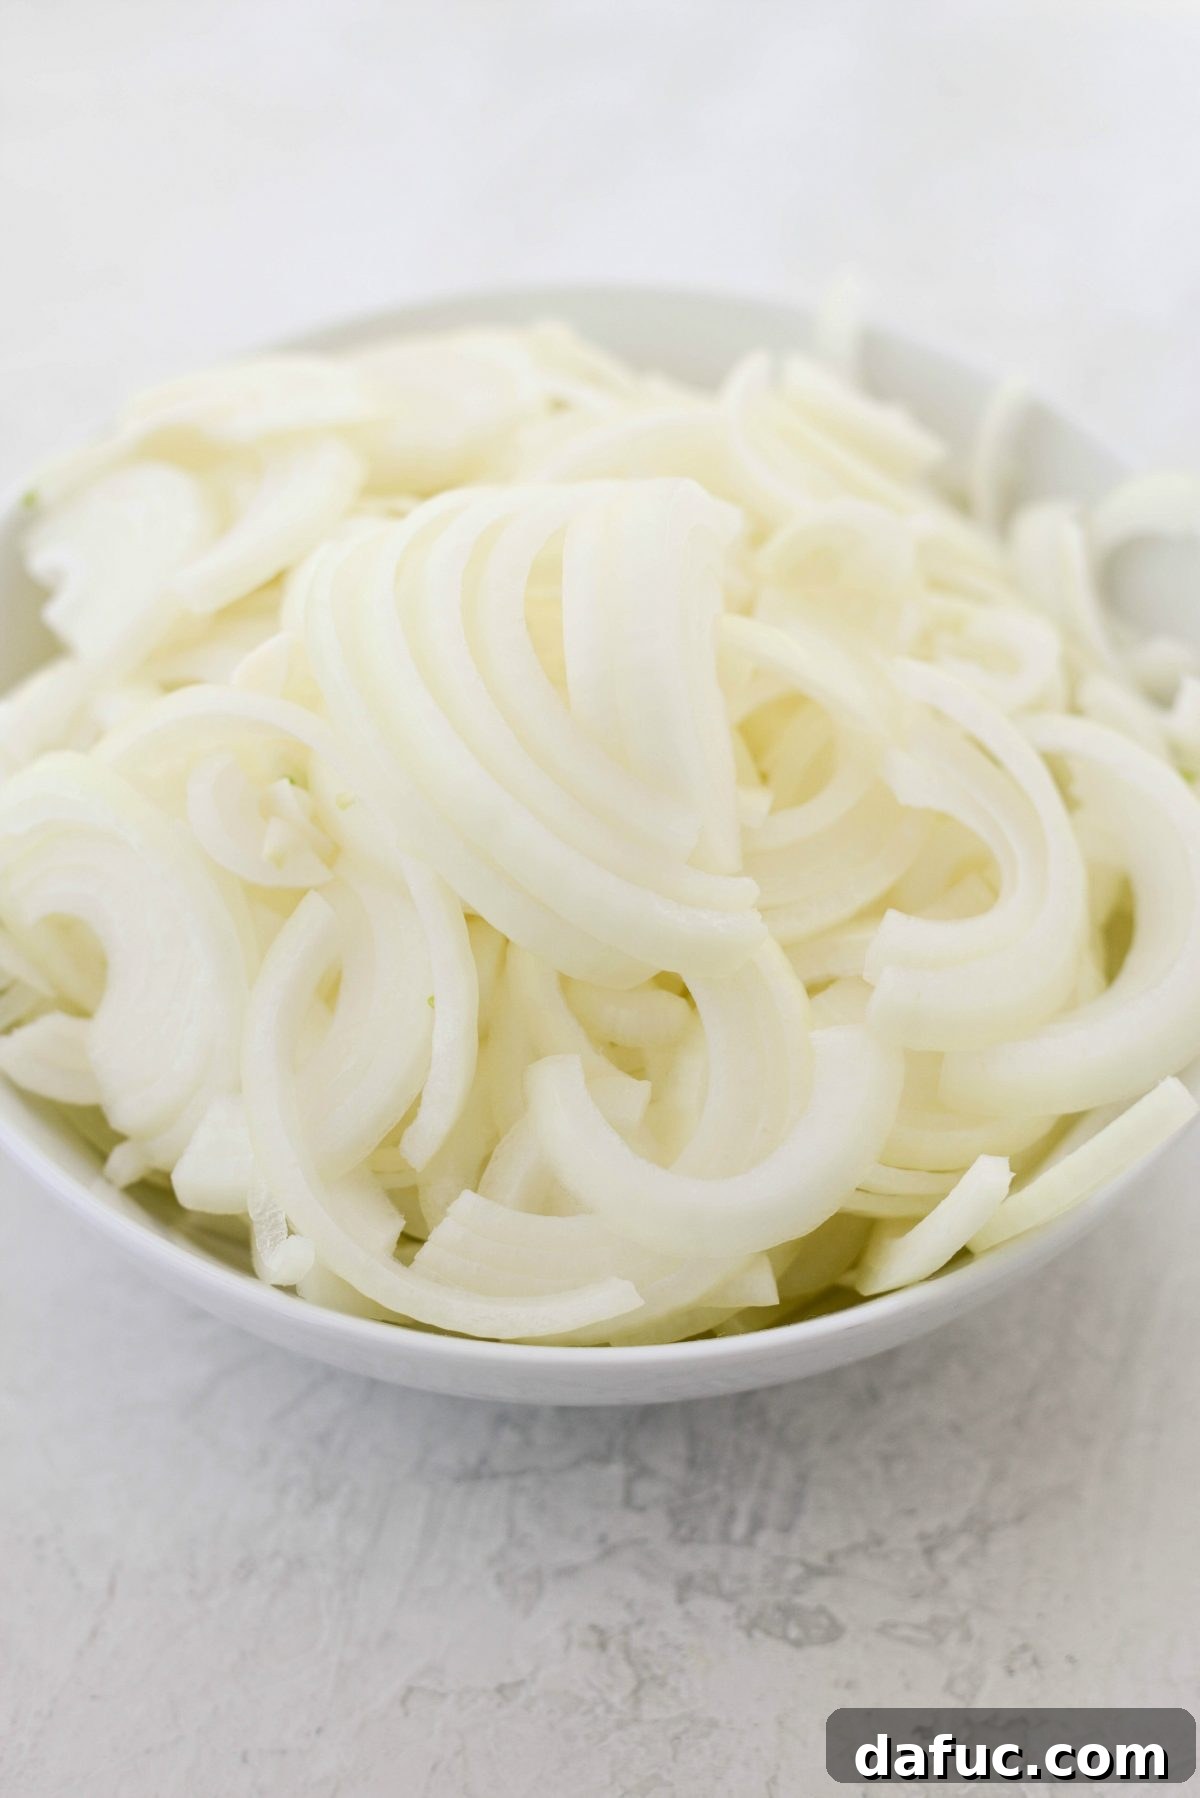
To begin, place a large, heavy-bottomed pan or Dutch oven over medium-high heat. Add 4 tablespoons of unsalted butter (or your chosen fat) and allow it to melt completely. Swirl the butter around to coat the bottom of the pan evenly. Using butter adds a rich flavor, but a mix of butter and olive oil can help prevent the butter from browning too quickly before the onions are added.
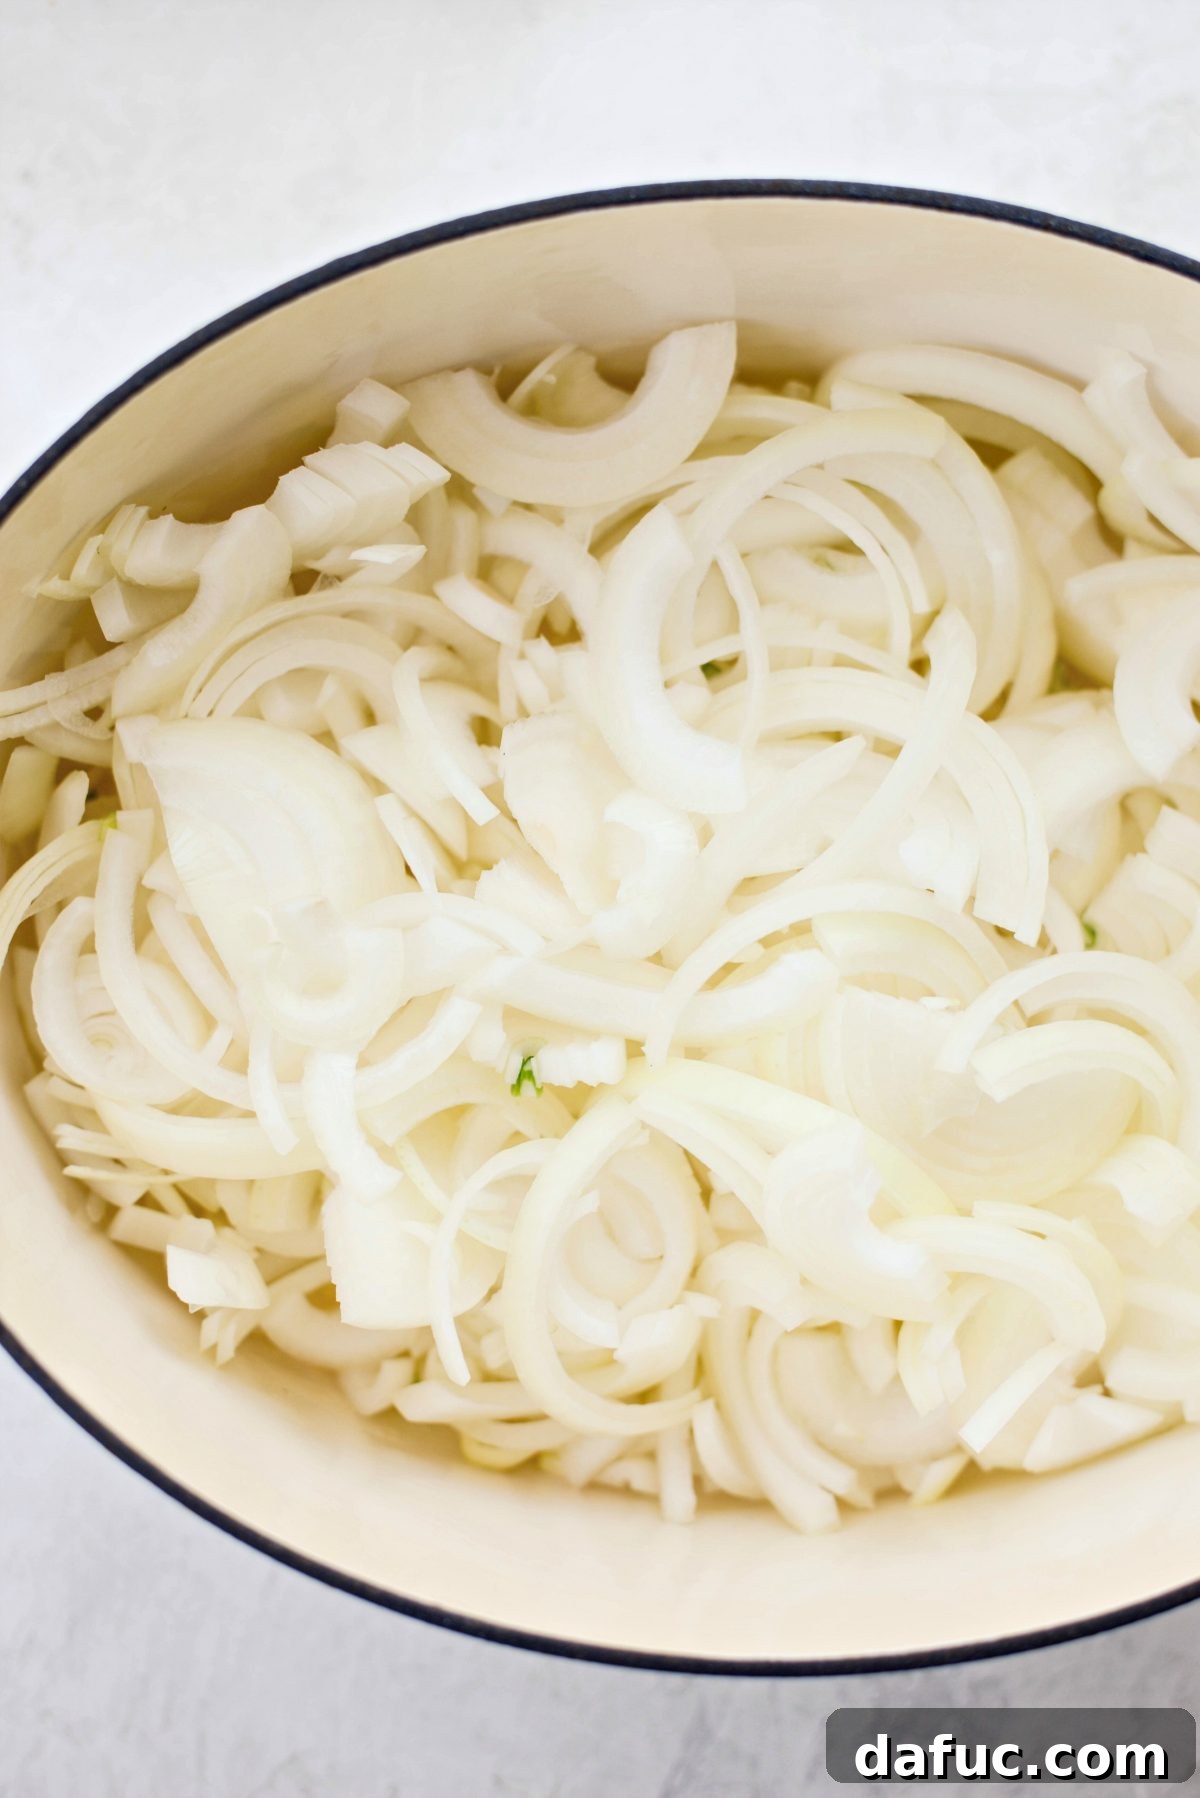
Step 2: Add Onions and Salt
Once the butter has melted and the pan is hot, carefully add all of your uniformly sliced onions to the pot. Sprinkle in 3/4 teaspoon of kosher salt. The salt helps to draw out moisture from the onions, which is crucial for the caramelization process, and also seasons them from the start. Toss the onions thoroughly with the melted butter and salt until they are well coated. You should hear a gentle sizzle as the onions hit the hot pan. Cover the pan with a lid and cook undisturbed for 5 minutes. This initial covered cooking helps the onions steam and soften, kickstarting the release of moisture.
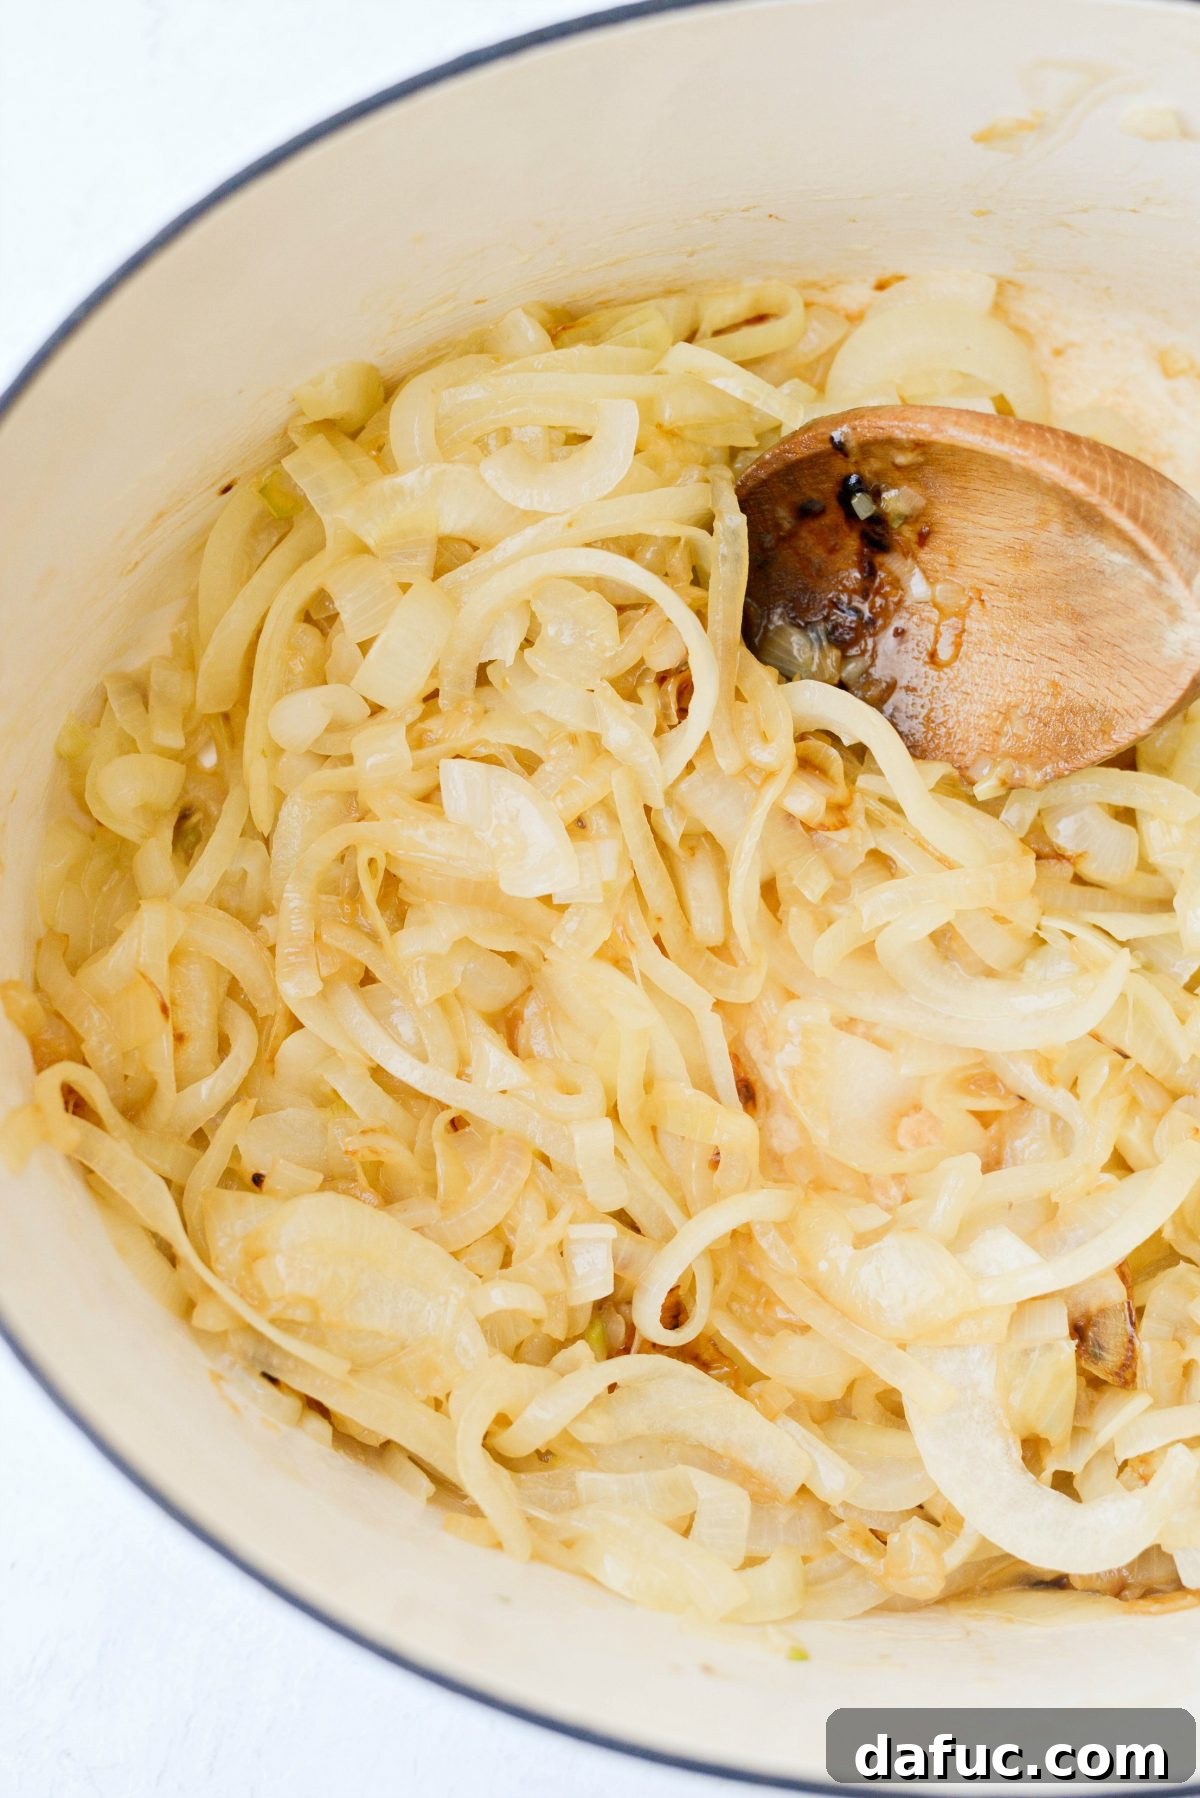
Step 3: The Slow Cook Begins
After the initial 5 minutes, remove the lid. Reduce the heat to medium-low. This is where patience truly comes into play! Continue to cook the onions for approximately 40 minutes, stirring every 5 minutes. Consistent stirring is essential to prevent sticking and ensure even browning. You’ll want to scrape up any browned bits from the bottom of the pan as you stir, incorporating them into the onions for maximum flavor (this is called “fond” and it’s delicious!). If the onions seem to be browning too quickly at any point, slightly lower the heat.
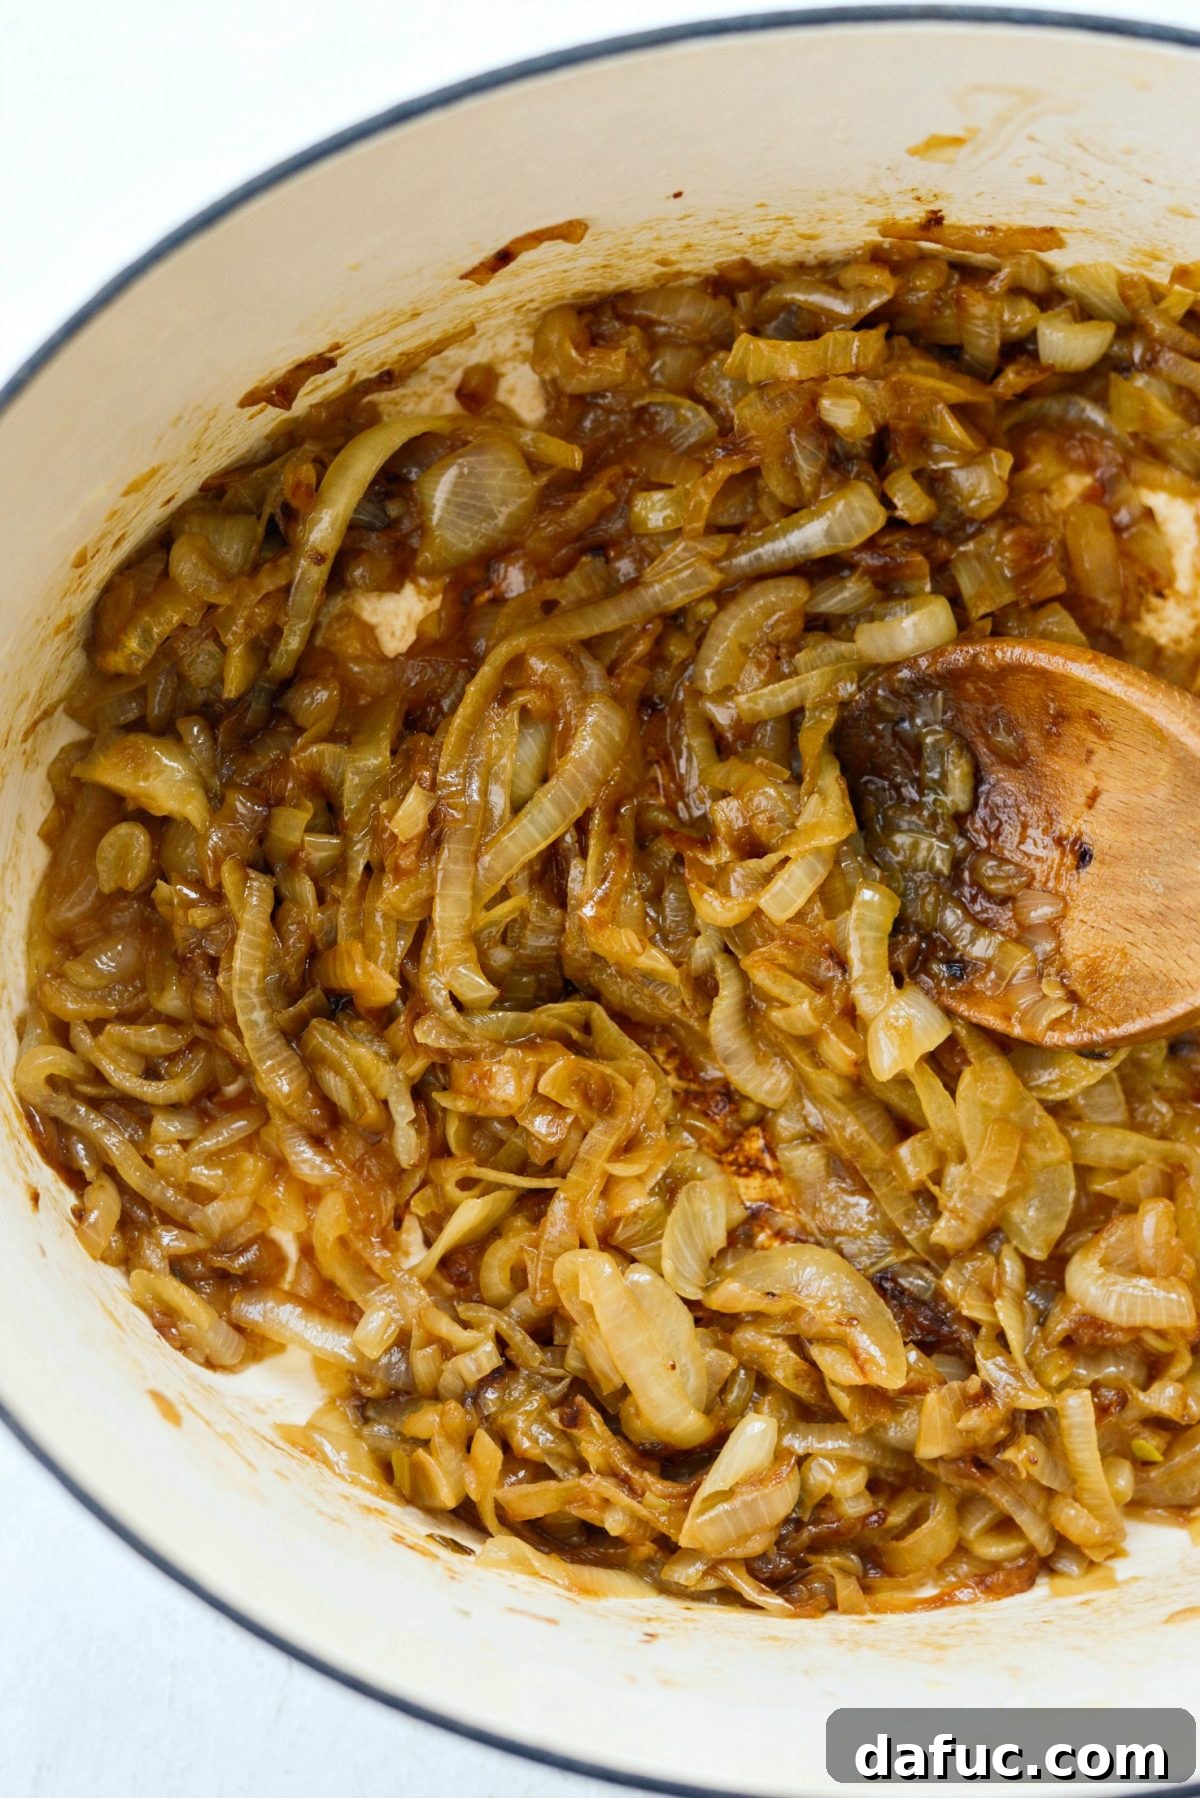
Step 4: Observe the Transformation
Around the 20-minute mark, you’ll notice the onions starting to change significantly. They will have softened considerably, shrunk in volume, and begun to take on a beautiful deep golden color. The kitchen will fill with an incredibly sweet and savory aroma—a clear sign that the caramelization process is well underway! Continue stirring diligently every 5 minutes.
Step 5: The Grand Finale
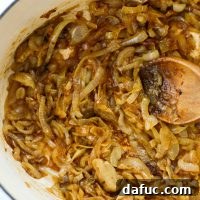
After a total cooking time of 40 to 45 minutes, your onions should be ultra-tender, incredibly sweet, and possess a deeply rich, golden-amber color. They will have a jam-like consistency and an intensely complex flavor profile. This is the hallmark of perfectly caramelized onions – a testament to slow cooking and a little bit of love.
Expert Tips for the Best Caramelized Onions
- **Don’t Rush the Process:** The most important tip! High heat will burn the onions before they have a chance to caramelize properly, resulting in a bitter taste. Low and slow is the mantra here.
- **Use a Wide Pan:** A larger surface area allows more onions to be in contact with the heat, promoting even caramelization. Overcrowding the pan will steam the onions instead of browning them.
- **Stir Frequently, But Not Constantly:** While regular stirring is important to prevent sticking and ensure even cooking, you don’t need to stir every single second. Giving the onions a few minutes to sit and develop some fond on the bottom of the pan before scraping it up adds to the flavor.
- **Deglaze if Needed:** If you notice significant dark brown bits forming on the bottom of the pan (fond) that seem to be burning, add a tablespoon or two of water, vegetable broth, or even dry white wine. Scrape up the fond with your spoon; it will dissolve and add incredible flavor back into the onions.
- **Season Simply:** Salt is typically all you need. Pepper can be added at the end, but avoid strong herbs or spices during cooking, as they can mask the delicate caramelized flavor.
Storage and Freezing Instructions
Caramelized onions are excellent for meal prepping. You can make a large batch and use them throughout the week or freeze them for later.
- **Refrigeration:** Store cooled caramelized onions in an airtight container in the refrigerator for up to 4-5 days.
- **Freezing:** For longer storage, spread cooled caramelized onions in a single layer on a parchment-lined baking sheet and freeze until solid. Once frozen, transfer them to a freezer-safe bag or container. They can be stored in the freezer for up to 3 months. To use, simply thaw in the refrigerator or add directly to hot dishes.
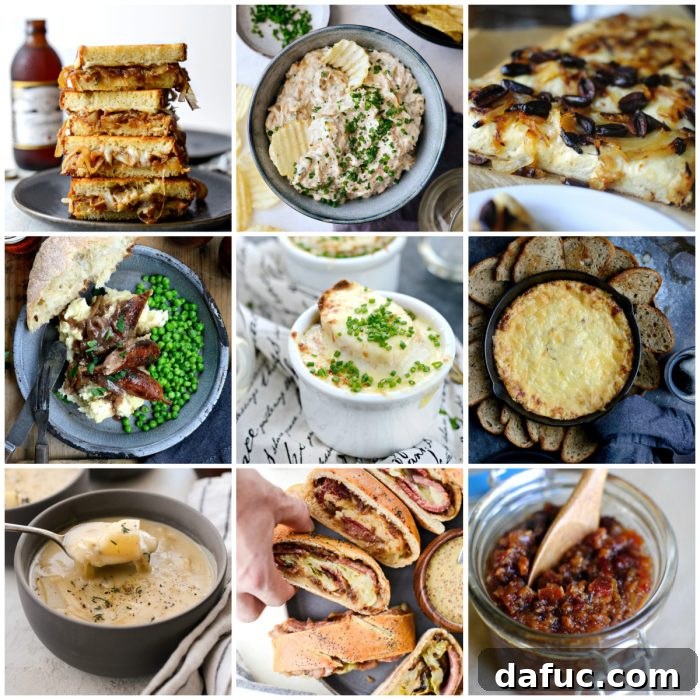
Creative Ways to Enjoy Your Caramelized Onions:
Now that you’ve mastered the art of caramelization, it’s time to put those glorious onions to good use! Their sweet and savory profile makes them an incredibly versatile ingredient.
- Herbed Focaccia with Caramelized Onions and Olives: A delightful appetizer or side, where the sweet onions perfectly complement the salty olives and aromatic herbs.
- Caramelized Onion Dip: A classic party favorite, elevated to gourmet status with homemade caramelized onions providing incredible depth and richness.
- Bacon Jam: Incorporate caramelized onions into this savory, sweet, and smoky spread for an unforgettable condiment.
- Corned Beef and Cabbage Stromboli: Add a layer of caramelized onions to this hearty stromboli for an extra dimension of flavor that pairs wonderfully with the savory corned beef.
- Irish Bangers and Mash with Caramelized Onion Gravy: The ultimate comfort food, made even better with a rich, sweet, and savory gravy built on a foundation of caramelized onions.
- Whole Wheat Rosemary Caramelized Onion Bread: Bake them into a rustic loaf for a fragrant and flavorful bread perfect for sandwiches or alongside a meal.
- French Onion Chowder: A hearty and comforting chowder where caramelized onions are a star ingredient, bringing their signature sweetness and umami to the broth.
- Guinness Dubliner Dip: Enhance this cheesy dip with the deep flavors of caramelized onions, perfectly complementing the robust Guinness and sharp Dubliner cheese.
- French Onion Soup: The classic application! Caramelized onions are the soul of this iconic soup, providing the base for its rich and savory broth.
- French Onion Soup Grilled Cheese: Combine the best of both worlds with a grilled cheese sandwich stuffed with savory caramelized onions and melty cheese, evoking the flavors of the beloved soup.
- **Sandwiches & Wraps:** Layer them onto turkey clubs, roast beef sandwiches, or vegetarian wraps for a burst of sweet and savory flavor.
- **Burgers & Hot Dogs:** A spoonful of caramelized onions is the perfect upgrade for any burger or hot dog, adding a gourmet touch.
- **Pizzas & Flatbreads:** Use them as a topping for homemade pizzas or flatbreads, often paired with goat cheese, arugula, or bacon.
- **Omelets & Frittatas:** Fold them into eggs for a sophisticated breakfast or brunch option.
- **Steak Topping:** Serve them alongside grilled or pan-seared steaks as a luxurious, simple accompaniment.
Enjoy the Process and the Flavor! Mastering the art of caramelizing onions is a rewarding culinary skill that pays dividends in flavor. Once you try this method, you’ll find countless ways to incorporate these golden gems into your cooking. If you give this “How To Caramelize Onions” method a try, let us know! Snap a photo and tag us on Twitter or Instagram! Happy cooking!
Print Recipe
Pin Recipe
Leave a Review »
How To Caramelize Onions
Ingredients
- 4 tablespoons unsalted butter
- 2 pounds sweet onions, or onions of your choice, sliced 1/4-inch thick
- 3/4 teaspoon kosher salt
Equipment
-
Lodge EC7OD13 Enameled Cast Iron Oval Dutch Oven, 7-Quart, Oyster White
Instructions
-
Melt butter in a large pan over medium-high heat.
-
Once the butter has melted, add in the onions to the pot with 3/4 teaspoon kosher salt and toss. It should start to sizzle.
-
Toss the onions in the butter, cover and cook undisturbed for 5 minutes.
-
After the 5 minutes, remove the lid and cook on medium-low heat for 40 minutes, stirring every 5 minutes. A timer is highly recommended to ensure consistent stirring.
-
After 20 minutes of cooking on medium-low, you should notice the onions starting to turn a deep golden color and smell incredibly good!
-
Finally, after a total of 40 to 45 minutes of cooking, the onions should be ultra tender and a deeply rich golden amber color, indicating perfect caramelization.