
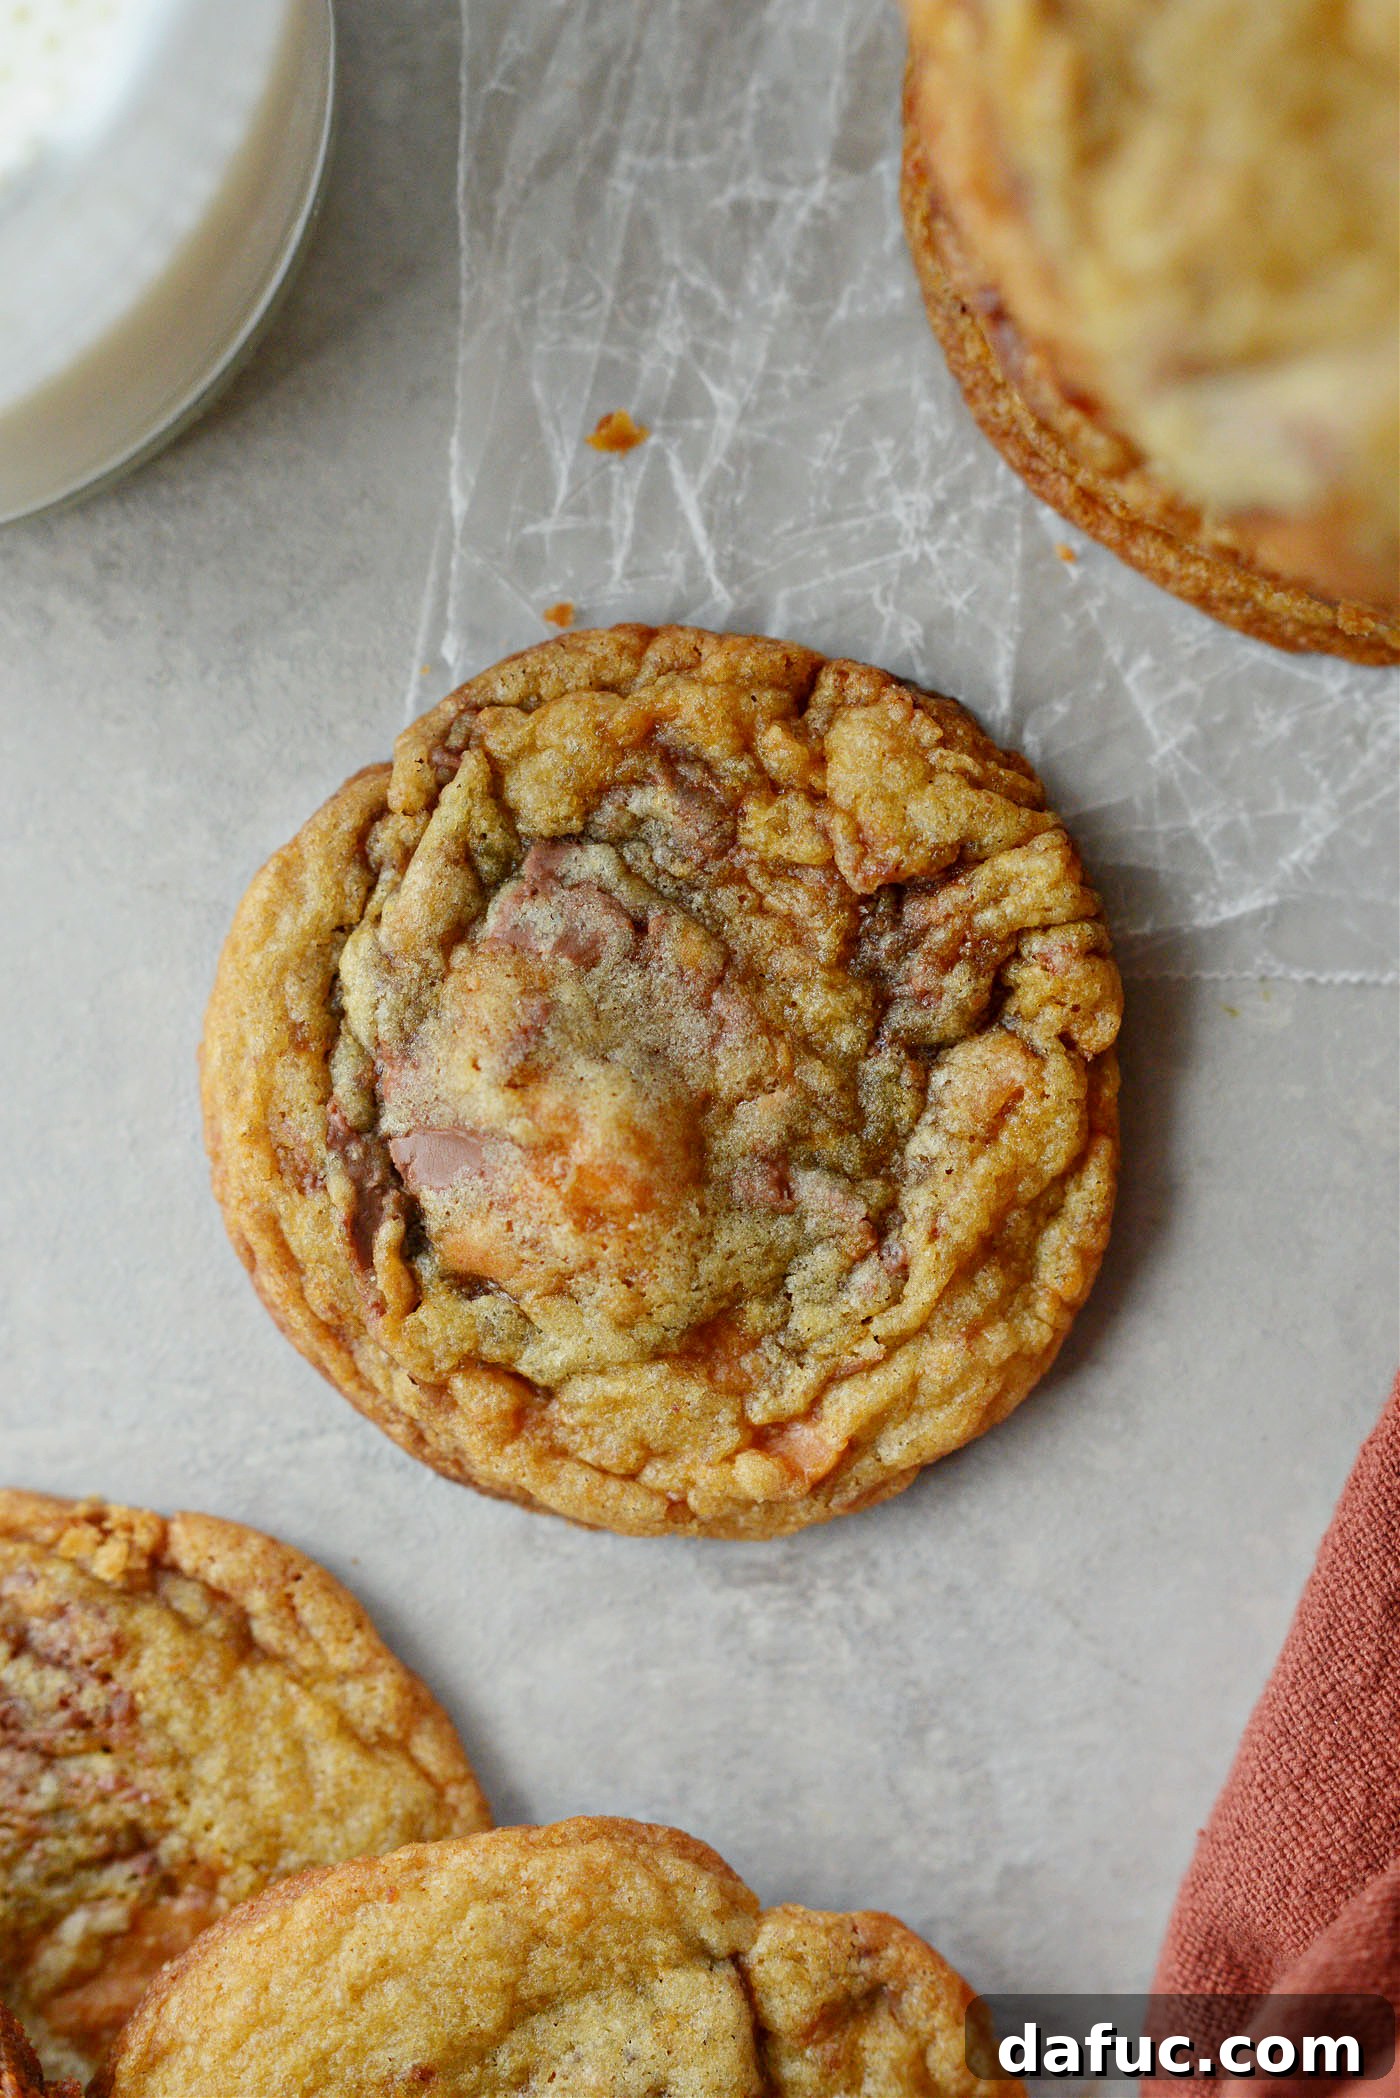
Irresistible Butterfinger Cookies: Your New Favorite Candy Bar Dessert
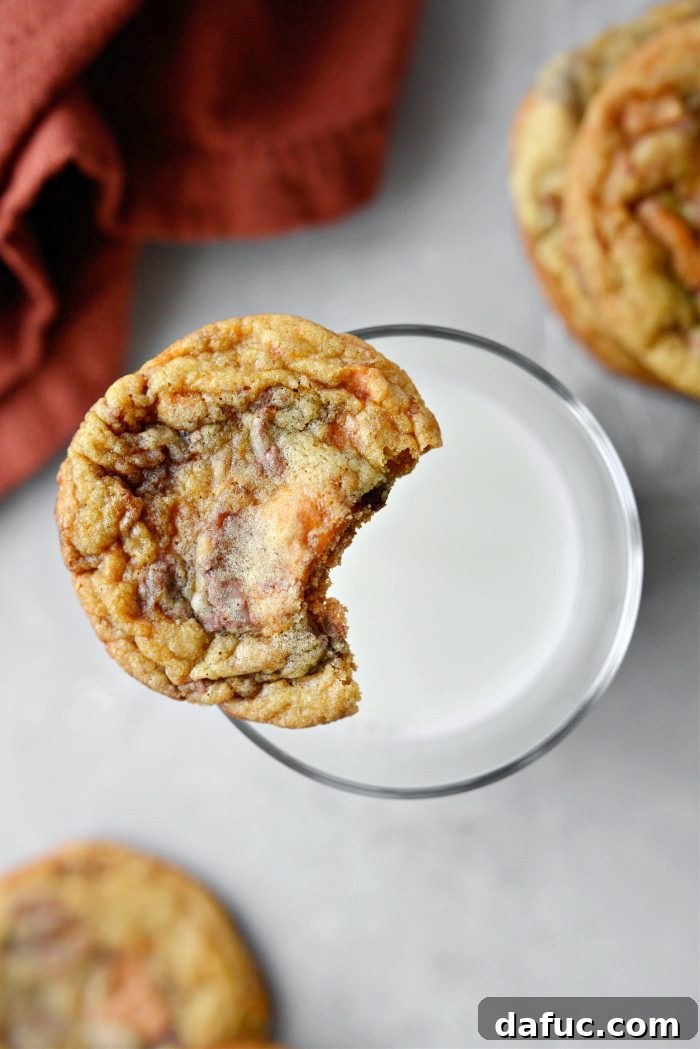
Prepare to fall in love with these extraordinary Butterfinger Cookies! Featuring perfectly crisp, buttery edges, a delightfully soft and chewy center, and generously studded with chunks of your favorite Butterfinger candy bars, this recipe is a dream come true for any candy enthusiast. Get ready to bake a batch of approximately 40 incredibly delicious cookies that will disappear faster than you can say “Butterfinger!”
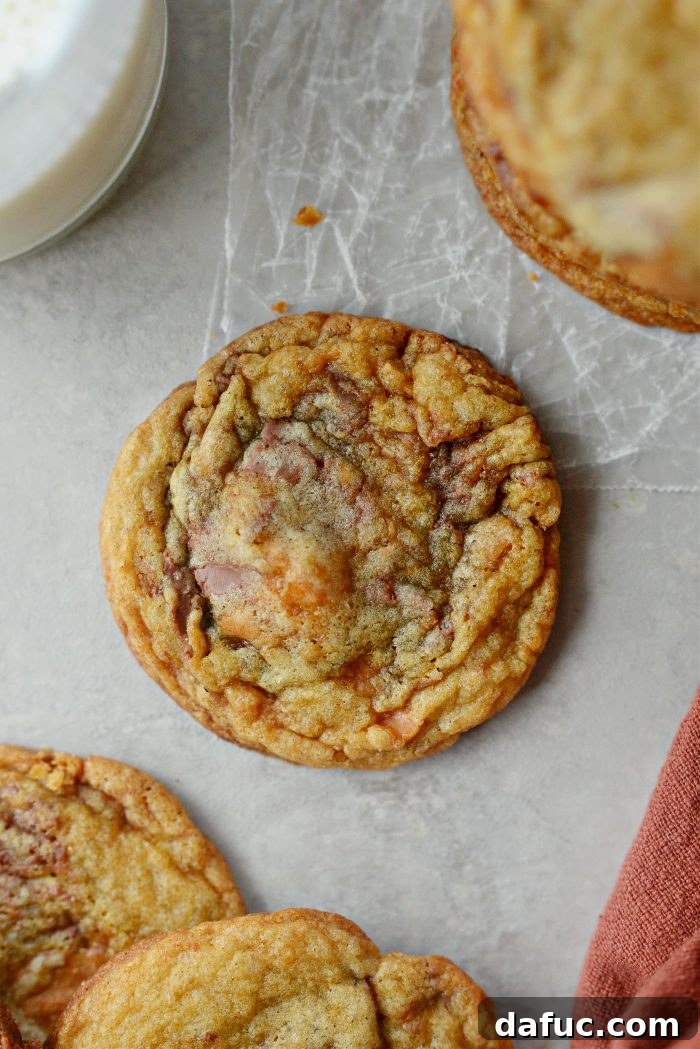
Indulge Your Cravings: Why These Butterfinger Cookies Are a Must-Try
Do you find yourself with a few extra Butterfinger candy bars lying around? (Though, let’s be honest, who ever has “extra” Butterfingers?) This recipe offers the most incredible way to transform those crispy, peanut-butter-flavored delights into a warm, comforting, and utterly addictive cookie experience. It’s a simple concept at its heart: a classic, perfectly baked cookie dough elevated by generous chunks of Butterfinger, delivering that iconic flavor and satisfying crunch in every bite.
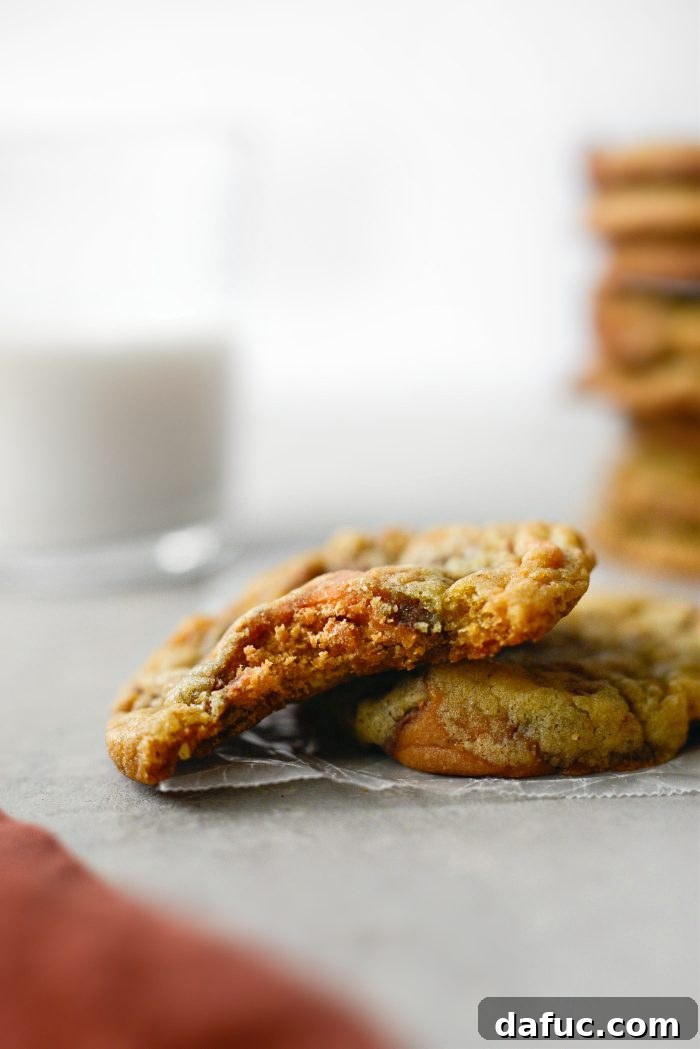
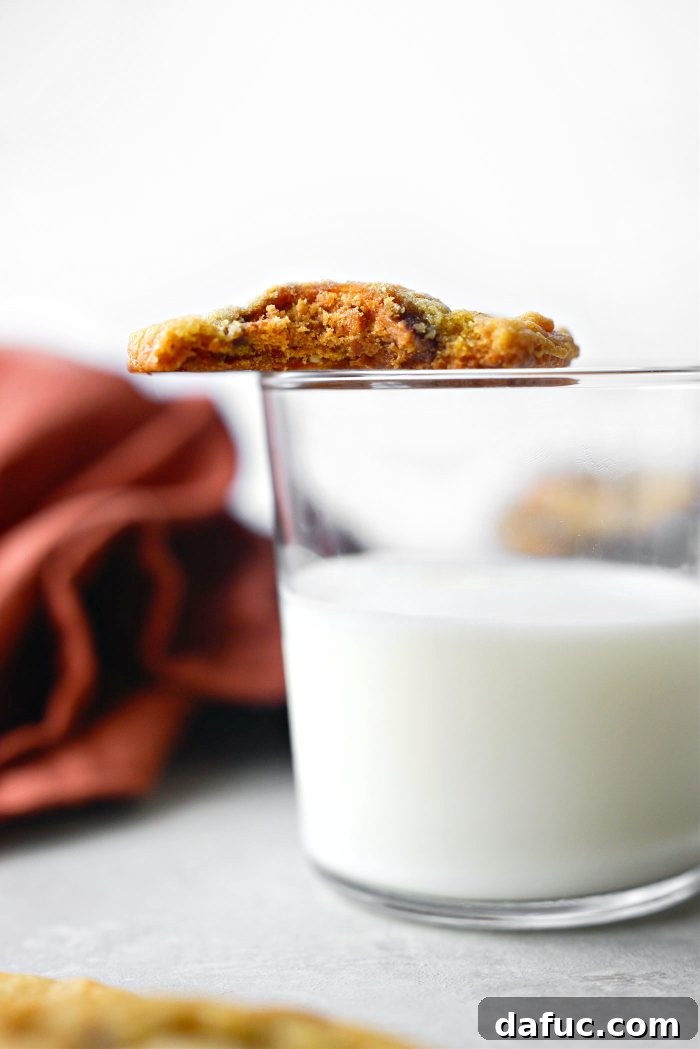
There’s something truly magical about the combination of a buttery, sweet cookie and the distinctive flaky texture and rich peanut butter and chocolate flavor of a Butterfinger. Each cookie boasts that delightful textural contrast – a crisp exterior giving way to a soft, yielding interior, all punctuated by the unique crunch of the candy bar pieces. What’s not to adore?
Essential Ingredients for Your Perfect Butterfinger Cookies
Crafting the best Butterfinger cookies starts with a selection of quality ingredients. Here’s a detailed look at what you’ll need and why each component plays a crucial role in achieving cookie perfection:
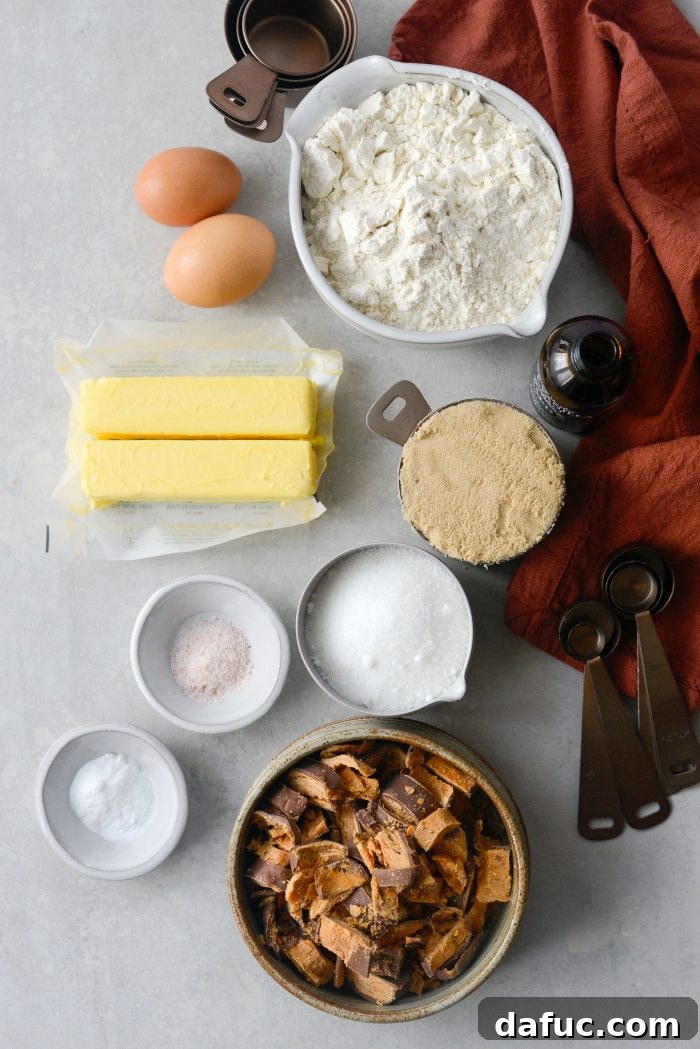
Gather Your Baking Arsenal:
- Unbleached All-Purpose Flour: The foundational structure of your cookies. Using unbleached flour can sometimes result in a slightly softer texture compared to bleached varieties, providing the perfect tender crumb for these chewy delights.
- Baking Soda: This essential leavening agent creates gases during baking, helping your cookies to rise beautifully and achieve that desirable soft, airy middle. It reacts with the acidic brown sugar in the dough.
- Fine Salt: Don’t underestimate the power of salt in sweet recipes! A teaspoon of fine sea salt or pink Himalayan salt balances the sweetness of the sugars and enhances all the other flavors, making the chocolate and peanut butter notes pop.
- Unsalted Butter (Softened/Room Temperature): Butter provides richness, tenderness, and contributes significantly to the cookie’s structure and spread. Ensuring it’s at room temperature is crucial for proper creaming with the sugars, leading to a light and fluffy dough.
- Light Brown Sugar: This sugar contributes not only sweetness but also moisture and a wonderful chewiness to the cookies due to its molasses content. It helps create that signature soft center.
- Granulated Sugar (White): While also providing sweetness, granulated sugar helps achieve those coveted crisp edges and aids in the cookie’s spread, creating a delightful contrast with the chewy interior.
- Pure Vanilla Extract: A touch of pure vanilla extract adds warmth, depth, and a delightful aromatic quality that complements and enhances the overall flavor profile of the cookies, especially the chocolate and peanut butter.
- Large Eggs: Eggs act as a binder, adding structure and richness to the dough. They also contribute to the leavening process, ensuring a well-risen and tender cookie.
- Butterfinger Candy Bars: The star of the show! You’ll need approximately 6 full-size Butterfinger bars (or about 12 ounces) for this recipe. We’ll discuss chopping them next.
Preparing Your Butterfinger Candy Bars
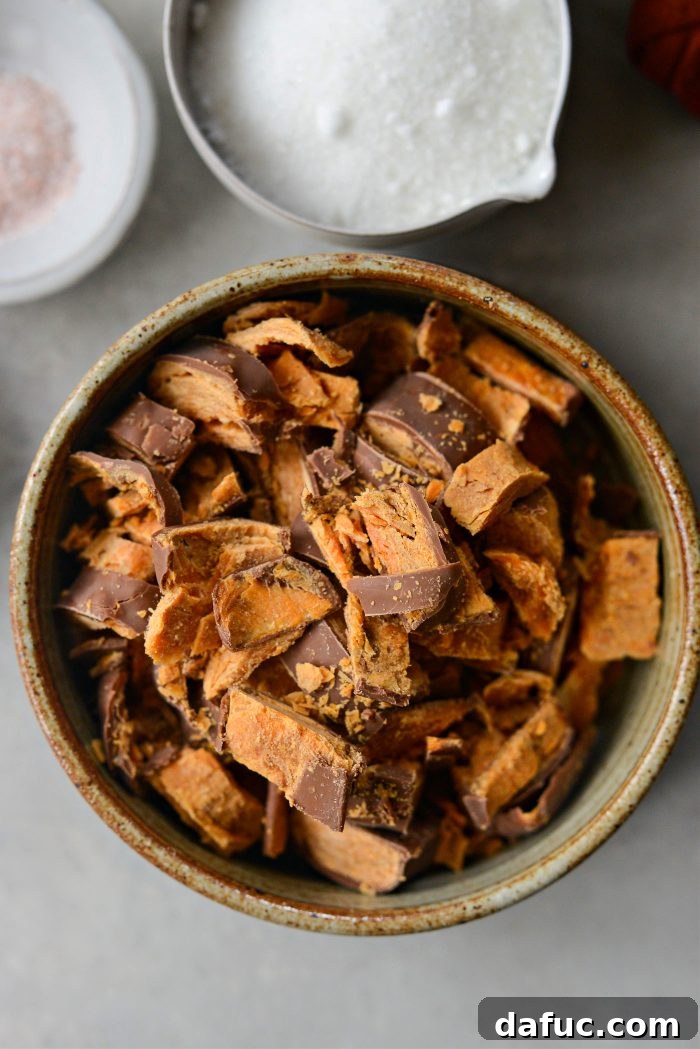
For this recipe, we’re aiming for a generous amount of Butterfinger in every bite. That means coarsely chopping about 12 ounces of candy bars. This typically equates to 6 full-size bars or roughly 16 “fun size” bars (which, let’s be honest, aren’t nearly as fun when you’re baking!). I recommend chopping them into substantial 3/4 to 1-inch pieces. Don’t worry if they seem a bit large; they’ll break down further as you mix them into the cookie dough, ensuring perfect, crunchy pockets of candy goodness throughout your cookies.
Step-by-Step Guide to Baking Amazing Butterfinger Cookies
Follow these detailed instructions to create a batch of Butterfinger cookies that will impress everyone!
Before You Begin: Preheat and Prepare
First, preheat your oven to 350°F (180°C). This ensures your oven is at the correct temperature when the cookies go in, promoting even baking. Line two large, rimmed baking sheets with silicone baking mats or parchment paper. This prevents sticking and helps with even heat distribution, guaranteeing beautifully golden-brown bottoms without overcooking.
Mixing the Dry Ingredients
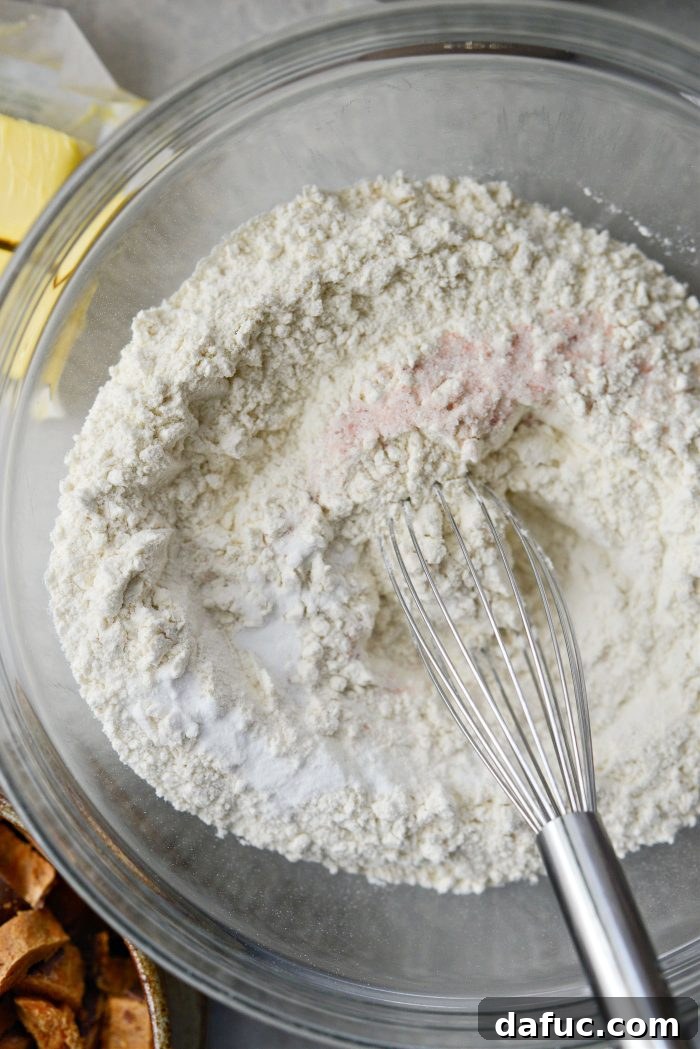
In a medium-sized mixing bowl, measure out 2¼ cups of unbleached all-purpose flour, 1 teaspoon of baking soda, and 1 teaspoon of fine salt. Use a whisk to thoroughly combine these dry ingredients. Whisking not only mixes them but also helps to aerate the flour, preventing lumps and ensuring even distribution of the leavening agent. Set this bowl aside for now.
Creaming Butter and Sugars
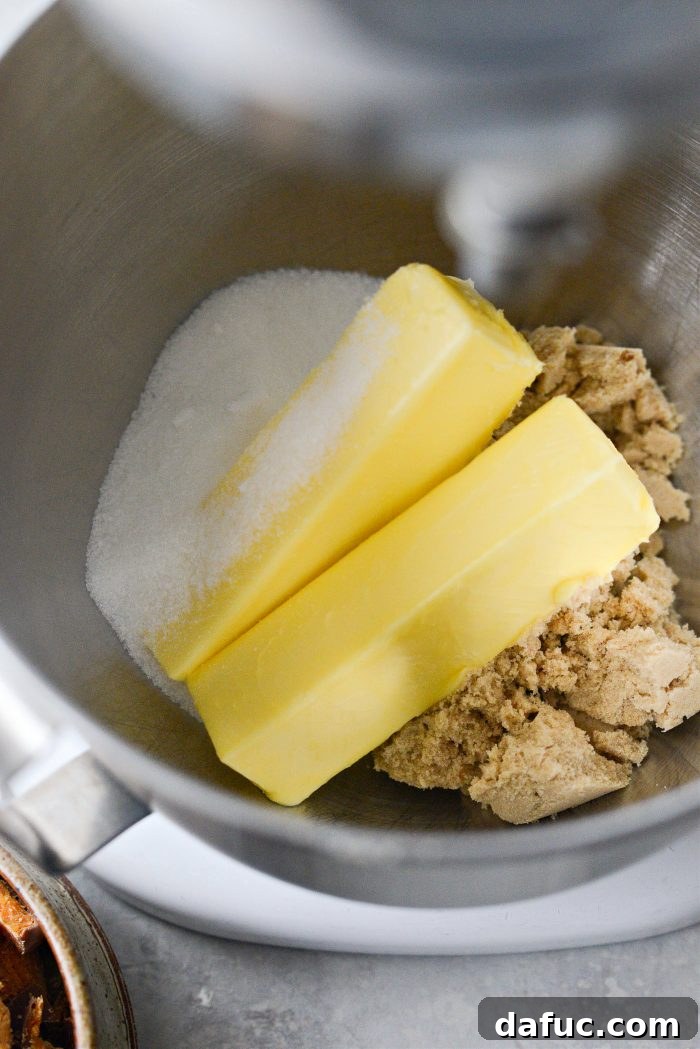
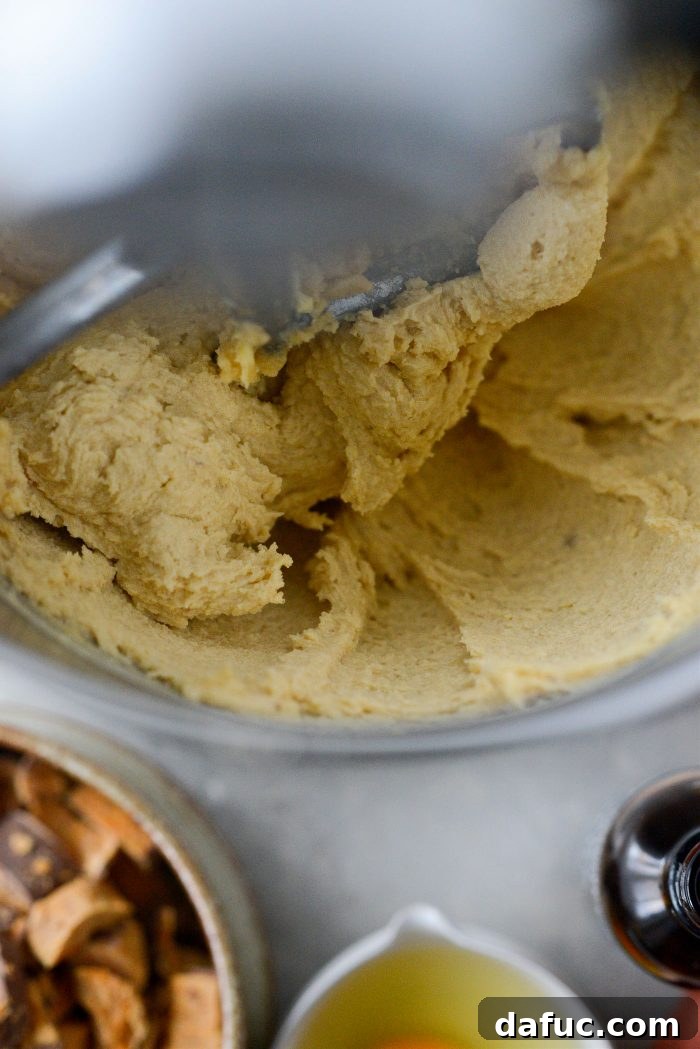
In the bowl of your stand mixer, fitted with the paddle attachment, add 1 cup of softened unsalted butter, 1 cup of light brown sugar, and ½ cup of granulated (white) sugar. It’s vital that your butter is at room temperature for this step, as it allows the butter to cream properly, incorporating air and creating a light, fluffy mixture. Mix on a low to medium-low speed for 3 to 4 minutes, until the mixture is visibly lighter in color and fluffy. This process is crucial for the final texture of your cookies.
Adding Wet Ingredients
Next, measure and add 1 teaspoon of pure vanilla extract to the creamed butter and sugar. Then, add the first large egg and mix until it is fully incorporated into the mixture. Follow with the second egg, mixing well until thoroughly combined. Adding eggs one at a time ensures they emulsify properly with the butter mixture, leading to a smoother, more consistent dough.
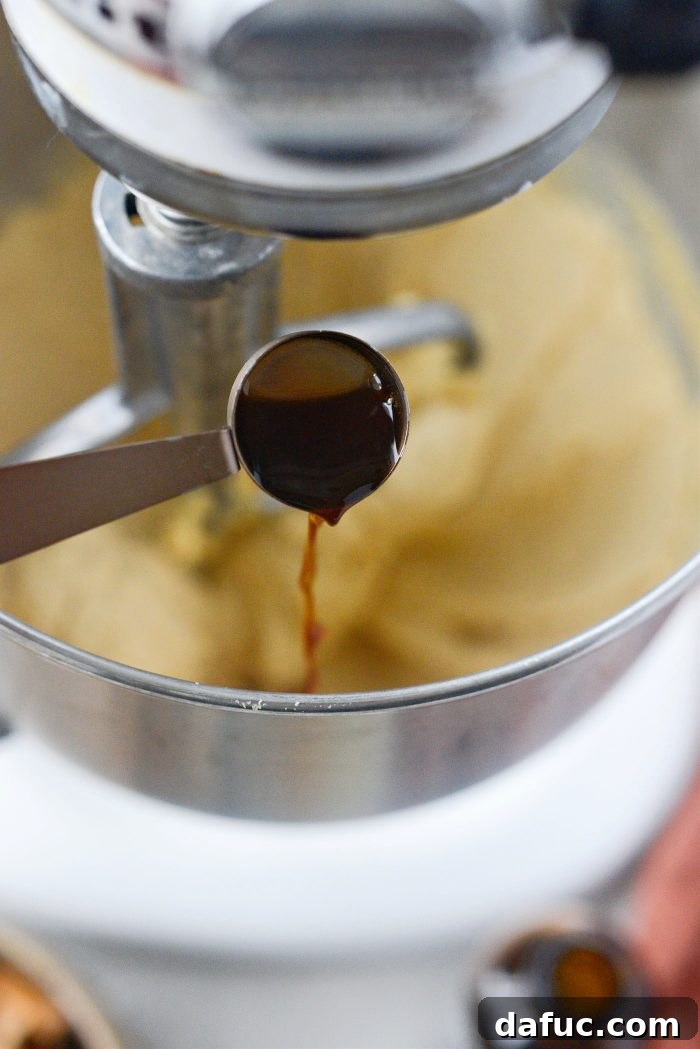
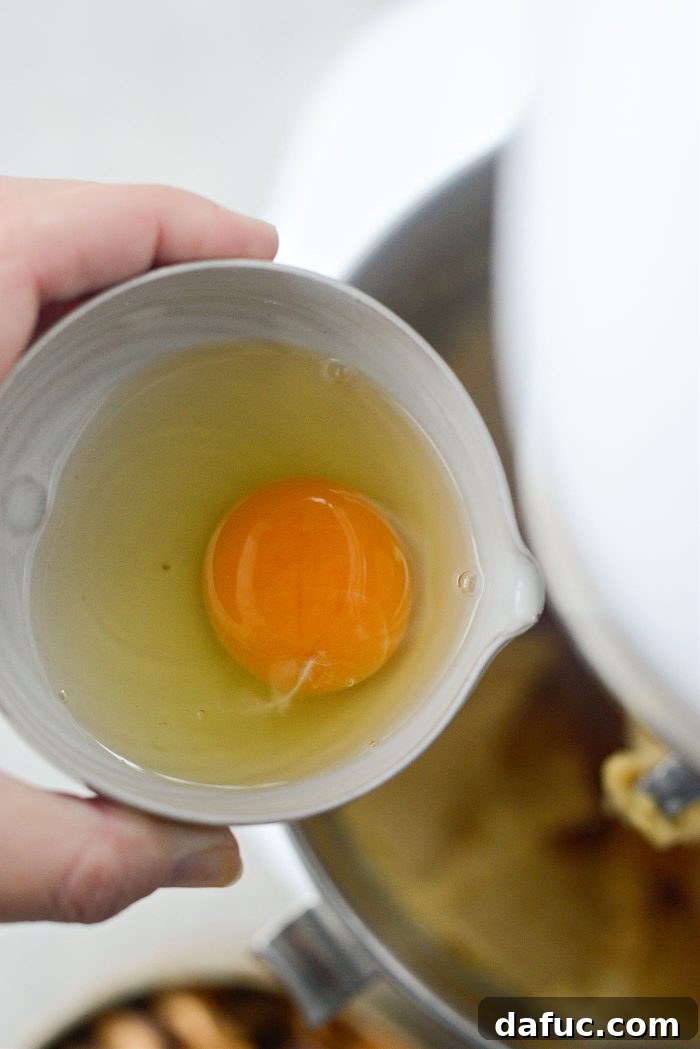
Pause to use a rubber spatula to scrape down the sides and bottom of the bowl. This ensures all ingredients are fully incorporated and prevents unmixed pockets of flour or sugar.
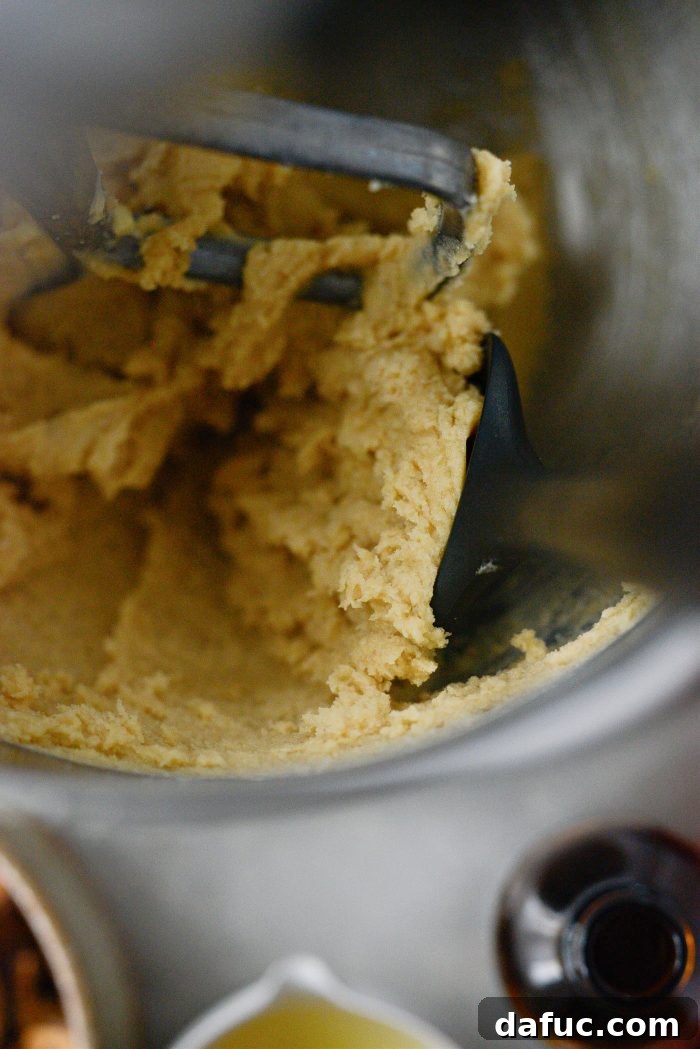
Combining Dry and Wet Ingredients
Gradually add the dry ingredients to the wet mixture, a third at a time. After each addition, stop to scrape down the sides and bottom of the bowl. Mix until the flour is just incorporated; be careful not to overmix, as this can develop the gluten in the flour, leading to tough cookies. The dough should be creamy and light in color, forming a cohesive base for your Butterfinger masterpiece.
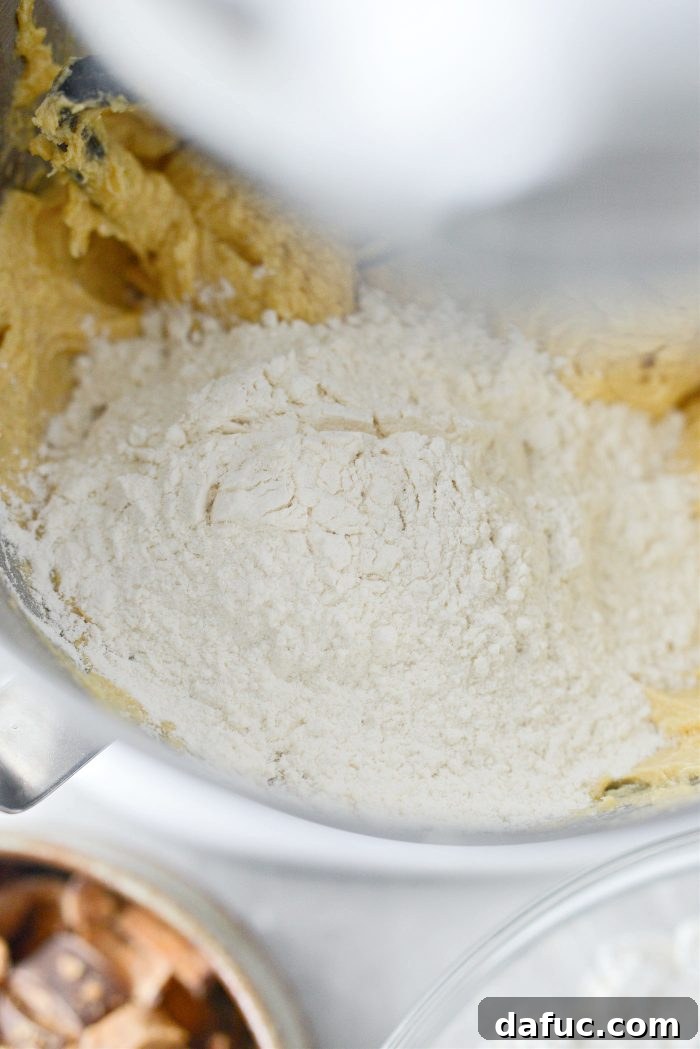
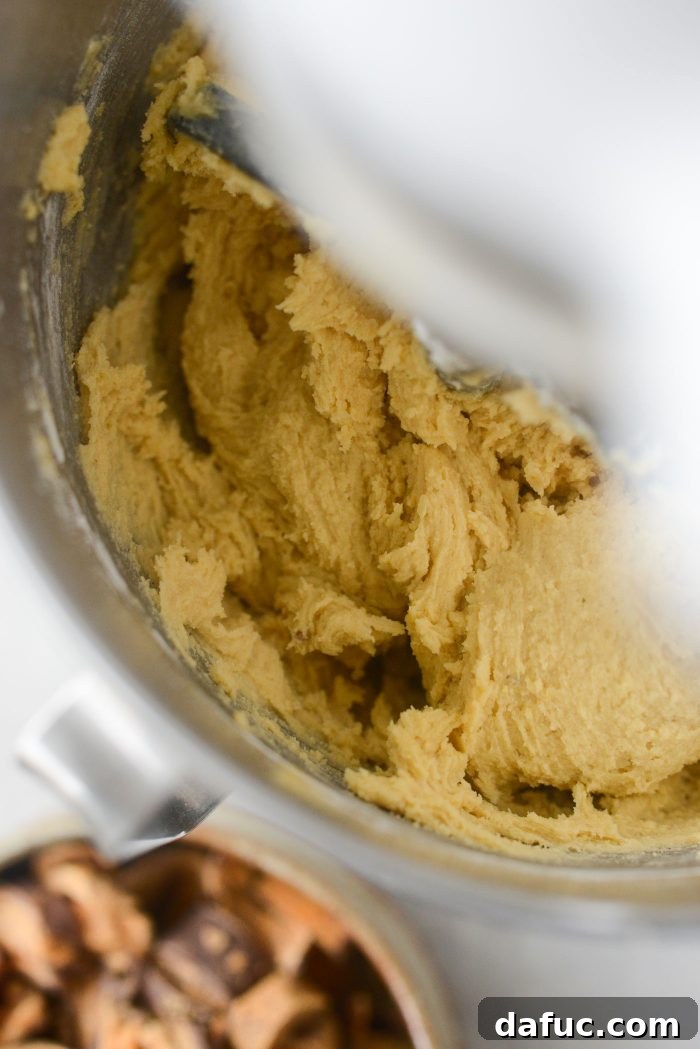
Incorporating the Butterfinger Chunks
Now for the star attraction! Add the 12 ounces of roughly chopped Butterfinger candy bars to the cookie dough. Give it a quick mix, just enough to evenly distribute the candy pieces throughout the dough. I personally love having big pieces of Butterfinger in my cookies, so I mix only a few times. Alternatively, you can gently fold in the chopped candy by hand with your spatula to avoid overmixing.
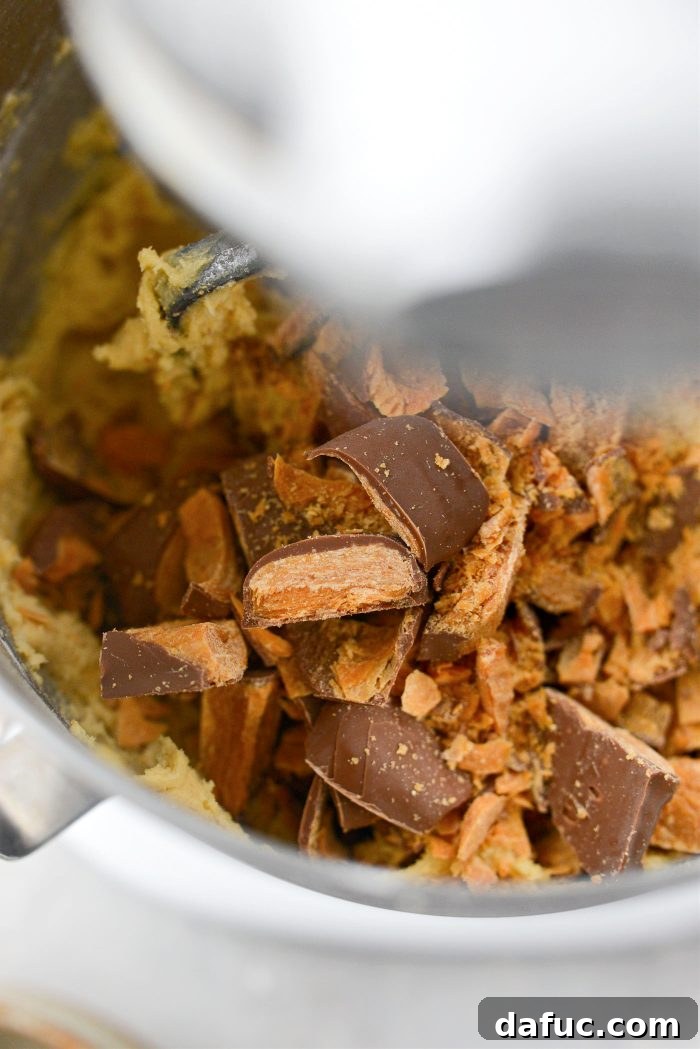
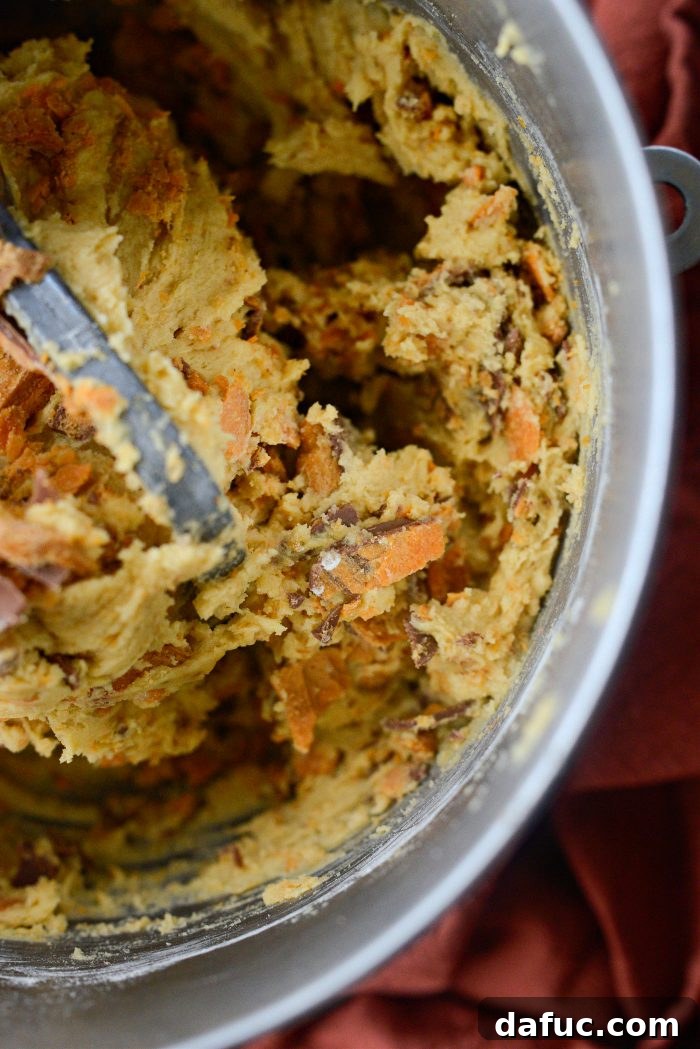
Scooping and Baking
Working in batches, use a 2-tablespoon scoop to measure out uniform portions of cookie dough. Place them a few inches apart onto your prepared baking sheets. To prevent the cookies from touching and merging as they spread during baking, I recommend baking 10 cookies per pan at a time. This allows each cookie ample space to bake evenly and achieve its perfect shape.
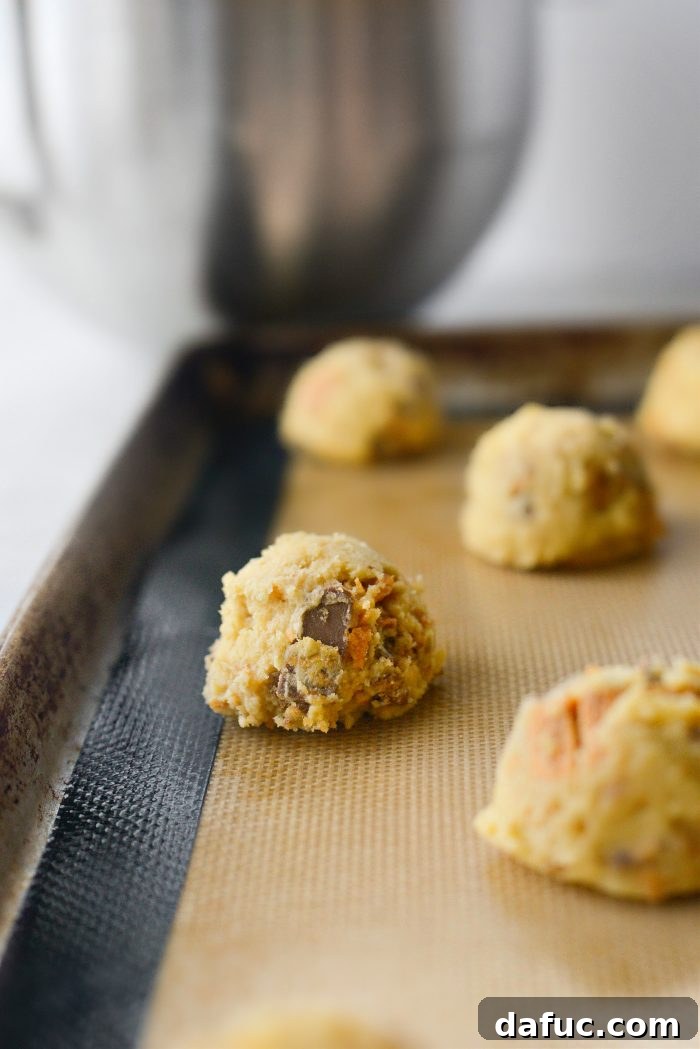
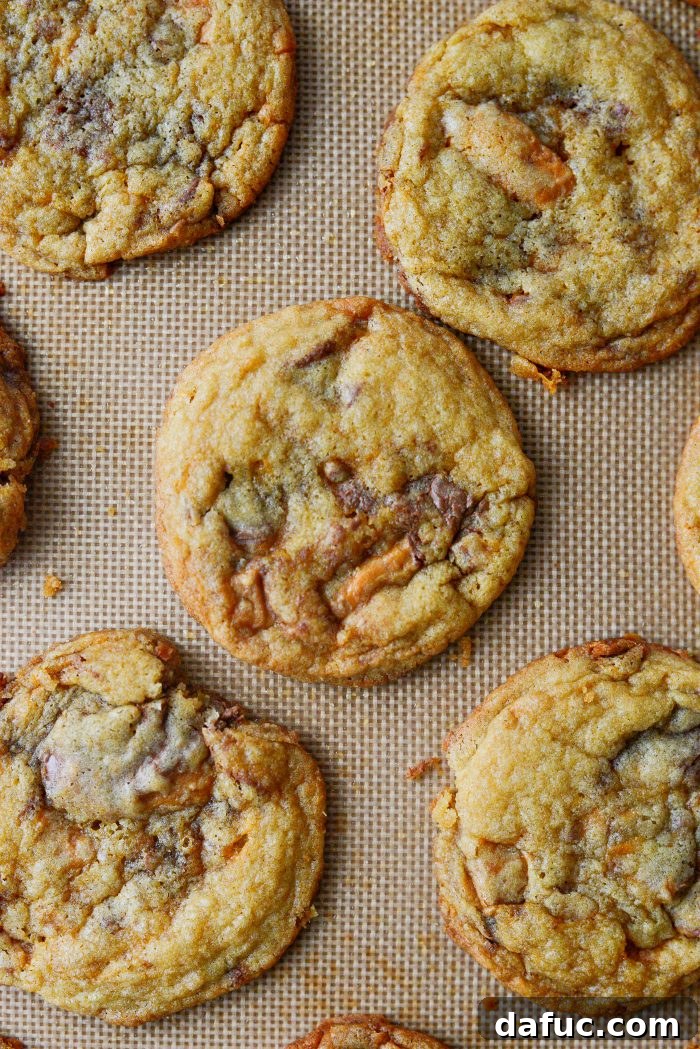
Slide the baking sheet onto the middle rack of your preheated oven and bake for 10 minutes, or until the edges are beautifully crisp and lightly golden brown. The centers may still look slightly soft, but they will set as they cool.
Cooling and Enjoying
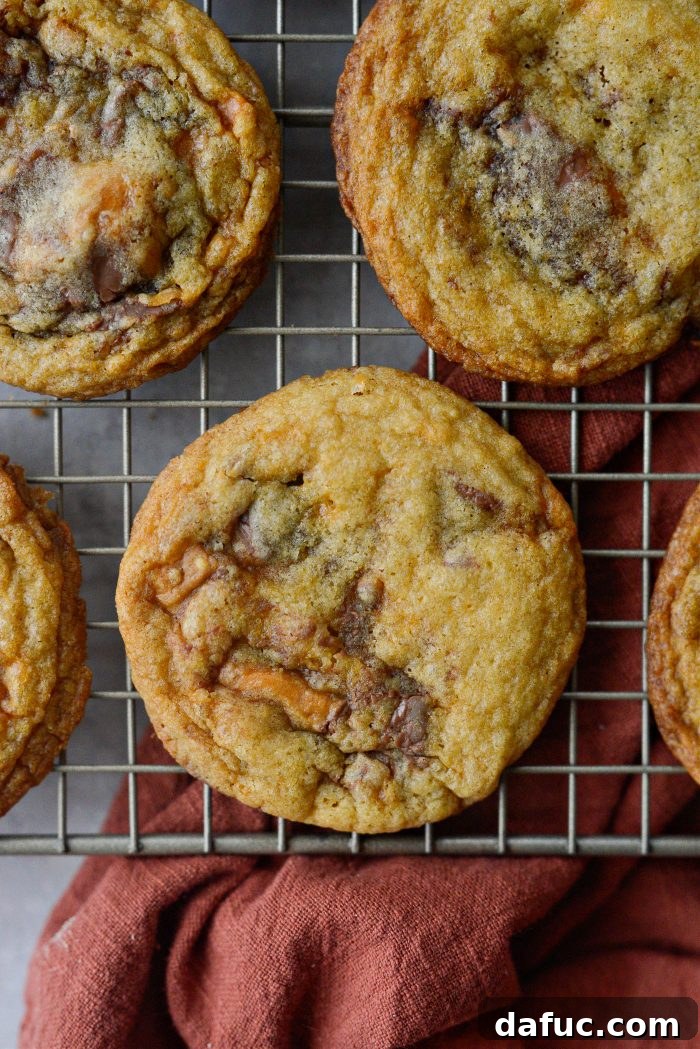
Once baked, remove the cookies from the oven and allow them to cool on the baking sheet for a few minutes. This crucial step allows them to firm up slightly before you attempt to move them. After a few minutes, carefully transfer the cookies to a wire rack to finish cooling completely. Repeat the baking process with any remaining cookie dough.

Pro Tips for Butterfinger Cookie Success
Achieving Perfectly Round Cookies
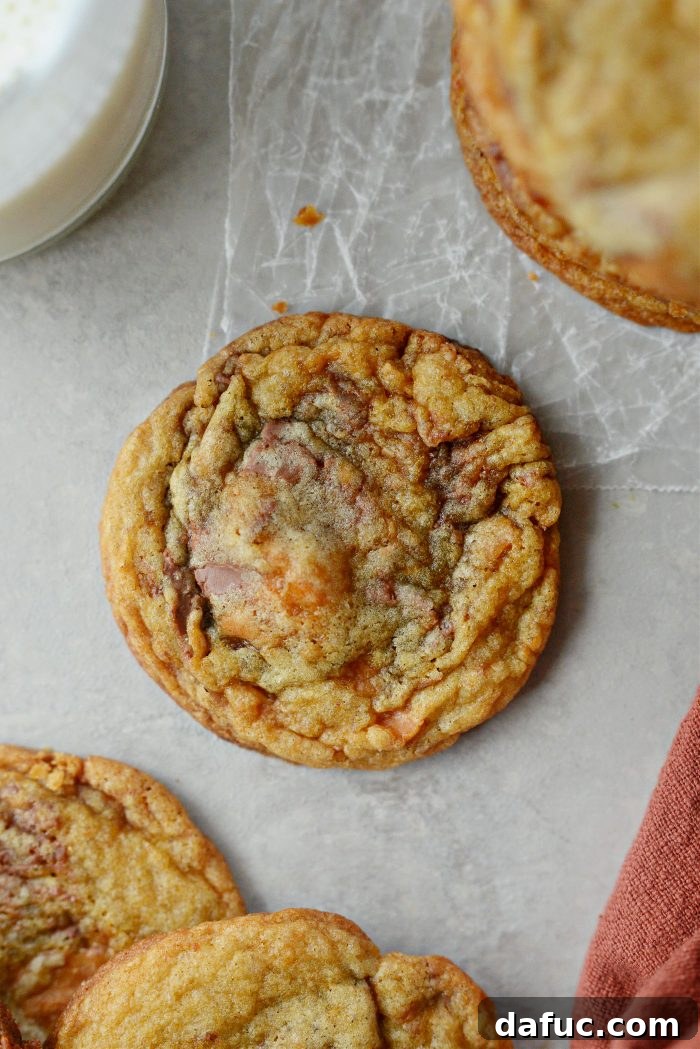
If you’re aiming for that bakery-worthy, perfectly circular cookie shape, here’s a fantastic trick that I swear by. Immediately after removing the pan of cookies from the oven, and working quickly while they’re still warm and pliable, take a wide-mouthed drinking glass or a large round cookie cutter. Place it over a misshapen cookie and gently swirl the glass around the cookie. The edge of the cookie will soften and smooth out, magically transforming it into a perfect circle. Repeat this technique for the rest of your cookies. This simple hack makes a noticeable difference in presentation!
The Best Way to Enjoy Butterfinger Cookies
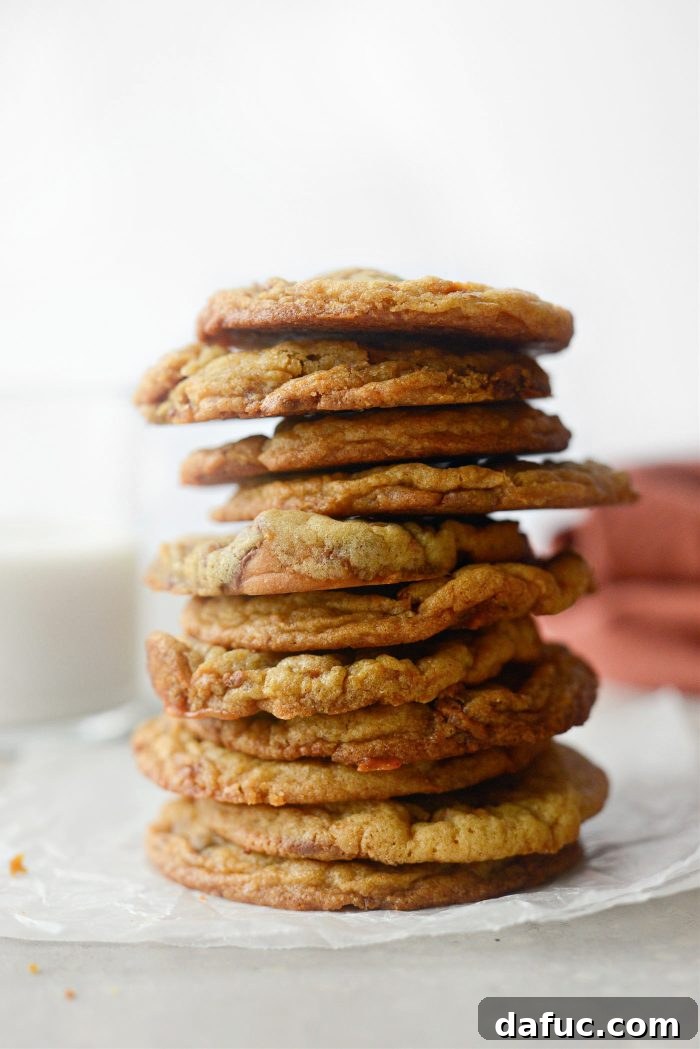
While these Butterfinger cookies are absolutely divine warm, straight out of the oven, don’t underestimate their appeal the day after! Once the Butterfinger candy pieces have had a chance to fully cool and return to their signature crispy, flaky selves, suspended within the delicious, chewy cookie dough, they offer a slightly different but equally satisfying experience. This recipe is so good, you’ll wonder why you didn’t think to combine your favorite candy bar with a cookie sooner!
Storage and Freezing Instructions
How to Store Baked Butterfinger Cookies:
Once your Butterfinger cookies have completely cooled to room temperature, store them in an airtight container. This will keep them fresh, soft, and delicious for up to one week at room temperature. For optimal freshness and to maintain that delightful balance of chewy and crispy, place a slice of bread in the container; the cookies will absorb moisture from the bread, keeping them soft.
How to Freeze Butterfinger Cookies (Dough or Baked):
For Freezing Cookie Dough: This is a fantastic make-ahead option! Portion out the raw cookie dough using your 2-tablespoon scoop. Place the scooped dough balls close together, but not touching, on a parchment-lined baking sheet. Transfer the baking sheet to your freezer and freeze until the dough balls are solid. Once frozen, transfer them to a freezer-safe container or a heavy-duty freezer bag. They can be stored in the freezer for up to 2 months. When you’re ready to bake, there’s no need to thaw them! Simply place the frozen dough balls on a prepared baking sheet and add 2-3 minutes to the baking time specified in the recipe.
For Freezing Baked Cookies: Allow baked cookies to cool completely. Arrange them in a single layer on a baking sheet and freeze until solid. Once frozen, transfer them to an airtight freezer-safe container, separating layers with parchment paper to prevent sticking. They can be frozen for up to 1 month. Thaw at room temperature or warm slightly in the microwave for a fresh-from-the-oven feel.
Frequently Asked Questions About Butterfinger Cookies
- Can I use other candy bars?
- Absolutely! While Butterfingers are the star here, this base cookie recipe is incredibly versatile. Feel free to experiment with other sturdy candy bars like Snickers, Heath bars, or even M&M’s for a different twist. Just make sure to chop them into similar-sized pieces.
- Why is room temperature butter important?
- Room temperature butter creams properly with sugar, creating tiny air pockets that contribute to a lighter, softer, and more tender cookie texture. Cold butter won’t cream correctly, leading to dense cookies, while melted butter can make them greasy and spread too much.
- My cookies spread too much! What happened?
- Several factors can cause excessive spreading: butter that was too warm/soft (or even melted), an oven that isn’t preheated to the correct temperature, or too much baking soda. Ensure your butter is just softened, measure accurately, and make sure your oven is fully preheated.
- How do I know when the cookies are done?
- Look for cookies with set, lightly golden-brown edges. The centers might still appear slightly soft or underbaked, but they will continue to cook and firm up as they cool on the baking sheet. Overbaking will result in dry, crumbly cookies.
We hope you enjoy baking and savoring these delightful Butterfinger Cookies! If you give this recipe a try, we’d love to hear about it. Share your creations and tag us on your favorite social media platforms!
Butterfinger Candy Bar Cookies
These Butterfinger Cookies feature crisp, buttery edges, a soft and chewy middle, and are generously loaded with chopped Butterfinger candy bar pieces. This recipe yields approximately 40 delicious cookies.
Yield: 40 cookies
Prep Time: 15 mins
Cook Time: 30 mins
Total Time: 45 mins
Ingredients
- 2¼ cups unbleached all-purpose flour
- 1 teaspoon baking soda
- 1 teaspoon fine salt (sea salt or pink Himalayan)
- 1 cup unsalted butter, softened at room temperature
- 1 cup light brown sugar
- ½ cup granulated sugar
- 1 teaspoon pure vanilla extract
- 2 large eggs
- 6 full-size Butterfinger candy bars, coarsely chopped (or 16 “fun-size”)
Instructions
- Preheat your oven to 350°F (180°C). Line two rimmed, metal baking pans with silicone liners or parchment paper.
- In a medium bowl, whisk together the flour, baking soda, and salt. Set aside.
- In the bowl of your stand mixer, cream the butter with both sugars until light and fluffy, about 3 to 4 minutes.
- Add in the vanilla and one egg at a time, mixing and scraping down the sides of the bowl after each addition.
- Gradually add in the dry ingredients, scraping down the sides and bottom of the bowl after each addition. Mix until the flour is just incorporated. Add in the coarsely chopped candy bars and mix a few times until distributed throughout the dough. Be careful not to overmix to ensure large chunks of candy bar remain.
- Use a 2-tablespoon scoop and place rounded scoops of dough onto prepared pans. I recommend baking 10 cookies per pan to allow for even spreading.
- Bake on the middle rack of your preheated oven for 10 minutes or until the edges of the cookies are lightly golden brown.
- Remove the cookies from the oven and let cool on the pan for 5 minutes before transferring to a wire rack to cool completely. Repeat with any remaining dough.
Notes
Refer to the main article for detailed storage instructions and the helpful hack for achieving perfectly round cookies.
Nutrition Disclaimer: All information presented on this site is intended for informational purposes only. We are not certified nutritionists, and any nutritional information shared should only be used as a general guideline.
Nutrition Facts (approximate per 1 cookie serving)
Serving: 1 cookie, Calories: 142kcal, Carbohydrates: 20g, Protein: 2g, Fat: 7g, Saturated Fat: 4g, Polyunsaturated Fat: 1g, Monounsaturated Fat: 2g, Trans Fat: 0.2g, Cholesterol: 22mg, Sodium: 112mg, Potassium: 40mg, Fiber: 0.4g, Sugar: 12g, Vitamin A: 155IU, Calcium: 12mg, Iron: 0.5mg
Author: Laurie McNamara
Course: Desserts & Sweet Treats
Cuisine: American