
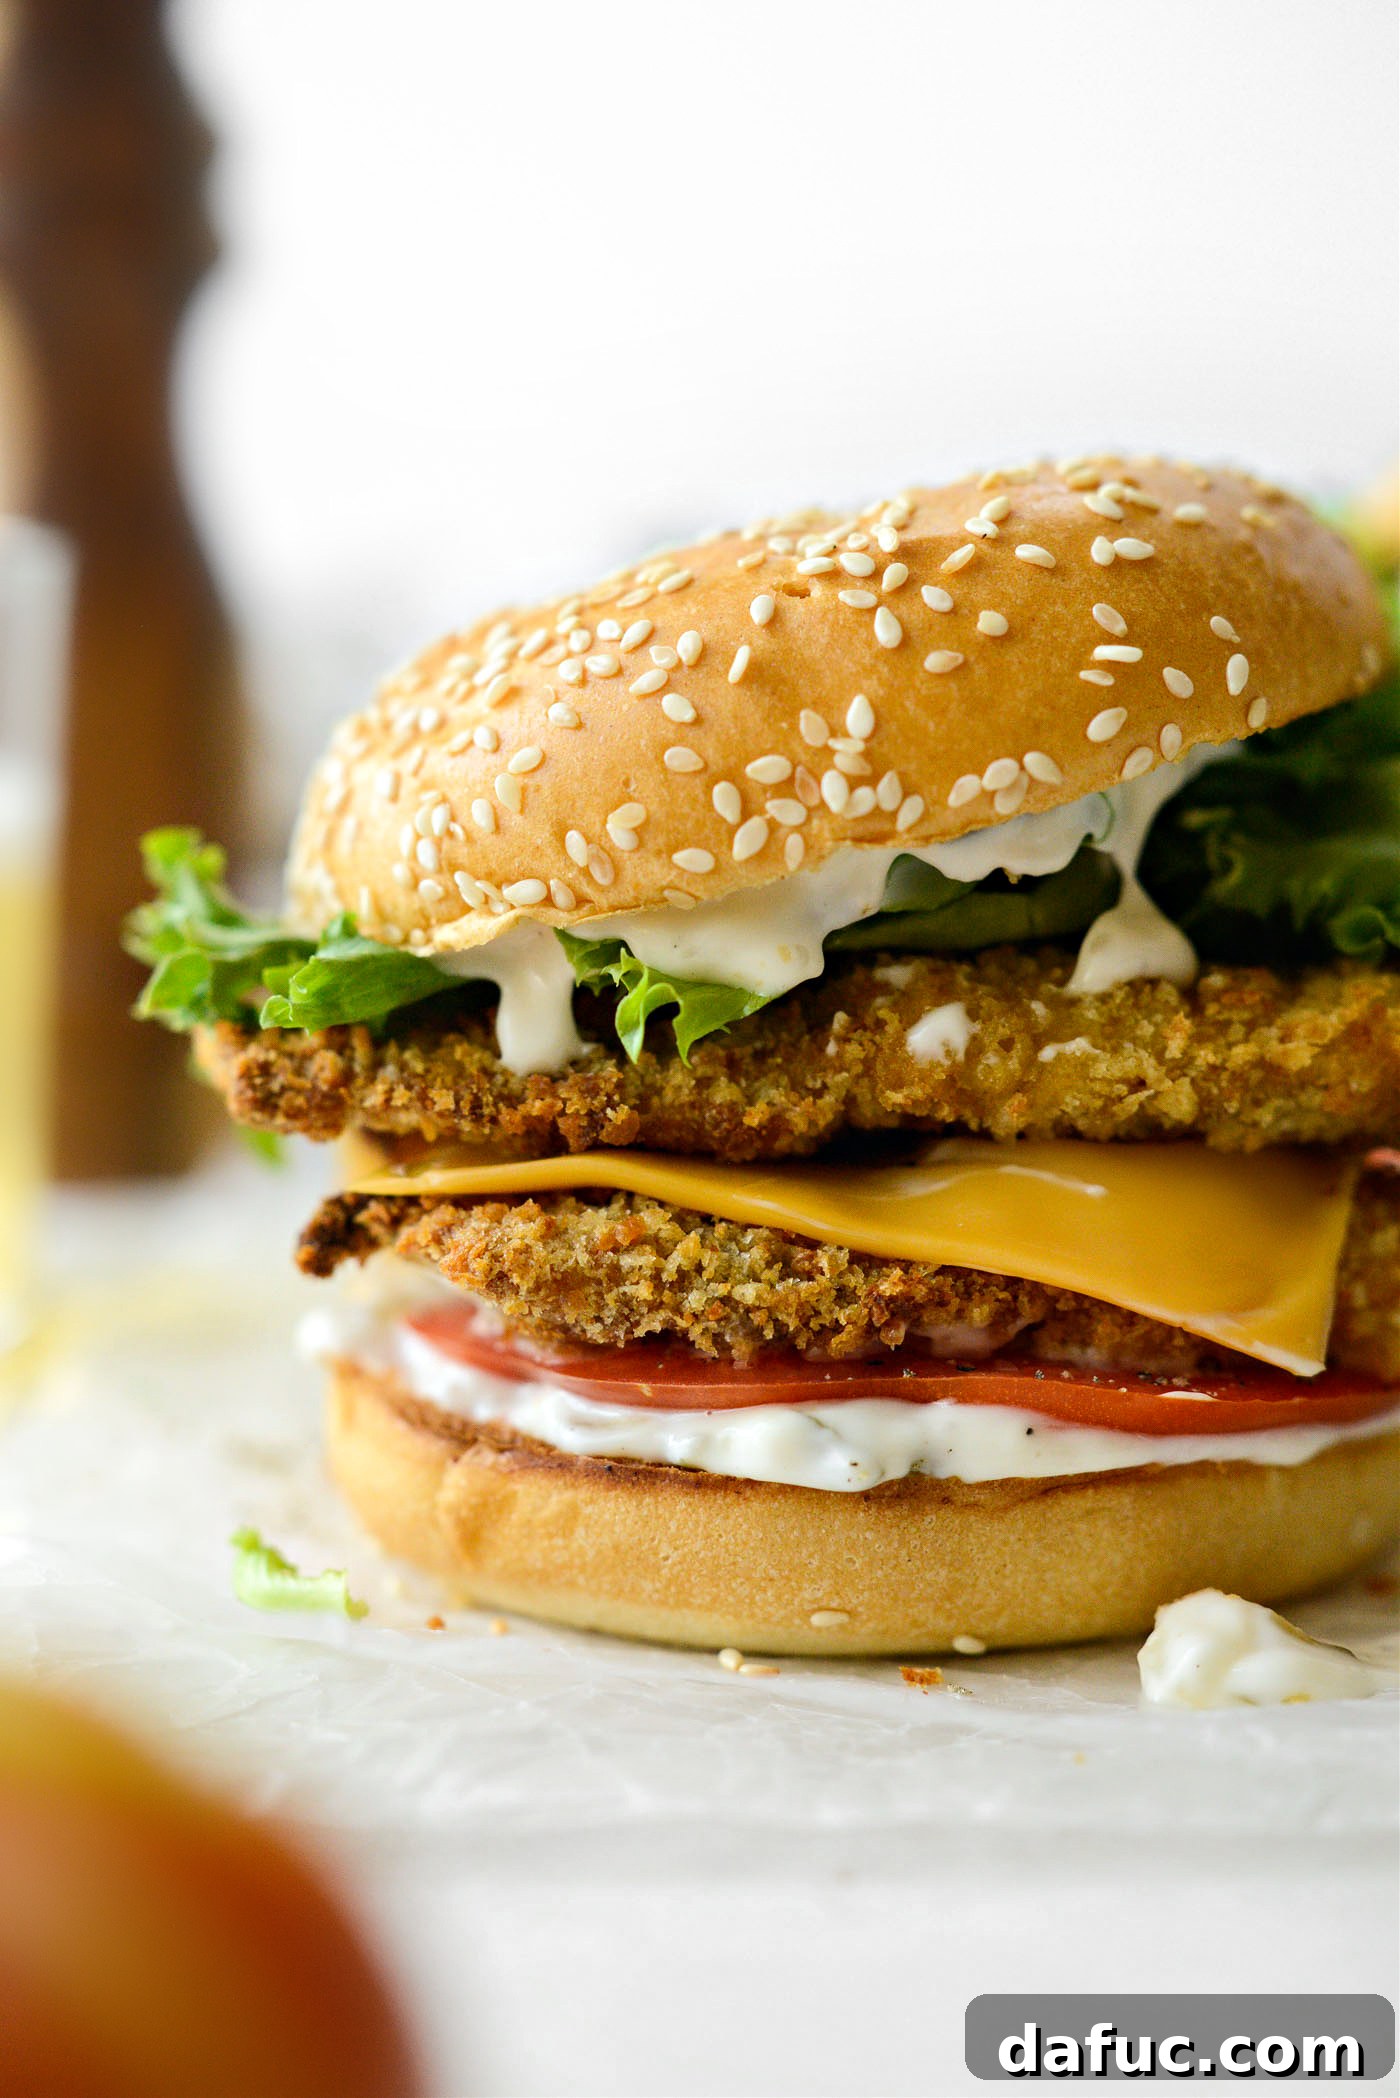
Welcome to the ultimate guide for crafting the most irresistible Crispy Fish Sandwich at home! Forget soggy fillets and bland flavors – this recipe promises an explosion of crunch and taste, starring perfectly seasoned pollock, a golden panko crust, and a creamy, tangy homemade tartar sauce. Whether you’re a seafood aficionado or simply looking for a quick and satisfying meal, this recipe is designed to impress with its simplicity and incredible flavor profile. We’ll show you how to achieve fish sandwich perfection, yielding four delightful sandwiches that are sure to become a family favorite.
While I personally lean towards the air fryer method for its sheer convenience and exceptional crispiness, I understand that not everyone has one. Rest assured, I’ve included detailed oven method instructions in this guide and the printable recipe below, ensuring everyone can enjoy this fantastic Crispy Fish Sandwich. So, roll up your sleeves and get ready to transform simple ingredients into a gourmet experience right in your own kitchen!
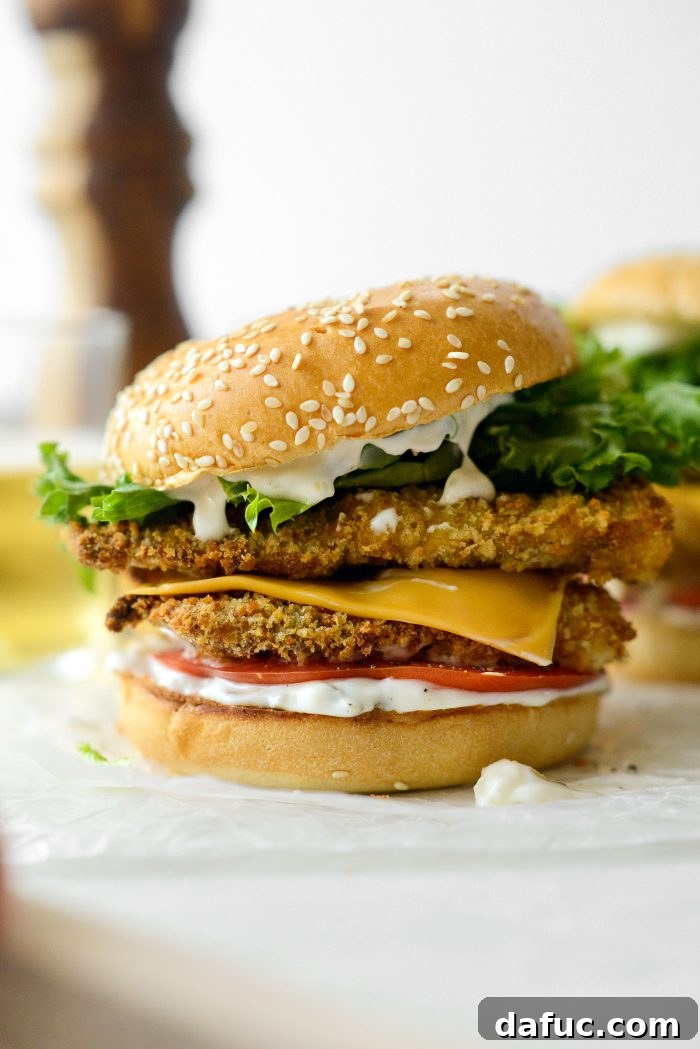
Why This Crispy Fish Sandwich is a Family Favorite
There’s something undeniably special about a perfectly executed fish sandwich, and this recipe consistently wins rave reviews from my entire family. I believe a significant part of its universal appeal lies in the choice of fish: pollock. Often underestimated, pollock is a wonderfully mild-flavored white fish, making it an excellent canvas for seasonings and breading. It’s the same type of fish commonly used in many popular frozen fish patties, offering a familiar and comforting taste without being overly “fishy.” This makes it an ideal choice, especially for those who might be hesitant about stronger-flavored seafood.
Beyond the mild fish, the star of the show is undoubtedly the exterior. Our unique panko breadcrumb mixture transforms humble pollock fillets into golden, crispy, crunchy masterpieces. Panko, with its lighter, airier texture, creates an incredible shatter when bitten into, far surpassing the texture achieved with standard breadcrumbs. This isn’t just a crispy coating; it’s a delightful textural contrast that elevates the entire sandwich experience.
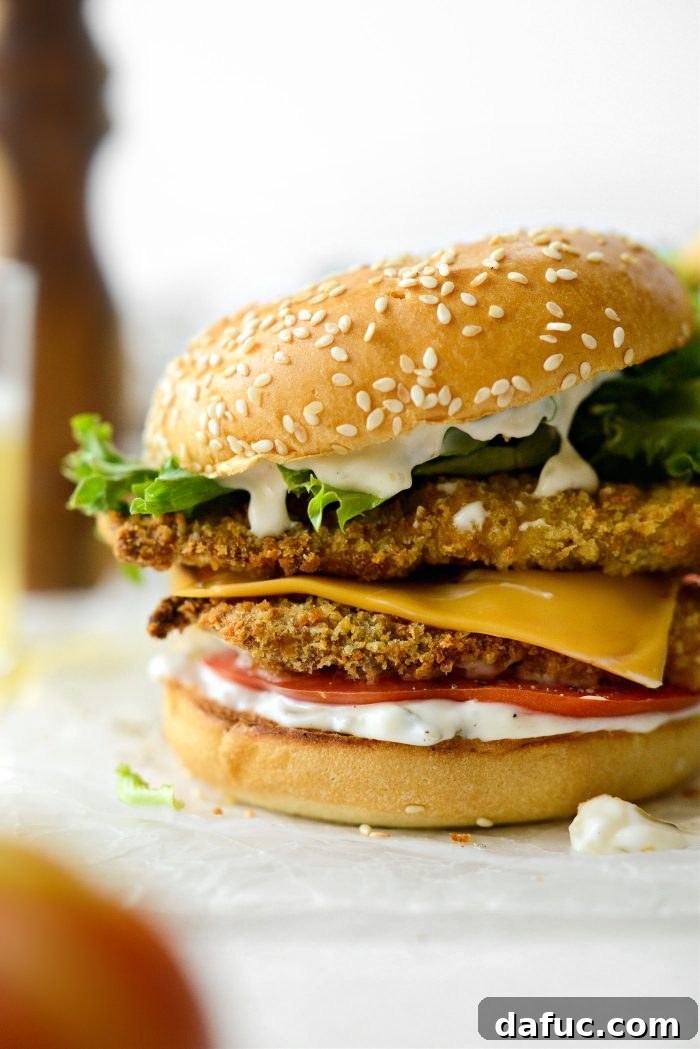
And let’s not forget the secret weapon that ties everything together: the generous slathering of our creamy, tangy homemade tartar sauce. This isn’t just a condiment; it’s an essential component that adds a burst of freshness and a delightful counterpoint to the rich, crispy fish. Skip the store-bought versions – making your own is incredibly easy and yields a flavor that simply can’t be matched. This combination of mild, flaky fish, ultra-crispy breading, and vibrant homemade sauce is what truly sets this Crispy Fish Sandwich apart, turning a simple meal into an eagerly anticipated culinary delight.
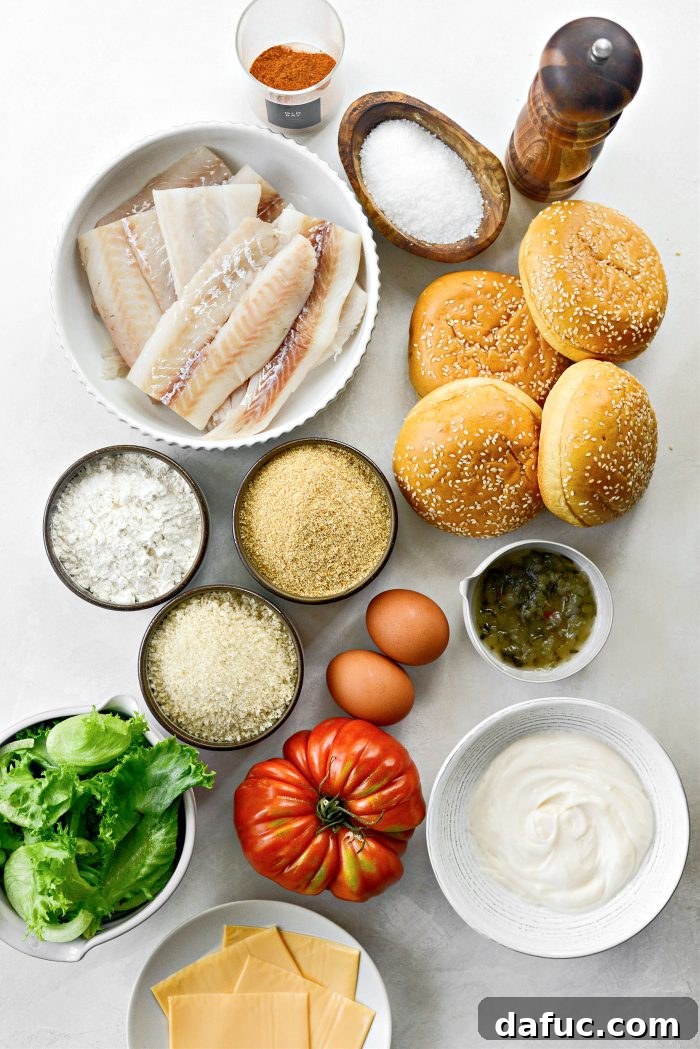
Essential Ingredients for Your Crispy Fish Sandwiches
Creating an exceptional Crispy Fish Sandwich requires a thoughtful selection of ingredients, each playing a crucial role in the final flavor and texture. Here’s a breakdown of what you’ll need, along with tips for optimal results.
For the Homemade Tartar Sauce:
The best fish sandwich starts with the best sauce. Our homemade tartar sauce is simple yet incredibly flavorful, offering a fresh, tangy complement to the rich fried fish.
- Mayonnaise: This forms the creamy base of your tartar sauce, lending richness and a smooth texture. While any good quality mayo will work, a light mayonnaise can be used to slightly reduce calorie content without sacrificing flavor.
- Sweet Pickle Relish: A cornerstone of classic tartar sauce, sweet pickle relish adds a delightful tang, a touch of sweetness, and a pleasant textural crunch. It cuts through the richness of the fried fish beautifully.
- Kosher Salt: Essential for enhancing and balancing all the flavors in the sauce. Start with a pinch and adjust to your personal preference.
- Freshly Ground Black Pepper: A subtle addition that provides a gentle bite and aromatic depth, rounding out the flavor profile of the sauce.
For the Crispy Fish Sandwiches:
The heart of our sandwich – crispy, perfectly cooked fish nestled in a soft bun.
- Pollock Fillets: The star of our show. We recommend pollock for its mild flavor and flaky texture, which holds up well to breading and frying. If pollock isn’t available, cod or flounder are excellent substitutes, offering similar mildness and flakiness. Aim for about 16 ounces, which you’ll typically cut into 8 pieces for four sandwiches.
- Old Bay Seasoning: This iconic seafood seasoning is non-negotiable for authentic flavor. Its unique blend of herbs and spices provides a savory, slightly spicy kick that perfectly complements white fish. You can use homemade for a personalized touch or a store-bought version for convenience.
- Kosher Salt & Freshly Ground Black Pepper: Used to season the fish directly, enhancing its natural taste before breading. Season generously but be mindful of the salt in the Old Bay.
- Unbleached All-Purpose Flour: The first step in our breading process. Flour creates a dry surface that helps the egg wash adhere evenly to the fish, ensuring a consistent coating.
- Eggs: The binding agent! Whisked eggs create a sticky layer that allows the breadcrumbs to firmly adhere to the fish, forming that crucial crispy crust. Beat them well with a tablespoon of water for the best consistency.
- Panko Breadcrumbs: These Japanese-style breadcrumbs are key to achieving an extra-crispy, light, and airy crust. Their larger, flakier texture absorbs less oil and fries up much crisper than traditional breadcrumbs. Feel free to use homemade or quality store-bought panko.
- Unseasoned Breadcrumbs: When combined with panko, unseasoned breadcrumbs add another layer of texture and help create a more robust crust. This blend offers the best of both worlds: crispiness from panko and classic breading adherence.
- Avocado Oil Spray or Extra Light Olive Oil Spray: Essential for both air frying and oven baking, this spray helps the breading achieve a beautiful golden-brown color and irresistible crispiness without deep-frying. It ensures even cooking and prevents sticking.
- Brioche Buns: A soft, slightly sweet brioche bun provides the perfect counterpoint to the savory, crispy fish. Its richness and tender texture elevate the sandwich. If brioche isn’t available, your favorite sturdy hamburger roll will also work well. Make sure they are toasted for the best experience.
Optional Toppings:
Customize your Crispy Fish Sandwich with these classic additions:
- Cheese: A slice of American cheese, cheddar, or your favorite melty cheese adds an extra layer of flavor and creaminess.
- Tomato: Fresh, ripe tomato slices provide a burst of juiciness and acidity. Season them with a pinch of salt and pepper for enhanced flavor.
- Lettuce: Crisp lettuce, such as romaine or iceberg, adds a refreshing crunch and vibrant color, balancing the richness of the fish and sauce.
Step-by-Step Guide: Crafting Your Crispy Fish Sandwich
Follow these detailed instructions to create your ultimate crispy fish sandwiches, starting with the essential homemade tartar sauce.
1. Master the Homemade Tartar Sauce:
This creamy condiment is surprisingly simple to make and vastly superior to store-bought versions. It’s the perfect tangy counterpoint to the rich, crispy fish.
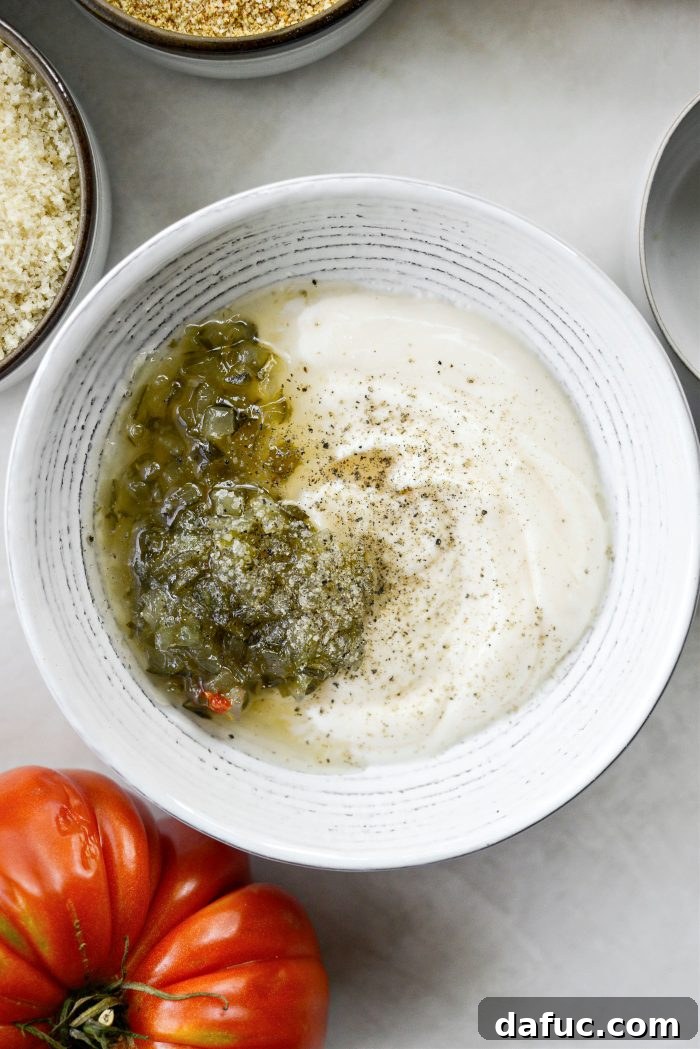
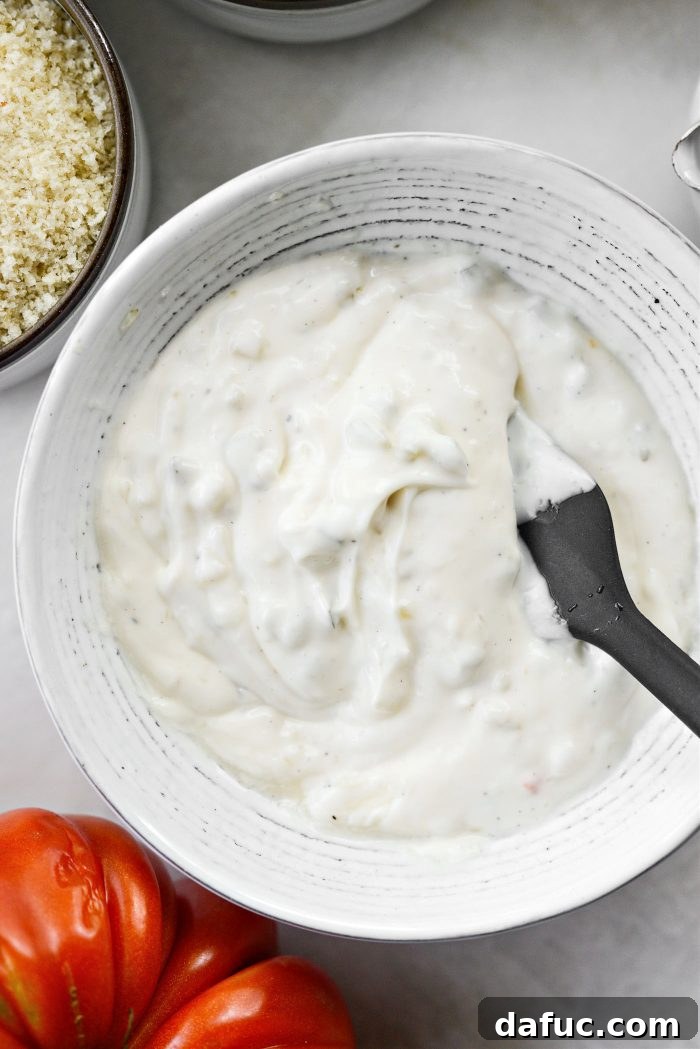
In a small mixing bowl, combine 1/2 cup of mayonnaise (light mayo works great here), 2 tablespoons of sweet pickle relish, a generous pinch of kosher salt, and freshly ground black pepper to taste. The amounts for salt and pepper can be adjusted based on your preference for seasoning. Stir all ingredients thoroughly until they are well combined and the sauce is smooth and creamy.
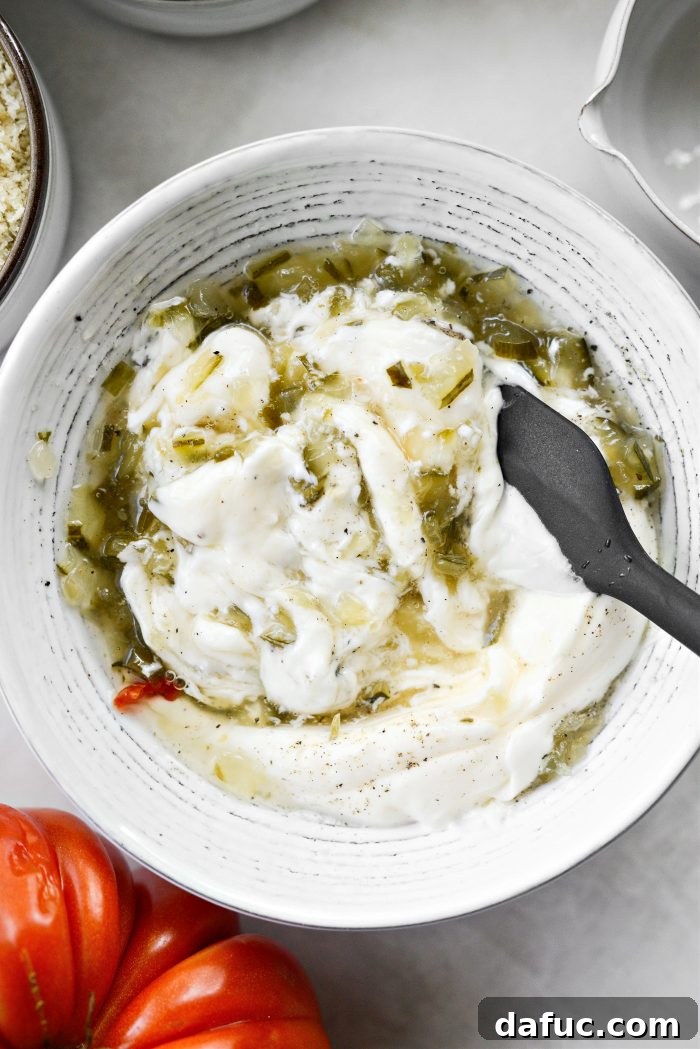
Once mixed, cover the bowl tightly and refrigerate your homemade tartar sauce. Chilling allows the flavors to meld beautifully, ensuring a richer taste when you’re ready to assemble your sandwiches. This can be made several hours, or even a day, in advance.
2. Preparing and Breading the Fish Fillets:
Achieving a truly crispy fish fillet starts with proper preparation and a well-executed breading station. This process ensures a golden, crunchy exterior every time.
Season the Fish:
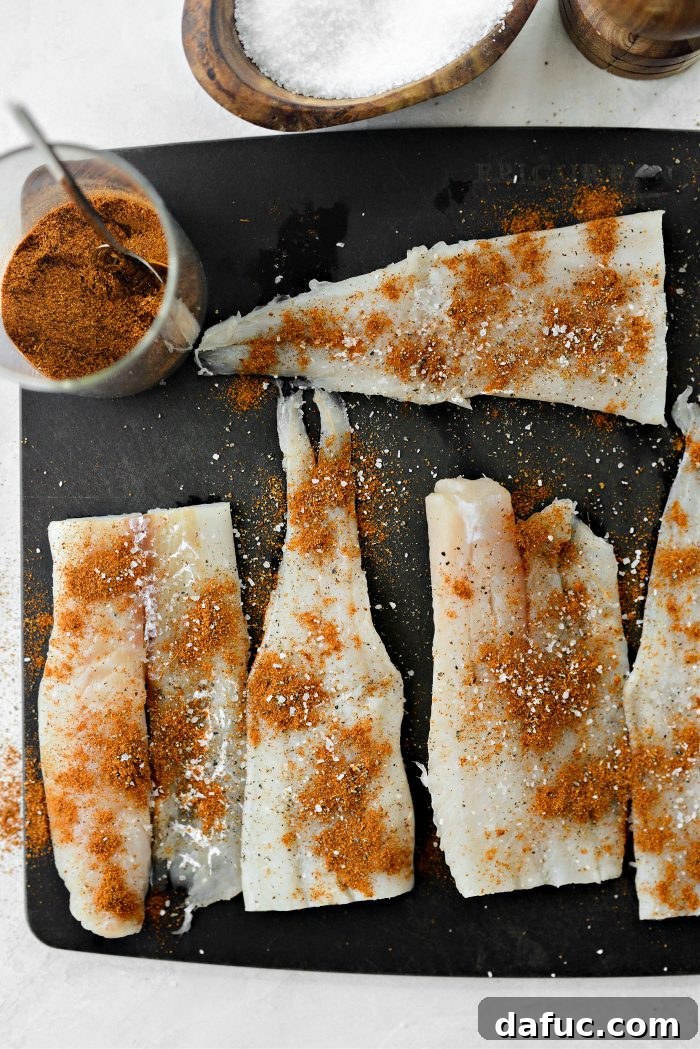
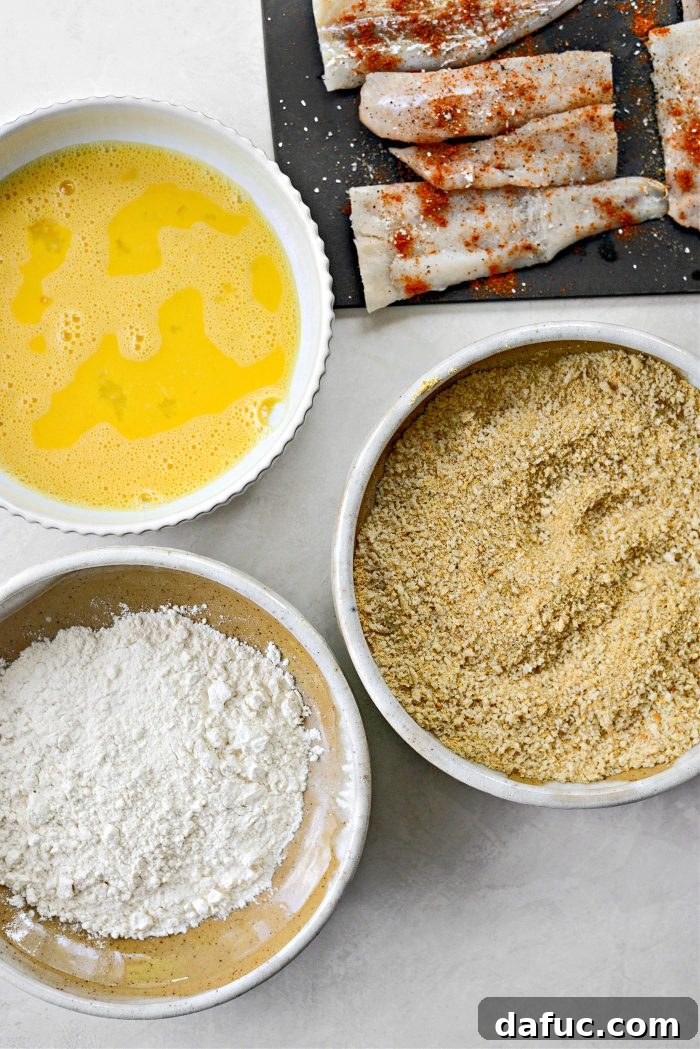
Begin by patting your pollock fillets thoroughly dry with paper towels. Removing excess moisture is crucial for getting the breading to stick and achieving maximum crispiness. Once dry, generously season both sides of each fillet with Old Bay seasoning, kosher salt, and freshly ground black pepper. Don’t be shy with the seasoning – this is where much of the fish’s flavor comes from. I usually eyeball the amounts, ensuring an even coating on all sides.
Set Up Your Breading Station:
To streamline the breading process, set up three shallow bowls in an assembly line fashion. In the first bowl, add 1/3 cup of unbleached all-purpose flour. In the second bowl, whisk together 2 large eggs with 1 tablespoon of water until well combined – this creates your egg wash. In the third bowl, combine 1/3 cup of unseasoned breadcrumbs and 1/3 cup of panko breadcrumbs, mixing them thoroughly to ensure an even blend.
Breading the Fillets:
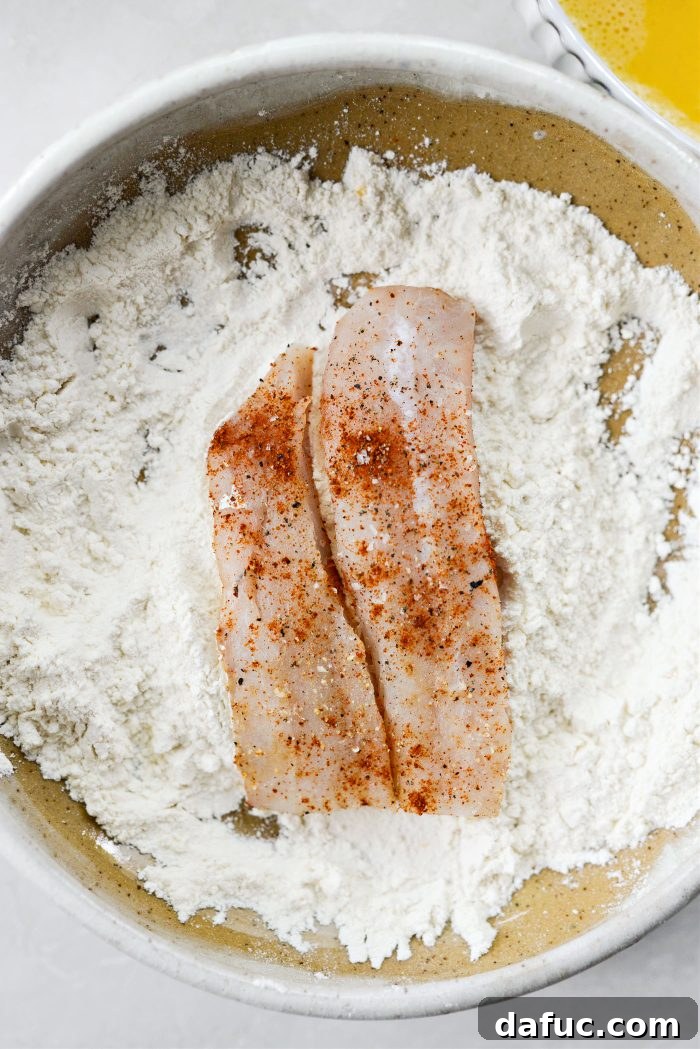
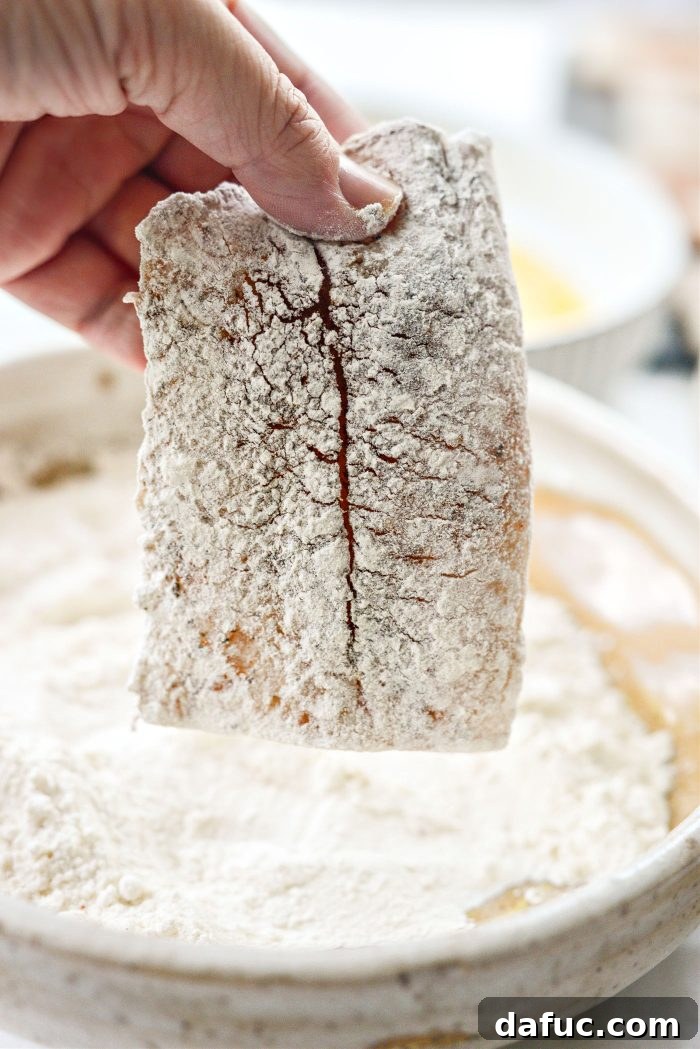
Work with one fish fillet at a time to ensure each piece is perfectly coated. First, dredge the fish in the flour, making sure both sides are completely covered. Gently shake off any excess flour – you want a thin, even layer, not clumps. Too much flour can lead to a gummy crust.
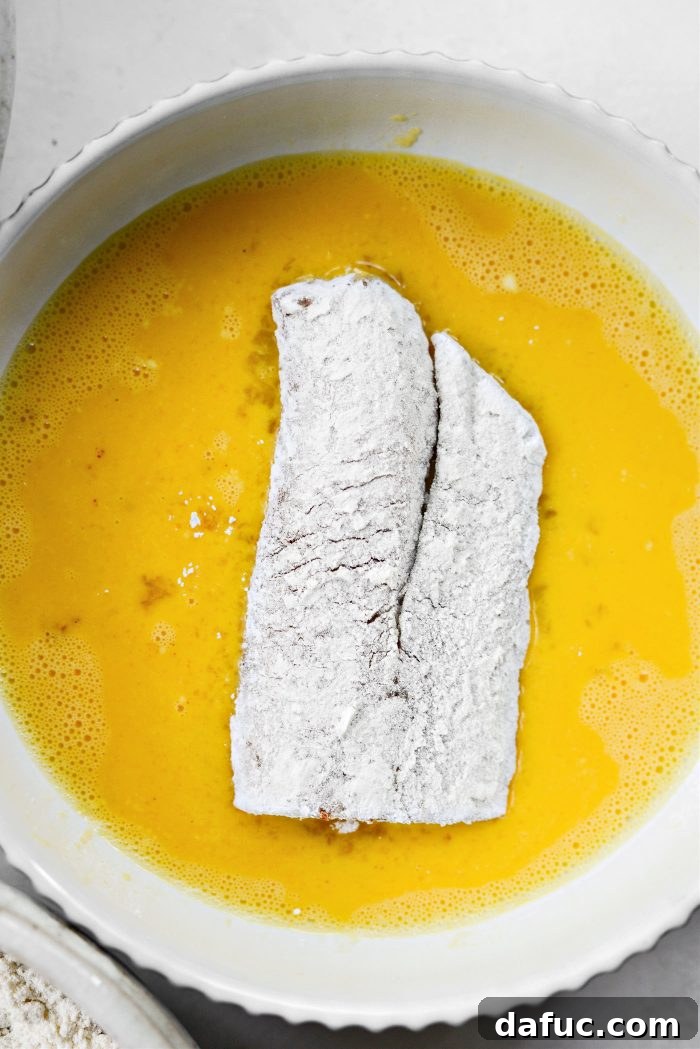
Next, dip both sides of the floured fish into the egg wash. Allow any excess egg to drip back into the bowl before moving to the next step. This helps prevent the breading from becoming too thick or gloopy.
Finally, immerse the fish into the breadcrumb mixture. Press the breadcrumbs firmly onto both sides of the fish to ensure a thick, even coating. The goal is to have every part of the fillet covered with the panko-breadcrumb blend. This firm press is crucial for a robust, crispy crust that won’t fall off during cooking.
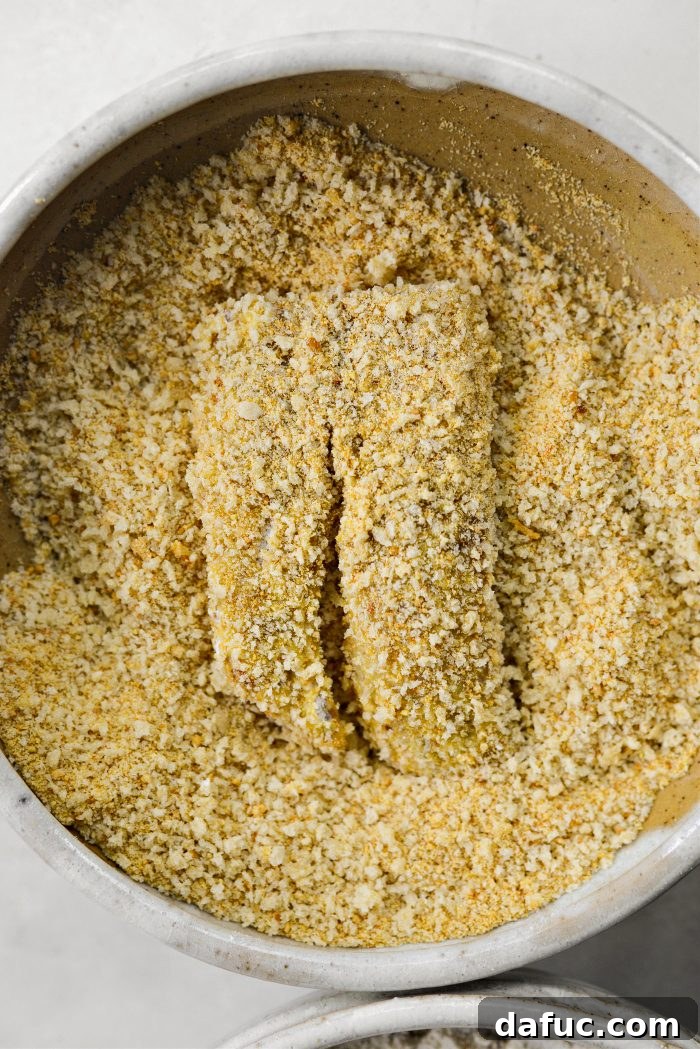
Transfer the breaded fillet to a large platter, a clean cutting board, or a wire rack set over a rimmed baking sheet. A wire rack is ideal as it allows air circulation all around the fish, which can help prevent the bottom from getting soggy. Repeat this breading process with all remaining pieces of fish. Once all fillets are breaded, lightly spray the top side of each with avocado oil spray or extra light olive oil spray. This step is vital for achieving that beautiful golden-brown color and irresistible crunch during cooking.
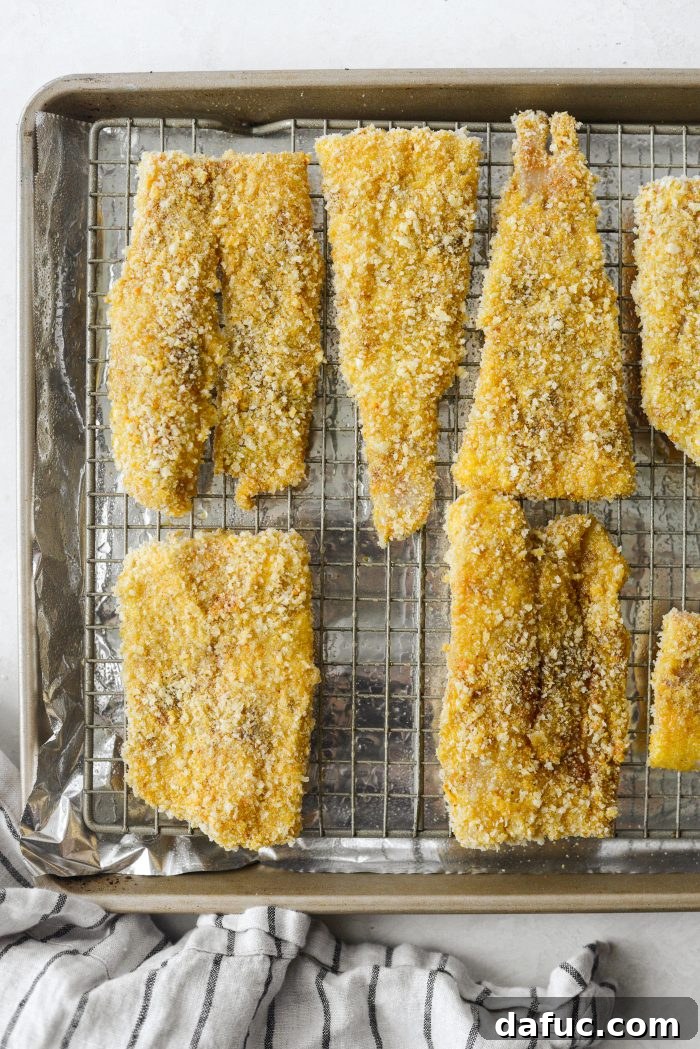
3. Cooking Your Crispy Fish: Air Fryer Method (Recommended)
The air fryer is a game-changer for achieving incredibly crispy results with minimal oil. Follow these steps for perfectly cooked, golden-brown fish fillets.
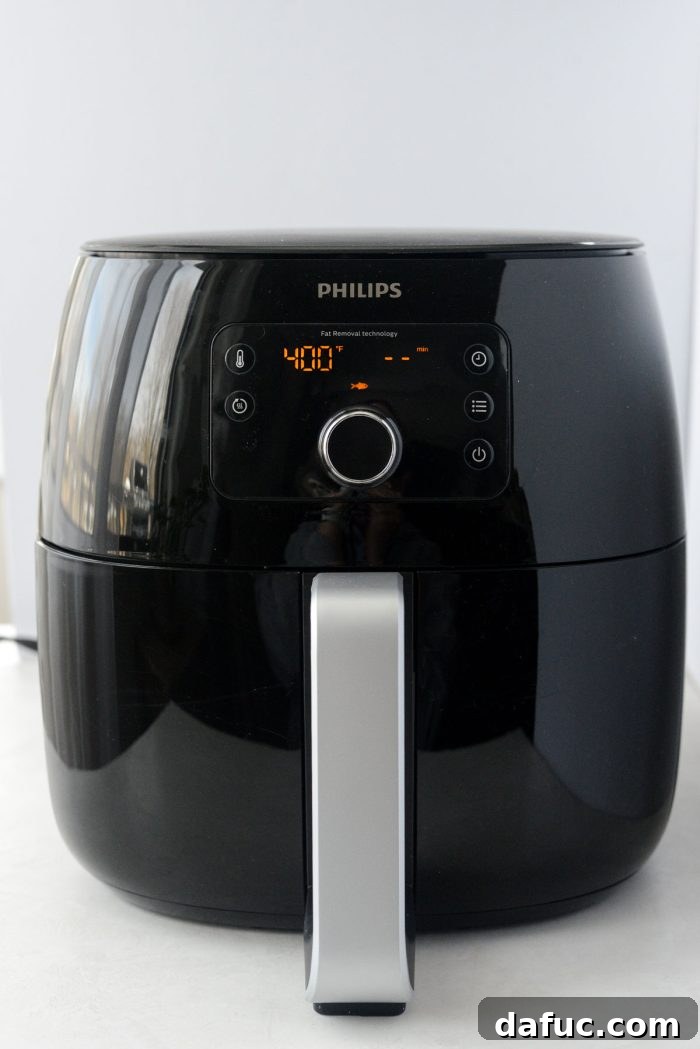
Air Fryer Instructions:
Preheat your air fryer to 400°F (or 200°C). Allowing the air fryer to come to full temperature ensures immediate crisping when the fish is added. For best results, consider using air fryer parchment paper (with holes) to prevent sticking and make cleanup easier; however, never preheat the air fryer with just parchment paper inside as it can fly up and hit the heating element.
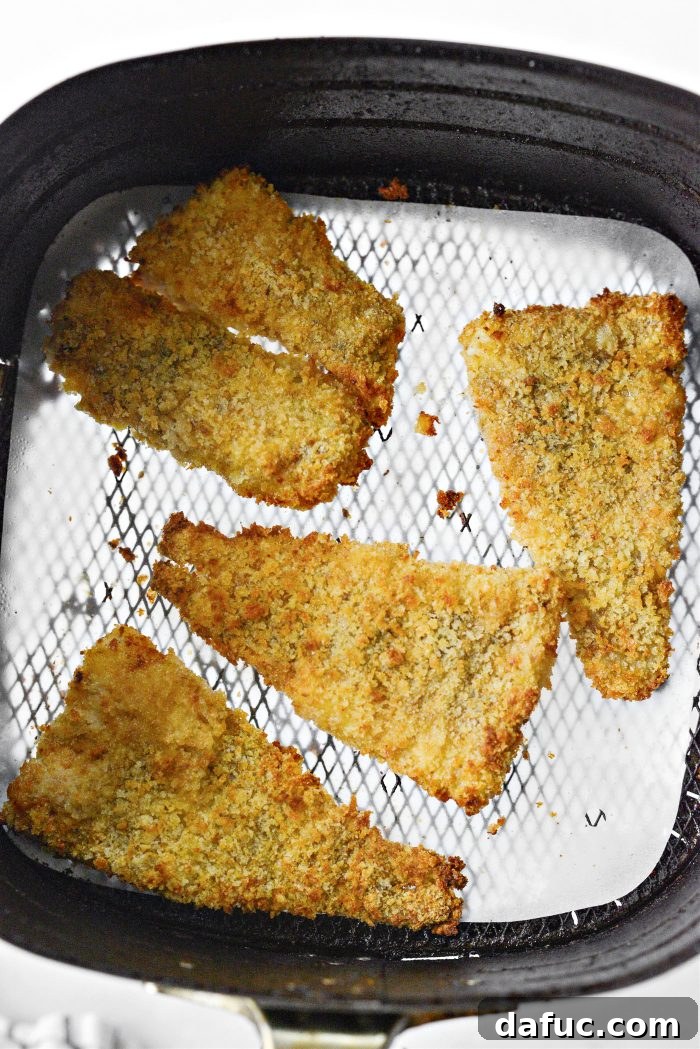
Once preheated, arrange the breaded fish in a single layer in your air fryer basket. Work in batches if necessary to avoid overcrowding, as this is essential for even cooking and crispiness. Place the fish oil-side down first, then lightly spray the now top side with additional avocado or olive oil spray. Air fry for 6 minutes, then carefully flip each fillet. Continue to air fry for another 5 to 6 minutes, or until the fish is gloriously crispy and golden brown, and flakes easily with a fork. The exact time may vary slightly depending on the thickness of your fillets and your specific air fryer model.
As each batch finishes cooking, transfer the crispy fish to a clean platter or a wire rack while you cook the remaining pieces. A wire rack is ideal for maintaining crispiness as it allows air to circulate underneath.
A pro tip: Save your larger fish pieces for the last batch. As soon as you remove them from the air fryer, immediately top them with a slice of cheese. The residual heat from the freshly cooked fish will perfectly melt the cheese, making for an even more decadent sandwich.
4. Cooking Your Crispy Fish: Oven Method (Alternative)
For those without an air fryer, a hot oven can still deliver wonderfully crispy results. The key is high heat and proper placement.
Oven Instructions:
Before you begin breading your fish, preheat your oven to a high temperature: 425°F (220°C). A hot oven ensures the breading crisps up quickly before the fish overcooks, mimicking the deep-fried texture as much as possible.
Follow the same breading instructions as above. Once all your fish fillets are breaded, place them in a single layer on a rimmed metal baking pan. For best results, place a wire rack on the baking pan and arrange the fish on the rack to allow for air circulation, promoting crispiness on all sides. Lightly spray the breaded fish with a nonstick baking spray or olive oil spray on both sides. Bake the fish on the top rack of your preheated oven for about 10 to 12 minutes, depending on the thickness of your fillets. The fish is done when it’s beautifully browned on top and the underside, and flakes easily when gently probed in the center with a fork. Adjust baking time as needed to achieve desired crispiness and doneness.
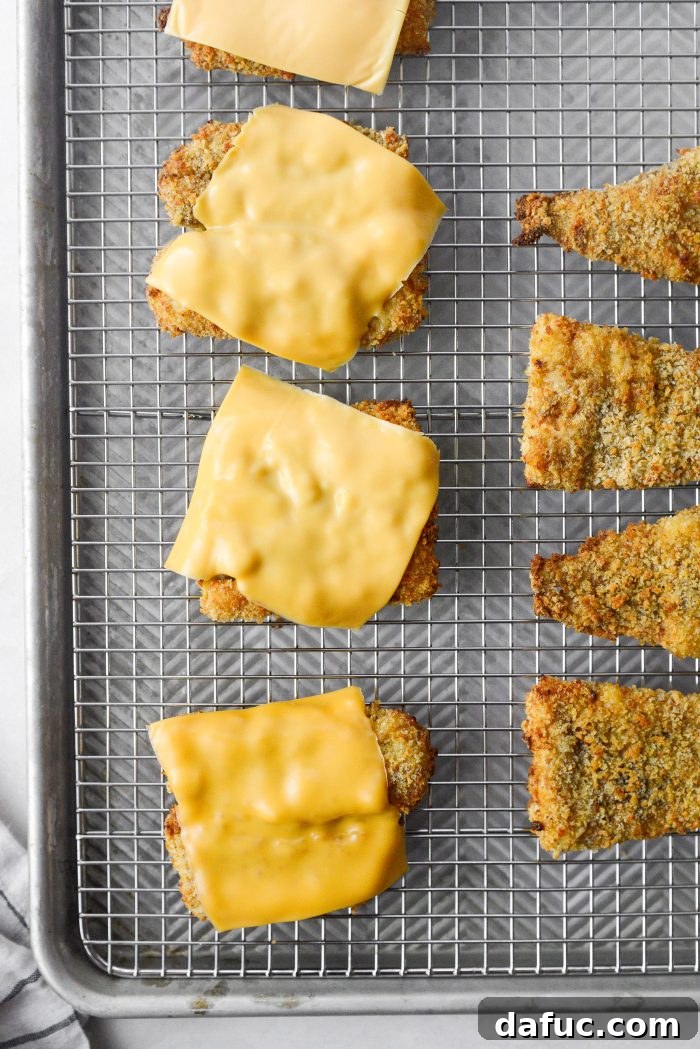
Just like with the air fryer method, if you’re adding cheese, place a slice on the larger, hot fish fillets immediately after removing them from the oven. The warmth of the fish will gently melt the cheese into gooey perfection.
Building Your Ultimate Crispy Fish Sandwich:
Now for the grand finale – assembling your masterpiece! This is where all the delicious components come together to create a truly unforgettable sandwich.
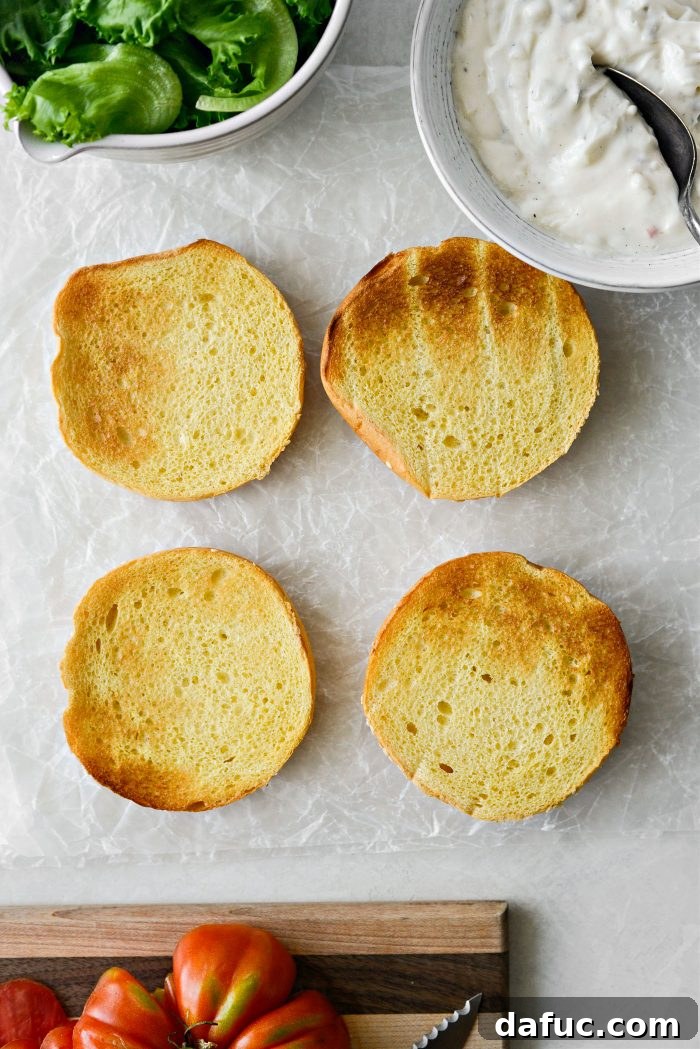
Toast the Buns:
Begin by toasting your brioche buns or favorite sturdy hamburger rolls. A lightly toasted bun adds texture, prevents sogginess, and provides a delightful warmth. You can toast them in a dry pan, under the broiler, or in a toaster oven until golden brown.
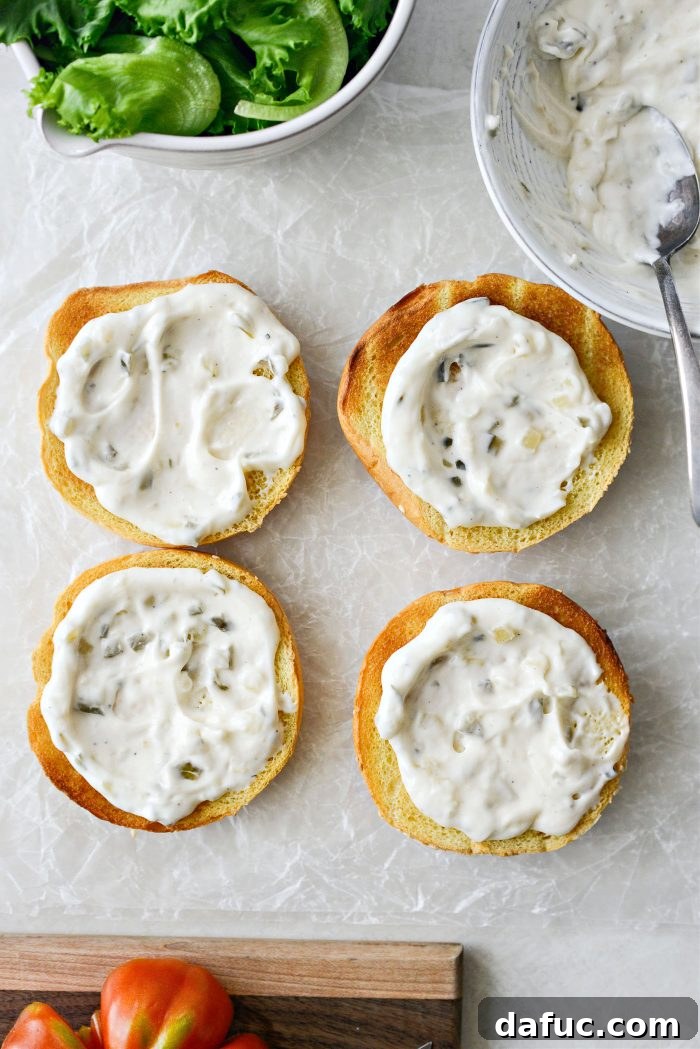
Sauce It Up:
Generously spread both the inside of the top and bottom bun halves with your luscious homemade tartar sauce. Don’t be shy – this sauce is a crucial element that brings moisture, tang, and incredible flavor to every bite.
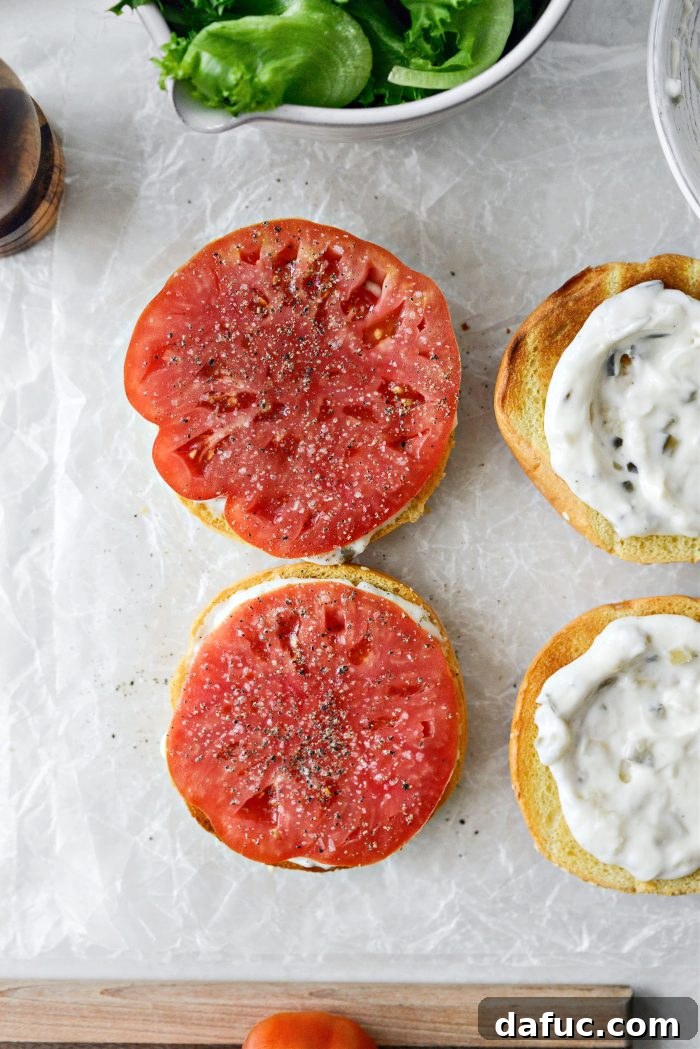
Layer the Freshness:
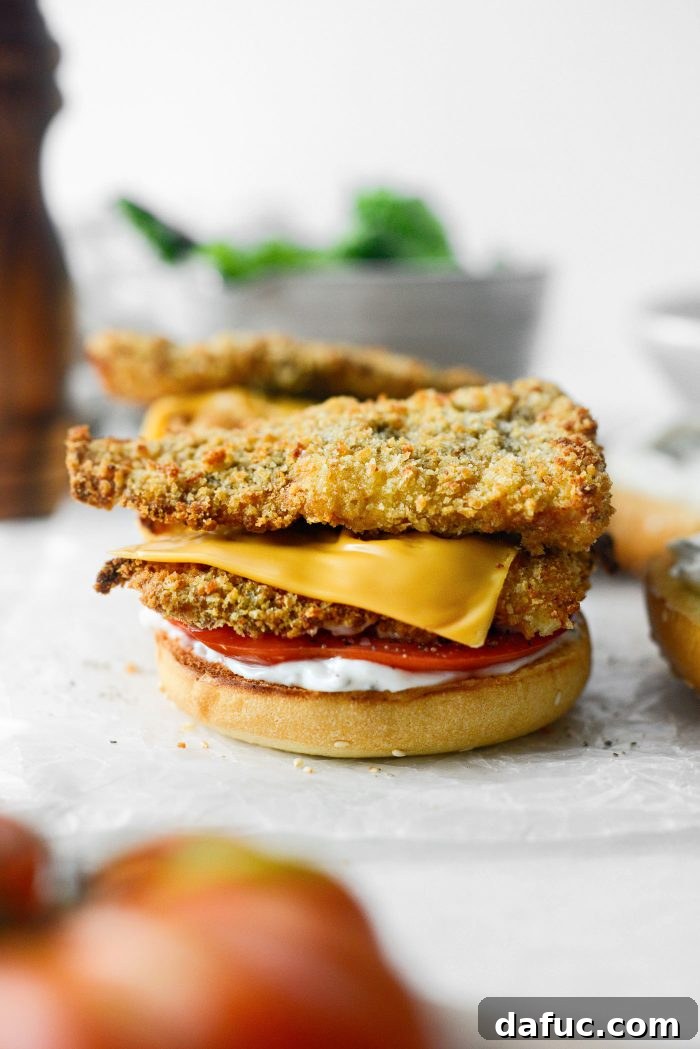
On the bottom bun, arrange a fresh slice of ripe tomato, if desired. For an extra boost of flavor, lightly season the tomato with a pinch of salt and pepper. This simple step can make a big difference in the overall taste.
Add the Star:
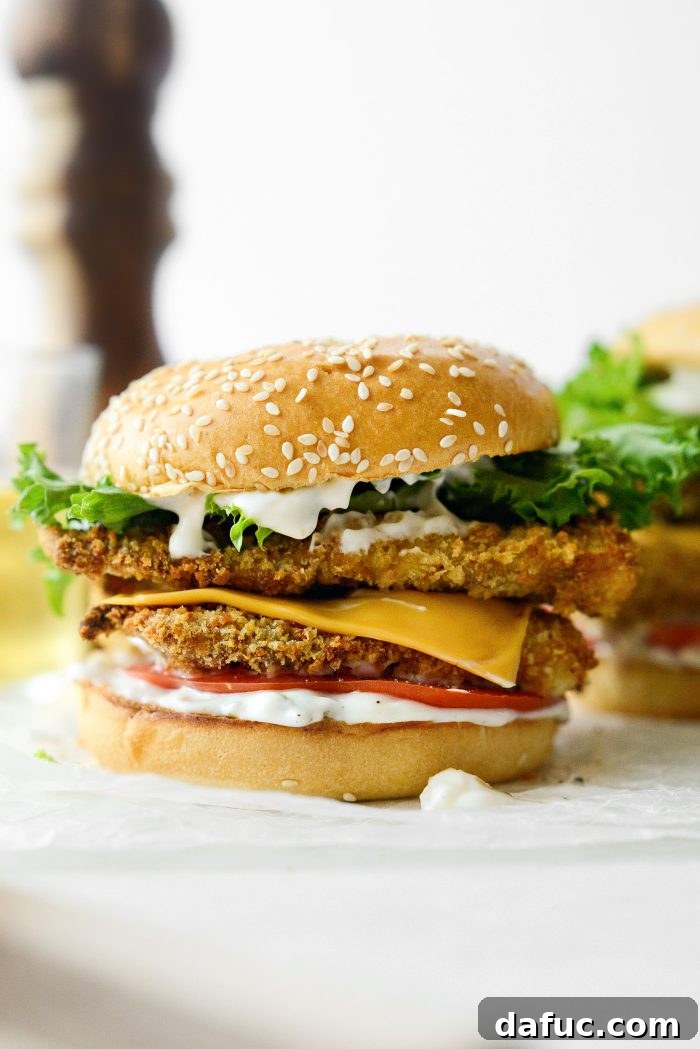
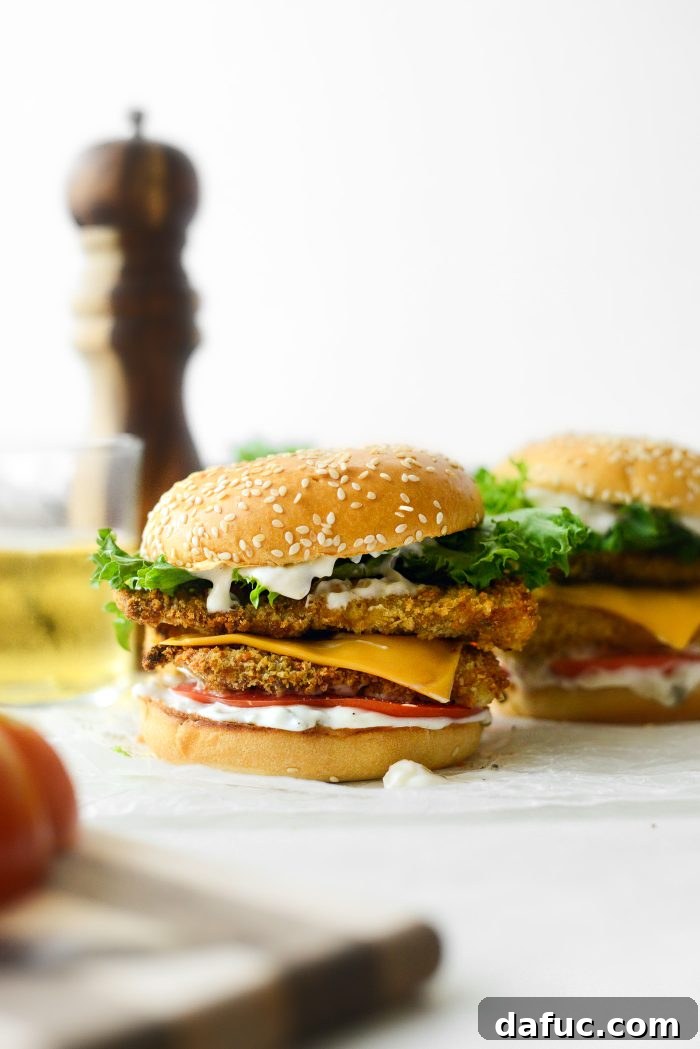
Carefully place two crispy fish fillets on top of the tomato slice. If you opted for cheese, position the larger, cheese-topped fillet first, followed by the narrower piece. Stacking them creates an impressive height and ensures plenty of fish in every bite.
Finish with Greens:
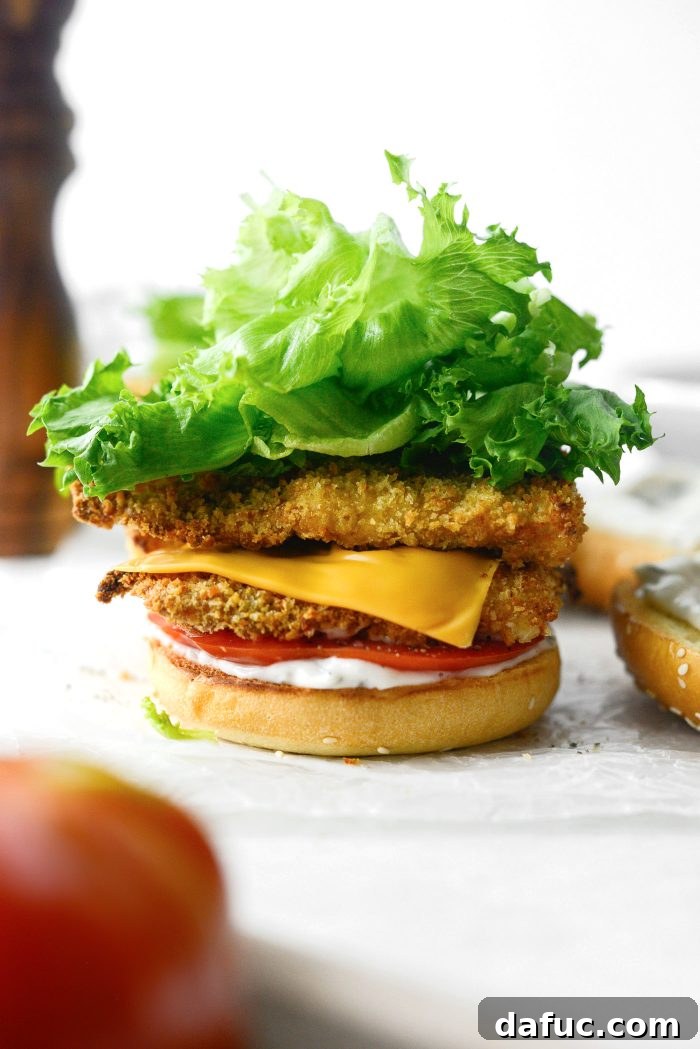
Pile a generous amount of fresh, crisp lettuce (shredded or torn) on top of the fish fillets. The cool, crunchy lettuce provides a refreshing contrast to the warm fish and sauce.
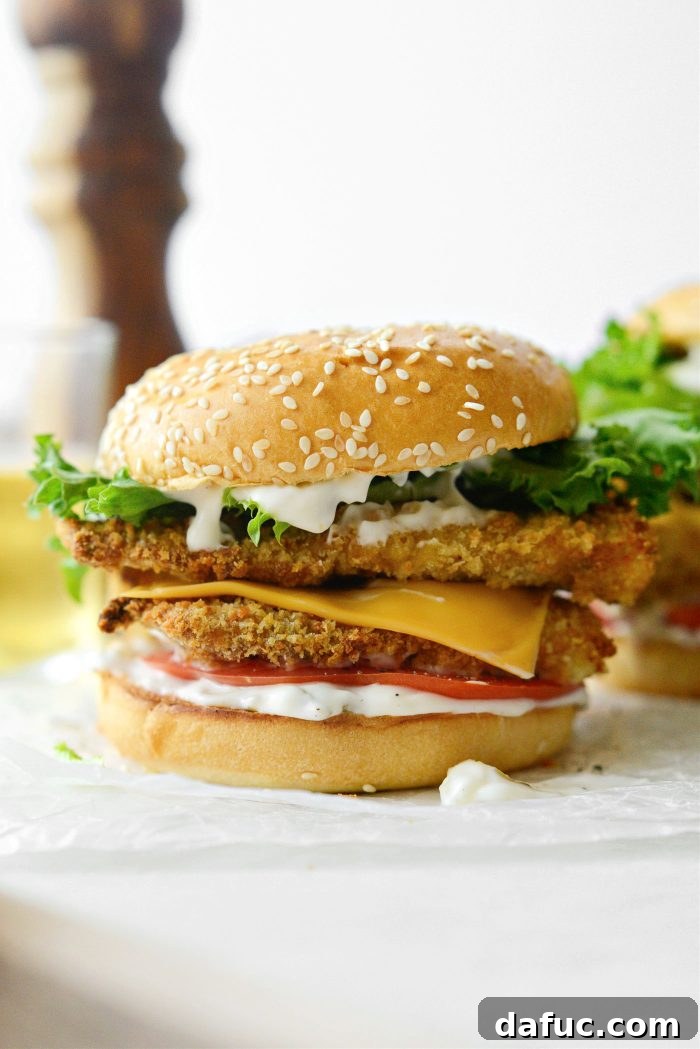
Finally, carefully place the top bun on your beautifully assembled Crispy Fish Sandwich. Your culinary masterpiece is now complete!
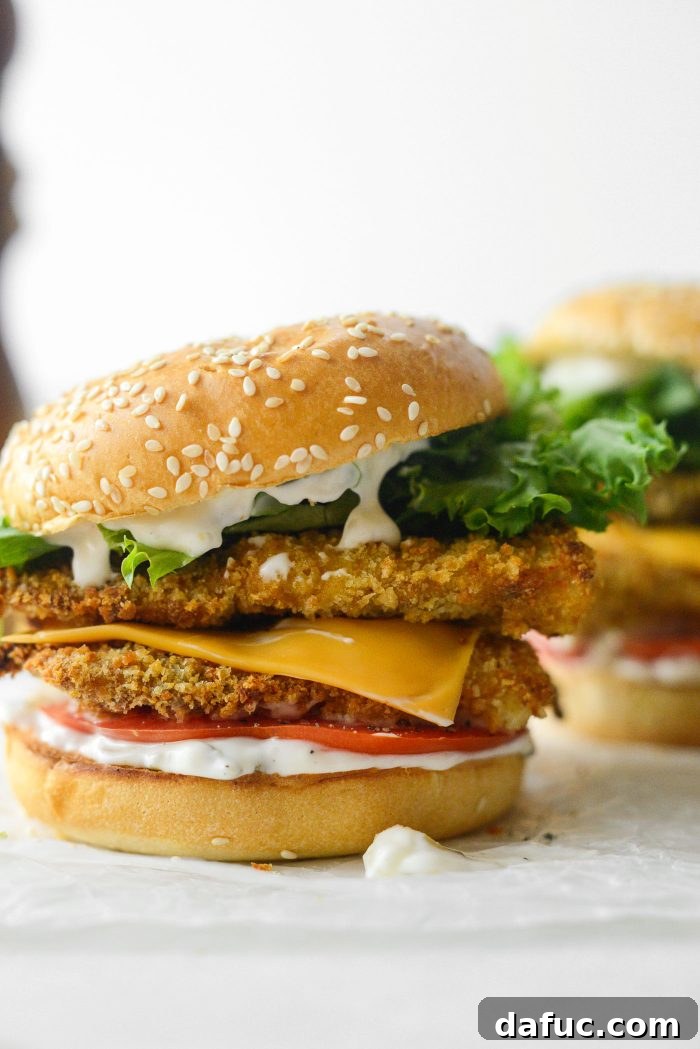
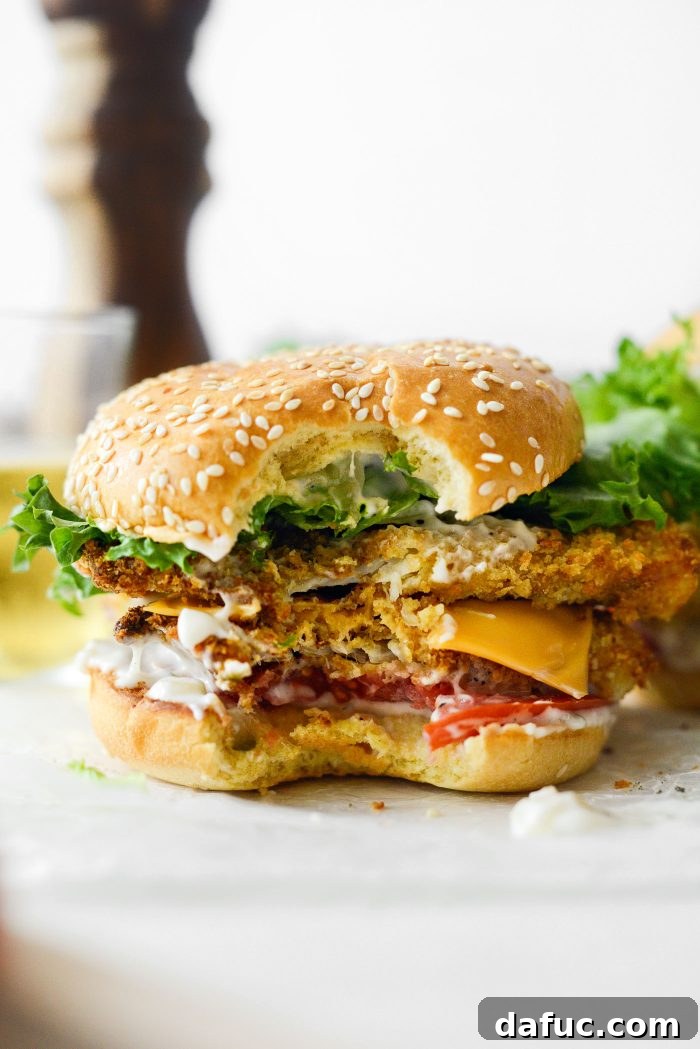
Take a moment to admire your handiwork, then unhinge your jaw and prepare for pure sandwich bliss. The combination of crispy fish, creamy sauce, fresh veggies, and soft bun is truly a symphony of flavors and textures.
What to Serve with These Crispy Fish Sandwiches:
A delicious Crispy Fish Sandwich deserves equally fantastic side dishes to complete the meal. Here are some perfect pairings that complement the flavors and textures of the sandwich:
- Crispy Fries: Classic companions! Whether you prefer homemade air fryer french fries, sweet potato fries (like spicy baked sweet potato fries), or nostalgic tater tots, crispy potatoes are always a hit.
- Potato Chips: For a super easy and satisfying crunch, a bag of your favorite potato chips is an ideal, no-fuss side.
- Coleslaw: The creamy, tangy crunch of coleslaw provides a refreshing contrast to the richness of the fish sandwich. A light vinaigrette-based coleslaw can be particularly nice.
- Veggies Sticks with Dip: For a lighter, healthier option, offer an assortment of crunchy vegetable sticks like carrots, celery, bell peppers, or cucumber, paired with a ranch or dill dip.
- Fresh Fruit Salad: A simple bowl of fresh fruit, such as berries, melon, or grapes, offers a sweet and refreshing palate cleanser.
- Onion Rings: Another fried classic that pairs wonderfully with fish.
- Corn on the Cob: Especially in summer, grilled or boiled corn on the cob adds a sweet and juicy element.
We hope you thoroughly enjoy creating and devouring these Crispy Fish Sandwiches! It’s a recipe designed for maximum flavor and minimum fuss, perfect for any night of the week. If you give this recipe a try, we’d love to see your creations! Snap a photo and share it on social media, tagging us on Twitter or Instagram!
Print Recipe
Pin Recipe
Leave a Review »
4
servings
Tasty Fish Sandwich with Homemade Tartar Sauce
15
20
35
Ingredients
FOR THE TARTAR SAUCE
-
1/2
cup
mayo,
I use light mayo -
2
tablespoons
sweet pickle relish -
1
pinch
kosher salt,
to taste -
freshly ground black pepper,
to taste
FOR THE SANDWICHES
-
16
ounces
pollock filets,
cut in half (8 pieces total) - old bay seasoning
- kosher salt
- freshly ground black pepper
-
1/3
cup
unbleached all-purpose flour -
2
eggs,
beaten with 1 tablespoon water -
1/3
cup
unseasoned breadcrumbs -
1/3
cup
panko breadcrumbs -
avocado oil spray,
or extra light olive oil spray -
4
slices
cheese,
we use American -
4
brioche buns,
toasted
SANDWICH TOPPINGS:
-
1
tomatoes,
sliced -
lettuce,
torn or shredded
Equipment
-
Philips Air Fryer XXL
Instructions
FOR THE TARTAR SAUCE:
-
In a medium bowl, add the mayonnaise, relish, salt and pepper. Stir well to combine. Cover and refrigerate until ready to use.
MAKE THE FISH:
-
Pat your fish dry with paper towel before seasoning both sides with old bay, salt and pepper. I eyeball the amounts.
-
Grab 3 shallow bowls. In the first bowl add the flour. In the second bowl, whisk the eggs with 1 tablespoon of water. And in the third bowl, combine both unseasoned breadcrumbs and panko bread crumbs – mix to combine the two.
-
Working with 1 filet at a time, dredge the fish in the flour until both sides are coated. Shake off any excess flour. Then dip both sides into the egg, allowing any excess egg to drip back into the bowl. Lastly, dip into the breadcrumb mixture, pressing any excess onto the fish.
-
Transfer to a large platter, cutting board or wire rack placed into a rimmed sheet pan – anything works here. Repeat with the remaining pieces. Then spray the now top side with avocado oil or extra light olive oil spray.
AIR FRYER METHOD:
-
Preheat your air-fryer to 400°F (or 200°C).
-
Once preheated, work in batches (depending on the size of your air fryer) adding the (narrower pieces first) breaded fish in a single layer oil side down – then spray the topside with oil. Air fry for 6 minutes, carefully turn and cook for another 5 to 6 minute or until crispy and golden brown.
Transfer to a clean platter or wire rack and repeat with the remaining pieces of fish.
Save the larger pieces of fish for last so when you remove them you can top with a slice of cheese. The heat from the fish will melt the cheese.
-
NOTE: I place mine on air-fryer parchment paper to keep from sticking – remember never to preheat your air fryer with just parchment paper inside.
OVEN METHOD:
-
Before breading the fish, preheat your oven t 425℉ or 220℃.
-
Follow the breading instructions. Place on rimmed metal baking pan and lightly spray with nonstick baking spray. Bake the fish on the top rack of your oven, until nicely browned on top and the underside about 10 to 12 minutes depending on thickness of the fish.
It’s done when the fish flakes when you pry it in the center with a fork.
BUILD THE SANDWICH:
-
Toast your sandwich buns and spread both the inside of the top and bottom bun with homemade tartar sauce.
-
Top the bottom half with a slice of tomato (if desired) and season with a salt and pepper.
-
Add the two fish filets (one bigger piece with cheese and then the narrower piece) on top of the tomato. Top with lettuce and then the top bun.
Notes
Serving:
1
sandwich
,
Calories:
513
kcal
,
Carbohydrates:
47
g
,
Protein:
37
g
,
Fat:
20
g
,
Saturated Fat:
7
g
,
Polyunsaturated Fat:
6
g
,
Monounsaturated Fat:
5
g
,
Trans Fat:
0.3
g
,
Cholesterol:
164
mg
,
Sodium:
1060
mg
,
Potassium:
575
mg
,
Fiber:
2
g
,
Sugar:
9
g
,
Vitamin A:
685
IU
,
Vitamin C:
5
mg
,
Calcium:
337
mg
,
Iron:
4
mg
Laurie McNamara
Mains & Entrees
American
This recipe for Crispy Fish Sandwiches was originally posted on July 12, 2010. It has been thoroughly updated and revised with clear and concise instructions, new photography, enhanced SEO optimizations, and additional helpful information to ensure the best possible cooking experience.