
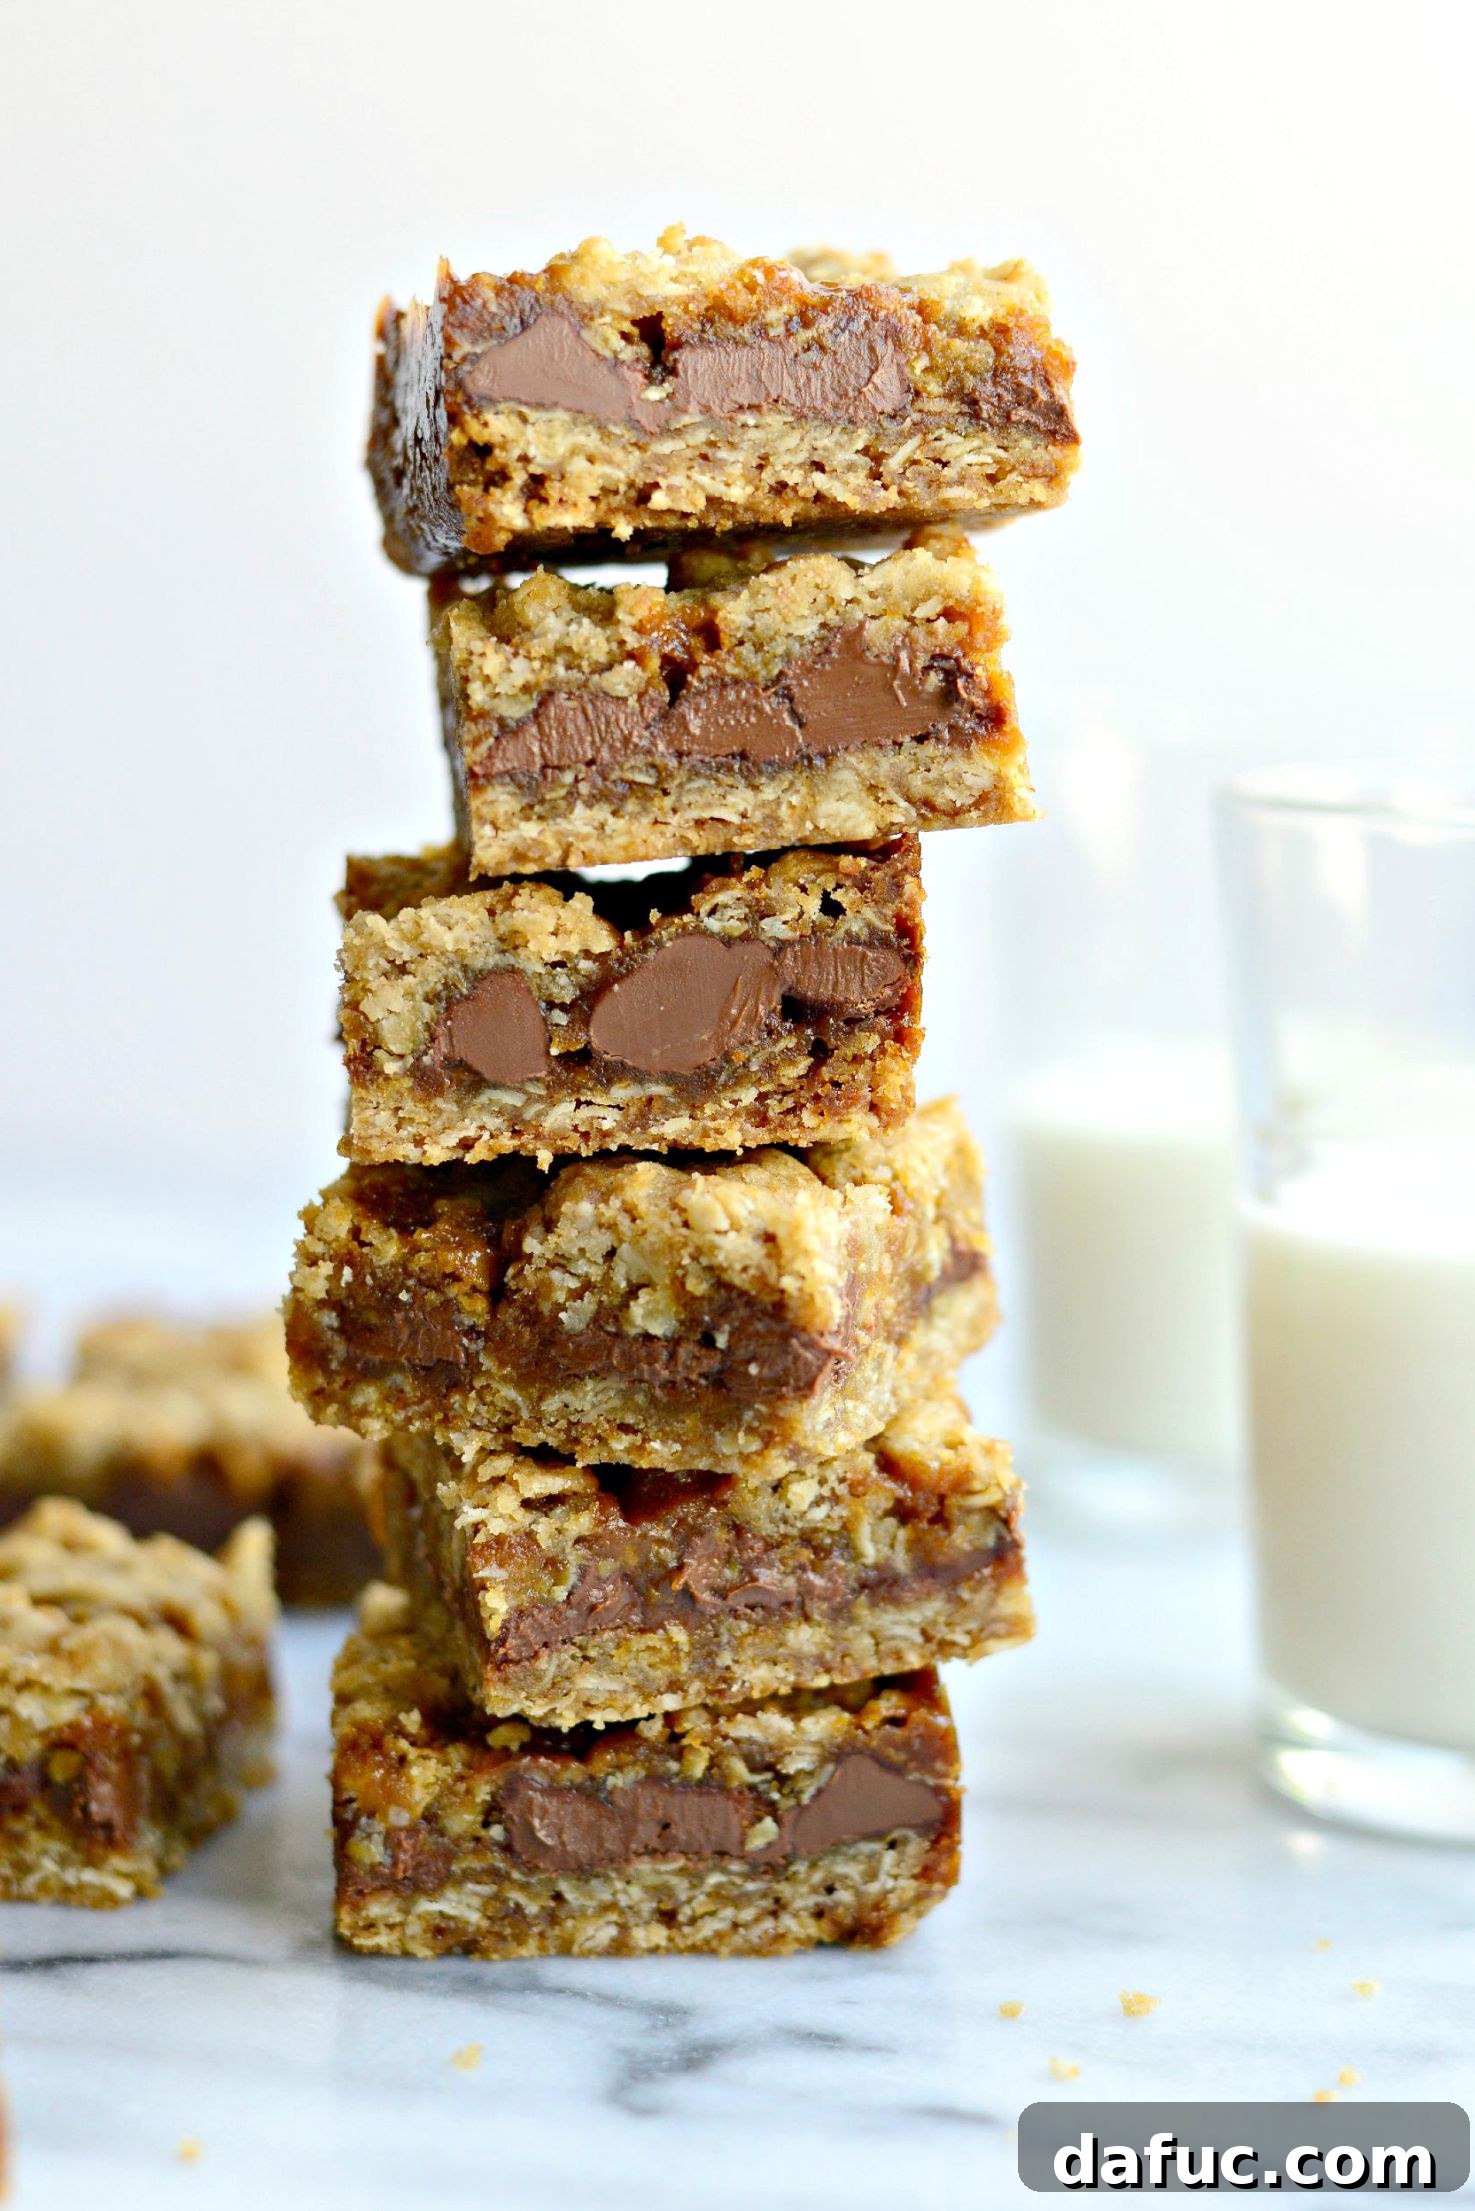
Indulge your sweet tooth with these irresistible Carmelita bars – a harmonious blend of chewy oatmeal cookie, luscious homemade caramel, and creamy milk chocolate chips, all baked into a delightful bar. If you’re searching for an easy-to-make dessert that promises a perfect balance of textures and flavors, look no further. Carmelitas are the quintessential treat for any occasion, offering a crisp, slightly crunchy exterior that gives way to a wonderfully gooey, melt-in-your-mouth center. They strike an ideal balance, bridging the gap between a classic cookie and a rich bar, destined to become a firm favorite in your recipe collection.
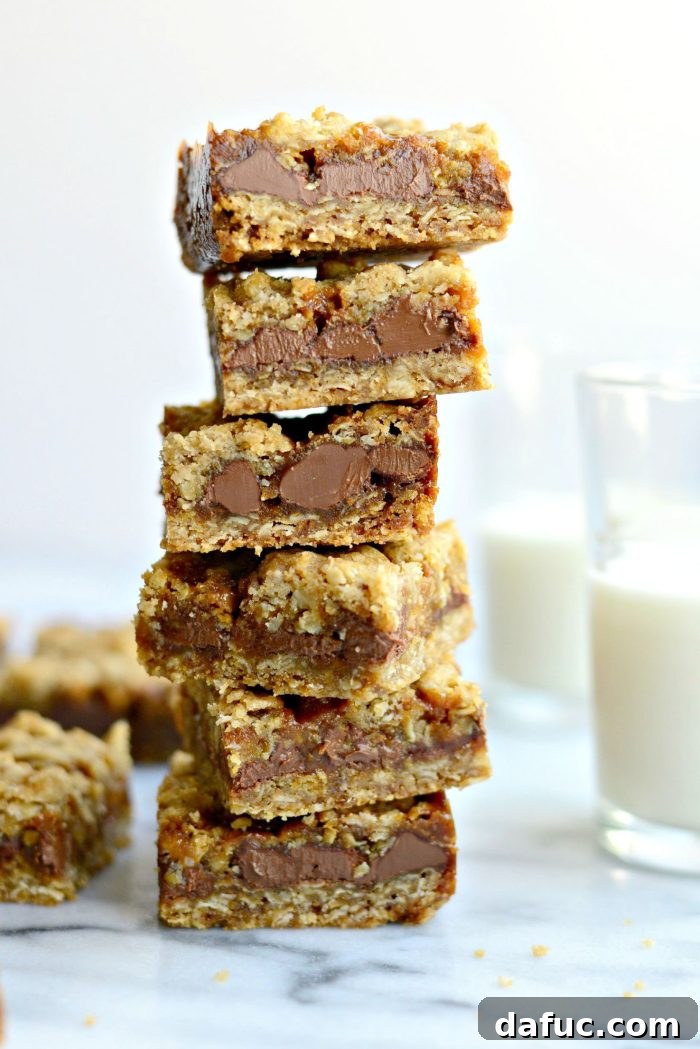
The Ultimate Sweet Treat: Why Carmelitas Reign Supreme
Whether you’re tasked with bringing an unforgettable dessert to a social gathering, or simply craving a comforting treat to brighten your day, Carmelitas are the answer. These decadent bars are not only surprisingly simple to prepare – especially if you keep a jar of homemade caramel handy – but their unique texture profile is truly something special. Imagine sinking your teeth into a bar where the edges offer a satisfying crispness, contrasting beautifully with the soft, yielding oatmeal base and the warm, molten core of caramel and chocolate. This delightful contrast is what makes Carmelitas an absolute showstopper.
At their core, Carmelita bars are a masterful layering of flavors and textures. You start with a robust oatmeal cookie base, which provides a wholesome chewiness. This foundation is then generously topped with a velvety smooth, rich caramel, followed by a shower of sweet milk chocolate chips. Finally, another sprinkle of the oatmeal cookie mixture forms a delightful crumble topping, baking into a golden, slightly crunchy crust. It’s this elegant simplicity that makes them so universally appealing, embodying the best qualities of both a chewy oatmeal cookie and a luxurious caramel candy, all in one glorious bar.
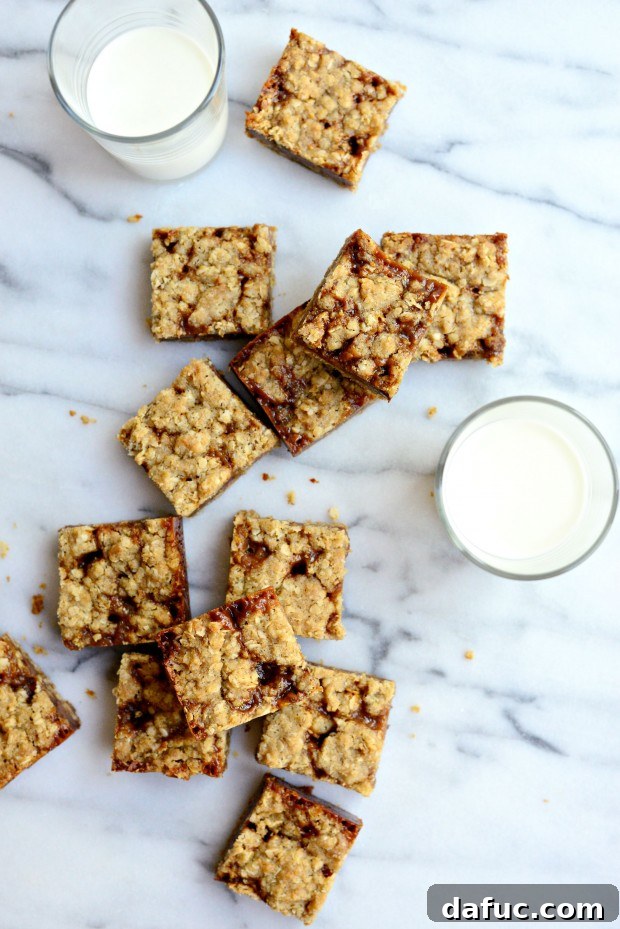
Elevate Your Carmelitas with Homemade Caramel
You might recall the recent post where we delved into making homemade caramel from scratch. While I might have hinted that it was destined for apple dipping or drizzling over ice cream, the truth is, a significant portion of that liquid gold was prepared with a singular, delicious purpose in mind: these very Carmelita bars. And let me tell you, taking that extra step to craft your own caramel sauce elevates these classic bars to an entirely new dimension of deliciousness. Store-bought caramel simply cannot compete with the depth of flavor, the rich creaminess, and the perfect consistency of homemade caramel. Once you experience the unparalleled taste and texture it brings to these bars, you’ll understand exactly why it’s worth every moment of effort.
The commitment to homemade caramel transforms Carmelitas from a mere dessert into an exquisite culinary experience. The complex, buttery notes of scratch-made caramel mingle with the sweet milk chocolate and hearty oats, creating a flavor profile that is both sophisticated and deeply comforting. It’s an investment in taste that pays dividends with every bite, ensuring a truly unforgettable treat. Prepare to be amazed by how much a simple, yet authentic, ingredient can enhance an already beloved recipe.
Crafting Your Perfect Carmelitas: A Step-by-Step Guide
Let’s dive into the delightful process of baking these incredible Carmelita bars. The journey from simple ingredients to a sublime dessert is easier than you might think, and the reward is absolutely worth it. Follow these detailed steps to create your own batch of chewy, gooey, and utterly divine Carmelitas.
Preparation is Key
First things first, preheat your oven to a cozy 350°F (175°C). Then, prepare an 8×8 inch baking pan. This is a crucial step for easy removal and clean bars. Lightly grease the pan, and then line it with parchment paper, making sure to leave a slight overhang on two sides. These overhangs will act as convenient “handles” later on, allowing you to effortlessly lift the cooled bars out of the pan. This simple trick prevents sticking and ensures your beautiful bars stay intact.
Mixing the Hearty Oatmeal Base
In a generously sized mixing bowl, combine the dry ingredients for your oatmeal cookie base. Begin by measuring in one cup of unbleached all-purpose flour. This forms the primary structure of our chewy crust. Next, add one cup of quick-cooking oats. These oats contribute to the signature texture and wholesome flavor of the Carmelita bars, making them distinct from ordinary cookie bars.
Continue by adding three-quarters of a cup of lightly packed light brown sugar. The brown sugar not only provides sweetness but also adds moisture and a subtle molasses flavor that complements the oats beautifully. Incorporate half a teaspoon of baking soda, which will help create a tender crumb, and a quarter teaspoon of kosher salt to enhance all the flavors and balance the sweetness.
With a sturdy wooden spoon or spatula, mix all these dry ingredients thoroughly until they are uniformly combined. Meanwhile, as you’re busy mixing, gently melt three-quarters of a cup of unsalted butter. The aroma of melting butter alone is enough to get your anticipation building!
Once the butter is perfectly melted, pour it directly into the bowl with your dry ingredients. Continue to stir with your wooden spoon until the butter is completely absorbed and the mixture forms a crumbly, yet cohesive, dough. It should resemble wet sand, ready to be pressed into a glorious base.
Forming the Base Layer
Divide the oatmeal mixture in half. Take one half and gently, but firmly, press it evenly into the bottom of your prepared 8×8 inch pan using your fingertips. Ensure the layer is compact and level across the entire base. This creates the sturdy, chewy foundation for your Carmelitas. Slide the pan into your preheated 350°F (175°C) oven and bake for 8 to 10 minutes, just until it’s lightly golden around the edges and set. This par-baking step is essential for creating a firm crust that can support the decadent filling.
Preparing the Gooey Caramel Filling
While the oatmeal crust is par-baking, turn your attention to the glorious caramel filling. Measure out half a cup of your incredible homemade caramel sauce. In a separate, smaller bowl, pour this rich caramel along with one tablespoon of all-purpose flour. The flour helps to thicken the caramel slightly during baking, preventing it from becoming too runny and ensuring it stays perfectly gooey and nestled within the bars.
Whisk these two ingredients together until the flour is completely incorporated into the caramel, creating a smooth, slightly more viscous sauce. Be sure there are no lumps of flour remaining; you want that caramel to be perfectly uniform and silky.
Layering the Decadence
Once your oatmeal cookie base emerges from the oven, still warm and fragrant, it’s time to add the glorious layers of the filling. Immediately sprinkle one cup of rich milk chocolate chips evenly over the warm crust. The residual heat from the crust will start to gently melt the chocolate, preparing it to merge beautifully with the caramel. Next, pour your flour-infused caramel mixture over the chocolate chips. Resist the urge to dive face-first into that luscious ribbon of caramel – it’s a tough fight, but the final result is even better!
Oh, the sheer indulgence of this stage! With the chocolate chips and caramel glistening, take the remaining half of your oatmeal mixture. Instead of pressing it down, pinch off small, irregular pieces and gently scatter them over the caramel and chocolate. This creates a delightful crumble topping that bakes into a crisp, golden lid, completing the layered masterpiece.
The Final Bake and Cooling Period
Now, with all the layers in place, gently slide the pan back into your preheated oven for an additional 18 to 20 minutes. Keep an eye on the bars; you’re looking for the top crumble to turn a beautiful golden brown, and the caramel to be bubbling invitingly around the edges. The aroma filling your kitchen at this stage will be utterly intoxicating – a sure sign of the deliciousness to come! Trust me, it’s worth resisting the temptation to peek too closely, although I’ve been known to burn an arm trying to get a whiff, a small price to pay for such heavenly scents.
Once baked to perfection, remove the pan from the oven. The most crucial step now is patience. Allow the bars to cool at room temperature for at least 30 to 45 minutes. This initial cooling period allows the caramel to begin setting. After that, for truly firm and easy-to-cut bars, carefully transfer the pan to your refrigerator and let them chill for another one to two hours, or until they are completely set. This cooling time is essential for the caramel and chocolate to solidify, giving you clean, perfect squares. (And psst, I’m calling dibs on that corner piece!)
Serving Your Masterpiece
When the Carmelita bars have completely cooled and set, it’s finally time for the grand unveiling! First, run a thin, sharp knife along the edges of the bars that are touching the pan. Then, using the parchment paper overhangs as your handles, carefully lift the entire slab of Carmelitas out of the pan and place it on a cutting board. Remember, this should only be attempted when the bars are completely cold and firm, otherwise, you risk a sticky mess. Now, with a clean, sharp knife, cut the bars into 16 perfect squares – or perhaps 4 extra-large, indulgent servings, depending on your appetite and generosity! Each square is a little piece of heaven, promising an explosion of chocolate, caramel, and oatmeal goodness.
Why Carmelitas Will Become Your New Favorite Dessert
There are countless reasons to fall head over heels for Carmelita bars, making them an indispensable addition to your dessert repertoire. Here are just a few:
- **Gooey Perfection in Bar Form:** These aren’t just any bars; they’re essentially incredibly gooey, decadent cookies reimagined in a convenient, shareable bar format. The soft, chewy oatmeal base combined with the molten center creates an unparalleled texture experience.
- **Hello, Chocolate Heaven!** Need we say more? The generous layer of creamy milk chocolate chips ensures that every bite is a delightful fusion of rich cocoa and sweet caramel. It’s a chocolate lover’s dream, perfectly balanced by the other elements.
- **Crispy Caramel Edges are Gold:** The baked caramel on the edges of the pan transforms into a slightly crispy, wonderfully caramelized crust – a textural masterpiece that offers a satisfying contrast to the soft interior. These crunchy edges are truly a coveted prize!
- **Chocolate Chip Fossils:** Here’s a little secret magic: the caramel essentially “fossilizes” many of the chocolate chips, helping them retain their distinct shape even after baking. When you cut into a bar, you’ll discover those beautiful cross-sectioned chocolate chips, showcasing the delightful layers of this dessert. They are, without a doubt, my absolute favorite visual detail.
Serve these divine Carmelitas with a tall, cold glass of milk for a classic comforting experience, or elevate them with a sophisticated glass of merlot for an adult treat. For ultimate indulgence, pair them with a small bowl of creamy vanilla ice cream, allowing the warm, gooey bars to melt into the cold ice cream. Whether you prefer to enjoy them with a fork, a spoon, or simply your fingers, one thing is certain: make sure to savor every moment, especially licking off the melted chocolate and caramel afterward – truly the best part!
Enjoy! We hope you love this recipe as much as we do. If you give these incredible Carmelita bars a try, don’t forget to let us know! Snap a photo of your delicious creation and tag us on Twitter or Instagram! We can’t wait to see your sweet success!
Print Recipe
Pin Recipe
Yield: 16 servings
Carmelitas
Milk chocolate chips and homemade caramel sandwiched in an oatmeal cookie goodness but in bar form.
Ingredients
- nonstick baking spray, or butter, for greasing pan
FOR THE CRUST:
- 1 cup unbleached all-purpose flour
- 1 cup quick cooking oats
- 3/4 cup lightly packed light brown sugar
- 1/2 teaspoon baking soda
- 1/4 teaspoon kosher salt
- 3/4 cup unsalted butter, melted
FILLING:
- 1/2 cup homemade caramel sauce
- 1 tablespoon unbleached all-purpose flour
- 1 cup milk chocolate chips, like Ghirardelli
Equipment
- OXO Good Grips Freezer-to-Oven Safe 2 Qt Glass Baking Dish with Lid, 8 x 8
Instructions
- Preheat your oven to 350°F (175°C) and line an 8×8 baking pan with parchment paper, allowing some overhang. Lightly grease the exposed sides of the pan with butter or nonstick spray.
- In a medium bowl, combine the flour, oats, brown sugar, baking soda, and salt. Mix well to combine all dry ingredients. Pour in the melted butter and mix thoroughly until the butter is completely absorbed and a crumbly dough forms.
- Divide the mixture in half. Press half of the oat mixture evenly into the prepared pan using your fingertips. Bake in the preheated oven for 8 to 10 minutes, until lightly golden and set.
- Meanwhile, in a small bowl, whisk together the homemade caramel sauce and one tablespoon of flour until smooth and no lumps remain.
- Immediately after removing the par-baked crust from the oven, scatter the milk chocolate chips evenly over the warm crust. Drizzle the caramel-flour mixture over the chocolate chips. Take the remaining half of the oat mixture, pinch off small pieces, and scatter them over the caramel and chocolate chips.
- Bake for an additional 18-20 minutes, or until the top is golden brown and the caramel is bubbling. Allow the bars to cool at room temperature for 30 to 45 minutes before placing them in the refrigerator for 1 to 2 hours, or until completely set and firm.
- Once cooled and set, run a knife along the sides of the pan to loosen the bars. Use the parchment paper overhangs as handles to lift the entire slab out of the pan. Cut the bars into 16 equal pieces and serve.
Nutrition
[This post contains affiliate links.]