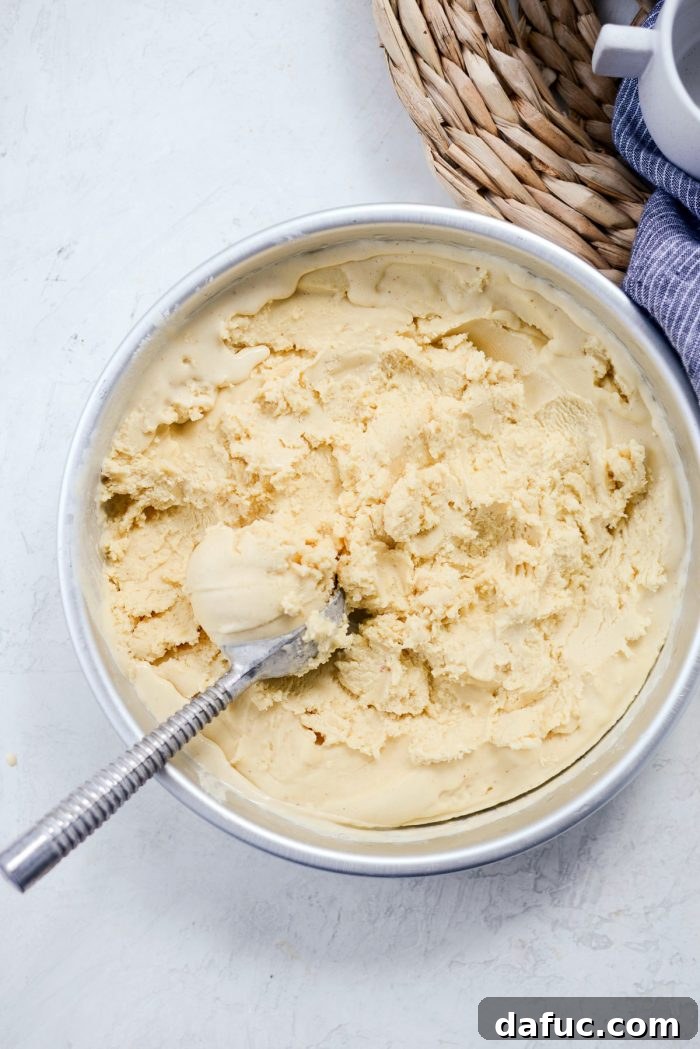
Welcome to the ultimate guide to crafting the most exquisite homemade dessert imaginable: Brown Butter Ice Cream. This isn’t just any ice cream; it’s a sublime creation featuring the deep, nutty, and aromatic notes of browned butter swirled into a luxuriously creamy, decadent base. If you’ve ever yearned for an ice cream that transcends the ordinary, offering a sophisticated flavor profile and an unbelievably smooth texture, then prepare to embark on a culinary journey that promises pure bliss.
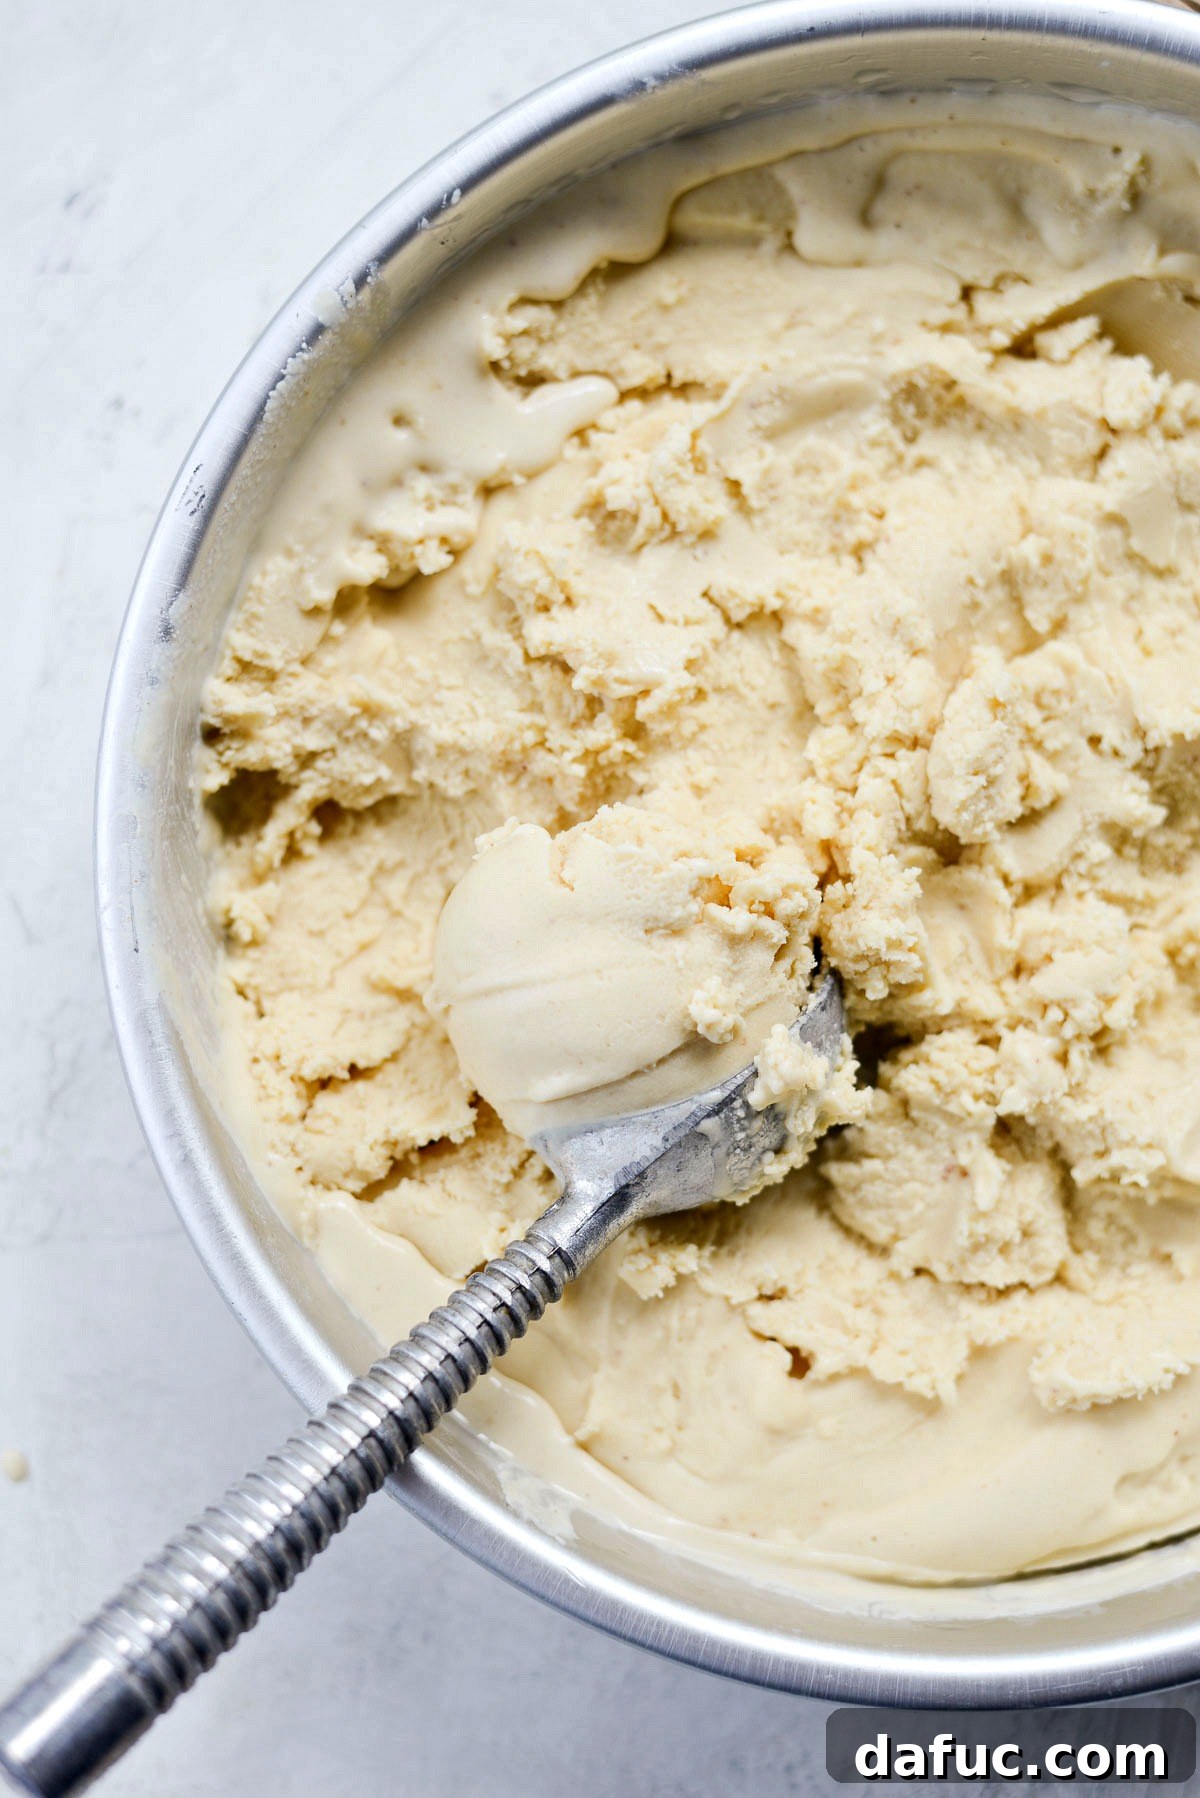
For years, this recipe remained a cherished secret within the pages of my well-worn notebook. A lingering apprehension kept me from bringing it to life, almost as if its sheer decadence intimidated me. I postponed the adventure for what felt like an eternity – perhaps six years or more! But this year, the time felt right. The allure of that toasted, nutty aroma was simply too strong to resist any longer, and I finally decided to dive into the wonderful world of brown butter-infused desserts.
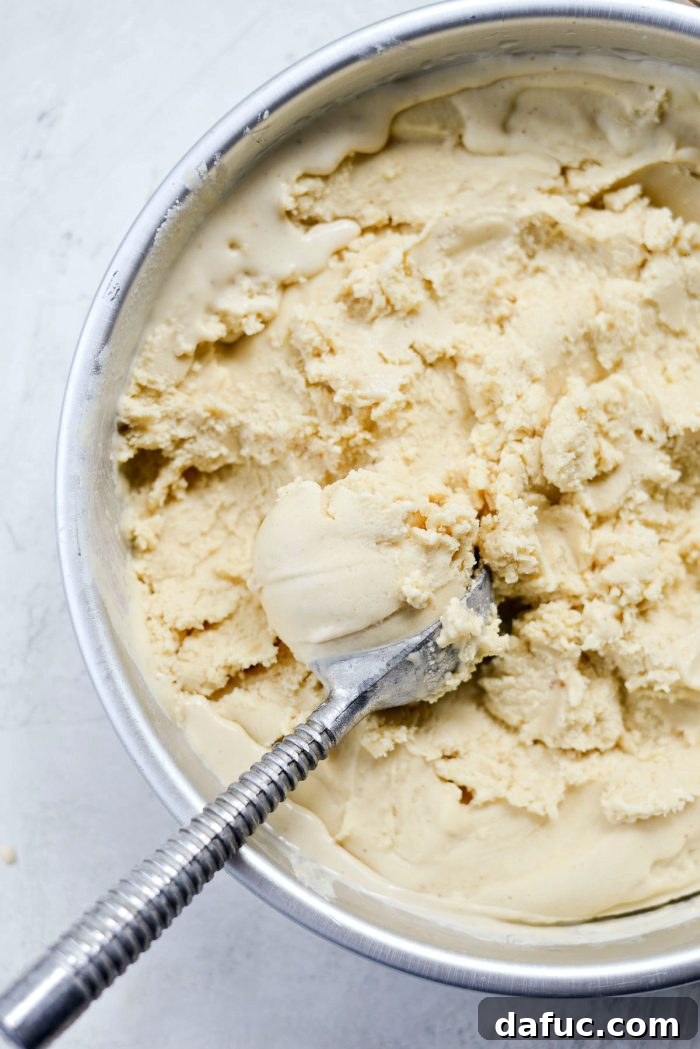
Having now made it countless times, I can confidently declare: it is beyond good. The flavor is a symphony of warm, toasty notes, reminiscent of caramel and hazelnuts, perfectly complemented by the subtle sweetness of brown sugar and the classic comfort of pure vanilla. Each spoonful is a rich, complex experience. Because of its intense flavor and creamy richness, I find that a small serving is all you need to truly savor and appreciate its incredible depth. It’s the kind of dessert that encourages you to slow down, close your eyes, and enjoy every single delightful moment.
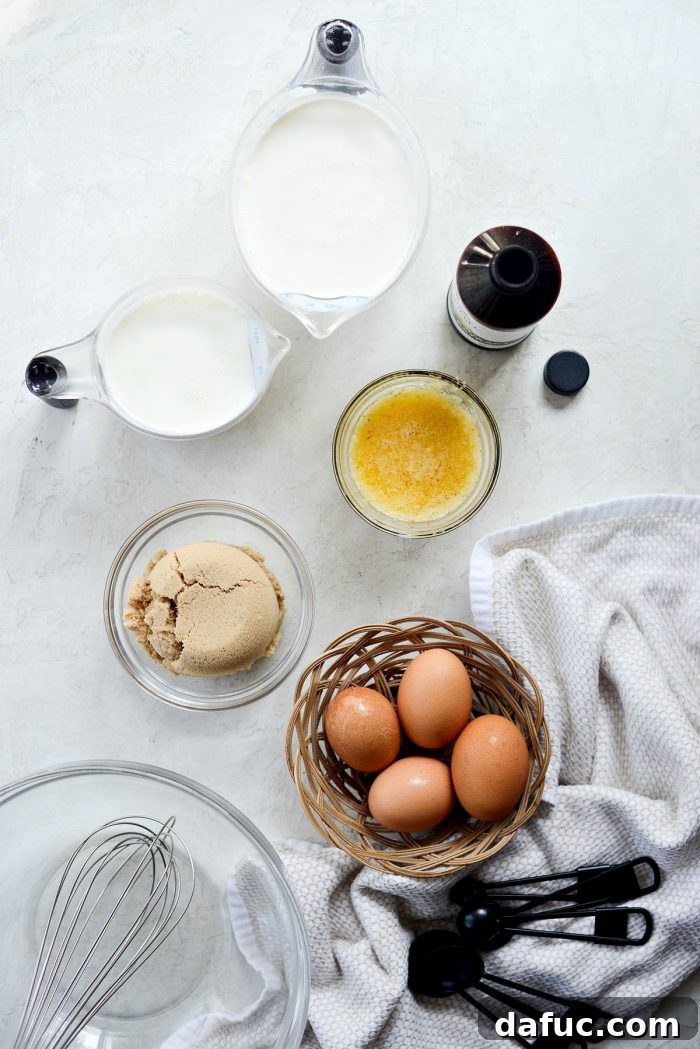
The Art of Brown Butter: A Flavor Transformer
At the heart of this extraordinary ice cream lies the magic of brown butter, also known as “beurre noisette.” This simple yet transformative ingredient is created by gently melting unsalted butter and cooking it until the milk solids separate and toast to a beautiful golden-brown color. As it cooks, the butter develops a distinctively nutty aroma and a complex, caramelized flavor that adds incredible depth and sophistication to any dish, especially desserts. This process, known as the Maillard reaction, creates hundreds of new flavor compounds, elevating humble butter into a gourmet ingredient.
For this Brown Butter Ice Cream, the browned butter provides an unparalleled richness and a nuanced flavor that you simply can’t achieve with plain butter. It’s what gives this ice cream its signature “toasty” and “warm” notes, making it utterly irresistible and truly memorable. The subtle hints of caramel and hazelnut from the browned butter perfectly balance the sweetness of the sugar and the creamy dairy base, resulting in an ice cream that feels both familiar and wonderfully exotic.
Why Homemade Ice Cream?
While store-bought ice cream offers convenience, crafting your own homemade version, especially a unique flavor like Brown Butter, brings a level of satisfaction and flavor that is unmatched. You have complete control over the quality of ingredients, ensuring no artificial flavors or preservatives sneak into your treat. The fresh, vibrant taste of homemade ice cream, churned to perfection in your own kitchen, offers a delightful experience that connects you more deeply with your food. Plus, the process itself is a rewarding culinary adventure, culminating in a dessert that will impress your family and friends and leave them craving more.
To Make This Decadent Brown Butter Ice Cream You Will Need These Key Ingredients:
- 1 stick (8 tablespoons) unsalted butter, thoroughly browned and cooled
- 4 large egg yolks, for richness and creamy texture
- 3/4 cup light brown sugar, to complement the nutty butter flavor
- 2 cups heavy cream, the foundation of a rich ice cream
- 1 cup whole milk, balancing the creaminess
- 2 teaspoons pure vanilla extract, for classic warmth and aroma
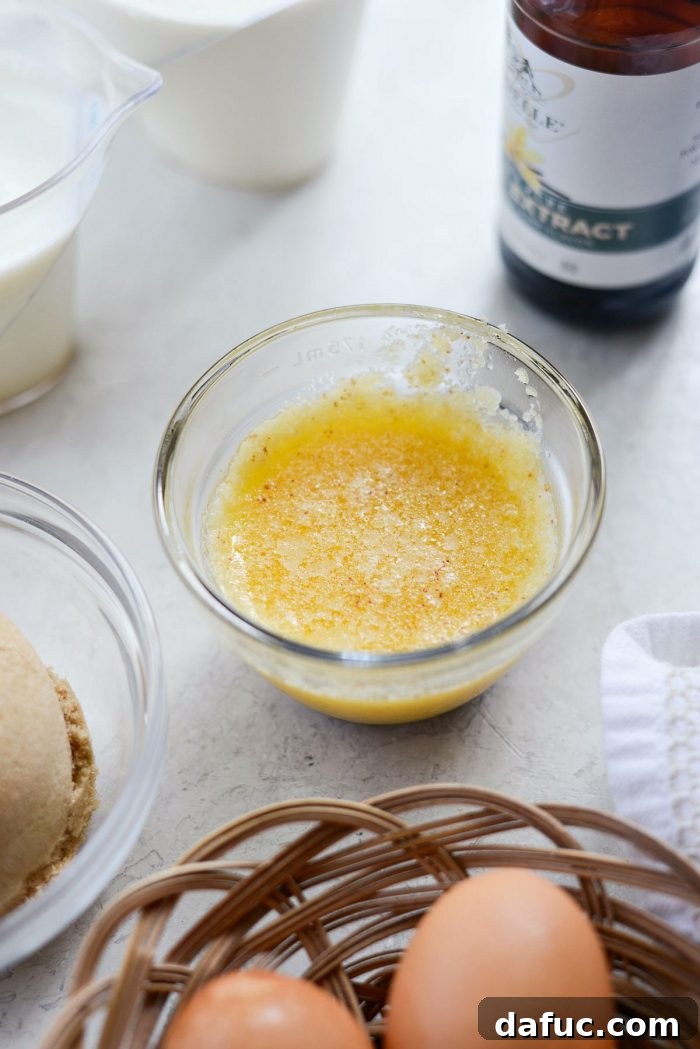
A crucial tip for success: I highly recommend preparing your brown butter the night before you plan to make the ice cream. After browning, simply let it cool completely on the counter. There’s no need to refrigerate it at this stage. This extended cooling period allows the brown butter to solidify somewhat and intensifies its nutty flavor, ensuring a smoother integration into the ice cream base and a more pronounced browned butter essence in the final product. This simple step makes a significant difference in the depth of flavor.
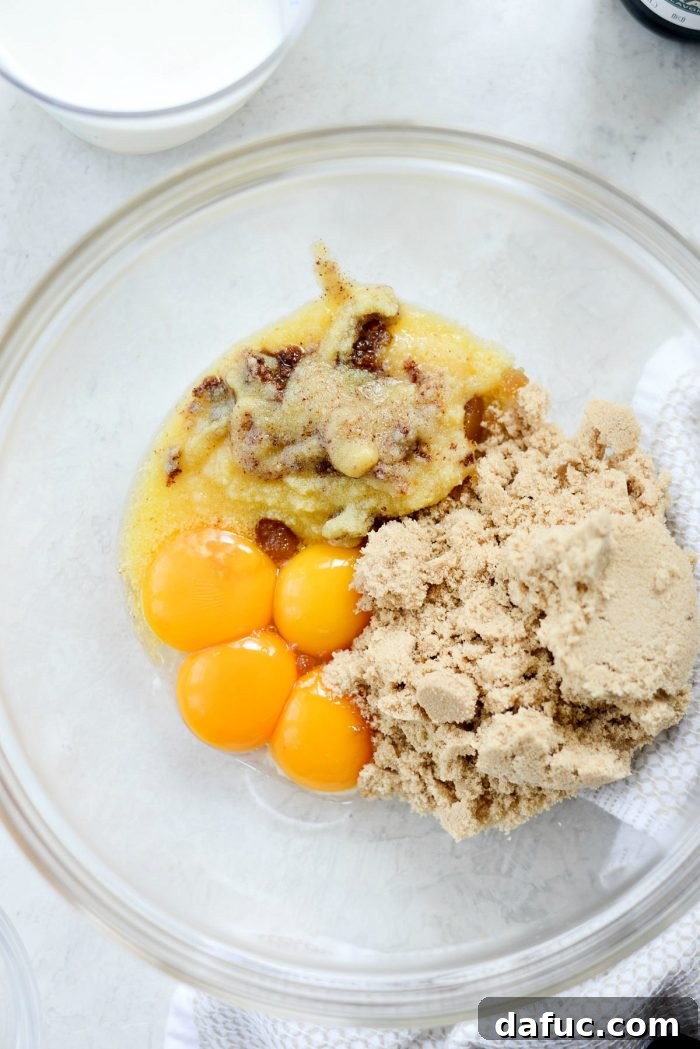
In a generously sized mixing bowl, combine the completely cooled brown butter, the four egg yolks, and the 3/4 cup of light brown sugar. Ensure the brown butter is cool to the touch to prevent cooking the egg yolks prematurely when whisking.
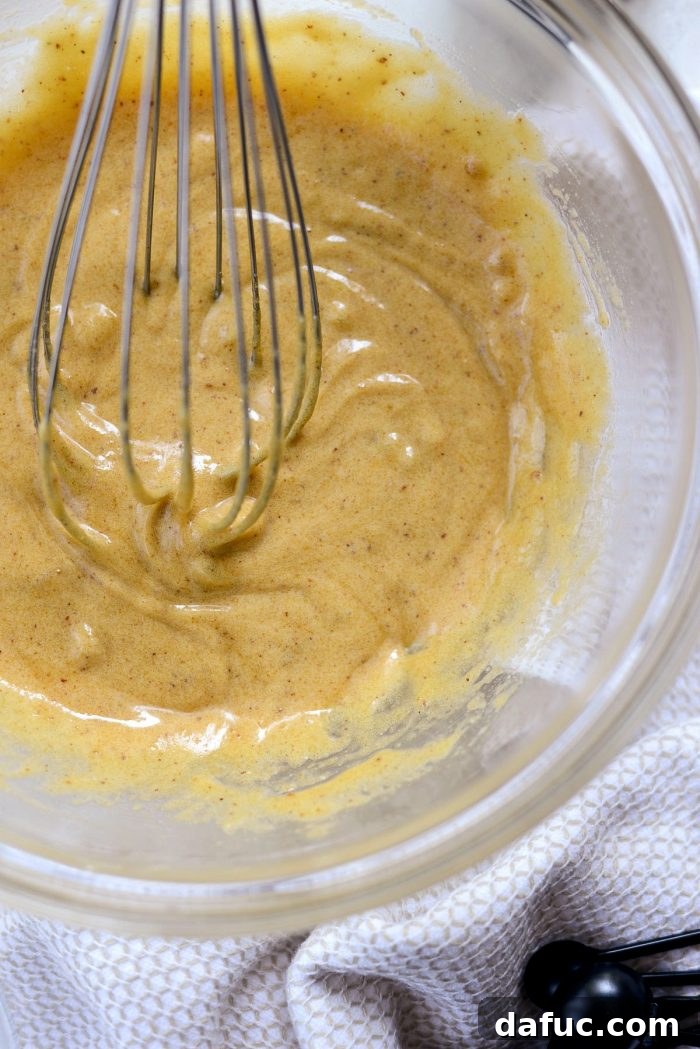
Whisk this mixture thoroughly until all the ingredients are well combined, and the brown sugar has completely dissolved, creating a smooth, cohesive, and slightly pale base. This ensures no grainy texture in your finished ice cream.
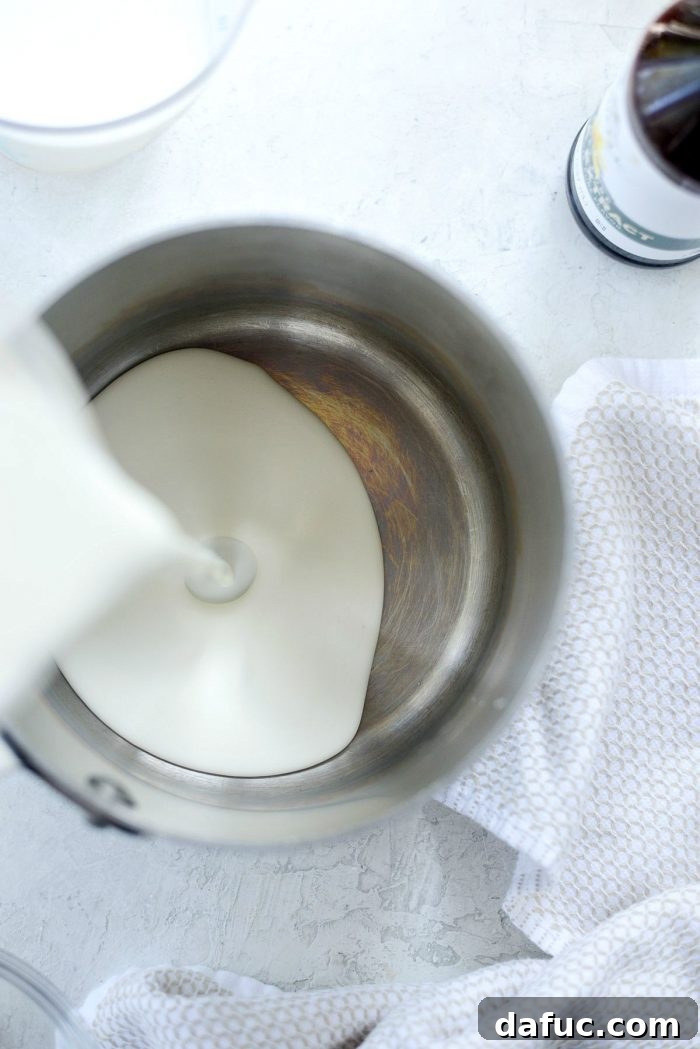
Simultaneously, pour the 2 cups of heavy cream and 1 cup of whole milk into a heavy-bottomed saucepan. A heavy bottom is crucial here as it distributes heat more evenly and helps prevent scorching, which can impart an undesirable flavor to your delicate ice cream base.
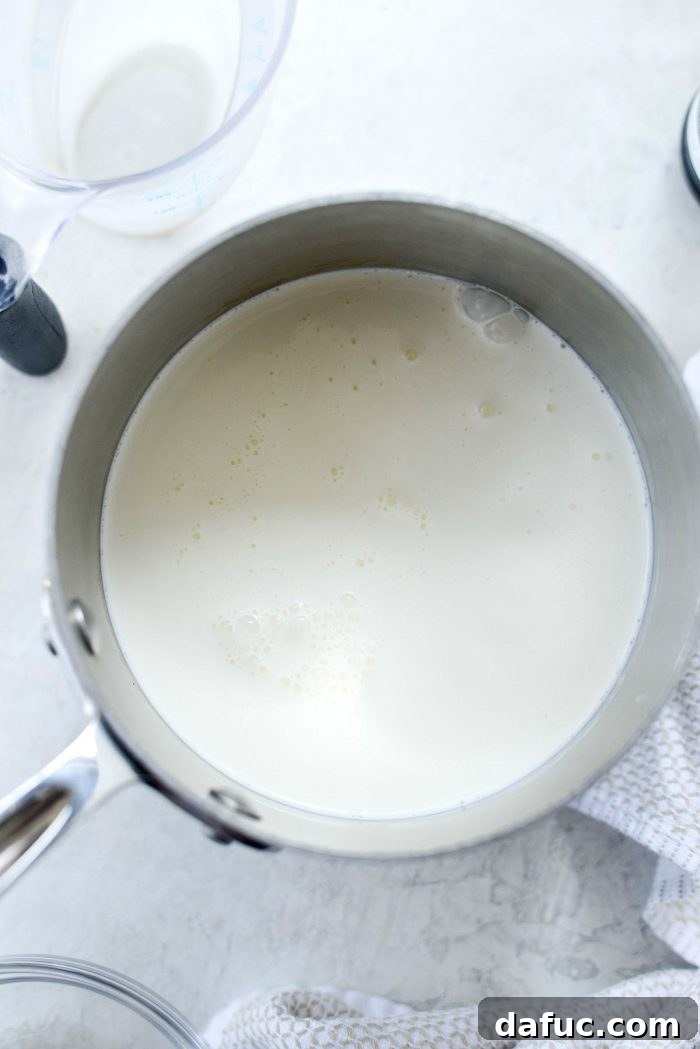
Gently heat the cream and milk mixture over medium-low heat, stirring frequently. Continue heating until the mixture reaches a gentle simmer, just before a full boil. Look for small bubbles forming around the edges of the pan. Constant stirring is key to prevent the milk solids from sticking to the bottom and scorching.
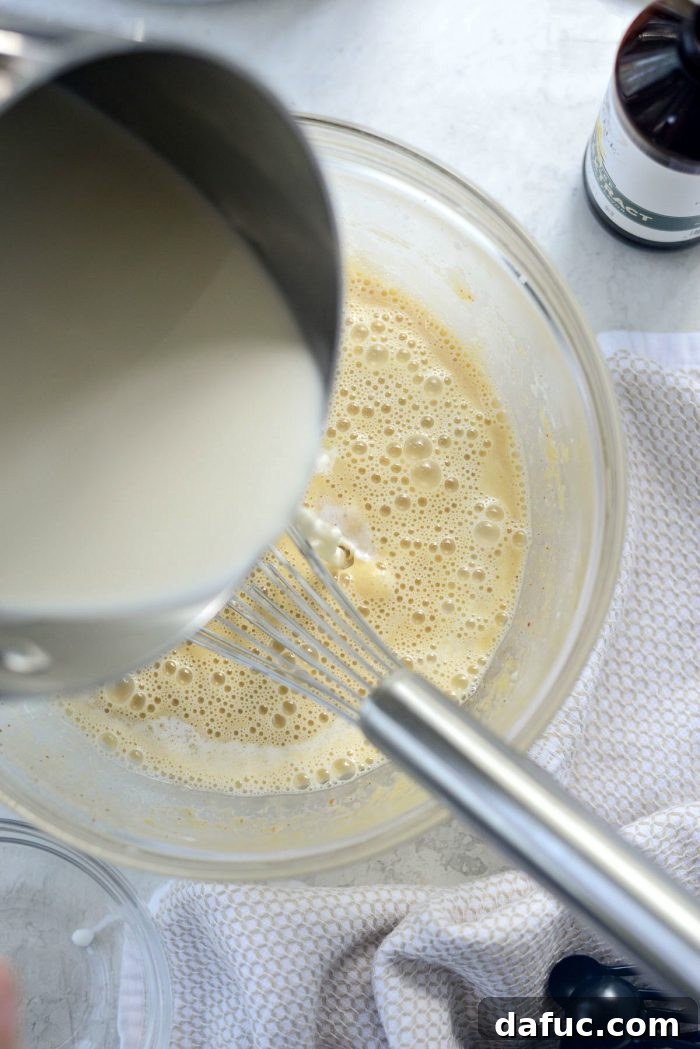
This next step is called tempering, and it’s essential for preventing your egg yolks from scrambling. While continuously whisking the egg/brown sugar mixture in the bowl, slowly and steadily pour the hot cream and milk into it. Start with a very thin stream, gradually increasing the flow as the egg mixture warms up. This gradual addition ensures the eggs are gently heated and incorporated, leading to a smooth, custardy base.
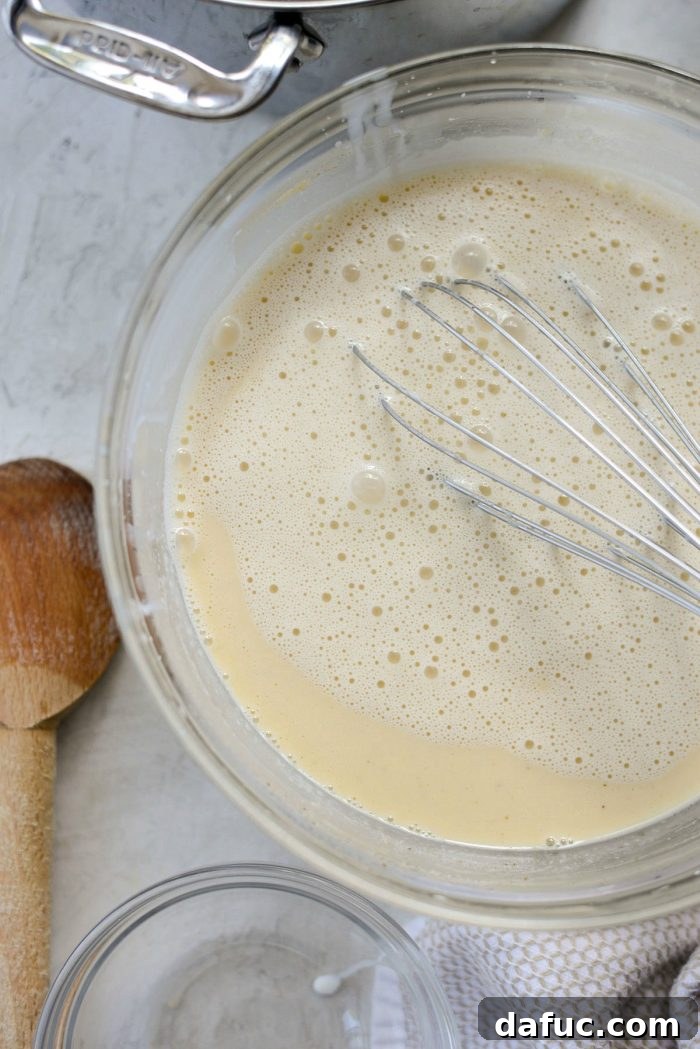
A Silky Smooth Start!
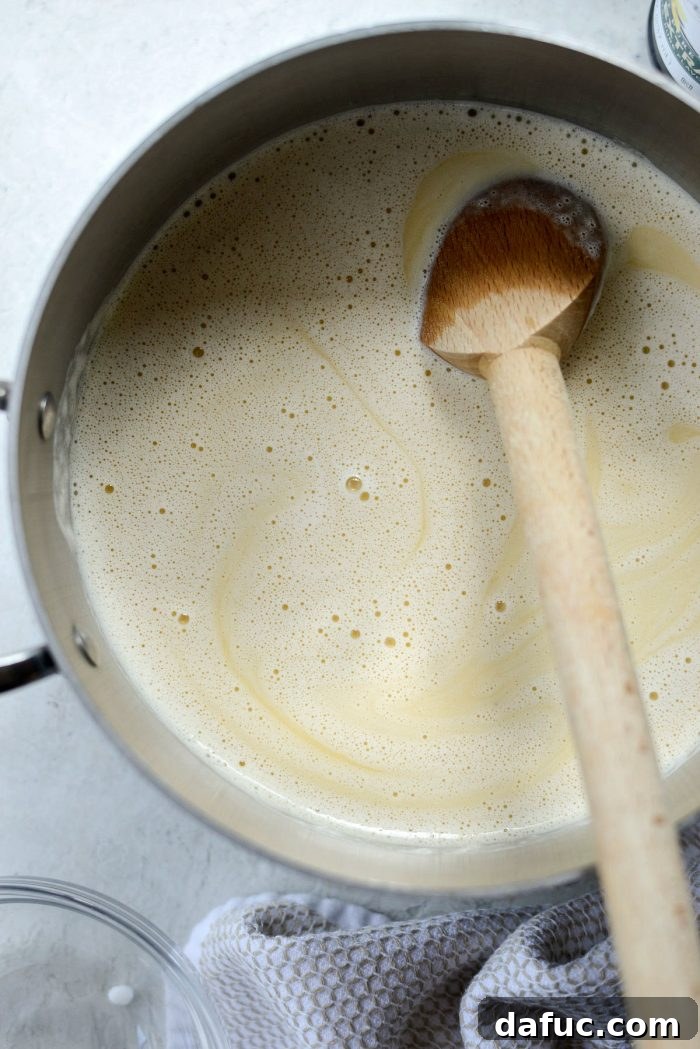
Transfer this beautifully tempered mixture into a clean saucepan. This ensures you’re starting fresh, avoiding any residual bits from the previous heating step that might affect the texture or flavor.
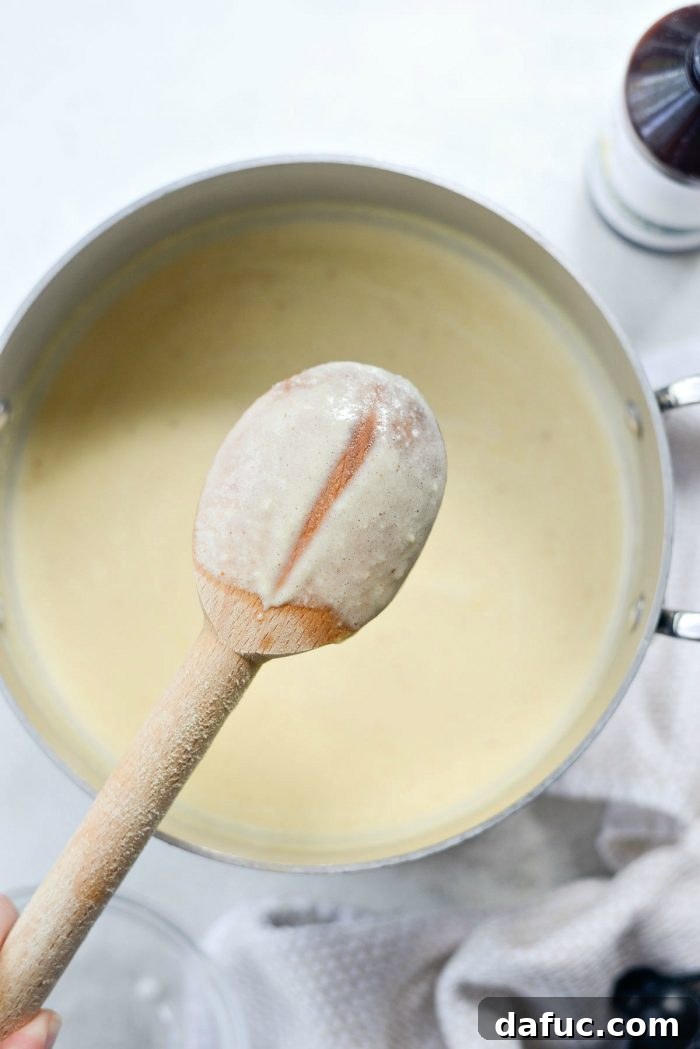
Continue heating the ice cream base over low to medium-low heat. Stir constantly with a spatula or wooden spoon until the mixture visibly thickens and coats the back of your spoon. If you draw a line across the coated spoon with your finger, the line should hold without the mixture immediately flowing back together. This process usually takes about 10 to 15 minutes. Be patient and keep stirring to ensure even cooking and to prevent any lumps.
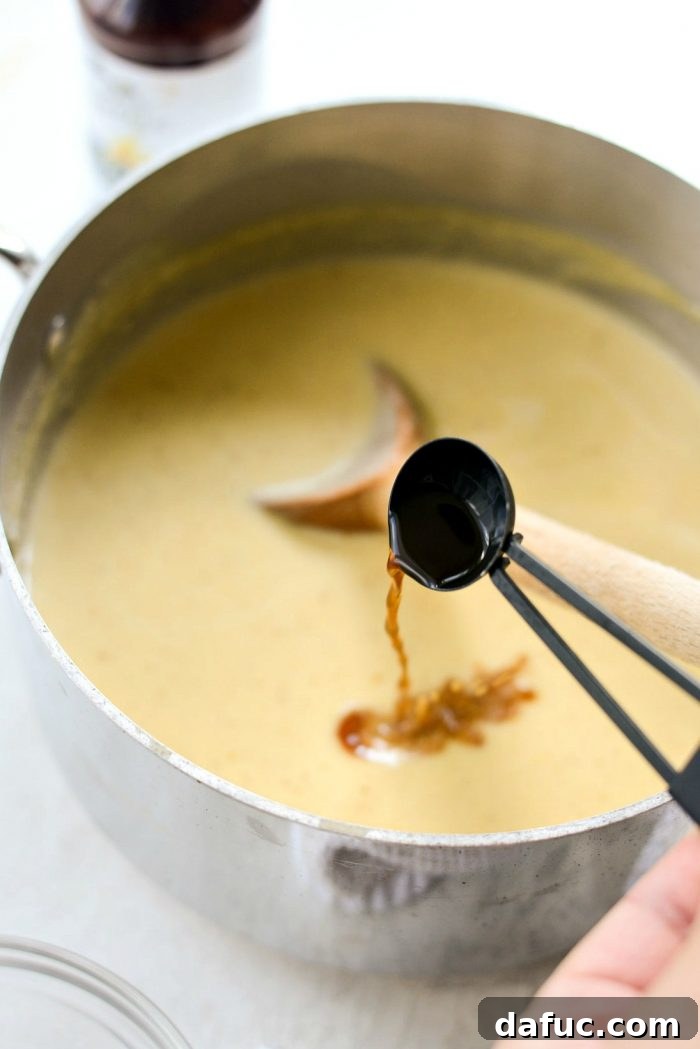
Once the base has reached the desired consistency, remove it from the heat and whisk in the 2 teaspoons of pure vanilla extract. The vanilla enhances the overall flavor profile, adding a touch of classic sweetness that beautifully complements the nutty brown butter.
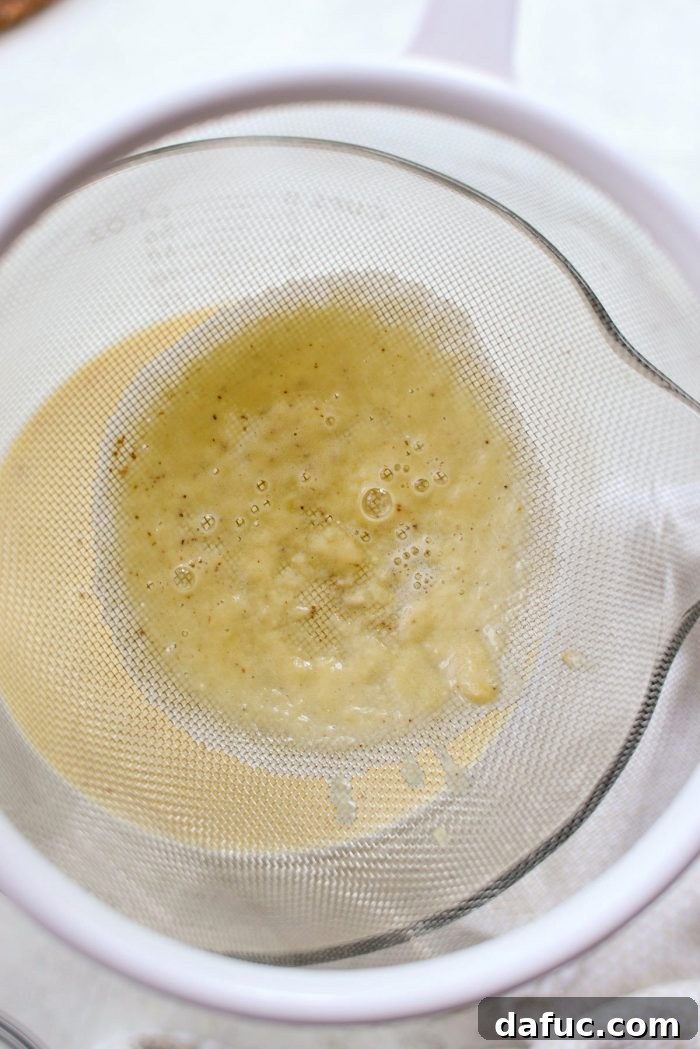
To ensure a perfectly smooth and silky ice cream, place a fine-mesh strainer over a large, clean bowl. Carefully pour the thickened ice cream base through the strainer. This step is crucial for catching any small lumps of egg that might have formed or any other impurities, guaranteeing an incredibly smooth and luxurious final product.
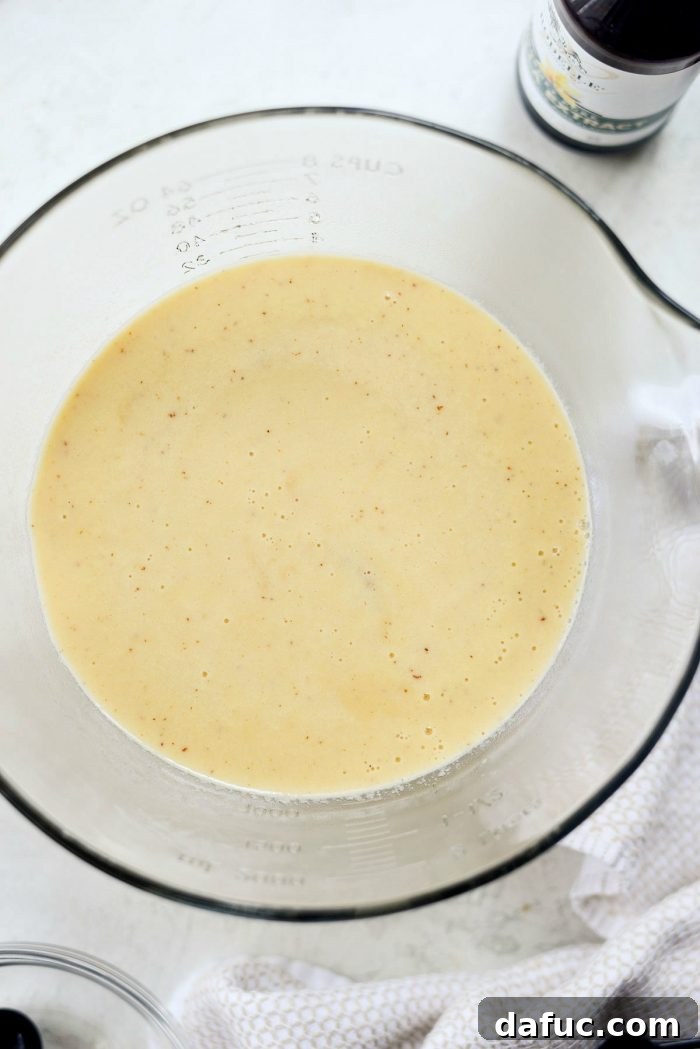
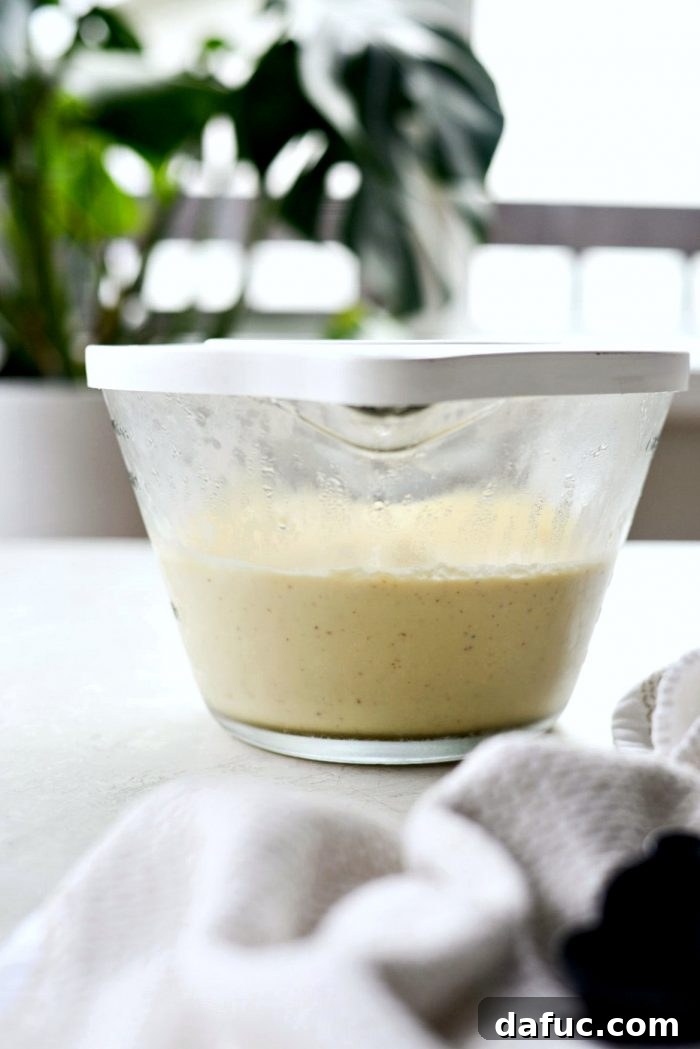
Allow the strained ice cream base to cool slightly at room temperature before covering the bowl tightly with plastic wrap, ensuring the wrap touches the surface of the custard to prevent a “skin” from forming. Transfer the covered bowl to the refrigerator and chill for a minimum of 4 hours, or ideally, overnight. This prolonged chilling period is vital; it allows the flavors to meld beautifully and ensures the base is thoroughly cold, which is essential for efficient churning and achieving the best texture.
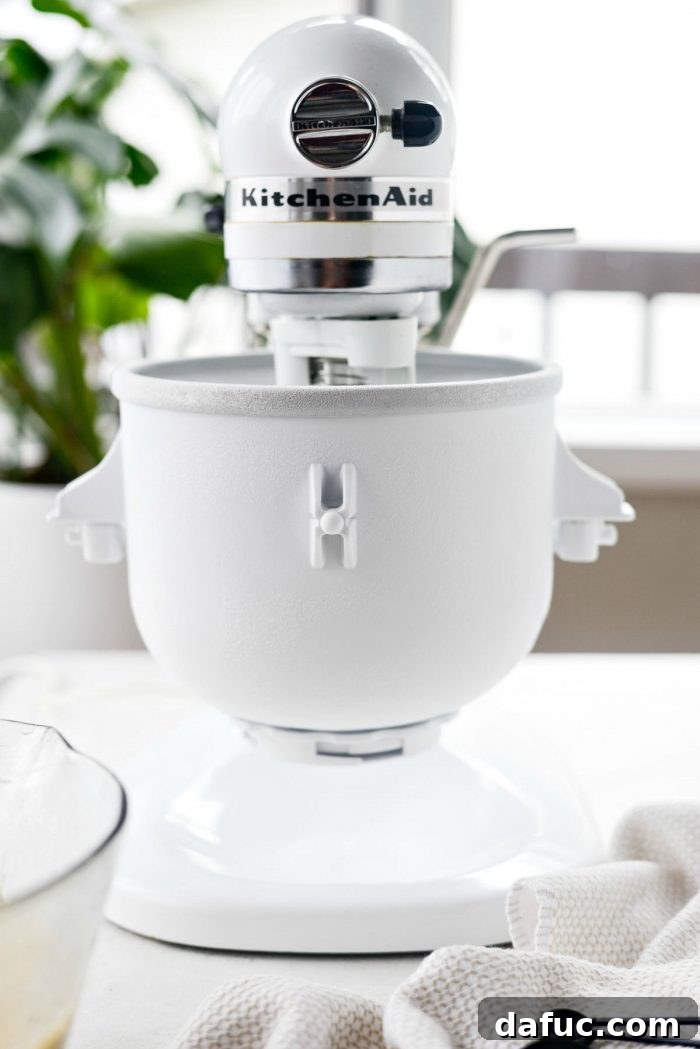
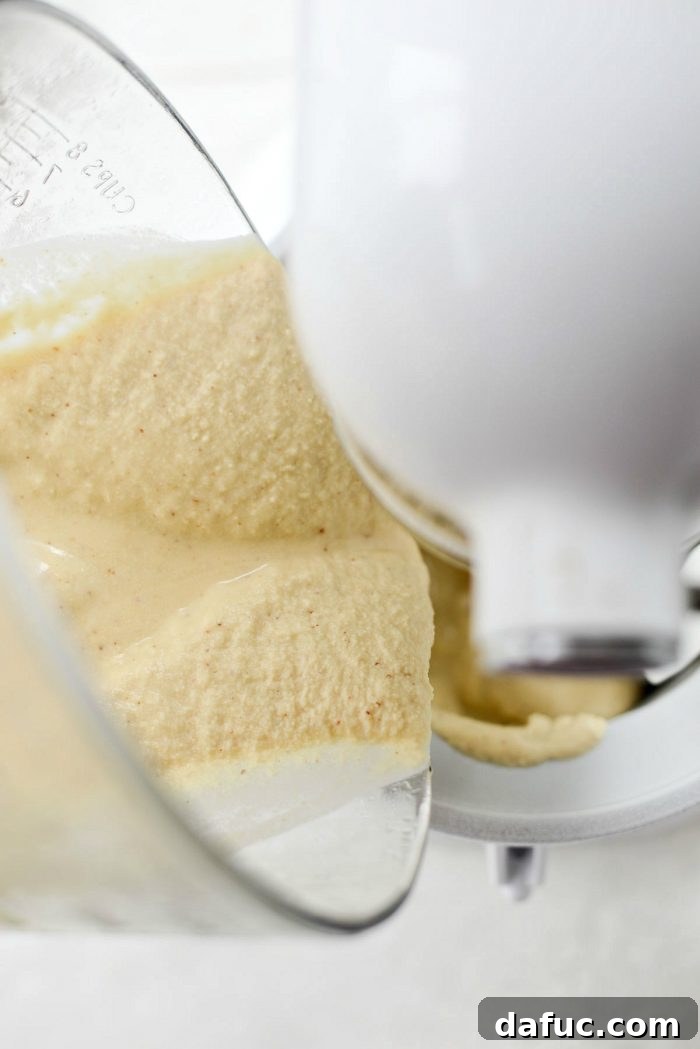
Once your brown butter ice cream base has been completely chilled to perfection, it’s time for the exciting churning phase! Following the specific instructions provided by your ice cream maker’s manufacturer, carefully pour the cold ice cream base into the frozen bowl of your ice cream maker. The colder the base and the bowl, the quicker and creamier your ice cream will be.
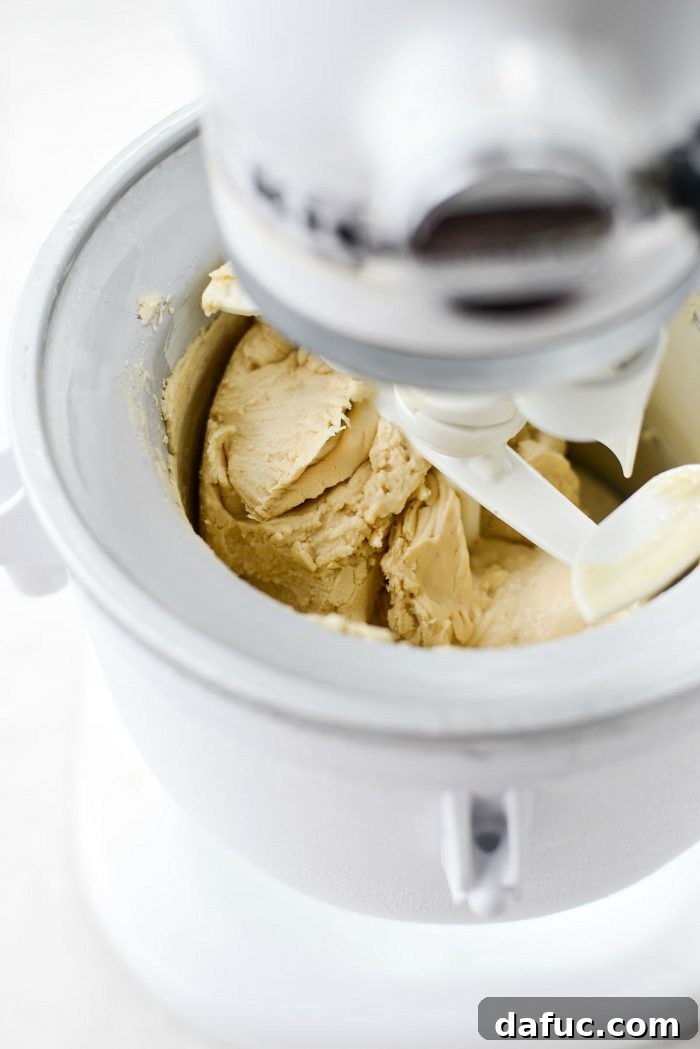
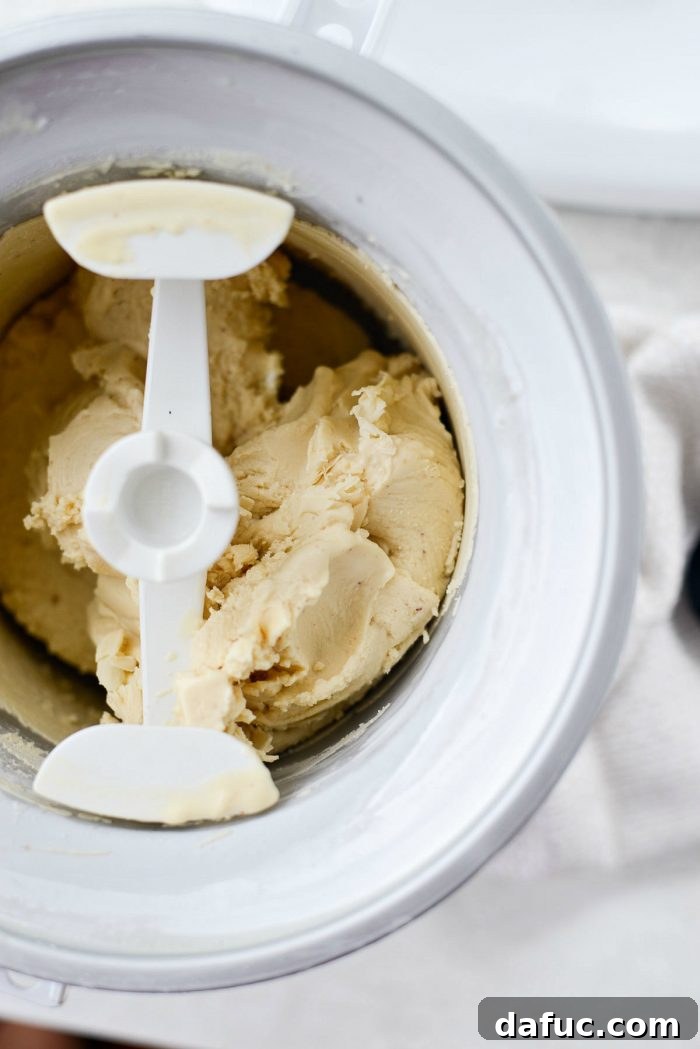
Turn on your ice cream maker to a low speed and let it churn. The churning process typically takes about 20-30 minutes, but this can vary depending on your machine and the temperature of your base. Continue churning until the ice cream is thick and has the consistency of soft-serve. It should be noticeably increased in volume and hold its shape well.
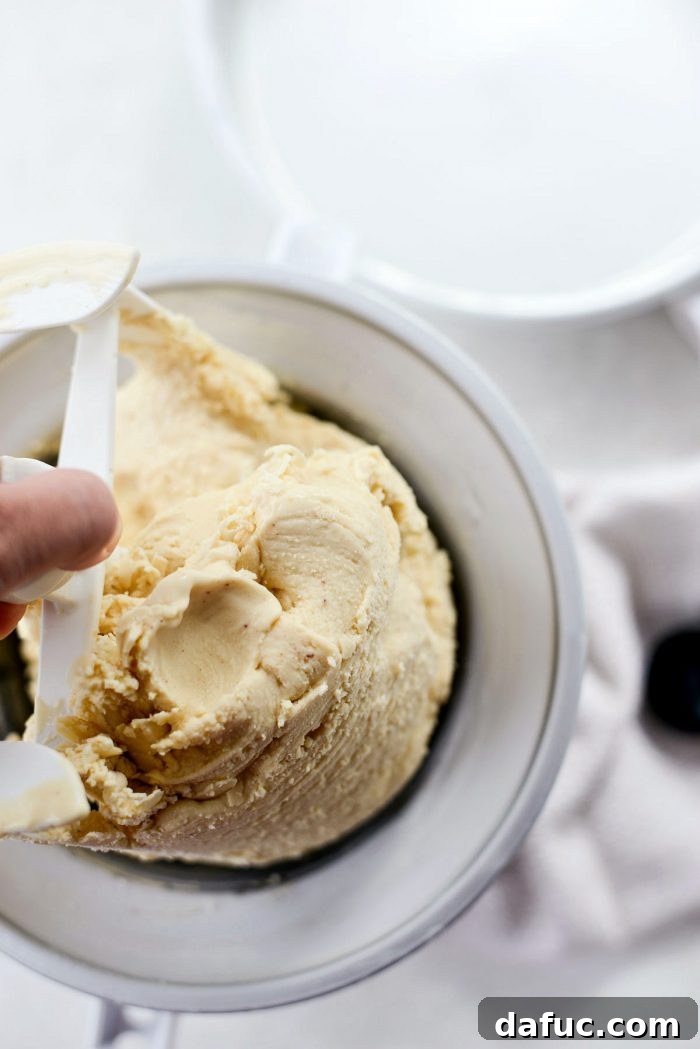
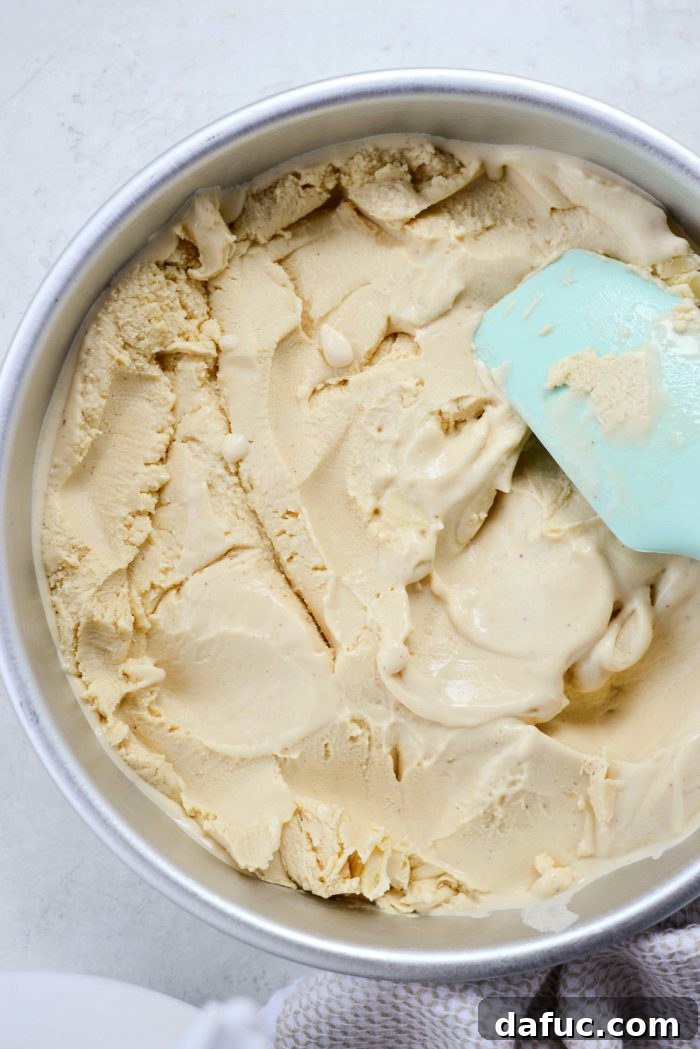
Once the ice cream has reached the desired soft-serve consistency, carefully scrape it from the attachment paddle and transfer it into a clean, freezer-safe container. An airtight container works best to prevent freezer burn and keep your ice cream fresh.
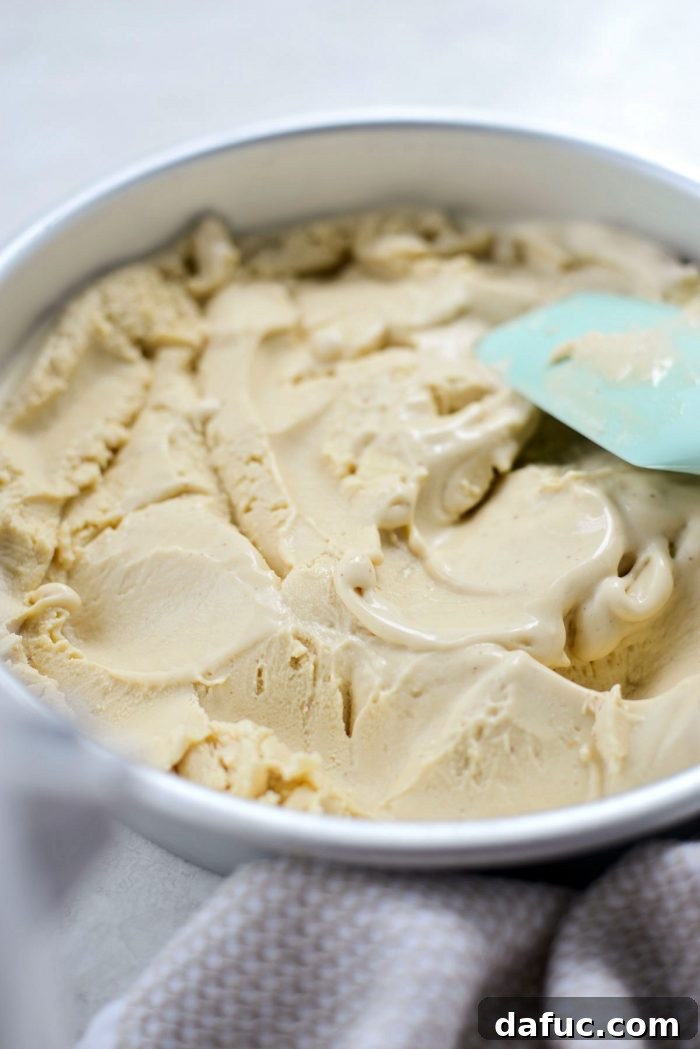
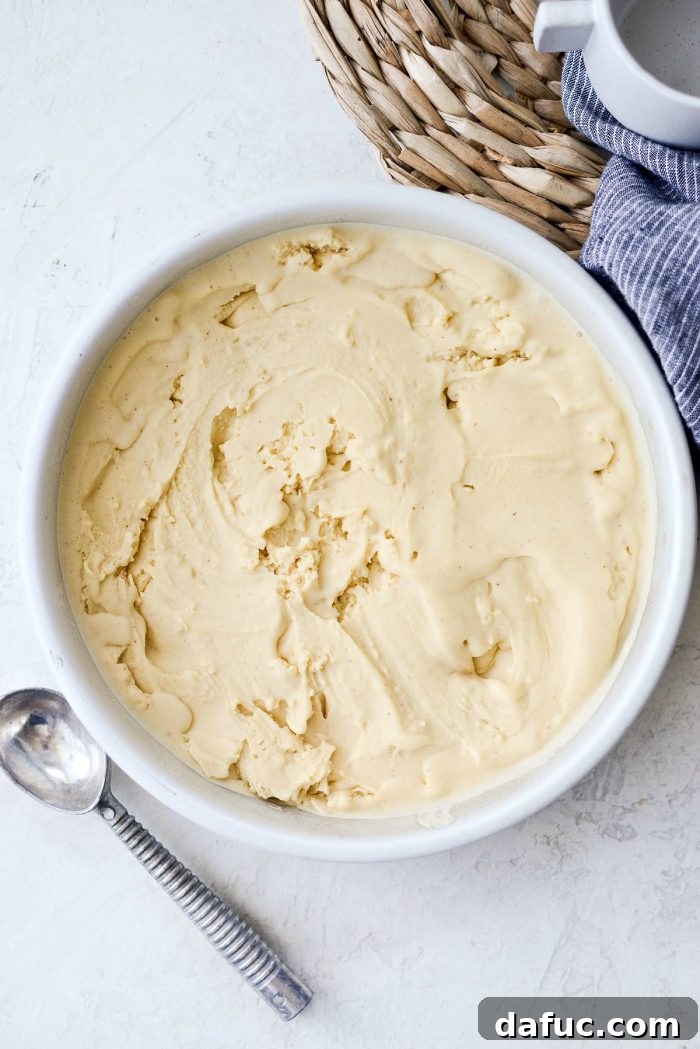
Spread the soft ice cream evenly within the container, smoothing the top. Then, place the container in your freezer to firm up for at least 4 hours, or preferably overnight, for the best scoopable texture. This final freezing stage allows the ice cream to harden properly, developing its full, creamy consistency.
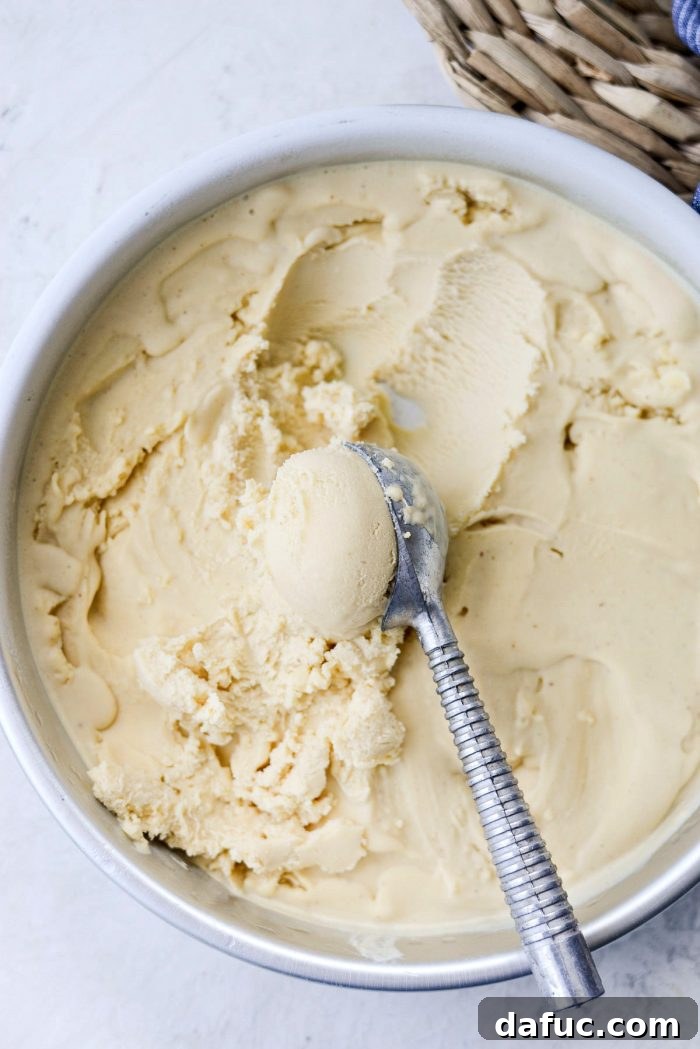
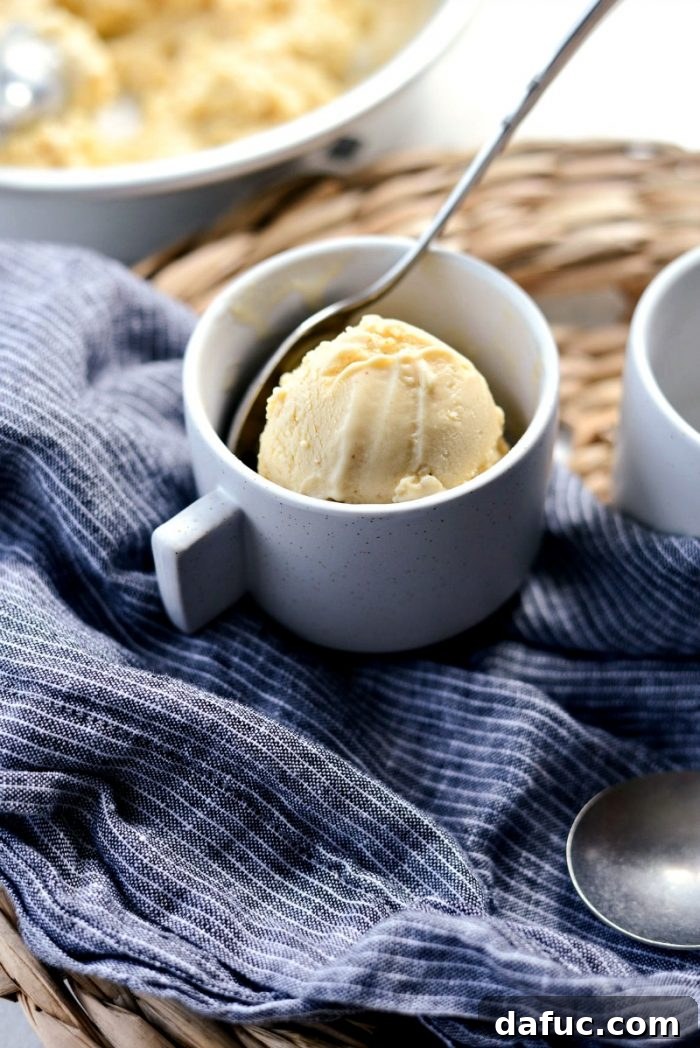
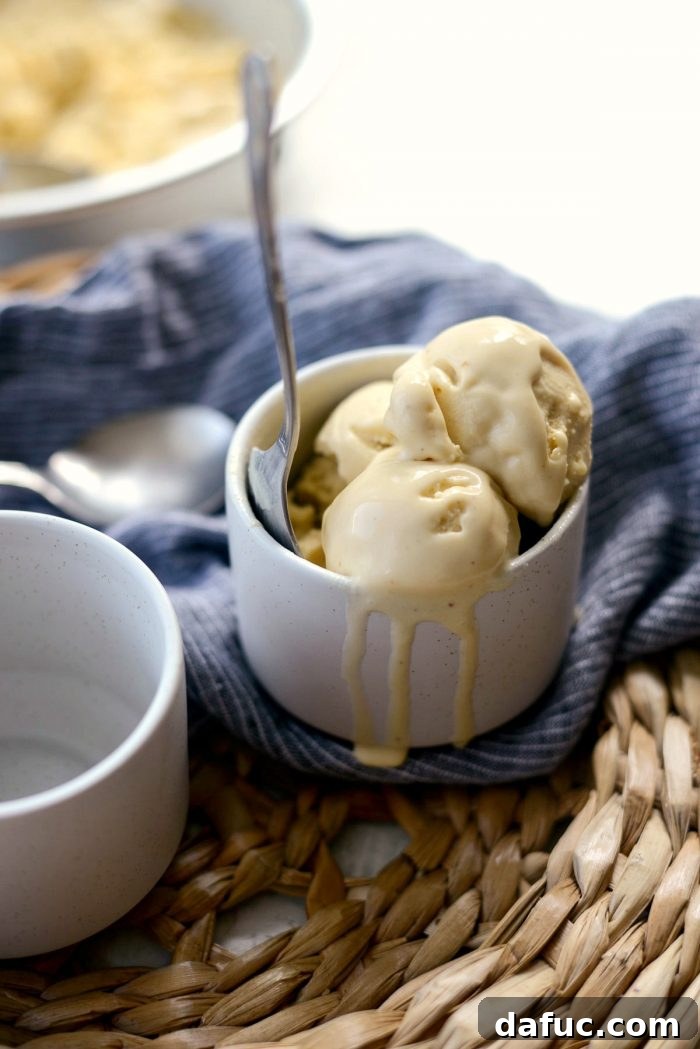
Now for the best part: scoop generously!
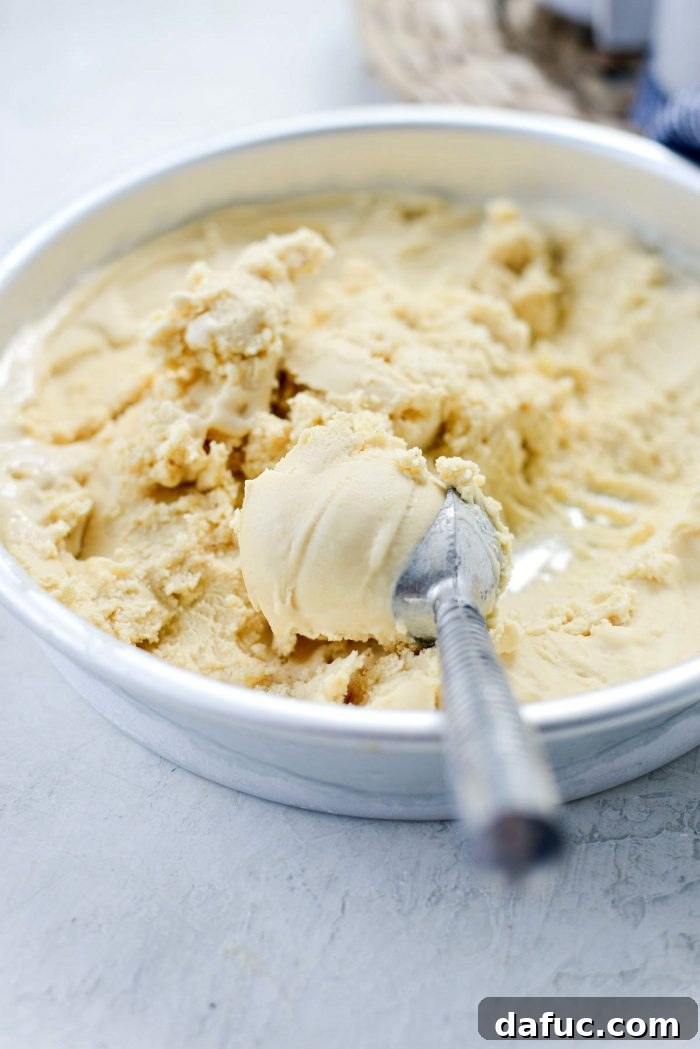
Serve your magnificent Brown Butter Ice Cream in bowls, atop cones, or as a luxurious accompaniment to warm apple pie, brownies, or fresh berries. Its versatility means it pairs well with a variety of desserts, or simply shines on its own.
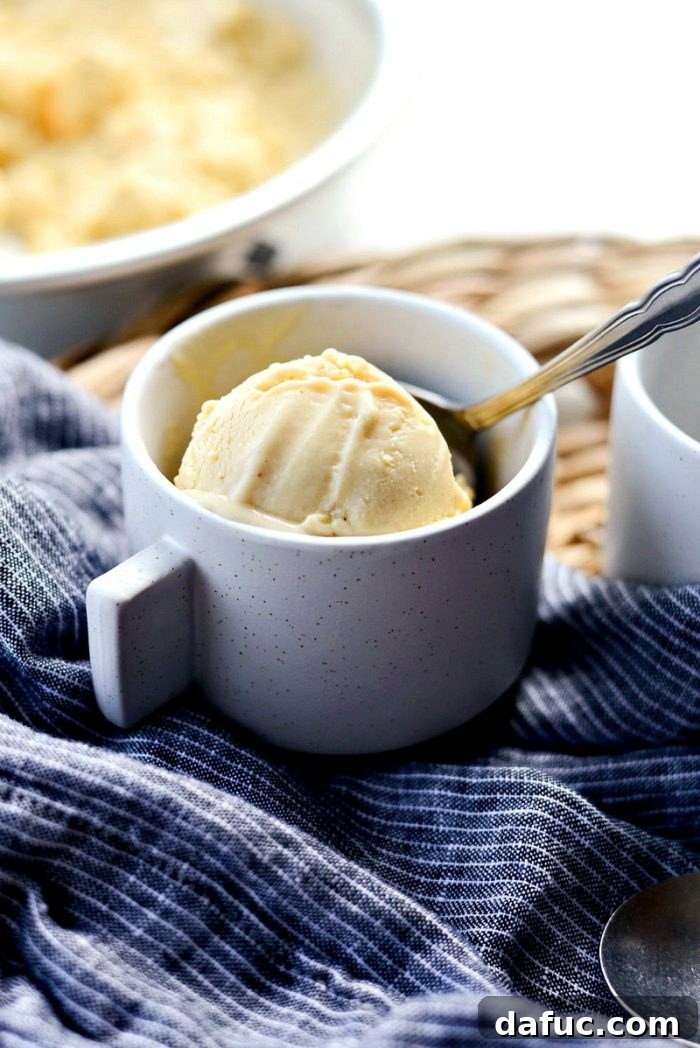
Devour this incredible treat and bask in the glory of your homemade masterpiece!
Enjoy! This Brown Butter Ice Cream recipe is a true labor of love, yielding a dessert that is simply unparalleled. If you give it a try, I’d absolutely love to hear from you! Snap a photo of your delectable creation and share it with me on Twitter or Instagram! Happy churning!
Print Recipe
Pin Recipe
Rated 4.07 out of 5 stars from 15 ratings.
Leave a Review »
Brown Butter Ice Cream
Ingredients
- 8 tablespoons browned butter, cooled completely (see notes)
- 4 egg yolks
- 3/4 cup light brown sugar
- 2 cups heavy whipping cream
- 1 cup whole milk
- 2 teaspoons vanilla extract
Equipment
-
KitchenAid KP26M1XWH 6 Qt. Professional 600 Series Bowl-Lift Stand Mixer – White
-
KitchenAid KICA0WH Ice Cream Maker Attachment – Excludes 7, 8, and most 6 Quart Models
Instructions
-
In a mixing bowl place the (cooled) brown butter, egg yolks and brown sugar. Whisk well until combined and sugar has dissolved.
-
Meanwhile, pour the milk and heavy cream into a heavy bottom sauce pan. Heat until just simmering, stirring often to avoid scorching.
-
While whisking, carefully pour the hot milk/cream into the bowl with the eggs and brown butter. Transfer this to a new saucepan and heat on low to medium-low until thickened and coats the back of the spoon. About 10 minutes.
-
Place a mesh strainer into a large bowl and pour the thickened ice cream base through to catch any impurities.
-
Whisk in the vanilla and allow to cool slightly before covering and refrigerating for 4 hours to overnight.
-
Once the brown butter ice cream base has chilled completely, following the manufacturers instructions, pour the ice cream base into the ice cream maker and churn until thick.
-
Transfer the thickened ice cream into a freezer-safe container and freeze for 4 hours or overnight.
-
Serve scoops in ice cream cones or into bowls.
Notes