
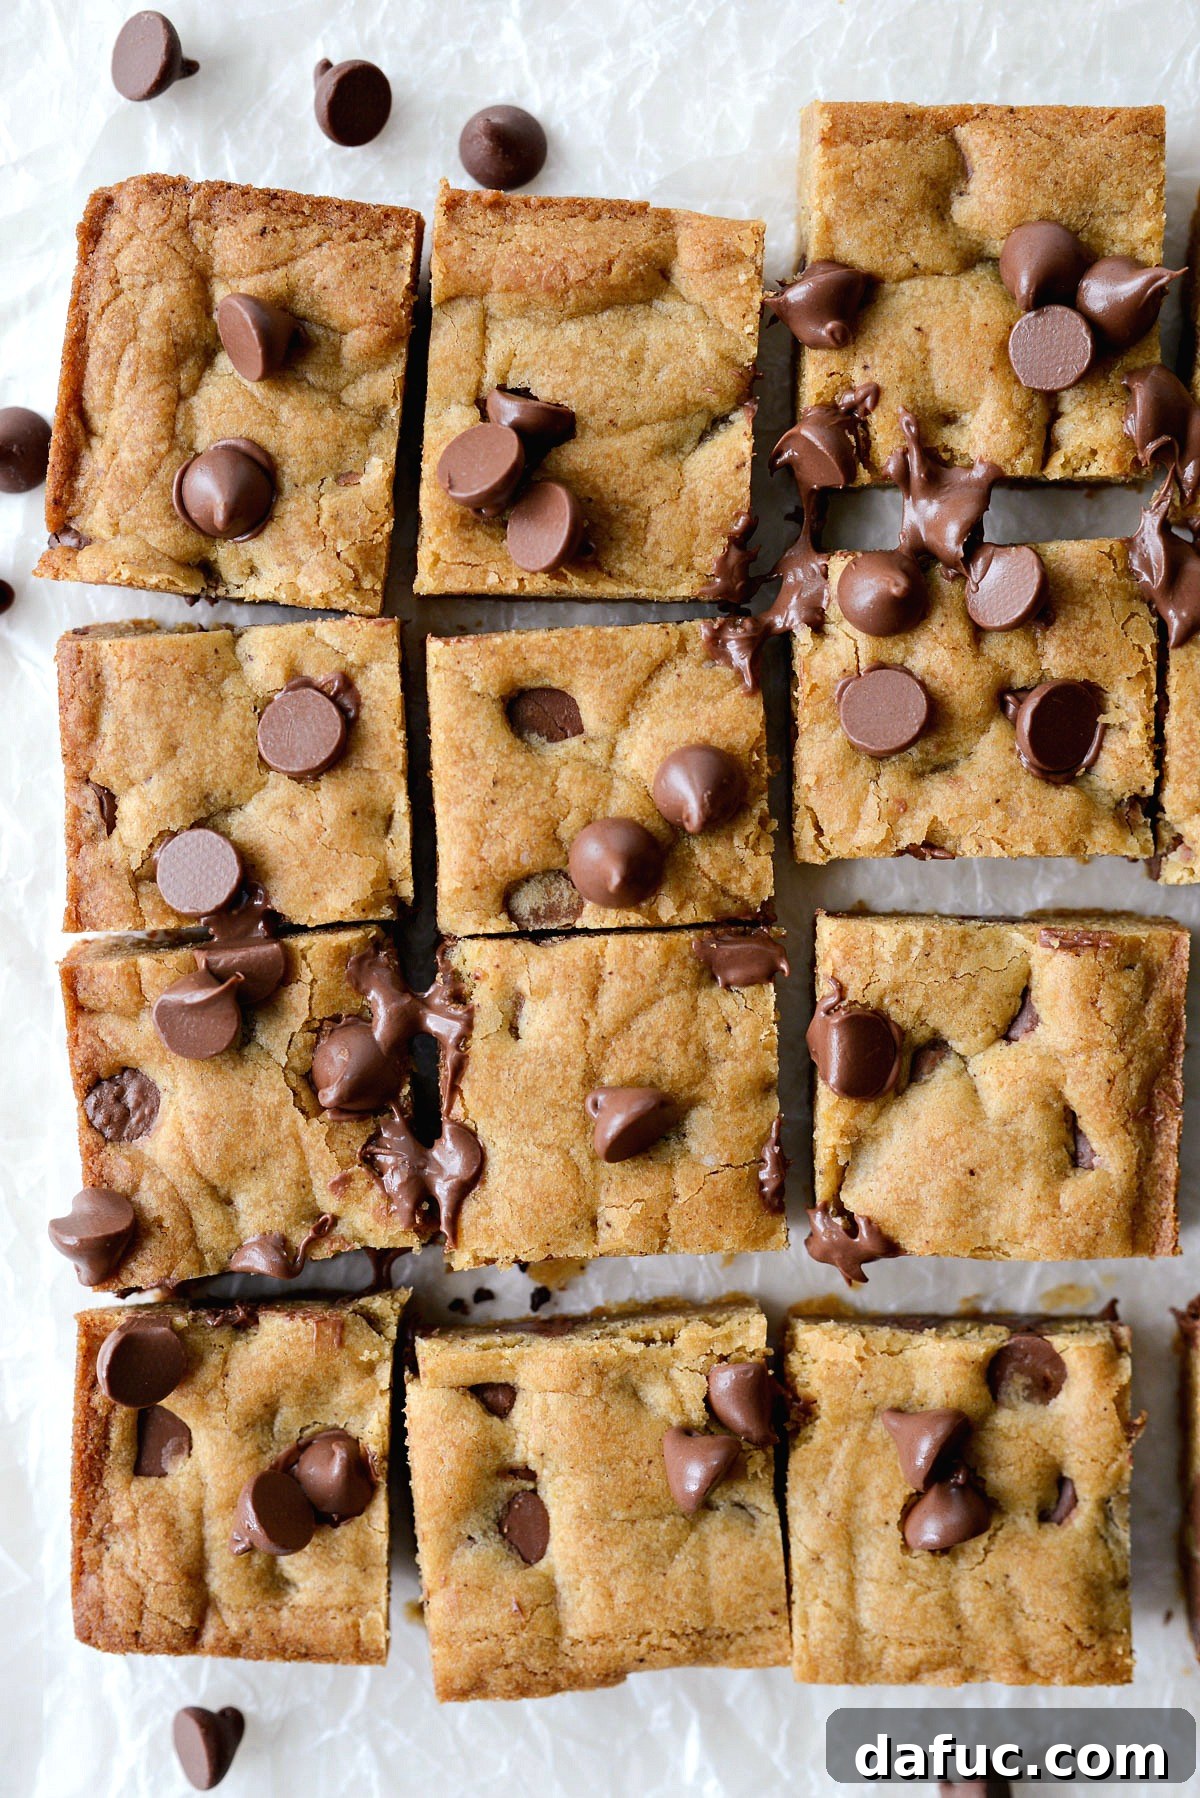
Welcome to the delightful world of homemade treats, where every bite promises a perfect balance of sweetness and chewiness. Today, we’re diving into a recipe that takes a classic dessert to an elevated level: Brown Butter Chocolate Chip Blondies. These aren’t just any blondies; they are a masterpiece of flavor and texture, distinguished by the rich, nutty notes imparted by browned butter. Get ready to bake a batch of treats that are so irresistibly delicious, they come with a fair warning: you might just eat them all in one sitting!
Blondies have always held a special place in the hearts of dessert lovers, offering a comforting chewiness reminiscent of their darker counterpart, the brownie. But what sets these particular blondies apart is the magical transformation of simple butter into a golden, aromatic elixir. This crucial step infuses the entire dessert with a depth of flavor that is subtly nutty, toffee-like, and undeniably captivating. This recipe yields 16 perfectly portioned squares, ideal for sharing… or perhaps not.
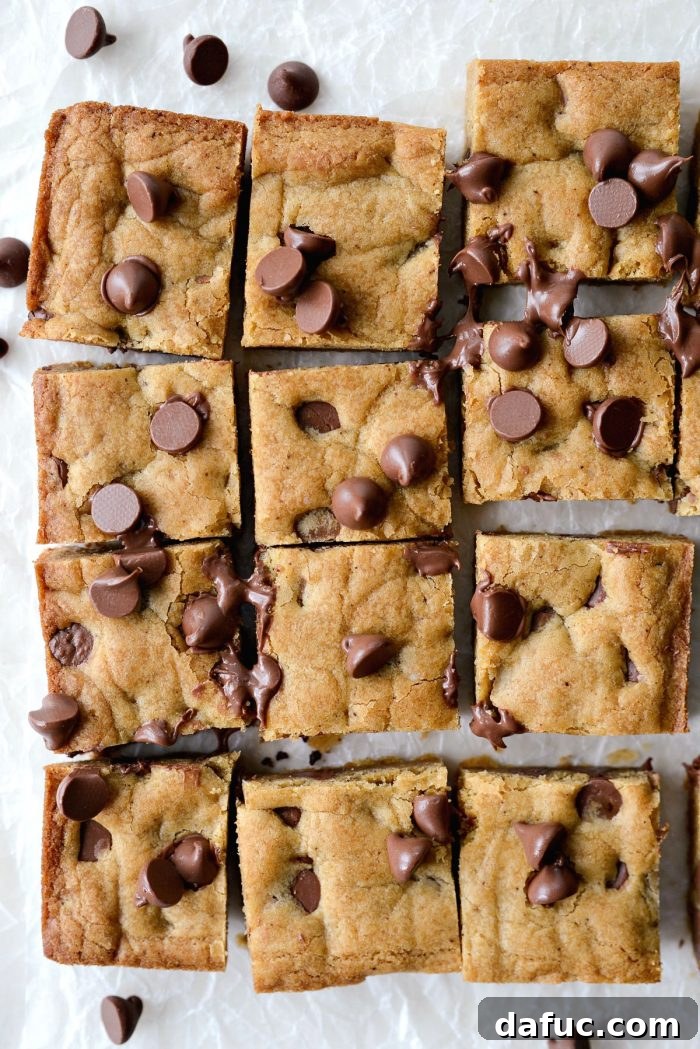
What Exactly Are Blondies? Unpacking the Golden Treat
Often referred to as “blonde brownies,” blondies are a distinct category of bar cookies that stand proudly alongside their chocolate-laden relatives. The fundamental difference lies in their primary flavoring. While brownies get their characteristic deep flavor from cocoa powder or melted chocolate, blondies derive their rich, complex taste from brown sugar and vanilla extract. In this particular recipe, the addition of brown butter takes that flavor profile even further, introducing a sophisticated butterscotch and caramel essence that’s simply divine.
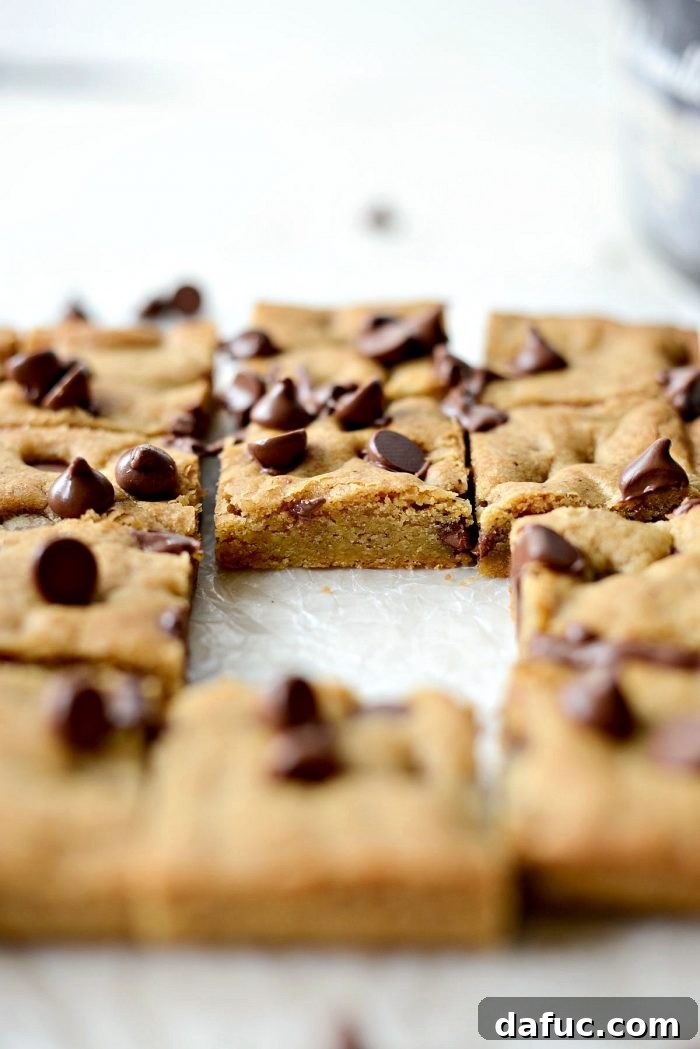
This reliance on brown sugar not only gives blondies their signature golden hue but also contributes significantly to their incredibly chewy texture. The molasses in brown sugar helps retain moisture, resulting in a dense yet tender crumb that melts in your mouth. Unlike many brownies, which are often enhanced with frosting, blondies are typically enjoyed plain, allowing their inherent sweetness and nuanced flavors to shine through. However, that doesn’t stop us from suggesting a scoop of vanilla ice cream!
The Irresistible Allure of Brown Butter
If you’ve never experimented with browning butter, you’re in for a truly transformative culinary experience. This simple technique involves gently cooking unsalted butter until its milk solids caramelize and turn a beautiful golden-brown color, releasing a wonderfully nutty, toasted aroma. It’s an easy process that adds an incredible depth and complexity to baked goods, taking them from good to absolutely extraordinary.
In these Brown Butter Chocolate Chip Blondies, the browned butter is not just an ingredient; it’s the star. It infuses every morsel with a rich, caramel-like flavor and a subtle nuttiness that perfectly complements the sweetness of the brown sugar and the creamy notes of milk chocolate. This extra step, while requiring a few minutes of attention, is undeniably worth the effort for the unparalleled flavor it contributes. It’s the secret weapon that makes these blondies truly unforgettable.
Essential Ingredients for Your Blondie Adventure
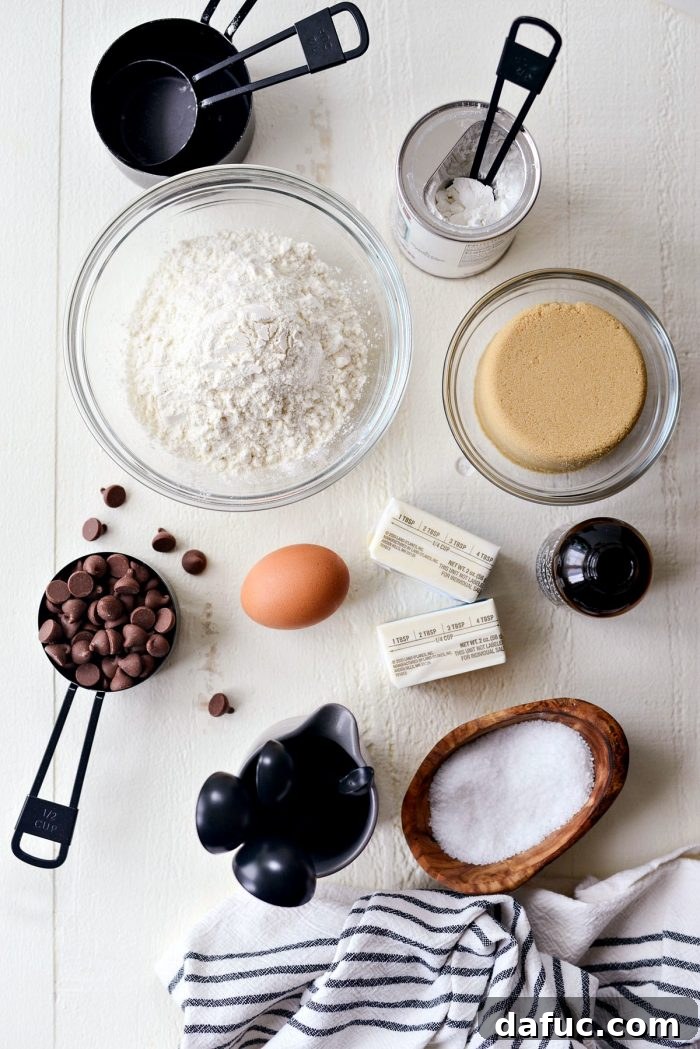
Crafting the perfect Brown Butter Chocolate Chip Blondies requires a few basic pantry staples, each playing a vital role in achieving that coveted chewy texture and rich flavor. Here’s a detailed look at the ingredients you’ll need and why they’re important:
- Unsalted Butter: The foundation of our star ingredient, brown butter. Using unsalted butter allows you to control the total salt content in the recipe.
- Light Brown Sugar: This is key to the blondies’ signature chewiness and butterscotch-like flavor. The molasses in brown sugar provides moisture and a distinct caramel note that white sugar can’t replicate.
- Large Egg: Acts as a binder, adding structure and richness to the batter. Ensure it’s at room temperature for better incorporation.
- Pure Vanilla Extract: A crucial flavor enhancer that complements the brown butter and chocolate, adding warmth and depth. Don’t skimp on quality vanilla!
- Unbleached All-Purpose Flour: Provides the necessary structure for the blondies. Unbleached flour often has a slightly higher protein content, which can contribute to a chewier texture.
- Baking Powder: A leavening agent that gives the blondies a slight lift, preventing them from being too dense.
- Kosher Salt: Essential for balancing the sweetness and enhancing all the other flavors. Don’t underestimate the power of salt in desserts; it brings everything into harmony. I personally love 3/4 teaspoon for that perfect sweet-and-salty contrast.
- Milk Chocolate Chips: These melt into pockets of creamy sweetness throughout the blondies. While milk chocolate is specified, feel free to customize with your favorite type.
Step-by-Step Guide: Crafting Your Perfect Blondies
Making these Brown Butter Chocolate Chip Blondies is a straightforward process, but a few key steps ensure optimal results. Follow these instructions carefully, and you’ll be rewarded with a batch of irresistible treats.
Step 1: Preparing Your Pan and Oven
First, preheat your oven to 350℉ (180℃). This ensures your oven is at the correct temperature when the batter is ready, allowing for even baking. Next, prepare an 8×8 or 9×9 inch baking pan by lining it with parchment paper. Leave an inch or two of overhang on two opposite sides; these will serve as handles to easily lift the cooled blondies out of the pan. Lightly spray the parchment paper with a non-stick baking spray. This prevents sticking and makes removal effortless.
Step 2: The Art of Browning Butter
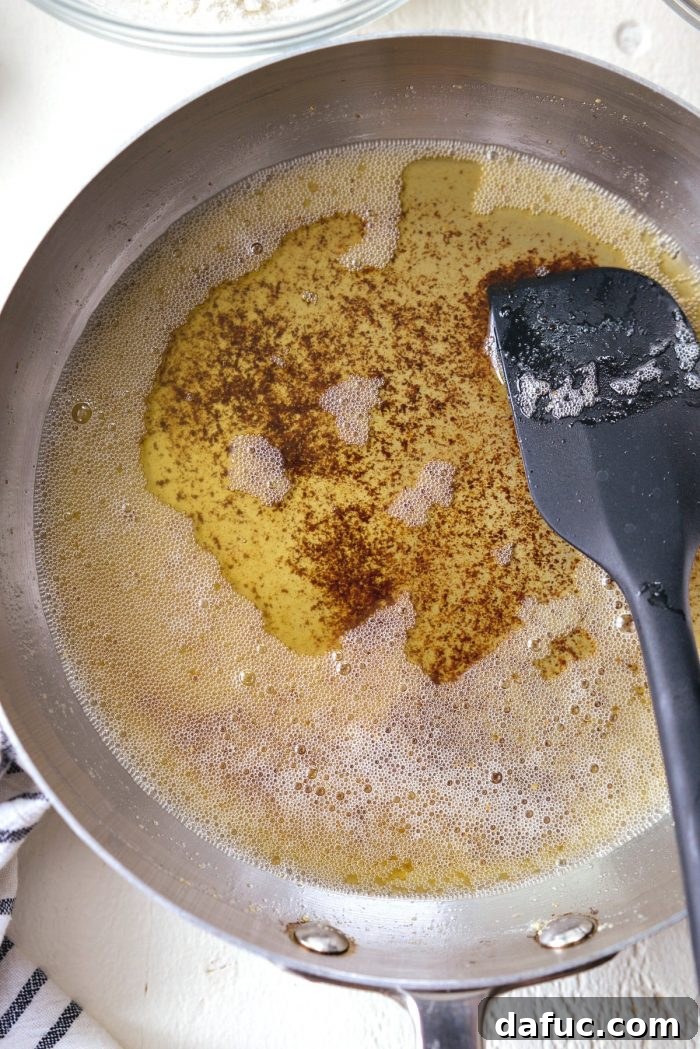
This is where the magic begins! In a small, light-colored skillet (a light color helps you monitor the browning process), melt the unsalted butter over medium-low heat. Continue to cook, stirring occasionally, until the butter turns a rich golden brown, and small amber specks appear at the bottom of the pan. You’ll notice a delightful nutty aroma filling your kitchen. This usually takes about 5-7 minutes. Be vigilant, as butter can go from perfectly browned to burnt very quickly.
Step 3: Cooling the Brown Butter
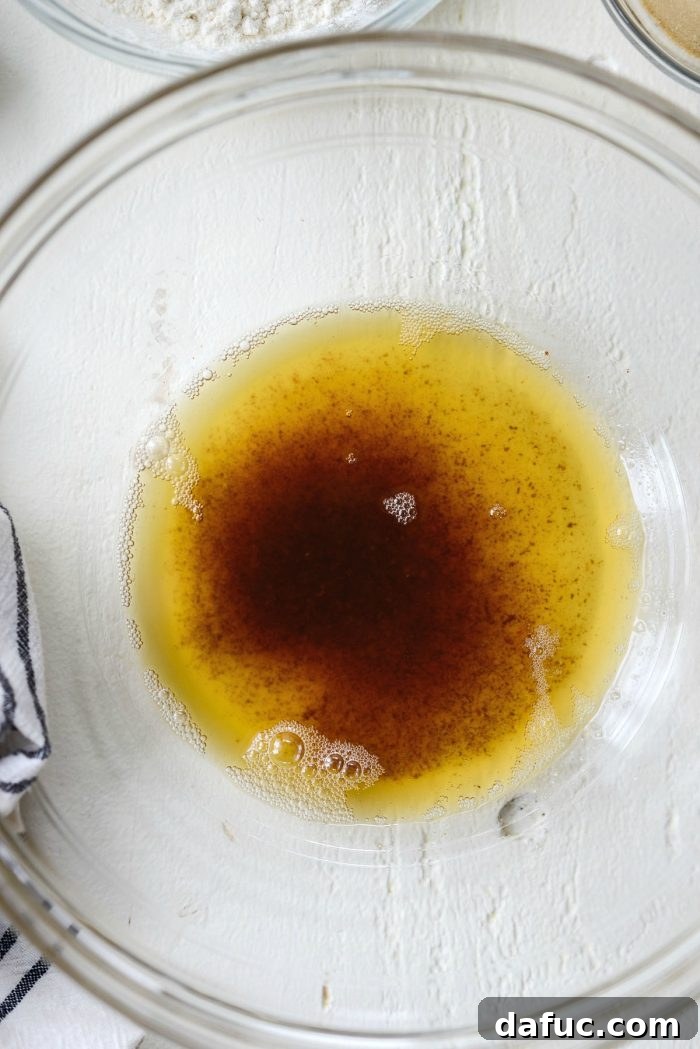
Once the butter is beautifully browned, immediately remove the skillet from the heat and pour the warm, toasty butter into a large mixing bowl. It is crucial to allow the brown butter to cool down before proceeding. While it can be warm, it absolutely must not be hot. If you add hot butter to the egg, you risk scrambling the egg, which will ruin the texture of your blondies. This cooling process typically takes about 15 minutes. Patience here is a virtue!
Step 4: Combining the Wet Ingredients
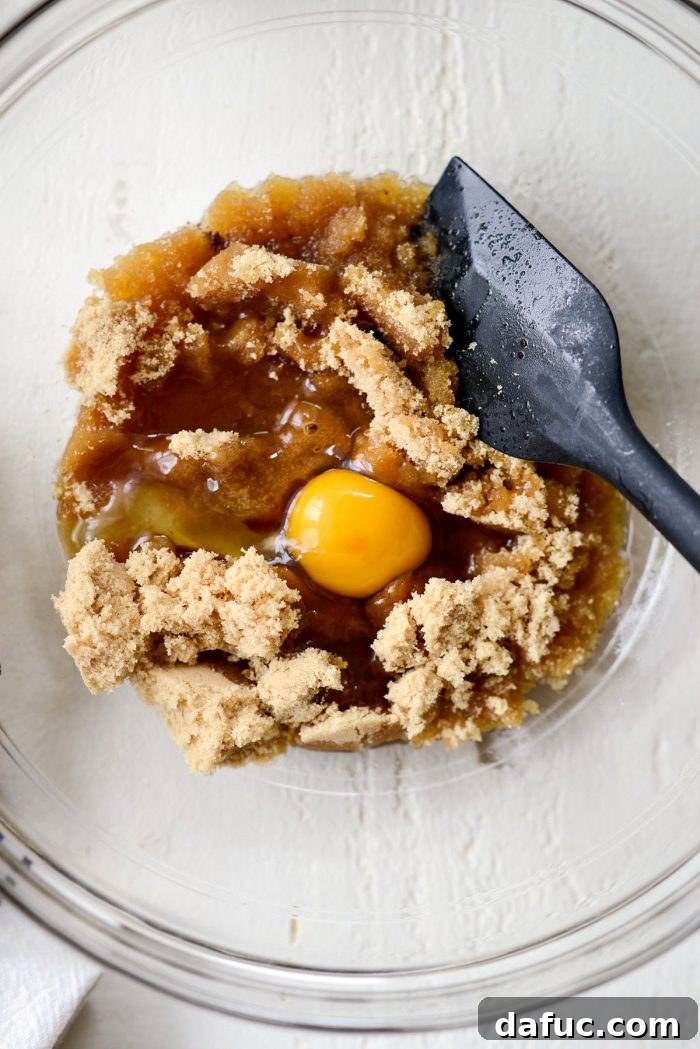
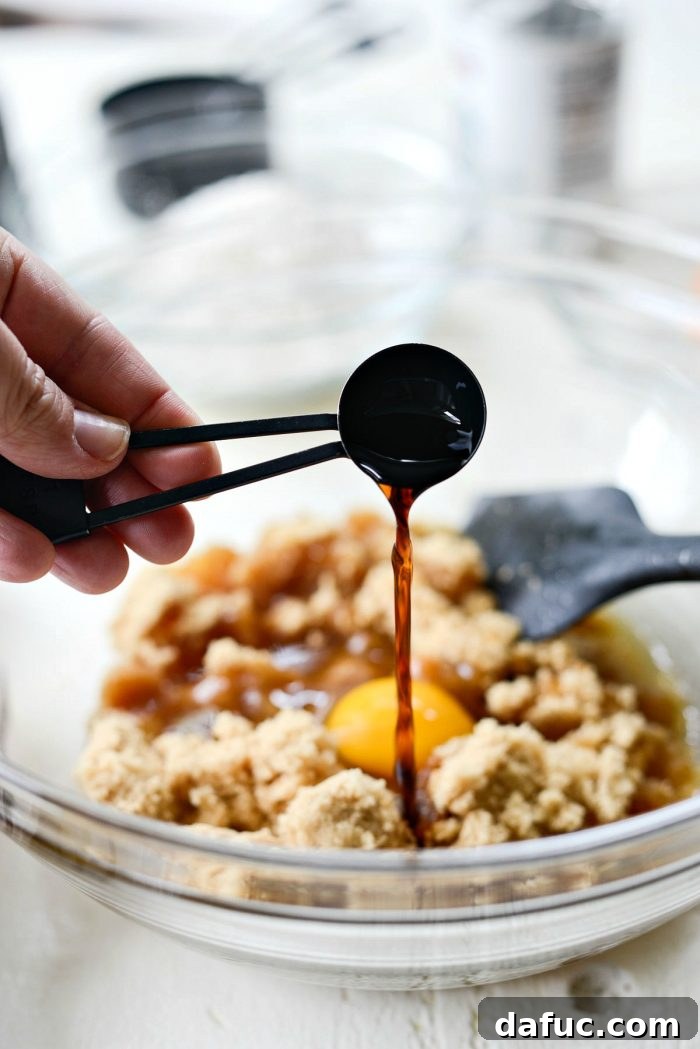
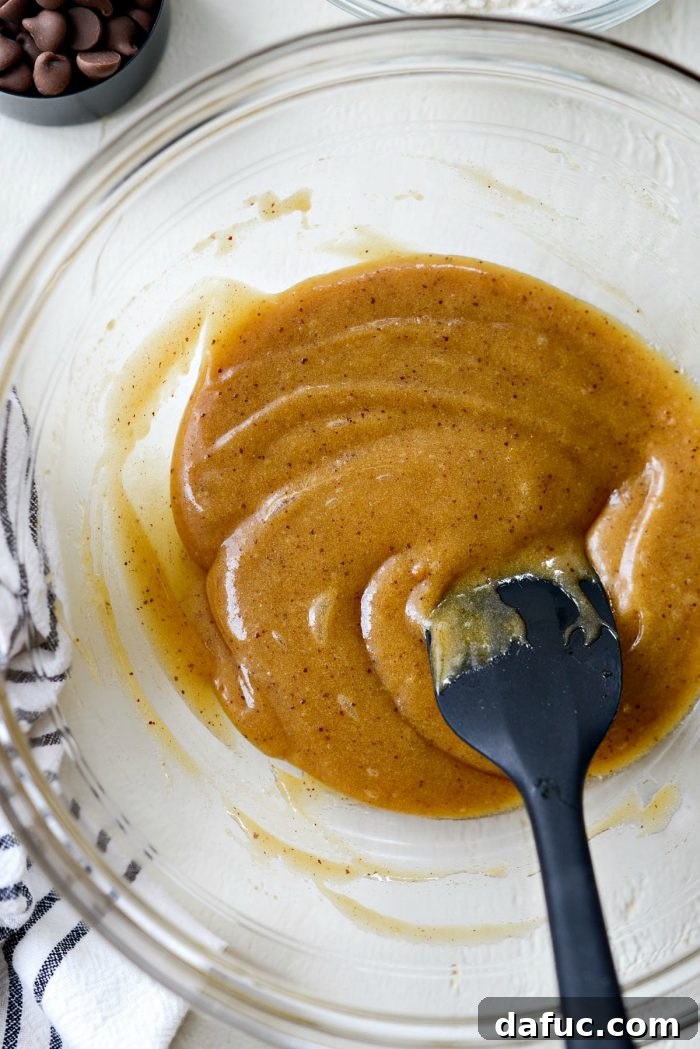
After the browned butter has cooled to a warm (but not hot) temperature, add 1 cup of packed light brown sugar to the bowl. Crack in 1 large egg and measure in 1 teaspoon of pure vanilla extract. Use a sturdy whisk or a rubber spatula to mix these ingredients thoroughly until they are well combined and the egg is fully incorporated into the mixture. The mixture should be smooth and cohesive.
Step 5: Adding the Dry Ingredients
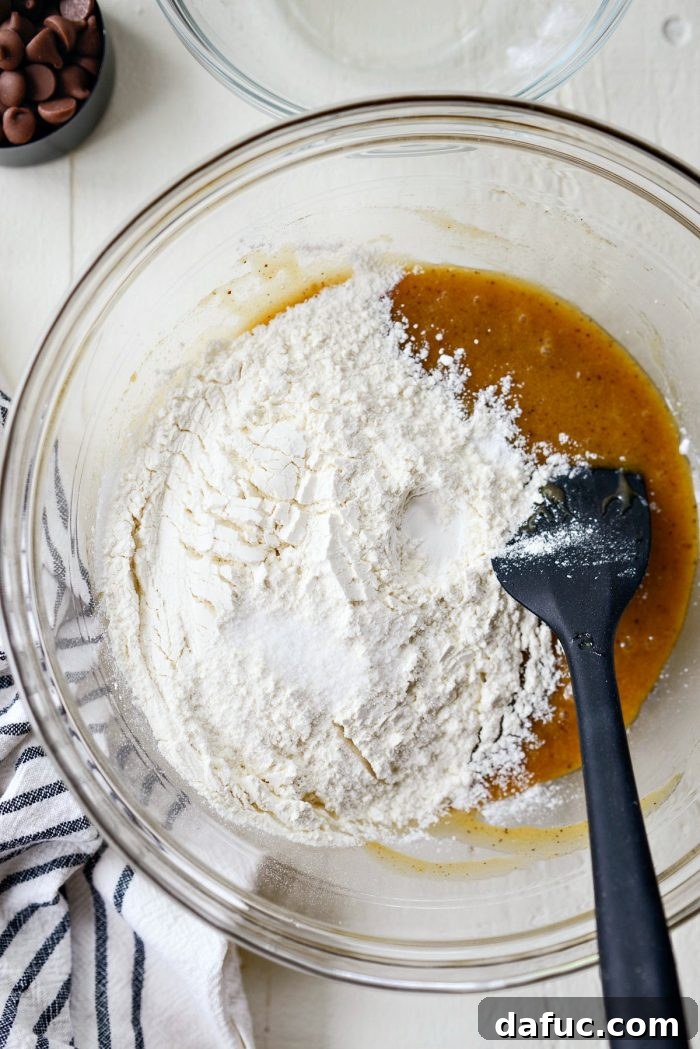
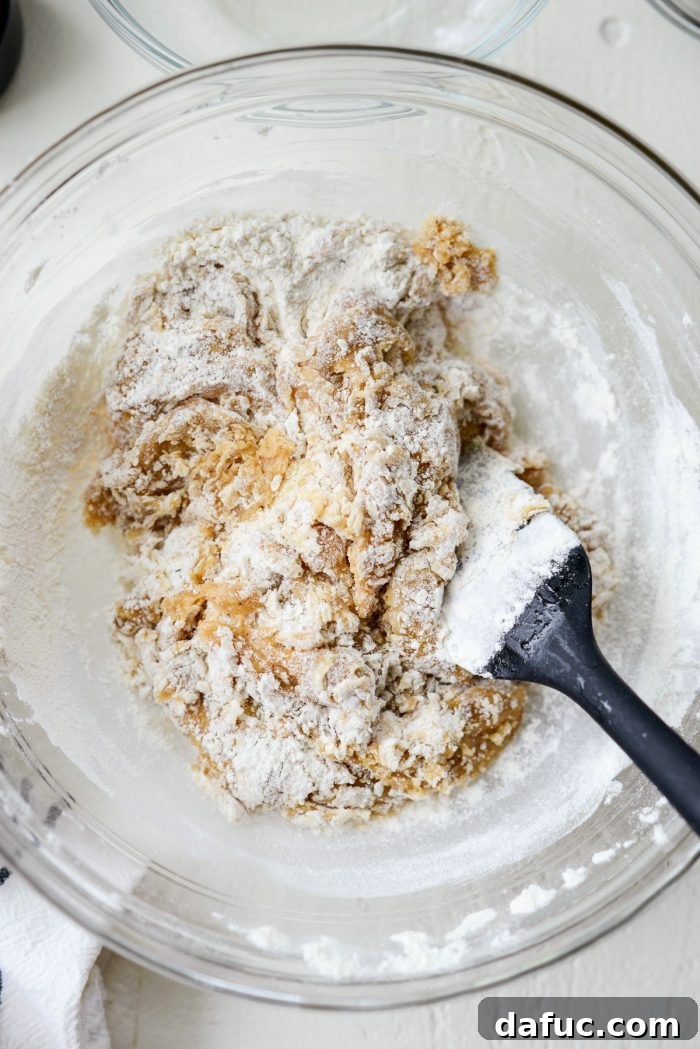
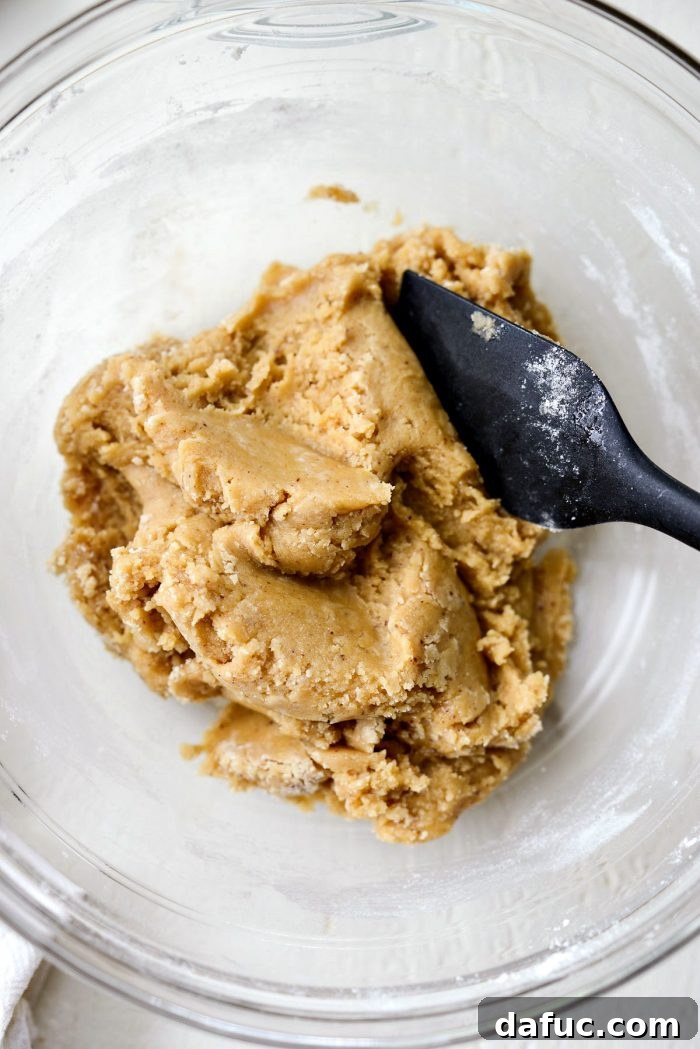
To the wet mixture, add 1-1/4 cups of unbleached all-purpose flour, 1/2 to 3/4 teaspoon of kosher salt (adjust to your preference; 3/4 teaspoon is excellent for those who love a hint of salty sweetness), and 1/2 teaspoon of baking powder. Gently mix these dry ingredients into the wet mixture. Mix only until most of the dry ingredients are just incorporated, with a few streaks of flour remaining. Overmixing can lead to tough blondies, so stop as soon as the batter comes together.
Step 6: Folding in the Chocolate Chips
Finally, add 1/2 cup of milk chocolate chips to the batter. Gently fold them in until they are evenly distributed throughout the mixture. Remember, you can always sprinkle extra chocolate chips on top after baking for an even more decadent look and taste. Semi-sweet, dark, or even white chocolate chips can be substituted based on your preference. Stop mixing once the chocolate chips are dispersed; further mixing is unnecessary.
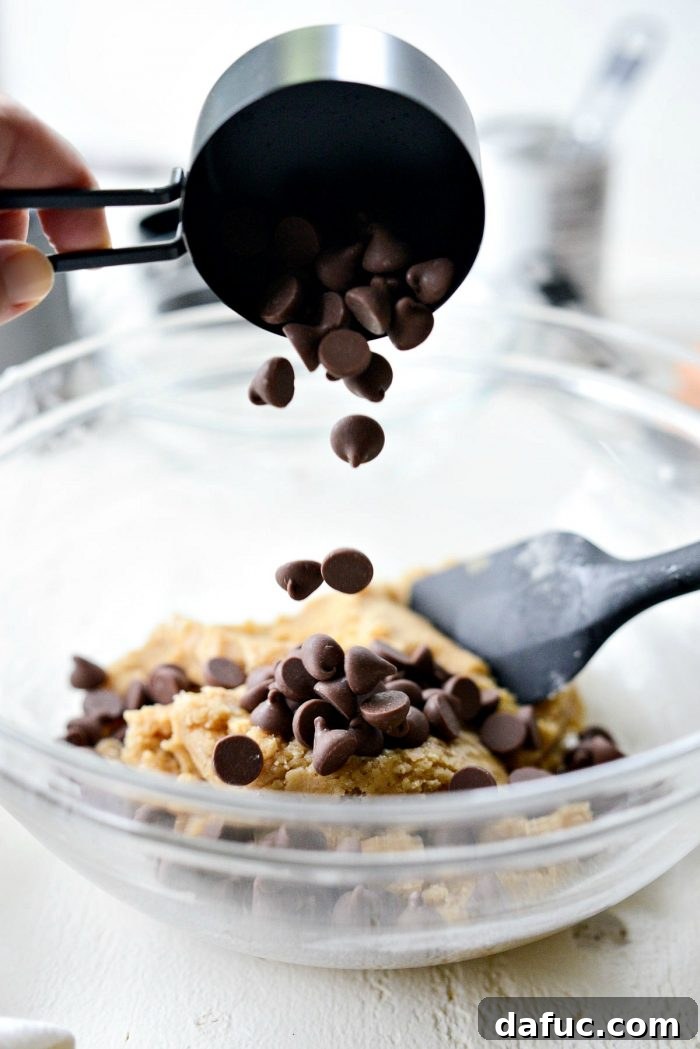
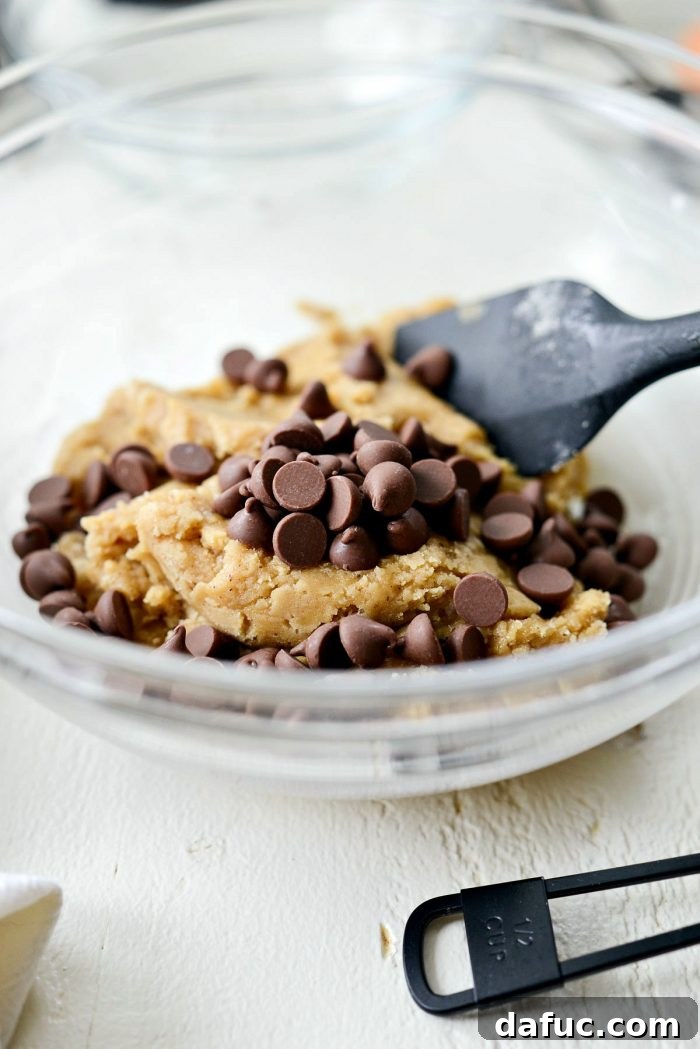
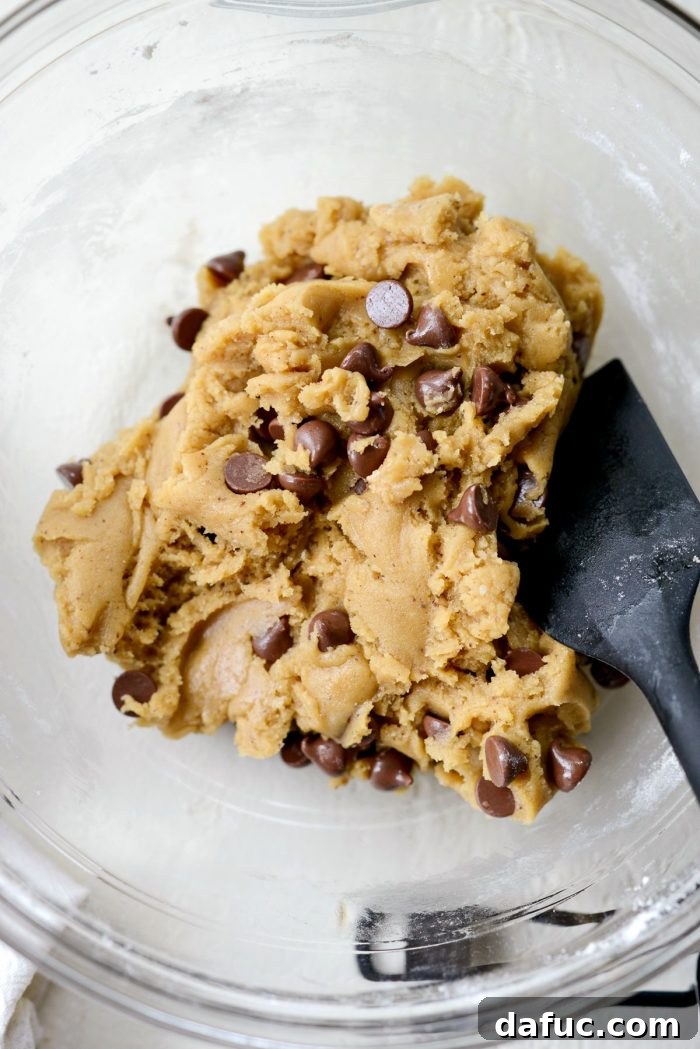
Step 7: Baking to Golden Perfection
Transfer the blondie batter into your prepared pan. Using a rubber spatula, gently press the batter evenly into the pan, ensuring it reaches all corners. Slide the pan onto the middle rack of your preheated oven and bake for 20 to 25 minutes. Blondies are ready when the edges are set and lightly golden brown, and a wooden skewer or toothpick inserted into the center comes out with only a few moist crumbs attached. Avoid overbaking, as this can lead to dry blondies.
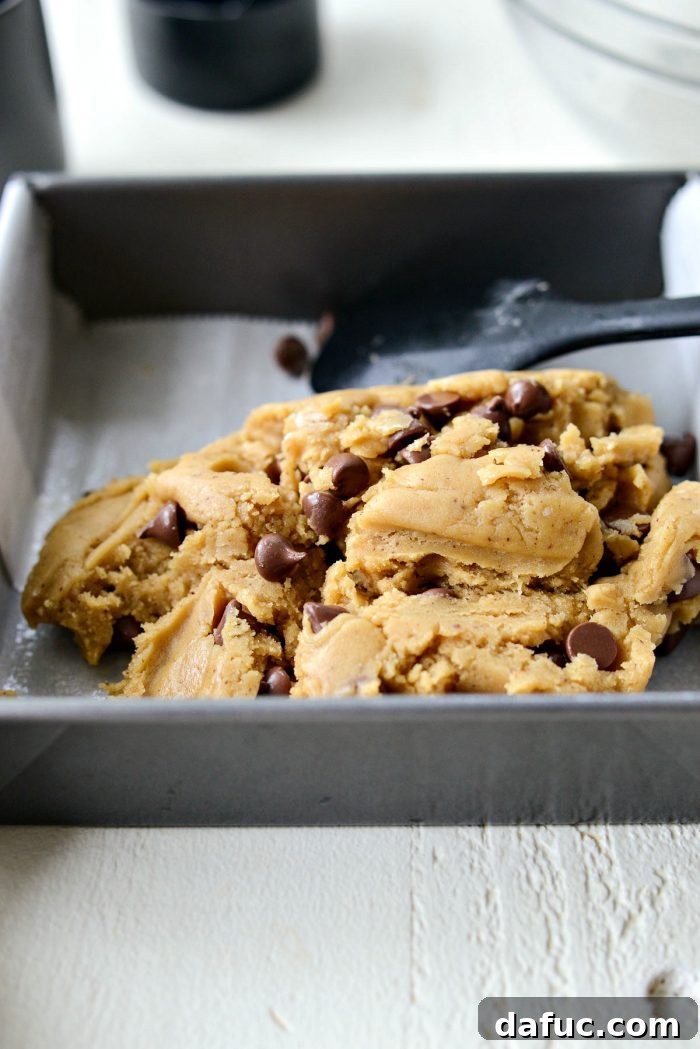
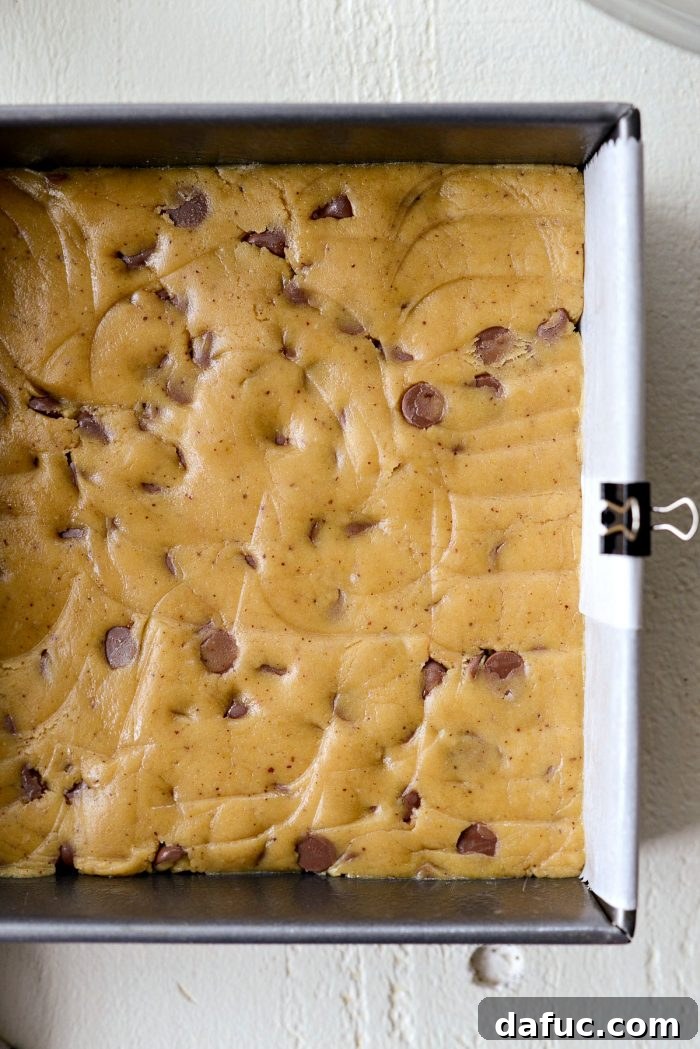
Step 8: Cooling and Cutting
Once baked, remove the blondies from the oven. If desired, immediately sprinkle a few extra chocolate chips over the warm surface; the residual heat will melt them slightly, creating a beautiful, glossy finish. Allow the bars to cool in the pan for about 10-20 minutes. This initial cooling helps them set. Then, using the parchment paper overhang as handles, carefully lift the blondies out of the pan and transfer them to a wire rack to cool completely. Cooling is essential for achieving that perfect chewy texture and for clean cuts. Once fully cooled, move them to a cutting board and cut into 16 even squares.
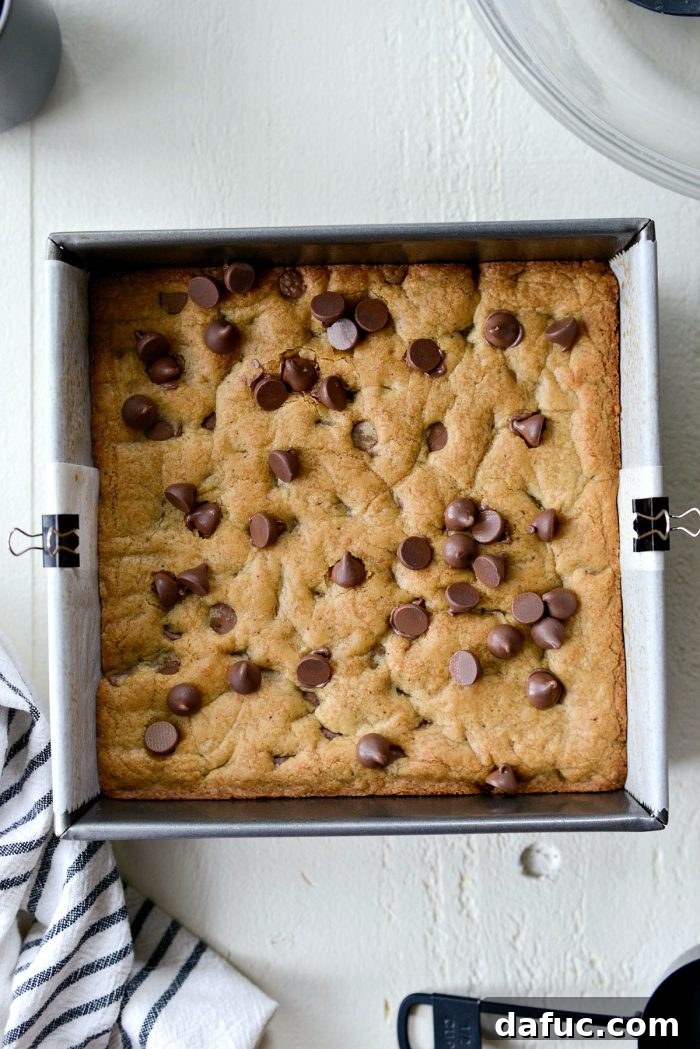
Tips for Blondie Bliss
- Don’t Rush the Brown Butter: This step is paramount. Take your time, stir frequently, and watch for those golden-brown bits. The aroma is your best guide!
- Cool the Butter Properly: Scrambled eggs in your batter are a no-go. Ensure the brown butter is warm, not hot, before combining with the egg.
- Measure Flour Correctly: Too much flour can make your blondies dry and dense. Spoon flour into your measuring cup and level it off with a straight edge.
- Do Not Overmix: Once you add the dry ingredients, mix just until combined. Overmixing develops gluten, leading to tough blondies.
- Customize Your Chocolate: While milk chocolate chips are fantastic, feel free to use dark chocolate, white chocolate, or a mix of all three. You could even chop up your favorite chocolate bar!
- Salt is Your Friend: The kosher salt in this recipe isn’t just for taste; it balances the sweetness of the sugar and chocolate, making all the flavors pop.
- Patience with Cooling: Resist the urge to cut into them immediately. Allowing blondies to cool completely ensures they set properly and develop their signature chewy texture.
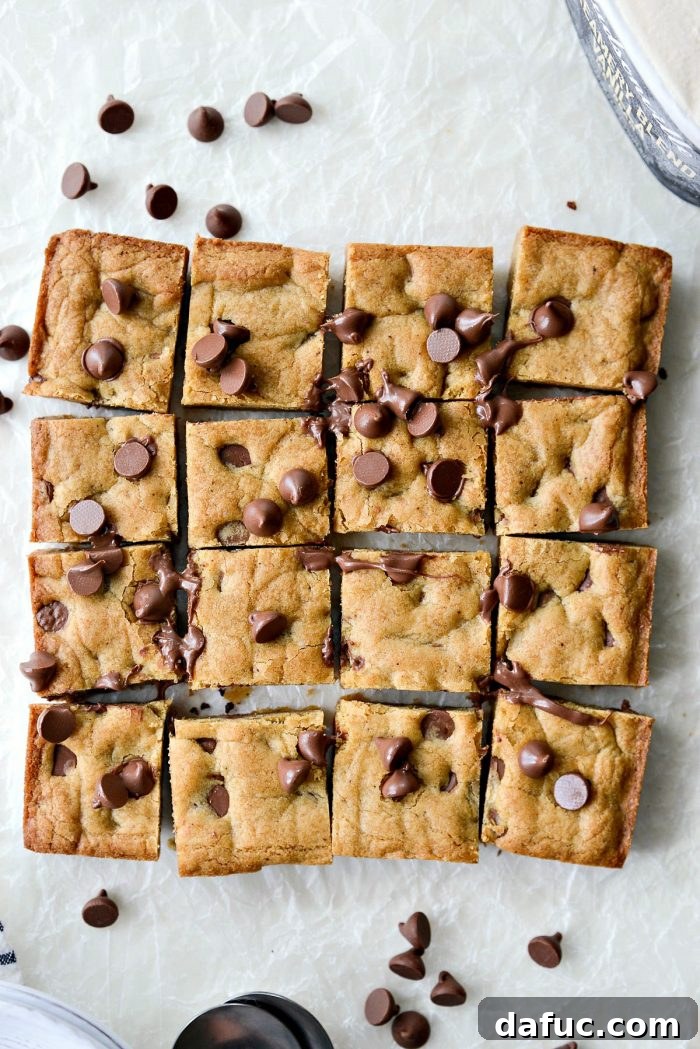
Serving Suggestions & Storage
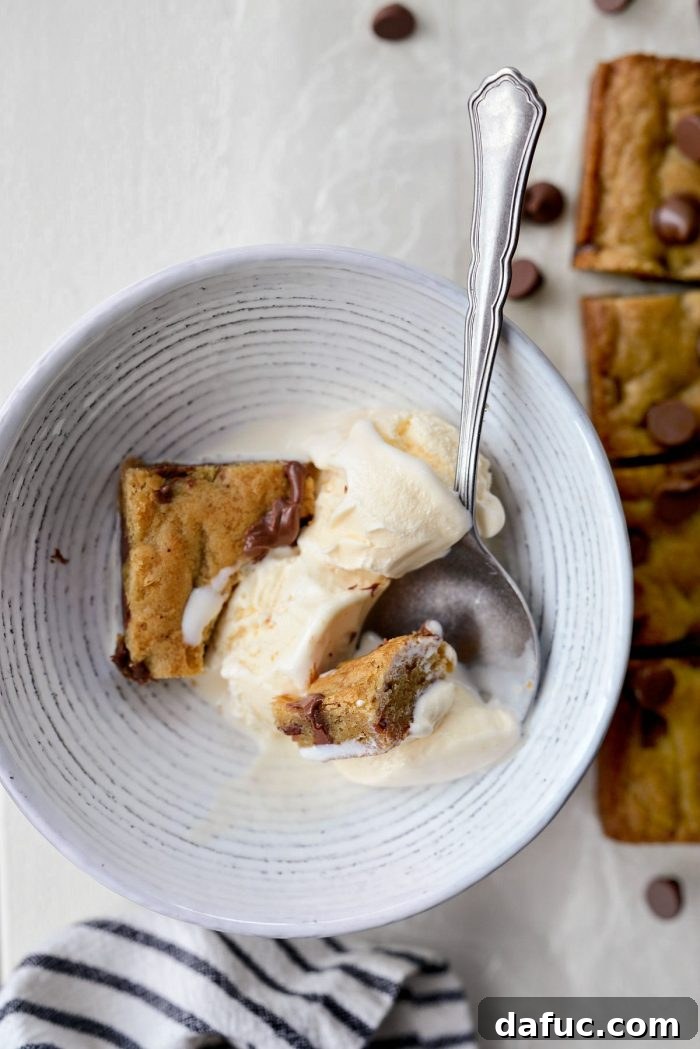
These Brown Butter Chocolate Chip Blondies are incredibly versatile. They are utterly delicious served slightly warm, allowing the chocolate chips to remain melty and gooey. For an extra special treat, serve them with a generous scoop or two of vanilla bean ice cream, creating a warm-and-cold dessert experience that’s hard to beat.
Blondies are also perfect for packed lunches, picnics, or simply as an afternoon snack with a cup of coffee or tea. They make a wonderful addition to any dessert spread and are always a crowd-pleaser.
To store your blondies, place them in an airtight container at room temperature for up to 3-4 days. For longer storage, you can freeze them for up to 3 months. Wrap individual squares tightly in plastic wrap and then place them in a freezer-safe bag or container. Thaw at room temperature before enjoying.
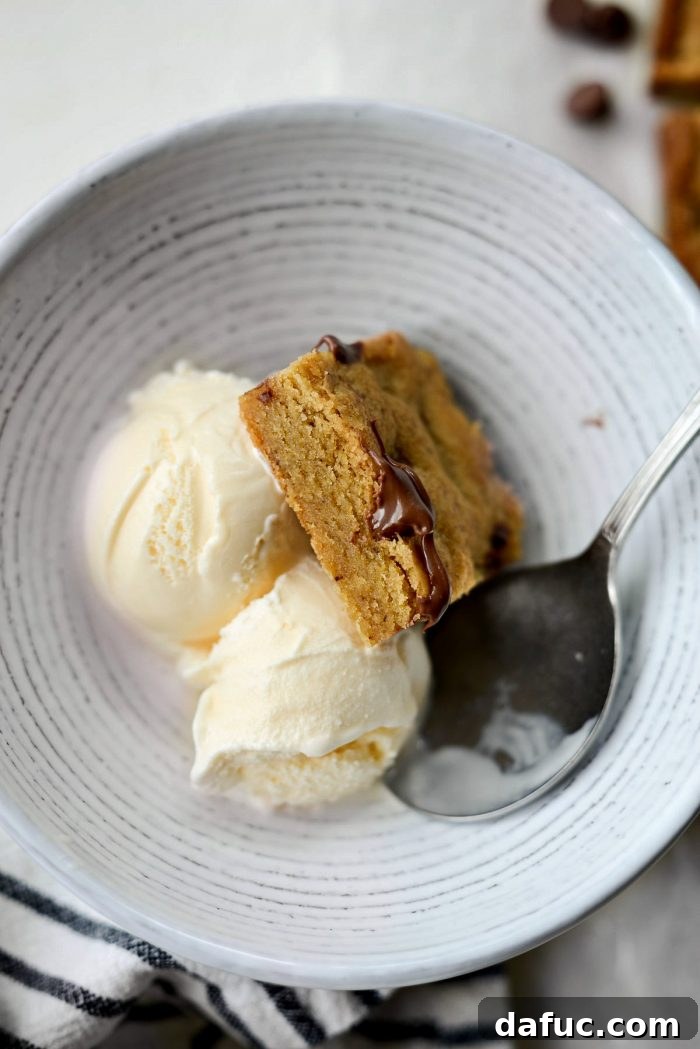
Enjoy! Whether you’re baking for a special occasion or simply craving a comforting homemade treat, these Brown Butter Chocolate Chip Blondies are sure to impress. If you give this recipe a try, we’d love to hear from you! Snap a photo and tag us on Twitter or Instagram!
Print Recipe
Pin Recipe
Leave a Review »
16
servings
Brown Butter Chocolate Chip Blondies
20 minutes
20 minutes
40 minutes
Ingredients
-
1/2
cup
unsalted butter -
1
cup
light brown sugar (packed) -
1
large
egg -
1
teaspoon
pure vanilla extract -
1¼
cups
unbleached all-purpose flour -
3/4
teaspoon
kosher salt -
1/2
teaspoon
baking powder -
1/2
cup
milk chocolate chips
Equipment
-
USA Pan 9×9 Square
-
Small, light-colored skillet
-
Large mixing bowl
-
Whisk or rubber spatula
-
Parchment paper
-
Wire rack
Instructions
-
Preheat your oven to 350℉ (or 180℃). Line a 9×9 inch baking pan with parchment paper, leaving an inch or so overhang on two sides for easy removal, and spray with nonstick baking spray.
-
Heat unsalted butter in a small, light-colored skillet over medium-low heat. Stir often until the butter solids turn a lightly golden brown and a nutty aroma develops (about 5-7 minutes). Remove from heat and carefully pour the browned butter into a large, heat-safe mixing bowl to cool. Allow it to cool for about 15 minutes until it’s warm but not hot.
-
Once the browned butter has cooled sufficiently, add the light brown sugar, large egg, and pure vanilla extract. Use a rubber spatula or whisk and mix well until all ingredients are combined and the egg is thoroughly incorporated.
-
Next, add the unbleached all-purpose flour, kosher salt, and baking powder. Mix gently until just a trace of flour is left, being careful not to overmix. Add in the milk chocolate chips and mix until they are evenly distributed throughout the batter.
-
Transfer the blondie batter to your prepared pan and press it evenly into the bottom. Bake on the middle rack of your preheated oven for 20 to 25 minutes, or until the edges are golden and a toothpick inserted into the center comes out with only a few moist crumbs attached.
-
Remove from the oven. If desired, sprinkle a few extra chocolate chips on top while warm. Let the blondies cool in the pan for 10-20 minutes. Then, use the parchment paper overhang to lift them out and transfer to a wire rack to cool completely before slicing into 16 squares.
Serving:
1
square
,
Calories:
181
kcal
,
Carbohydrates:
26
g
,
Protein:
1
g
,
Fat:
8
g
,
Saturated Fat:
5
g
,
Polyunsaturated Fat:
0.3
g
,
Monounsaturated Fat:
2
g
,
Trans Fat:
0.2
g
,
Cholesterol:
27
mg
,
Sodium:
132
mg
,
Potassium:
56
mg
,
Fiber:
0.3
g
,
Sugar:
18
g
,
Vitamin A:
194
IU
,
Calcium:
29
mg
,
Iron:
1
mg
Laurie McNamara
Desserts & Sweet Treats
American