
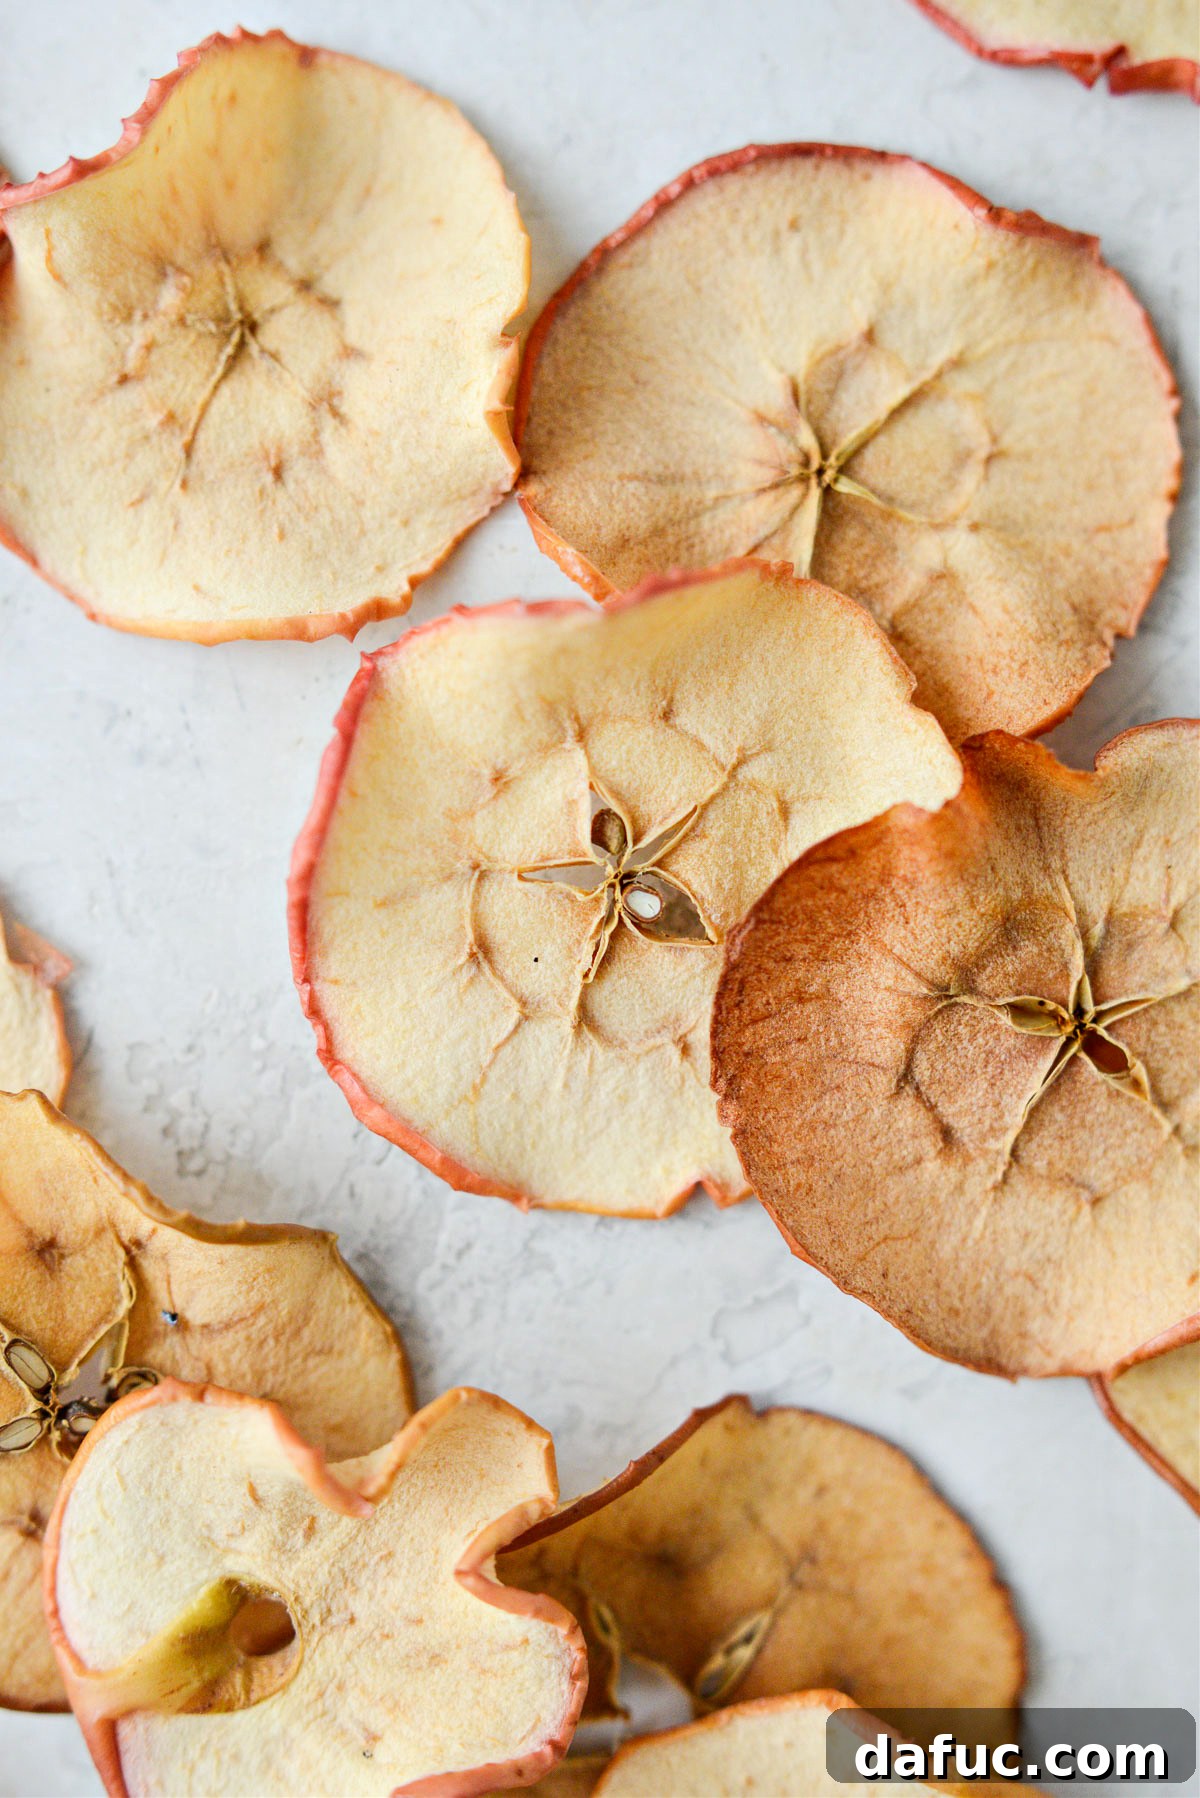
Transform fresh apples into a wonderfully crisp, healthy, and naturally sweet snack right in your own kitchen! Our ultimate guide to making homemade baked apple chips will show you how to effortlessly create these delightful treats, saving you money and calories compared to store-bought versions. Baked low and slow in your oven, these thinly sliced apples become addictive, crunchy chips perfect for snacking, topping your breakfast, or enhancing savory dishes.
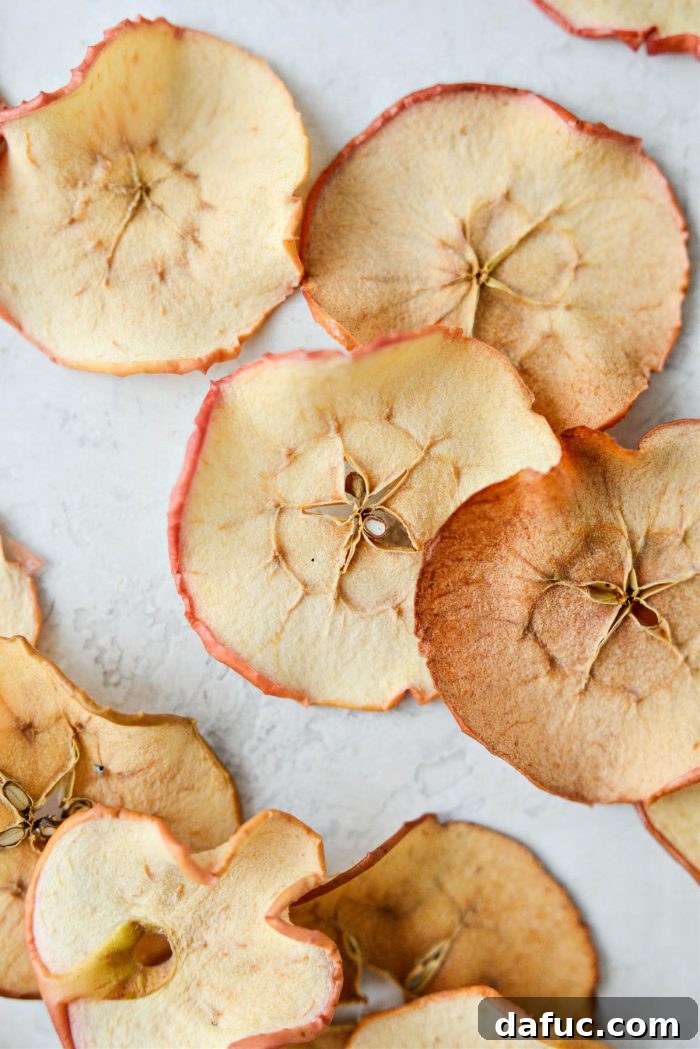
Why Choose Homemade Baked Apple Chips?
Making your own baked apple chips is not just incredibly easy; it’s a smart choice for a healthier lifestyle and a more flavorful snacking experience. Forget artificial ingredients and excessive sugars often found in commercial products. With homemade apple chips, you’re in control, using only natural goodness.
Health Benefits That Shine
These crispy delights are a guilt-free pleasure. Apples are packed with dietary fiber, which aids digestion and promotes a feeling of fullness, making them an excellent choice for weight management. They are also rich in antioxidants and vitamins, contributing to overall well-being. By baking them yourself, you avoid added oils, preservatives, and refined sugars, ensuring a snack that aligns perfectly with a healthy diet.
Economical and Eco-Friendly Snacking
Store-bought apple chips can be surprisingly expensive for a small bag. When you make them at home, you leverage the affordability of fresh apples, especially when they are in season. This DIY approach not only saves you money but also reduces packaging waste, making it a more environmentally conscious snack option.
Unmatched Customization and Flavor
The beauty of homemade treats lies in their adaptability. While plain baked apple chips are fantastic on their own, you can easily customize them with a sprinkle of cinnamon, a dash of nutmeg, or even a tiny pinch of brown sugar for an extra layer of flavor. Experiment with different apple varieties to discover your favorite texture and sweetness profile. This level of personalization is simply not possible with pre-packaged snacks.
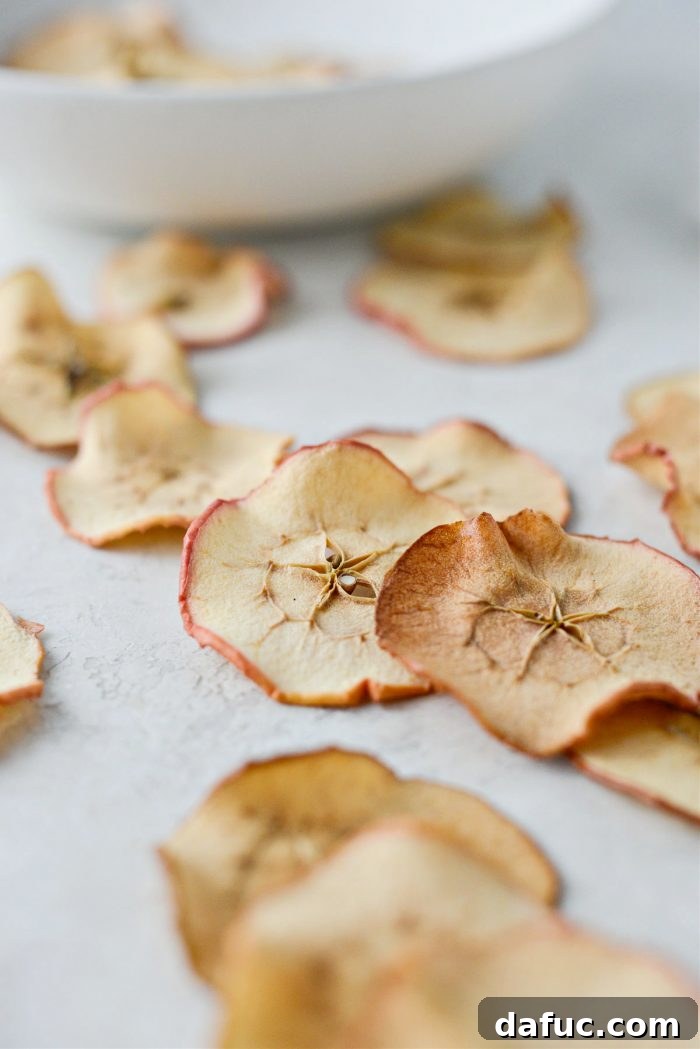
So, ditch the store-bought alternatives and embrace the simple joy of creating a wholesome, delicious snack with just a few apples and a couple of hours.
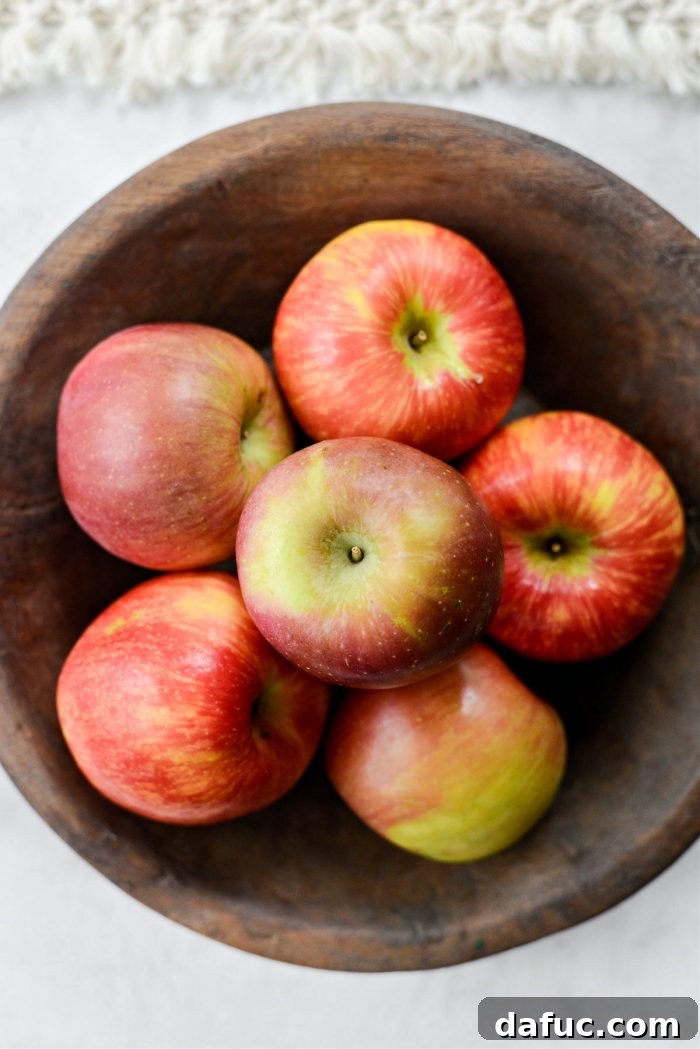
Choosing the Best Apples for Crispy Chips
The type of apple you choose can significantly impact the final texture and flavor of your chips. For the crispiest, most delicious results, aim for apples that are firm, sweet-tart, and hold their shape well during baking. Here are some of the top varieties recommended by seasoned bakers:
- Fuji: Known for its crisp texture and sweet flavor, Fuji apples maintain their structure beautifully and caramelize nicely in the oven.
- Gala: A popular choice, Gala apples offer a mild sweetness and a crisp bite. They become delightfully crunchy when baked.
- Golden Delicious: These apples are sweet and mellow, and their flesh bakes down into a tender-crisp chip with a lovely golden hue.
- Honeycrisp: As the name suggests, Honeycrisp apples are incredibly crisp and juicy, making them ideal for chips that retain a satisfying crunch. Their balanced sweet-tartness is also a plus.
- Pink Lady (Cripps Pink): With a distinctive sweet-tart flavor and firm flesh, Pink Lady apples produce vibrant and flavorful chips.
While these are top recommendations, don’t hesitate to experiment with other firm apples you enjoy. The key is to avoid softer, mealy varieties that might turn mushy during the long baking process.
Step-by-Step Guide: How to Bake Perfect Apple Chips
Achieving perfectly crispy, golden-brown apple chips requires a bit of patience, but the process itself is incredibly straightforward. Follow these steps for the best results:
Preparation: Preheat and Slice with Precision
First things first, preheat your oven to a low temperature of 200°F (94°C). The “low and slow” baking method is crucial here, as it gradually dehydrates the apples without burning them, ensuring maximum crispiness. While your oven preheats, line two standard, rimmed baking sheets with silicone mats or parchment paper. This prevents sticking and makes flipping easier.
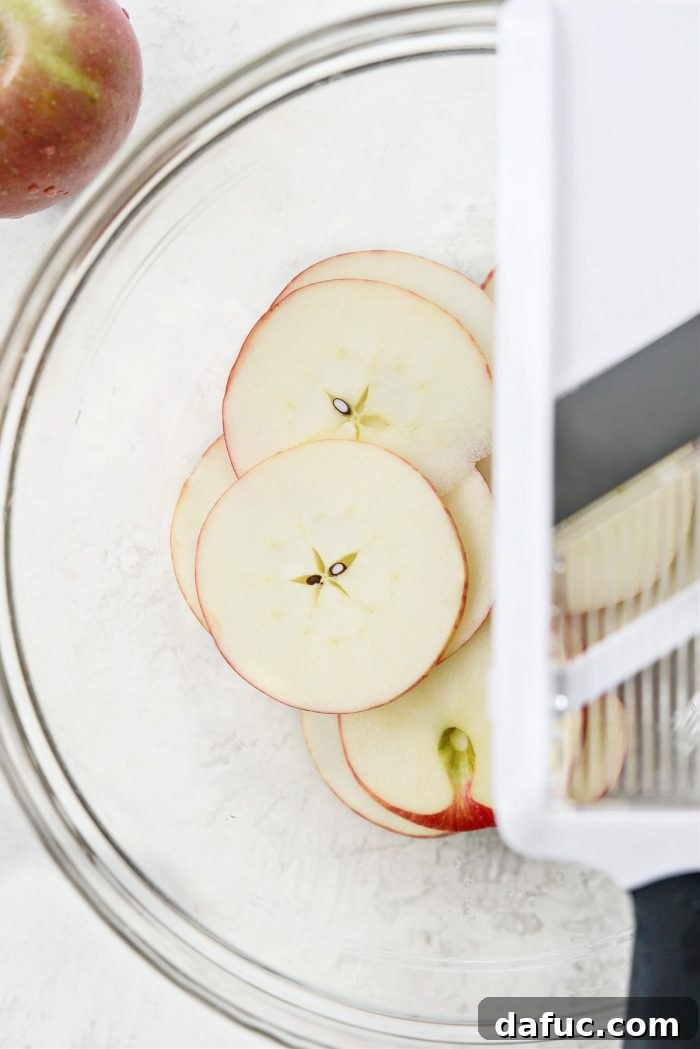
Next, it’s time to slice your chosen apples. For ideal apple chips, uniform slices are paramount. Aim for a thickness of about 2 to 2.5 millimeters (approximately 1/10th of an inch). A mandoline slicer is your best friend for achieving consistent thickness quickly and safely. If using a knife, take your time to make each slice as even as possible. Inconsistent slices will bake unevenly, leading to some burnt pieces and some still soft.
The Lemon Juice Trick (Optional, but Recommended)
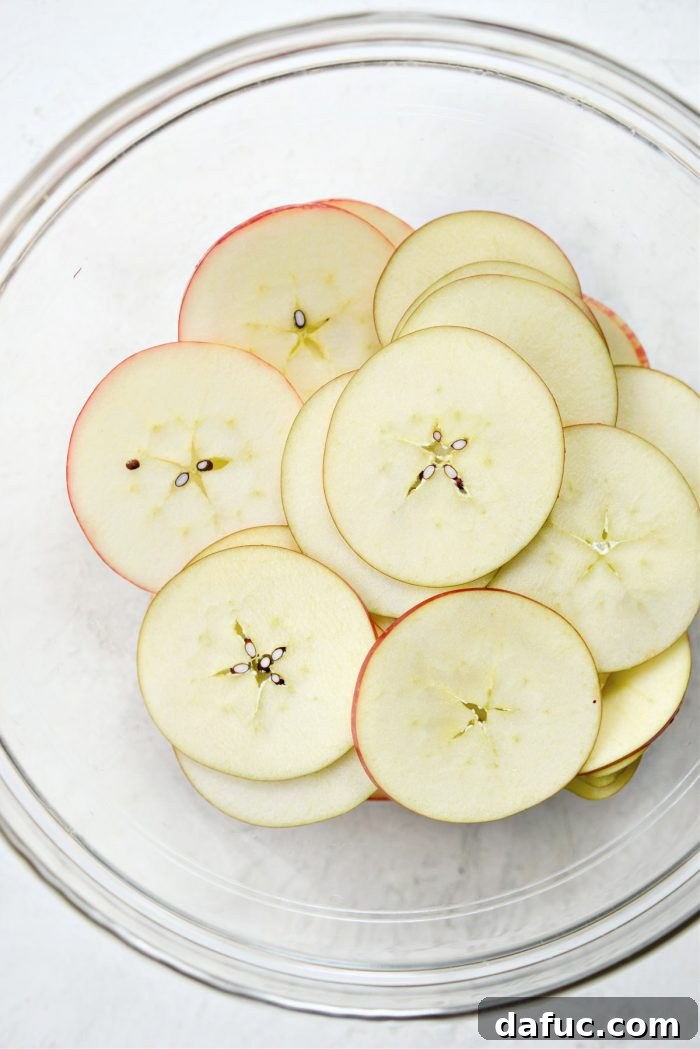
Once your apples are sliced, place them in a bowl. Squeeze the juice of about half a lemon (or a lime, if preferred) over the slices and toss gently to coat them. This step is optional, but highly recommended, as the citric acid in the lemon juice helps prevent the apples from oxidizing and turning overly brown during the long baking time. It also adds a subtle, pleasant tang that complements the apple’s natural sweetness. If you plan to add spices like cinnamon, this is the perfect time to sprinkle them over the slices and toss them together with the lemon juice.
Arranging and Initial Baking
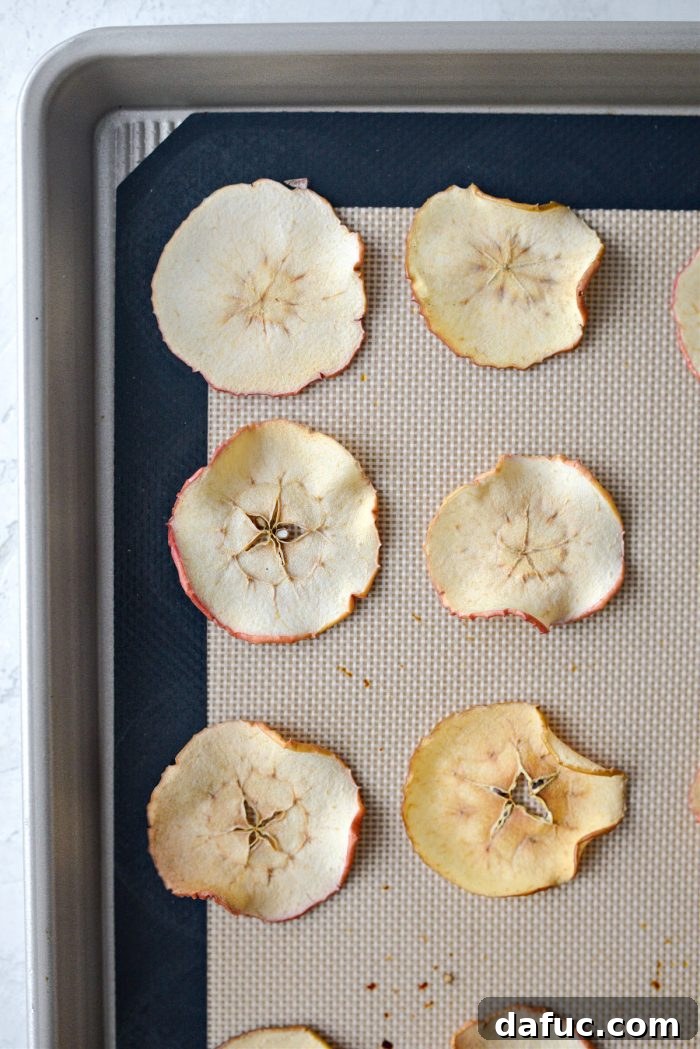
Arrange the apple slices in a single, even layer on your prepared baking sheets. Ensure no slices are overlapping, as this will hinder even dehydration. Give each slice a little space to breathe. Once arranged, place the baking sheets in your preheated oven.
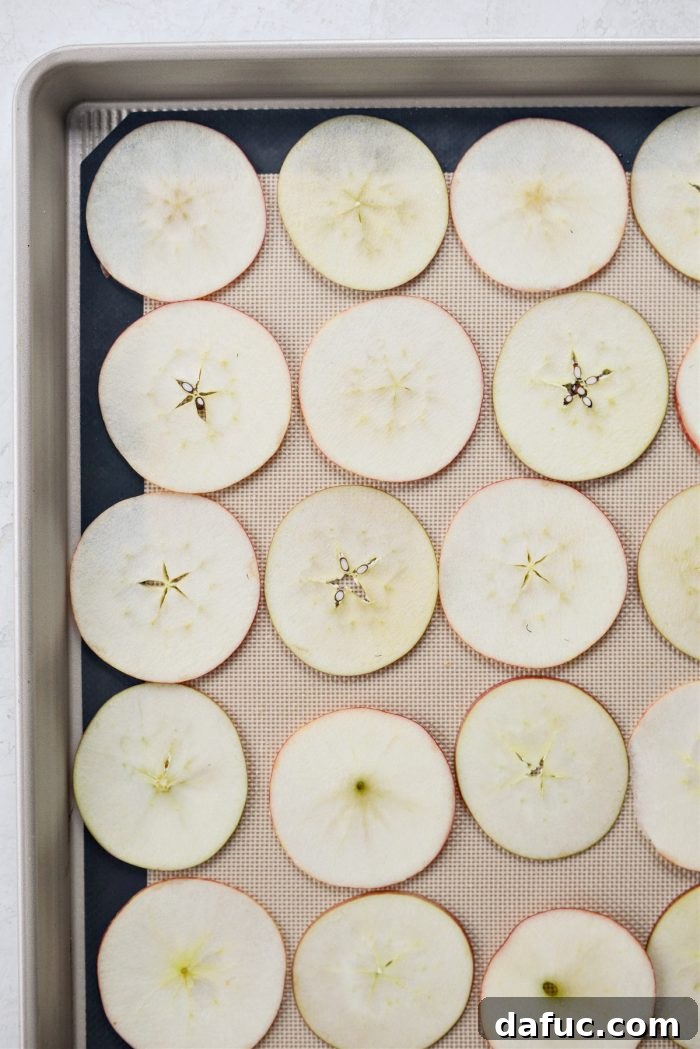
Bake for 1 hour. During this initial hour, the apples will begin to soften and release moisture. After the first hour, carefully remove the pans from the oven using oven mitts.
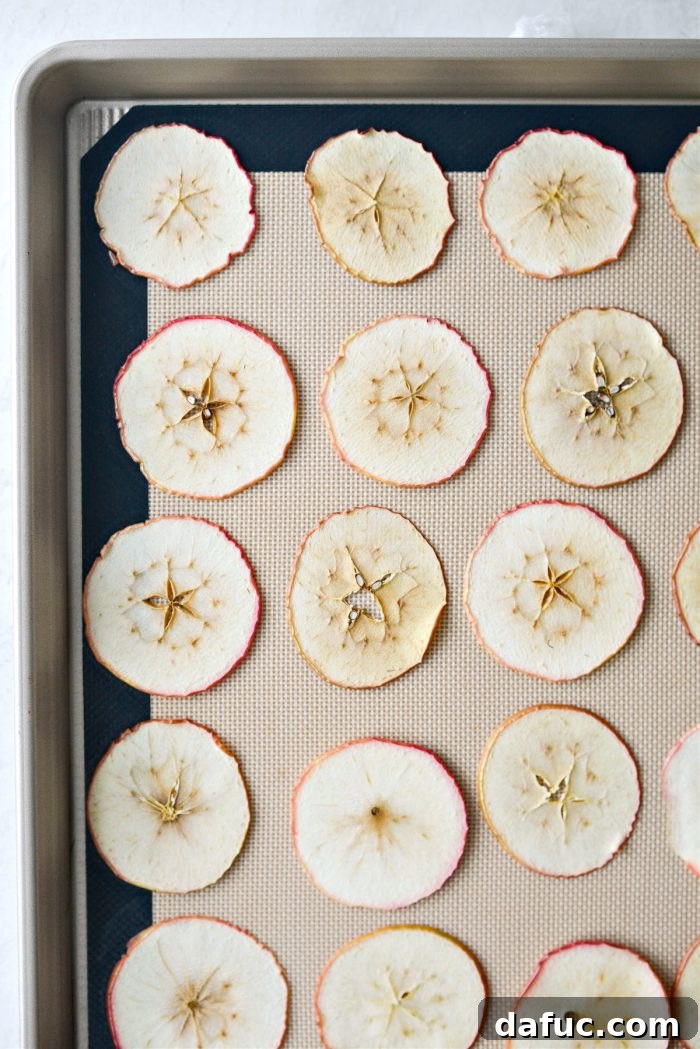
The Flip and Second Bake
With a pair of tongs or a thin spatula, carefully flip each apple slice. This step is crucial for ensuring both sides dry out evenly and become uniformly crispy. Return the pans to the oven and continue baking for another hour.
Achieving Ultimate Crispiness and Cooling
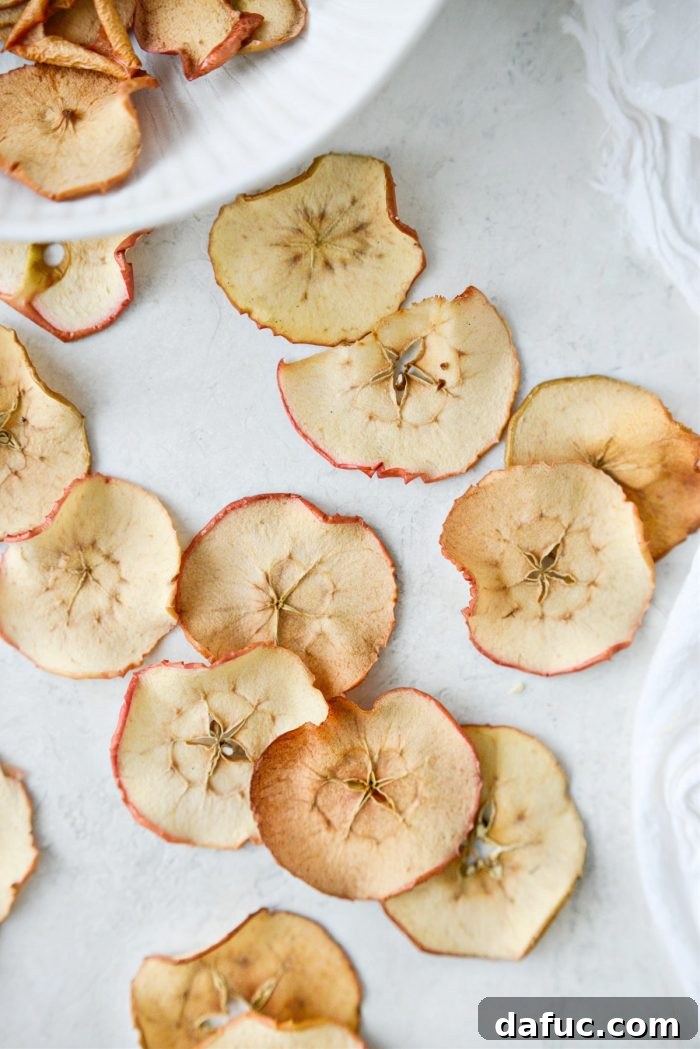
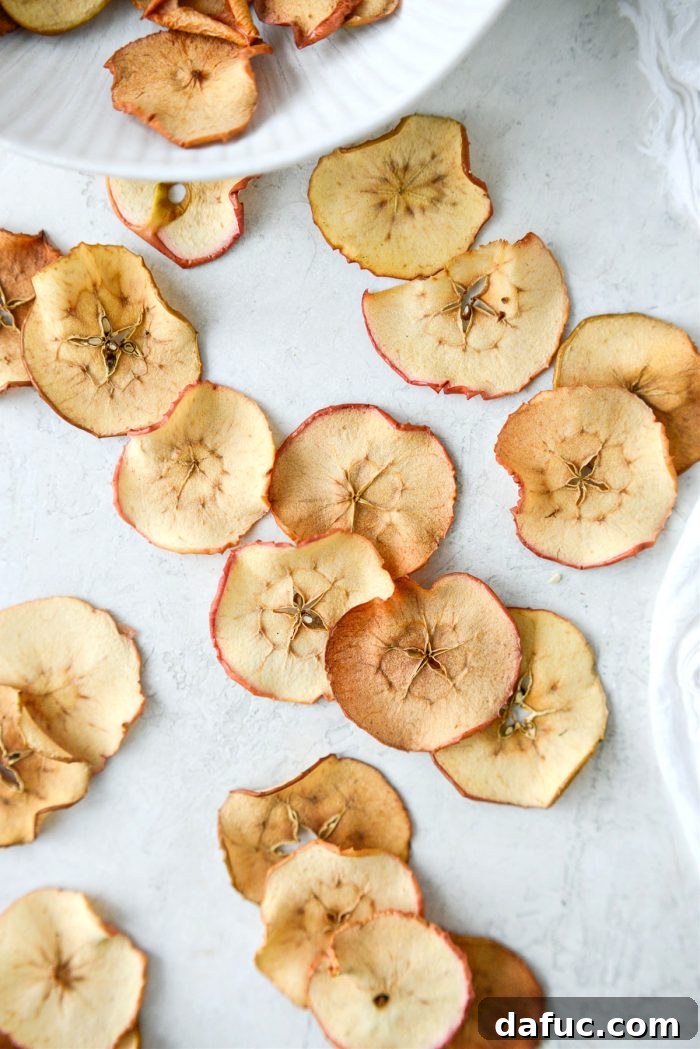
After a total of 2 hours, check the apples. They should feel firm to the touch but might still be slightly pliable. Don’t worry if they aren’t fully rigid yet; apple chips crisp up significantly as they cool. If you prefer them even crispier, or if your slices were slightly thicker, you may need to continue baking them in 15-minute increments, checking frequently to prevent burning. The goal is a texture that is dry and firm, but not brittle or burnt. Once baked to your desired crispness, turn off the oven and allow the apple chips to cool completely on the baking sheets. This cooling period is where they truly transform into crunchy chips.
Storage Tips for Maximum Freshness
Once your baked apple chips have cooled completely, proper storage is key to maintaining their crispness. Store them in an airtight container at room temperature. A glass jar with a tight-fitting lid or a sealed plastic container works perfectly. Avoid refrigerating them, as the moisture can make them soft. When stored correctly, homemade apple chips will remain delightfully crisp for up to 1 week. If they happen to lose some of their crispness, you can briefly reheat them in a low oven for 10-15 minutes to revive their crunch.
Creative Ways to Enjoy Your Homemade Apple Chips
While these healthy homemade apple chips are fantastic on their own, their versatility extends far beyond simple snacking. Here are six creative ways to incorporate them into your culinary adventures:
- Elevate Your Beverages: Steep a slice or two with your favorite black or herbal tea for a subtle apple infusion. They also make a beautiful and flavorful garnish for mulled cider, hot toddies, or even fall-themed cocktails.
- Savory Soup & Salad Topping: Add a delightful crunch and a hint of sweet-tart flavor to your favorite autumn soups. They pair exceptionally well with creamy homemade squash soup, roasted ginger carrot soup, or a hearty curried apple butternut squash soup. Crumble them over fresh green salads for an unexpected texture and a burst of fall goodness.
- Dessert Delight: Crush them into pieces and sprinkle over vanilla ice cream, creamy puddings, or a warm apple crumble for an extra layer of texture and concentrated apple flavor.
- Breakfast Boost: Break them into smaller bits and mix them into your morning oatmeal, scatter them over a bowl of Greek yogurt, or add them to your favorite homemade granola recipe for a healthy, crunchy upgrade.
- Charcuterie Board Addition: Incorporate them into a fall-themed cheese or charcuterie board. Their crispness and natural sweetness complement various cheeses, nuts, and cured meats beautifully.
- Baking Ingredient: Chop them finely and add them to muffin batters, scone dough, or pancake mix for a concentrated apple flavor and slight chewiness.
Frequently Asked Questions About Baked Apple Chips
Do I need to peel the apples before slicing?
No, you do not need to peel the apples. Leaving the skin on adds extra fiber, nutrients, and a beautiful rustic color to your apple chips. It also saves you a step in the preparation process!
Can I make apple chips in an air fryer?
Yes, you can! Air fryers are excellent for making crispy apple chips. The exact time and temperature will vary by air fryer model, but generally, you’ll want to air fry at a lower temperature (around 275-300°F or 135-150°C) for 15-30 minutes, flipping halfway through. Keep a close eye on them, as air fryers cook much faster than conventional ovens.
What if my apple chips aren’t crispy enough?
If your apple chips aren’t as crispy as you’d like after cooling, there are a few possible reasons. They might have been sliced too thick, or they simply needed more time in the oven. Return them to the oven for additional 15-minute increments at 200°F (94°C) until they reach your desired crispness. Remember, they will firm up considerably as they cool.
Can I add sugar or other seasonings?
Absolutely! While these apple chips are naturally sweet, you can sprinkle a tiny bit of granulated sugar or brown sugar on them before baking for extra sweetness. Cinnamon is a classic choice, but nutmeg, pumpkin pie spice, or even a very light dusting of ginger can add wonderful flavors. Add spices along with the lemon juice, if using, or after flipping.
Conclusion: Enjoy Your Effortless & Delicious Treat!
Making homemade baked apple chips is a simple pleasure that yields incredibly satisfying results. With minimal effort, you can create a healthy, flavorful, and versatile snack that’s perfect for any occasion. Whether you’re looking for a wholesome treat for your family, a unique addition to your meals, or just a delicious way to use up fresh apples, this recipe has you covered. Enjoy the process, savor the delicious outcome, and feel free to share your culinary creations!
Enjoy! And if you give this Crispy Baked Apple Chips recipe a try, we’d love to hear about it! Snap a photo and tag us on Twitter or Instagram!

Print Recipe
Pin Recipe
5 from 2 ratings
Leave a Review »
Yield: 4 servings
Crispy Baked Apple Chips
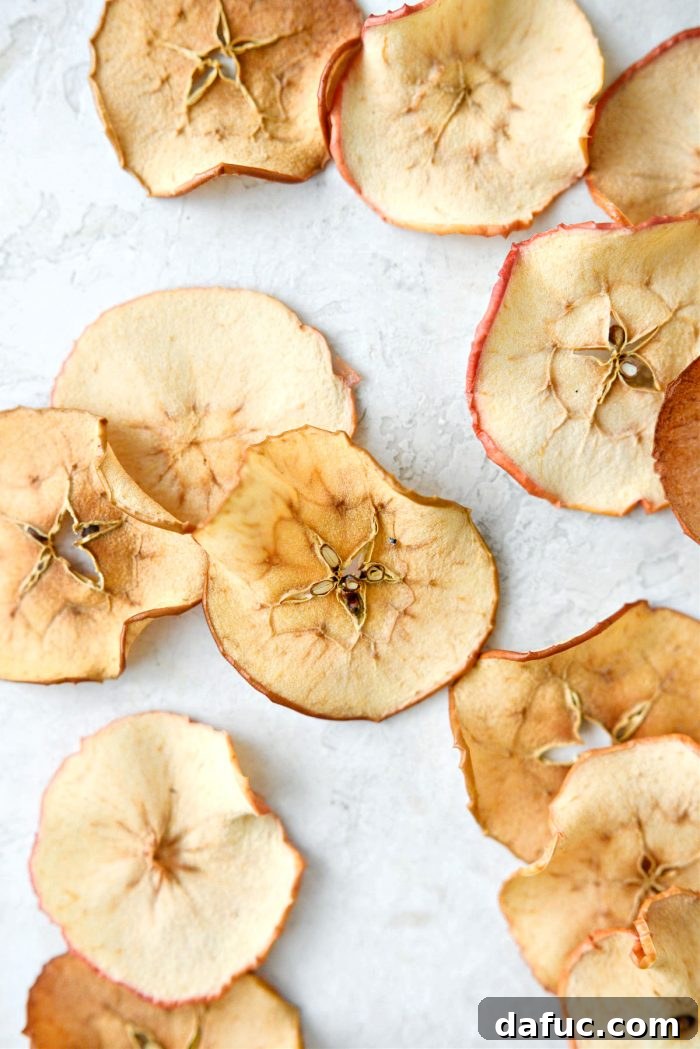
Make healthy Baked Apple Chips at home! Save money and calories by baking thinly sliced apples, low and slow in your oven. Enjoy as a snack or add to oatmeal, granola, soups and salads (and more!).
Ingredients
- 2 medium apples, see notes
- 1 tablespoon lemon juice, optional
- a few pinches of ground cinnamon, optional
Equipment
-
OXO Good Grips Hand-held Mandoline
Instructions
-
Preheat your oven to 200° (or 94℃) and line 2 rimmed, metal baking pans with a silicone mat or parchment.
-
Thinly slice the apples (no more than 2.5 millimeters thick) into a bowl.
-
Squeeze lemon juice over top and toss to coat. This step is optional.
-
On the prepared pans, arrange apple slices in an even layer.
-
Bake in your preheated oven for 1 hour. Use oven mitts to remove the pans.
-
Carefully flip each apple slice and bake for another hour.
-
If after 2 hours, the apples are firm but still a little bit soft, they can crisp up out of the oven while cooling. However, if the apple slices are too thick, they will need longer in the oven. I recommend to continue baking at 15 minute increments.
-
Store in an air-tight container at room temperature for up to 1 week.
Notes
Nutrition Information (per serving):
- Serving: 1g
- Calories: 48kcal
- Carbohydrates: 13g
- Sodium: 2mg
- Fiber: 2g
- Sugar: 10g