
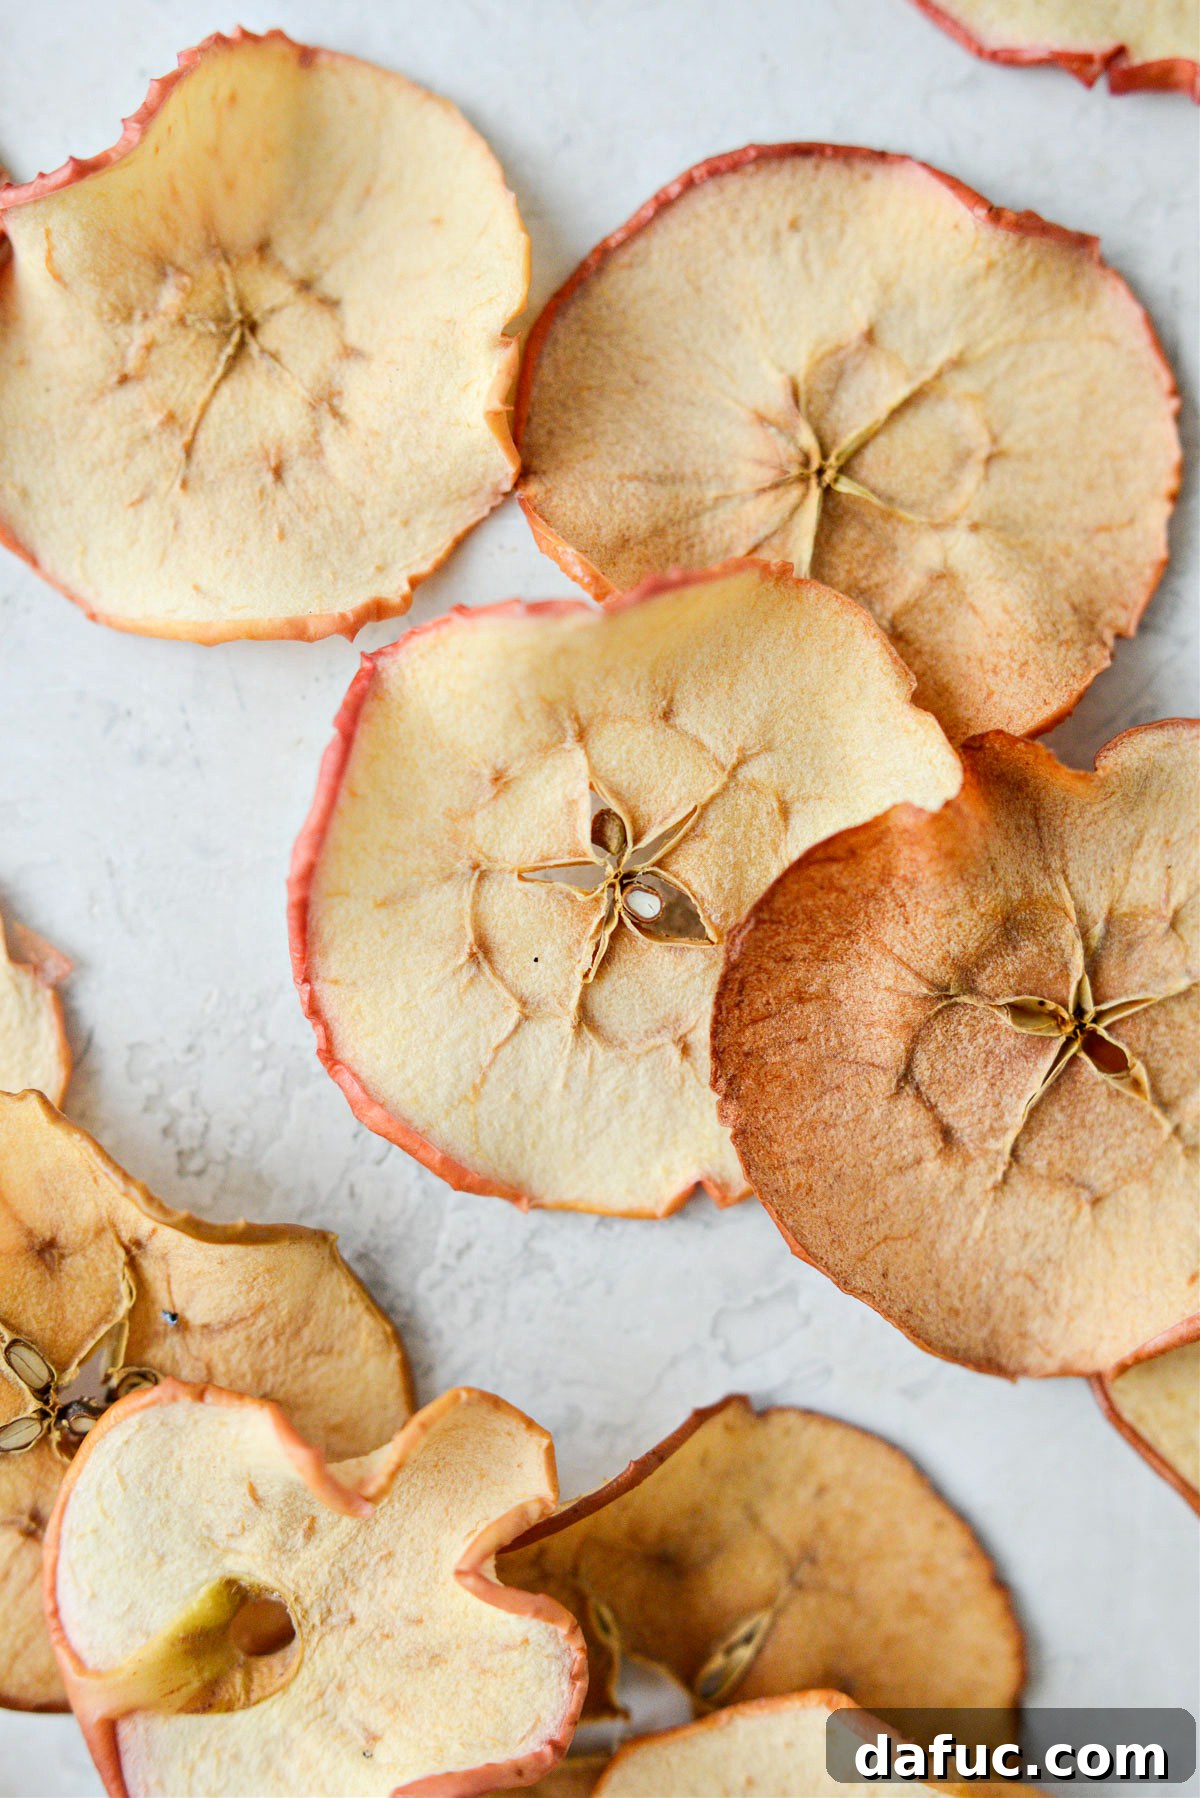
Transform fresh apples into a wonderfully healthy and irresistibly crispy snack right in your own kitchen! Our comprehensive guide to making **Homemade Baked Apple Chips** will show you how to effortlessly create delicious, naturally sweet, and remarkably satisfying apple chips. By baking thinly sliced apples slowly and gently in your oven, you’ll not only save money but also gain complete control over your ingredients, enjoying a wholesome treat that’s far superior to any store-bought alternative. Perfect as a standalone snack, a delightful crunch added to your morning oatmeal or granola, or a unique garnish for savory soups and vibrant salads, these homemade apple chips are a versatile delight suitable for any occasion.
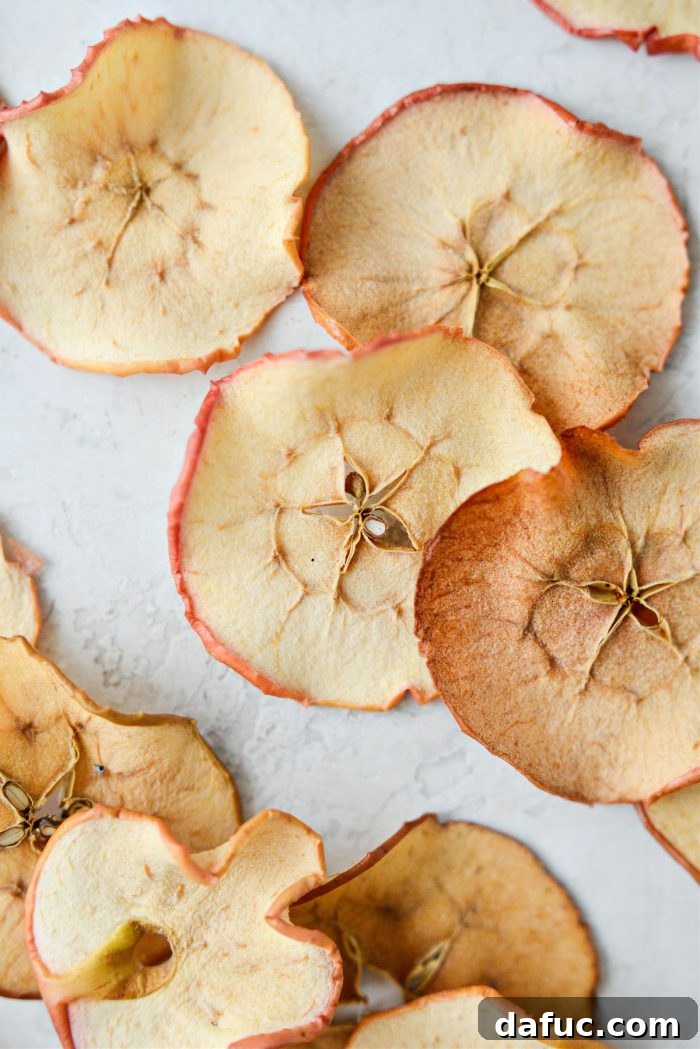
Unlock the Simple Secret to Irresistibly Crispy Baked Apple Chips
Making your own **crispy baked apple chips** is an astonishingly easy culinary adventure that demands minimal active effort, making it an ideal kitchen project for both seasoned home cooks and culinary novices alike. The enchanting transformation occurs by patiently baking uniformly thin apple slices at a consistently low temperature for a few hours in your oven. This gentle, slow baking process meticulously dehydrates the apple slices, thereby concentrating their inherent sweetness and transforming their texture into delightfully crisp, naturally sweet, and incredibly addictive chips. It’s a testament to simple ingredients yielding extraordinary results.
Forget about the often expensive, artificial preservative-laden, and overly sugary options found in grocery stores. With nothing more than a couple of fresh, firm apples and a few hours of hands-off oven time, you can craft a superior snack that perfectly aligns with your dietary goals and taste preferences. Beyond being a simply delicious snack, these homemade treats are incredibly versatile ingredients, capable of elevating everything from a casual afternoon nibble to sophisticated breakfast parfaits, and even serving as a delicate garnish for gourmet salads. They truly represent a wholesome and enjoyable addition to your culinary repertoire.
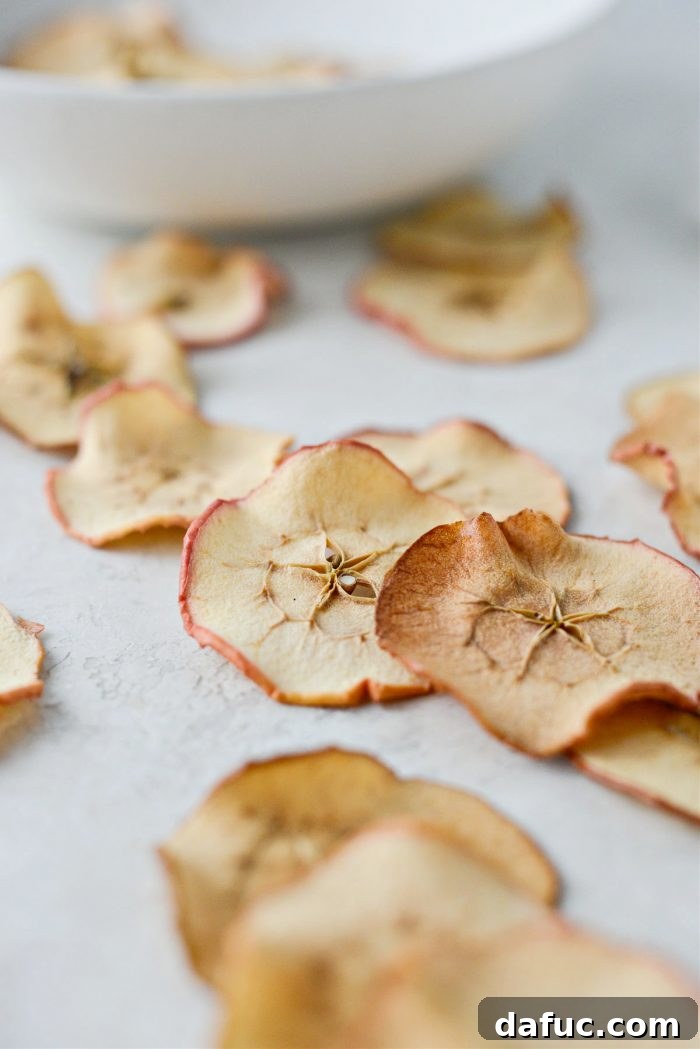
Why Choose Homemade Baked Apple Chips Over Store-Bought?
The decision to make your own apple chips is one that offers numerous advantages, transforming a simple fruit into a powerful ally in healthy eating and mindful living.
- **A Healthier Indulgence:** At their core, homemade apple chips are pure fruit. Unlike many commercially produced snacks, they contain no artificial additives, excessive refined sugars, unhealthy trans fats, or questionable preservatives. You control every ingredient, ensuring a clean, wholesome snack rich in natural fiber and essential vitamins from the apples. This makes them an excellent choice for a guilt-free treat for adults and a nutritious snack for children.
- **Economical and Smart:** Apples are a widely available and generally affordable fruit, especially when purchased in season. Transforming them into chips at home is remarkably more cost-effective than repeatedly buying pre-packaged dried fruit, which often carries a premium price tag. This simple recipe helps you maximize your grocery budget without compromising on quality or flavor.
- **Endless Customization:** While the natural sweetness of baked apples is delightful on its own, homemade chips offer a canvas for flavor experimentation. A sprinkle of ground cinnamon, a dash of nutmeg, a hint of ginger, or even a subtle touch of pumpkin pie spice can transform the flavor profile to perfectly match your mood or the season. You can even experiment with a tiny pinch of sea salt for a sweet-and-savory contrast.
- **Simplicity at Its Best:** The core recipe requires only one ingredient: apples! Optional additions like lemon juice and cinnamon enhance the experience without introducing complexity. This straightforward approach means you always have transparency about what you’re consuming, contributing to a more informed and healthier diet.
- **Beyond a Snack – A Culinary Ally:** As you’ll discover, these chips are not limited to just snacking. Their unique texture and concentrated flavor make them a surprisingly versatile ingredient that can enhance both sweet and savory dishes, proving their worth as a true kitchen staple.
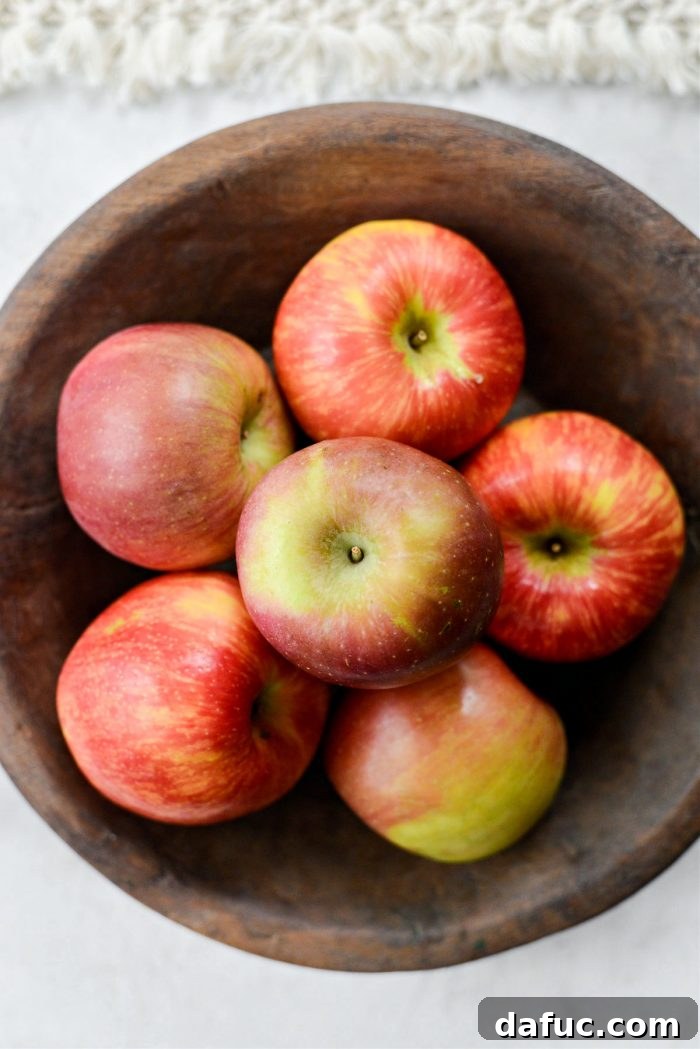
Choosing the Perfect Apple Varieties for Your Chips
The success of your baked apple chips begins with selecting the right apples. The ideal apple will be firm, crisp, and possess a good balance of sweetness and tartness, ensuring it holds its shape beautifully during the baking process and develops a satisfying crisp texture. Here are some of our top recommendations:
- **Fuji:** Renowned for its exceptional crispness and wonderfully sweet, juicy flavor, Fuji apples yield firm, sweet chips that hold up well.
- **Gala:** A beloved variety known for its mild sweetness and fine-grained flesh, Gala apples bake into light and airy chips with a delicate flavor.
- **Golden Delicious:** These apples offer a classic, balanced sweet-tart flavor profile and transform into delightfully tender-crisp chips when slowly baked.
- **Honeycrisp:** Living up to its name, Honeycrisp apples are incredibly crisp and famously sweet, making them an outstanding choice for chips that retain a delightful and robust crunch.
- **Pink Lady (Cripps Pink):** With a distinctive tart-sweet flavor and firm, dense flesh, Pink Lady apples produce vibrant, slightly tangy, and wonderfully crisp chips.
While these varieties are highly recommended, feel free to experiment with other firm, less watery apples you enjoy. A blend of different varieties can also introduce a fascinating depth of flavor and texture to your snack bowl.
Your Detailed Step-by-Step Guide to Crispy Homemade Apple Chips
Achieving perfectly crisp apple chips is a testament to mindful preparation and the virtue of patience. By meticulously following these detailed steps, you are guaranteed to produce the best possible results, yielding a batch of apple chips that will become your new favorite wholesome snack.
Step 1: Essential Oven and Baking Sheet Preparation
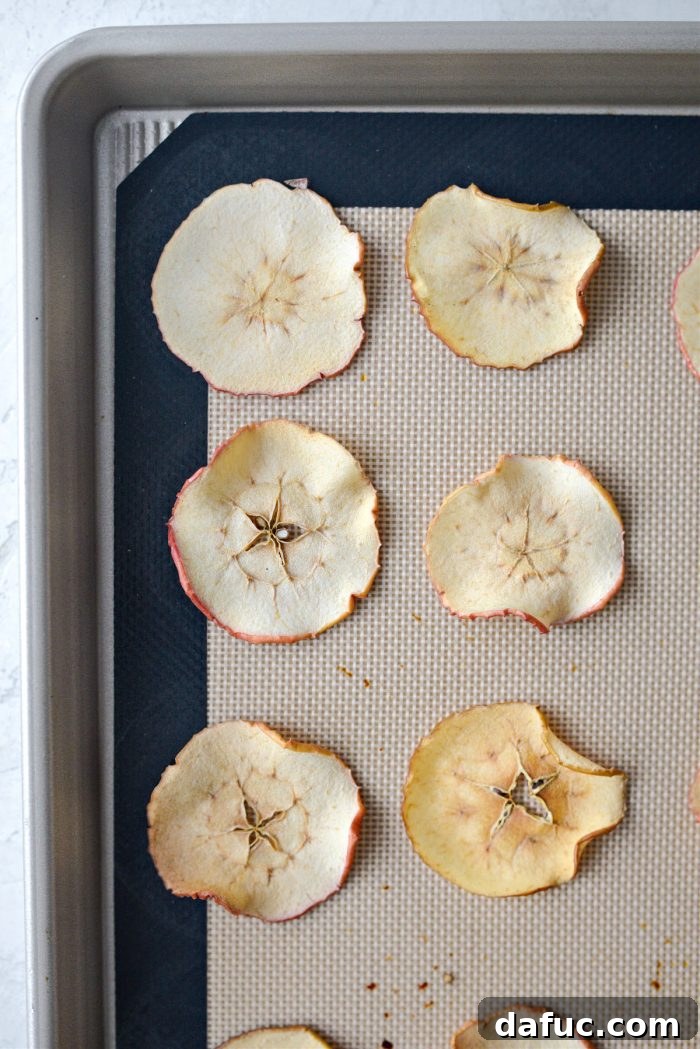
Before you even begin slicing your beautiful apples, it’s crucial to properly prepare your baking environment. Preheat your oven to a consistently low temperature of **200°F (94°C)**. This specific low-and-slow heat setting is absolutely critical; it ensures the apples gradually dehydrate without burning, which is the secret to achieving that coveted maximum crispness. Next, take two standard-sized, rimmed metal baking sheets and line them thoroughly with either parchment paper or high-quality silicone baking mats. This preventative measure is vital for ensuring the apple slices do not stick to the pan and makes the task of flipping them mid-bake significantly easier.
Step 2: Mastering the Art of Uniform Slicing
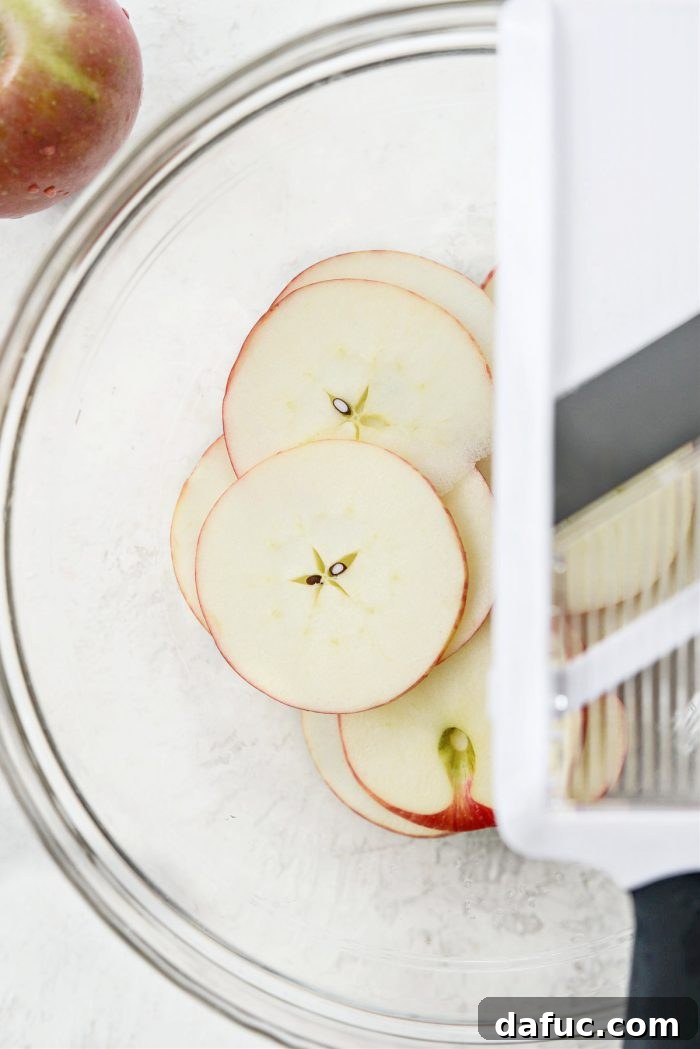
The single most important factor in creating uniformly crispy apple chips is the thickness of your slices. Strive for slices that are approximately **2-1/2 millimeters (roughly 1/10th of an inch)** thick. Consistency here is paramount; any variation in thickness will lead to uneven baking, where some slices become perfectly crispy while others remain disappointingly chewy. While a very sharp chef’s knife can work with careful precision, a mandoline slicer is unequivocally recommended for achieving perfectly uniform, paper-thin slices with ease and efficiency. If you opt for a mandoline, always prioritize safety: use the provided safety guard diligently and exercise extreme caution to protect your fingers from the sharp blade.
Step 3: The Optional Lemon Bath and Spice Infusion
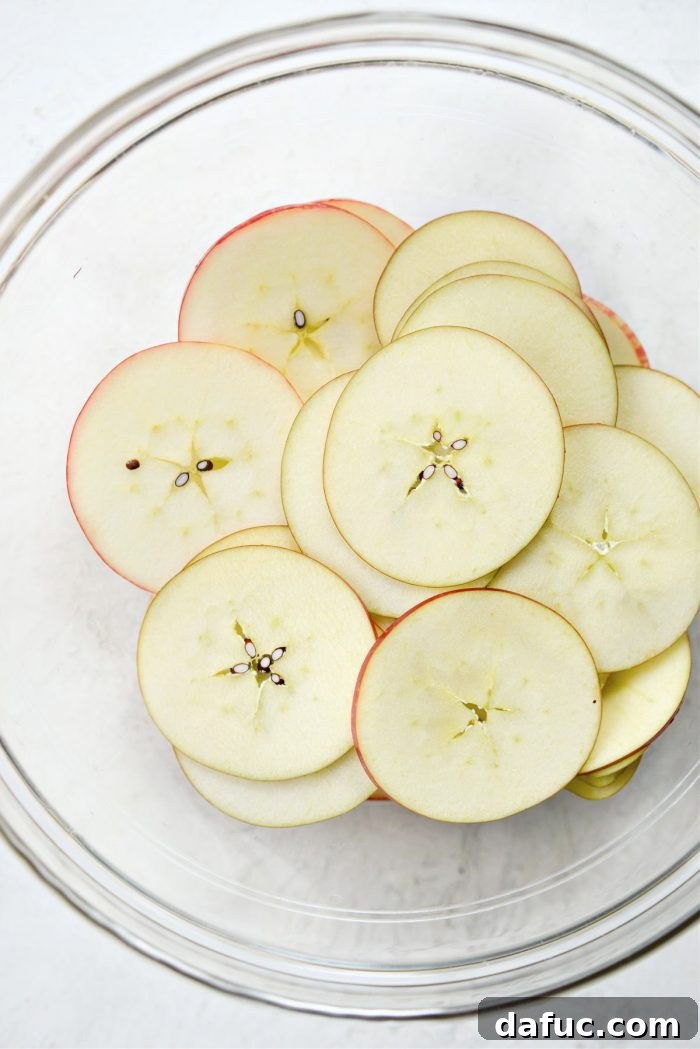
Once your apples are perfectly sliced, gently toss them in the fresh juice of half a lemon. While this step is entirely optional, it comes highly recommended. The citric acid present in the lemon juice acts as a natural antioxidant, effectively preventing the apple slices from undergoing excessive browning during the extended baking time. This ensures your finished chips retain their appealing, vibrant color. If you wish to infuse your chips with additional flavor, this is the opportune moment to lightly sprinkle them with a dusting of ground cinnamon, a touch of nutmeg, or a carefully crafted blend of your favorite warm spices. Gently toss the slices again to ensure an even and thorough coating.
Step 4: Strategic Arrangement for Optimal Dehydration
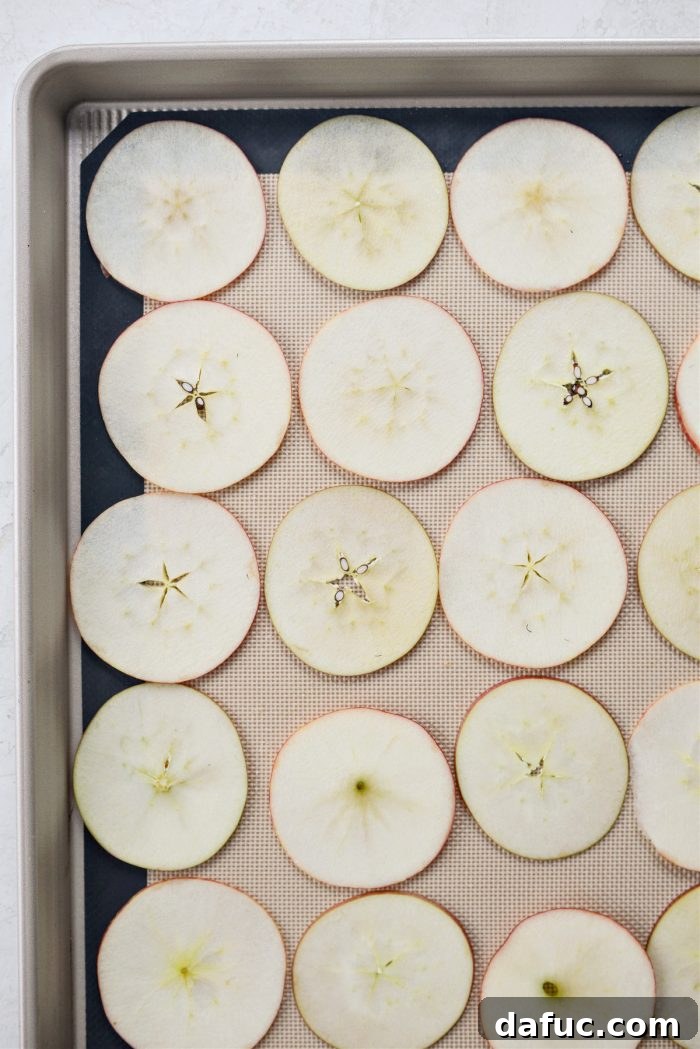
Carefully arrange the seasoned apple slices in a single, perfectly even layer across your prepared baking sheets. It is absolutely crucial that no slices overlap. Overlapping inhibits proper air circulation around each slice, which is essential for uniform drying and crispness. To avoid overcrowding, you’ll typically find that two small to medium-sized apples will comfortably fit across two standard baking sheets, allowing each slice ample space to dehydrate properly.
Step 5: The Initial Bake and Essential Flip
Carefully place your baking sheets into your preheated oven and allow the apples to bake for an initial period of **1 hour**. After this first hour has elapsed, use sturdy oven mitts to safely remove the hot pans from the oven. At this stage, the apple slices will have begun to visibly dry out and will feel somewhat pliable. This is the moment for a crucial step: gently, yet carefully, flip each individual apple slice. This ensures even dehydration and promotes crispness on both sides, contributing significantly to the final texture.
Step 6: The Final Bake and Crispness Verification
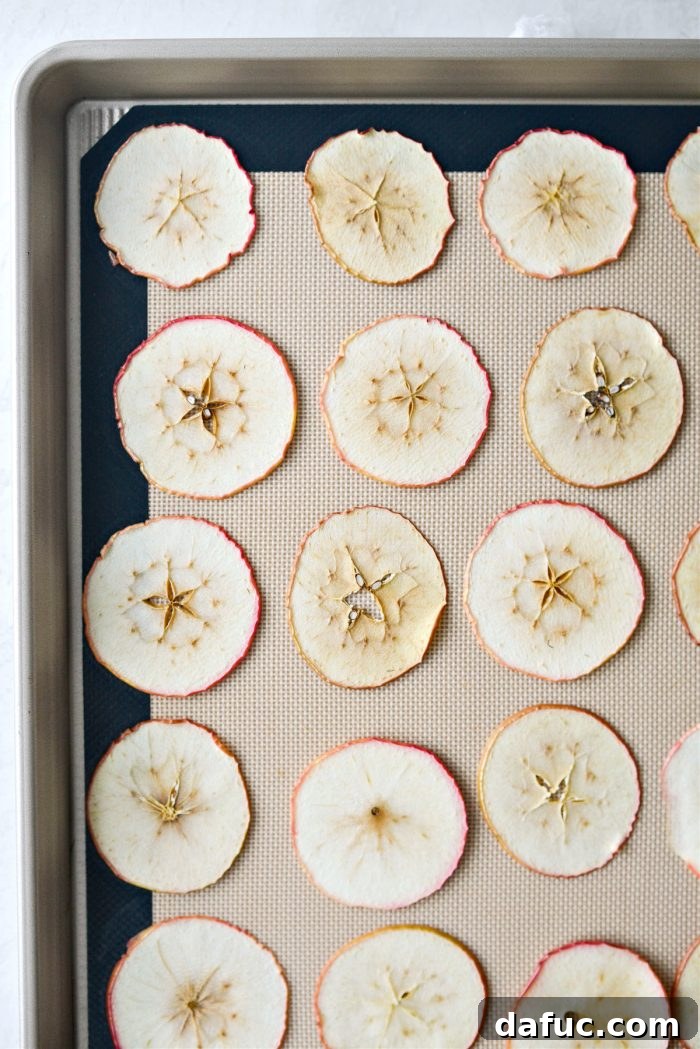
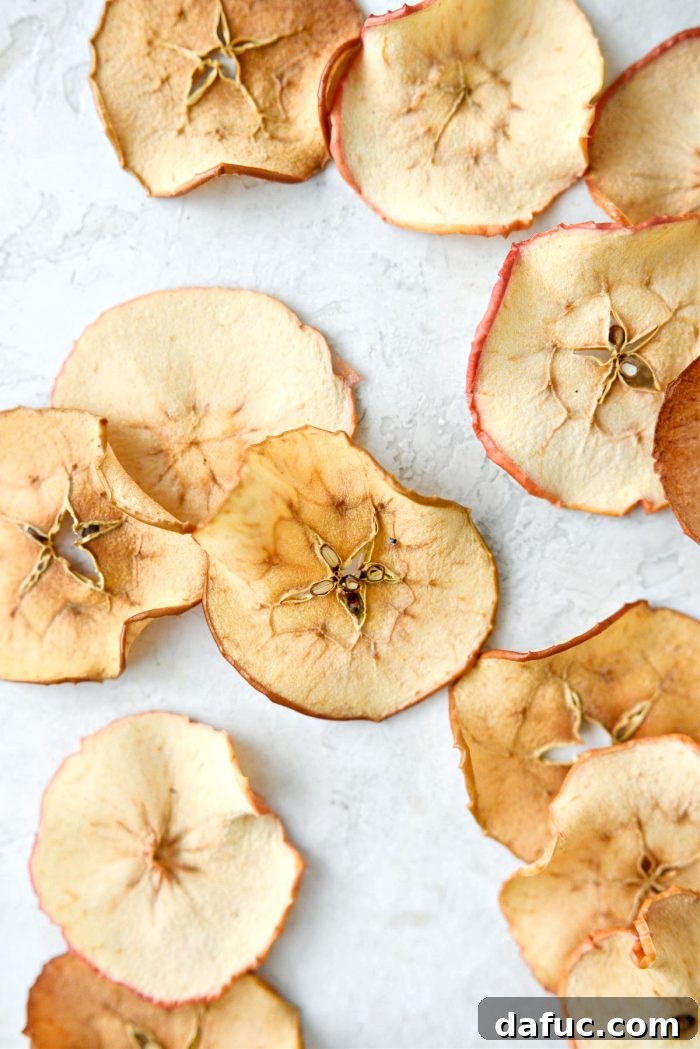
Return the baking sheets to the oven and continue the baking process for an additional **1 hour**. After this second hour (totaling 2 hours of baking), it’s time to meticulously check the apple slices for doneness. They should feel firm to the touch, and their edges might be slightly curled and golden. While they may still possess a very slight pliability or softness in their centers directly out of the oven, do not be alarmed; they will continue to crisp up considerably as they cool down to room temperature. If, however, your apple slices were particularly thick or your oven tends to run cooler, they might require more time. In such instances, continue baking in **15-minute increments**, checking frequently between each interval, until they achieve your desired level of crispness. Always keep a watchful eye to prevent accidental over-baking, which can lead to burnt chips.
How To Properly Store Your Homemade Baked Apple Chips for Maximum Freshness
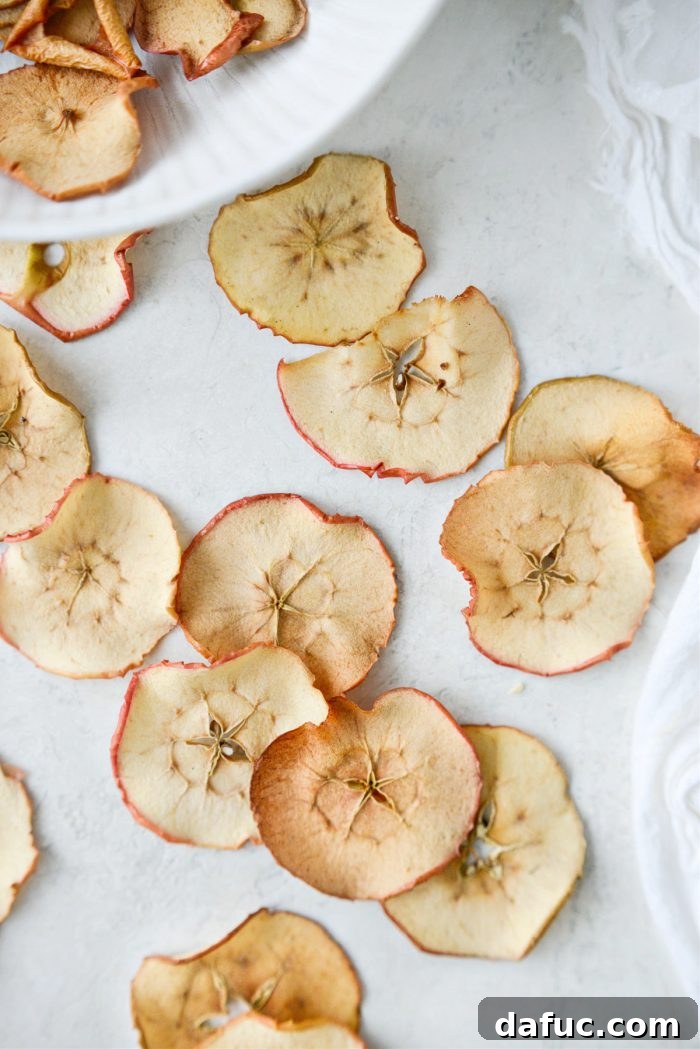
Once your delectable apple chips have achieved their perfect crispness and have completely cooled down to room temperature, correct storage is paramount to preserving their delightful texture. Store them in an air-tight container, such as a glass jar with a tight-fitting lid or a high-quality resealable plastic bag. Keep the container at room temperature, away from direct sunlight and humidity. When stored properly, your homemade baked apple chips will retain their optimal crispness and full flavor for up to **1 week**. It’s important to avoid refrigerating them, as the moisture within the refrigerator environment can cause them to soften prematurely and lose their desirable crunch.
Creative and Delicious Ways to Enjoy Your Baked Apple Chips
While enjoying a handful of these naturally sweet and crispy chips straight from the bowl is a pure delight, their subtle flavor and satisfying crunch make them an incredibly versatile ingredient in a myriad of culinary applications. Don’t limit yourself to just snacking; explore these innovative ways to incorporate your homemade baked apple chips into your meals and treats:
- **Elevate Your Beverages:** For a naturally sweetened and subtly apple-infused drink, steep a slice or two of your apple chips with your favorite black, green, or herbal tea. They also make a wonderfully aromatic addition to festive mulled wine or cider, releasing fragrant apple notes as they rehydrate.
- **Sophisticated Garnish for Soups and Salads:** Introduce a surprising textural contrast and a hint of sweetness by crumbling apple chips over your favorite fall-flavored soups. Imagine the enhanced experience with the rich flavors of a creamy homemade squash soup, a vibrant roasted ginger carrot soup, or a hearty curried apple butternut squash soup. They also provide a delightful crunch to green salads, particularly those featuring ingredients like walnuts, goat cheese, or a balsamic vinaigrette.
- **Dessert Topping Extraordinaire:** Transform simple desserts with ease. Crumble baked apple chips over a scoop of vanilla bean ice cream, sprinkle them onto plain Greek yogurt, or layer them into a yogurt parfait for an instant upgrade. Their crisp texture provides a beautiful contrast to creamy elements.
- **Granola and Cereal Booster:** Break your chips into smaller, bite-sized pieces and mix them into your morning oatmeal, or stir them into your favorite homemade granola recipe for an extra layer of fruity flavor and satisfying crunch. They are also a fantastic addition to trail mixes.
- **Artful Cheese Board Companion:** Elevate your charcuterie or cheese board by pairing these sweet and tangy apple chips with an assortment of sharp cheeses, a drizzle of honey, and a selection of nuts. They offer an unexpected yet delightful sweet and savory element.
- **Healthy Lunchbox Treat:** Pack a handful of these delicious apple chips as a wholesome, naturally sweet, and fun alternative to processed snacks in school or work lunchboxes.
Frequently Asked Questions About Homemade Apple Chips
- **Do I need to peel the apples before slicing?** No, peeling is entirely optional. The apple skin not only adds extra dietary fiber and nutrients but also contributes a lovely rustic appeal and a slight chewiness to your chips. If you prefer a smoother, more uniform texture, you can certainly peel them, but it is not a requirement for achieving crispness.
- **Can I make these apple chips using an air fryer instead of an oven?** Yes, absolutely! Air fryers can be quite effective in producing excellent apple chips, often in a shorter amount of time. However, you will likely need to work in smaller batches compared to using a full oven, which might mean the overall time taken for a large quantity could be similar or even longer. Always consult your air fryer’s manual for specific temperature and time recommendations.
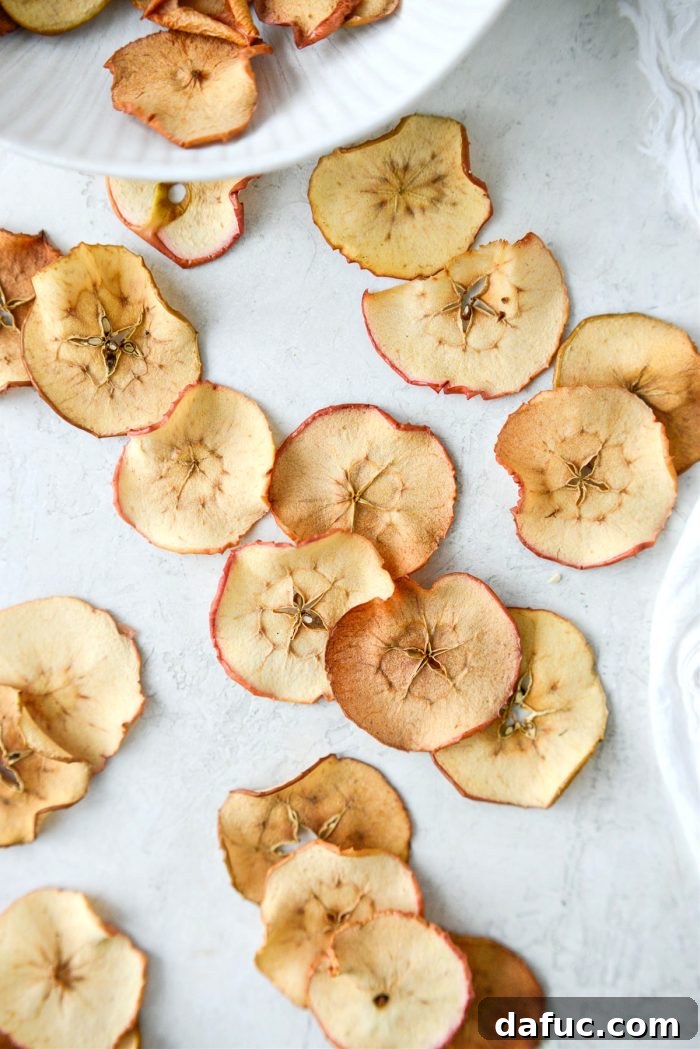
- **How do I know when my apple chips are perfectly done and crispy?** Your apple chips are typically done when they are visibly golden brown, feel firm to the touch, and are mostly dry. It’s important to remember that they will continue to crisp up significantly as they cool down to room temperature. Don’t expect them to be perfectly brittle immediately out of the oven. If they are still very soft and pliable, they require additional baking time.
- **My homemade apple chips turned out chewy instead of crispy. What went wrong?** The most common culprits for chewy rather than crispy apple chips are slices that are too thick or insufficient baking time. To remedy this, ensure your slices are consistently thin (2.5mm is the ideal target). If, after the initial 2 hours, they are still too soft, continue baking them in 15-minute increments, checking frequently, until they reach your desired level of crispness.
- **Can I experiment with other spices in addition to cinnamon?** Absolutely! While cinnamon is a classic choice, feel free to unleash your creativity. A pinch of ground nutmeg, allspice, ground cloves, a touch of pumpkin pie spice, or even a tiny dash of cardamom can impart unique and delightful flavor profiles to your apple chips.
We genuinely hope you enjoy the rewarding process of crafting and savoring these delightful **Crispy Baked Apple Chips**! They truly offer a perfect harmony of health, exquisite flavor, and immense satisfaction. If you decide to give this wonderful recipe a try, we would be absolutely thrilled to hear about your experience! Please feel free to share your culinary creations and tag us on Twitter or Instagram! Your feedback and photos inspire us.

Print Recipe
Pin Recipe
4 servings
Crispy Baked Apple Chips
Ingredients
- 2 medium apples, see notes for best varieties
- 1 tablespoon lemon juice, optional, to prevent browning
- a few pinches of ground cinnamon, optional, for flavor
Equipment
-
OXO Good Grips Hand-held Mandolin (recommended for even slicing)
-
2 Rimmed Metal Baking Sheets
-
Parchment Paper or Silicone Baking Mats
Instructions
-
Preheat your oven to 200°F (94℃). Line 2 rimmed, metal baking pans with a silicone mat or parchment paper.
-
Thinly slice the apples into a bowl, aiming for a consistent thickness of no more than 2.5 millimeters (about 1/10th of an inch). A mandoline slicer is highly recommended for best results.
-
If desired, squeeze lemon juice over the apple slices and toss gently to coat. This helps prevent excessive browning. Optionally, sprinkle with ground cinnamon or other spices.
-
Arrange the apple slices in a single, even layer on the prepared pans. Ensure no slices are overlapping.
-
Bake in your preheated oven for 1 hour. Carefully remove the pans using oven mitts.
-
Gently flip each apple slice to ensure even dehydration, then return the pans to the oven and bake for another hour.
-
After 2 hours, check the apple slices for crispness. They should be firm but may still feel slightly soft; they will crisp up further as they cool. If they are still too soft, continue baking in 15-minute increments until desired crispness is achieved.
-
Allow chips to cool completely on the baking sheets before storing. Store in an air-tight container at room temperature for up to 1 week.
Notes
Calories: 48kcal,
Carbohydrates: 13g,
Sodium: 2mg,
Fiber: 2g,
Sugar: 10g