
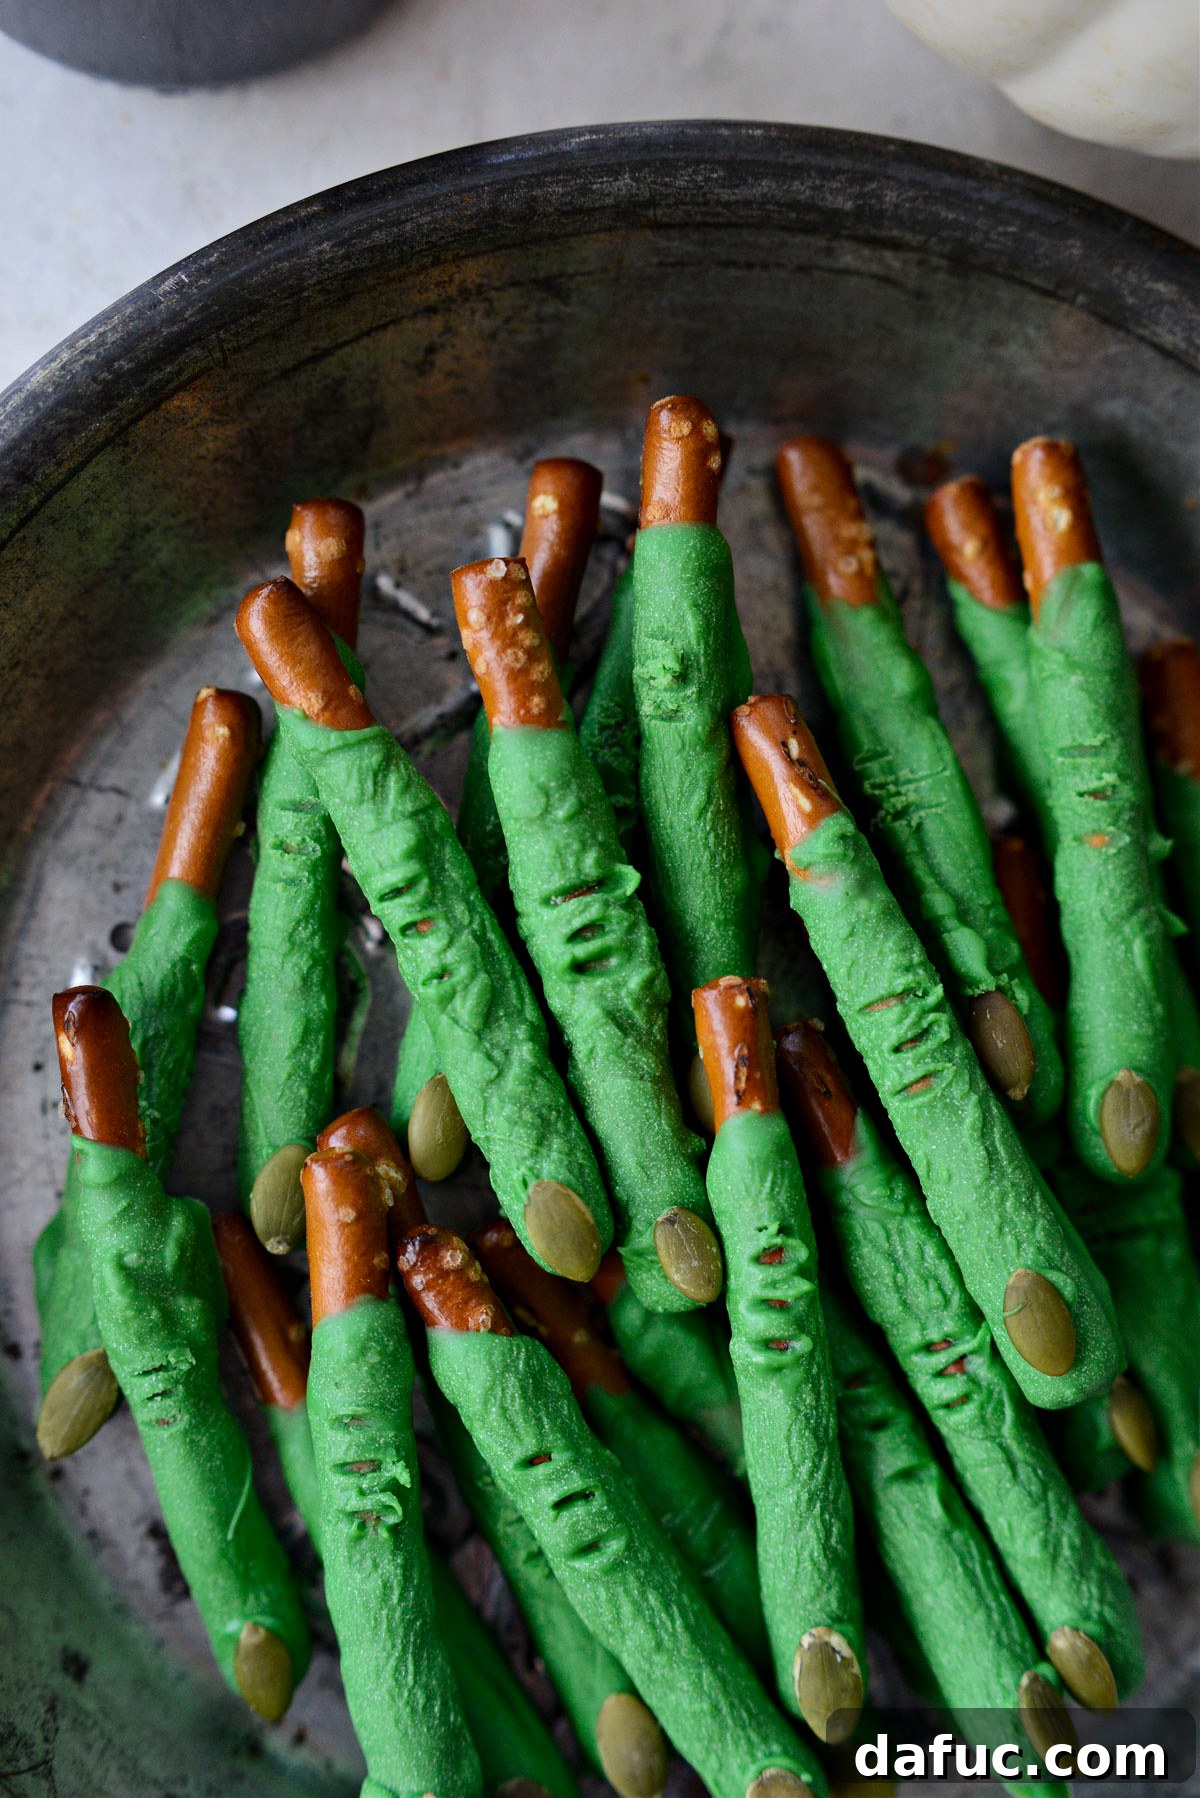
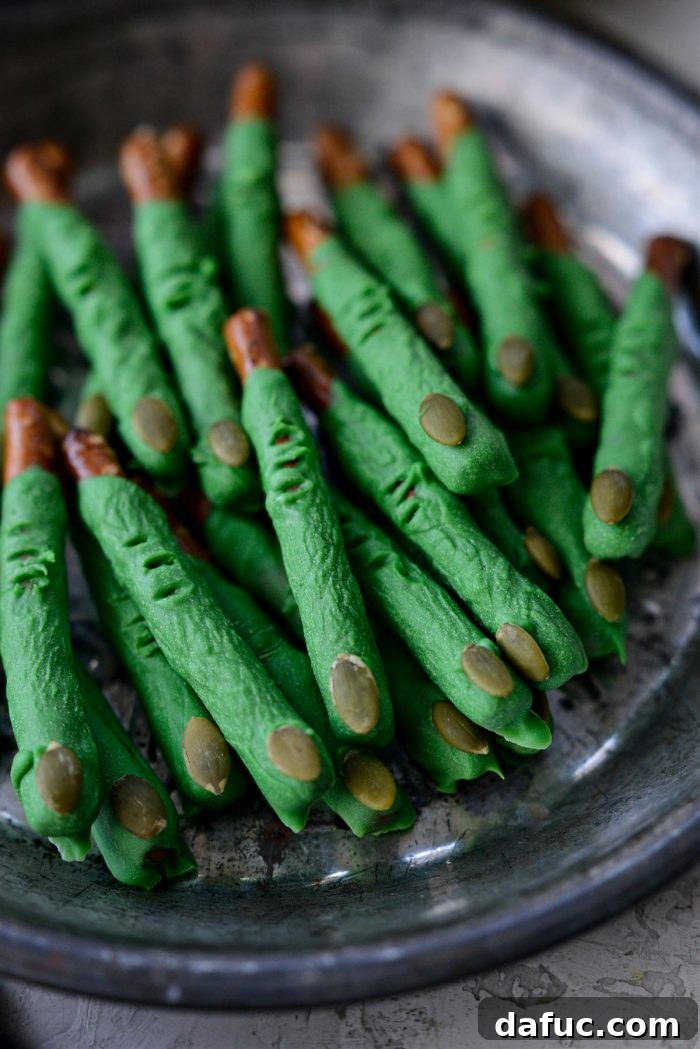
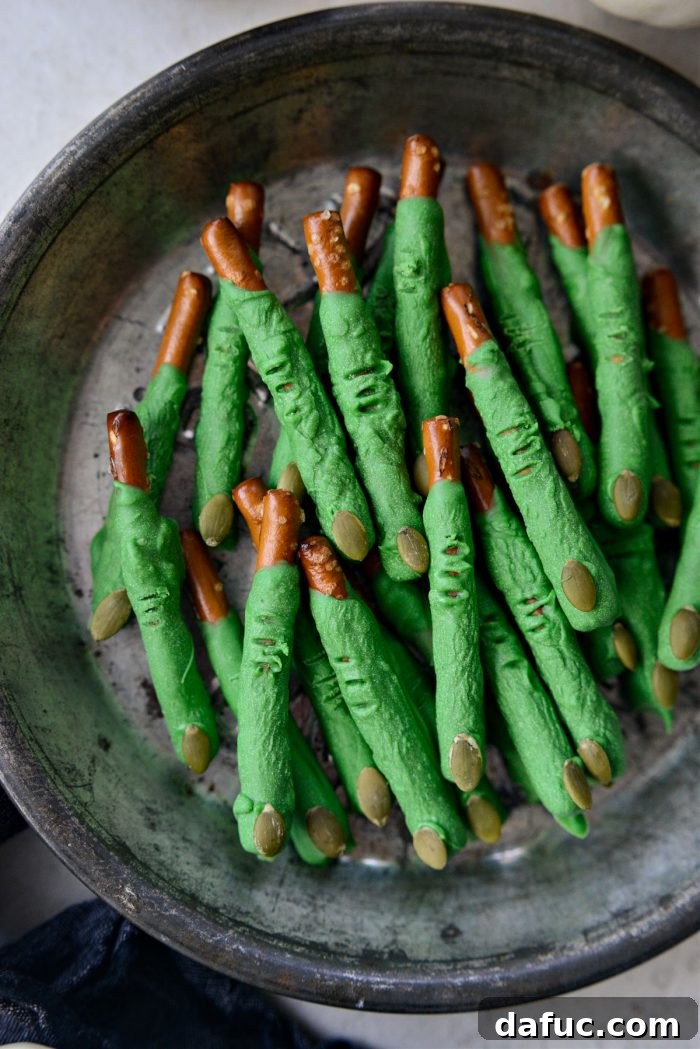
Get ready to cast a delicious spell this Halloween with our incredibly simple and wonderfully spooky Witch Finger Pretzels! This recipe takes ordinary pretzel dippers and transforms them into ghoulishly green, finger-like treats, complete with eerie pumpkin seed fingernails. Whether you’re a seasoned baker or a complete novice in the kitchen, these delightful confections are guaranteed to be a hit at any Halloween gathering. Each batch yields approximately 35 hauntingly good fingers, making them perfect for parties, school events, or just a fun family activity!
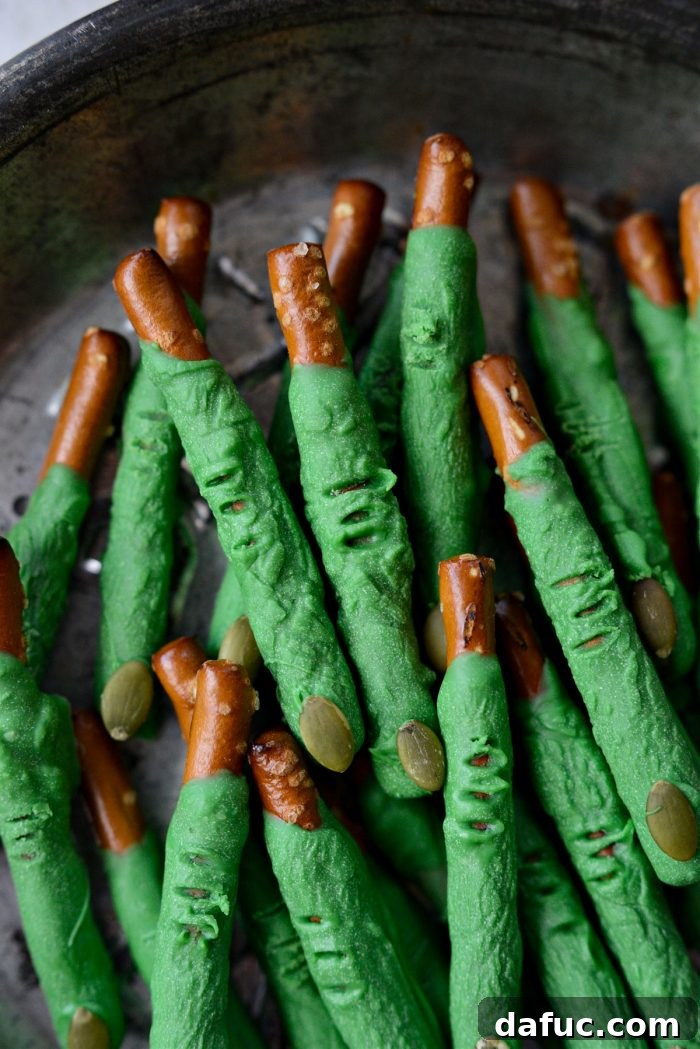
Unleash Your Inner Halloween Creator (No Artistry Required!)
You might be thinking, “Making elaborate treats isn’t really my forte.” And believe me, many of us feel the same way! Even seasoned cooks sometimes shy away from intricate baking, especially when it comes to decorative holiday snacks. But here’s the magic of these Witch Fingers: they are designed for everyone, including those who claim they’re “not the most artistic.” The beauty of these treats lies in their imperfect, ‘gnarly’ appearance – the more twisted and creepy they look, the better! This makes them an ideal project for kids to help with, as their unique touches only add to the spooky charm. Forget precision; embrace the delightfully grotesque!
Essential Ingredients & Simple Tools for Spooky Witch Fingers
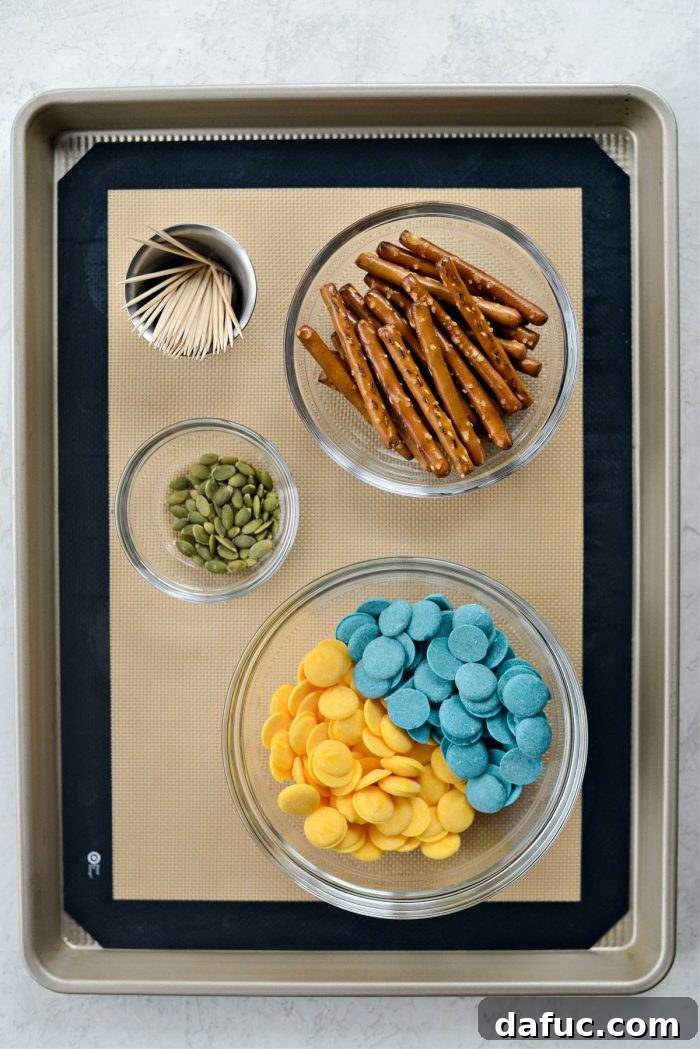
One of the many reasons this recipe shines is its minimal ingredient list and straightforward equipment. You won’t need any fancy gadgets or hard-to-find items. Most of what you need can be found at your local grocery store, and the process is incredibly beginner-friendly. Here’s what you’ll gather to conjure up your batch of magical, edible fingers:
- Candy Melts: The vibrant green color is key!
- Pretzels: Specifically, “pretzel dippers” work best for their shape.
- Pumpkin Seeds: These will become the creepy fingernails.
- Toothpick: Your secret weapon for creating realistic knuckle wrinkles.
- Heatproof Bowl & Saucepan: For melting the candy melts using a double boiler method.
- Heat-Safe Measuring Cup: Makes dipping much easier and less messy.
- Parchment Paper or Silicone Mat: For setting the dipped pretzels without sticking.
Choosing Your Candy Melts: The Secret to Wicked Green
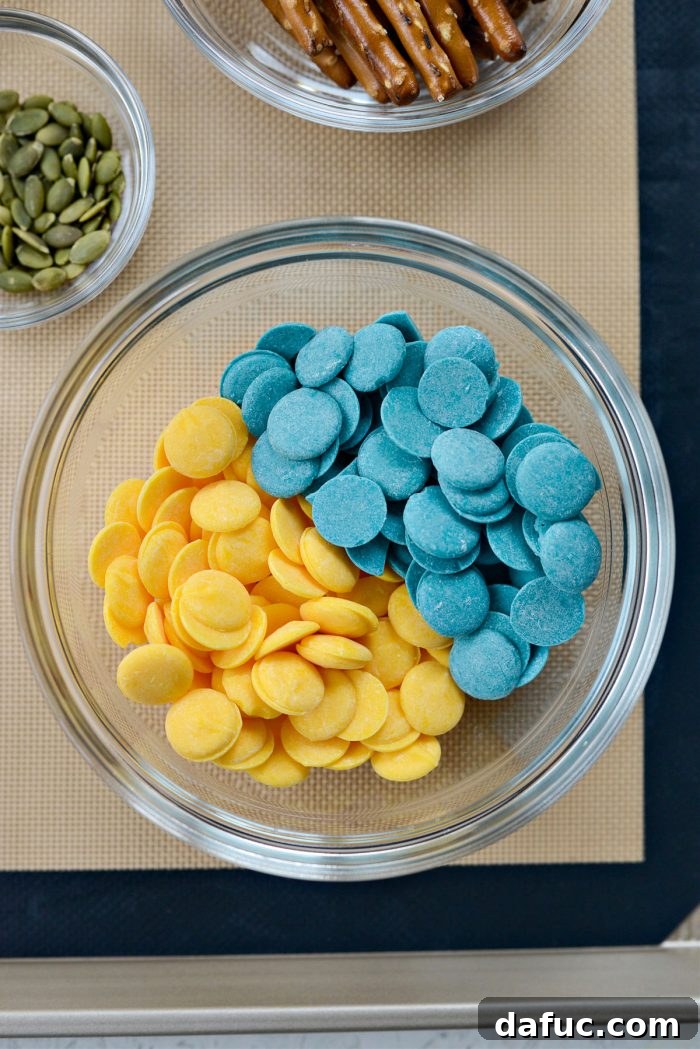
The green color is absolutely essential for authentic-looking witch fingers. While pre-colored green candy melts are readily available, sometimes your local store might be out, or you might desire a specific shade. Don’t fret! A clever trick is to mix different colored candy melts to achieve your desired hue. For example, if you’re aiming for a vivid, almost neon green, combining turquoise and yellow candy melts works wonderfully. In this recipe, we found that a ratio of 3/4 cup yellow to 1/2 cup turquoise candy melts produced a stunning, vibrant green that truly pops. Experiment with ratios to find your perfect witchy shade! Alternatively, you can use white candy melts and add a few drops of oil-based green food coloring (gel food coloring also works) until you reach your desired vibrancy. Water-based food coloring can cause chocolate to seize, so always opt for oil-based or gel varieties.
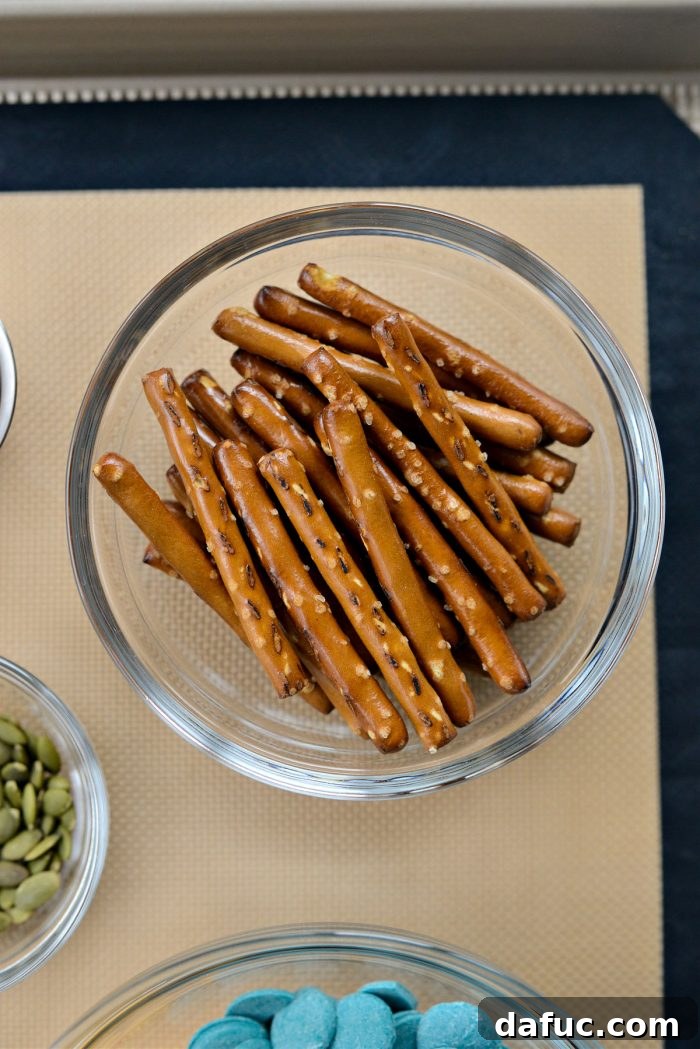
Selecting the Perfect Pretzel “Fingers”
The type of pretzel you choose is crucial for achieving the classic witch finger shape. We highly recommend using “pretzel dippers.” These pretzels are typically flat and rectangular, making them ideal for coating evenly and resembling a finger. Brands like Snyder’s often offer this shape, which you can usually find in the snack aisle. If you can’t find pretzel dippers, straight pretzel rods cut into finger-length pieces can also work, though they might require a bit more chocolate to coat. Avoid very thin or twisted pretzels, as they won’t hold the chocolate coating as well or provide the desired finger-like aesthetic.
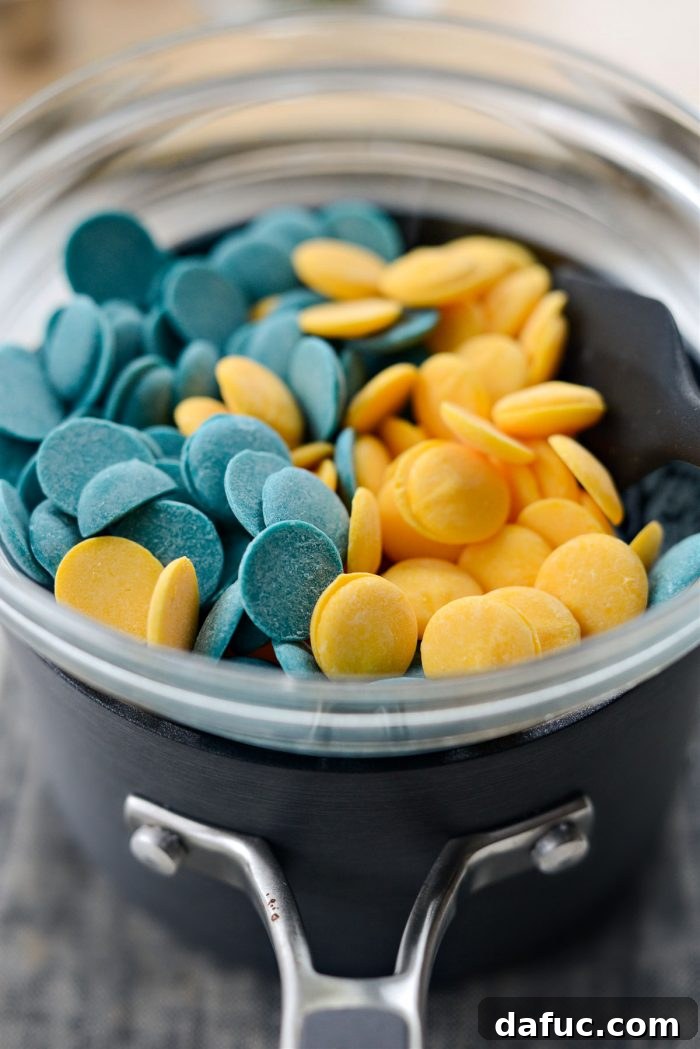
Mastering the Melt: The Double Boiler Method
Melting candy melts can be a delicate process. The double boiler method is our preferred technique as it provides gentle, even heat, preventing the chocolate from burning or seizing. Here’s how to set it up perfectly:
- Prepare your setup: Place your candy melts (or mixed colors) into a clean, heatproof bowl.
- Fill the saucepan: Find a saucepan that is slightly smaller than your heatproof bowl. Fill it with about an inch of water. The key here is that when you place the bowl on top of the saucepan, the bottom of the bowl should *not* touch the water. The steam, not direct heat, will melt the candy.
- Heat gently: Bring the water in the saucepan to a gentle simmer over medium-low heat.
- Melt the candy: Once the water is simmering, place the bowl with the candy melts on top. The steam will begin to gently heat the bottom of the bowl, slowly melting the candy.
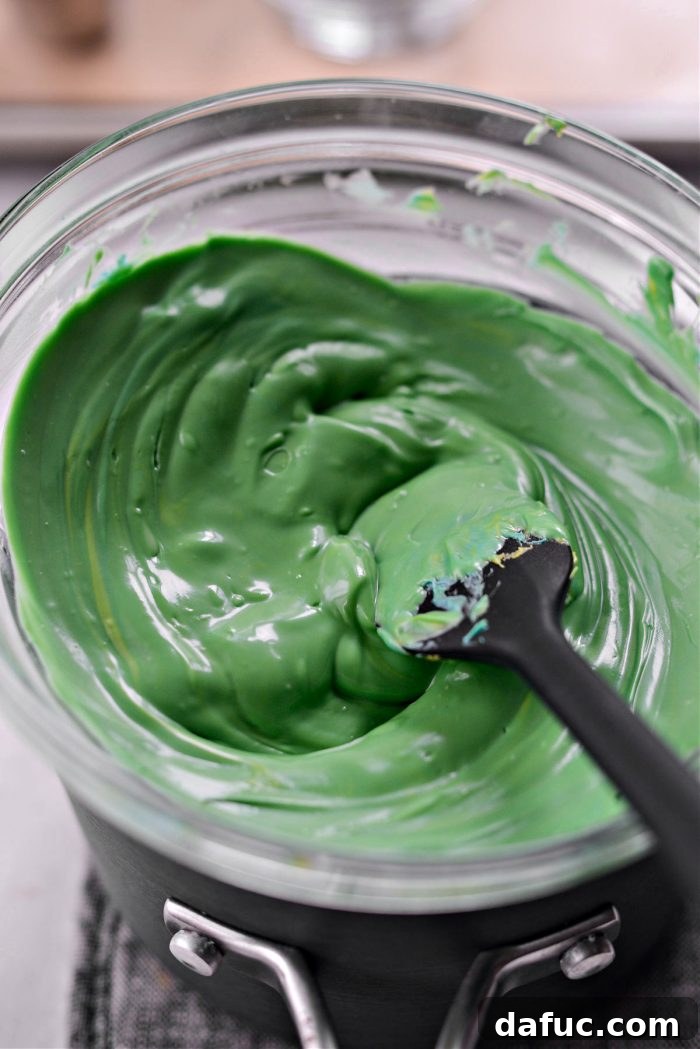
Continue to bring the water to a simmer and allow the rising steam to transfer heat to the bowl, slowly and carefully melting your candy melts. This indirect heat ensures a smooth, luscious consistency, crucial for dipping.
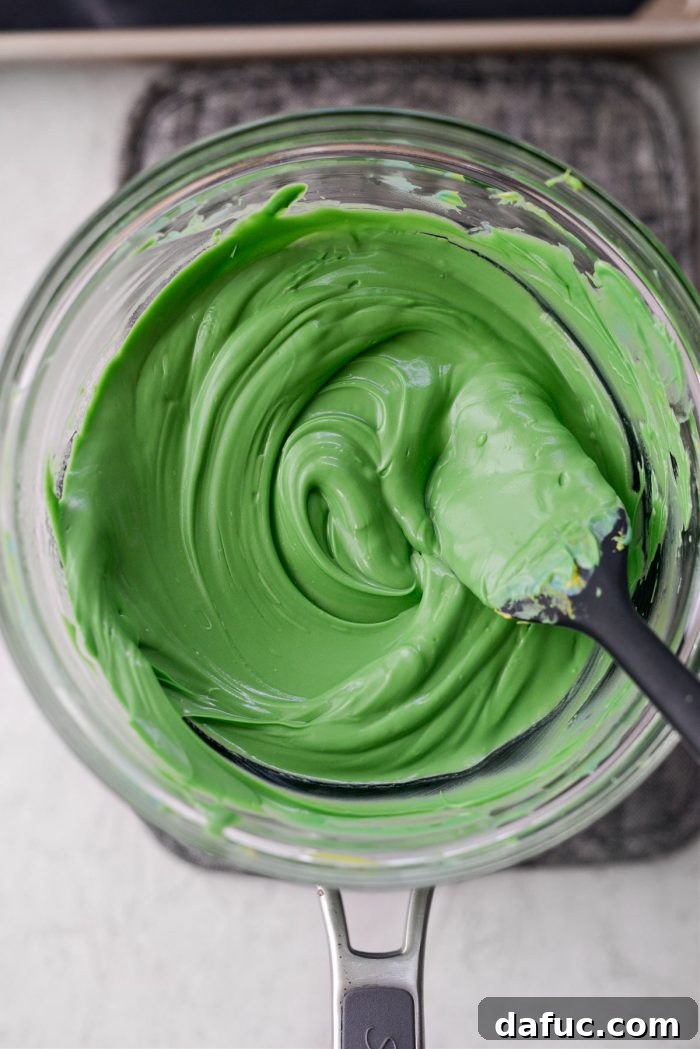
Stir the candy melts frequently with a spatula or spoon until they are completely smooth, lump-free, and have a uniform consistency. Be patient; this process takes a few minutes, but the smooth result is worth it!
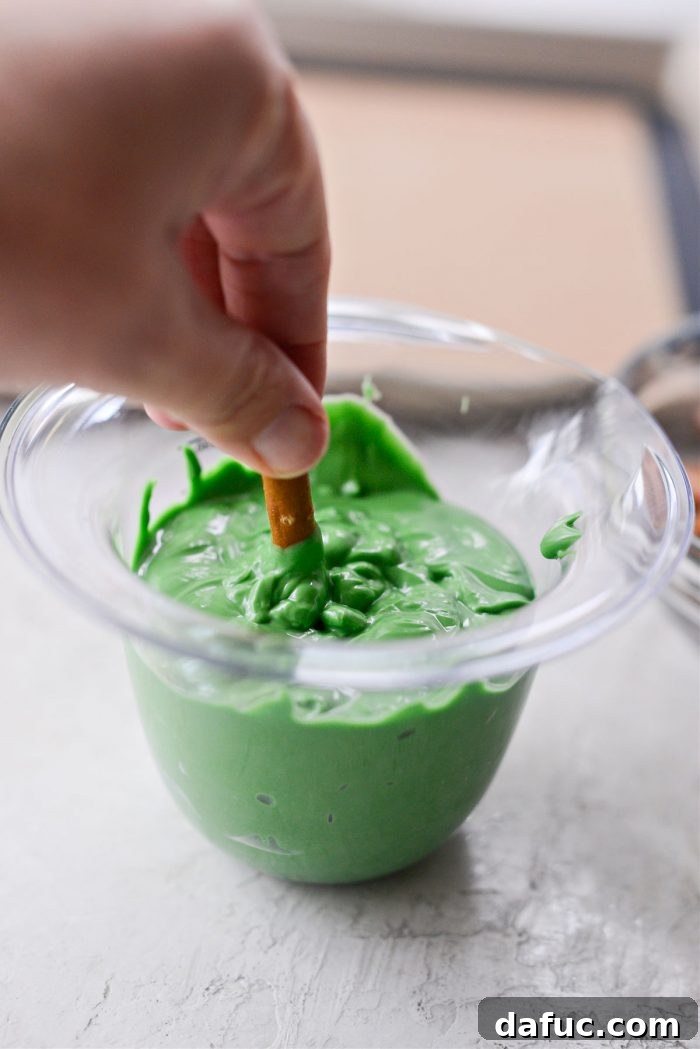
Crafting Your Creepy Confections: A Step-by-Step Guide
Dipping for that Gnarly Effect
Once your candy melts are perfectly smooth, carefully remove the heatproof bowl from the saucepan using oven mitts (it will be hot!). Transfer the melted candy into a heat-safe measuring cup or a tall, narrow glass. This shape makes it much easier to fully submerge and coat the pretzels. Take each pretzel dipper and immerse it into the green melted candy, swirling it around gently until it’s mostly coated. Leave a small section at the very end of the pretzel uncoated to resemble the base of a finger.
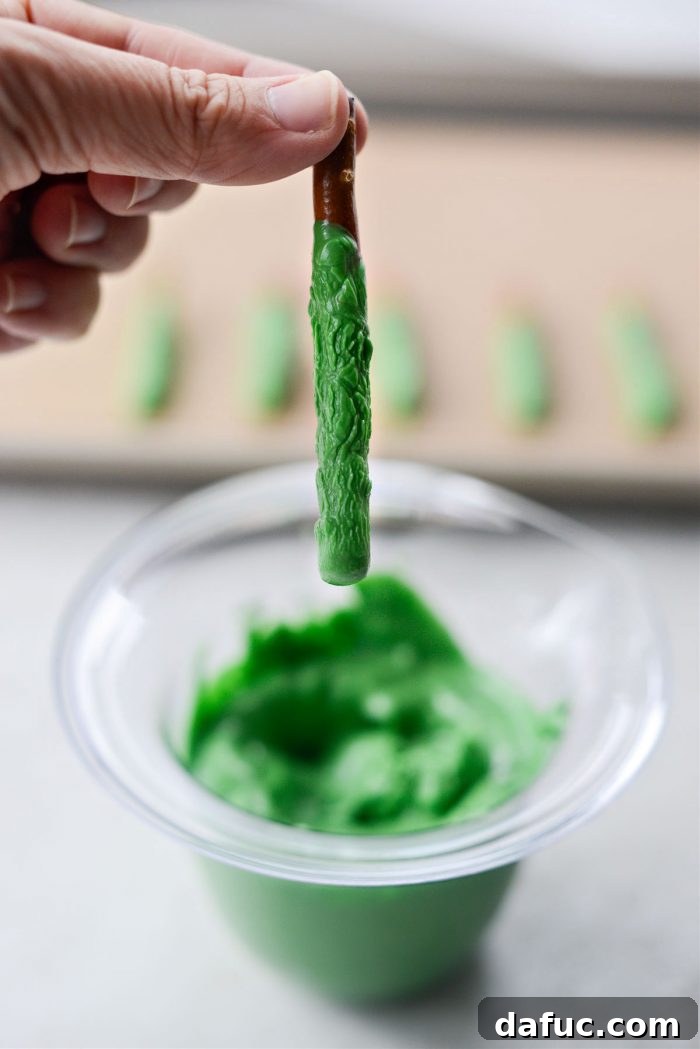
The next step is key to creating that wonderfully “gnarly” and textured witch finger look. Hold the dipped pretzel over the measuring cup and gently tap or shake off most of the excess chocolate. Don’t aim for a perfectly smooth coating; a slightly uneven, bumpy texture is exactly what you want to achieve. This creates the illusion of a witch’s skin, adding to the spooky aesthetic. Place each dipped pretzel onto a sheet of parchment paper or a silicone mat as you go.
Affixing the Fingernails and Etching Knuckles
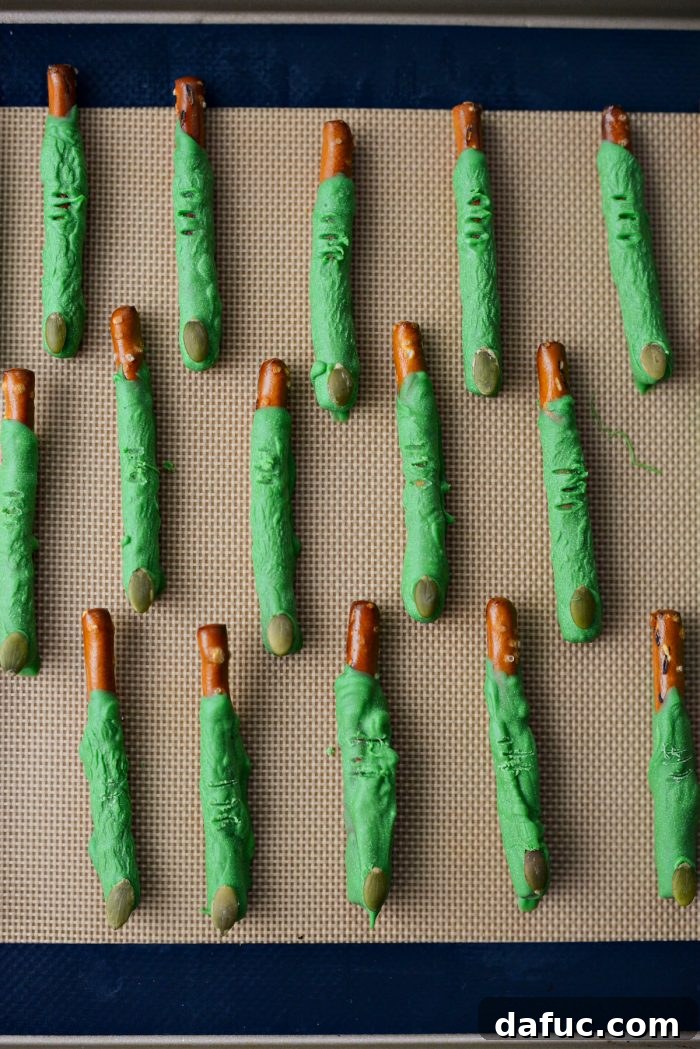
Immediately after dipping a pretzel and shaking off the excess chocolate (while the candy is still wet and soft), it’s time to add the pumpkin seed fingernail. Gently press a single pumpkin seed onto the end of the dipped pretzel, securing it into the soft candy. If the candy has already started to set slightly, you can dab a tiny bit of melted candy onto the back of the pumpkin seed and then attach it. Ensure the pointed end of the pumpkin seed faces outwards, like a natural fingernail.
Once the candy has set slightly (it should still be pliable but not completely liquid), grab a toothpick. Use the tip of the toothpick to gently etch in “knuckle wrinkles” on the pretzel, about a third of the way down from the pumpkin seed. Make two or three horizontal lines, pressing just enough to create an indentation without breaking the pretzel. These small details truly bring your witch fingers to life!
Finishing Touches and Serving Your Spooky Treats
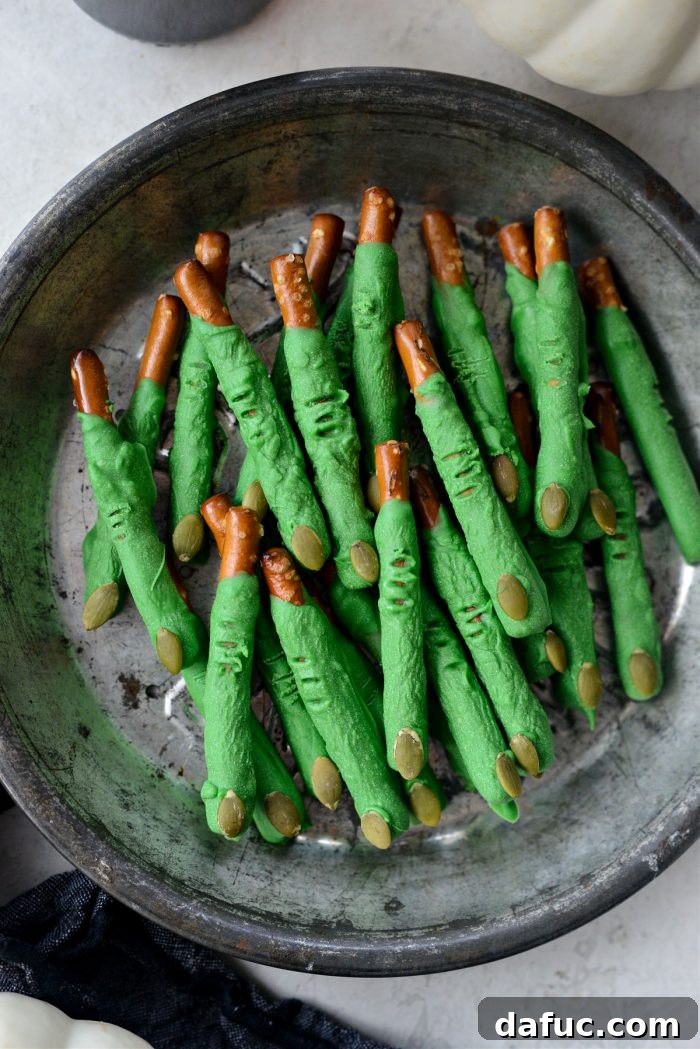
Allow your freshly crafted Witch Fingers to set completely. This can be done at room temperature, which might take 30-60 minutes depending on your environment, or you can speed up the process by placing them in the refrigerator for about 10-15 minutes. Once the green chocolate coating is solid and firm to the touch, your spooky treats are ready to serve!
Happy Halloween!
These Witch Finger Pretzels are more than just a snack; they’re an experience! Perfect for Halloween parties, school lunchboxes, or a fun afternoon activity with the kids. Watch as eyes widen with delight (and a little bit of playful fright!) when your guests encounter these eerie edible digits.
Tips for Success and Creative Variations
To ensure your Witch Fingers are nothing short of spectacular, consider these additional tips and fun ideas:
- Color Customization: While green is traditional, don’t limit yourself! Try purple candy melts for “bruised” witch fingers, or orange and black for a classic Halloween palette. You can even drizzle contrasting colors for an extra spooky effect.
- Fingernail Alternatives: If pumpkin seeds aren’t available or preferred, consider slivered almonds for sharper, more menacing nails, or even a small triangle of candy corn for a pop of color.
- Storage: Store Witch Fingers in an airtight container at room temperature for up to a week. If storing in the refrigerator, be aware that condensation might form on the chocolate when brought to room temperature.
- Kids in the Kitchen: This is a fantastic recipe for involving children! They can help with dipping, placing pumpkin seeds, and especially creating the knuckle lines. Supervise closely during the chocolate melting phase.
- “Bloody” Effect: For an extra gruesome touch, drizzle a little red gel food coloring or edible blood gel over the finished fingers once the chocolate has set.
- Edible Glitter: A dusting of edible green or silver glitter can add a magical, shimmering touch to your witch fingers, making them look even more enchanted.
Enjoy! We hope you have a blast making and sharing these Witch Fingers. If you give this recipe a try, we’d love to see your creations! Snap a photo and tag us on Twitter or Instagram!
Print Recipe
Pin Recipe
Leave a Review »
35
pretzels
Witch Fingers
25 minutes
0 minutes
0 minutes
25 minutes
Ingredients
-
3/4
cup
yellow candy melts -
1/2
cup
turquoise candy melts -
35
pretzel “dippers” -
35
pumpkin seeds,
raw and unsalted
Instructions
-
Place the candy melts in a heatproof bowl.
-
Bring a sauce pan with an inch of water to a boil. Place the bowl over top and reduce the heat to low.
-
Stir the candy melts until melted and thoroughly combined. Being careful as the bowl does get hot.
-
Use oven mitts to remove the bowl to a kitchen towel and then carefully pour into a heat safe measuring cup.
-
Dip each pretzel into the melted candy, swirling to get it mostly coated.
-
Place on a parchment paper or silicone mat and repeat with the remaining pretzels.
-
Once the fingers are almost dry, secure a pumpkin seed and use a toothpick to make knuckle wrinkles.
-
Serve once the witch fingers are solid.
Serving:
1
pretzel
,
Calories:
32
kcal
,
Carbohydrates:
4
g
,
Protein:
1
g
,
Fat:
2
g
,
Saturated Fat:
1
g
,
Polyunsaturated Fat:
1
g
,
Monounsaturated Fat:
1
g
,
Trans Fat:
1
g
,
Sodium:
19
mg
,
Potassium:
11
mg
,
Fiber:
1
g
,
Sugar:
3
g
,
Vitamin A:
1
IU
,
Vitamin C:
1
mg
,
Calcium:
1
mg
,
Iron:
1
mg
Laurie McNamara
Appetizers & Snacks, Desserts & Sweet Treats
American