
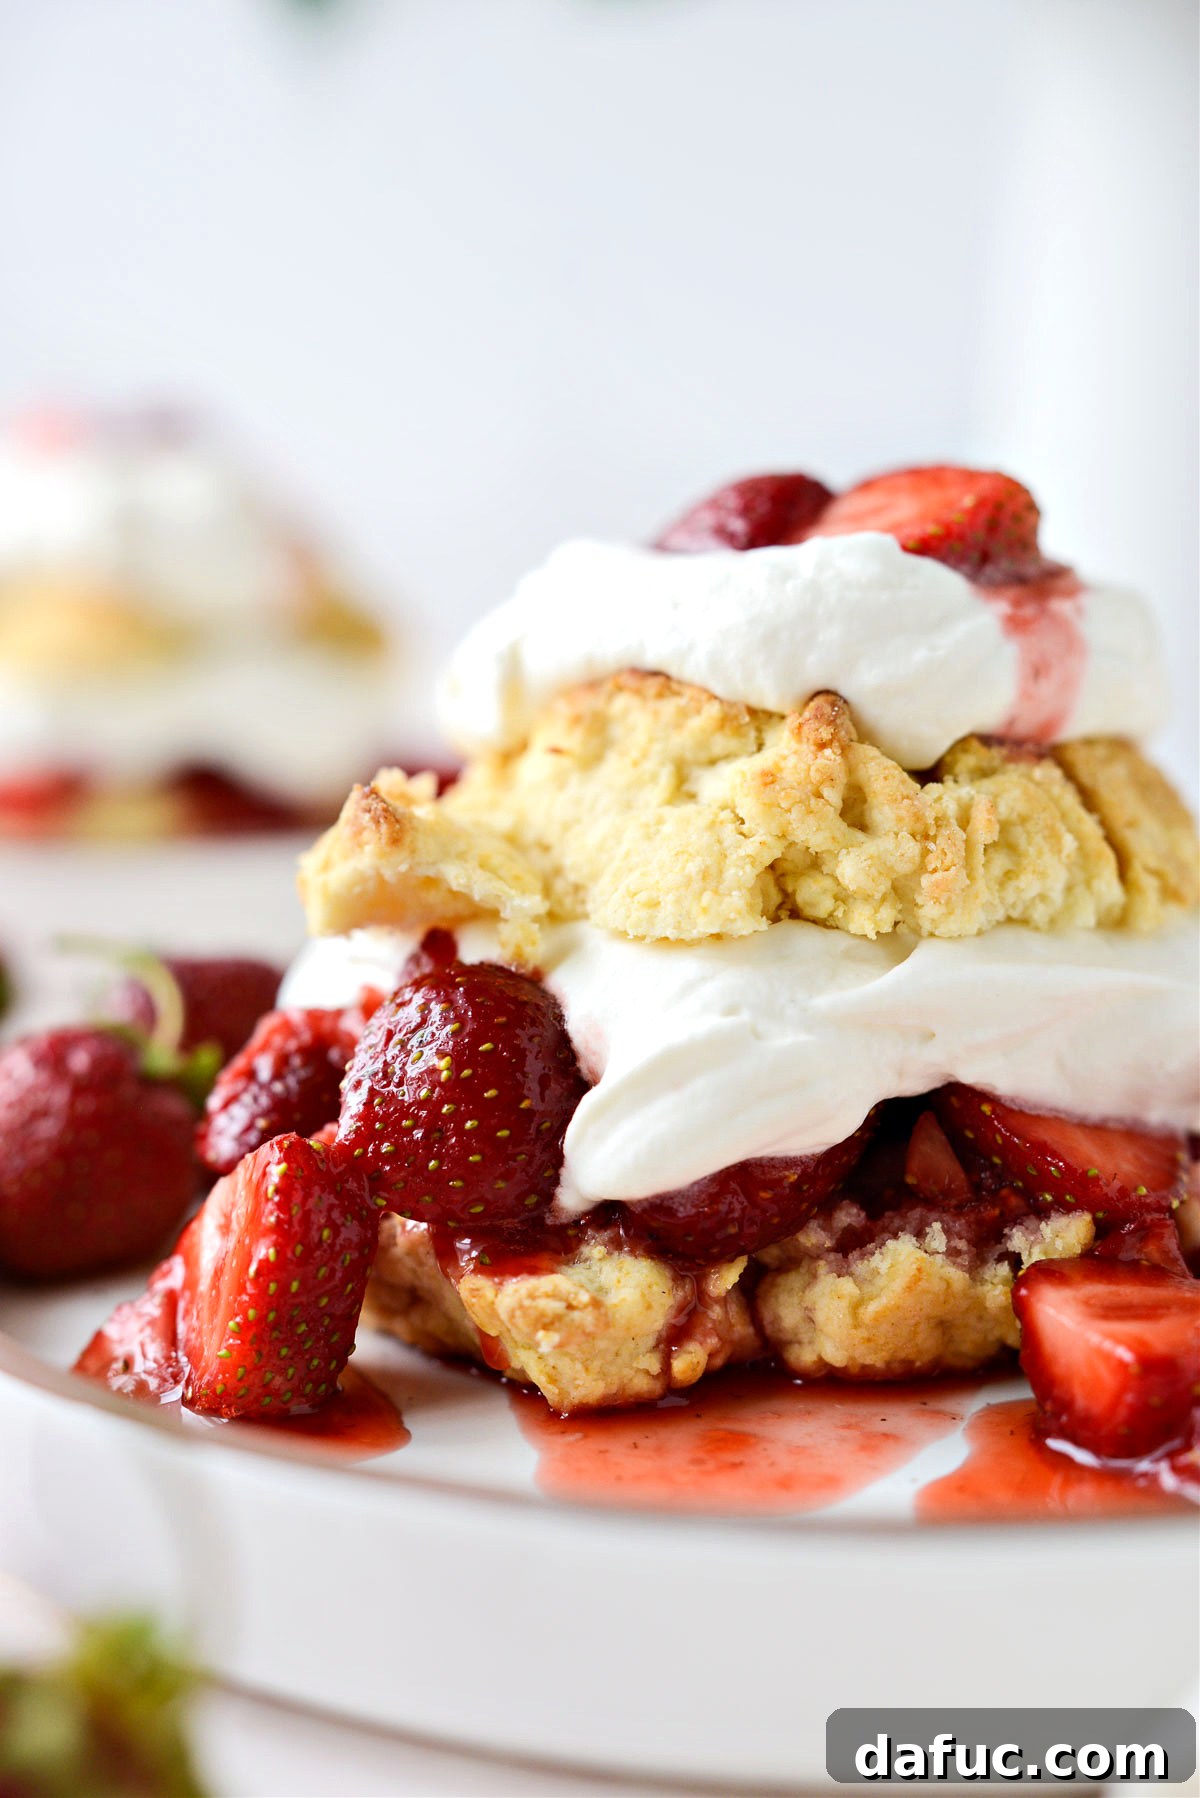
As the sun shines brighter and the days grow longer, there’s one quintessential dessert that captures the essence of summer perfectly: Homemade Strawberry Shortcake. Imagine sinking your teeth into a tender, buttery biscuit, its delicate crumb yielding to a burst of sweet, ruby-red strawberries, all crowned with a cloud of freshly whipped cream. This isn’t just a dessert; it’s a celebration of seasonal bounty, a nostalgic taste of childhood, and an absolute must-have for any warm-weather gathering. Forget complicated recipes or store-bought shortcuts; our guide will show you how to create the most incredible, easy homemade strawberry shortcake that promises to be the star of your summer menu. Serving 8 happy guests, this recipe is designed for ease without compromising on flavor or texture, guaranteeing a delightful experience from the first bite to the last.
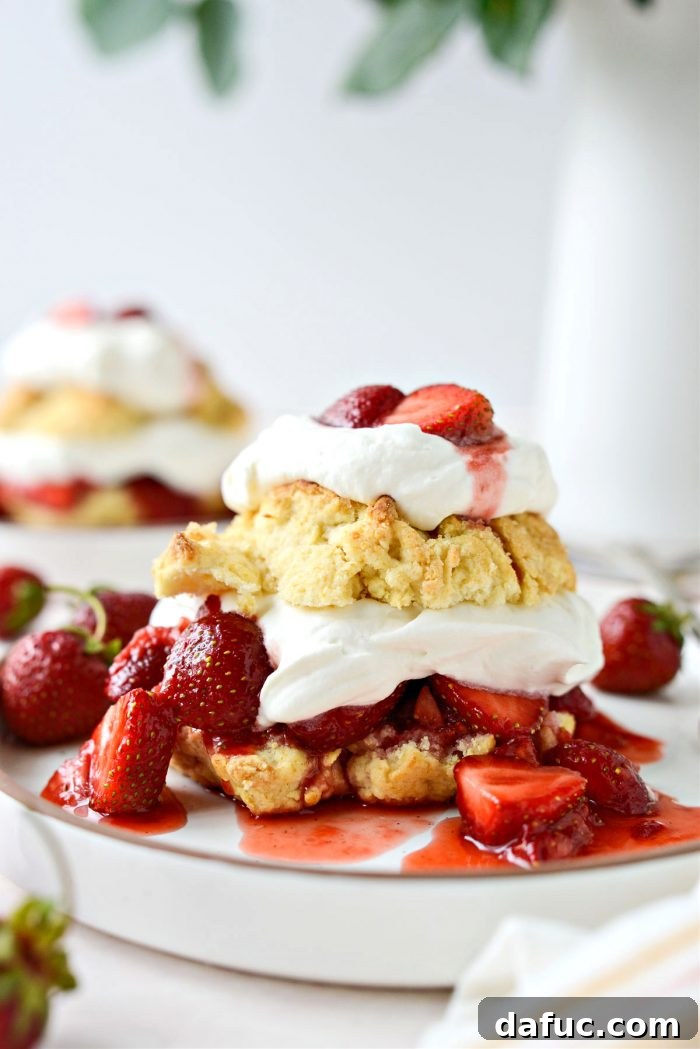
Embrace Summer with the Best Homemade Strawberry Shortcake
There’s an undeniable magic to strawberry shortcake in the summer. It’s a classic for a reason, but finding that perfect balance of components can be a quest. This isn’t just “another” strawberry shortcake recipe; it’s genuinely the best you’ll ever make. What sets it apart? It starts with an exceptionally soft and tender homemade shortcake biscuit. We elevate it further by sprinkling it with turbinado sugar before baking, creating a truly irresistible sugary crunch on top that beautifully complements the biscuit’s fluffy interior. This delightful base is then generously layered with an extraordinary fresh strawberry topping and dollops of rich, homemade whipped cream, transforming simple ingredients into a sublime dessert experience.
Many turn to angel food cake or pre-made bisquick-type biscuits for their shortcake base, often due to past disappointments with dry or heavy homemade versions. However, these shortcake biscuits are a revelation. They are remarkably light and airy, imbued with a delicate flavor that truly shines. The crispy, sweet crust paired with the glossy, juicy macerated strawberries and the decadent homemade whipped cream creates a harmonious symphony of textures and tastes. Each component is meticulously crafted to contribute to an overall experience that is nothing short of divine, making this the best strawberry shortcake you’ll ever have the pleasure of preparing and sharing.
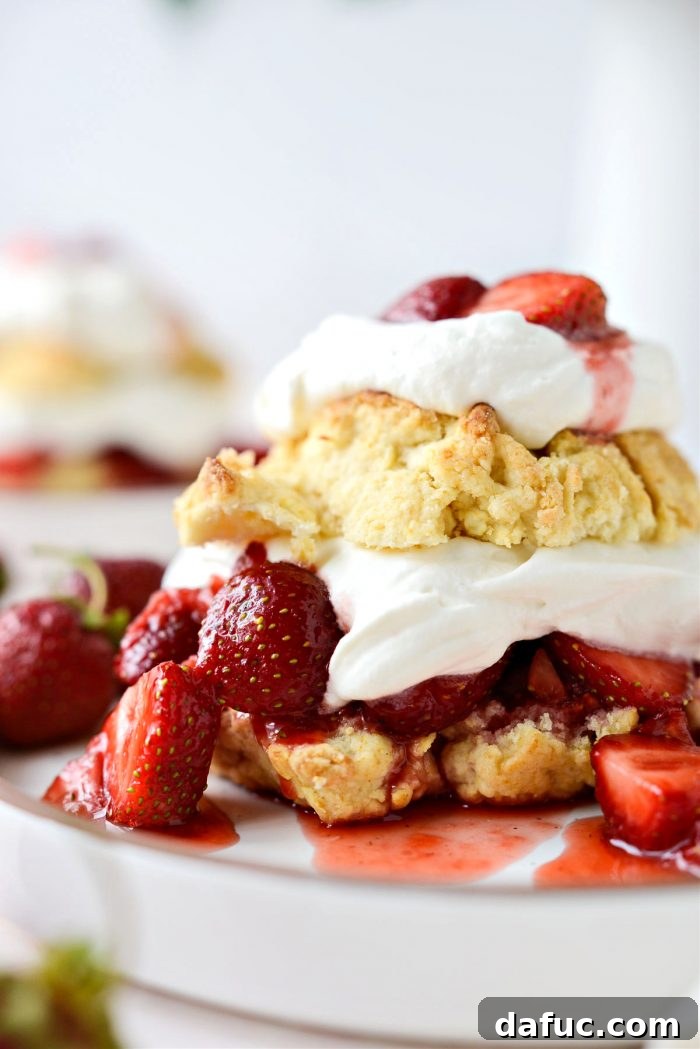
What’s even better than its incredible taste is how incredibly easy this recipe is to follow. It’s designed to be practically foolproof, ensuring success even for novice bakers. This recipe is so consistently perfect that once you try it, you’ll likely never need another. The simple steps and straightforward ingredients mean you can whip up this delightful treat with minimal stress, making it perfect for last-minute entertaining or a spontaneous weekend indulgence. Seriously, once you experience the joy of these homemade strawberry shortcakes, you’ll be planning your next batch before the first one is even gone. Get ready to fall in love with your new favorite summer dessert!
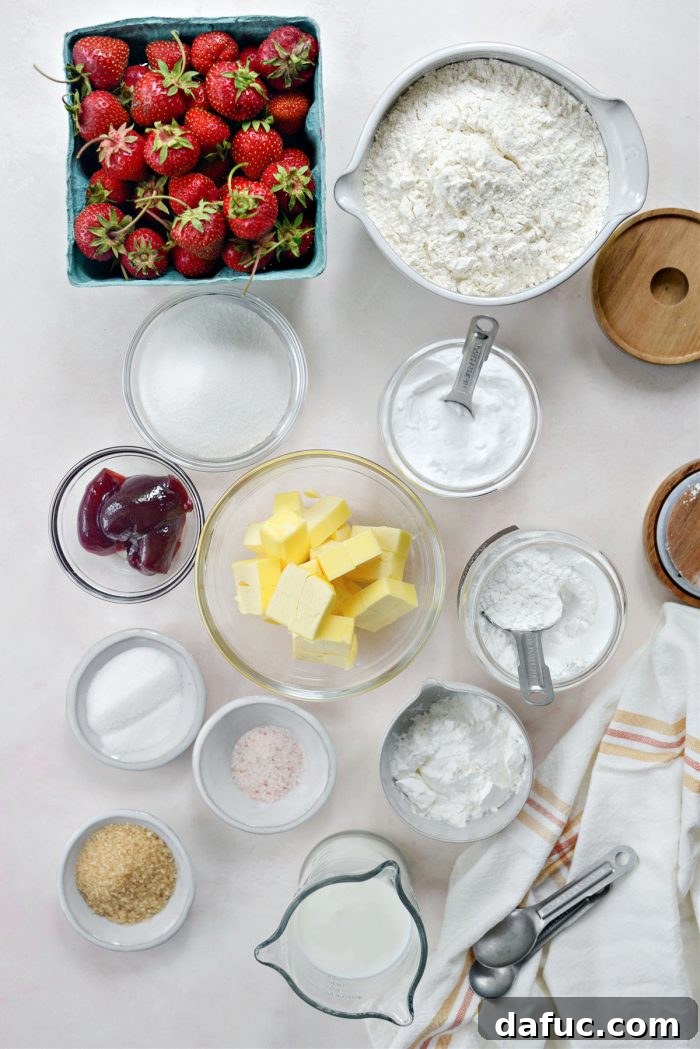
Essential Ingredients for Your Perfect Strawberry Shortcake
Crafting the perfect homemade strawberry shortcake relies on a few key ingredients. Here’s a detailed look at what you’ll need and why each component is vital for achieving that delectable flavor and texture.
For the Fluffy Shortcake Biscuits:
- Unbleached All-Purpose Flour: This forms the essential structure of your biscuits, providing the base for their tender crumb. Using unbleached flour can sometimes result in a slightly softer texture and more neutral flavor.
- Cornstarch: A secret ingredient for tenderness! Cornstarch helps create a crumbly, dessert-like texture, making the biscuits incredibly delicate and light rather than dense or bread-like.
- Baking Powder: This leavening agent is crucial for the biscuits’ rise. It reacts to moisture and heat, releasing carbon dioxide that creates air pockets, resulting in a beautifully light and fluffy crumb.
- Baking Soda: Working in conjunction with buttermilk, baking soda also acts as a leavening agent. It produces gas during baking, further assisting the biscuits in rising and achieving their airy texture.
- Granulated Sugar: Essential for both flavor and sweetness in the biscuits, providing a subtle sweetness that balances the other ingredients.
- Fine Salt: Whether you choose sea salt or pink Himalayan, a touch of fine salt enhances all the other flavors, bringing a well-rounded taste to the shortcakes.
- Cold Unsalted Butter: This is perhaps the most critical ingredient for tender, flaky biscuits. Cut into small cubes and kept very cold (even frozen briefly), the butter creates pockets of steam as it melts in the oven, preventing gluten overdevelopment and resulting in incredibly light, airy, and flaky layers.
- Buttermilk: Adds a delightful tanginess and acidity that reacts with the baking soda, contributing to the biscuits’ rise and flavor profile. It provides a unique depth of flavor that cannot be replicated with regular milk.
- Turbinado Sugar: This coarse sugar, often labeled “Sugar in the Raw,” is sprinkled on top of the biscuits before baking. It melts slightly and then crystallizes, providing that signature irresistible crunchy, sugary crust. It truly gives these shortcake biscuits a special touch.
For the Luscious Strawberry Topping:
- Fresh Strawberries: The star of the show! Opt for locally grown or organic strawberries if possible, as their superior flavor will significantly impact the topping. Ensure they are ripe, vibrant, and sweet.
- Seedless Raspberry Jam: This is a fantastic enhancer. It not only intensifies the natural strawberry flavor (without making it taste like raspberry) but also deepens the beautiful ruby-red color and slightly thickens the sauce, creating a richer, more cohesive topping.
- Granulated Sugar: Added to draw out the natural juices from the strawberries through maceration, creating a luscious, self-saucing topping. It also adjusts the sweetness to your preference.
For the Velvety Homemade Whipped Cream:
- Heavy Whipping Cream (or Heavy Cream): Absolutely essential for rich, stable whipped cream. It must be very cold for optimal whipping and volume.
- Pure Vanilla Extract: Infuses the whipped cream with a subtle yet indispensable aromatic flavor, complementing the sweetness and freshness of the strawberries.
- Powdered Sugar (Confectioners’ Sugar): Used for sweetening and slightly stabilizing the whipped cream. Sifting it prevents lumps and ensures a silky-smooth texture.
Step-by-Step Guide to Crafting Your Homemade Strawberry Shortcake
Follow these detailed instructions to create each component of your irresistible strawberry shortcake, ensuring perfect results every time.
1. Master the Shortcake Biscuits
Preparation is Key:
Preheat your oven to 425°F (220°C). Line a rimmed baking sheet with parchment paper or a silicone mat. This prevents sticking and ensures even baking.
Combine Dry Ingredients:
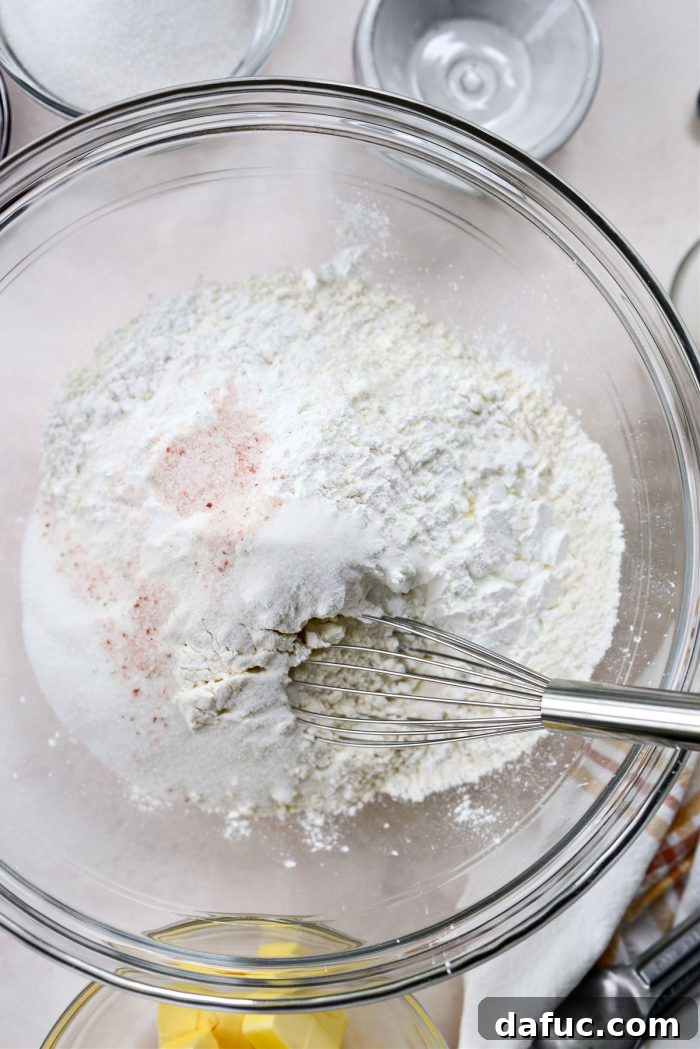
In a medium mixing bowl, accurately measure and combine 2 cups of unbleached all-purpose flour, 3 tablespoons of cornstarch, 1 tablespoon of baking powder, 1/4 teaspoon of baking soda, 2 tablespoons of granulated sugar, and 1 teaspoon of fine salt (sea salt or pink Himalayan works wonderfully). Whisk these dry ingredients thoroughly to ensure they are well combined and evenly distributed. This step is crucial for consistent leavening.
Incorporate the Cold Butter:
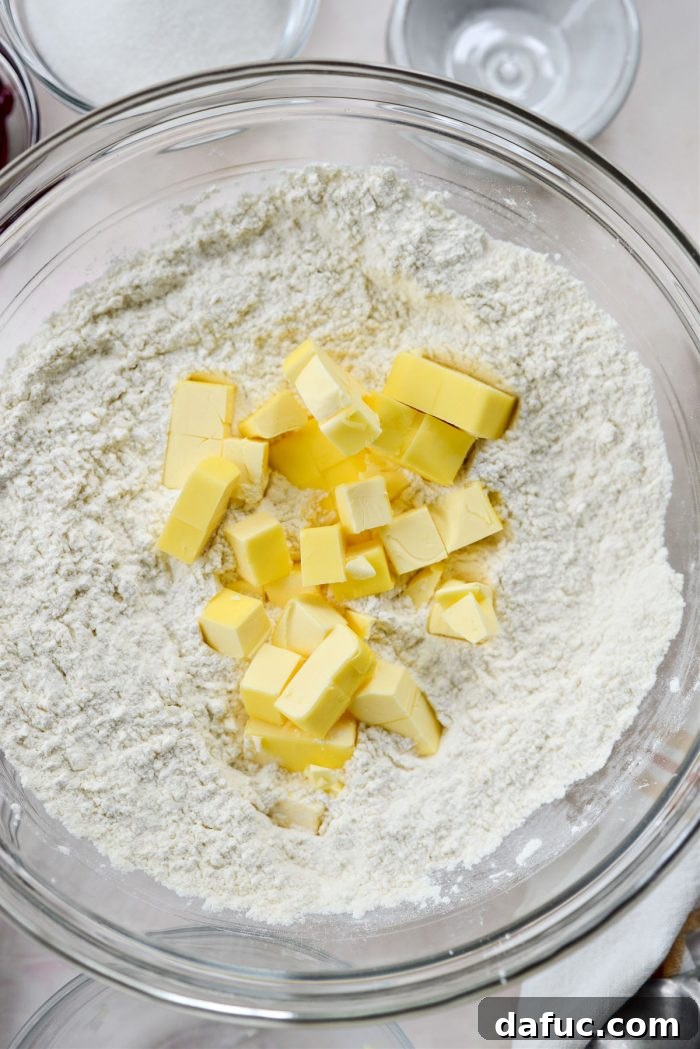
Add 10 tablespoons of cubed, *very cold* unsalted butter to the dry ingredients. The colder the butter, the better your biscuits will be. The small cubes will create pockets of steam during baking, contributing to the flaky texture.
Achieve the Perfect Crumb:
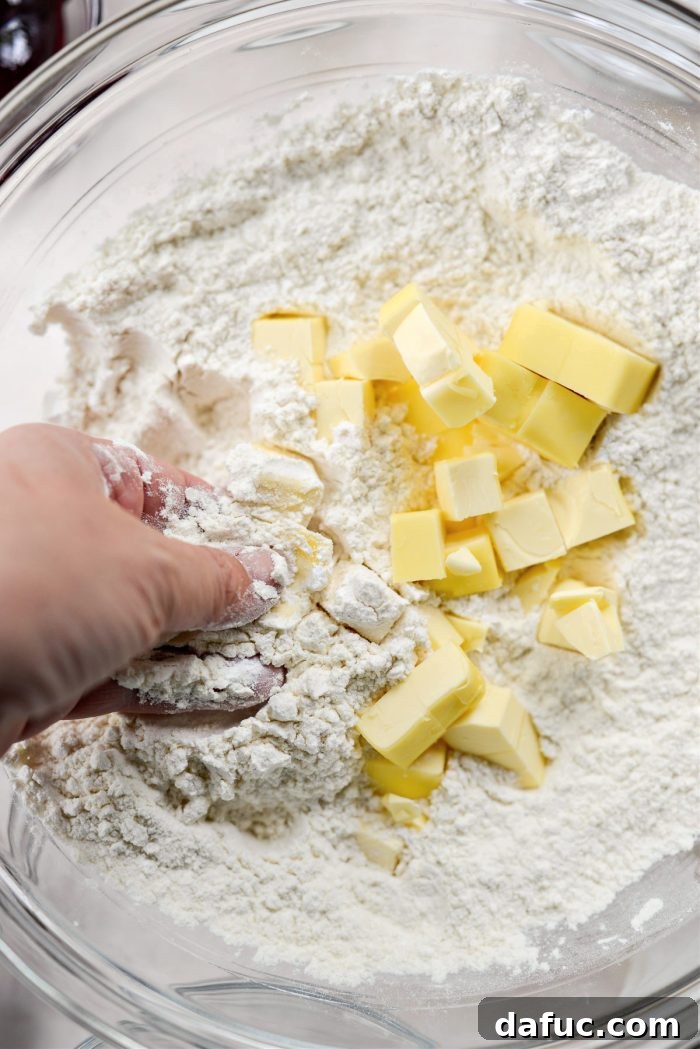
Using impeccably clean hands, gently rub the cold butter into the flour mixture. Use your fingertips to break down the butter, coating it with flour as you go. The goal is to work quickly to keep the butter as cold as possible. Continue this process until the mixture is coarse and resembles fine crumbs with pea-sized clumps of butter evenly distributed throughout. This texture is vital for flaky biscuits.
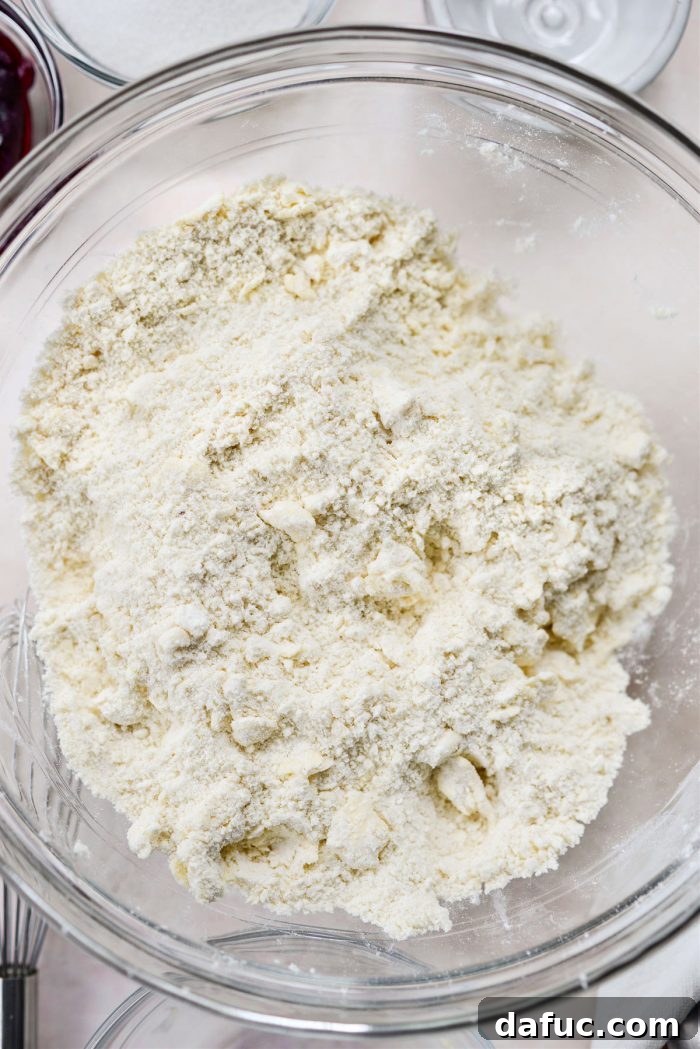
Stop once the mixture reaches this coarse, pea-sized crumb stage. Overworking the dough at this point can lead to tough biscuits, as it warms the butter and overdevelops the gluten.
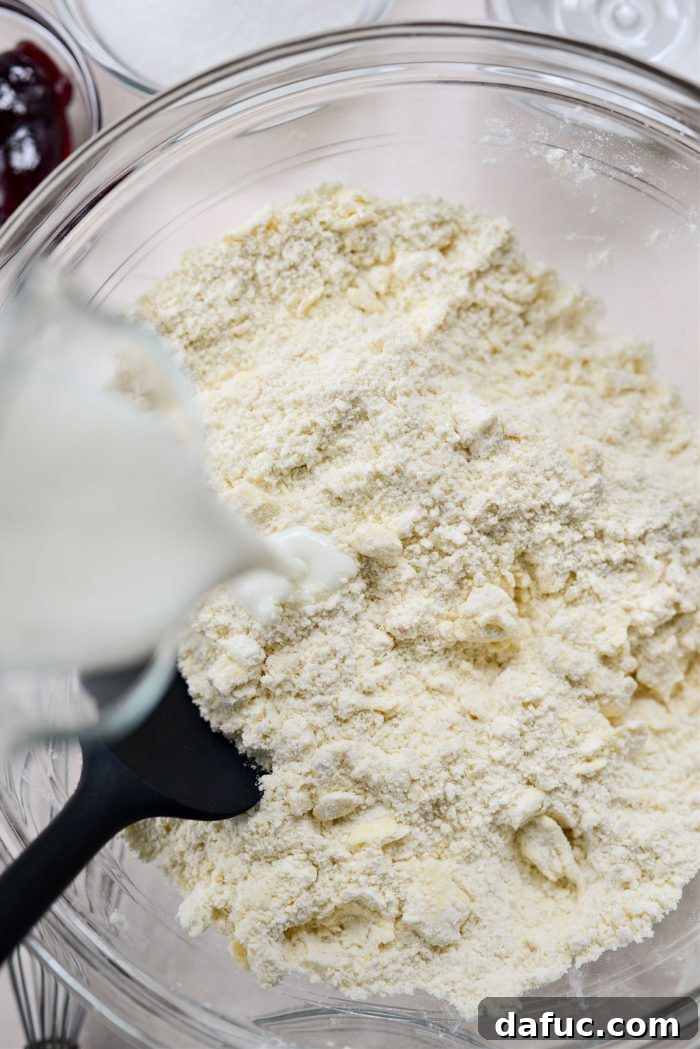
Add the Buttermilk:
Pour in 3/4 cup of cold buttermilk. The tanginess of buttermilk is key to the biscuit’s flavor and its reaction with the baking soda for leavening.
Choosing the Right Buttermilk for Baking
When it comes to baking, regular full-fat buttermilk is always my top choice for its rich flavor and consistent results. While I personally love brands like Guernsey (a local Michigan brand known for its high standards and quality, and this is not a sponsored endorsement!), both low-fat and regular buttermilk can generally be used interchangeably in most biscuit recipes. Don’t fret if you find yourself without buttermilk! In a pinch, you can easily create a substitute. For every 1 cup of buttermilk needed, simply combine 1 cup of regular milk (preferably whole milk) with 1 tablespoon of lemon juice or white vinegar. Let it sit for about 5 minutes until it slightly curdles and thickens. This acidic mixture will mimic the tanginess and reactive properties of real buttermilk. For this particular recipe, you would combine 3/4 cup milk with 3/4 tablespoon of lemon juice or white vinegar.
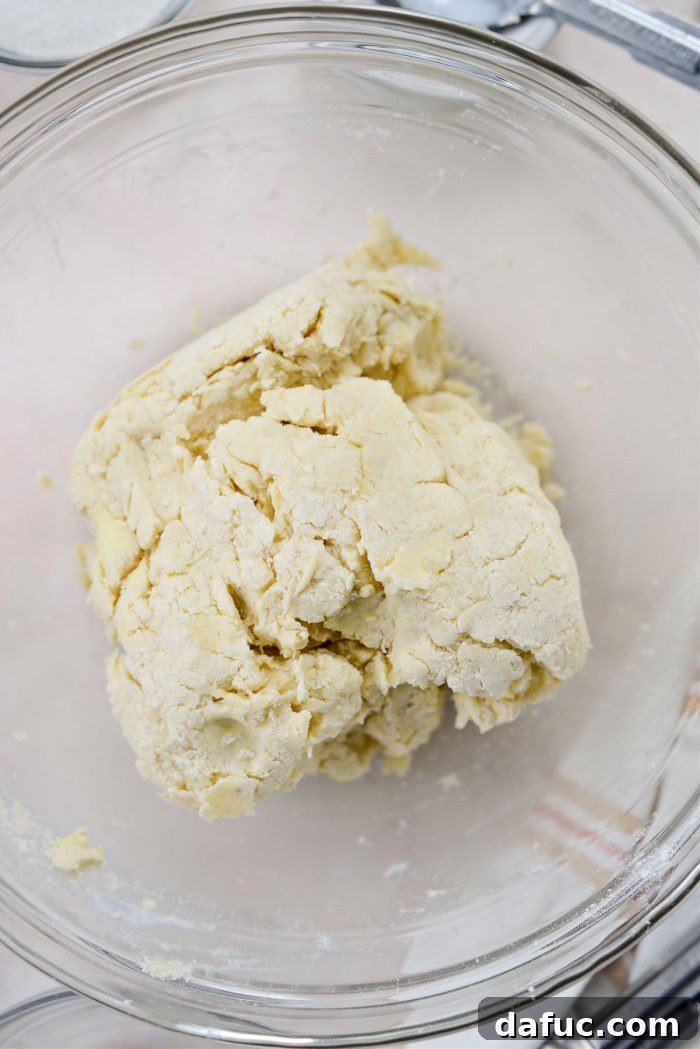
Form the Dough:
Using a rubber spatula, gently stir the mixture until it just comes together and forms a shaggy dough. Avoid overmixing, as this can develop the gluten too much and lead to tough biscuits. If you notice any stubborn dry ingredients at the bottom of the bowl, feel free to add an extra tablespoon of buttermilk to bring everything together.
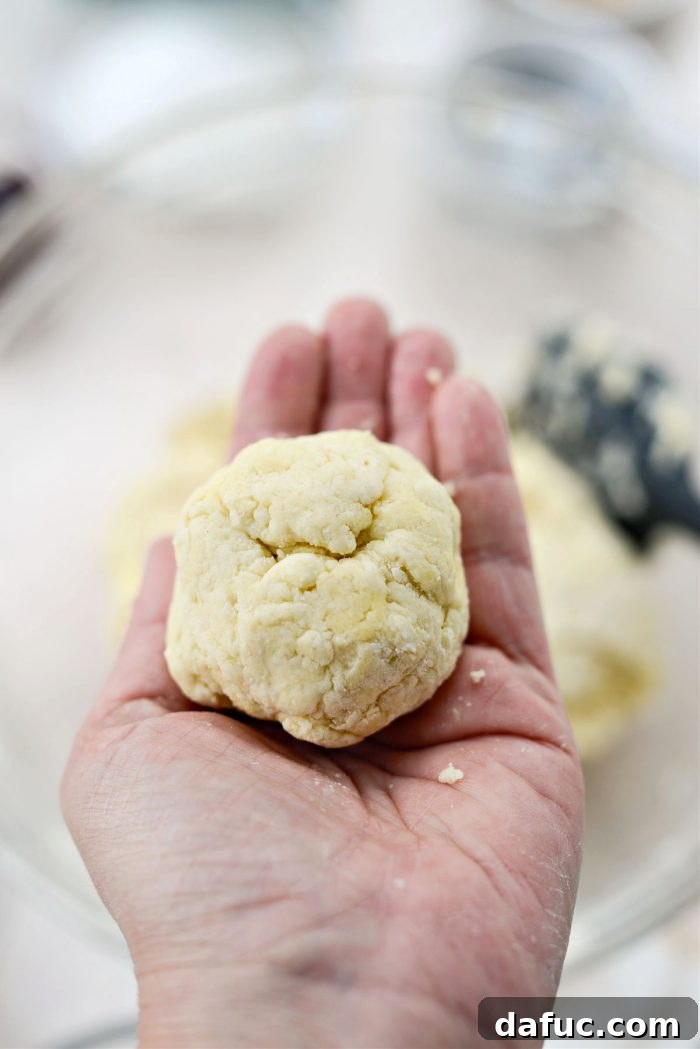
Shape the Biscuits:
Divide the shaggy dough into 8 equal portions. Gently and roughly shape each portion into a craggy-looking ball. Don’t strive for perfection here; slightly imperfect, rustic shapes actually yield biscuits with more character and better texture once baked. The less you handle the dough, the more tender your biscuits will be.
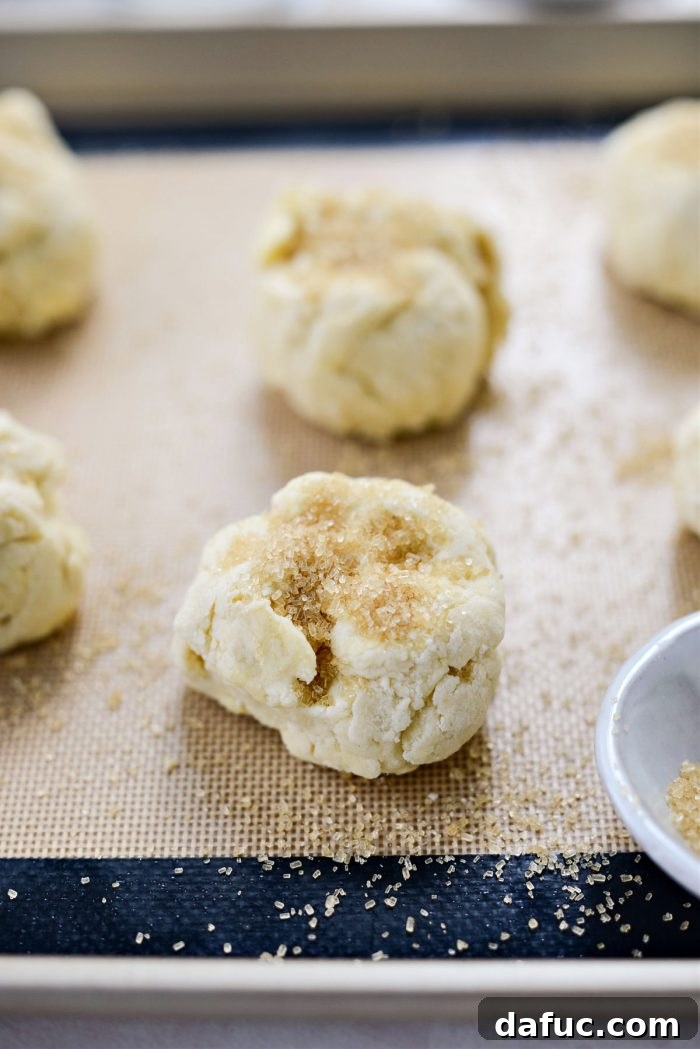
Prepare for Baking:
Place the shaped dough balls onto your prepared baking sheet. Sprinkle generously with 2 tablespoons of turbinado sugar. You can gently press down on each ball a smidgen to flatten them slightly, which helps them hold more of that delightful sugar, ensuring a crispier crust.
Bake to Golden Perfection:
Bake the shortcake biscuits on the middle rack of your preheated oven for 12 to 14 minutes. For even baking and browning, rotate the pan halfway through the baking time. Look for a beautiful golden-brown color on the tops and bottoms, indicating they are perfectly cooked.
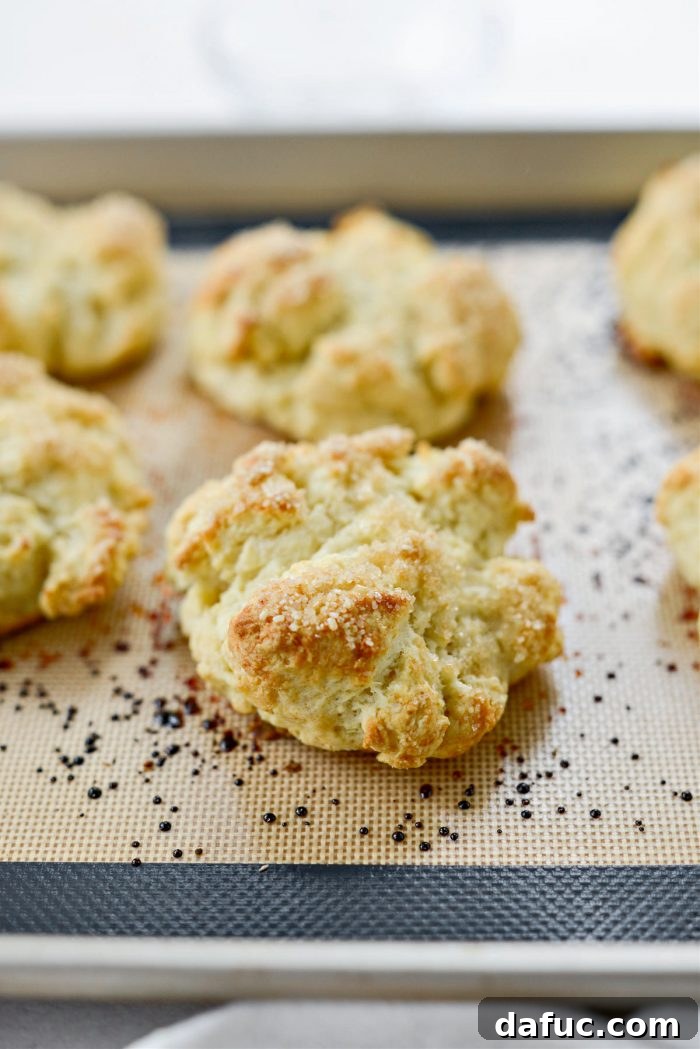
Cooling:
Once baked, remove the biscuits from the oven and set them aside to cool slightly. While they can be enjoyed warm, a little cooling time helps them firm up just enough for slicing.
2. Prepare the Irresistible Strawberry Topping
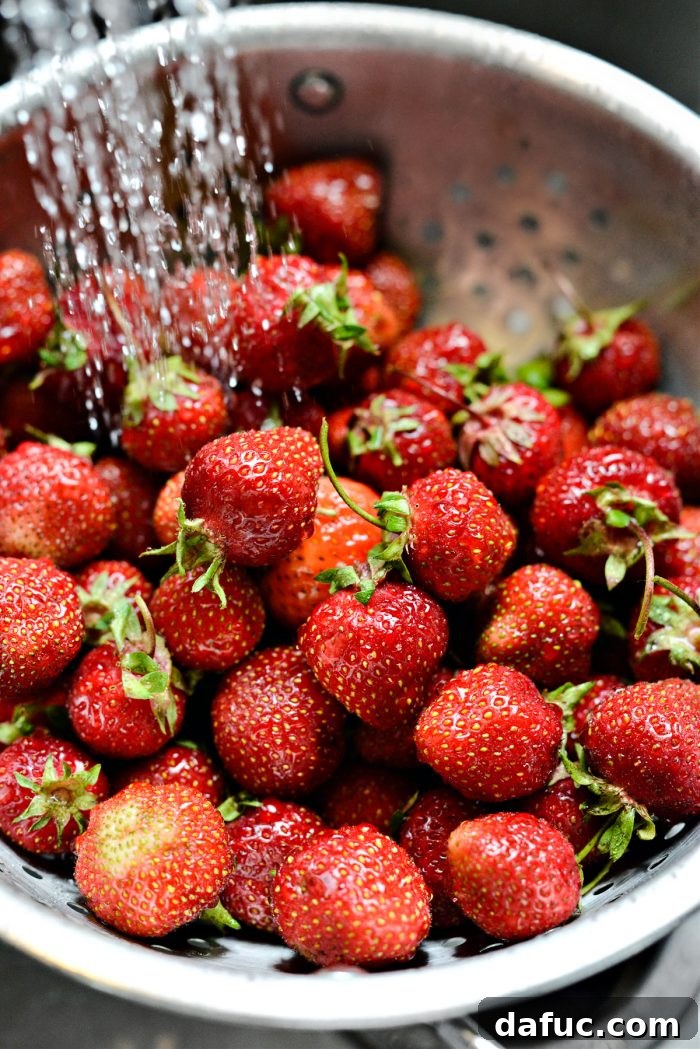
Clean and Slice Strawberries:
While your shortcake biscuits are baking, prepare the strawberries. Rinse or soak 2 pounds of fresh strawberries thoroughly. After washing, trim off the green tops. Since I often use local Michigan strawberries known for their cleanliness and quality, I typically don’t find it necessary to hull or cut out the center part of the strawberry, but you can if you prefer. Then, slice the strawberries into approximately 1/4-inch slices. If you desire an extra generous strawberry topping, feel free to increase the total amount of strawberries to 2½ or even 3 pounds.
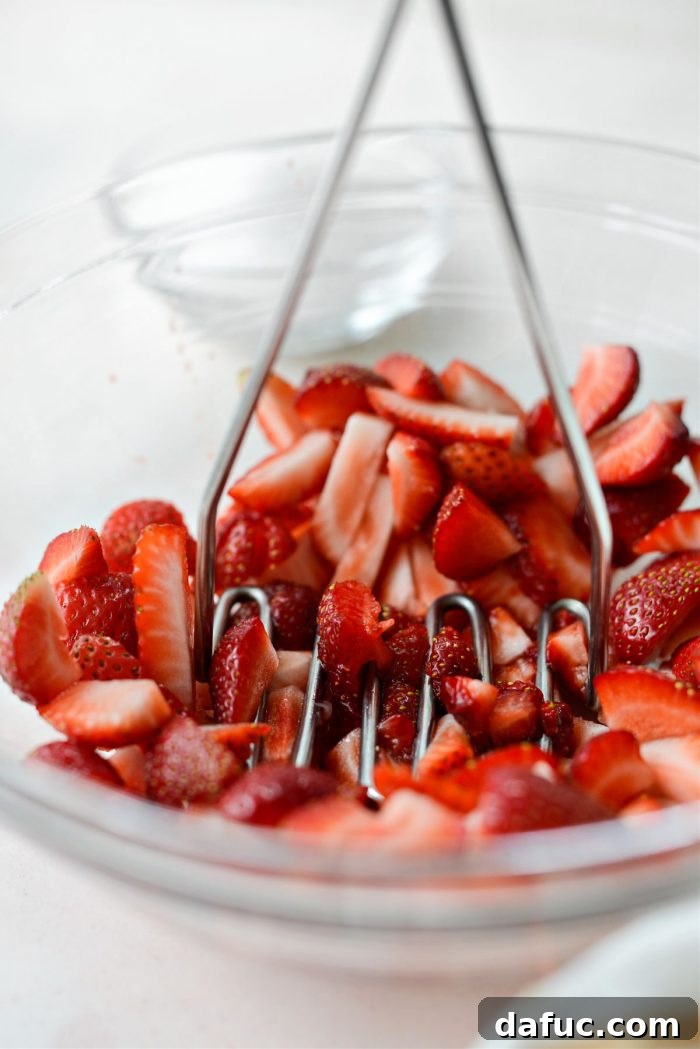
Create a Chunky Puree:
Transfer about one-third of your sliced strawberries to a separate bowl. Using a potato masher, gently mash these strawberries. Continue until you achieve a thick, slightly lumpy puree. This mashed portion will add a wonderful sauciness and depth of flavor to your topping.
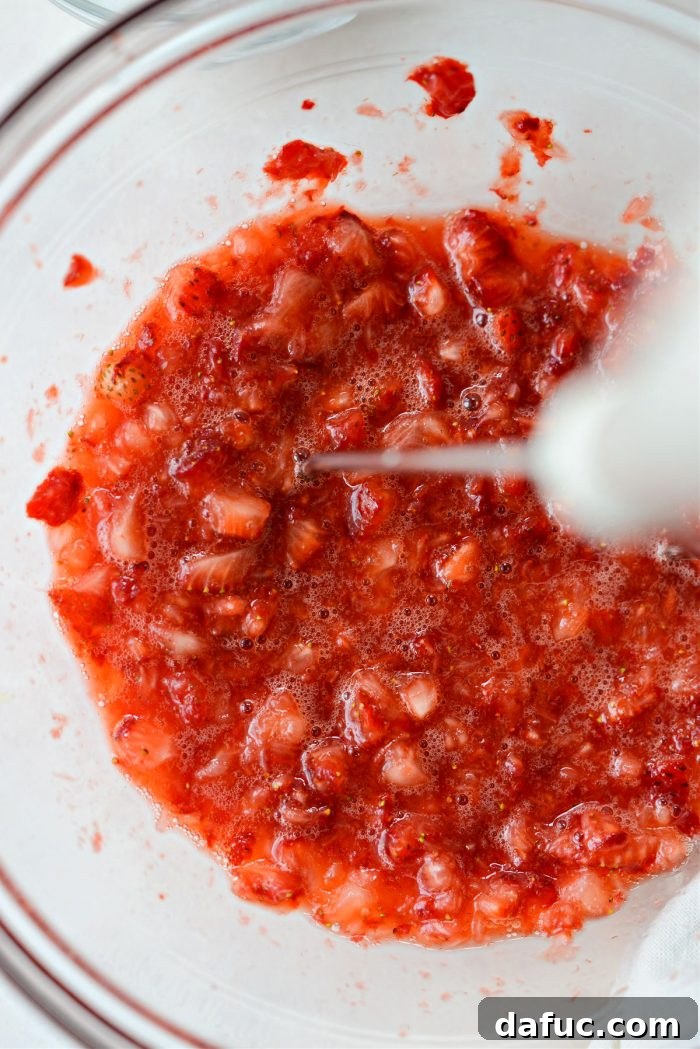
The texture should be a pleasing combination of crushed fruit and smaller pieces, not a completely smooth liquid.
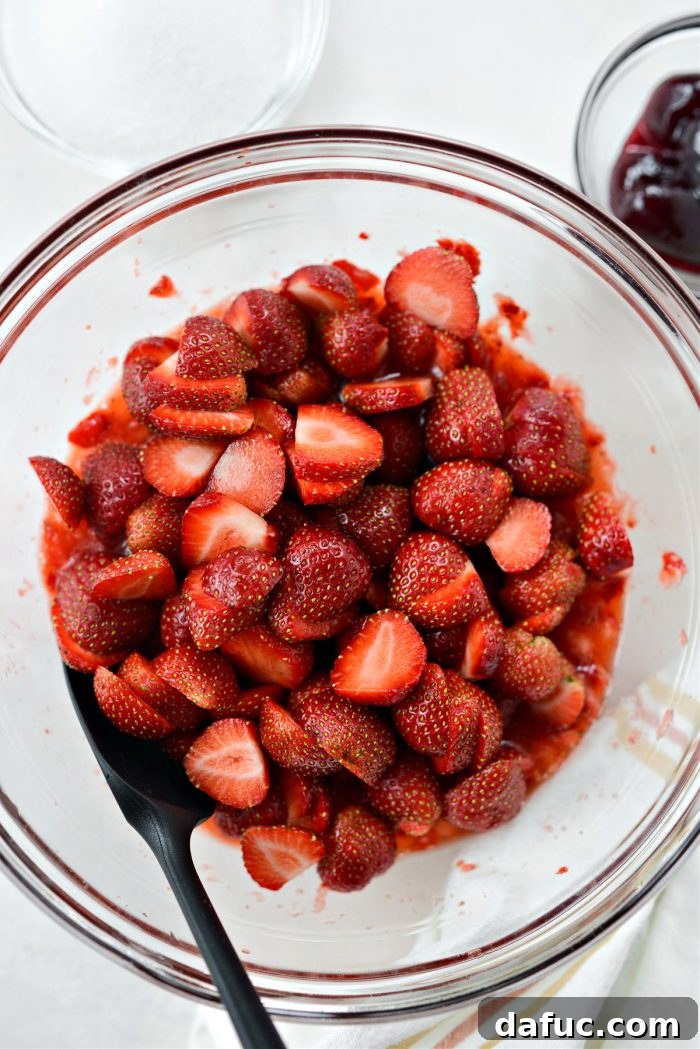
Combine All Topping Ingredients:
Add the remaining sliced strawberries to the bowl containing the mashed strawberries. To this mixture, add 1/2 cup of granulated sugar and 3 tablespoons of seedless raspberry jam. The jam is a secret ingredient here; it wonderfully enhances the strawberry flavor (don’t worry, you won’t taste distinct raspberry) while also deepening the vibrant color of the topping and slightly thickening the natural juices that will be released.
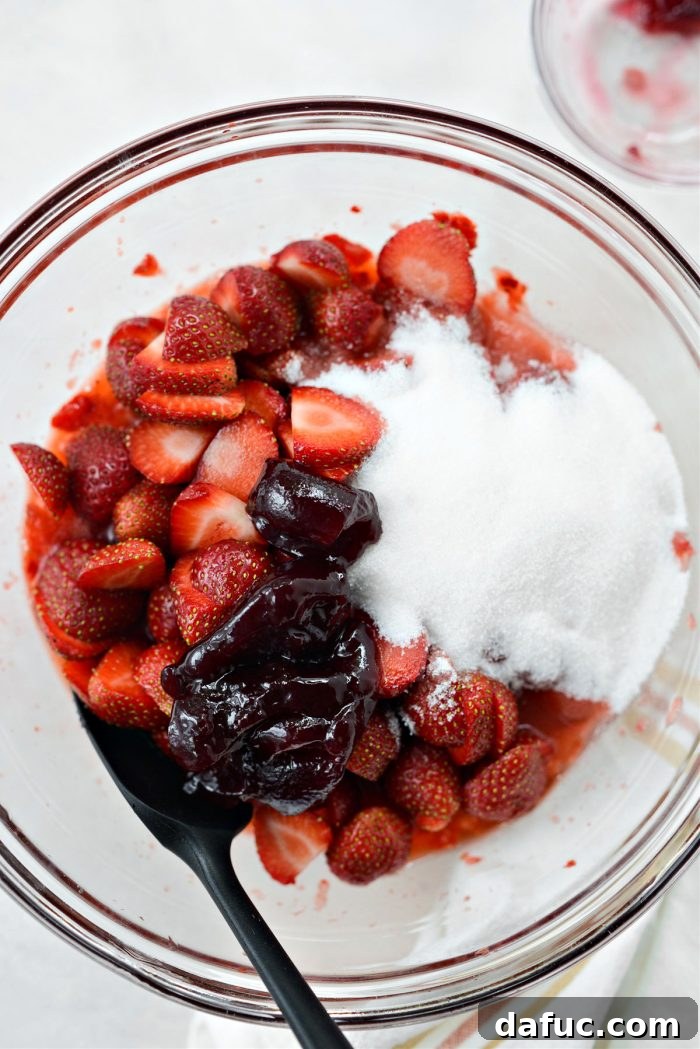
Macerate for Flavor:
Toss all the strawberry topping ingredients well to combine. Set the bowl aside for at least 10 to 15 minutes. During this maceration period, the sugar will draw out the natural juices from the strawberries, creating a rich, glossy, and incredibly flavorful sauce.
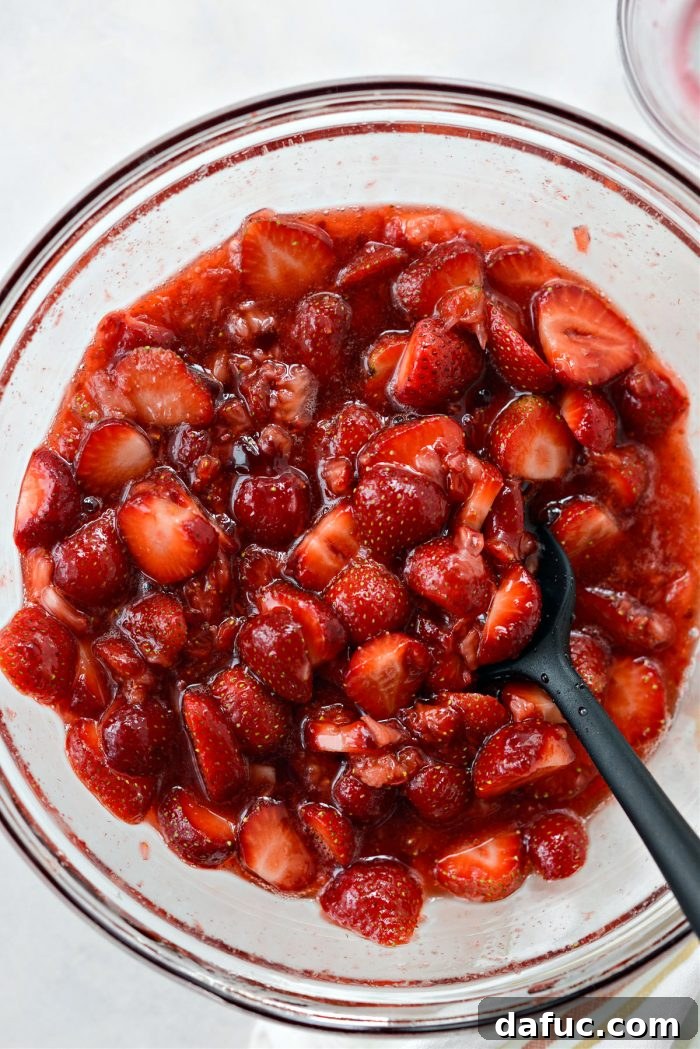
After a short while, you’ll observe the strawberries softening and releasing their beautiful, vibrant juices, forming a natural sauce that is simply divine.
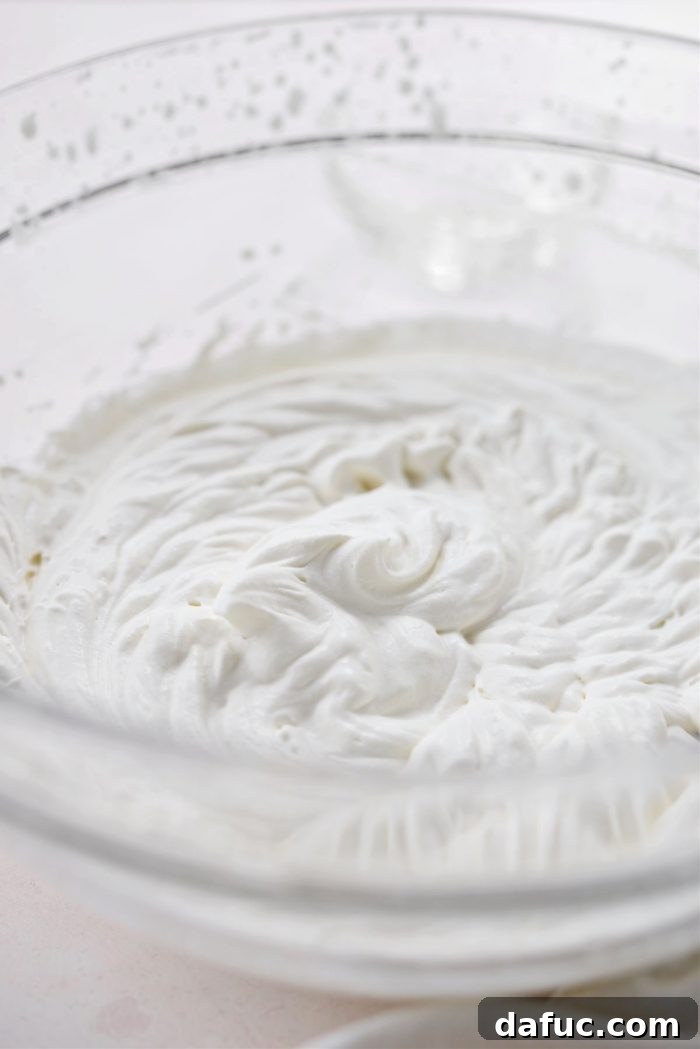
3. Crafting Silky Homemade Whipped Cream
While the strawberries are macerating, it’s the perfect time to make your homemade whipped cream. This simple step elevates your shortcake to new heights. Here’s how to get perfect, stiff peaks every time:
- Chill Your Equipment: For best results, place a metal or glass mixing bowl and your whisk attachment (from a stand mixer or hand mixer) into the freezer for at least 20 minutes before you begin. Cold equipment helps the cream whip up faster and hold its volume better.
- Combine Ingredients: Once your bowl and whisk are thoroughly chilled, attach the whisk to your stand mixer (or use a hand mixer). Pour 2 cups of very cold heavy whipping cream into the bowl, along with 1 teaspoon of pure vanilla extract.
- Whip Gradually: Begin whisking on low speed, then gradually increase the speed to high. Keep an eye on the cream; it will start to thicken.
- Add Sweetener: When the whipped cream has thickened but isn’t quite stiff yet (it should be soft peaks), add 2 tablespoons of sifted powdered sugar. Sifting prevents lumps and ensures a smooth consistency.
- Achieve Stiff Peaks: Continue whisking on low speed and gradually increase to high again. Whip until the cream is thick, airy, and forms stiff peaks. Be careful not to over-whip, or it will become grainy and eventually turn into butter. Stop as soon as the peaks hold their shape.
4. Assemble Your Glorious Strawberry Shortcakes
Slice the Biscuits:
Carefully use a serrated knife to cut each slightly cooled shortcake biscuit in half horizontally. Be gentle, as they are delicate.
First Layer of Strawberries:
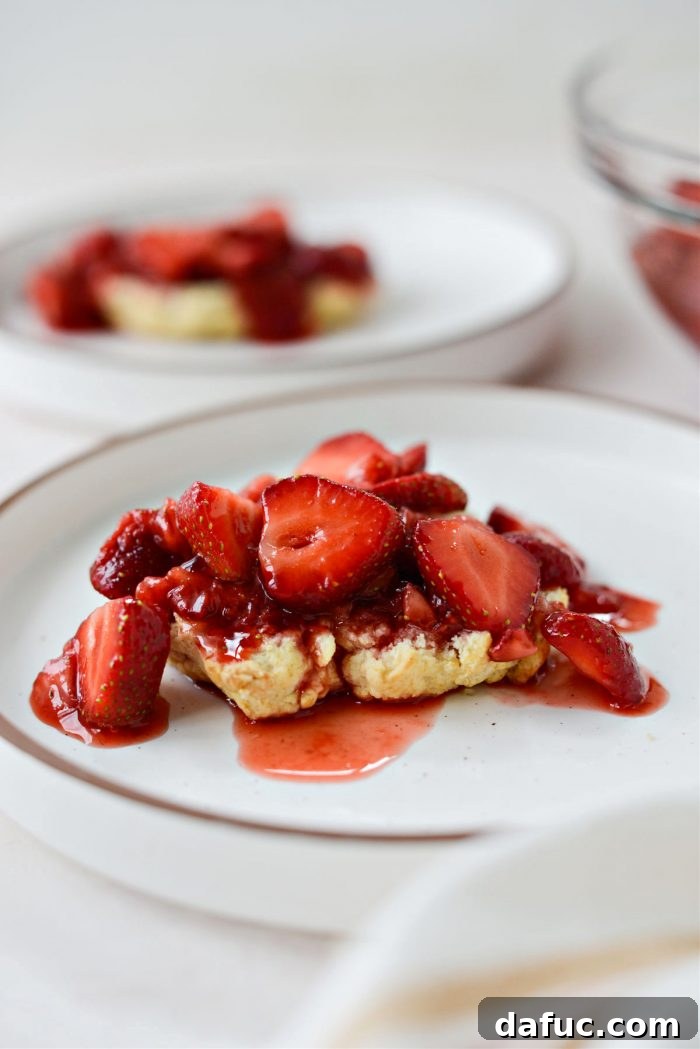
Place the bottom half of each biscuit on a serving plate. Generously spoon some of the luscious strawberry topping over the biscuit, allowing some of the juicy goodness to spill enticingly onto the plate. This makes for a beautiful presentation.
Add Whipped Cream and Top Half:
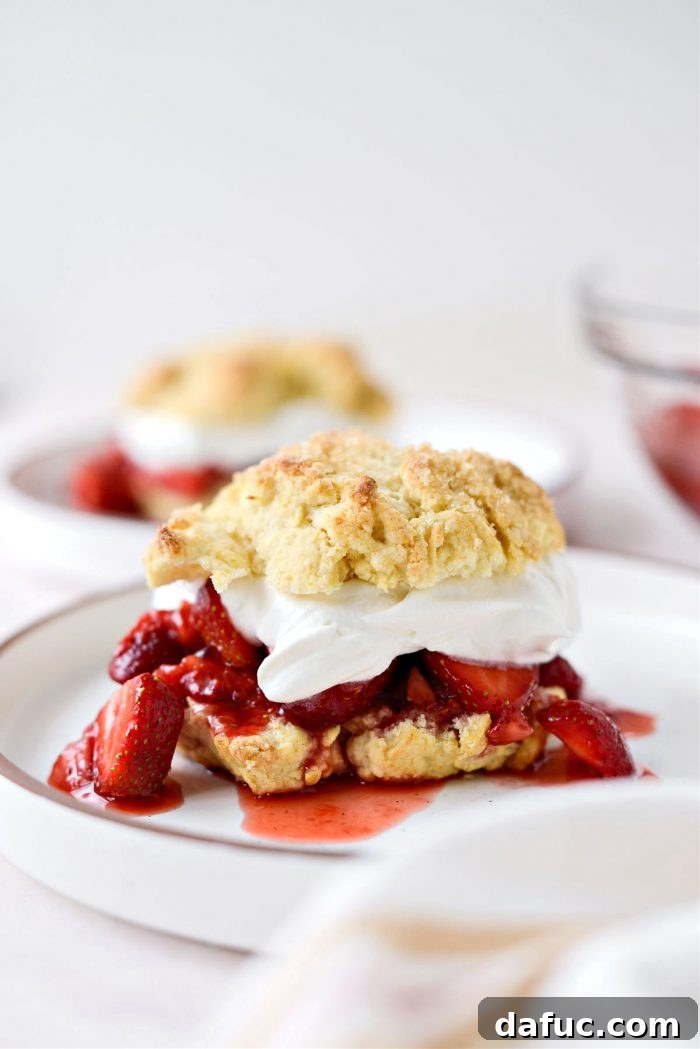
Next, add a generous dollop of your freshly made homemade whipped cream over the strawberries. Carefully replace the top half of the biscuit.
The Grand Finale:
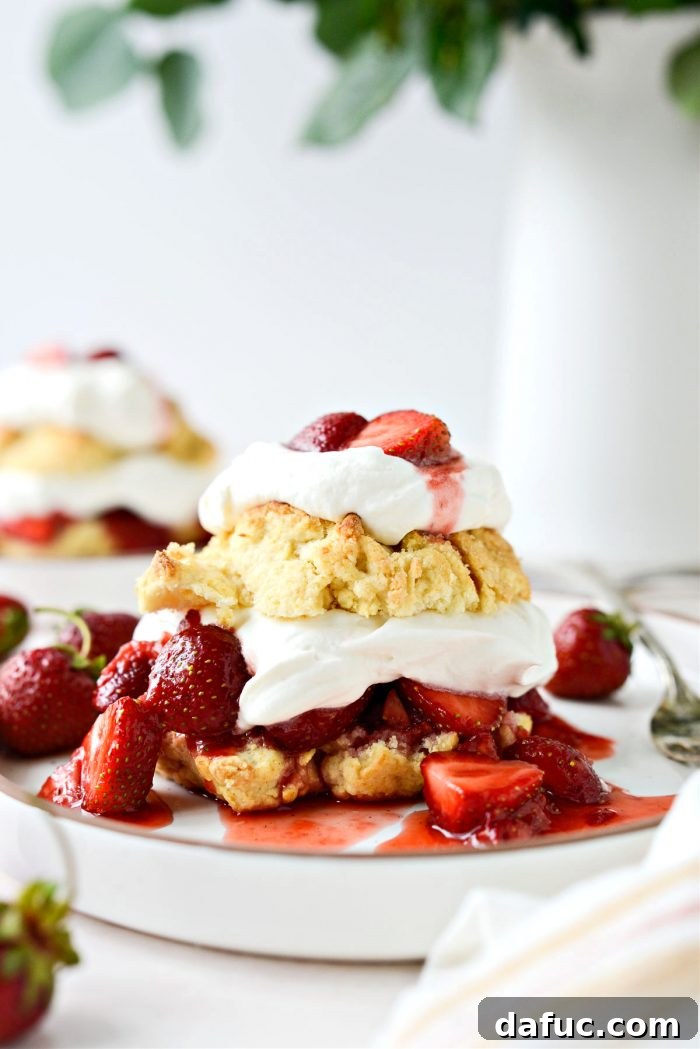
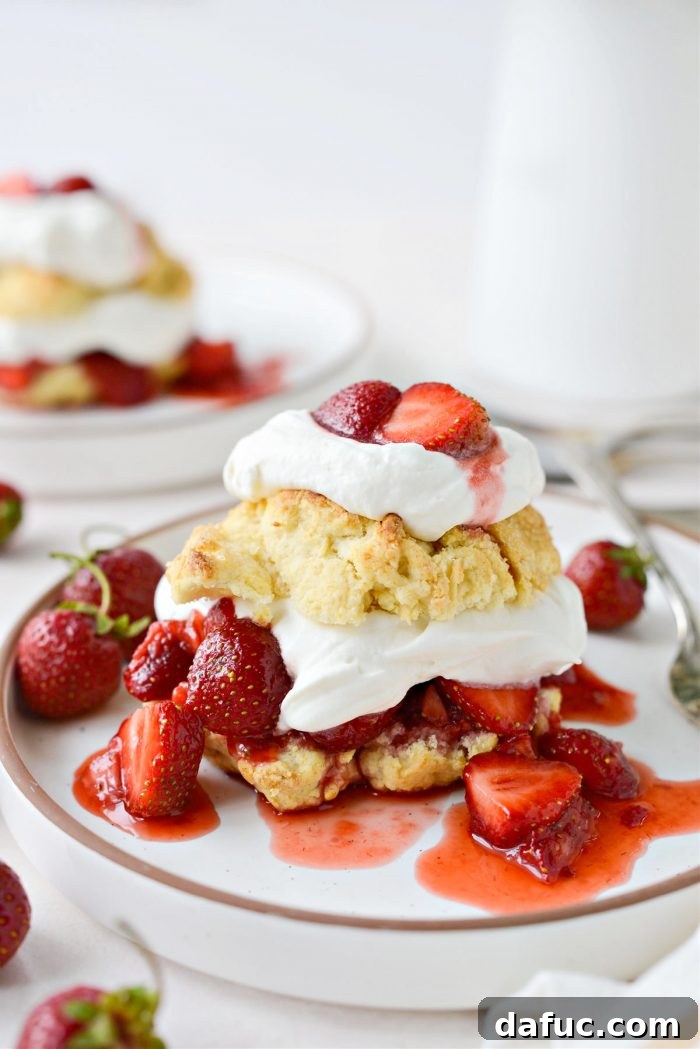
To complete this masterpiece, add a second dollop of whipped cream on top of the upper biscuit half, and crown it with a small spoonful of the vibrant strawberries. Serve your Homemade Strawberry Shortcakes immediately to enjoy them at their absolute best. Prepare yourself and your guests to fall deeply in love!
Tips for Making the Best Homemade Strawberry Shortcake
- Timing is Everything for Biscuits: For the most exquisite flavor and texture, I highly recommend serving these biscuits shortly after baking. While my family still enjoys them hours later or even the next day, their peak freshness is undeniable within the first hour. If you need to prepare ahead, you can make the dough, shape the balls, and refrigerate them until you’re ready to bake. This allows for warm, fresh biscuits whenever you need them.
- Handle with Care: When cutting the shortcake biscuits in half, always use a serrated knife and exercise caution. These homemade delights are delicate, and a gentle hand will ensure a clean cut without crushing them.
- Prioritize Strawberry Quality: The quality of your strawberries truly makes or breaks this dessert. Whenever possible, opt for local or organic strawberries. They boast a richer, more concentrated flavor that will shine through in your topping, making a significant difference in the overall taste.
- Homemade Whipped Cream is Best (but no judgment!): While homemade whipped cream is undeniably superior for its fresh taste and light texture, don’t feel pressured if time is short. A good quality store-bought whipped cream or even a whipped topping can certainly work in a pinch. The goal is to enjoy the dessert, so choose what works best for you!
- Serve Immediately: For optimal enjoyment, assemble and serve your strawberry shortcakes right after the biscuits have cooled slightly and the whipped cream is fresh. This ensures the best balance of textures and temperatures.
- Storage: If you have leftovers, store the components separately. Keep biscuits at room temperature in an airtight container for up to a day. Refrigerate the strawberry topping and whipped cream in separate airtight containers. Assemble just before serving.
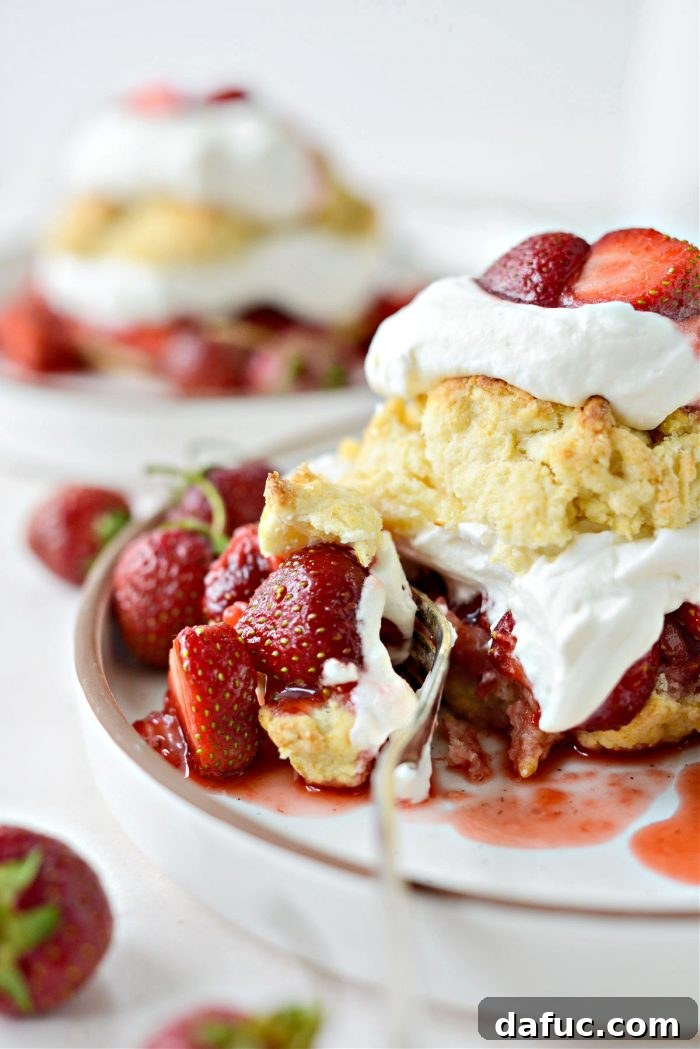
Enjoy! There’s truly nothing quite like a homemade strawberry shortcake to capture the joy of summer. We hope this detailed guide helps you create a dessert that delights everyone at your table. If you give this Homemade Strawberry Shortcake recipe a try, we’d love to hear about it! Snap a photo and share your delicious creations on social media.
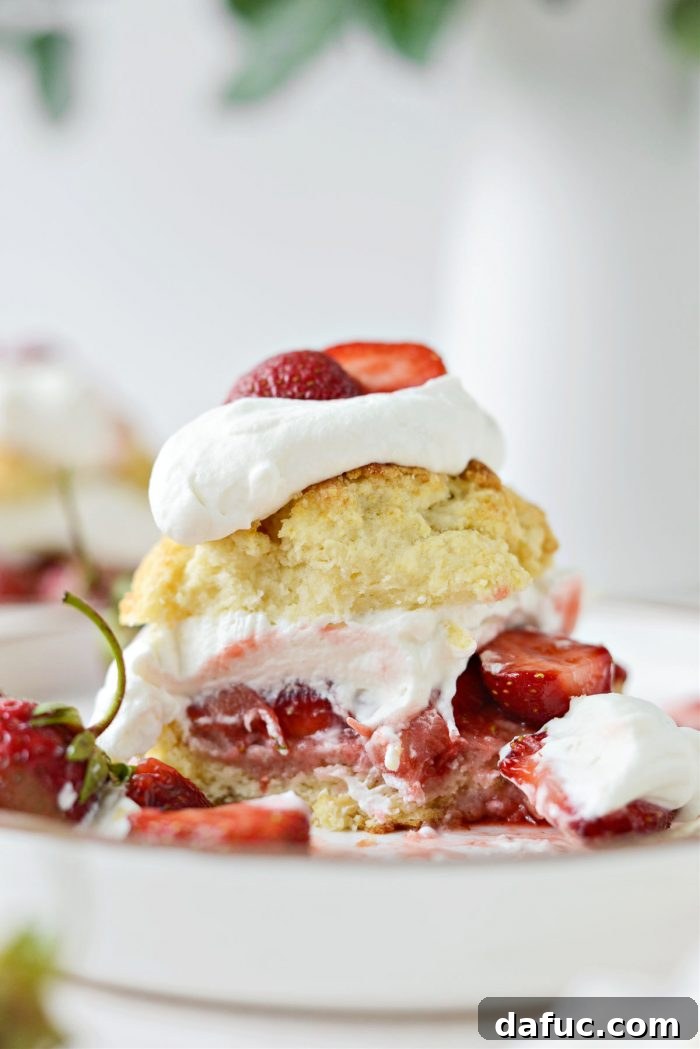
Homemade Strawberry Shortcake Recipe
What’s summer without Homemade Strawberry Shortcake? A super simple and tender homemade shortcake biscuit is halved and layered with a luscious, ruby-red, fresh strawberry topping and dollops of homemade whipped cream. This recipe serves 8, offering a taste of summer in every bite.
Yield: 8 servings
Prep Time: 40 mins
Cook Time: 15 mins
Total Time: 50 mins
Ingredients
FOR THE SHORTCAKE BISCUITS:
- 2 cups unbleached all-purpose flour
- 3 tablespoons cornstarch
- 1 tablespoon baking powder
- 1/4 teaspoon baking soda
- 2 tablespoons granulated sugar
- 1 teaspoon fine salt (sea salt or Himalayan)
- 10 tablespoons cold unsalted butter, quartered into 1/4-inch cubes
- 3/4 cup whole buttermilk
- 2 tablespoons turbinado sugar (like Sugar in the Raw)
FOR THE STRAWBERRIES:
- 2 pounds fresh strawberries, trimmed and sliced 1/4-inch (see notes below)
- 1/2 cup granulated sugar
- 3 tablespoons seedless raspberry jam
FOR THE HOMEMADE WHIPPED CREAM:
- 2 cups heavy whipping cream (very cold)
- 1 teaspoon pure vanilla extract
- 2 tablespoons powdered sugar, sifted
Instructions
MAKE THE SHORTCAKE BISCUITS:
- Preheat your oven to 425°F (220°C) and line a rimmed baking sheet with parchment paper or a silicone mat.
- In a medium mixing bowl, combine unbleached all-purpose flour, cornstarch, baking powder, baking soda, granulated sugar, and fine salt. Whisk to combine well.
- Add the cubed, cold unsalted butter. Using your clean hands, rub the butter into the flour mixture until it’s coarse with pea-sized clumps of butter throughout. Do not overmix.
- Pour in the buttermilk. Use a rubber spatula to stir until the mixture just comes together and forms a shaggy dough. If there are dry bits at the bottom, add 1 extra tablespoon of buttermilk.
- Divide the dough into 8 equal portions and roughly shape into 8 craggy-looking balls. The less perfect the shape, the better the baked biscuit.
- Place the balls onto your prepared pan. Sprinkle with 2 tablespoons of turbinado sugar, gently pressing them down slightly to help the sugar adhere.
- Bake for 12 to 14 minutes on the middle rack of your preheated oven. Rotate the pan halfway through baking for even browning.
- Remove from the oven and let cool slightly.
MAKE THE STRAWBERRIES:
- While the shortcake biscuits are baking, rinse or soak the strawberries before trimming off the green tops. (See Notes below for more on hulling).
- Add 1/3 of the sliced strawberries to a bowl and mash with a potato masher until it resembles a thick yet lumpy puree.
- Add the remaining sliced strawberries to the bowl along with the granulated sugar and seedless raspberry jam. Stir well to combine and set aside for at least 10 to 15 minutes to macerate.
MAKE THE WHIPPED CREAM:
- Place a metal or glass mixing bowl and the whisk attachment into your freezer for 20+ minutes before making whipped cream.
- Once chilled, place the bowl into your stand mixer (or use a hand mixer). Pour in the heavy cream and vanilla extract. Start whisking on low speed and gradually increase to high.
- When the cream has thickened to soft peaks, add the sifted powdered sugar.
- Continue whisking, gradually increasing speed to high, until the cream is thick and forms stiff peaks. Be careful not to over-whip.
TO ASSEMBLE:
- Use a serrated knife to carefully cut the slightly cooled shortcake biscuits in half horizontally.
- Spoon some of the strawberry topping over the bottom half of the biscuit, letting some spill onto the plate for a rustic look.
- Next, top with a generous dollop of whipped cream and replace the top half of the biscuit.
- Add a second dollop of whipped cream on top, and finish with a small spoonful of strawberries.
- Serve immediately and enjoy!
Notes
- A note about the biscuits: These biscuits are truly at their best when eaten shortly after baking. While they can be made in advance, they shine brightest when fresh. You can prepare the dough and shape the balls, then refrigerate until ready to bake for warm, fresh biscuits on demand.
- A note about the strawberries: Because I often use local Michigan strawberries, I don’t find it necessary to hull or cut out the center part of the strawberry. However, feel free to do so if you prefer. If you like a very generous amount of topping, consider increasing the total strawberries to 2½ or 3 pounds.
- Nutrition Disclaimer: All information presented on this site is intended for informational purposes only. I am not a certified nutritionist, and any nutritional information shared should only be used as a general guideline.
Author: Laurie McNamara
Course: Desserts & Sweet Treats
Cuisine: American
This recipe was respectfully borrowed and slightly adapted from onceuponachef.com