
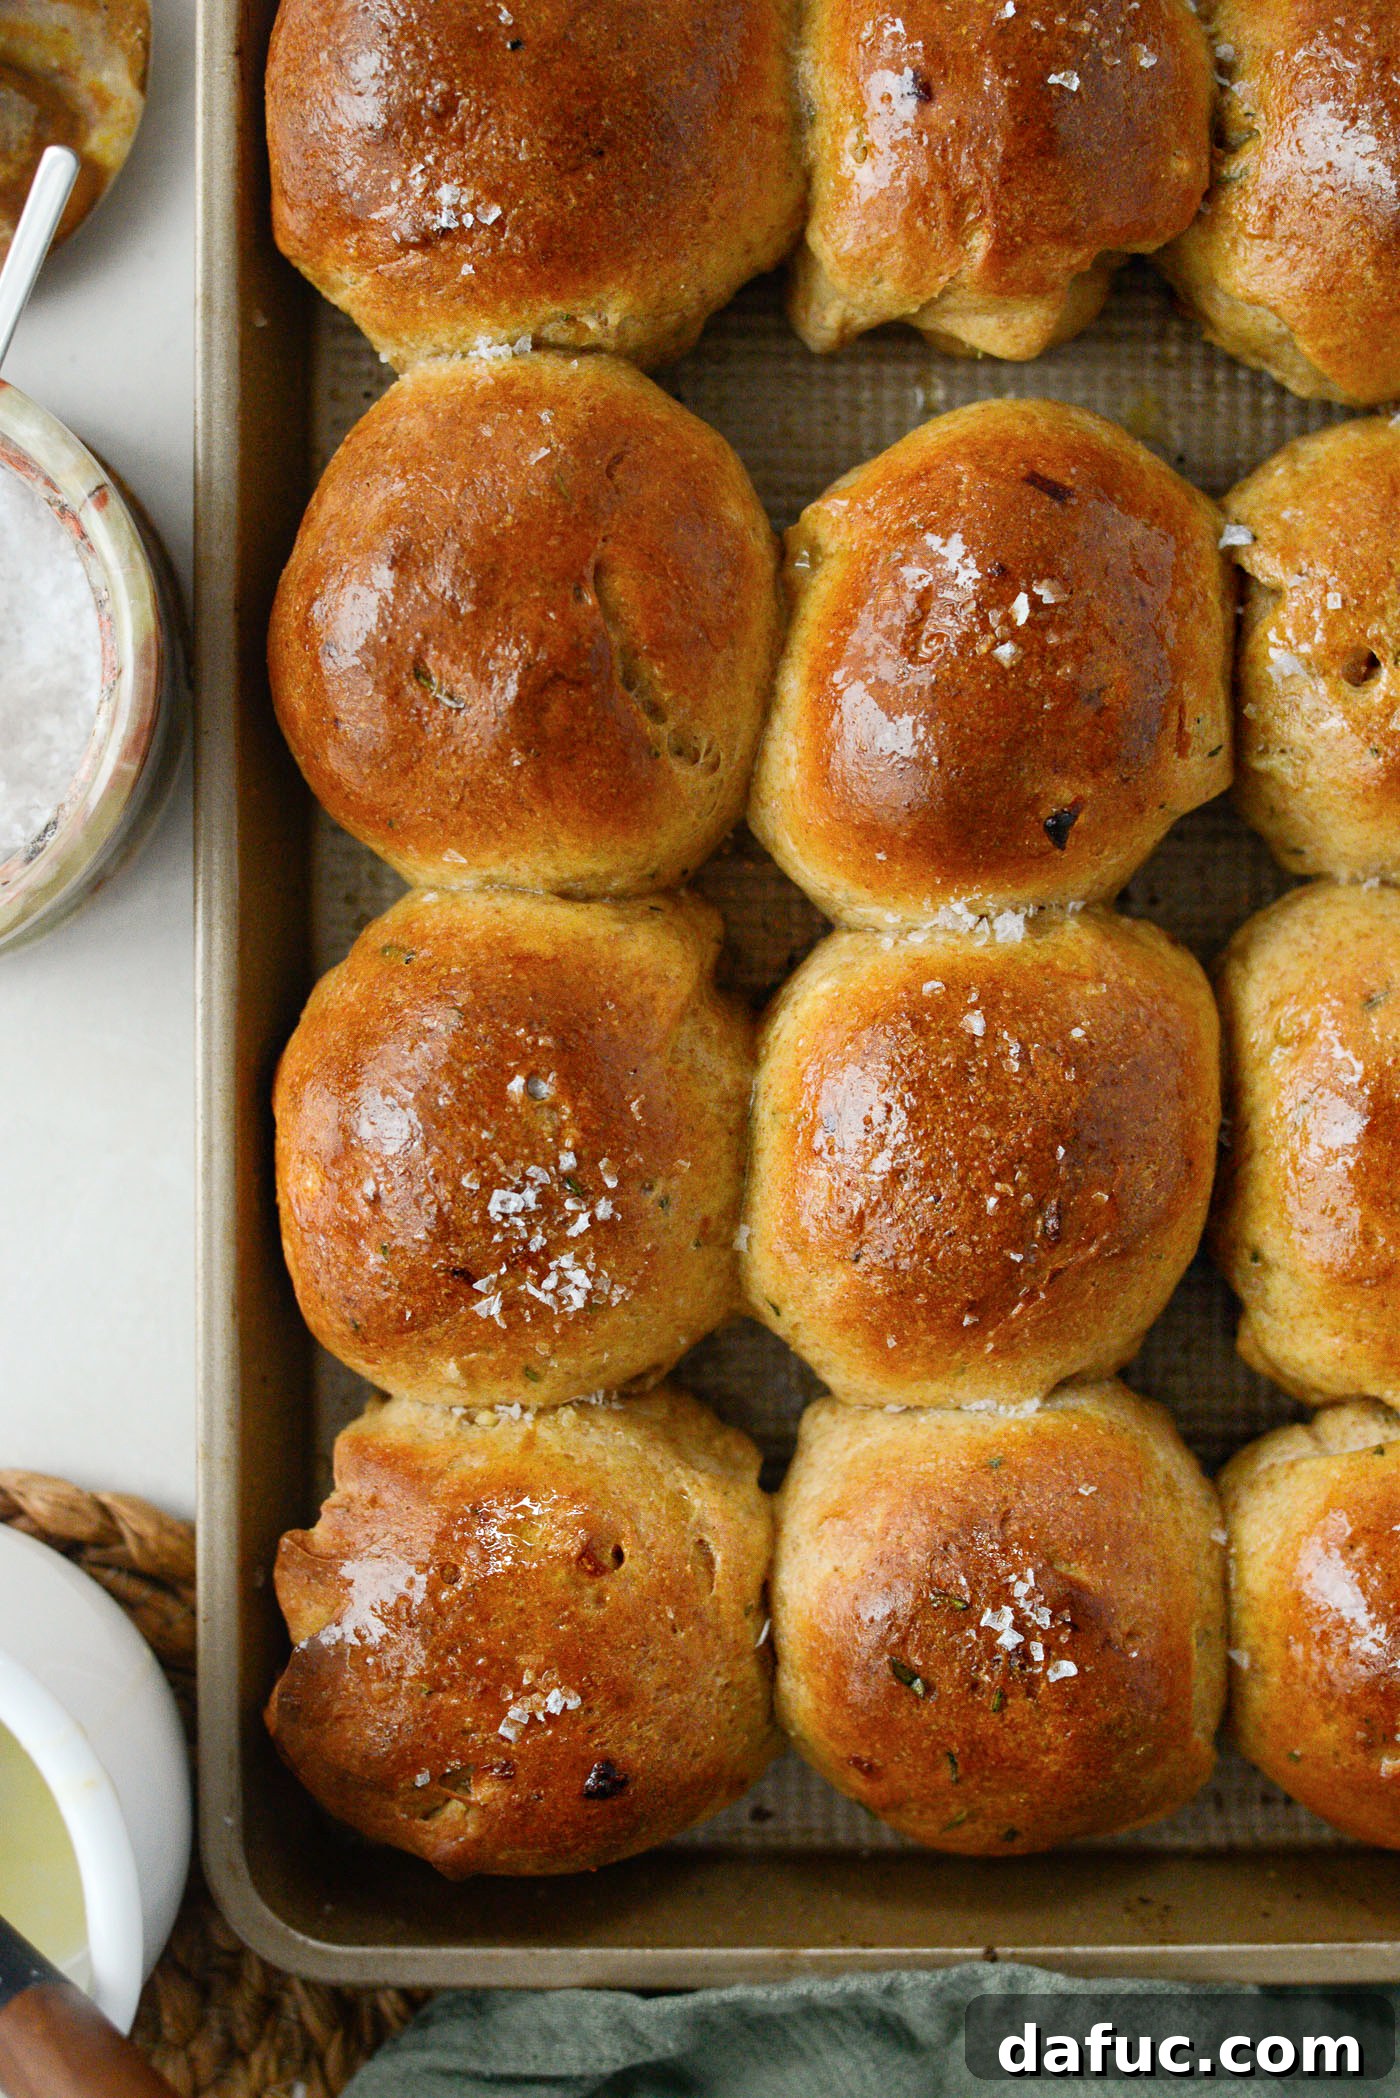
Irresistible Whole Wheat Rosemary Caramelized Onion Rolls: A Flavorful Journey
Prepare to elevate your bread game with these utterly irresistible Whole Wheat Rosemary Caramelized Onion Rolls. Far from your average dinner roll, these soft, pillowy delights are infused with the sweet, savory depth of perfectly caramelized onions and the fragrant, earthy notes of fresh rosemary, all nestled within a wholesome whole wheat dough. Whether you’re planning a cozy weeknight dinner or looking for the perfect accompaniment to a festive holiday feast, these rolls are guaranteed to impress and become a cherished addition to your table. Yielding 12 generous servings, they offer a delightful blend of rustic charm and sophisticated flavor, promising a memorable culinary experience with every bite.
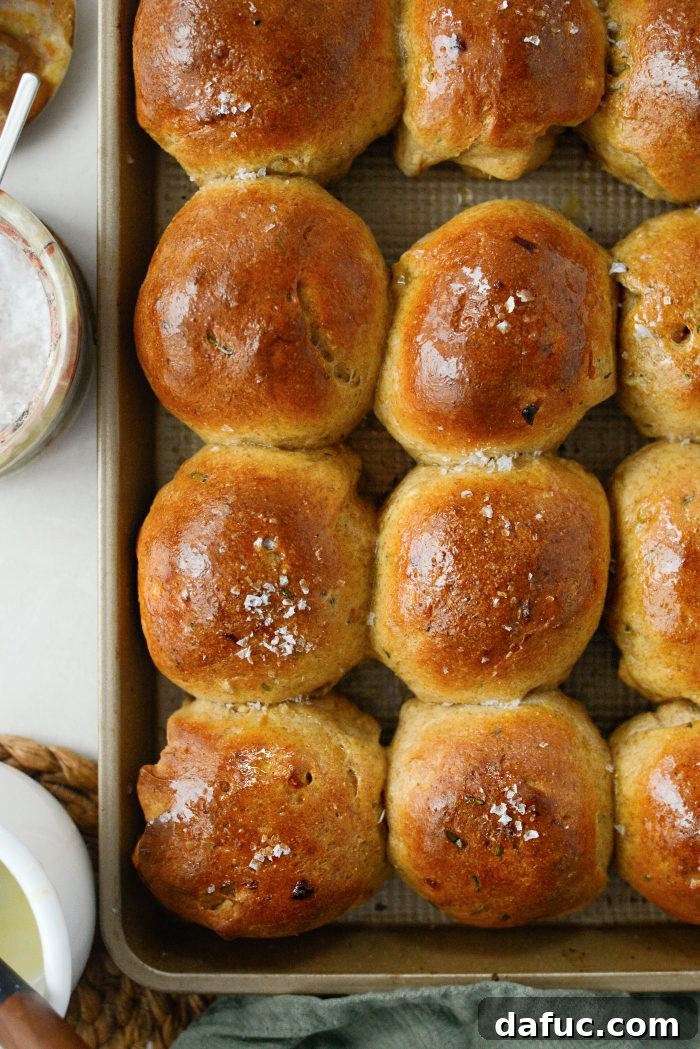
The Enduring Allure of Homemade Rolls
There’s something inherently comforting and deeply satisfying about homemade bread, especially warm, soft rolls fresh from the oven. For me, rolls have always held a special place at the dinner table. I vividly recall a time when my metabolism seemed boundless, and I could indulge in countless dinner rolls without a second thought. Oh, those glorious days! Now, I might limit myself to two, maybe three, but certain rolls – like these extraordinary caramelized onion and rosemary rolls – make all bets off. They possess a magic that transcends simple sustenance, inviting pure indulgence and becoming an instant favorite.
This particular recipe holds a special memory for me, dating back nearly 14 years to a “Project Food Blog” challenge. The theme was “Dinner Party,” and I crafted these very rolls to complement a rich, braised venison stew. The combination was nothing short of spectacular, the savory sweetness of the rolls perfectly balancing the hearty richness of the venison. This experience truly showcased their versatility. One of the best qualities of these rolls, beyond their incredible flavor, is their make-ahead convenience. You can prepare them the day before, store them, and simply reheat them in the oven just before serving. They emerge just as wonderfully soft and flavorful, making them an ideal choice for busy hosts, holiday preparations, or anyone looking to enjoy fresh-baked goodness with minimal last-minute effort. They are a testament to the fact that wholesome, flavorful bread can be both elegant and easy to incorporate into any meal.
Crafting Perfection: Essential Ingredients for Your Rolls
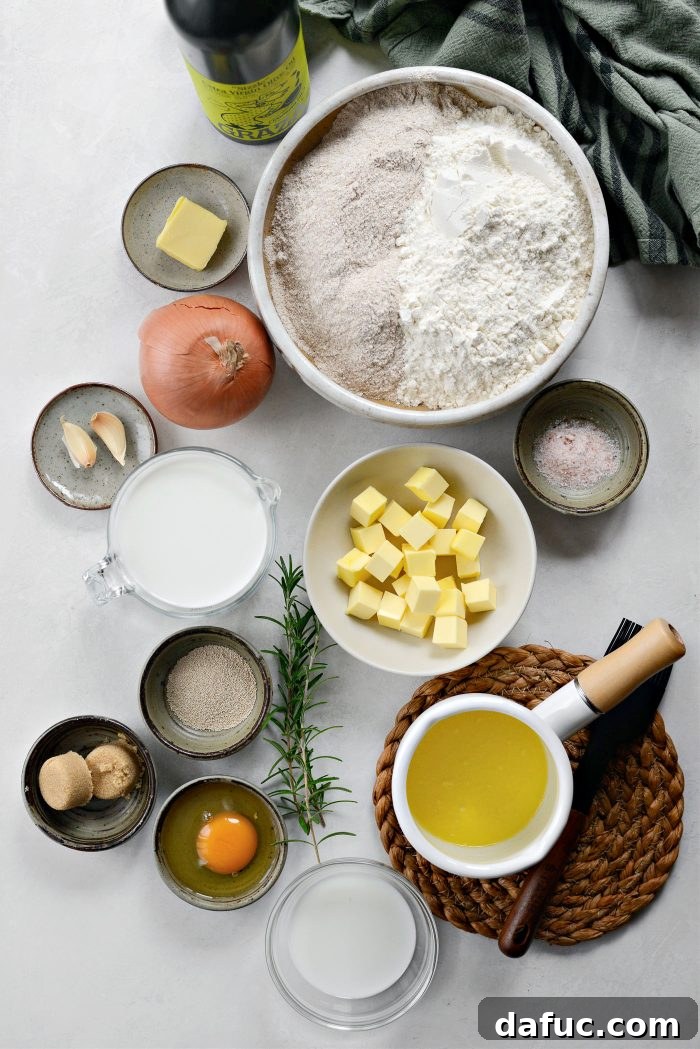
The secret to these exceptional Whole Wheat Rosemary Caramelized Onion Rolls lies in a thoughtful selection of ingredients. Each component plays a crucial role in developing the complex flavors and achieving that signature tender texture. Here’s a breakdown of what you’ll need to gather to embark on this delightful baking adventure, ensuring every element contributes to the roll’s incredible taste and feel:
- Unsalted Butter (softened): This is key for both the slow caramelization of the onions and the tender development of the dough. Butter contributes a rich, milky flavor, helps the onions achieve their sweet depth, and ensures the dinner rolls are incredibly tender with a delicate, melt-in-your-mouth crumb.
- Olive Oil: Used in conjunction with butter, olive oil aids in the initial softening and subsequent caramelization process of the onions. It adds another layer of subtle, fruity richness and helps them achieve that desired deep golden-brown hue.
- Yellow Onion (large): The undisputed flavor hero of these rolls! Opting for a large yellow onion is essential to ensure you have an ample supply of sweet, deeply caramelized onions. Their intense flavor, once cooked down, permeates the dough beautifully. If smaller onions are all you have, plan to use 2 to 3 to achieve the necessary quantity for maximum impact.
- Garlic: A few minced cloves of garlic provide a distinct, aromatic punch that perfectly complements the inherent sweetness of the caramelized onions and the earthy freshness of the rosemary. It adds a layer of savory complexity.
- Fresh Rosemary: Absolutely vital for that fresh, invigorating, pine-like or woodsy aroma and taste. Fresh rosemary introduces subtle notes of lemon, pepper, and sage, elevating the overall flavor profile of the rolls from good to truly gourmet. While dried can be used in a pinch, fresh is highly recommended for its vibrant essential oils and superior flavor.
- Light Brown Sugar: Beyond merely feeding the active yeast, light brown sugar contributes a gentle, molasses-rich sweetness to the dough, deepening the flavor and promoting a beautiful golden-brown crust during baking. It also helps tenderize the crumb.
- Whole Milk: The choice of whole milk is paramount for yielding a supremely soft, moist, and tender crumb in your finished rolls. Its higher fat content enriches the dough, resulting in a more luxurious texture and a richer flavor compared to lower-fat milk alternatives.
- Active Dry Yeast: This living leavening agent is responsible for the rolls’ magnificent rise, creating their light and airy internal structure. It also contributes to the dough’s characteristic fermented flavor, adding depth. Ensuring your yeast is fresh and active is crucial for successful baking.
- Whole Wheat Flour: This flour provides a robust foundational structure for the rolls while imparting a subtle, nutty, earthy flavor and a pleasingly hearty mouthfeel. Incorporating whole wheat flour also boosts the nutritional value, adding fiber and essential nutrients.
- Unbleached Bread Flour: With its significantly higher protein content compared to all-purpose flour, bread flour is essential for developing strong gluten networks. This gluten development results in a superior, chewy texture and a satisfying bite, preventing the rolls from being too delicate or crumbly.
- Kosher Salt: More than just seasoning, kosher salt is a critical ingredient that enhances and balances all the other flavors in the recipe. It prevents the rolls from tasting bland and helps regulate yeast activity.
- Large Egg (room temperature): An egg serves multiple purposes: it adds richness and moisture to the dough, acts as a binding agent, and contributes to an enhanced overall flavor and a more golden crust. Using a room temperature egg ensures it incorporates smoothly and evenly into the dough.
- Milk (for brushing before baking): A simple brushing of milk on the tops of the rolls just before they enter the oven helps to create that desired beautiful, glossy, golden-brown crust.
- Melted Butter (for brushing after baking): Brushing the hot rolls with melted butter immediately after they emerge from the oven adds an extra layer of irresistible richness, a beautiful sheen, and keeps the crust wonderfully soft, sealing in moisture.
- Flaky Sea Salt (optional): A delicate sprinkle of flaky sea salt over the warm, buttered rolls provides a delightful textural contrast and a burst of savory seasoning, elevating these rolls to a truly gourmet level.
The Art of Caramelization: Bringing Out Sweetness and Depth
The heart and soul of these rolls lie in the rich, sweet caramelized onions. This step, while requiring a bit of patience, is utterly transformative and absolutely crucial for developing the roll’s signature savory-sweet flavor profile. Resist the urge to rush this process; slow and steady wins the flavor race!
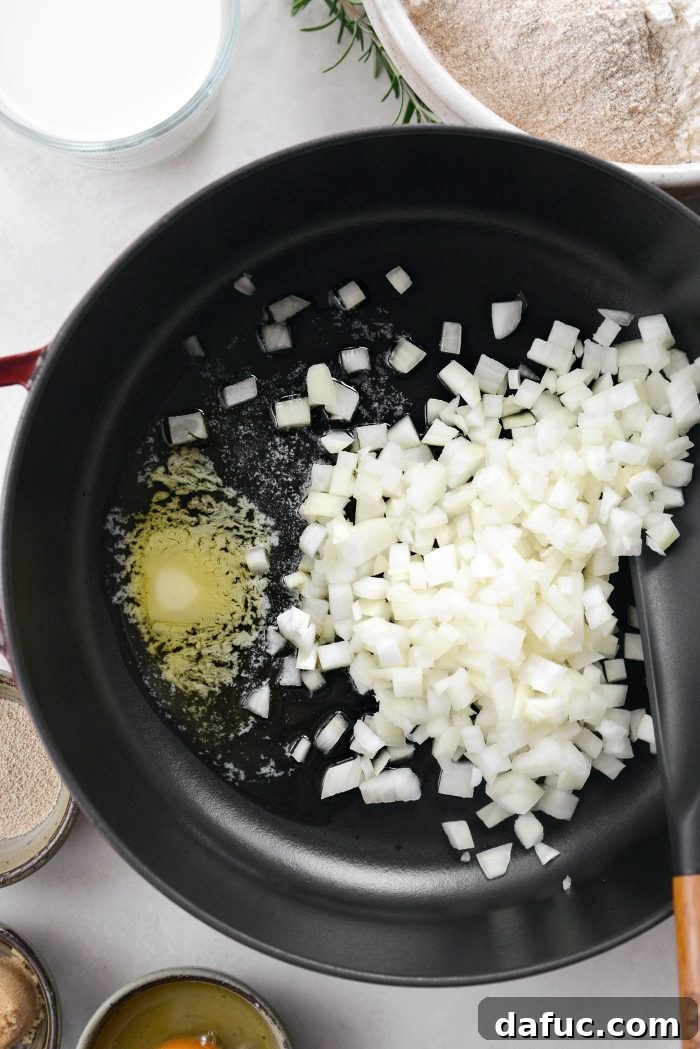
Begin by combining 1 tablespoon of unsalted butter and 1 tablespoon of olive oil in a spacious, heavy-bottomed skillet. Once the butter is melted and shimmering, add your finely diced large yellow onion. The golden rule for perfect caramelization is cooking “low and slow.” Stir frequently over medium to medium-low heat. You’re not just sautéing; you’re coaxing the natural sugars out of the onion, allowing them to transform into a deep golden, sticky, intensely sweet concentrate. This delicate process typically takes a good 35 minutes, so put on some music, perhaps pour yourself a beverage, and savor the savory-sweet aroma filling your kitchen – it’s part of the experience!
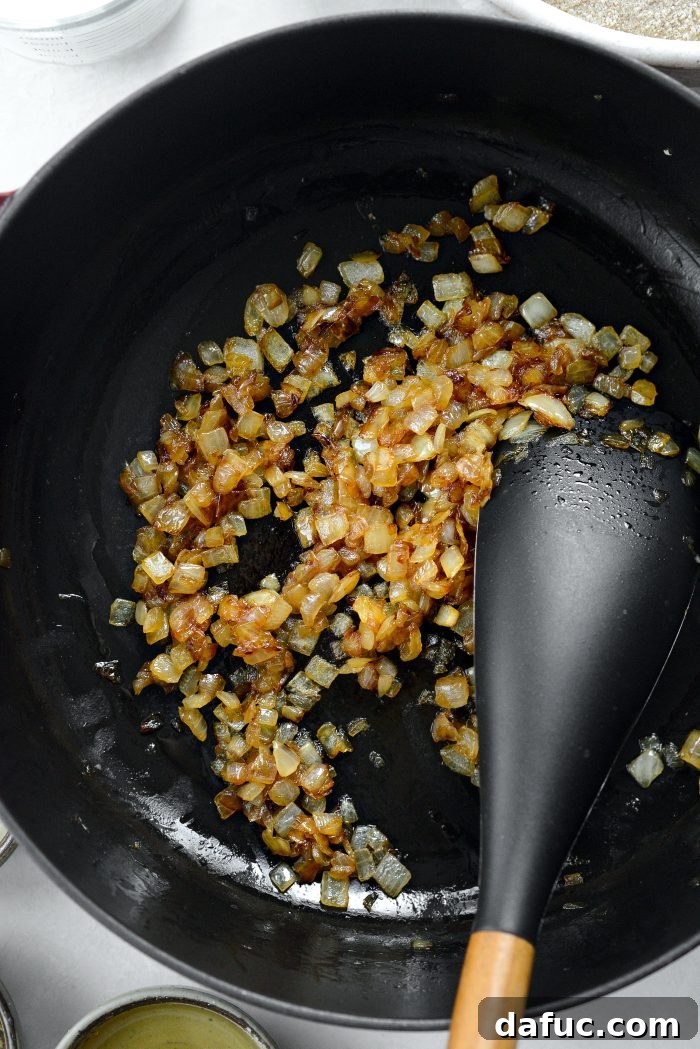
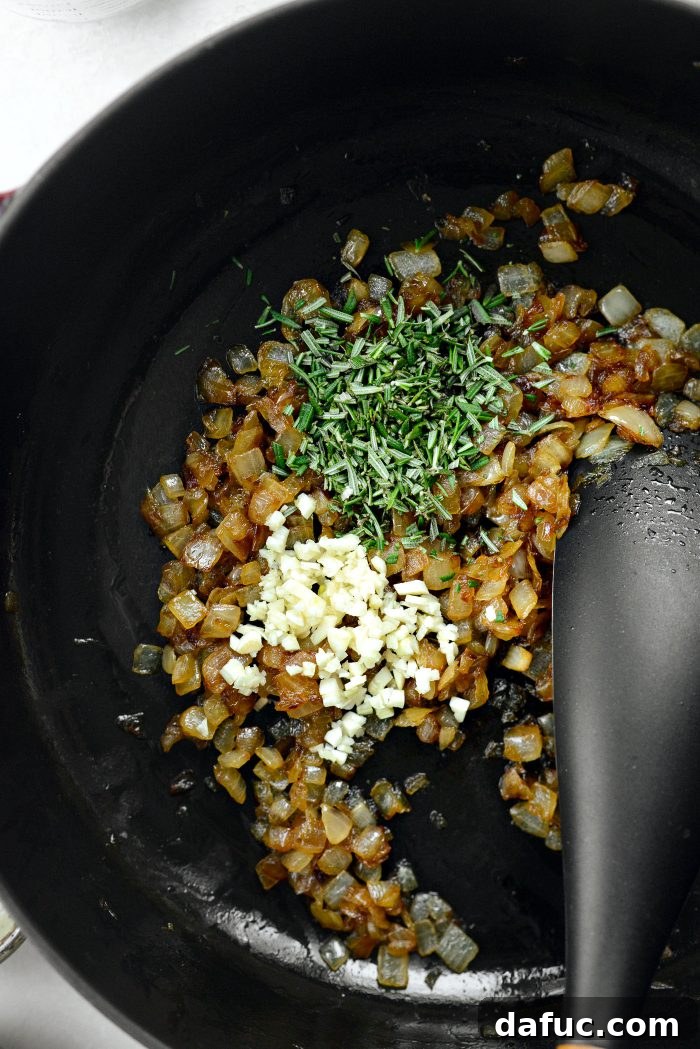
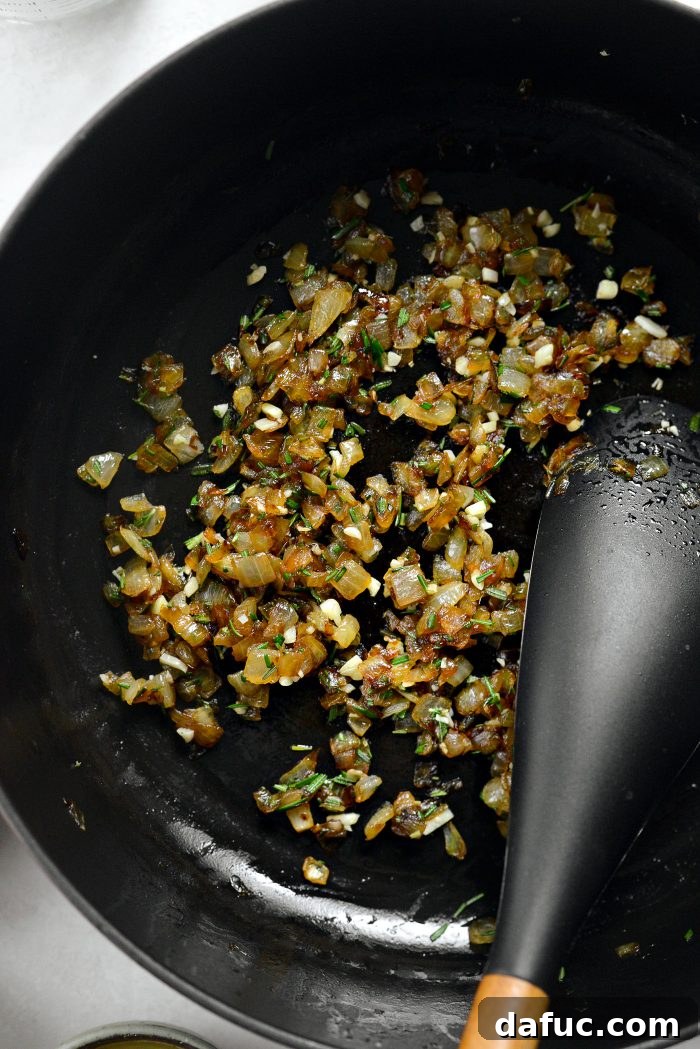
Once the onions have achieved that desirable deeply golden, richly caramelized state, it’s time to introduce the powerful aromatics. Add 2 tablespoons of freshly minced rosemary and 2 small minced cloves of garlic to the skillet. Stir these vibrant additions into the warm onions, allowing their fragrant essential oils to release and meld with the sweetness of the onions. Cook for just 2 minutes; this brief cooking time is enough to mellow the pungency of the garlic and thoroughly infuse the onions with the fresh, woodsy essence of rosemary without any risk of burning the garlic. After two minutes, remove the skillet from the heat and set the entire mixture aside to cool completely before you incorporate it into the dough. This cooling step prevents the heat from adversely affecting the yeast in the dough.
Mixing the Masterpiece: Preparing the Whole Wheat Dough
With your fragrant caramelized onions cooling, it’s time to turn our attention to the dough, the tender foundation of these incredible rolls. The process begins with activating your yeast, a crucial step for achieving a light, airy, and flavorful texture in your finished rolls.
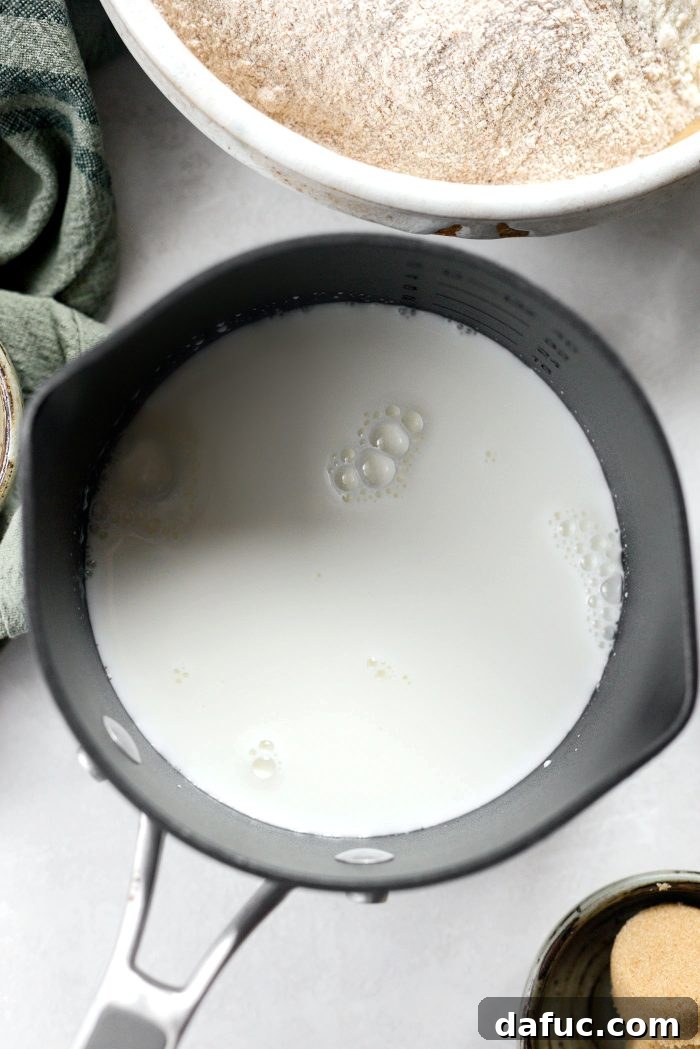
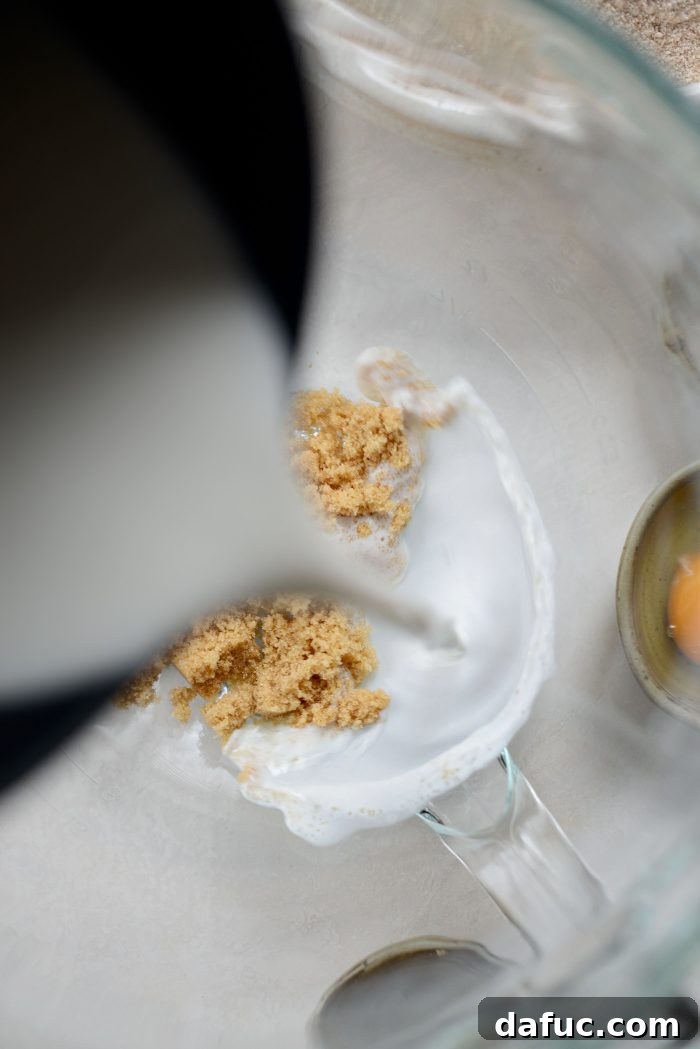
Gently warm 1 cup of whole milk over medium-low heat until it reaches a temperature of 100-110°F (38-43°C). This specific temperature range is absolutely ideal for awakening active dry yeast – too cold and it won’t activate efficiently; too hot and you risk killing the yeast entirely, which would prevent your rolls from rising. In the bowl of your stand mixer, fitted with the dough hook attachment, combine 2 tablespoons of light brown sugar. Pour the warm milk over the sugar, then sprinkle 2 teaspoons of active dry yeast evenly over the milk and sugar mixture. Give it a gentle stir to combine, then let it sit undisturbed for 5 to 10 minutes. During this crucial “proofing” time, the yeast will begin to feed on the sugar, producing carbon dioxide and creating a frothy, foamy layer on top. This foam is your visual confirmation that the yeast is alive, active, and ready to work its magic in your dough.
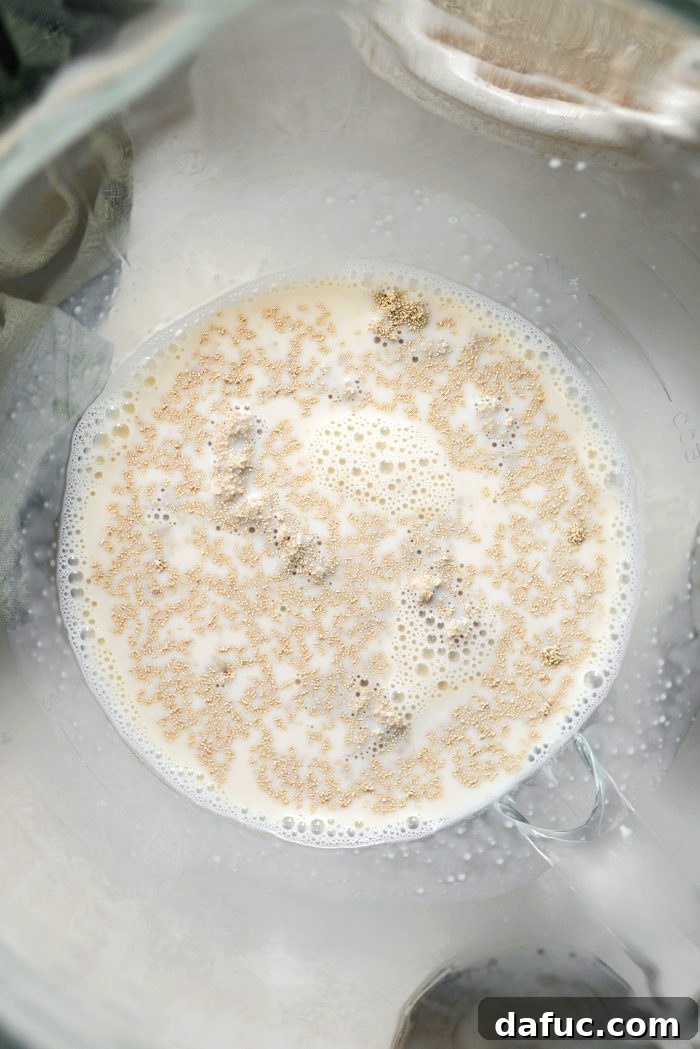
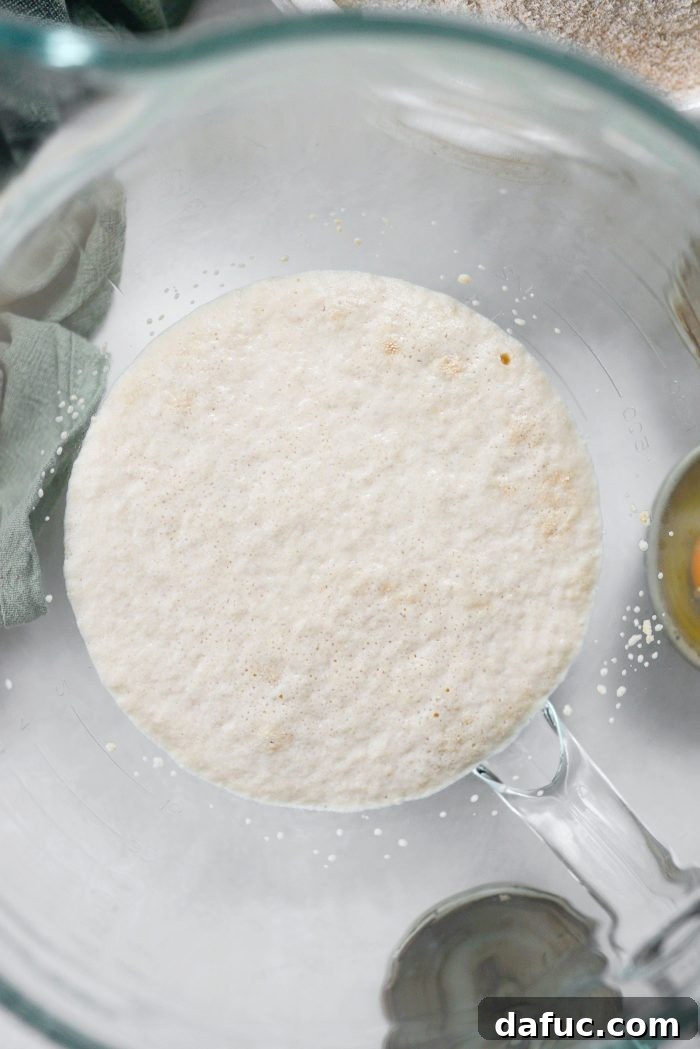
Once your yeast mixture is beautifully frothy, indicating its readiness, it’s time to add the remaining core dough ingredients. To the mixer bowl, add 1-3/4 cups of whole wheat flour, 1-3/4 cups of unbleached bread flour, 1 teaspoon of fine salt, 1 large room temperature egg, and the star of the show – your perfectly cooled caramelized onion and rosemary mixture. Using the dough hook, begin mixing on medium-low speed. Initially, the mixture will come together as a somewhat “shaggy” dough. This means it will look rather rough, lumpy, and quite sticky. This appearance is perfectly normal and exactly what you should expect at this stage; don’t be tempted to add more flour just yet.
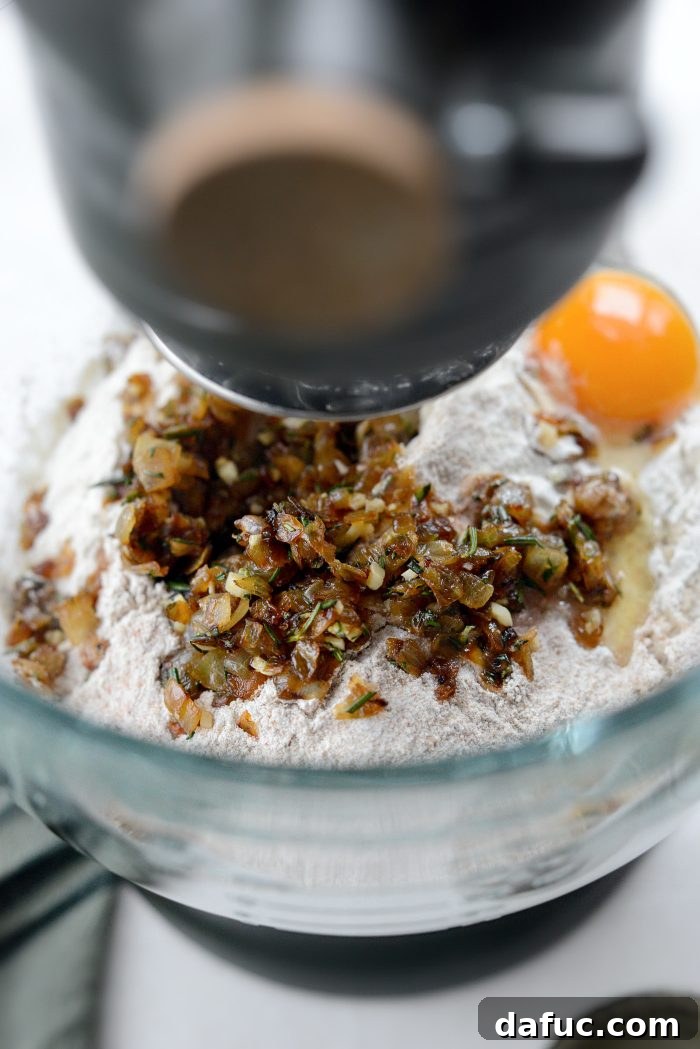
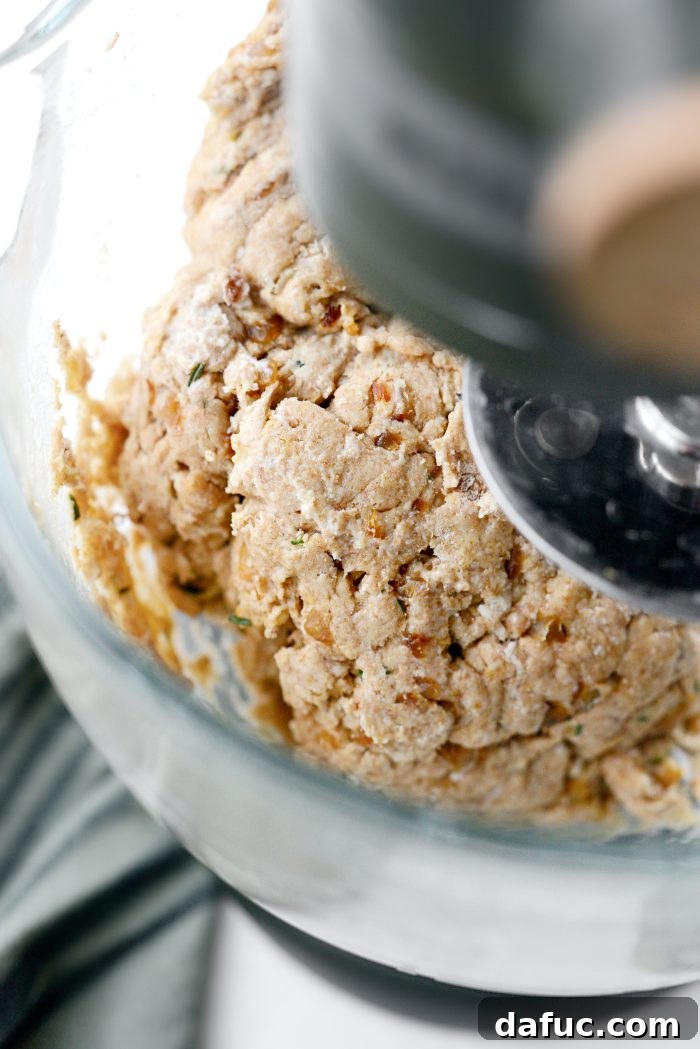
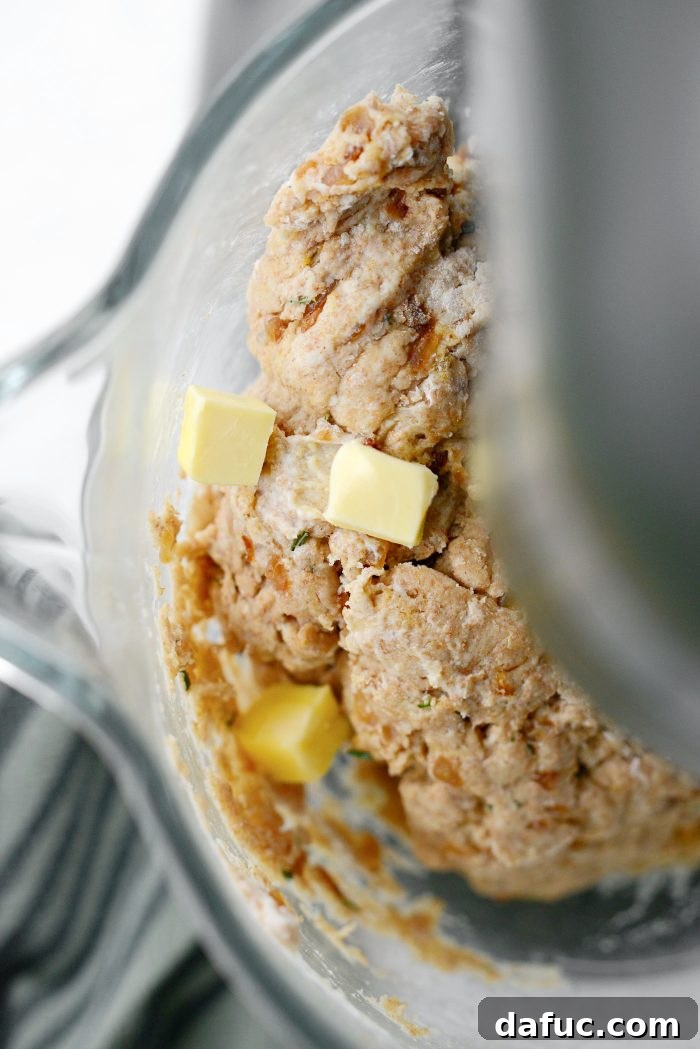
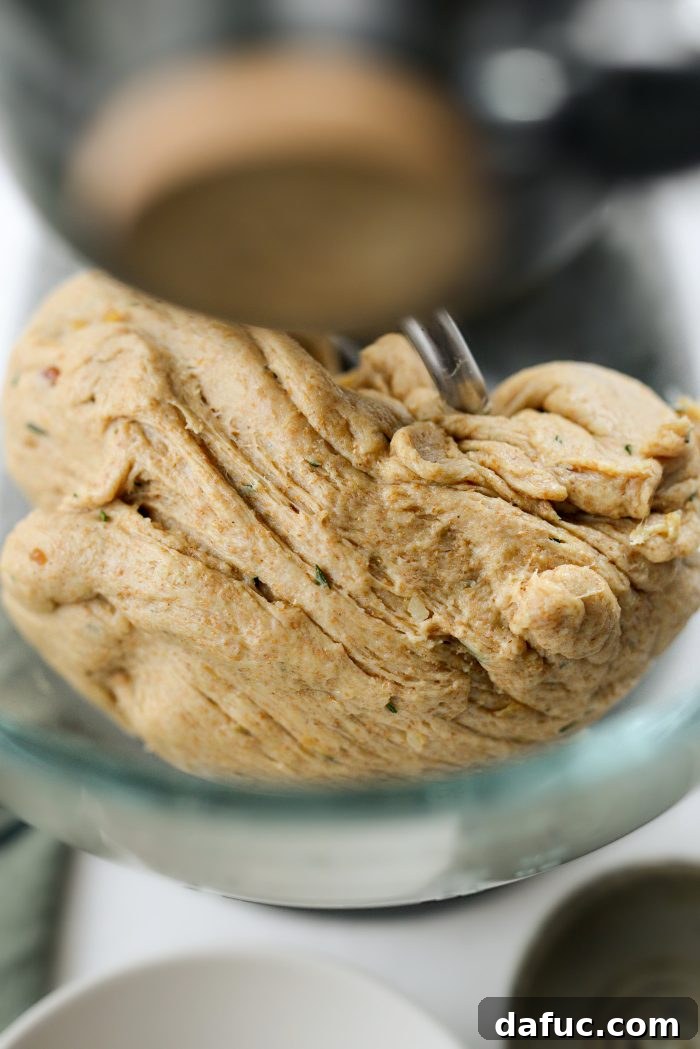
Now, it’s time to incorporate the softened butter, adding it gradually for optimal dough development and a truly tender crumb. With your mixer still on low speed, drop in a few small cubes of softened unsalted butter at a time. Allow each small addition to be fully mixed and absorbed into the dough before adding the next batch. Repeat this process methodically until all 6 tablespoons of butter are thoroughly incorporated. This gradual addition technique ensures the butter is evenly distributed throughout the dough, leading to a more tender, flavorful, and evenly structured roll. Once all the butter has been added and mixed in, increase the mixer speed to medium and continue kneading for a full 6 minutes. By the end of this dedicated kneading time, the dough should be smooth, elastic, and visibly pulling away cleanly from the sides of the bowl, indicating proper gluten development and readiness for its first rise.
The Art of the Rise: Achieving Perfect Texture
The first rise (also known as bulk fermentation) is a critical stage for developing the dough’s flavor, improving its structure, and achieving that ultimately light, airy texture in your baked rolls. Gently remove the kneaded dough from the mixer bowl. On a lightly floured surface, quickly shape it into a smooth, cohesive ball. Place this dough ball into a large mixing bowl that has been lightly greased all over (olive oil or a neutral cooking spray works wonderfully here). Greasing the bowl is essential as it prevents the dough from sticking as it expands and allows for an easy, clean transfer once it has risen.
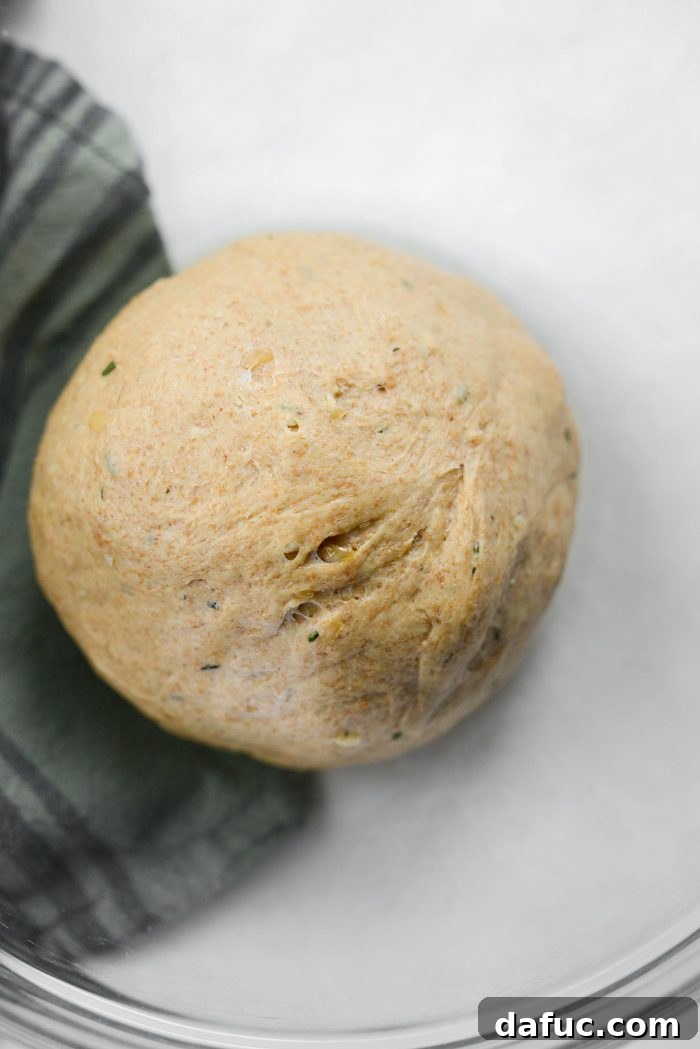
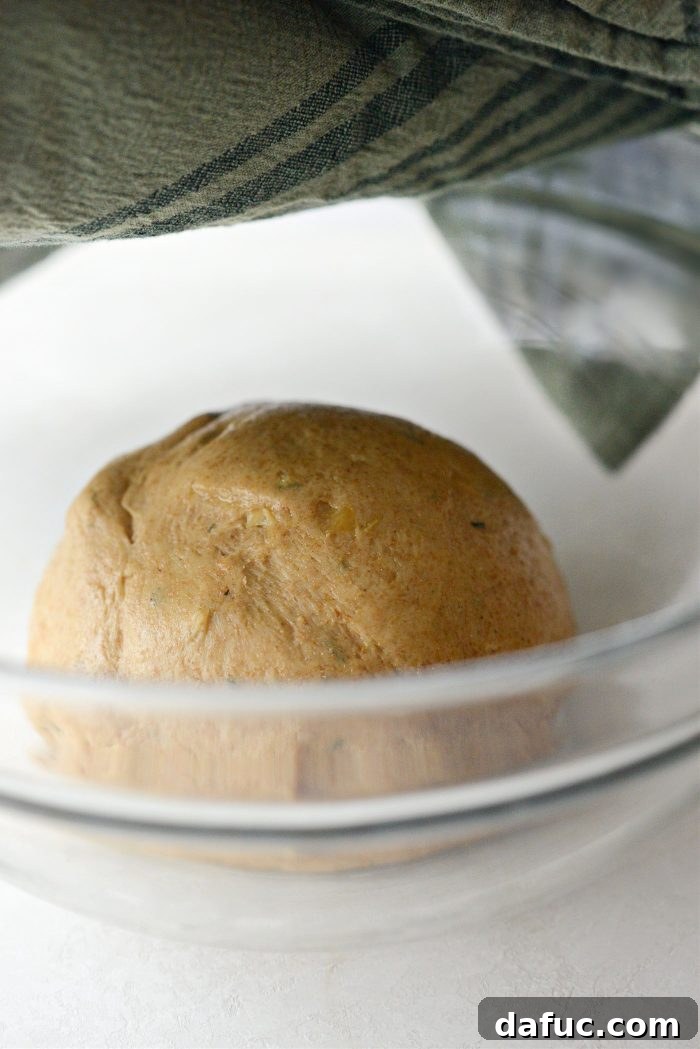
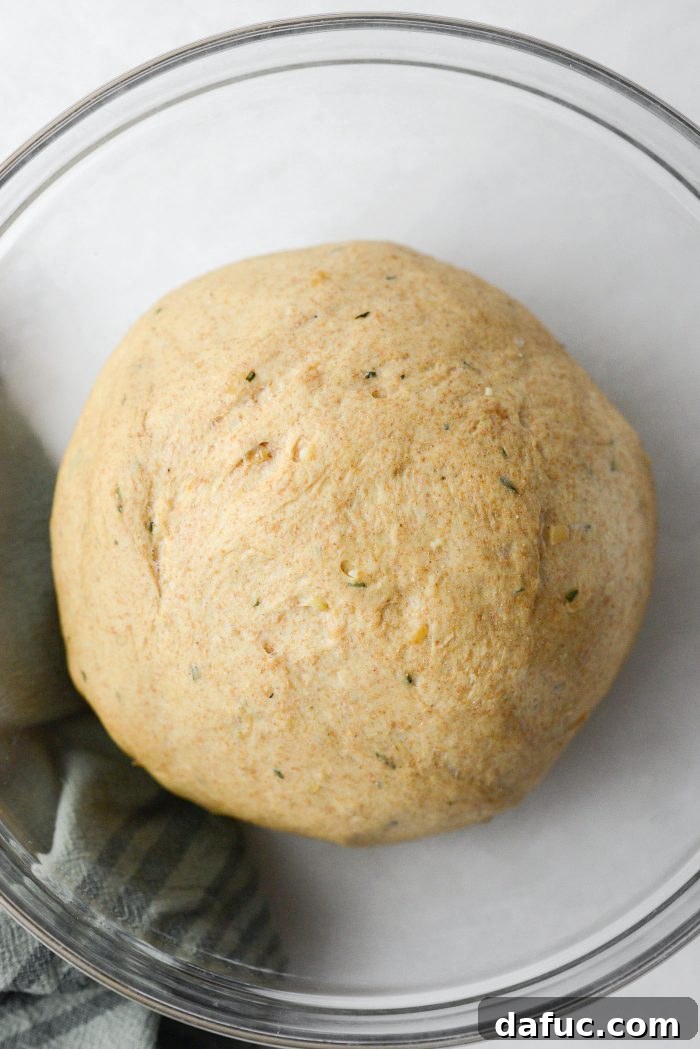
Cover the bowl securely with a clean kitchen towel or plastic wrap. This covering is important to create a warm, humid environment for the yeast to thrive and to prevent the dough from drying out and forming a skin. Allow the dough to rise in a warm, draft-free spot for approximately 1 hour. Ideal spots include a slightly warm oven (turned off!), near a sunny window, or in a warm room. A good indicator of readiness for the next stage is when the dough has visibly doubled in size, appearing puffy and slightly domed. This generous first rise ensures a tender crumb and ample air pockets in your finished rolls, contributing significantly to their soft texture.
Shaping and the Second Rise: Preparing for the Oven
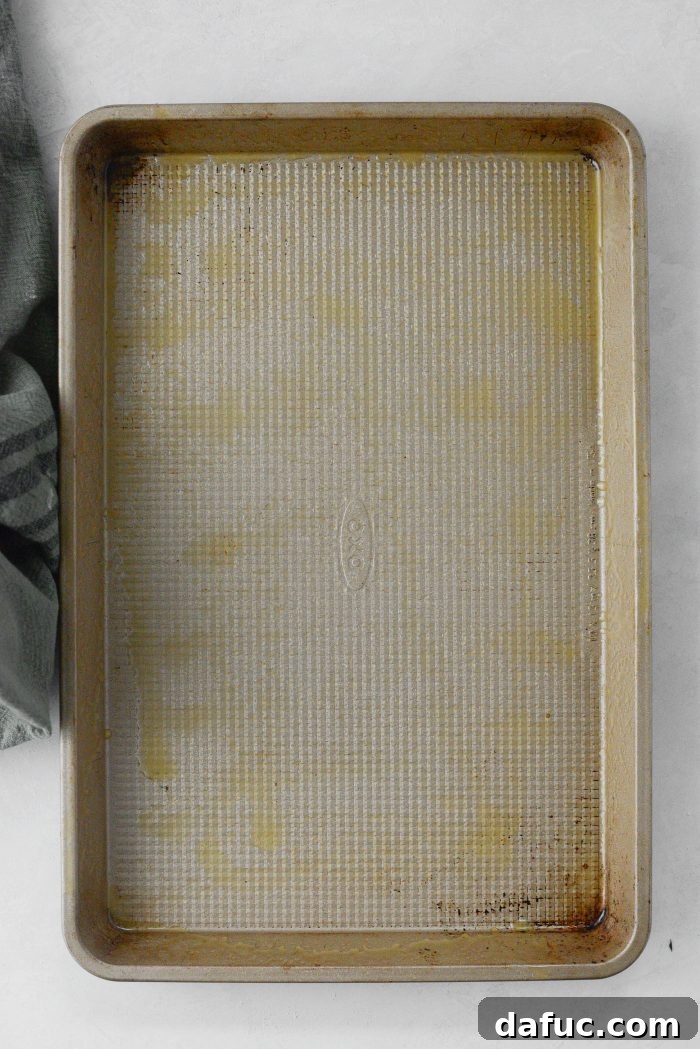
Once the dough has completed its impressive first rise, it’s time to prepare it for its final form before baking. First, lightly grease a 10 x 15 inch or 8 x 12 inch jelly roll pan (or any similar rimmed baking sheet). A good non-stick spray or a thin layer of butter or olive oil will prevent the rolls from sticking and ensure even baking and browning.
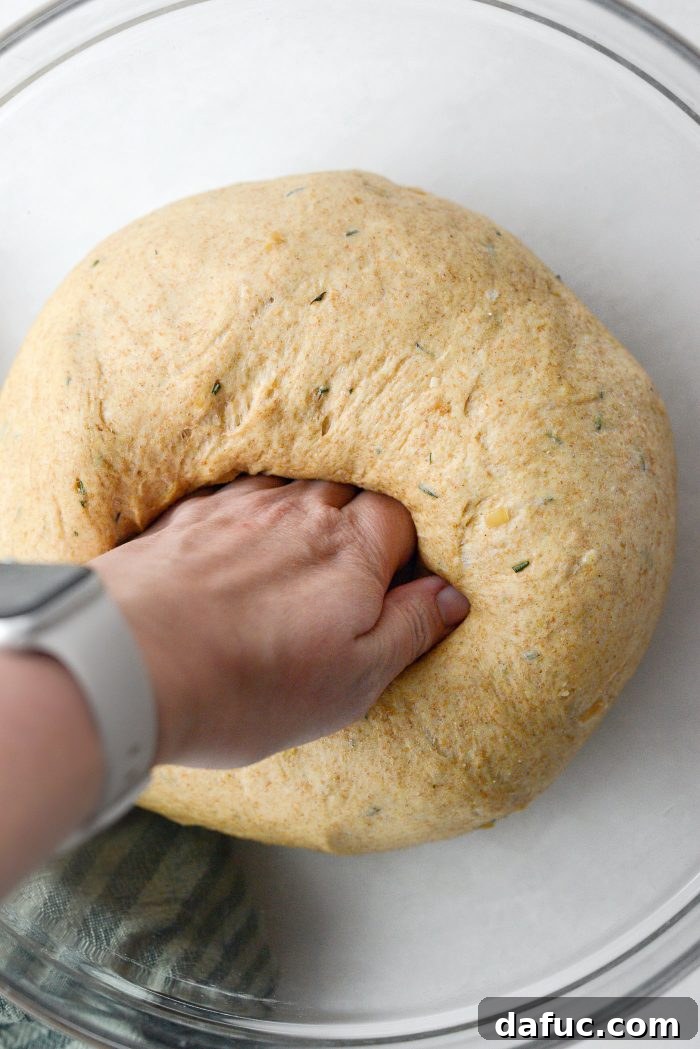
Gently “punch down” the dough to release the accumulated carbon dioxide. This step helps redistribute the yeast and creates a finer, more consistent texture in the final product. Transfer the deflated dough to a lightly floured surface. Work the dough gently into a uniform 12-inch log. Using a sharp knife or a bench scraper, divide the log into twelve equal 1-inch pieces. For optimal consistency in baking and appearance, each piece should ideally weigh a little over 3 ounces. Take each small piece of dough and meticulously shape it into a tight, smooth ball. This careful shaping is important as it ensures that your rolls bake evenly, maintain their structure, and have an appealing, uniform appearance on the plate.
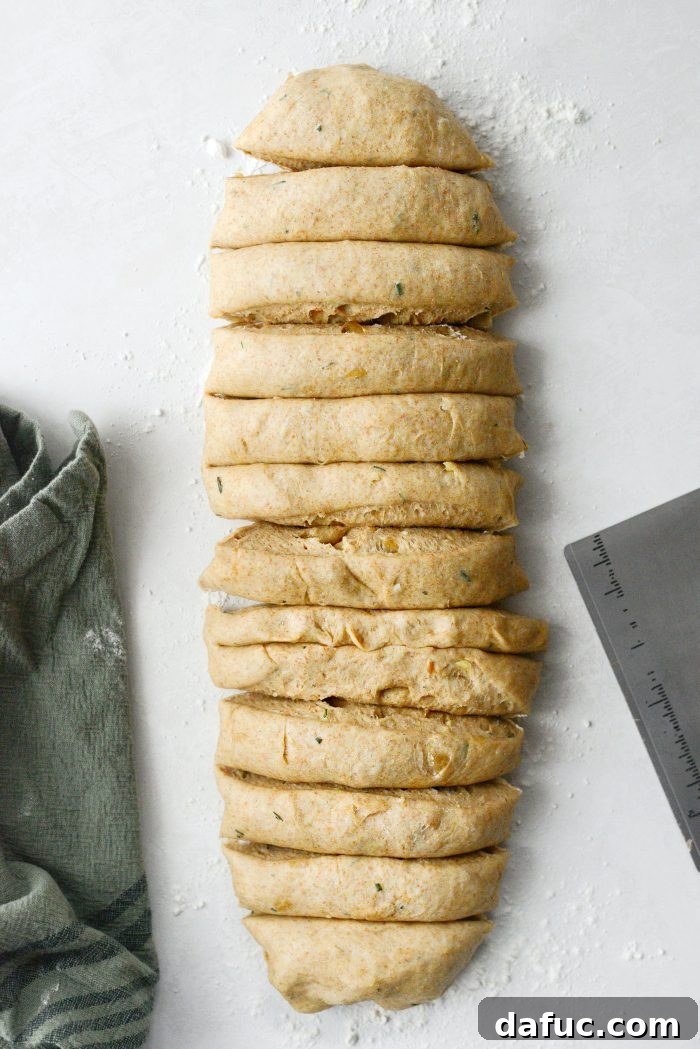
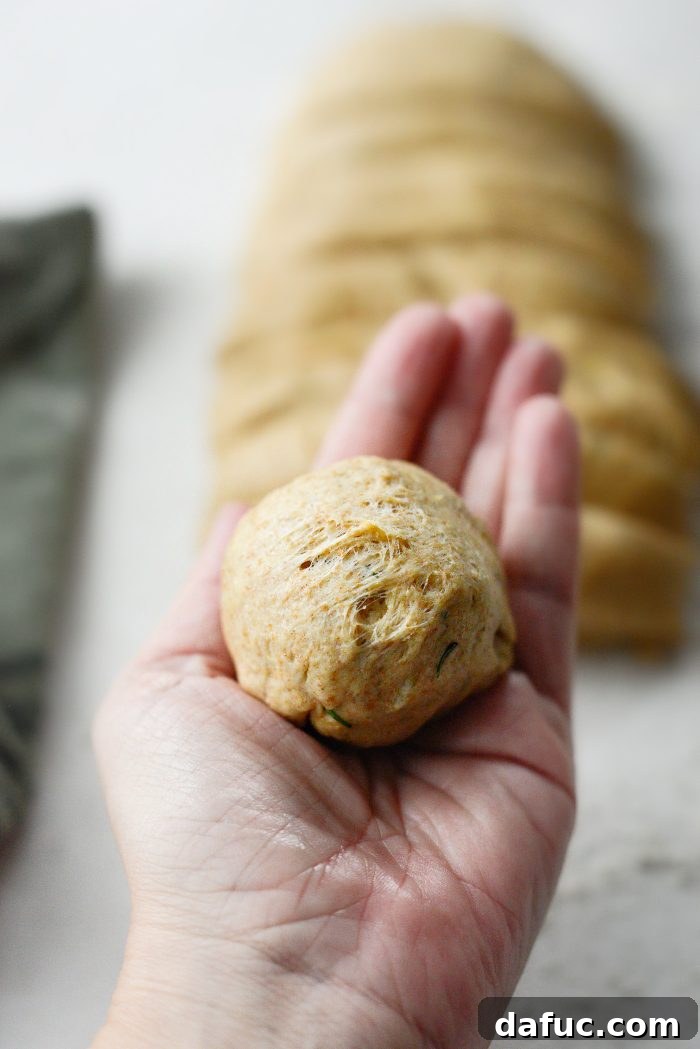
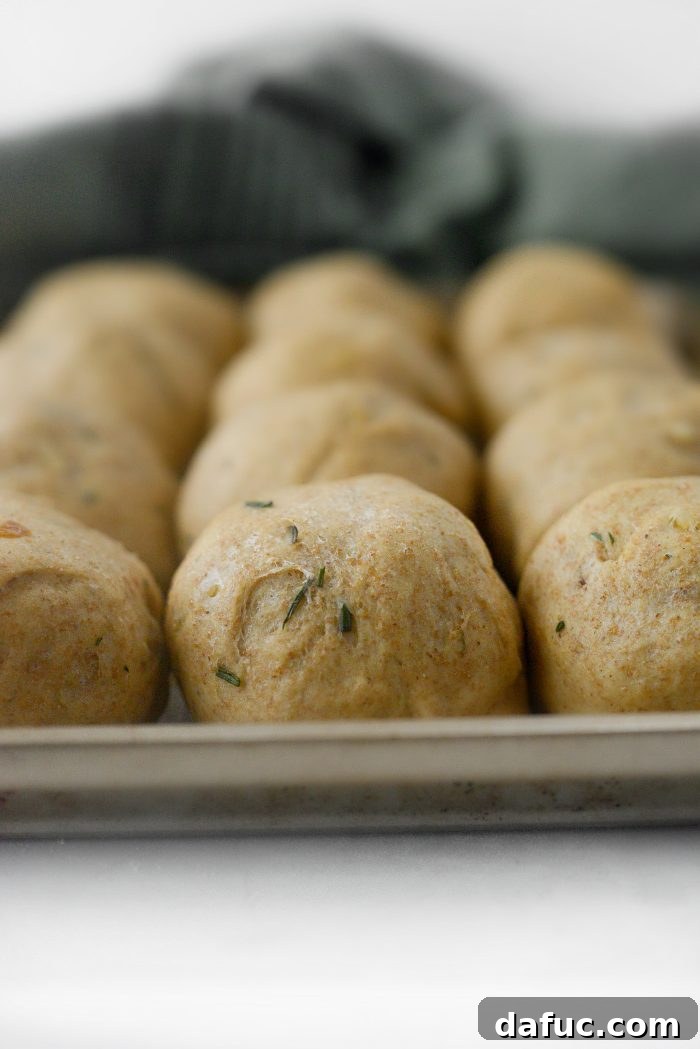
Arrange the shaped dough balls onto your prepared pan, leaving a little space between them for expansion during their final rise. Cover the pan again with a clean kitchen towel and allow the rolls to undergo their second rise (also known as proofing) for another 45 minutes. During this crucial time, they will puff up beautifully, almost doubling in size once more, becoming visibly airy and light. This second rise is absolutely critical for achieving the ultimate light and fluffy texture in your baked rolls.
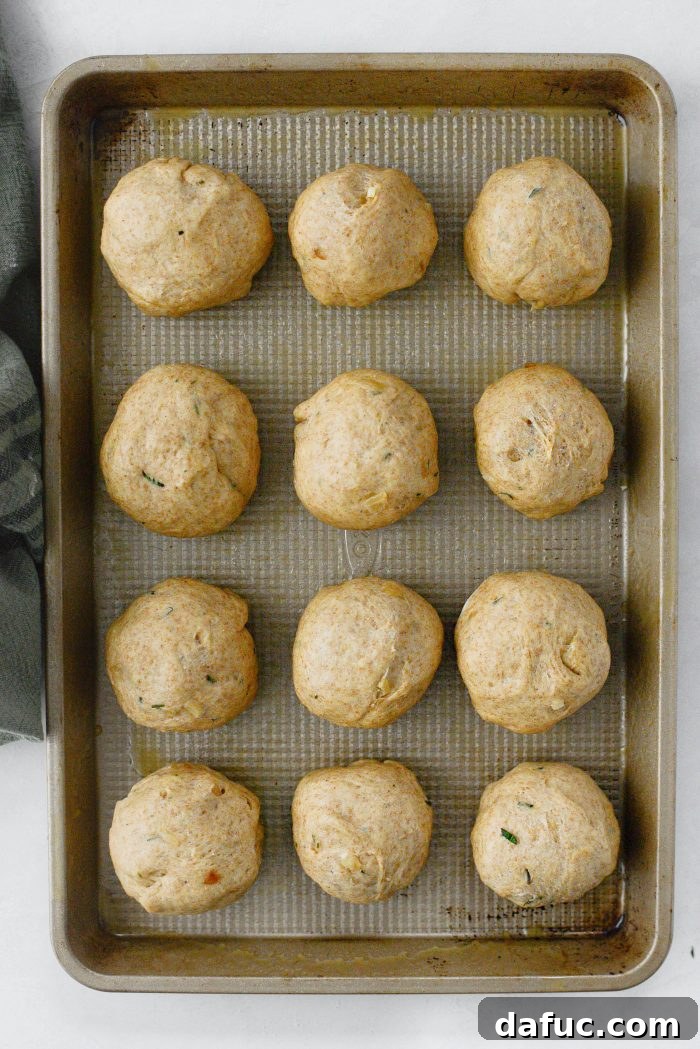
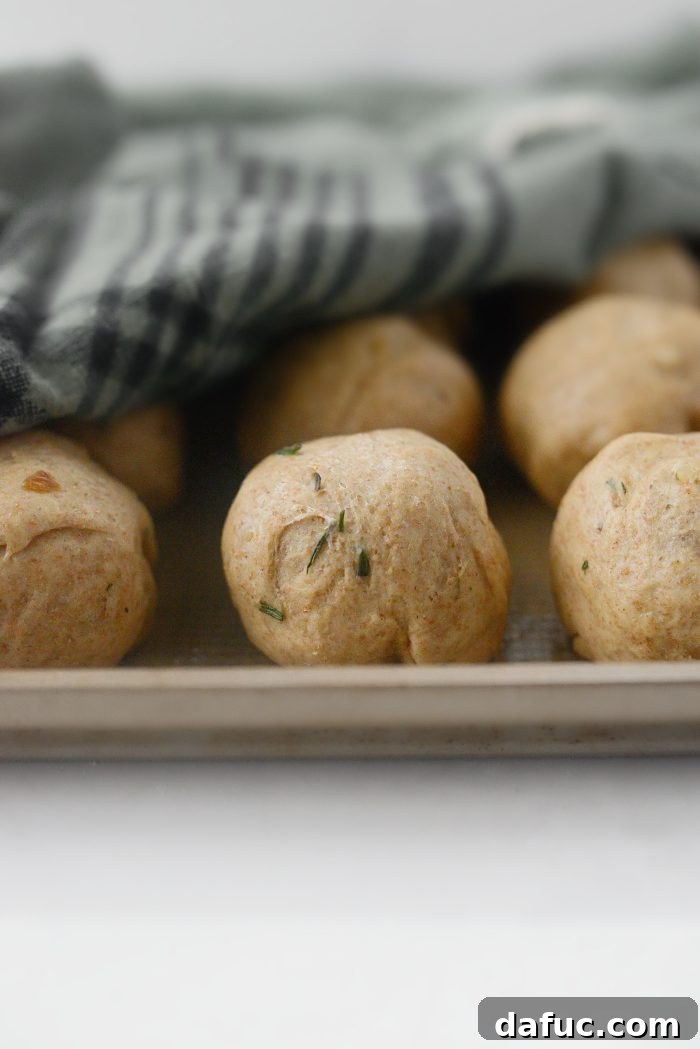
Meanwhile, while your rolls are completing their second rise, preheat your oven to 375°F (190°C). Ensuring your oven is fully preheated to the correct temperature before the rolls go in is vital for consistent baking, a rapid oven spring (the final burst of rising in the oven), and a beautifully crisp crust.
Baking Your Golden Rosemary Caramelized Onion Rolls
After their peaceful and productive second rise, your rolls should appear noticeably puffy, light, and almost doubled in size again, eagerly awaiting their transformation in the oven. Just before baking, gently brush the tops of each roll with 1 to 2 tablespoons of milk. This milk wash isn’t just for adding a subtle sheen; it actively helps in creating that beautiful, enviable golden-brown crust we all love, adding to the visual appeal and enhancing the overall texture.
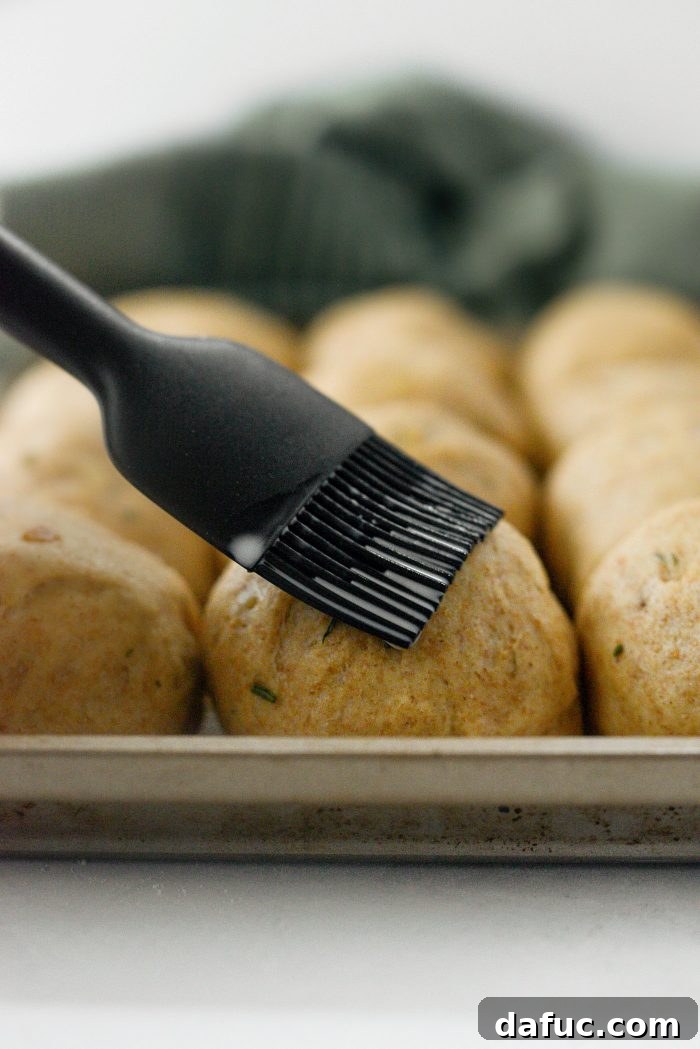
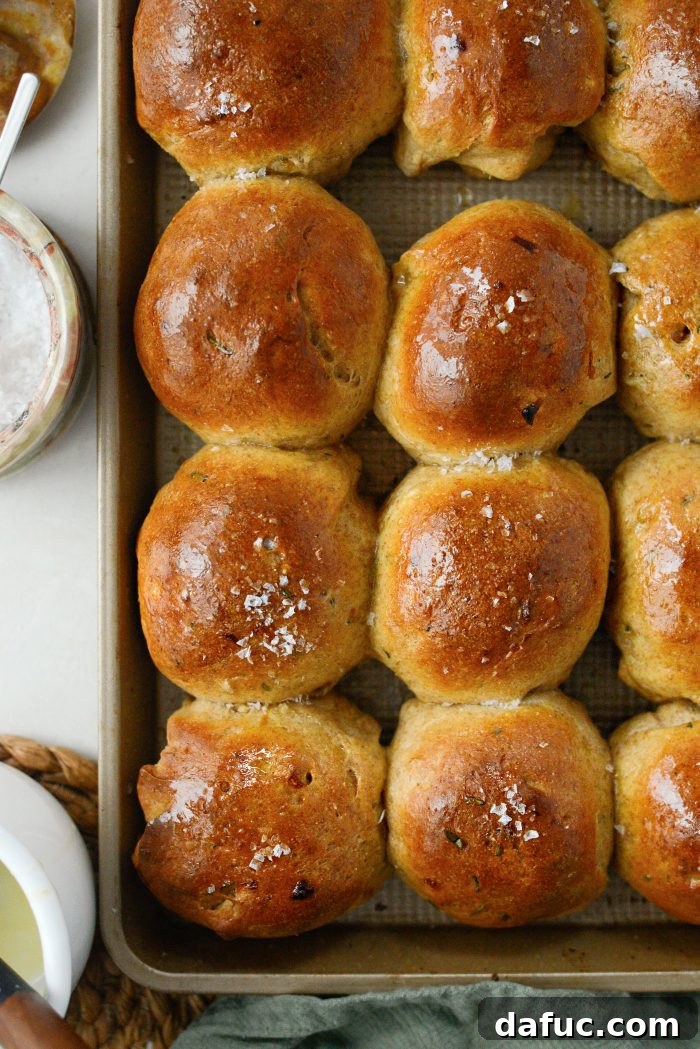
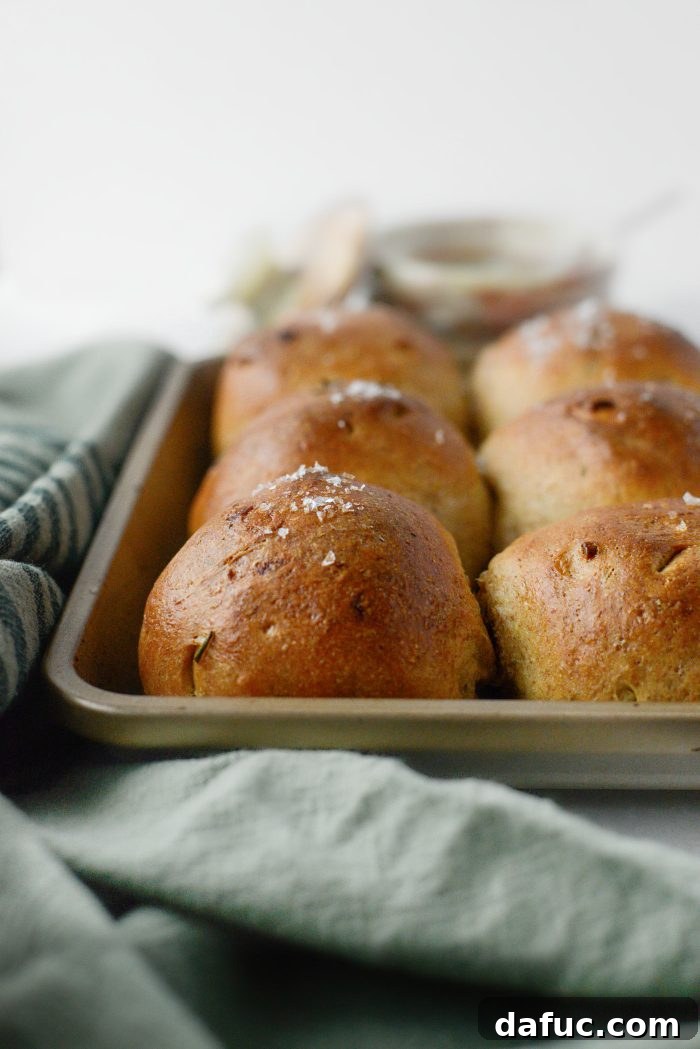
Carefully place the pan containing your rolls on the middle rack of your preheated oven. Bake for approximately 18 to 20 minutes. Keep a watchful eye on them; the exact baking time can vary slightly depending on the calibration of your specific oven. You’ll know they’re perfectly baked when their tops have transformed into a glorious, deep golden brown and they sound satisfyingly hollow when gently tapped on the bottom. As soon as they emerge from the oven, with their enticing aroma filling your kitchen, immediately brush them generously with 1 tablespoon of melted butter. This not only adds a beautiful, glossy sheen and an extra layer of rich flavor but also helps keep the crust wonderfully soft. For an extra touch of gourmet flair and a delightful textural contrast, sprinkle with flaky sea salt while the butter is still warm, allowing it to adhere beautifully to the rolls. Serve these aromatic, golden-brown rolls warm and watch them disappear from the table!
Storage and Longevity: Enjoying Your Rolls Longer
Once your Whole Wheat Rosemary Caramelized Onion Rolls are baked to perfection and cooled slightly, proper storage is key to maintaining their delightful texture and flavor for as long as possible. As soon as they come out of the oven, do not leave them on the hot baking pan. Instead, immediately transfer them to a wire rack. This is a crucial step that allows air to circulate freely around all sides of the rolls, preventing moisture build-up on the bottom which can lead to sogginess. It also allows residual steam to escape, preventing the crust from becoming tough. Allow them to cool completely on the rack before proceeding to storage.
For short-term storage, place the completely cooled rolls in an airtight container or a resealable plastic bag. Stored properly at room temperature, these homemade dinner rolls will remain wonderfully fresh and soft for 2 to 4 days, making them perfect for enjoying throughout the week. If you wish to extend their shelf life significantly, you can freeze them. Once fully cooled, wrap individual rolls tightly in plastic wrap, then place them in a larger freezer-safe bag or container to protect against freezer burn. They can be frozen for up to 2-3 months without a noticeable loss in quality. To reheat from frozen, simply thaw the rolls at room temperature for an hour or two, then warm them in a preheated oven at 300°F (150°C) for about 5-10 minutes, or until they are warmed through and regain their soft texture. This makes them an excellent make-ahead option for entertaining!
Beyond the Plate: More Dinner Roll Inspirations
If you’ve fallen in love with the satisfying art of making homemade dinner rolls, and especially enjoyed these savory Whole Wheat Rosemary Caramelized Onion Rolls, there’s a whole world of possibilities to explore in the realm of baked goods! Expand your repertoire and discover more exciting and delicious variations that will undoubtedly impress your family and friends. For additional dinner roll recipes, ranging from classic buttery options to other unique savory or sweet creations, be sure to explore more recipes here. You’ll find plenty to keep your baking adventures fresh, creative, and incredibly flavorful.
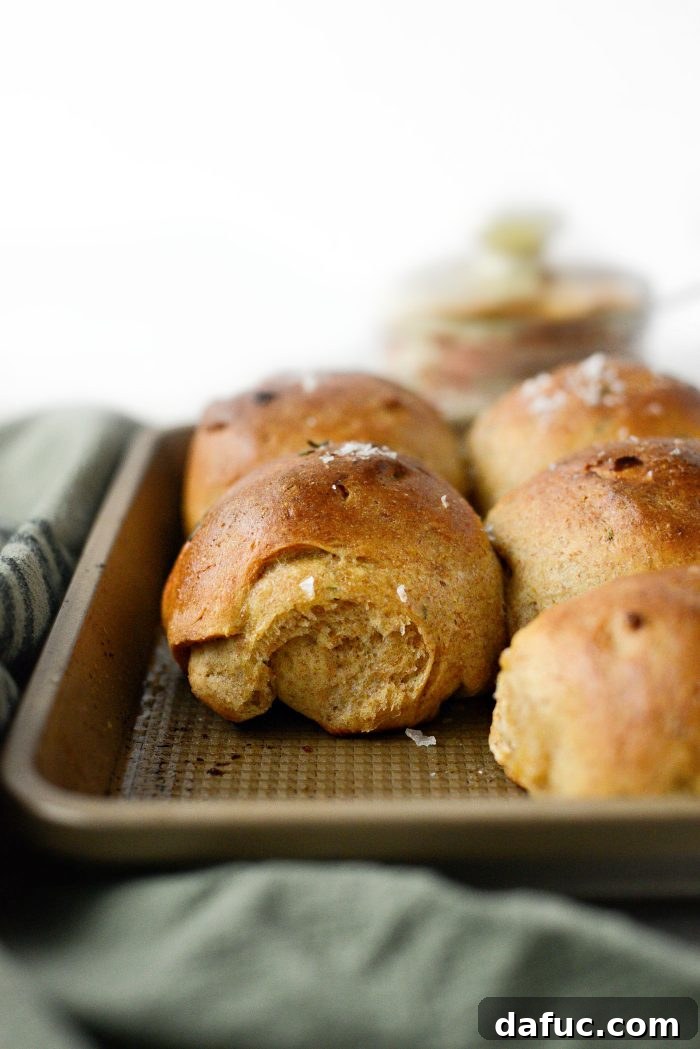
Enjoy! And if you give this Whole Wheat Caramelized Onion and Rosemary Rolls recipe a try, don’t forget to share your delicious creations! We love seeing what you bake. Snap a photo and tag me on Twitter or Instagram!
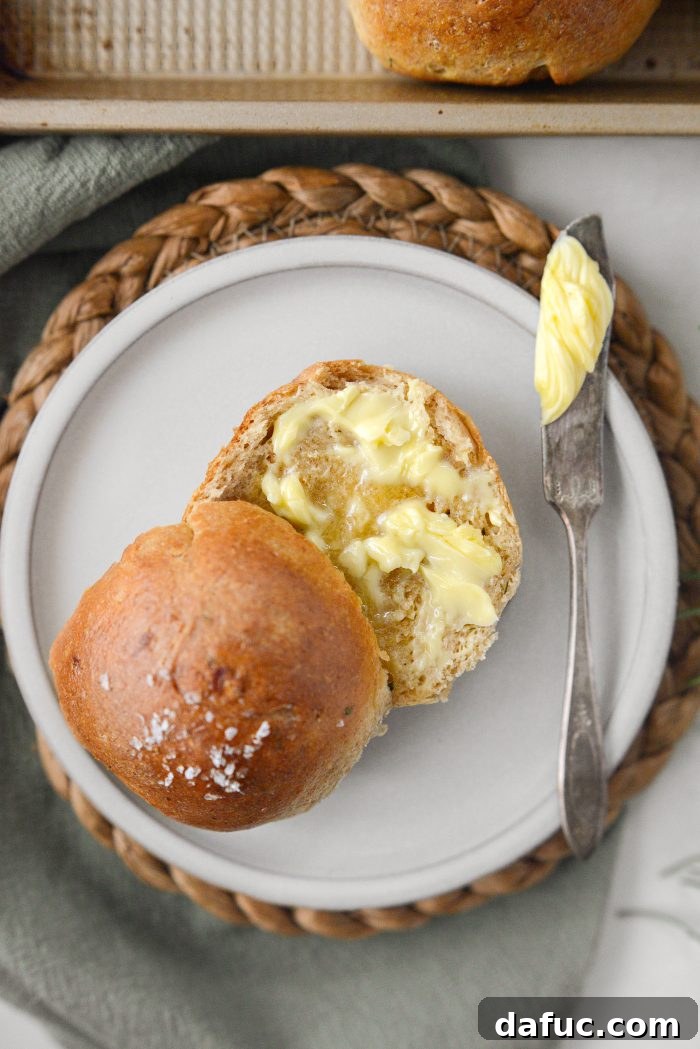
Recipe: Whole Wheat Caramelized Onion Rosemary Rolls
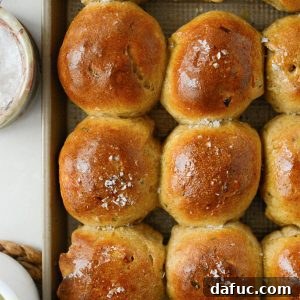
These Whole Wheat Rosemary Caramelized Onion Rolls are soft and delicious. A super simple whole wheat dough studded with sweet caramelized onions and fragrant fresh rosemary. They’re perfect whether served with a cozy weeknight dinner or a grand holiday meal, bringing comfort and gourmet flavor to any table.
Print Recipe |
Pin Recipe
Recipe Details
- Yield: 12 rolls
- Prep Time: 1 hour 20 minutes
- Cook Time: 18 minutes
- Total Time: 1 hour 38 minutes
Ingredients
FOR THE CARAMELIZED ONIONS:
- 1 tablespoon unsalted butter
- 1 tablespoon olive oil
- 1 large yellow onion, diced small
- 2 tablespoons finely chopped fresh rosemary
- 2 cloves garlic, minced
FOR THE ROLLS:
- 1 cup whole milk
- 2 tablespoons light brown sugar
- 2 teaspoons active dry yeast
- 1¾ cups unbleached bread flour
- 1¾ cups whole wheat flour
- 1 teaspoon fine salt
- 1 large egg, room temperature
- 6 tablespoons softened unsalted butter, cut into small cubes
- 1 tablespoon whole milk, for brushing before baking
- 1 tablespoon melted butter, for brushing after baking
- Flaky salt, for sprinkling after baking (optional)
Equipment
- Stand Mixer with Dough Hook Attachment
- Jelly Roll Pan (approx. 8×12 or 9×13 inch)
- Pastry Brush
- Marble Salt Cellar (or any small dish for flaky salt)
- Large Skillet
- Large mixing bowl
- Clean kitchen towels or plastic wrap
Instructions
- Prepare Caramelized Onions: In a large skillet, add 1 tablespoon unsalted butter and 1 tablespoon olive oil. Add the diced yellow onion. Stir and cook over medium to medium-low heat for about 35 minutes, stirring frequently, until the onions are deeply golden brown and beautifully caramelized. Add 2 tablespoons finely chopped fresh rosemary and 2 small minced cloves of garlic. Stir and cook for an additional 2 minutes to release their fragrance. Remove from heat and set the mixture aside to cool completely.
- Activate Yeast: Gently warm 1 cup of whole milk in a small saucepan over medium-low heat until it reaches a temperature of 100-110°F (38-43°C). In the bowl of your stand mixer (fitted with the dough hook), combine 2 tablespoons light brown sugar and pour in the warm milk. Sprinkle in 2 teaspoons active dry yeast, stir gently, and let sit for 5 to 10 minutes, or until the mixture becomes frothy and foamy.
- Combine Dough Ingredients: To the frothy yeast mixture, add 1¾ cups whole wheat flour, 1¾ cups unbleached bread flour, 1 teaspoon fine salt, 1 large room temperature egg, and the cooled caramelized onion and rosemary mixture. Mix on medium-low speed with the dough hook until the ingredients are just combined and form a shaggy, sticky dough.
- Incorporate Butter & Knead: With your mixer still on low speed, add the 6 tablespoons of softened unsalted butter, one small cube at a time, allowing each piece to fully incorporate into the dough before adding the next. Once all the butter is in, increase the mixer speed to medium and knead for a full 6 minutes. The dough should become smooth, elastic, and pull away cleanly from the sides of the bowl.
- First Rise: Shape the dough into a ball and place it in a large, lightly greased bowl. Cover the bowl with a clean towel or plastic wrap and let it rise in a warm, draft-free place for 1 hour, or until it has visibly doubled in size.
- Prepare Pan: Lightly grease or spray a 10 x 15 inch or 8 x 12 inch jelly roll pan or rimmed baking sheet.
- Shape Rolls & Second Rise: Gently punch down the risen dough to release the air. Transfer it to a lightly floured surface and shape it into a uniform 12-inch log. Using a sharp knife or bench scraper, cut the log into twelve equal 1-inch pieces (each piece should weigh approximately 3 ounces). Take each piece of dough and shape it into a tight, smooth ball. Place the shaped dough balls onto the prepared pan, leaving a little space between them for expansion. Cover with a clean towel and let rise for another 45 minutes.
- Preheat Oven: While the rolls are undergoing their second rise, preheat your oven to 375°F (190°C).
- Bake: After 45 minutes, the rolls should have doubled in size again. Gently brush the tops of the rolls with 1 to 2 tablespoons of milk. Bake on the middle rack of your preheated oven for 18 to 20 minutes, or until the tops are beautifully golden brown.
- Finish & Serve: Remove the rolls from the oven. Immediately brush them with 1 tablespoon of melted butter. If desired, sprinkle with flaky sea salt while the butter is still warm. Transfer the rolls to a wire rack to cool slightly before serving warm.
Notes
Nutrition Disclaimer: All information presented on this site is intended for informational purposes only. I am not a certified nutritionist, and any nutritional information shared should only be used as a general guideline.
Make Ahead Tip: The caramelized onions can be prepared a day in advance and stored in an airtight container in the refrigerator. Allow them to come to room temperature before adding to the dough mixture for best results.
Storage: Store completely cooled rolls in an airtight container or resealable bag at room temperature for 2-4 days to maintain freshness. For longer storage, individual rolls can be wrapped tightly in plastic wrap and then placed in a freezer-safe bag, frozen for up to 2-3 months. Reheat thawed rolls in a 300°F (150°C) oven for 5-10 minutes.
Nutrition Information (per roll)
- Serving: 1 roll
- Calories: 238 kcal
- Carbohydrates: 31g
- Protein: 6g
- Fat: 11g
- Saturated Fat: 6g
- Polyunsaturated Fat: 1g
- Monounsaturated Fat: 3g
- Trans Fat: 0.3g
- Cholesterol: 38mg
- Sodium: 219mg
- Potassium: 153mg
- Fiber: 3g
- Sugar: 4g
- Vitamin A: 303IU
- Vitamin C: 1mg
- Calcium: 50mg
- Iron: 1mg
About This Recipe
- Author: Laurie McNamara
- Course: Breads & Baked Goods
- Cuisine: American
This recipe for Whole Wheat Rosemary Caramelized Onion Rolls was originally posted on October 26, 2010. It has since been thoroughly updated with clear and concise instructions, fresh photography, and additional helpful information to ensure the best possible baking experience for home cooks today.