
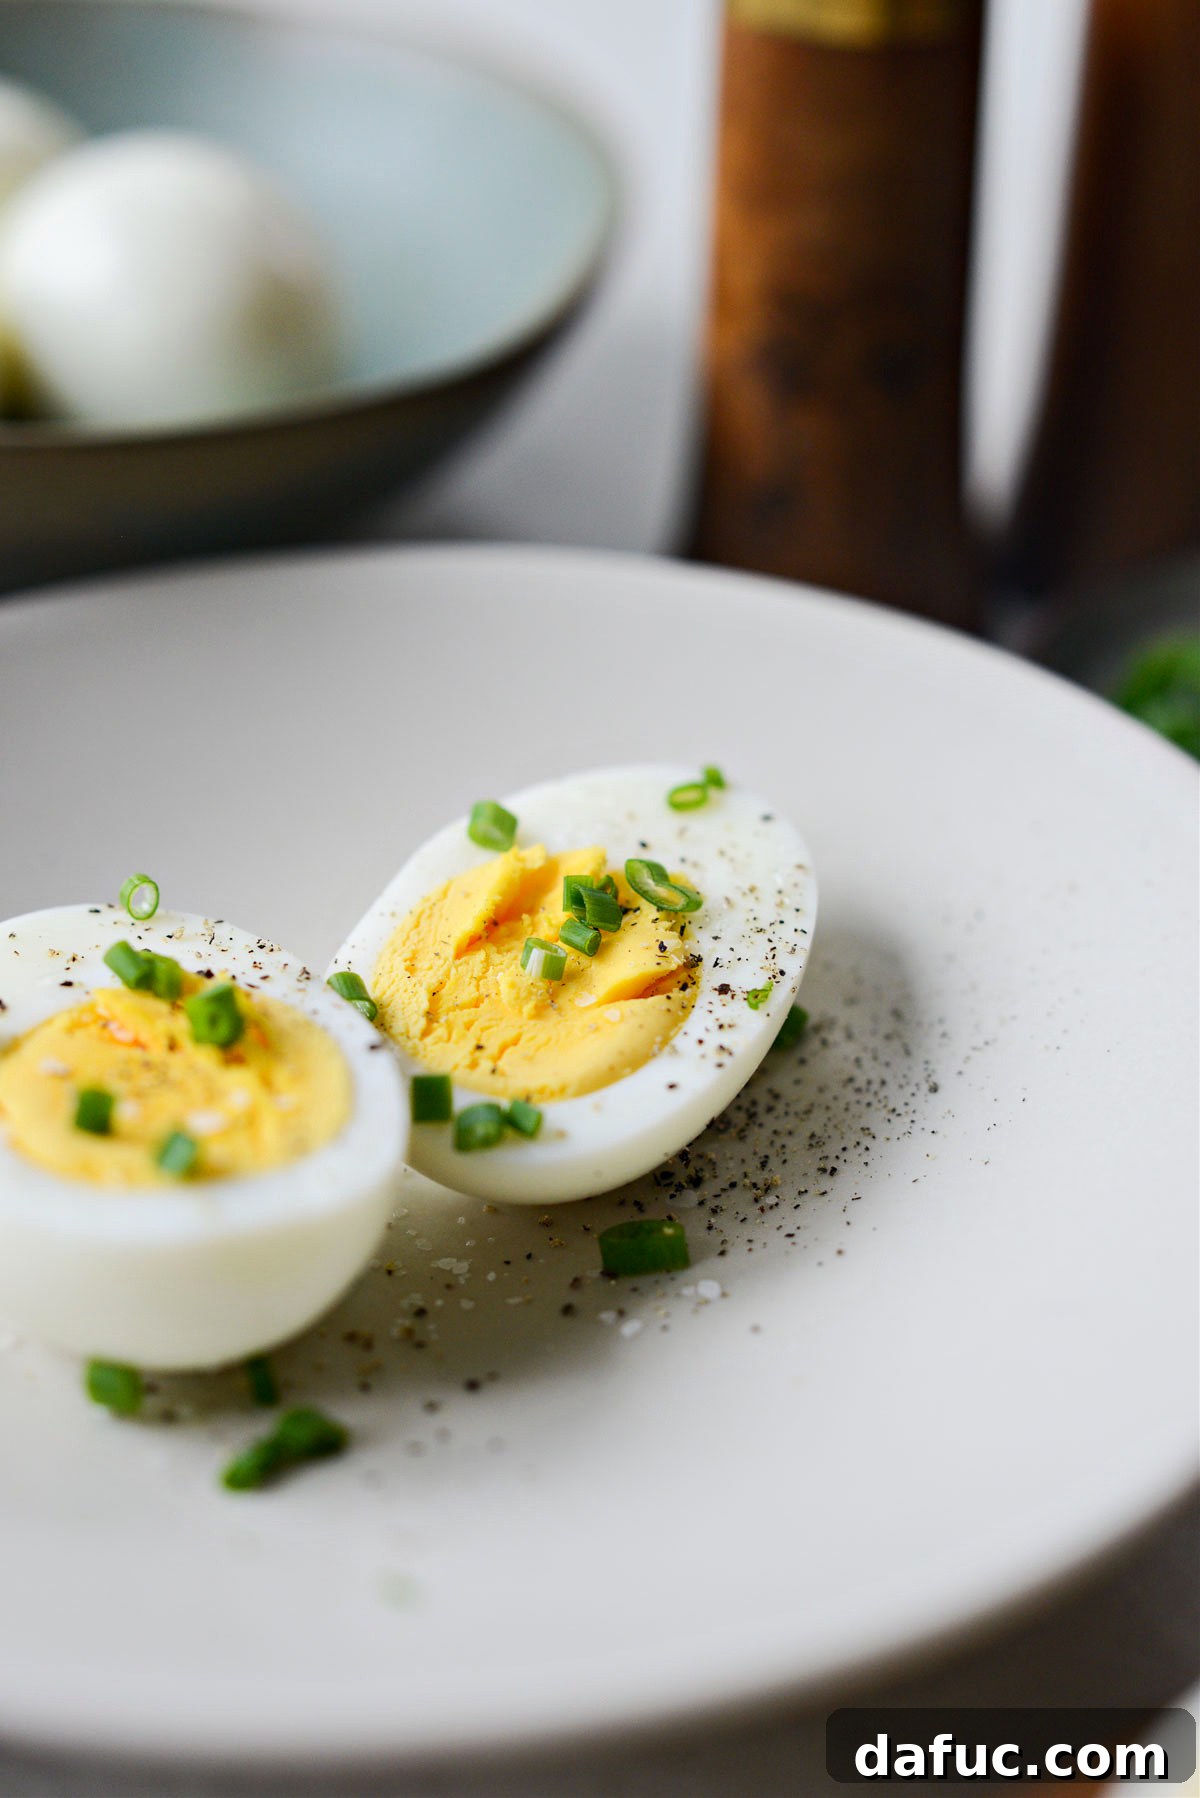
Perfect Hard-Boiled Eggs: Your Guide to Creamy, Golden Yolks Every Time
Learning how to make perfectly hard-boiled eggs might seem simple, yet many struggle with the common issue of overcooked yolks — those unappetizing greenish-gray rings that can detract from an otherwise delicious and nutritious snack. You’ve landed in the right place to banish those green yolks forever! This comprehensive guide will equip you with a foolproof method to achieve beautifully cooked hard-boiled eggs with vibrant, golden-yellow yolks every single time.
Why Perfect Hard-Boiled Eggs Are a Kitchen Essential
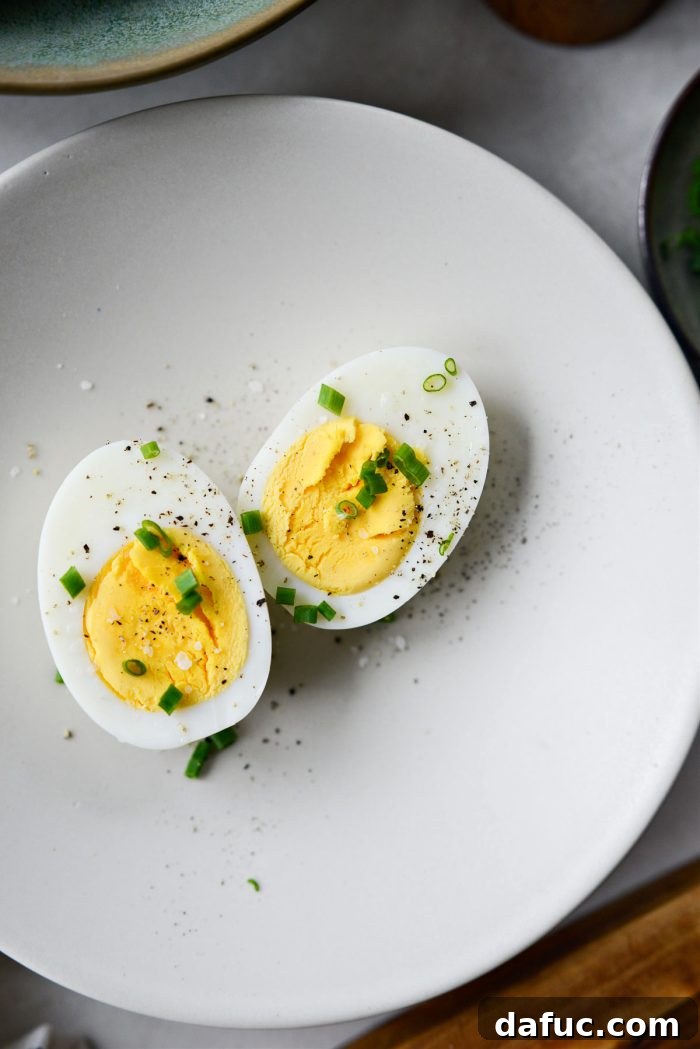
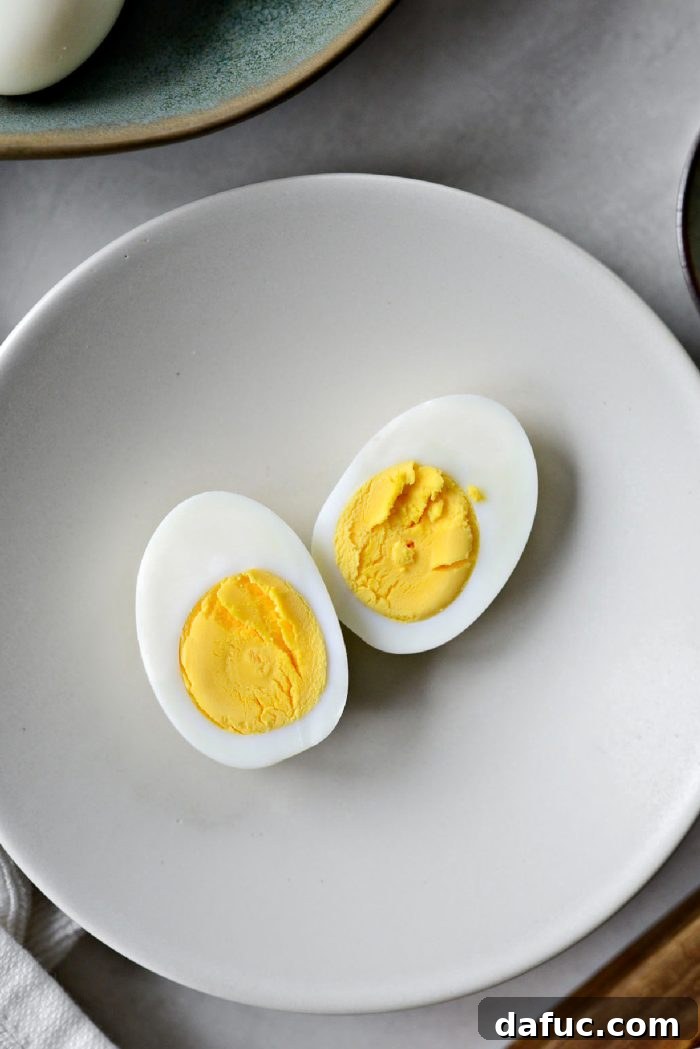
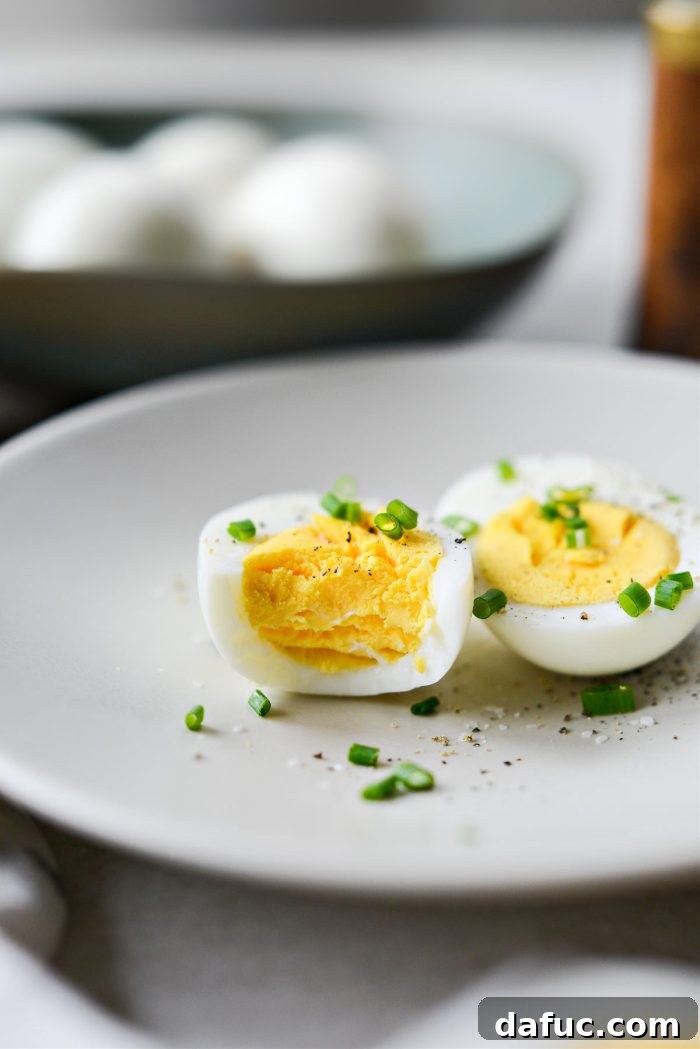
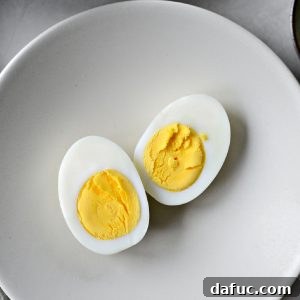
Hard-boiled eggs are a versatile powerhouse in the culinary world. They’re an excellent source of protein, essential vitamins, and healthy fats, making them a fantastic addition to any meal or as a standalone snack. From enriching breakfast plates to elevating salads and creating classic appetizers like deviled eggs, their uses are endless. However, the key to truly enjoying them lies in their preparation. A perfectly cooked hard-boiled egg boasts a firm, smooth white and a creamy, uniformly yellow yolk, free from any greenish discoloration.
That undesirable green ring around the yolk is a clear sign of overcooking. It occurs when hydrogen sulfide, a compound formed from the sulfur in the egg whites and the iron in the yolk, reacts under prolonged heat. While harmless, it certainly isn’t what we aim for aesthetically or texturally. This guide will provide a simple, reliable method to prevent this chemical reaction, ensuring your eggs are cooked to perfection.
Choosing the Right Eggs for Optimal Results
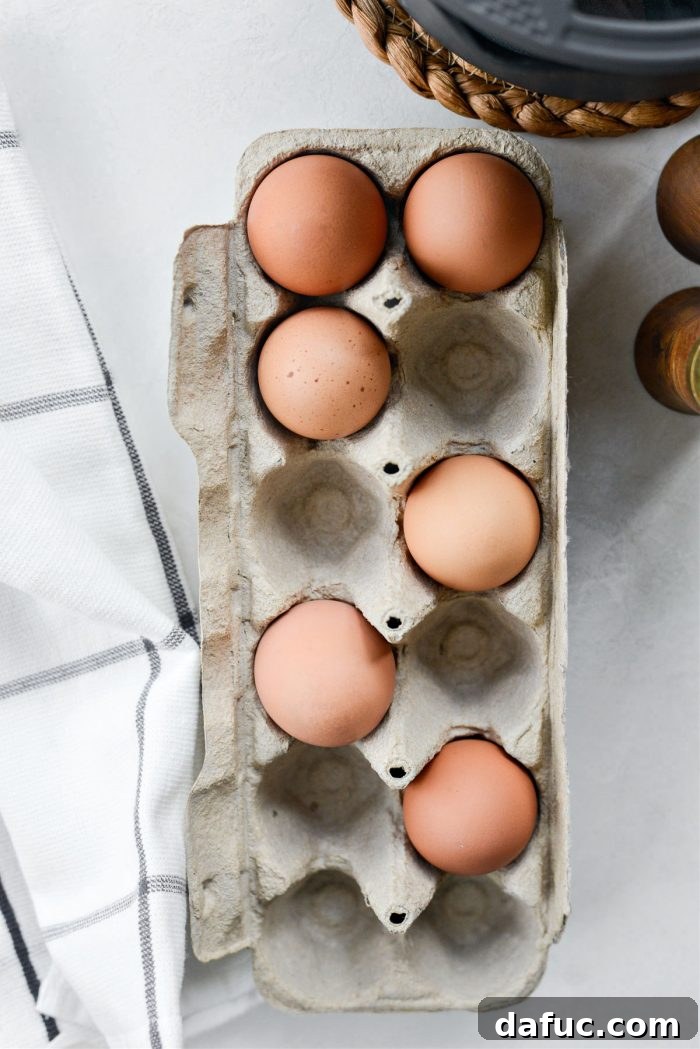
While this method is designed to work effectively with most eggs, starting with good quality ingredients always yields superior results. When selecting eggs for boiling, consider the following:
- Freshness: Many sources suggest using slightly older eggs (about a week or two old) for easier peeling. This is because as eggs age, the pH level of the egg white increases, making it less acidic and reducing its adherence to the shell membrane. However, for the best flavor and texture, fresh eggs are often preferred. The ice bath technique described in this method significantly aids in peeling, regardless of the egg’s age, making freshness more about taste than ease of peeling.
- Size: Most recipes, including this one, assume large eggs. If you are using medium or extra-large eggs, you may need to adjust the cooking time slightly. Medium eggs might need a minute less, while extra-large eggs could benefit from an extra minute of resting in the hot water.
For those who prioritize rich flavor and vibrant yolks, brands like Vital Farms (as mentioned in the original text) are excellent choices, often celebrated for their quality.
Essential Equipment for Perfectly Hard-Boiled Eggs
You don’t need fancy gadgets to master hard-boiled eggs. A few basic kitchen tools are all it takes:
- Saucepan with a Lid: Choose a pot large enough to hold your desired number of eggs in a single layer without overcrowding. A tight-fitting lid is crucial for trapping heat.
- Tongs or Slotted Spoon: Essential for carefully transferring eggs without cracking them.
- Large Bowl: For preparing the ice bath.
- Ice: Plenty of ice for a quick and effective cooling process.
- Timer: Precision is key for perfect yolks.
Step-by-Step Guide to Perfect Hard-Boiled Eggs
Follow these simple steps for consistently flawless hard-boiled eggs, every time.
1. Prepare Your Eggs and Pot
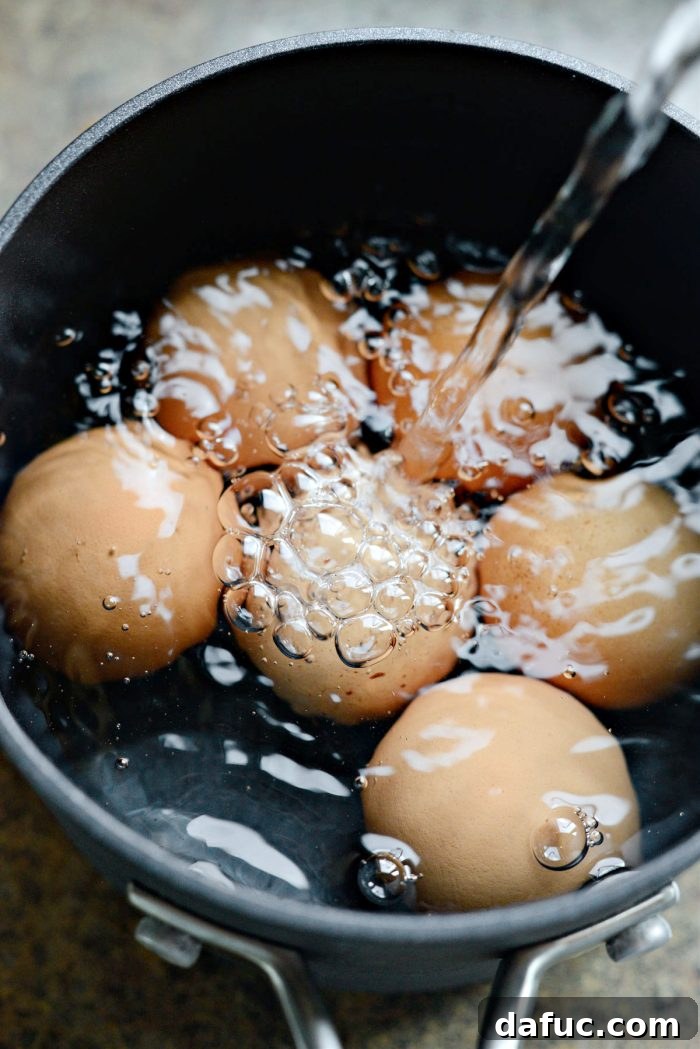
Start by carefully placing your desired number of eggs into the saucepan. It’s crucial that the eggs fit in a single layer at the bottom of the pot. Avoid stacking them, as this can lead to uneven cooking and increase the risk of cracking. The number of eggs you cook will dictate the size of the pot you need.
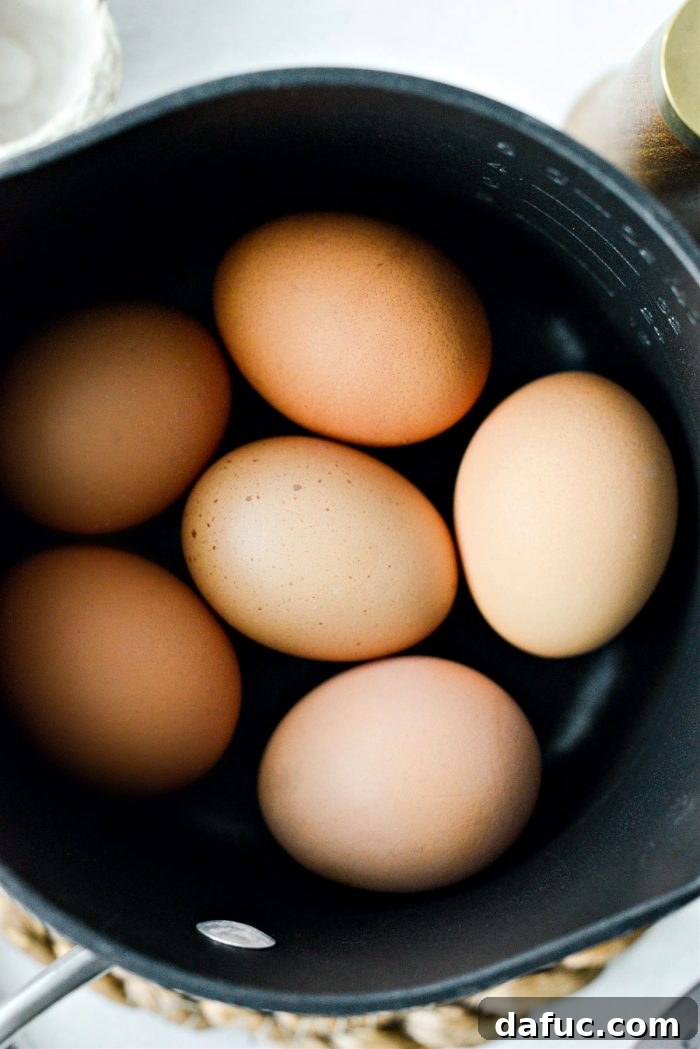
Once the eggs are in place, fill the pot with cold water. Pour enough water so that it covers the eggs by about one to two inches. Ensure there’s still a good amount of space between the water level and the rim of the pot to prevent boil-overs.
2. Bring to a Boil and Rest
Cover the pot with its lid and place it on your stovetop over high heat. Bring the water to a full, rolling boil. A “rolling boil” means the water is bubbling vigorously and continuously, even when stirred. This indicates that the water has reached its maximum boiling temperature.
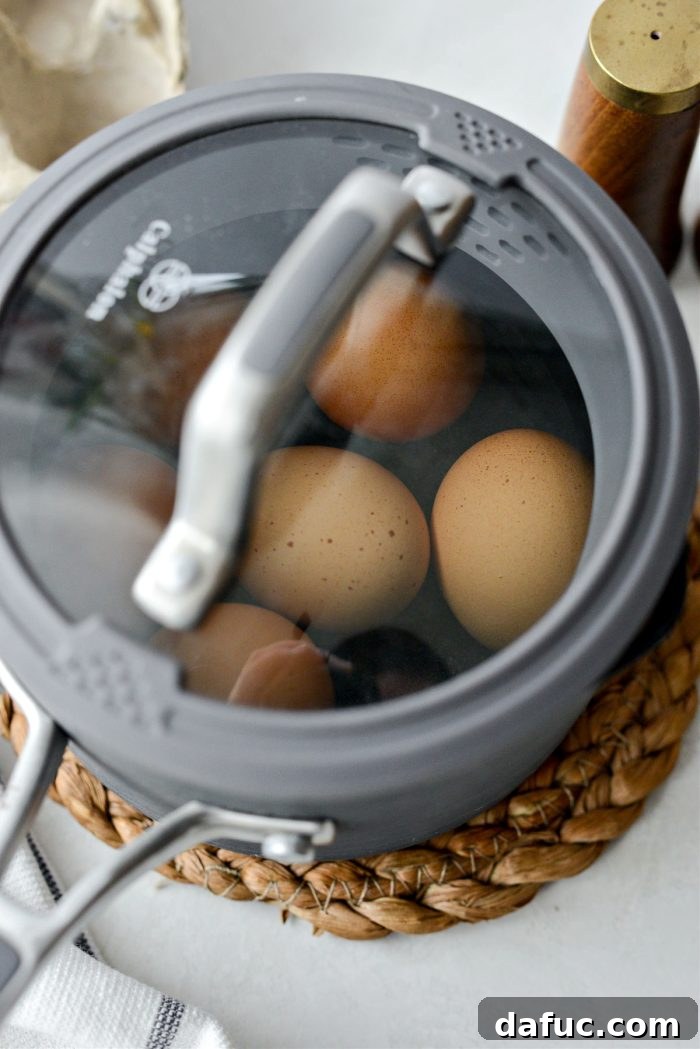
As soon as the water reaches a full rolling boil, immediately turn off the heat. Do not remove the pot from the burner; leave it on the hot stove element (if electric) or simply turn off the flame (if gas). Keep the lid on the pot and set a timer for exactly 12 minutes. This “heat-off” method allows the residual heat from the water and the pot to gently cook the eggs without overcooking them, preventing the dreaded green ring.
3. Prepare the Ice Bath
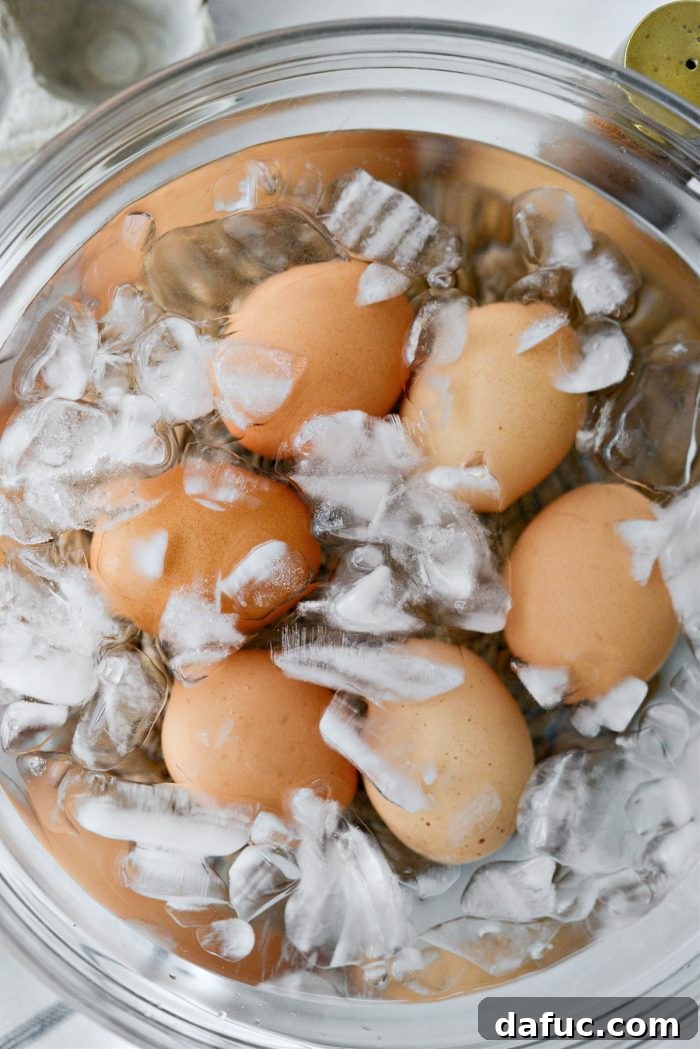
Towards the end of the 12-minute resting period (with about a minute or two left on the timer), prepare your ice bath. Fill a large bowl generously with ice cubes and cold water. This ice bath is a critical step for two main reasons: it rapidly stops the cooking process, preventing overcooked yolks, and it helps the egg whites contract, separating them from the shell membrane, which makes the eggs significantly easier to peel.
4. Chill and Peel
Once the 12-minute timer chimes, use tongs or a slotted spoon to carefully remove each egg from the hot water and transfer them directly into the prepared ice water bath. Let the eggs sit in the ice bath for at least 5-8 minutes, or until they are completely cool to the touch. This ensures the cooking stops and makes them easy to handle.
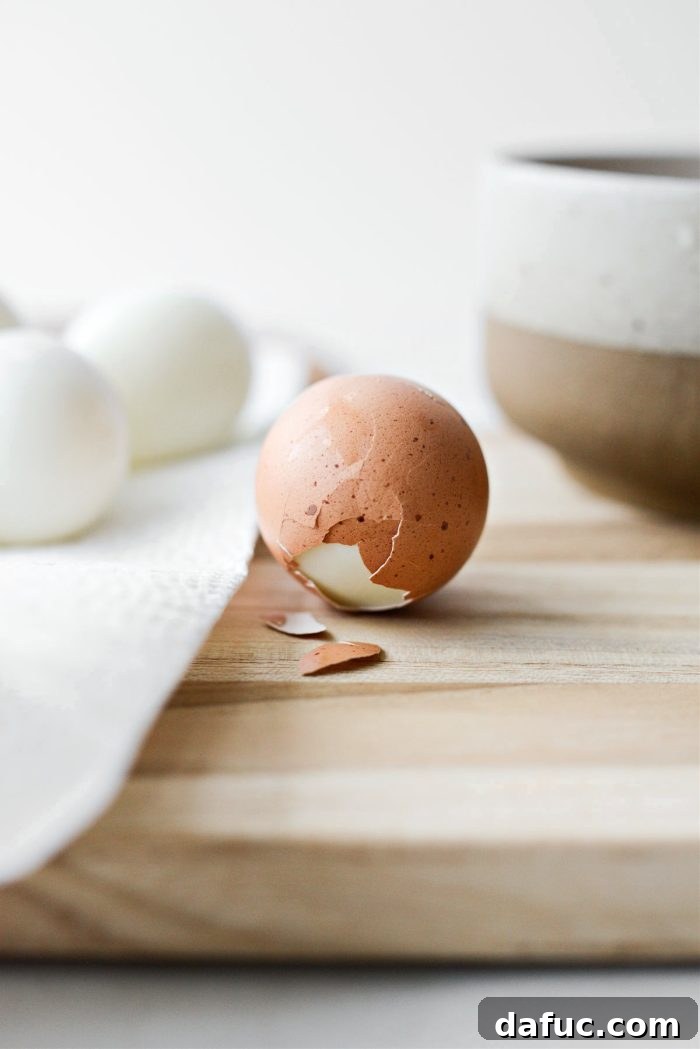
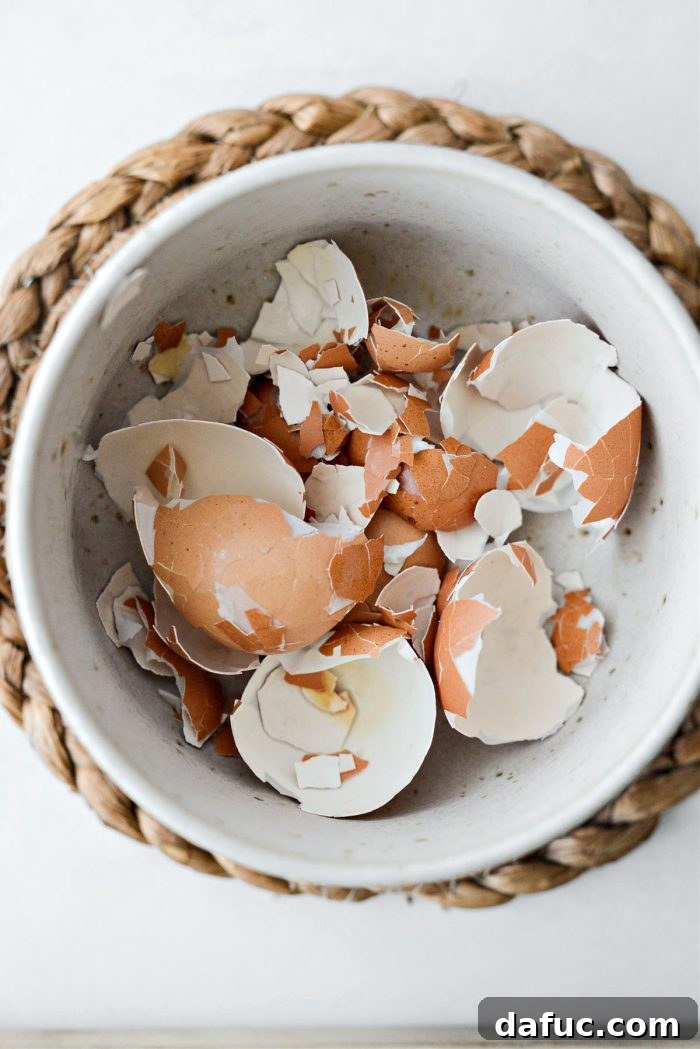
To peel, gently tap each egg on both ends against a hard surface, then lightly roll it across the surface to create small cracks all around the shell. Start peeling from the wider end of the egg, where a natural air pocket usually forms. The ice bath method helps create a space between the egg white and the shell, making peeling much smoother. If you encounter stubborn bits of shell, peeling the egg under cool running water can help dislodge them. Once peeled, rinse the eggs thoroughly to remove any tiny shell fragments and pat them dry before storing or serving.
Tips for Consistently Perfect Hard-Boiled Eggs
- Don’t Overcrowd the Pot: Giving eggs enough space ensures even cooking and prevents cracking. If you need to cook a large batch, do it in multiple smaller pots or in batches.
- Adjust for Egg Size: The 12-minute timing is ideal for large eggs. For medium eggs, reduce the resting time by 1 minute (to 11 minutes). For extra-large eggs, increase it by 1 minute (to 13 minutes).
- Ensure a Proper Ice Bath: A truly cold ice bath is non-negotiable for halting the cooking process and facilitating easy peeling. Don’t skimp on the ice!
- Peel Under Water: If you’re still struggling with peeling, try peeling the eggs under cool running water. The water helps to get under the membrane and wash away shell bits.
- Freshness vs. Peeling: While fresh eggs offer superior taste, older eggs (1-2 weeks old) are often easier to peel due to changes in their pH. However, this method with the ice bath largely negates the peeling difficulty of fresh eggs.
How to Store Hard-Boiled Eggs
Proper storage is essential to maintain the freshness and safety of your hard-boiled eggs:
- Unpeeled: Hard-boiled eggs, when left unpeeled, can be stored in the refrigerator in their carton or an airtight container for up to 7 days. The shell acts as a natural protective barrier against bacteria and odors.
- Peeled: Peeled hard-boiled eggs should be stored in an airtight container with a damp paper towel to keep them from drying out. They should also be refrigerated and consumed within 5-7 days.
- Temperature: Always keep hard-boiled eggs refrigerated. They should not be left at room temperature for more than 2 hours.
Frequently Asked Questions (FAQs)
Q: Why are my hard-boiled egg yolks still green?
If your yolks are consistently green, it means your eggs are still overcooking. This could be due to several reasons:
- Too long in hot water: Even after turning off the heat, leaving the eggs in the hot water for too long will continue the cooking process. Ensure you stick to the 12-minute timer precisely.
- Pot retaining too much heat: If your pot is exceptionally heavy-bottomed or your stovetop retains heat for a very long time, the eggs might be cooking faster. Try reducing the resting time by a minute or two next time, or transfer the pot off the hot burner immediately after turning off the heat.
- Not enough ice bath time: The ice bath is crucial to stop the cooking. Make sure eggs are fully submerged and chilled for at least 5-8 minutes.
Q: Why are my hard-boiled eggs so hard to peel?
Difficult-to-peel eggs are a common frustration. While older eggs are generally easier to peel, several factors can contribute to this issue:
- Very fresh eggs: As mentioned, very fresh eggs tend to stick more to the shell membrane. The ice bath method helps mitigate this significantly.
- Insufficient ice bath: A quick and thorough chilling in an ice bath helps the egg whites contract, making them pull away from the shell. If the ice bath isn’t cold enough or long enough, peeling can be difficult.
- Lack of cracking: Tapping and rolling the egg to create many small cracks before peeling helps create leverage to separate the shell from the egg.
Q: Can I make soft-boiled or medium-boiled eggs with this method?
Absolutely! This method is adaptable for various levels of doneness. The key is adjusting the resting time in the hot water after turning off the heat:
- Soft-boiled (runny yolk): 6-7 minutes
- Medium-boiled (jammy yolk): 8-10 minutes
- Hard-boiled (firm, creamy yolk): 12 minutes
Always follow with a rapid ice bath to stop the cooking and ensure easy peeling.
Q: What if my eggs crack while boiling?
Cracked eggs can happen for a few reasons:
- Temperature shock: Placing very cold eggs directly into boiling water can cause them to crack due to rapid expansion. Starting with cold water, as instructed in this recipe, helps minimize this risk.
- Overcrowding: Eggs bumping into each other in a small pot can lead to cracks. Ensure they are in a single layer.
- Weak shells: Sometimes, eggs simply have weaker shells. A small crack usually doesn’t ruin the egg; some of the white might seep out, but it will still be edible.
Delicious Ways to Enjoy Your Perfect Hard-Boiled Eggs
Now that you’ve mastered the art of making perfect hard-boiled eggs, it’s time to put them to good use! Their versatility makes them a fantastic ingredient for a wide array of dishes.
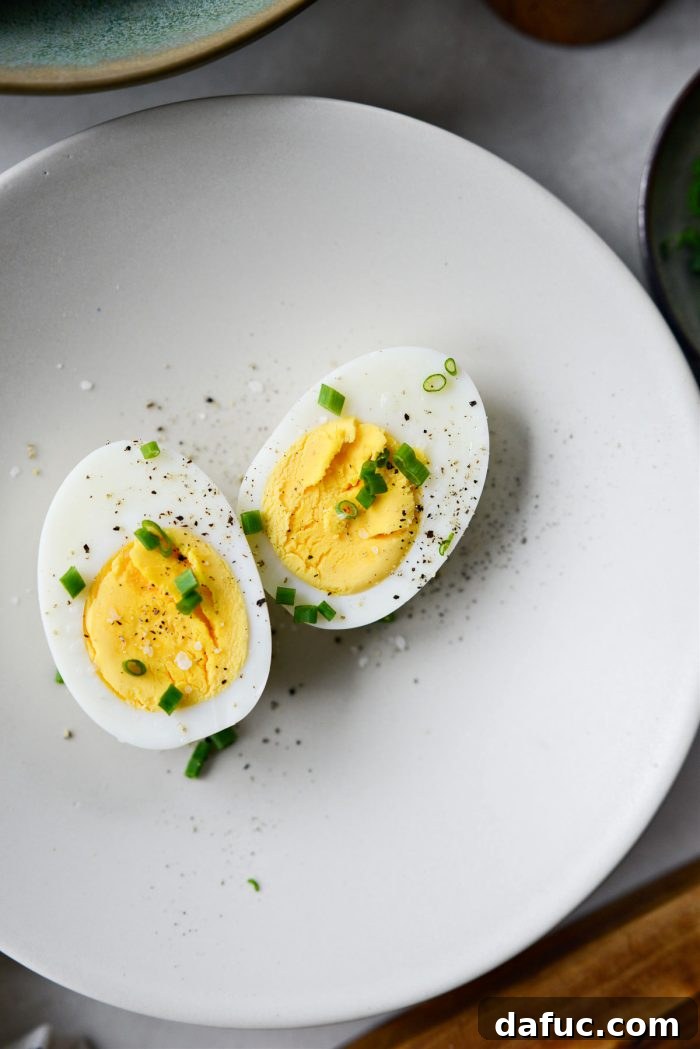
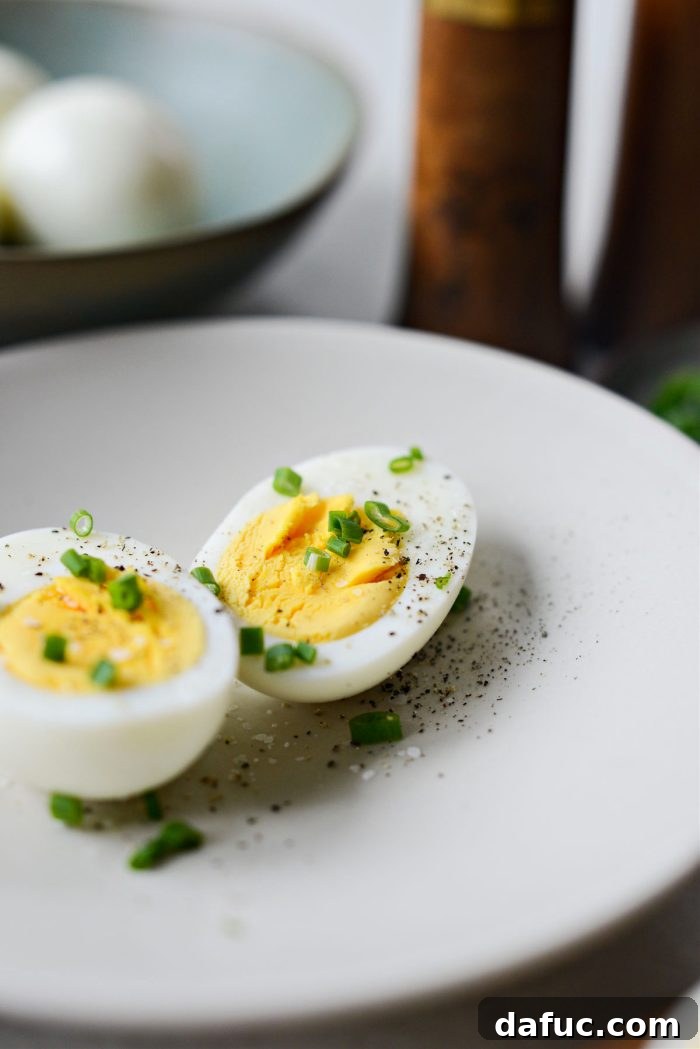
I personally love mine simply sliced in half, sprinkled with a touch of flaky sea salt, freshly ground black pepper, and finely chopped chives (if available). Sometimes, a dash of my favorite hot sauce adds a welcome kick!
Here’s an expanded list of delicious recipes and serving suggestions that call for hard-boiled eggs:
- Classic Potato Salad: A timeless picnic favorite, often featuring creamy dressing and chopped hard-boiled eggs.
- Classic Deviled Eggs: The ultimate party appetizer, easy to customize with various herbs and spices.
- Dill Pickle Potato Salad: A tangy twist on potato salad, with the bright flavor of dill pickles complementing the eggs.
- Everyday Mason Jar Salad: Layered salads are perfect for meal prep, and hard-boiled eggs add a boost of protein.
- Herbed Goat Cheese Deviled Eggs: A gourmet take on deviled eggs, featuring the creamy tang of goat cheese.
- Loaded Wedge Salad: Crumbled bacon, blue cheese, and hard-boiled eggs transform a simple wedge into a hearty meal.
- Macaroni Salad: Another picnic staple, where diced hard-boiled eggs add texture and richness.
- Shoreline Salad: A fresh and vibrant salad perfect for warmer weather.
- Egg Salad Sandwiches: A classic and comforting use, simply chop and mix with mayonnaise and seasonings.
- Chef Salad: A hearty salad featuring various proteins, including sliced hard-boiled eggs.
- Ramen Topping: Halved hard-boiled eggs are a popular and delicious addition to a bowl of ramen.
- Avocado Toast Topping: Slice or mash them onto your avocado toast for an extra layer of flavor and protein.
Enjoy! And if you give this Hard Boiled Eggs recipe a try, let me know! Snap a photo and tag me on twitter or instagram!
Hard Boiled Eggs Recipe Card
Pin Recipe
Leave a Review »
Hard Boiled Eggs
A foolproof way of making hard boiled eggs with perfect yellow yolks!
Yield: 6 eggs
Cook Time: 12 mins
Additional Time (Ice Bath): 5-8 mins
Total Time: Approximately 20-23 mins (includes bringing to boil)
Ingredients
- 6 large eggs (more or less depending on your needs)
Instructions
- Place the eggs in a single layer in a saucepan.
- Cover with cold water, ensuring there’s about an inch or two of water above the tops of the eggs.
- Cover the pot with a lid and bring the water to a rolling boil over high heat.
- Once the water reaches a full, rolling boil, immediately turn off the heat. Keep the pot covered and let the eggs sit in the hot water for exactly 12 minutes.
- While the eggs are resting, prepare an ice bath. Fill a large bowl generously with ice and cold water.
- When the 12 minutes are up, use tongs to carefully remove each egg from the hot water and transfer them directly into the large bowl of ice water.
- Allow the eggs to cool in the ice bath for at least 5-8 minutes, or until they are cool enough to handle comfortably. This crucial step stops the cooking process and helps with easier peeling.
- To peel, gently tap the egg on both ends and then around its circumference on a hard surface. Roll it gently to create small cracks all over the shell.
- Start peeling from the wider end, where an air pocket is typically located. You can peel them under cool running water to help dislodge stubborn shell fragments.
- Rinse peeled eggs thoroughly to remove any small shell bits, then pat dry.
- Serve immediately or store for later use in the refrigerator.
Notes
Nutrition Disclaimer: All information presented on this site is intended for informational purposes only. I am not a certified nutritionist and any nutritional information shared on SimplyScratch.com should only be used as a general guideline.
Nutrition Information (per egg, approximate)
Serving: 1 egg | Calories: 72kcal | Carbohydrates: 0.4g | Protein: 6g | Fat: 5g | Saturated Fat: 2g | Polyunsaturated Fat: 1g | Monounsaturated Fat: 2g | Trans Fat: 0.02g | Cholesterol: 186mg | Sodium: 71mg | Potassium: 69mg | Sugar: 0.2g | Vitamin A: 270IU | Calcium: 28mg | Iron: 1mg
Author: Laurie McNamara
Course: Breakfast & Brunch
Cuisine: Universal