
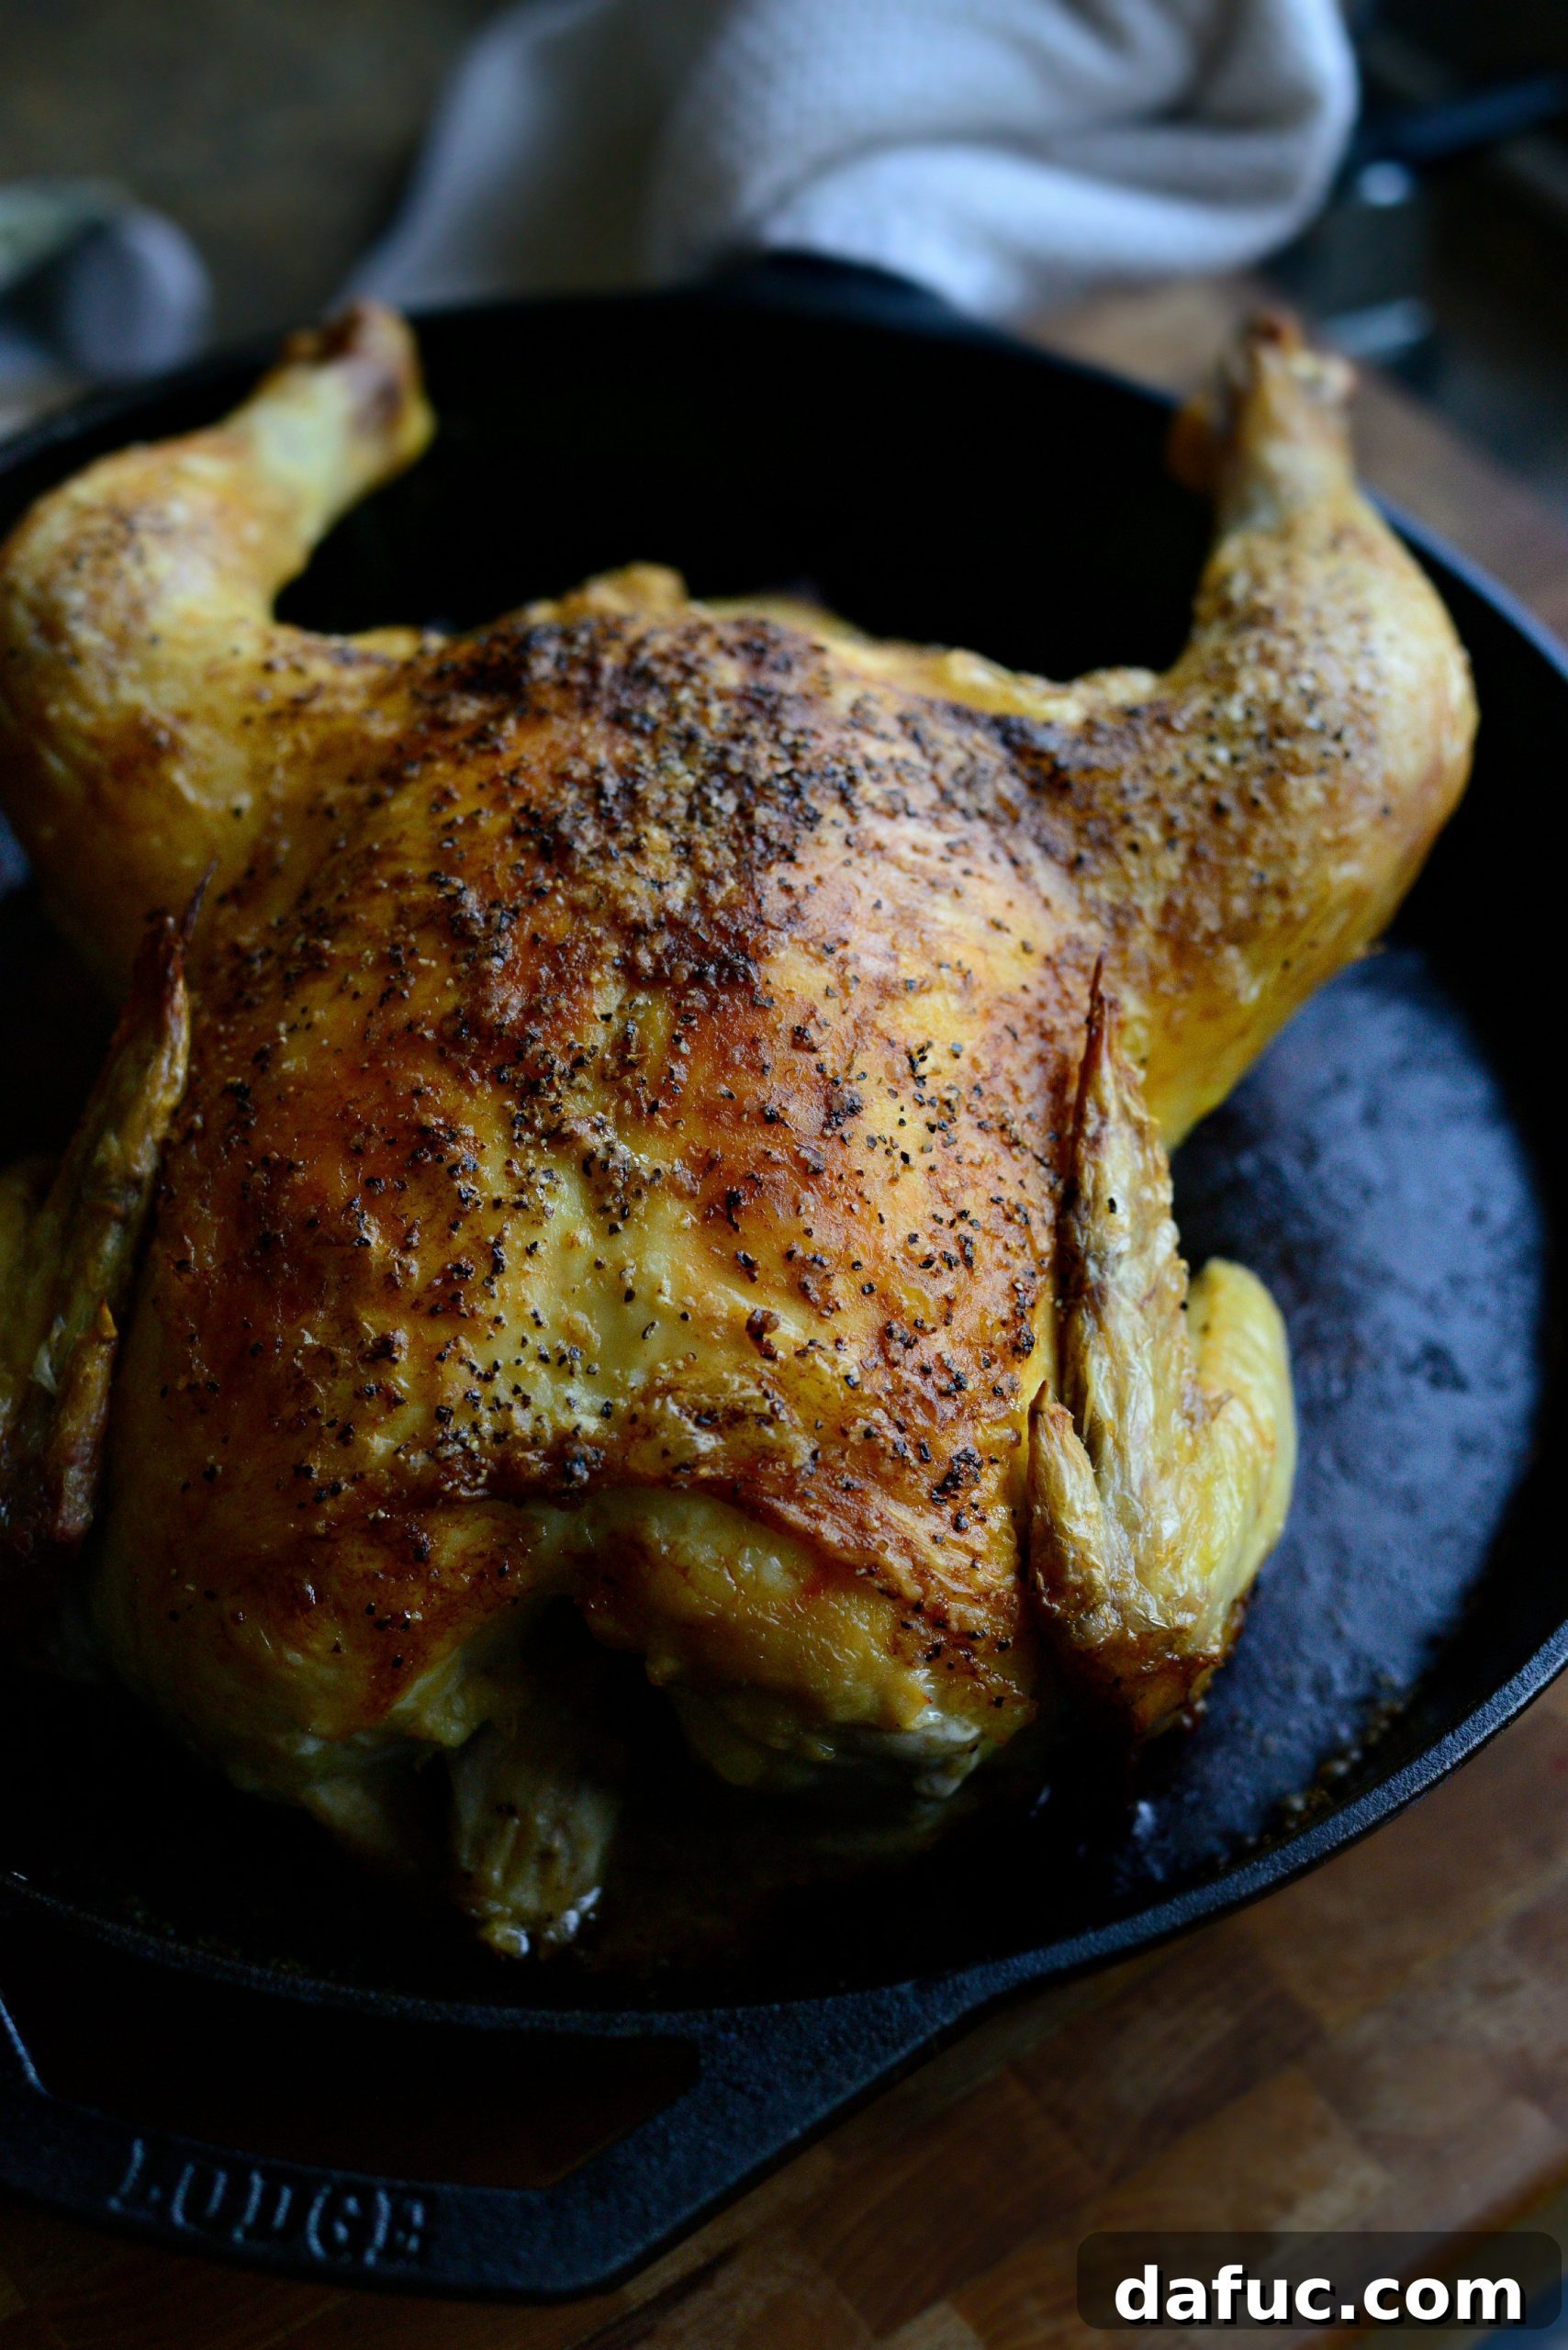
The aroma of a perfectly roasted chicken wafting through your home is an experience unlike any other, instantly evoking feelings of warmth, comfort, and togetherness. For many, including myself, an easy roast chicken isn’t just a meal; it’s a cherished Sunday family dinner tradition, a centerpiece that brings everyone to the table. This simple yet incredibly flavorful roast chicken recipe relies on just a few fundamental ingredients – butter, salt, and pepper – to deliver an unbelievably succulent chicken with a beautifully crisp, golden skin. It’s a dish that truly tastes like home, and it pairs impeccably with classic sides like creamy mashed potatoes and sweet buttered corn, making every bite a delight.
Embracing the Simplicity of a Perfect Roast Chicken
It might seem surprising that after years of sharing recipes, a foundational dish like roast chicken hasn’t received its proper spotlight. But sometimes, the most effortless culinary masterpieces are so ingrained in our routine that we forget to celebrate their inherent brilliance. This recipe is a testament to that; it’s about one bird, one pan, and a generous amount of butter – a philosophy I wholeheartedly embrace in my kitchen. Roasting a whole chicken is a culinary delight that consistently delivers impressive results with minimal fuss.
Often perceived as a complicated dish reserved for special occasions, roasting a chicken is, in reality, one of the easiest and most rewarding cooking methods. It strikes a perfect balance: elegant enough to grace a semi-formal dinner party, yet robust and comforting enough for a hearty, stick-to-your-ribs family meal. The beauty lies in its simplicity. Preparation takes mere minutes, and the oven does most of the heavy lifting, transforming raw ingredients into a golden, aromatic feast in about an hour. And here’s the best part: no complicated trussing is required for this recipe, making it even more approachable for home cooks of all skill levels. It’s truly a win-win.
Uncomplicated, Unfussy, Unforgettable Flavor
This particular roast chicken recipe is designed for maximum flavor with minimum effort. It’s a no-frills, no-fuss approach that highlights the natural deliciousness of the chicken, enhanced only by the richness of butter and the foundational seasoning of salt and pepper. While you are always welcome to elevate your bird with aromatic additions like citrus slices, garlic cloves, or fresh herbs stuffed into the cavity for a subtle flavor infusion, this core recipe proves that sometimes, less is truly more. My initial intention for this chicken was actually for another recipe, but its incredible simplicity and undeniable deliciousness compelled me to dedicate an entire post to it. It’s a method so reliable and tasty, it deserves to be a staple in every home cook’s repertoire.
Selecting Your Star Ingredient: The Chicken
To begin your journey to the perfect roast chicken, you’ll obviously need a chicken. A whole chicken, ideally weighing between 3 to 5 pounds, is perfect for this recipe, yielding enough for about 4 to 6 servings. When choosing your chicken, look for one that appears plump and healthy. If buying a frozen chicken, ensure you allow ample time for it to thaw completely in the refrigerator before you begin preparing it. A properly thawed chicken will cook more evenly and produce superior results.
The Essential Supporting Cast: Ingredients and Equipment
Beyond the chicken, the supporting cast of ingredients is minimal but mighty. You’ll need good quality kosher salt, freshly ground black pepper (a medium grind is ideal for texture and flavor), and crucially, super-soft unsalted butter. The softness of the butter is key here, as it will allow for effortless spreading, ensuring every inch of the chicken gets coated evenly. For equipment, a 12-inch cast iron skillet is my preferred choice for roasting chicken. Its ability to retain and distribute heat evenly results in an incredibly crispy skin and consistently cooked meat. However, if you don’t have a cast iron skillet, a sturdy 9×13 inch baking dish or a small roasting pan will work beautifully as well.
A quick but important note on kitchen hygiene: when handling raw chicken, always prioritize sanitation. To prevent cross-contamination, I recommend pouring a small amount of salt and pepper into separate small bowls. This way, you avoid directly dipping your hands, which have touched raw chicken, into your main salt box or pepper grinder. Safety first!
Step-by-Step Guide to Your Best Roast Chicken
Preparation is Key
First and foremost, before you do anything else, make sure to reach into the chicken’s cavity and remove the package of giblets. These are typically tucked inside and consist of the neck, heart, liver, and gizzards. You can discard them, or if you’re inclined, they can add wonderful flavor to homemade gravy or stuffing. Once the giblets are removed, the next critical step for achieving that coveted crispy skin is to thoroughly pat the entire chicken dry with paper towels. Excess moisture on the skin prevents it from crisping up, so don’t skip this step!
The Butter Massage: For Crispy Skin and Flavor
Now comes the fun part: the butter! Take about four tablespoons of your super-soft unsalted butter and dollop it directly onto the chicken. Using your hands, generously spread the butter all over the entire surface of the bird. Don’t be shy; massage it into the skin, making sure to get into all the nooks and crannies. This butter layer is essential for both flavor and creating that desirable golden, crispy skin. The softness of the butter is paramount here; it makes spreading much easier and ensures an even coating. If your chicken is very cold, it might cause the butter to stiffen slightly, so work quickly. Remember: warm hands and soft butter make for a happy, well-coated chicken.
Seasoning Like a Pro
Once the chicken is thoroughly buttered, it’s time to season. Generously season both the inside cavity and the outside skin of the chicken with kosher salt and black pepper. I don’t typically measure this; rather, I let it rain! The salt not only flavors the meat but also helps in creating that fantastic crispy skin. After seasoning, place the chicken, breast side up, into your 12-inch cast iron pan or chosen roasting dish. Ensure the oven is preheated to 400°F (200°C).
Slide the pan containing your prepared chicken onto the lowest possible rack in your preheated oven. Roasting on the lowest rack helps to achieve a more even cook and promotes crisping of the bottom skin as well. Let the magic happen.
Roasting to Golden Perfection
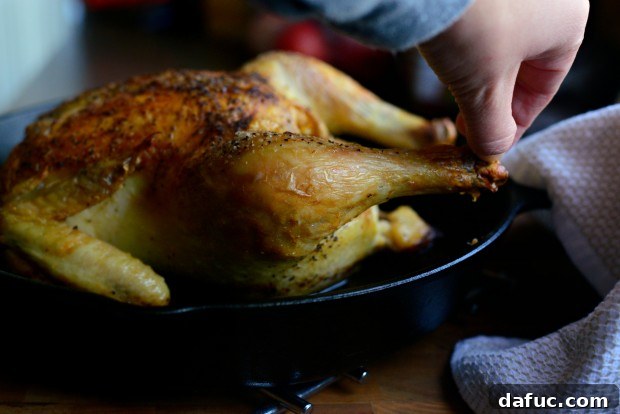
For a chicken weighing between 3 to 5 pounds, expect a roasting time of approximately 50 to 60 minutes. However, the true indicator of doneness is always the internal temperature. To ensure your chicken is perfectly cooked and safe to eat, insert a digital meat thermometer into the thickest part of the thigh, making sure not to touch the bone. The thermometer should register 165°F (74°C). Other visual cues include the legs feeling loose and wiggly when gently moved, and the juices running clear when the thigh is pierced. Avoid overcooking, as this can lead to dry meat.
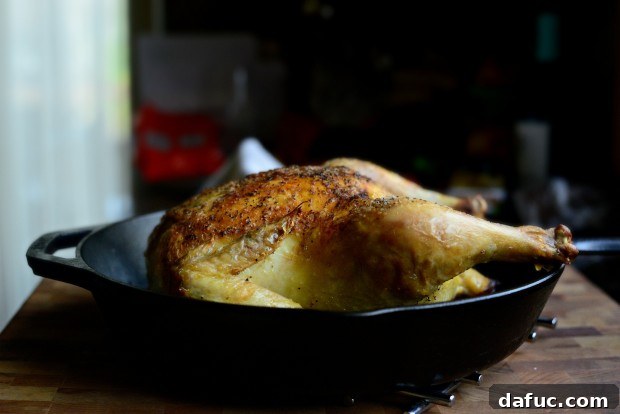
Doesn’t she look magnificent?
The Final Flourish: Resting and Serving
Once your easy roast chicken emerges from the oven, glistening and golden, transfer it to a carving board. Loosely tent it with aluminum foil and allow it to rest for about 10-15 minutes. This resting period is crucial; it allows the juices to redistribute throughout the meat, ensuring every slice is incredibly moist and flavorful. If you’re feeling a little extra, you could even drizzle some of those delicious buttery drippings accumulated in the pan over the resting chicken for an added layer of richness – pure deliciousness!
While the chicken rests, you have an optional window to create a simple, savory gravy. Carefully separate the fat from the liquid drippings in your roasting pan. In a separate saucepan, combine a few tablespoons of the rendered fat with an equal amount of flour to create a roux. Cook the roux for 3 to 4 minutes until golden, then gradually whisk in the defatted chicken juices, along with about a cup of chicken broth, a pinch of salt, pepper, and your favorite herbs. Simmer for a few minutes until the gravy thickens to your desired consistency. Voila! Homemade gravy to accompany your feast. Of course, this step is entirely optional; the chicken is glorious on its own.
Carve your chicken and serve immediately. That crispy skin, oh that crispy skin, is arguably the best part! It offers an irresistible textural contrast to the tender, juicy meat beneath. This easy roast chicken can be sliced and served directly, or you can shred the meat for future meals. Did you know you can freeze cooked roast chicken for up to 2 to 3 months? Having pre-cooked roasted chicken on hand is a phenomenal time-saver in the kitchen, making quick work of soups, salads, sandwiches, or even dishes like enchiladas. It truly requires just over an hour out of your day, most of which is passive cooking time. You could take a well-deserved nap, delve into a chapter or two of your favorite book, or even paint your nails while your oven works its magic. Once it’s in the oven, your main work is essentially done.
Enjoy this incredible Easy Roast Chicken! If you give this recipe a try, I’d love to hear about it! Feel free to snap a photo and share your creation on Twitter or Instagram!

Print Recipe
Pin Recipe
Easy Roast Chicken
Ingredients
- 1 (3 to 5 pound) whole chicken
- 4 tablespoons super soft unsalted butter
- Kosher salt
- Coarsely ground black pepper
Equipment
- Lodge 12 Inch Cast Iron Skillet. Pre-Seasoned Cast Iron Skillet with Red Silicone Hot Handle Holder.
- Polder Digital In-Oven Meat Thermometer with Heat Resistant Probe and Digital Timer
Instructions
- Preheat your oven to 400°F (200°C).
- Remove the giblets from the cavity of the chicken. Pat the chicken thoroughly dry with paper towels.
- With your hands, rub the entire chicken with the softened butter, ensuring an even coating. Season the inside cavity of the chicken with a few pinches of kosher salt and black pepper, then season the outside of the chicken generously as well.
- Place the chicken, breast side facing up, on the lowest rack of your preheated oven and bake for 50 to 60 minutes, or until fully cooked and a digital thermometer inserted into the thickest part of the thigh (without touching bone) reads 165°F (74°C).
- Carefully remove the chicken from the oven and transfer it to a carving board. Tent loosely with aluminum foil and let it rest for 10 to 15 minutes before carving and serving.
- Alternatively, you can shred the chicken while it’s still warm for meal prep. If preparing for a later date, allow it to cool completely before storing in an airtight container and refrigerating for up to 5 days, or freezing for 2 to 3 months.
Nutrition Facts (Approximate per serving)
Serving: 1g, Calories: 101kcal, Carbohydrates: 1g, Protein: 1g, Fat: 11g, Saturated Fat: 7g, Polyunsaturated Fat: 1g, Monounsaturated Fat: 3g, Trans Fat: 1g, Cholesterol: 30mg, Sodium: 2mg, Potassium: 4mg, Sugar: 1g, Vitamin A: 350IU, Vitamin C: 1mg, Calcium: 3mg, Iron: 1mg