
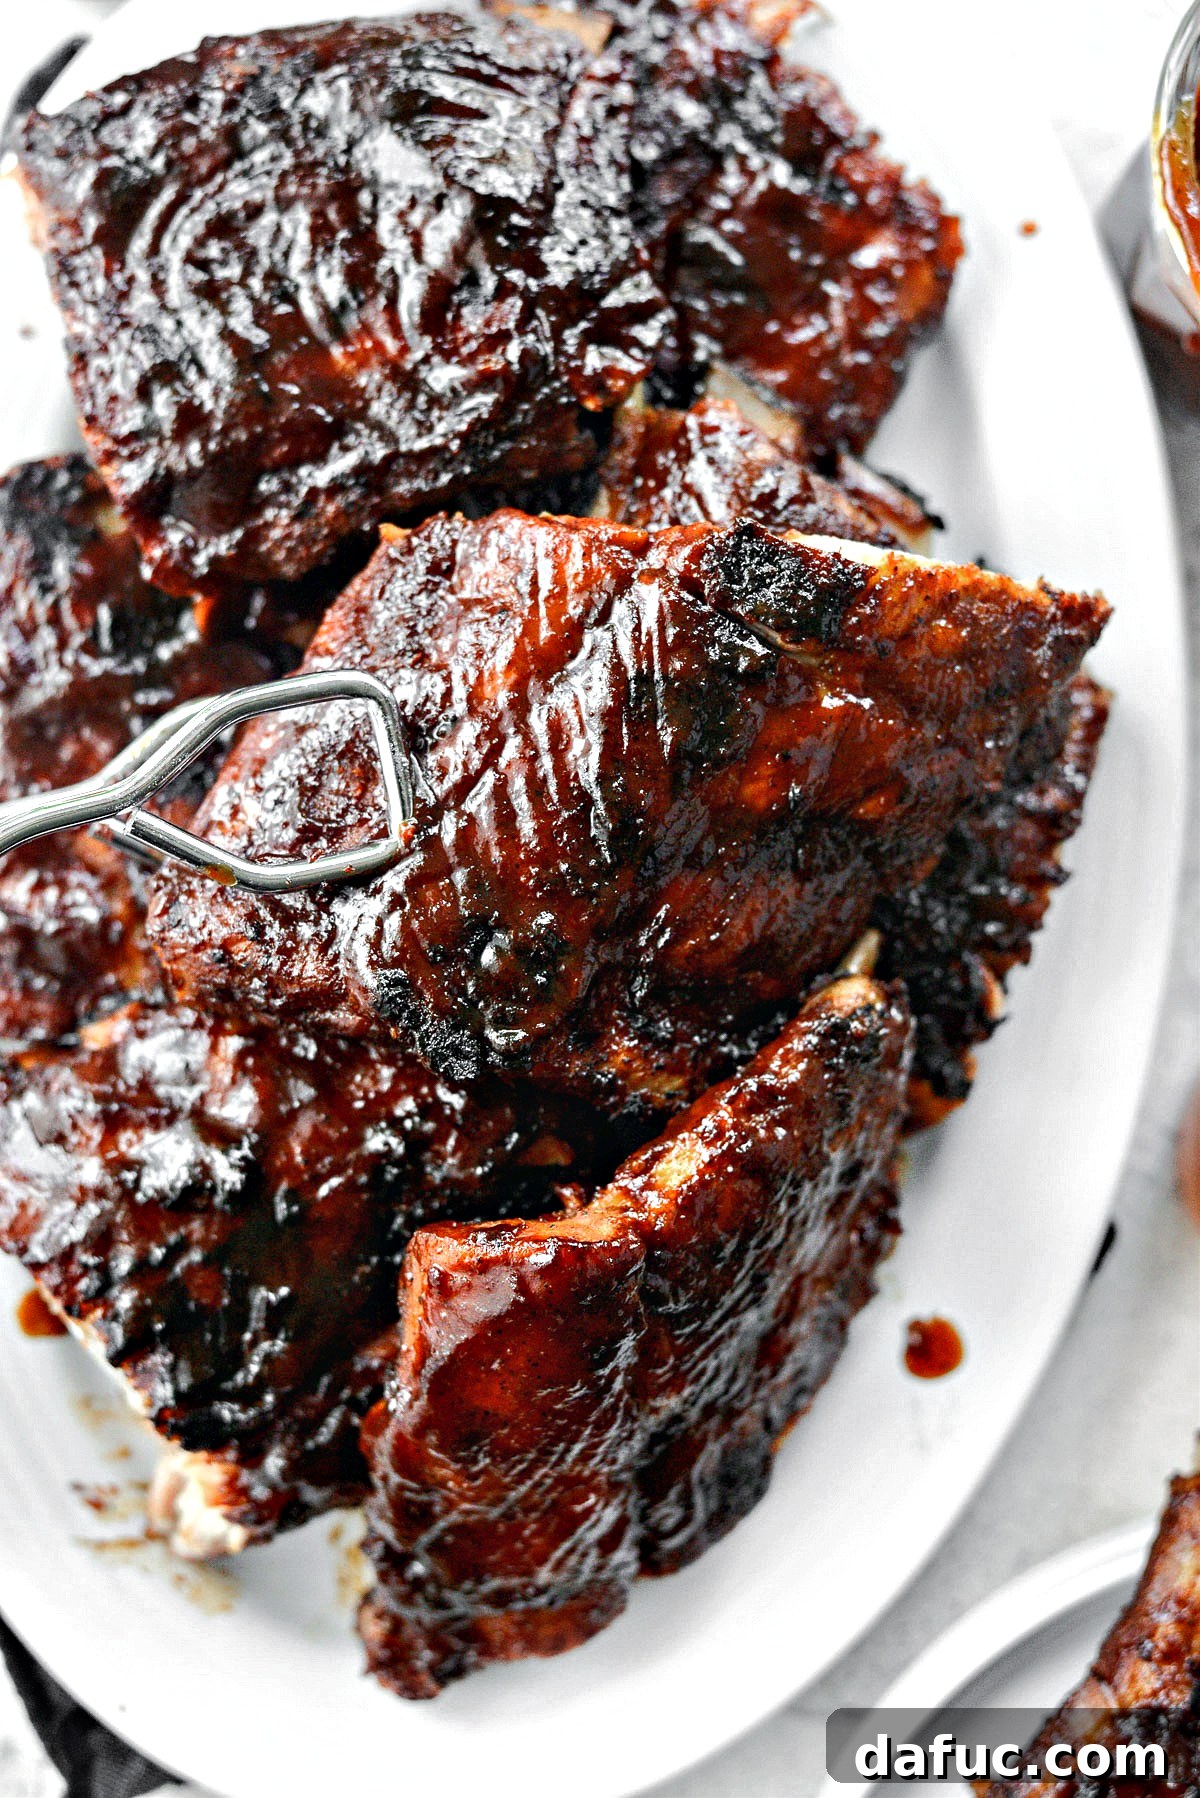
Prepare to create the most succulent, fall-off-the-bone baby back ribs you’ve ever tasted with this incredibly easy and foolproof recipe. These ribs are initially dry-rubbed, then lovingly wrapped in foil and baked to tender perfection in your oven. The grand finale involves slathering them with a homemade, smoky-sweet BBQ sauce and finishing them on the grill for that irresistible caramelization. This method guarantees a crowd-pleasing dish that will be the star of any cookout, party, or family dinner. Designed to serve 6-8 people, with each person enjoying a generous quarter slab, these ribs promise an unforgettable culinary experience.
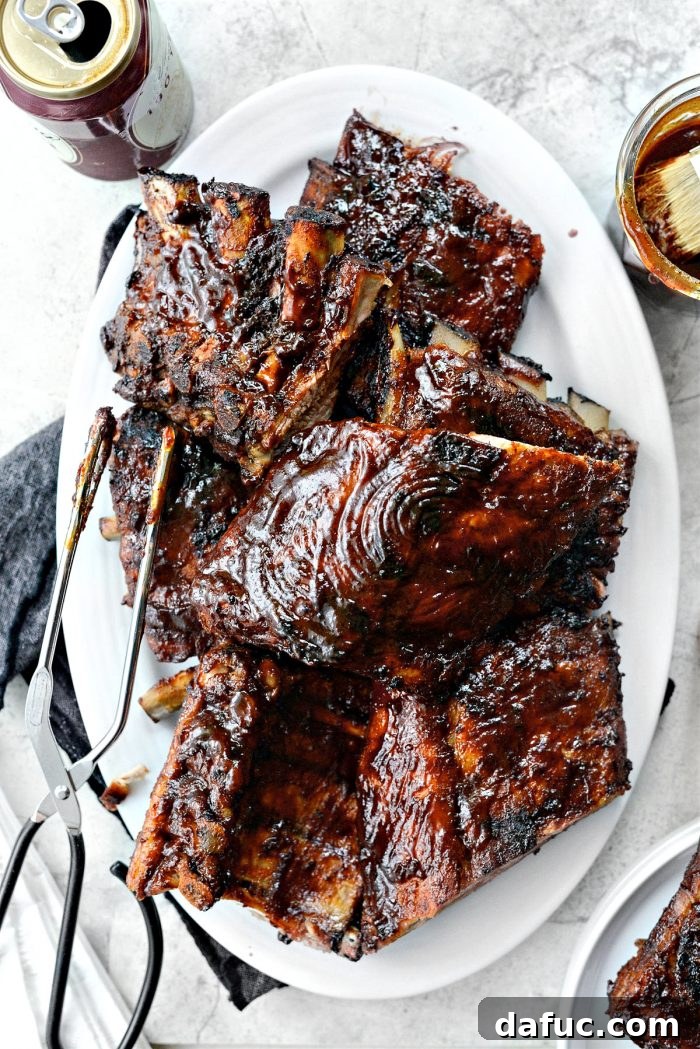
Mastering the Art of Tender Ribs: Your Ultimate Guide
If the thought of cooking ribs from scratch has ever intimidated you, let this recipe be the one to transform your perspective. We’re about to embark on a journey to create baby back pork ribs that are not just good, but truly extraordinary. The secret lies in a simple yet effective two-stage cooking process: a low-and-slow bake followed by a quick kiss on the grill. This ensures maximum tenderness and flavor, all crowned with an unbelievably rich, sweet, and smoky homemade barbecue sauce. You’ll be amazed at how achievable restaurant-quality ribs are right in your own kitchen.
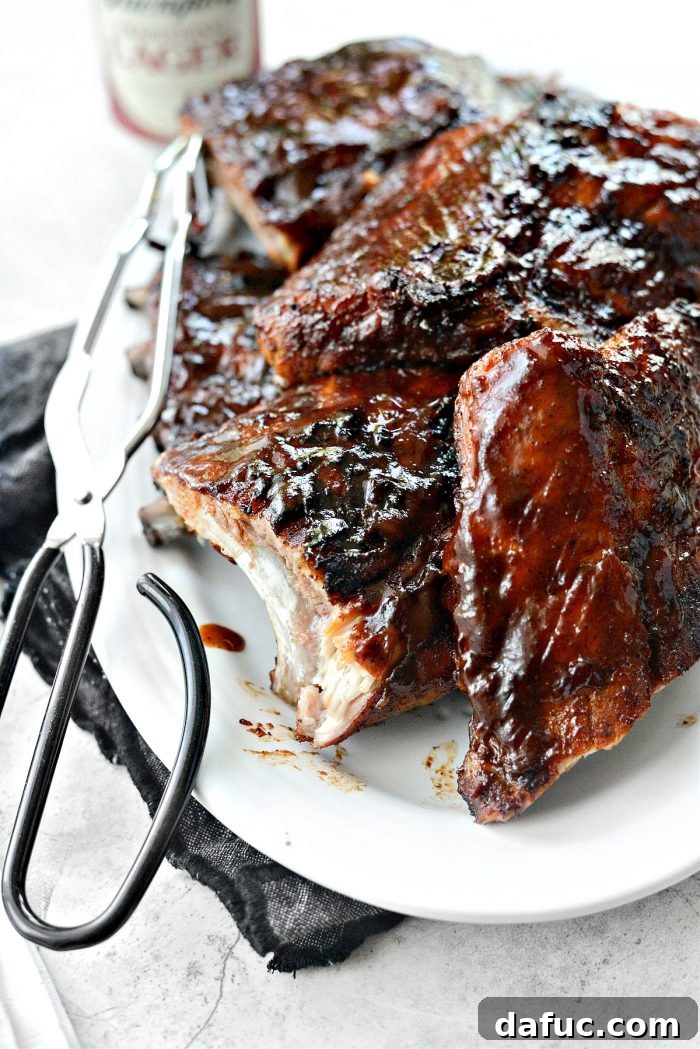
Get ready to impress your family and friends with ribs so delicious, they’ll be begging for the recipe!
Step 1: Preparing Your Baby Back Ribs
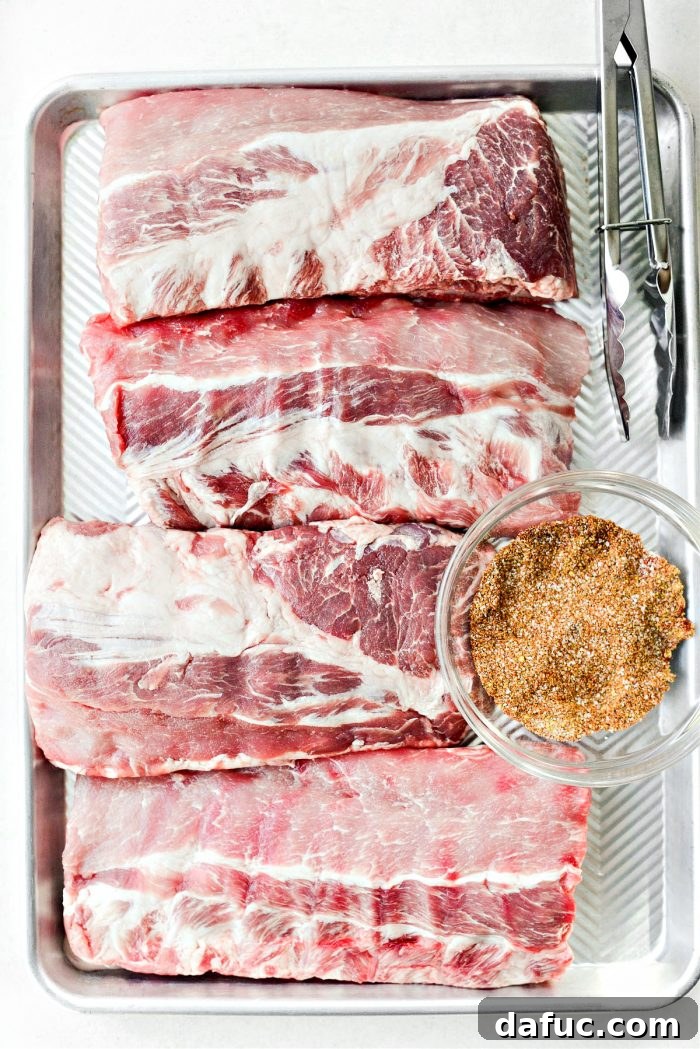
The foundation of great ribs starts with proper preparation. For this recipe, you’ll need approximately 6 pounds of high-quality baby back pork ribs. These smaller, more tender ribs are perfect for achieving that coveted “fall-off-the-bone” texture.
Removing the Silver Skin for Optimal Tenderness
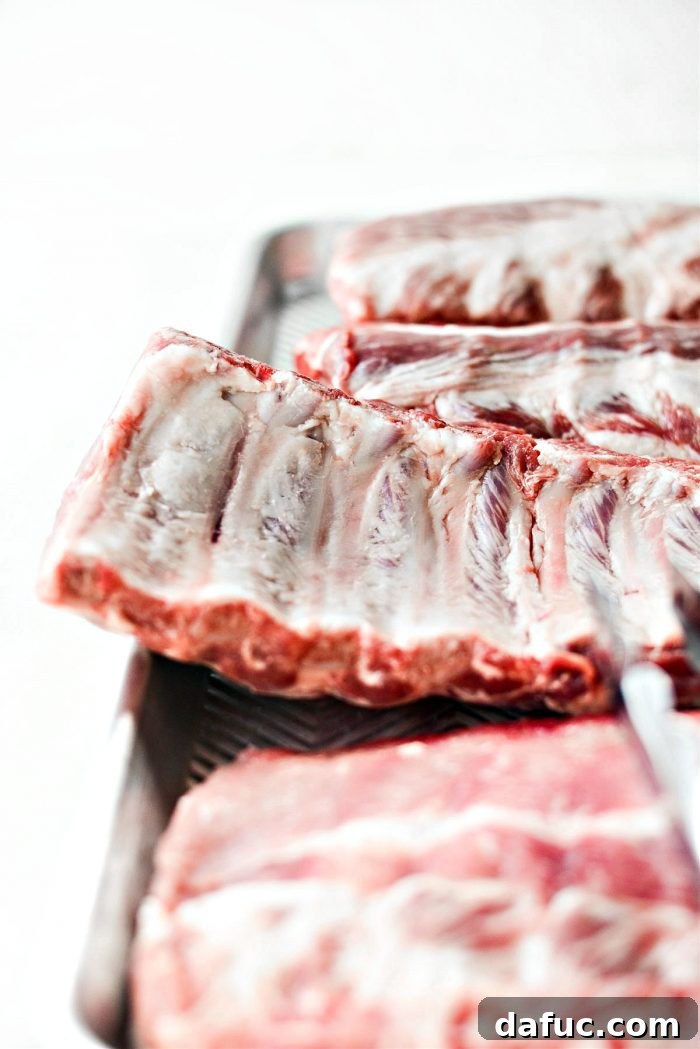
First, unpack your ribs and thoroughly pat them dry with paper towels. A crucial, often overlooked step for truly tender ribs is removing the silverskin (or membrane) from the underside. This thin, silvery layer can prevent your rub from penetrating the meat and can become tough and chewy when cooked. To remove it, slide a sharp knife under a corner of the silverskin to lift it away from the bone. Once you have a small flap, use a paper towel to get a firm grip and slowly pull the entire membrane off the slab. It usually comes off in one satisfying piece. Don’t worry if your ribs already have the membrane removed – many butchers do this for convenience.
Step 2: Crafting and Applying the Flavorful Dry Rub
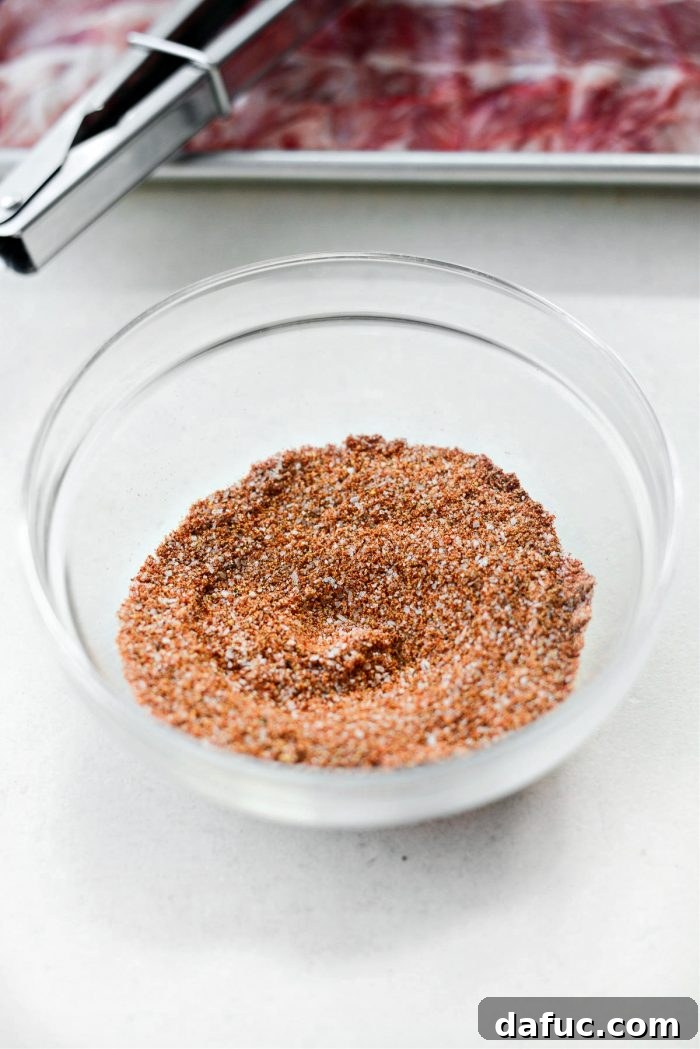
The dry rub is where a significant part of the flavor begins. Our homemade blend is simple yet incredibly effective, balancing savory, sweet, and a hint of spice to create a beautiful crust and deep flavor profile.
To make this essential rib rub, combine the following ingredients:
- Kosher Salt: Essential for seasoning and drawing out moisture, contributing to a crispier exterior.
- Paprika: Adds a beautiful reddish hue and a mild, sweet, peppery flavor that’s characteristic of classic BBQ.
- Dry Mustard: Provides a subtle tang and helps to tenderize the meat.
- Cayenne Pepper: Just a touch for a very gentle warmth, enhancing the overall flavor without making the ribs overly spicy.
- Freshly Ground Black Pepper: Offers a sharp, aromatic bite that complements the other spices.
In a small bowl, whisk together 2 tablespoons of kosher salt, 1 tablespoon of paprika, 1 tablespoon of dry mustard, 1/2 teaspoon of cayenne pepper, and 1/2 teaspoon of freshly ground black pepper. Ensure all ingredients are well combined.
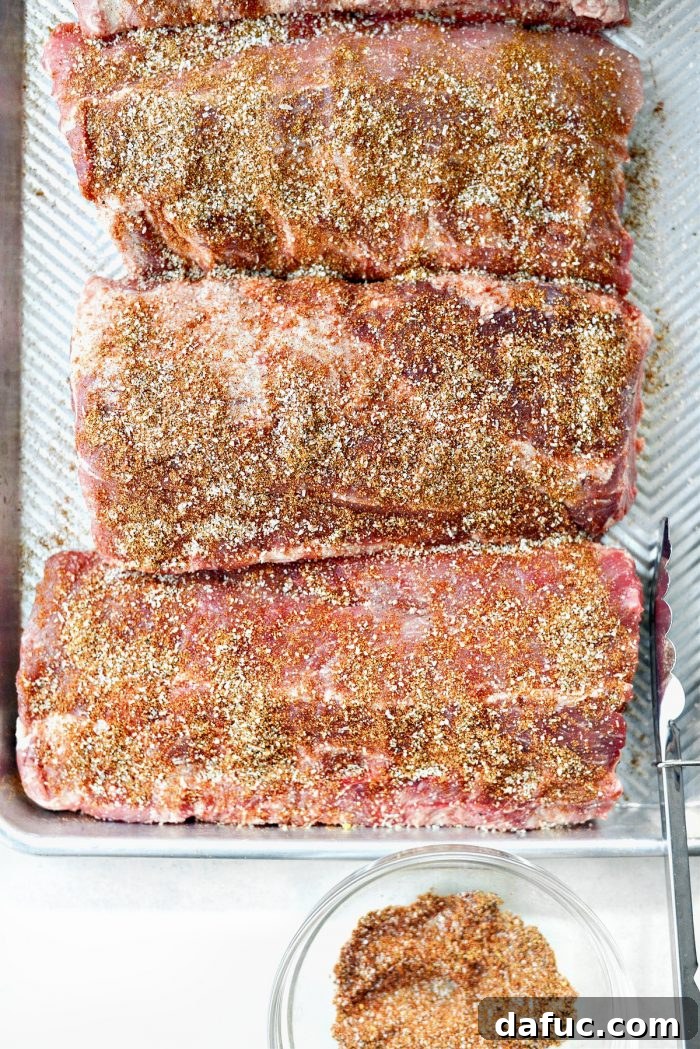
Once your rub is ready, generously sprinkle about two-thirds of it over the top, meaty side of the ribs. Use your hands to gently massage the rub into the meat, ensuring an even coating that adheres well to all surfaces. This massage helps the flavors penetrate deeply into the pork.
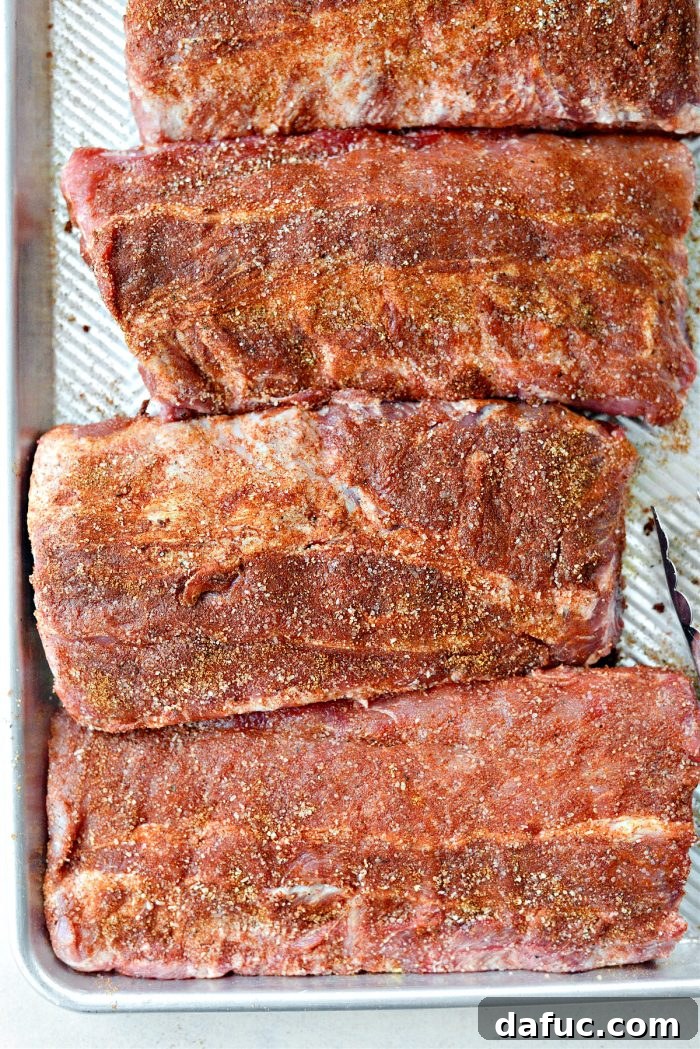
Next, flip the ribs over and season the bone side with the remaining rub mixture, again massaging it in thoroughly. Don’t be shy; a good rub is key to flavorful ribs!
Step 3: The Oven-Baking Process for Unmatched Tenderness
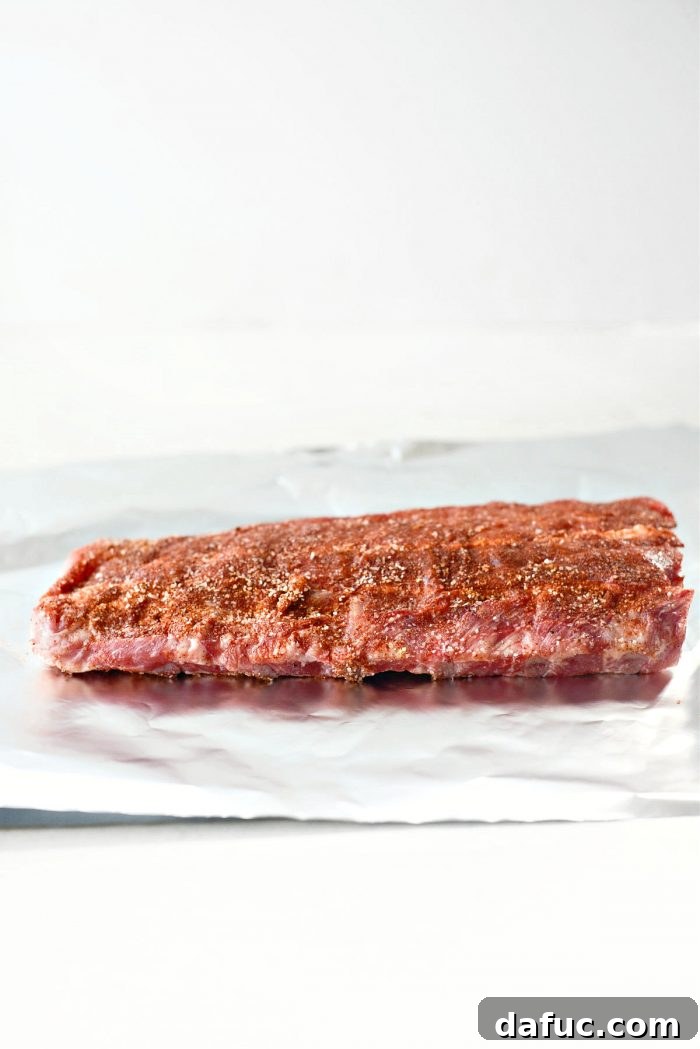
Preheat your oven to a consistent 300°F (150°C). This low and slow temperature is essential for breaking down the tough connective tissues in the ribs, resulting in incredibly tender meat. If you’re working with very long slabs of ribs, consider cutting them in half. This makes them much easier to handle, both for wrapping and later for grilling.
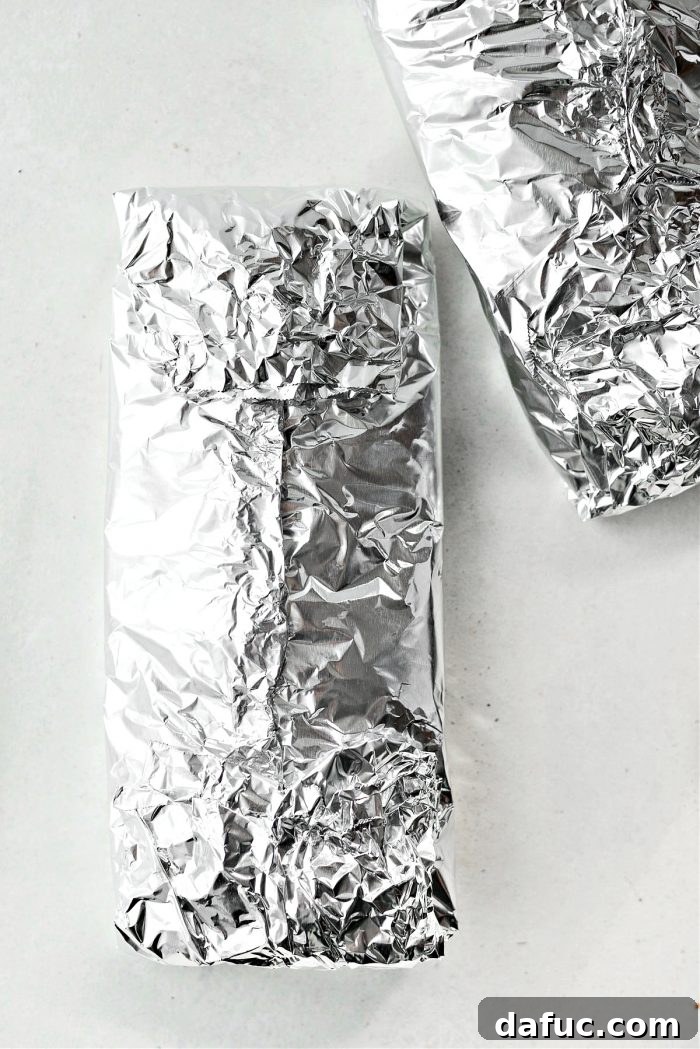
Now, take each half-slab and wrap it tightly in two layers of heavy-duty aluminum foil. Ensure the foil is crimped securely at the top and folded up at the ends to create a sealed packet. This foil wrapper essentially steams the ribs in their own juices, maximizing moisture and tenderness. Place the individually wrapped ribs onto a foil-lined, rimmed metal baking sheet. The extra foil on the baking sheet makes cleanup a breeze.
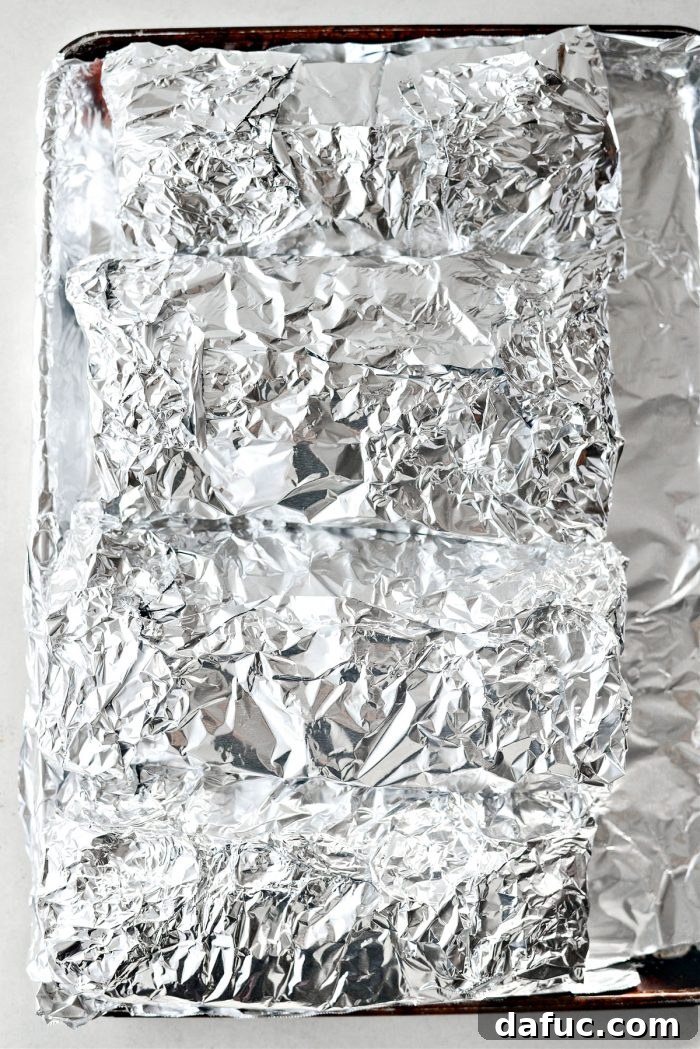
Bake the ribs for 2.5 to 3 hours. To check for doneness, carefully insert a thin metal skewer, cake tester, or fork into the top of the foil until it pierces the thickest part of the meat (if you hit bone, reposition and try again). If the skewer glides through with minimal resistance, your ribs are perfectly tender. If not, return them to the oven for another 30 minutes, then check again. Repeat as needed until they reach that desired melt-in-your-mouth texture.
Step 4: The Ultimate Homemade BBQ Sauce
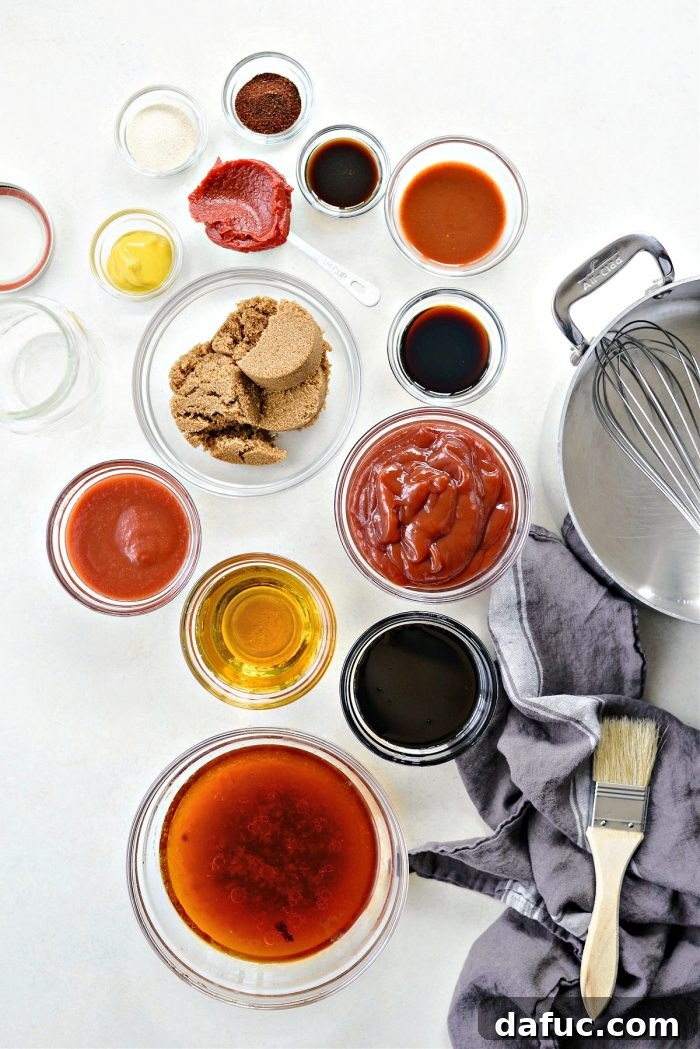
While your ribs are baking, you can prepare the star of the show: a rich, homemade BBQ sauce that perfectly balances sweetness, tang, and smokiness. This sauce isn’t just a condiment; it’s an integral part of the rib experience.
To make this epically delicious sauce, you will need:
- Ketchup: The base for a classic, tangy-sweet BBQ sauce.
- Dark Brown Sugar: Adds deep, caramel-like sweetness and helps create a beautiful glaze.
- Apple Cider Vinegar: Provides essential acidity to cut through the richness and brighten the flavors.
- Tomato Sauce: Contributes more tomato depth and a smoother consistency.
- Un-sulphured Molasses: Key for that signature robust, slightly bitter-sweet flavor and dark color.
- Tomato Paste: Concentrated tomato flavor that adds body and umami.
- Hot Sauce: A touch for subtle heat and complexity (adjust to your preference).
- Liquid Smoke: Infuses an authentic smoky flavor without needing an actual smoker.
- Onion Powder: For a savory, aromatic foundation.
- Worcestershire Sauce: Adds a layer of savory, umami-rich depth.
- Prepared Yellow Mustard: A classic BBQ ingredient for its sharp, tangy notes.
- Chili Powder: Contributes earthy warmth and a mild spice profile.
- Reserved Juices from the Ribs (not the fat): The secret ingredient that brings all the rib flavor into the sauce.
Utilizing Rib Juices for Maximum Flavor
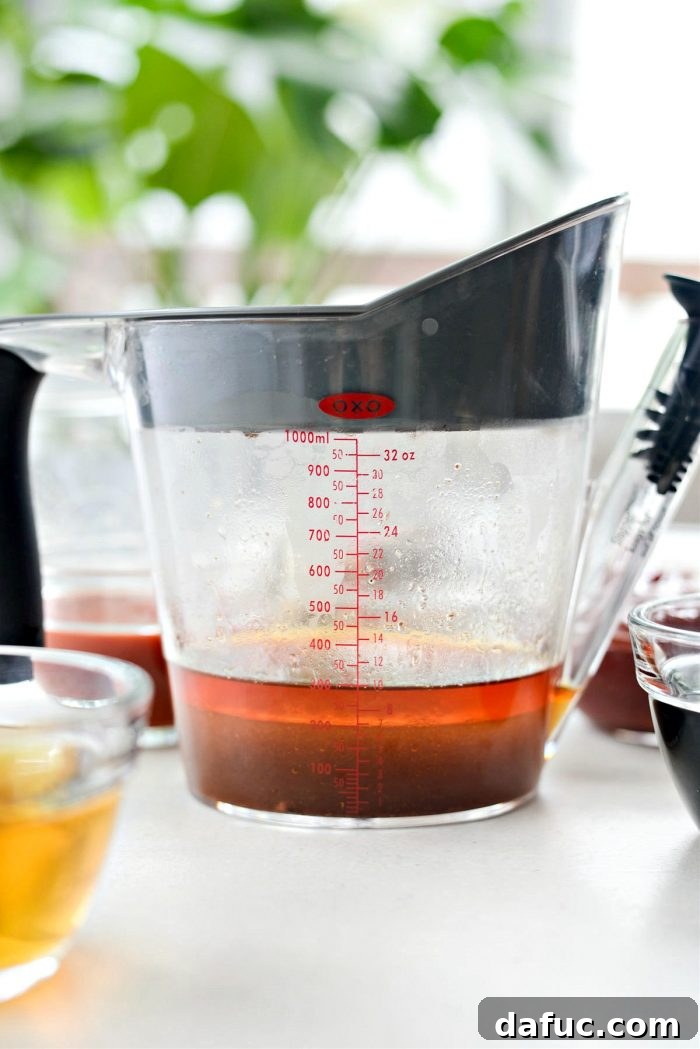
Once your ribs are perfectly baked, but before unwrapping them, put on oven mitts and carefully pick up one of the wrapped slabs over a medium bowl. Make a small tear in the foil to drain all the precious cooking liquids into the bowl. Repeat this process for all remaining wrapped ribs. These juices are packed with rich pork flavor! Next, pour these cooking liquids into a fat separator. Let it sit for a few minutes to allow the fat to rise to the top, making it easy to pour off only the flavorful, non-fat juices.
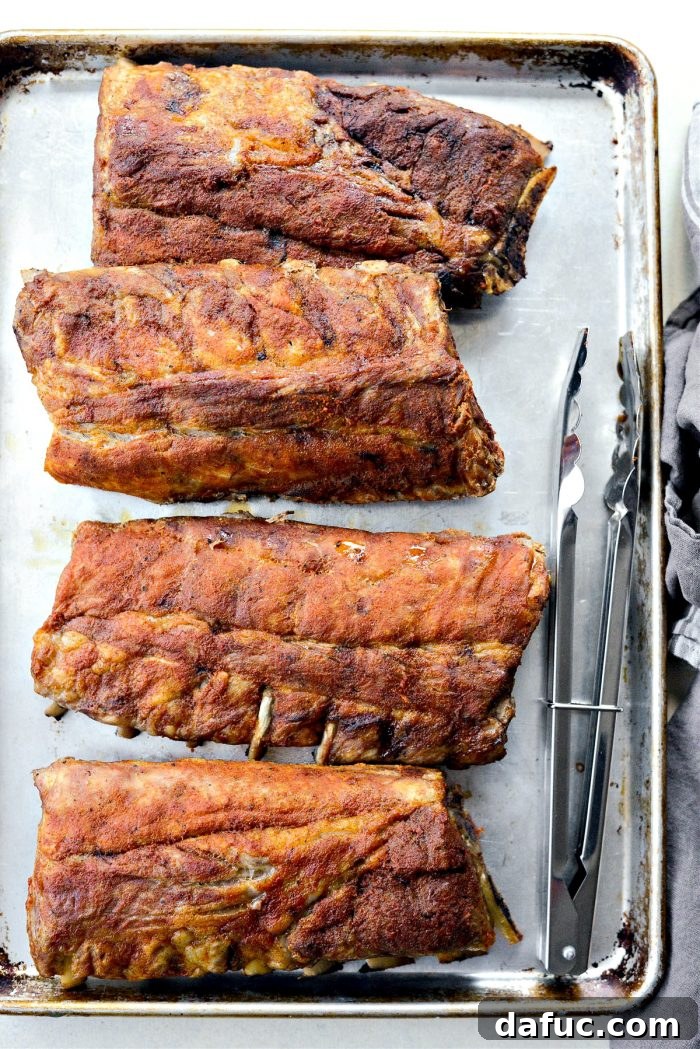
While your reserved rib juices are separating, go ahead and unwrap the baked ribs. Place them on a clean, rimmed metal baking sheet. At this point, the aroma alone is incredible, promising the deliciousness to come!
Assembling and Simmering the Sauce
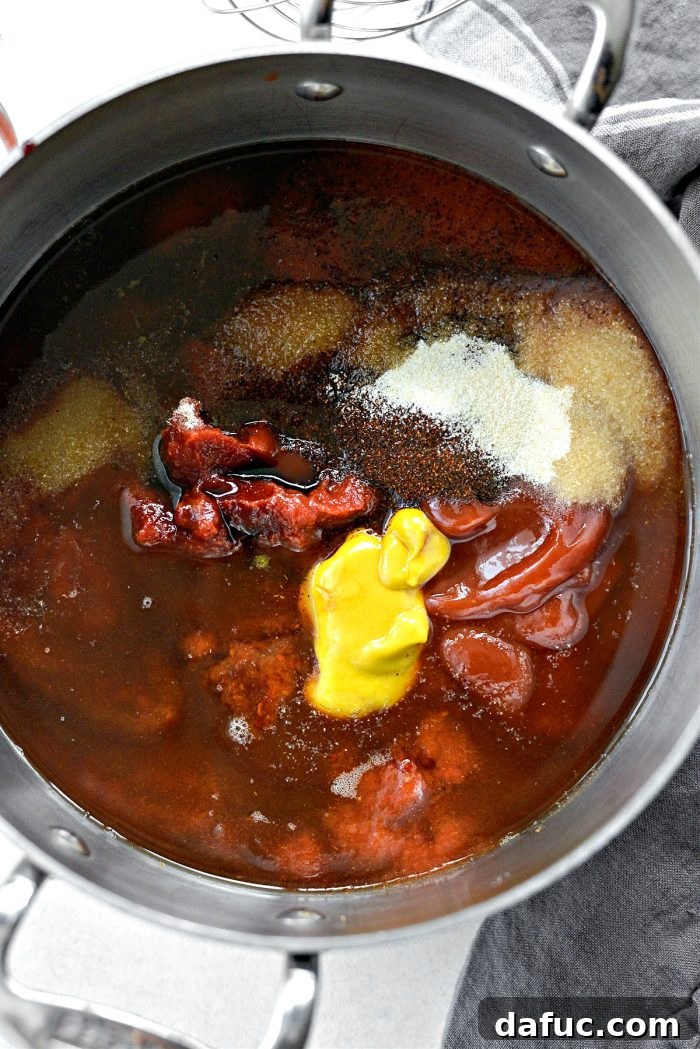
In a medium pot, combine all the sauce ingredients: 1 cup ketchup, 3/4 cup packed dark brown sugar, 1/2 cup apple cider vinegar, 1/2 cup tomato sauce, 1/2 cup un-sulphured molasses, 1/4 cup tomato paste, 2 tablespoons hot sauce, 2 tablespoons liquid smoke, 1 tablespoon onion powder, 1 tablespoon Worcestershire sauce, 2 teaspoons prepared yellow mustard, and 1 1/2 teaspoons chili powder. Whisk everything together until thoroughly combined.
Understanding Liquid Smoke
Liquid smoke is a fantastic ingredient for achieving an authentic smoky flavor without needing a smoker. It’s typically made by condensing the smoke from burning wood (like hickory or mesquite) into a liquid form. This concentrated flavor enhancer can transform dishes, providing a deep, wood-fired aroma and taste. While convenient, it’s always a good idea to check labels for any additives if you have dietary concerns. A little goes a long way, as its flavor is quite potent.
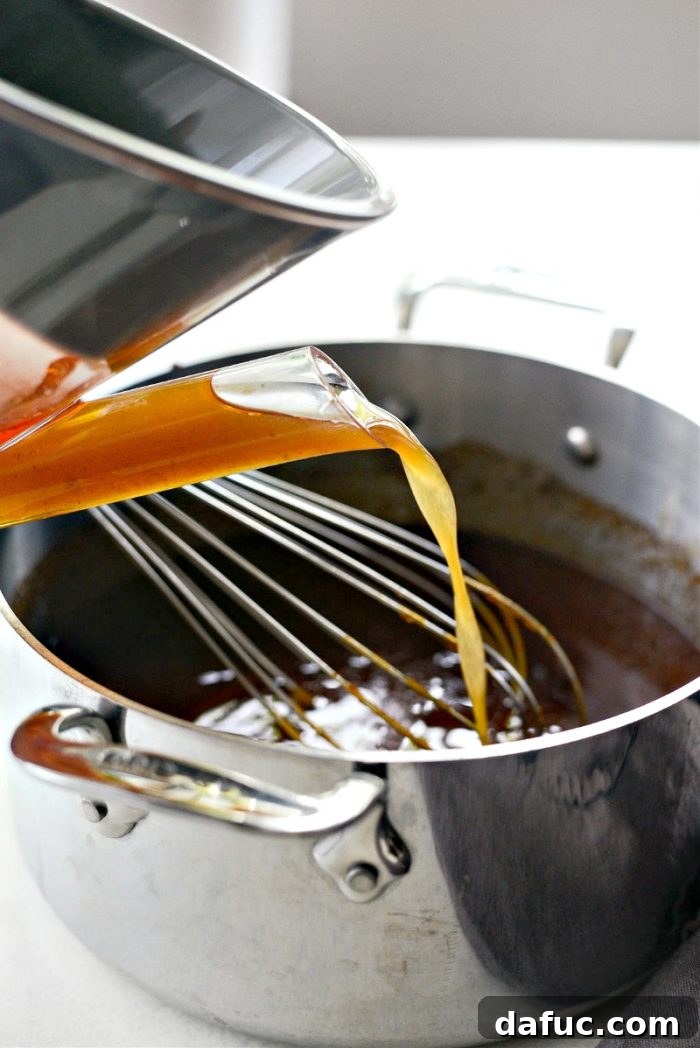
Now, carefully pour only the separated, flavorful rib juices into the pot with the other sauce ingredients, leaving all the rendered fat behind in the separator. This infusion of rib juices is what elevates this homemade sauce from good to truly exceptional, incorporating the savory essence of the pork.
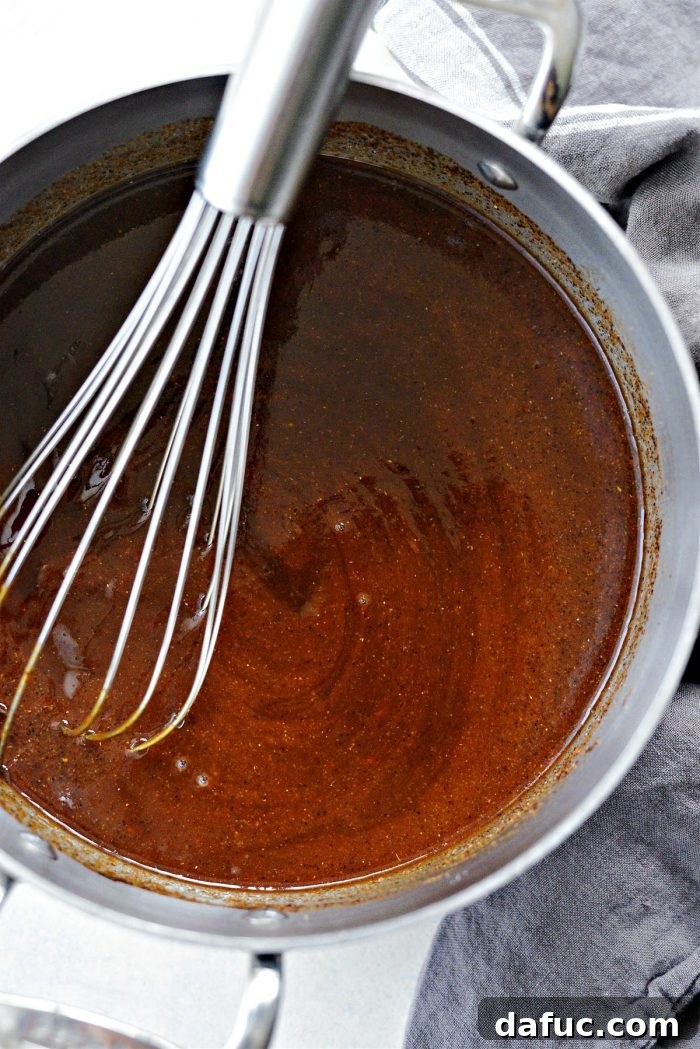
Bring the sauce mixture to a boil over medium heat, then reduce the heat to medium-low and let it simmer for about 15-20 minutes, stirring frequently. This simmering process allows the flavors to meld and deepen, and the sauce to thicken into a luxurious, glossy consistency perfect for coating your ribs.
Step 5: The Grill Finish – Achieving Caramelization and Char
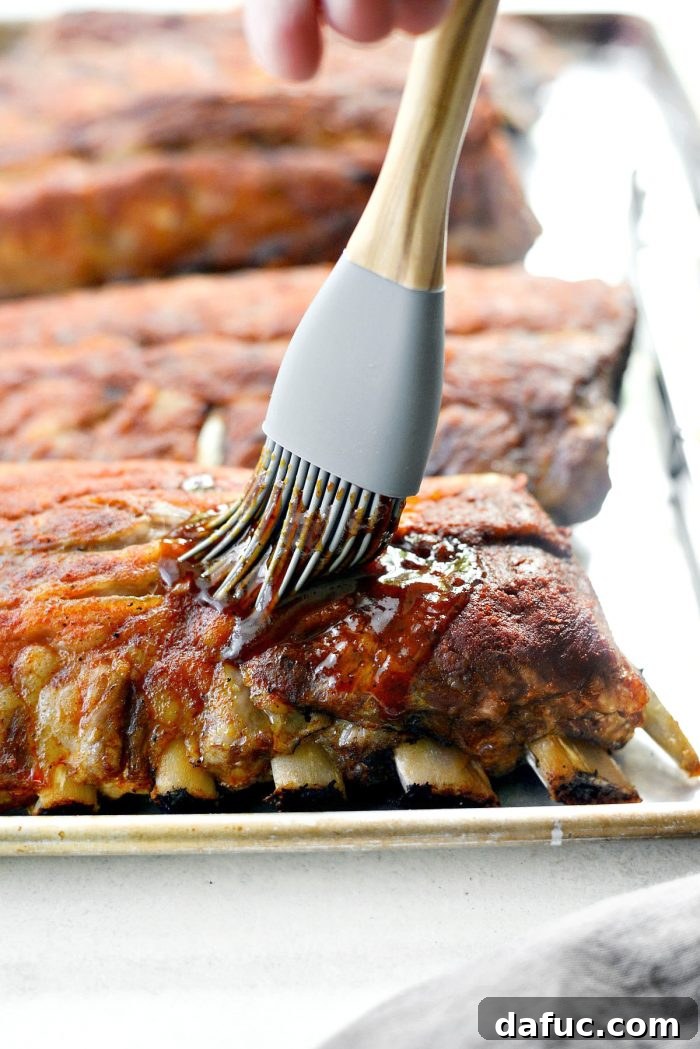
Once your sauce has reached its thick and glorious perfection, it’s time to apply it to your tender ribs. Using a pastry brush, generously slather some of the sauce onto the top, meaty side of each slab.
Preheat your grill to a medium-high temperature, specifically 400-425°F (200-220°C).
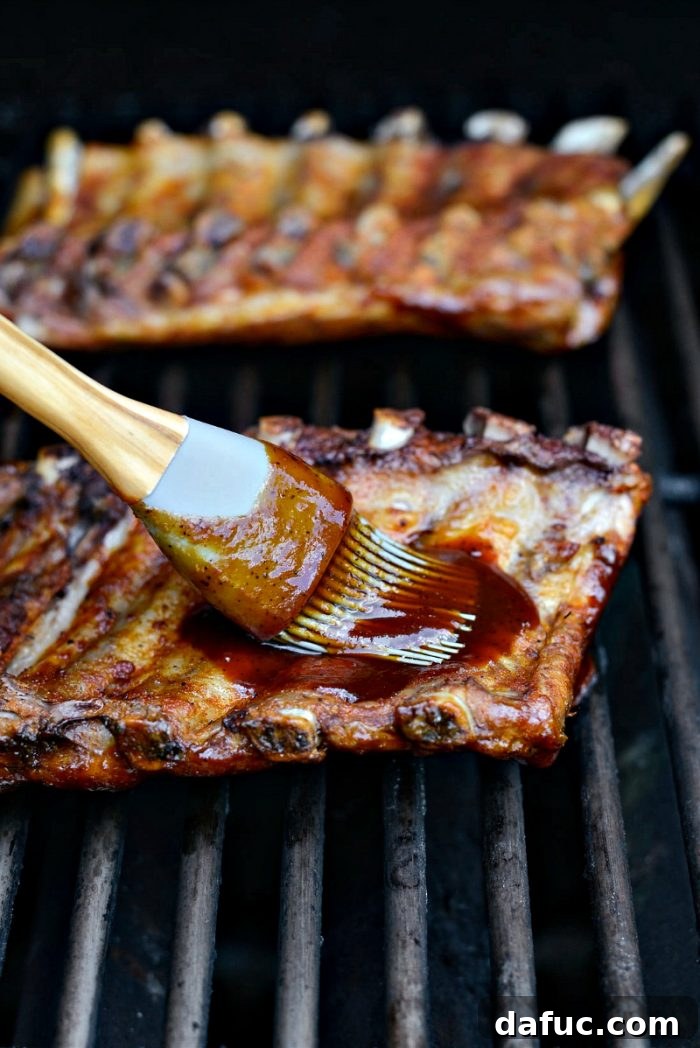
Carefully place the ribs, saucy side down, onto the preheated grill. Immediately brush the underneath (bone) side with more of your homemade sauce. Continue to grill with the lid open, allowing the sauce to caramelize and develop a beautiful char. The key here is repeated brushing and turning: every few minutes, flip the ribs, apply more sauce to the newly exposed side, and continue grilling. This process, typically lasting about 10-15 minutes in total, will build a sticky, caramelized, and intensely flavorful crust on your ribs, giving them that irresistible BBQ finish.
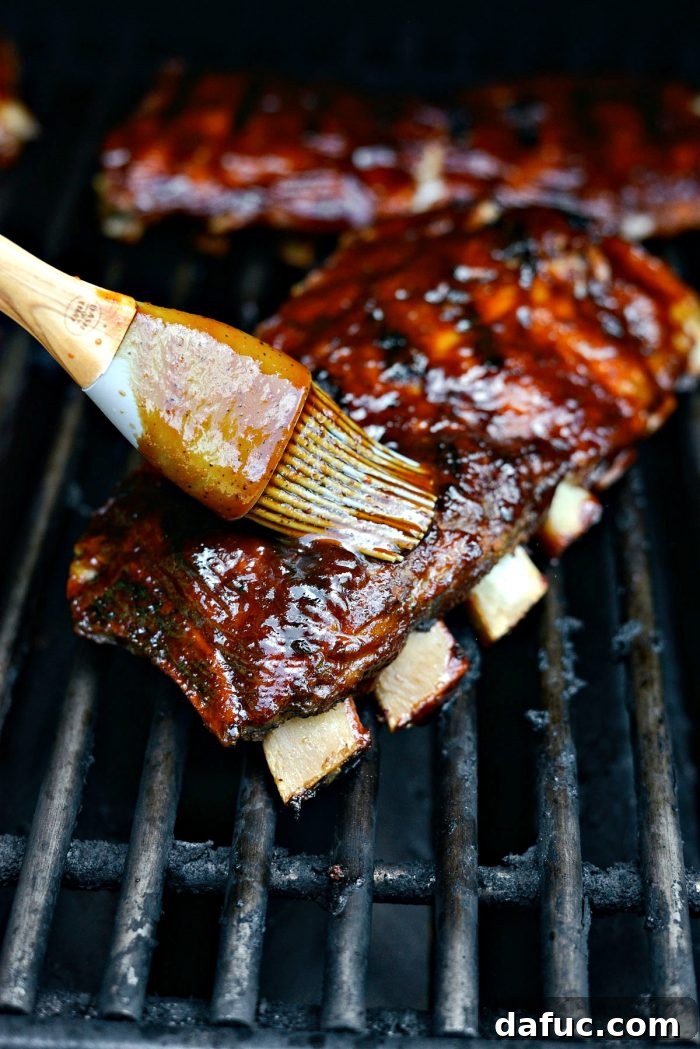
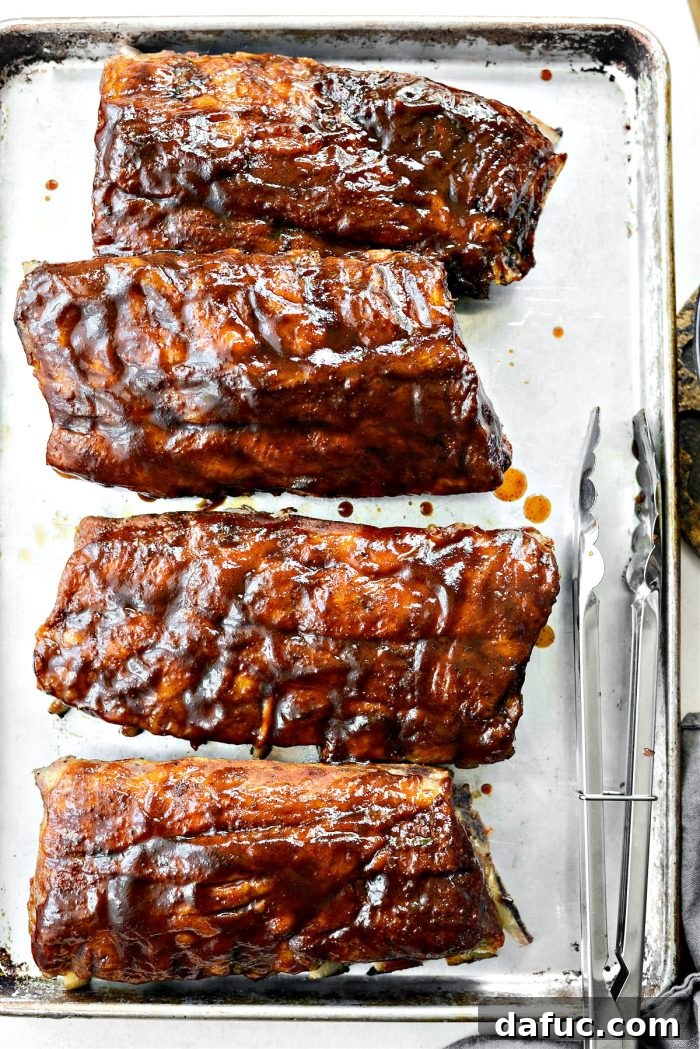
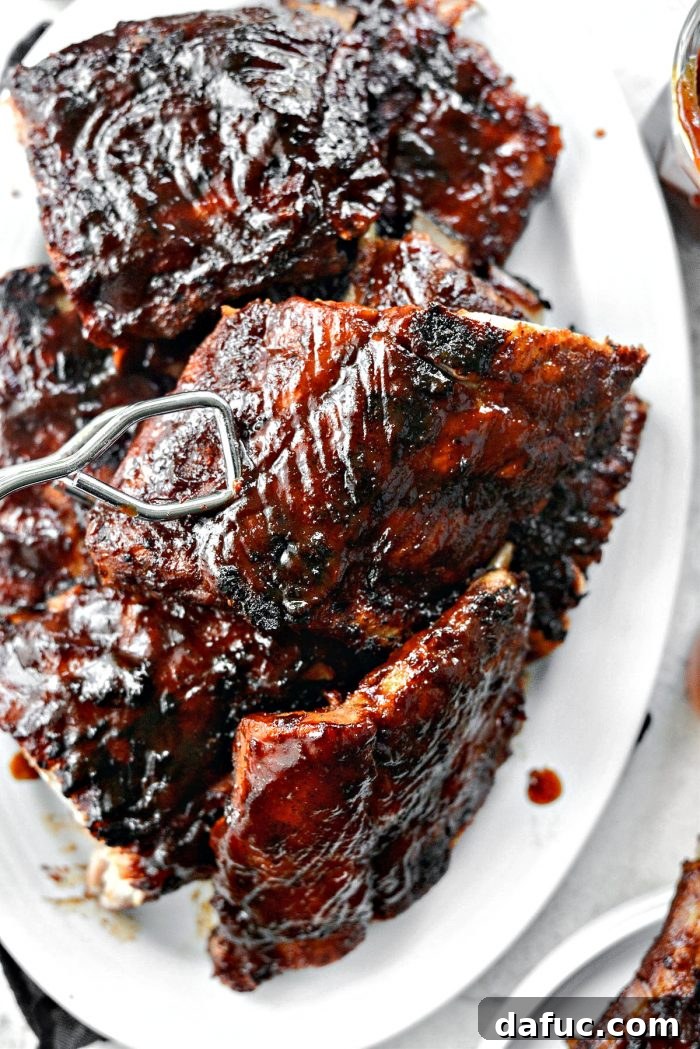
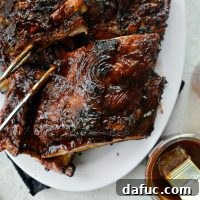
Just look at that magnificent caramelization and glossy finish! The combination of the tender, slow-baked meat and the sweet, smoky, slightly charred sauce is absolute perfection. These ribs deliver a harmonious blend of sweet and smoky notes, with just a hint of warmth from the cayenne and chili powder – flavorful but not overtly spicy. The molasses and liquid smoke truly shine through, providing an authentic BBQ depth that will leave you craving more.
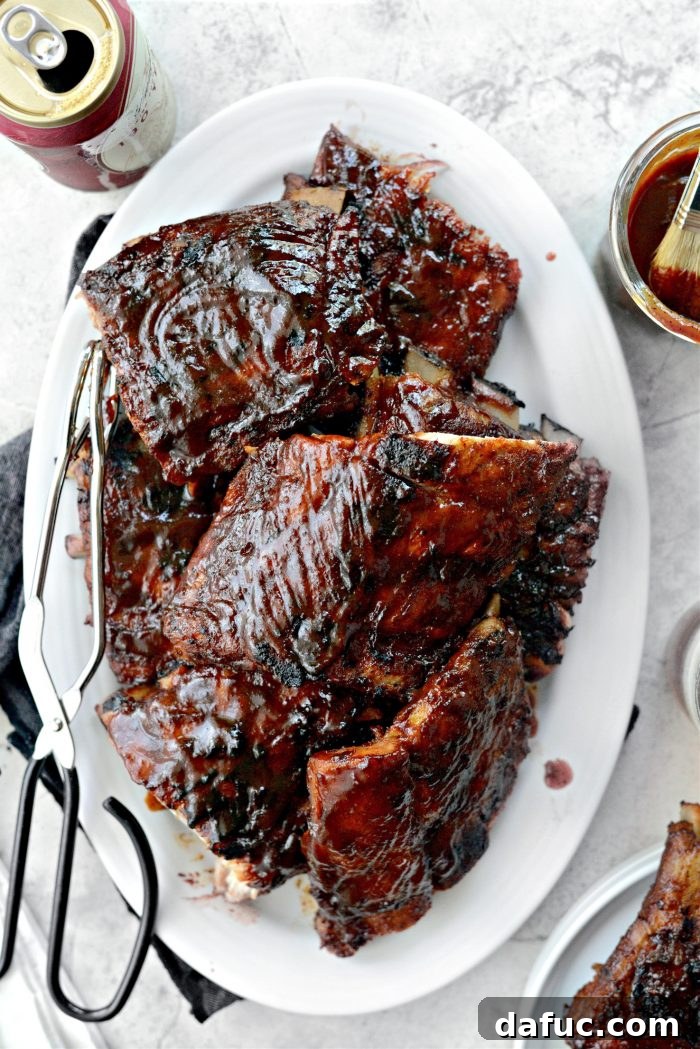
What Do You Serve With These Amazing BBQ Baby Back Ribs?
No BBQ meal is complete without a selection of classic sides that complement the rich flavor of the ribs. Here are some perfect pairings:
- Baked Beans: Sweet and savory baked beans are a quintessential BBQ side, offering a comforting contrast to the ribs.
- Crispy Potato Wedges: Their satisfying crunch and fluffy interior make them an excellent alternative to fries.
- Creamy Potato Salad: A cool, tangy potato salad provides a refreshing counterpoint to the rich meat.
- Classic Coleslaw: The crisp, fresh crunch and creamy dressing of coleslaw are a perfect palate cleanser.
- Corn on the Cob: Sweet, juicy corn on the cob is a simple, seasonal favorite that always hits the spot.
- Moist Cornbread: A slice of warm cornbread is ideal for soaking up any extra sauce and adding a touch of rustic sweetness.
- Creamy Mac and Cheese: A hearty and indulgent side that’s a guaranteed crowd-pleaser with its cheesy goodness.
- Tangy Pasta Salad: A vibrant pasta salad with fresh vegetables and a zesty dressing offers a lighter, bright option.
Any leftover homemade BBQ sauce can be served warm on the side for those who prefer their ribs extra saucy!
Frequently Asked Questions & Tips for Success
Can This Recipe Be Doubled?
Absolutely! This recipe scales beautifully for larger gatherings. When doubling the recipe to serve more people, you only need to double the amount of meat and the dry rub mixture. The homemade BBQ sauce recipe yields a generous amount, so there’s usually no need to double the sauce unless you anticipate an extremely saucy crowd or want extra for other uses.
Can I Make These Ribs Without a Grill?
Yes, you can! After baking the ribs until tender and applying the sauce, you can finish them under the broiler. Place the sauced ribs on a foil-lined baking sheet and broil for 2-4 minutes per side, watching very carefully to prevent burning, until the sauce is caramelized and bubbly. This method effectively mimics the char and glaze from a grill.
Can I Prepare These Ribs Ahead of Time?
Yes, the ribs can be oven-baked up to 2 days in advance. Once baked and cooled, keep them wrapped in foil and refrigerate. When ready to serve, simply unwrap them, brush with sauce, and finish on the grill or under the broiler until heated through and caramelized.
How to Store Leftover Ribs and Sauce?
Store leftover cooked ribs in an airtight container in the refrigerator for up to 3-4 days. Reheat gently in the oven or on the grill. The homemade BBQ sauce can be stored separately in an airtight container in the refrigerator for up to 1-2 weeks.
This Easy BBQ Baby Back Ribs recipe is designed to deliver maximum flavor with minimal fuss, making it perfect for both novice and experienced cooks. The combination of the tender oven-baked meat and the rich, caramelized homemade sauce guarantees a meal that will be remembered long after the last bite.
Pin Recipe
Easy Oven Baked Baby Back Ribs
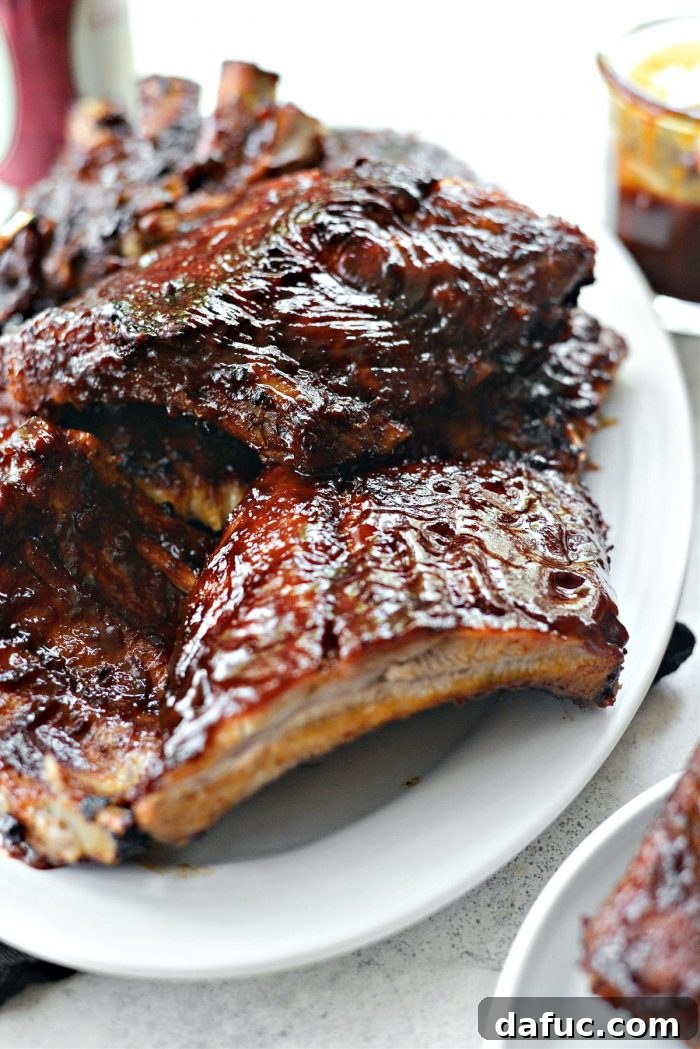
These Easy BBQ Baby Back Ribs are foolproof and fall-off-the-bone tender. Ribs are dry rubbed, wrapped in foil and baked in the oven before being slathered with a homemade bbq sauce and grilled. A guaranteed hit at your cookout or party!
Ingredients
- 6 pounds baby back pork ribs
FOR THE RIB RUB:
- 2 tablespoons kosher salt
- 1 tablespoon dry mustard
- 1 tablespoon paprika
- 1/2 teaspoon cayenne pepper
- 1/2 teaspoon black pepper, freshly ground
FOR THE BBQ SAUCE:
- 1 cup ketchup, homemade or store bought
- 3/4 cup dark brown sugar
- 1/2 cup apple cider vinegar
- 1/2 cup tomato sauce
- 1/2 cup molasses
- 1/4 cup tomato paste
- 2 tablespoons hot sauce
- 2 tablespoons liquid smoke
- 1 tablespoon onion powder
- 1 tablespoons Worcestershire sauce, homemade or store bought
- 2 teaspoons yellow mustard
- 1½ teaspoon chili powder
Equipment
-
1 litre Oxo Good Grips Gravy Separator , Strainer , Filter , Pourer and Server .
Instructions
MAKE THE RUB:
-
In a small bowl, measure and combine the salt, ground mustard, paprika, cayenne and black pepper.
MAKE THE RIBS:
-
Remove the ribs from packaging and pat dry with paper towels. If your ribs have the silvery membrane or skin on the underneath side, use a sharp knife to lift a portion of it away from the meat and bones.Then use paper towel to grip the silver skin and pull it back away from the ribs, and then discard.
-
If working with full slabs, you may want to cut them into half slabs, making them easier to manage.
-
Sprinkle 2/3 of the rub over the top, meaty side of the ribs and massage it into the meat. Turn the ribs over and season with the remaining rub mixture, massaging it into the second side as well.
-
Preheat your oven to 300°F (150°C).
-
Wrap each half slab in 2 layers of aluminum foil, crimping at the top and folding up the ends to create a sealed packet. Place the wrapped ribs onto a foil-lined, rimmed, metal baking sheet.
-
Bake on the middle rack of your preheated oven for 2½ to 3 hours. Check for doneness by inserting a metal skewer or fork into the top of the foil until you enter the thickest part of the rib meat (try again if you hit bone). If it glides through, the ribs are done. If not, return back to the oven for another 30 minutes. Check and repeat if necessary.
-
Once baked, make the sauce. (Find instructions below).
-
Brush a generous portion of the homemade sauce on the meaty side of the tender ribs.
-
Preheat your grill to 400-425°F (200-220°C). Place the ribs (saucy side down) onto your preheated grill. Brush the underneath side with sauce and continue to grill with the lid open. Repeat brushing and turning the ribs every few minutes until the sauce and ribs have caramelized and developed a beautiful char, about 10-15 minutes total. Repeat as desired for a thicker glaze.
MAKE THE SAUCE:
-
After the ribs have baked, slip on some oven mitts and carefully pick up one of the wrapped ribs. Over a medium bowl, make a small tear in the foil to drain the rib cooking liquids. Repeat with the remaining foil wrapped ribs until all liquids have been drained into the bowl.
-
Pour the cooking liquids into a gravy separator (linked above in equipment) and pour only the flavorful cooking liquids (leaving the fat behind) into a medium saucepan. Discard the fat.
-
Next, measure and add in the ketchup, dark brown sugar, apple cider vinegar, tomato sauce, molasses, tomato paste, hot sauce, liquid smoke, onion powder, Worcestershire sauce, yellow mustard and chili powder to the saucepan with the rib juices. Whisk well.
-
Bring the sauce to a boil, then reduce heat to medium-low and simmer for 15 to 20 minutes, stirring often, until thickened and flavors have melded. (Now you can return to the grilling instructions for the ribs).
Notes
Can This Recipe Be Doubled?
Yes! However, when doubling the recipe to serve more people, you only need to double the meat and rub mixture. The sauce makes plenty so there’s no need to double the BBQ sauce.
Nutrition Disclaimer: All information presented on this site is intended for informational purposes only. I am not a certified nutritionist and any nutritional information shared on SimplyScratch.com should only be used as a general guideline.
Enjoy! We hope you love these Easy BBQ Baby Back Ribs as much as we do. If you give this recipe a try, don’t forget to snap a photo and share it with us by tagging us on Twitter or Instagram! Your culinary creations inspire us!