
Mastering No-Knead French Bread: Your Guide to Artisan Loaves at Home
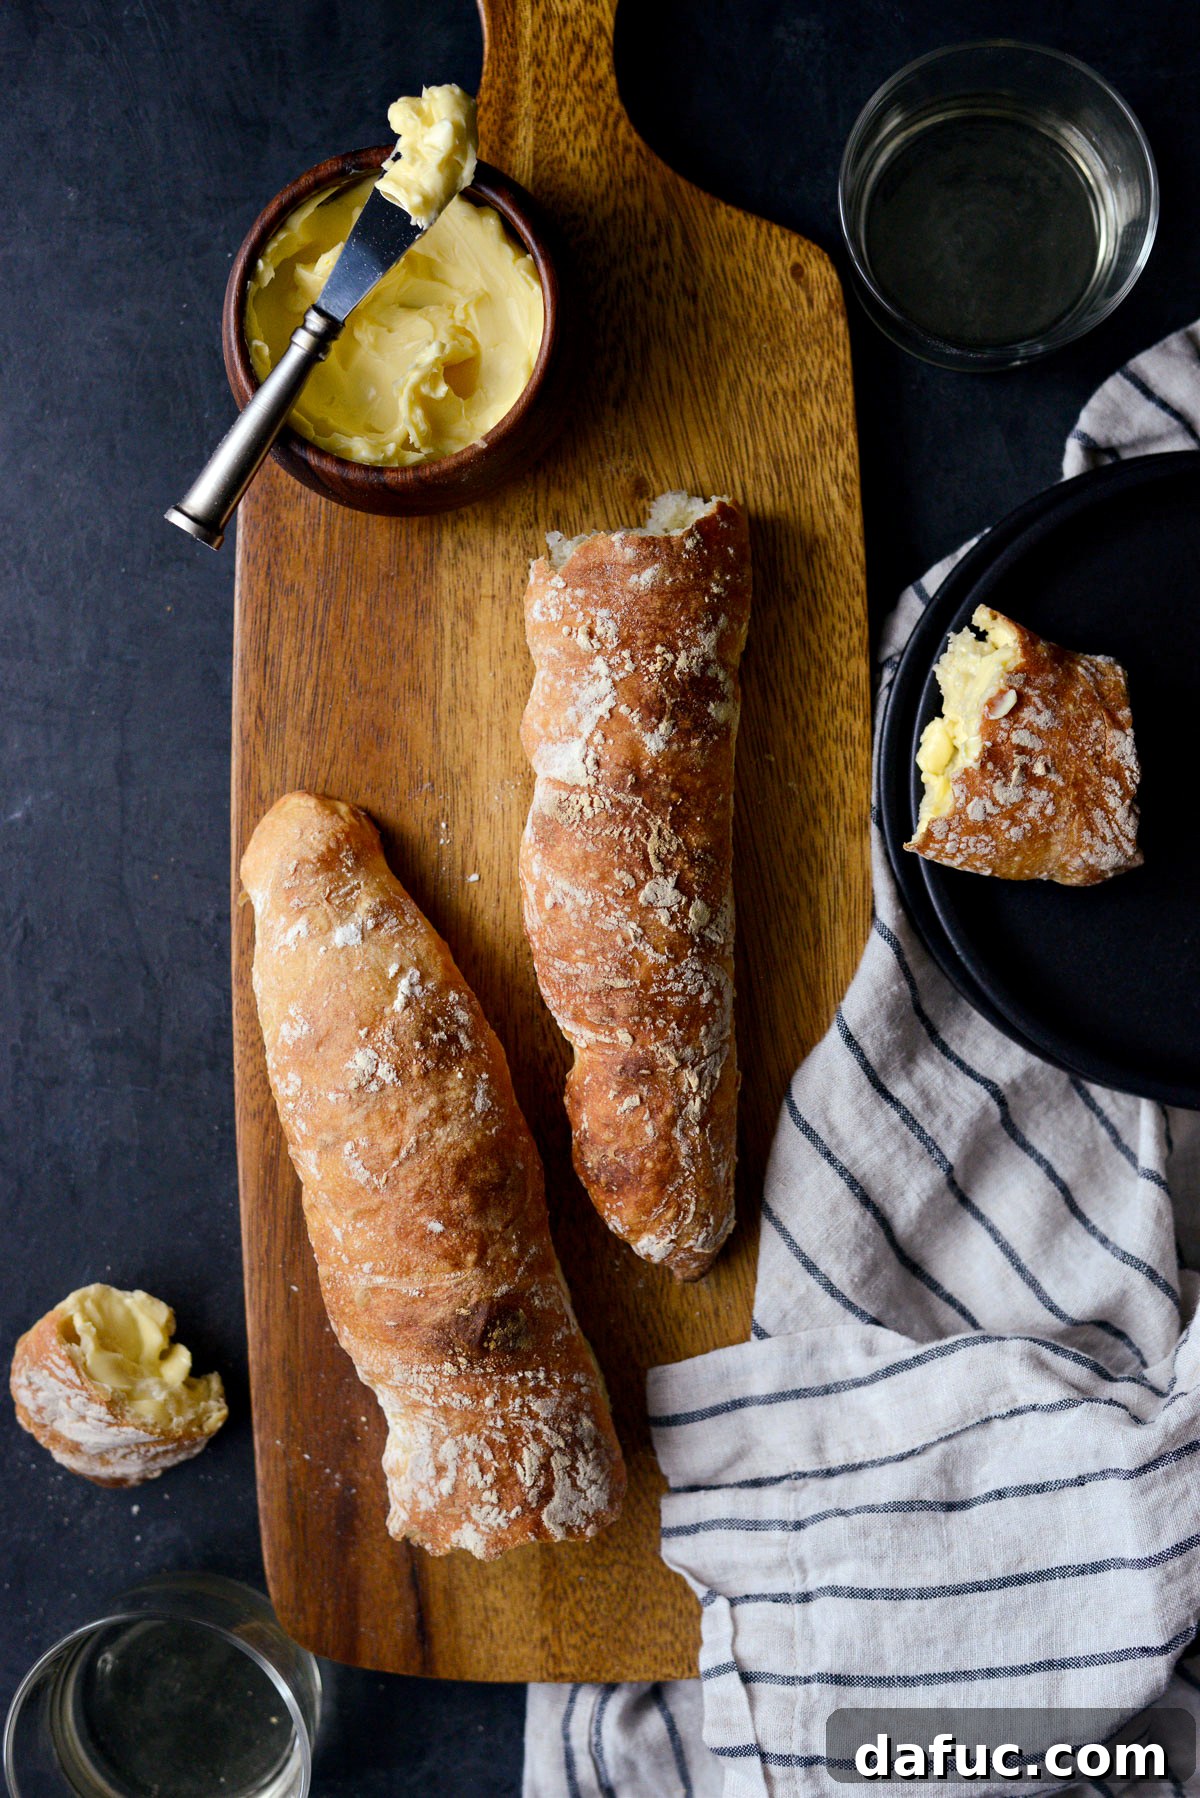
Imagine the aroma of freshly baked French bread wafting through your kitchen, creating an irresistible invitation. This remarkable No-Knead French Bread recipe offers exactly that – a truly artisan experience with minimal effort. Achieve that coveted golden, crusty exterior and a beautifully tender, airy interior right in your own home. The secret lies in a simple overnight rise and, crucially, the right flour. This recipe will guide you through creating two perfect baguettes, transforming even novice bakers into confident bread makers.
The Irresistible Magic of Homemade Bread
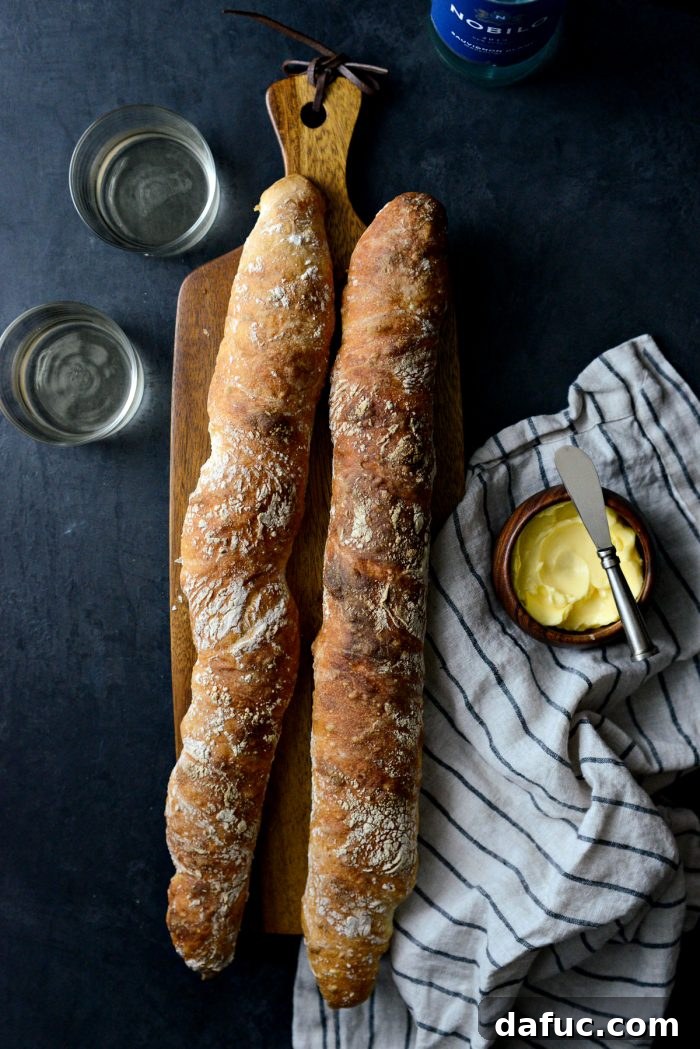
Few scents compare to the comforting and enticing smell of bread baking. For many, bread baking can seem daunting, a craft reserved for seasoned professionals. However, recipes like this No-Knead French Bread demystify the process, making it accessible and enjoyable for everyone. My own journey into bread making began with apprehension, but the simplicity of the no-knead method quickly built my confidence. It’s a method that allows time, rather than intensive labor, to develop the dough’s incredible flavor and texture.
I originally discovered the no-knead concept on Pinterest and have since refined this particular recipe through several iterations. Each time, I’ve learned more about the subtle nuances that contribute to a truly exceptional loaf. The beauty of no-knead lies in its forgiving nature: simply combine your ingredients in a bowl, let it rest, and the dough practically does all the heavy lifting for you overnight.
This recipe isn’t just easy; it’s genuinely rewarding. The satisfaction of pulling two magnificent, golden-brown baguettes from your oven is unparalleled. The robust, mouthwatering aroma that fills your home as it bakes is a promise of the deliciousness to come.
The Unsung Hero: Why Flour Matters in No-Knead French Bread
While the no-knead method simplifies the process, one crucial element consistently dictates the outcome: the quality and type of flour you use. During extensive testing of this recipe, I experimented with various flours, oven temperatures, and even salt measurements. The results were remarkably distinct across batches, leading to one undeniable conclusion: artisan bread flour is paramount for achieving the characteristic crust, open texture, and depth of flavor essential for authentic French bread.
All-Purpose vs. Bread Flour: Understanding the Difference
The primary distinction between different types of flour, especially when it comes to yeast-leavened breads, is protein content. Higher protein levels directly influence a flour’s ability to absorb water, its viscoelasticity (how easily it stretches and bounces back), and ultimately, the strength and structure of your dough. These factors are critical for developing the beautiful crumb and generous loaf volume you expect in a French baguette. As Bakerpedia.com meticulously details, protein content impacts everything from dough cohesiveness to crumb grain.
Generally, for recipes that use yeast as a leavening agent, such as most breads, bread flour is the preferred choice due to its higher protein content. Conversely, recipes relying on chemical leaveners like baking powder or baking soda (think biscuits, cakes, and cookies) typically require less protein and perform best with all-purpose flour, which creates a more tender, less chewy product.
The Artisan Advantage: Why Choose Artisan Bread Flour?
My experiments vividly demonstrated the superiority of artisan bread flour for this recipe. When pitted against traditional grocery store bread flour and unbleached all-purpose flour, the artisan variety consistently produced a bread with an exceptional flavor profile, an unbelievably delicate and airy crumb, and a perfect, crisp crust. Dare I say, truly artisan results!
- Artisan Bread Flour: Delivered the best-tasting bread with a superior crumb and a wonderfully crisp-chewy texture. The flavor was notably richer and more complex.
- Traditional Bread Flour: While good and certainly capable of producing a decent French bread, it lacked the nuanced flavor and satisfying chewiness that the artisan flour provided. It was acceptable, but not extraordinary.
- Unbleached All-Purpose Flour: This was the clear underdog. The resulting dough felt almost wet on the inside and produced loaves that were noticeably denser. Crucially, the flavor was practically non-existent, leading me to discard both loaves from this test batch. It simply doesn’t have the protein structure needed for a robust, airy bread.
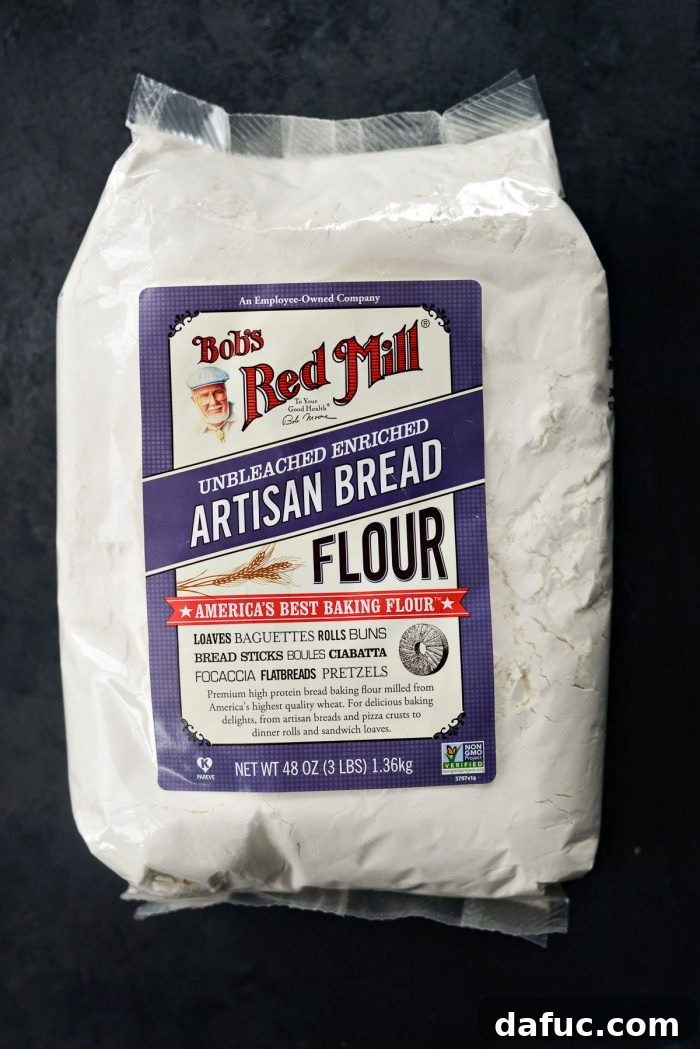
A common challenge with high-quality artisan bread flour is its availability. It’s often not a standard item on grocery store shelves, at least not in many areas. For my tests, I ordered mine directly from Bob’s Red Mill website. While shipping added a bit to the cost (and flour can be surprisingly heavy to ship!), the investment was absolutely worth it for the superior results. Many other excellent brands of artisan bread flour are available, so explore your options!
Please note: This is not a sponsored post. My trust in the quality of Bob’s Red Mill products is based purely on personal experience and consistent results.
Essential Ingredients and Tools for Your No-Knead French Bread
Crafting this delicious no-knead French bread requires only a few high-quality ingredients and some basic kitchen tools. The simplicity of the ingredient list further emphasizes the importance of each component, especially the flour.
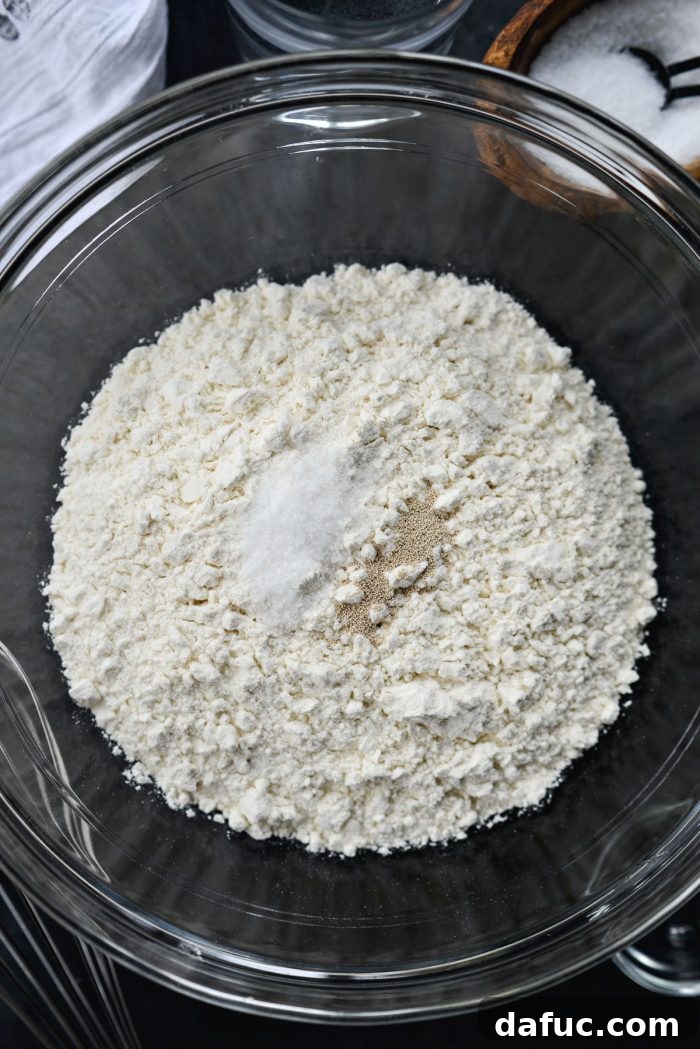
To make this remarkable bread, you will need:
- Artisan Bread Flour: As discussed, this is the key to superior texture and flavor. Have a little extra on hand for dusting.
- Kosher Salt: Essential for flavor balance and controlling yeast activity.
- Active Dry Yeast: The leavening agent that performs its magic overnight, giving your bread its airy structure.
- Water: The solvent that brings everything together and activates the yeast. Ensure it’s at a moderate temperature, neither too hot nor too cold, to best activate the yeast (around 95-105°F or 35-40°C is ideal).
Beyond the ingredients, a couple of tools will significantly ease your process:
- Bench Scraper: Invaluable for handling the sticky dough, dividing it, and transferring it without excessive handling.
- Patience: This is a key ingredient too! The no-knead method relies on time for fermentation and flavor development. While the active prep time is minimal, the overnight rest is crucial. The dough will be sticky, but trust the process; the results are worth it.
Step-by-Step Instructions for Your No-Knead French Bread
Follow these detailed steps to create your own unforgettable homemade French bread. Remember, the magic is in the minimal effort and long fermentation!
Part 1: The Overnight Dough
-
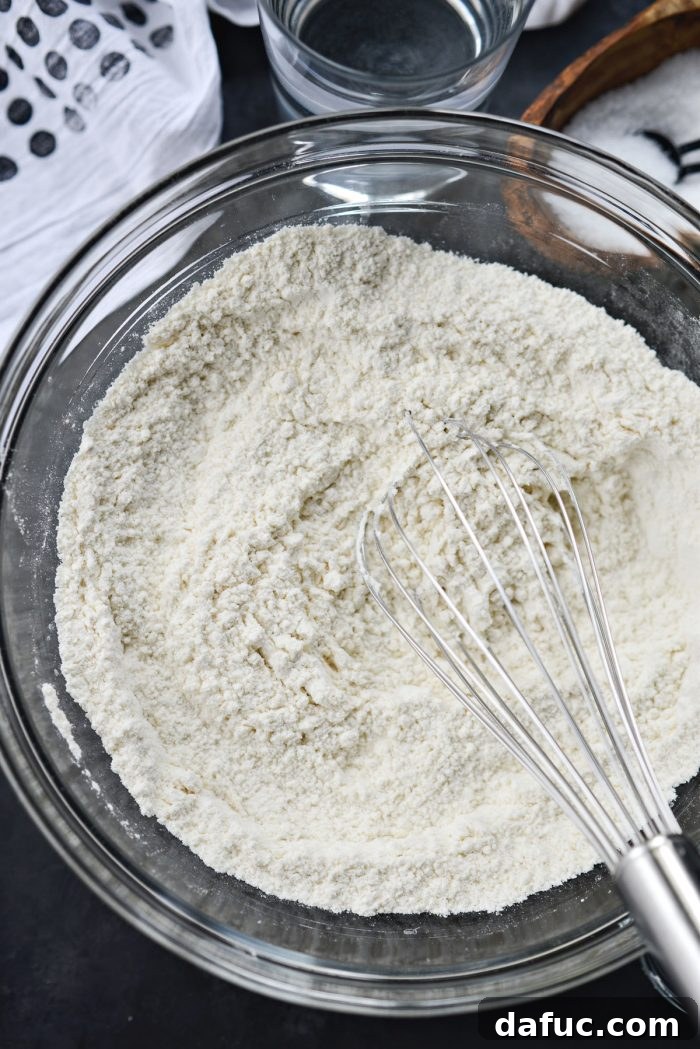
Combine Dry Ingredients: In a large mixing bowl, measure and add 3 cups of artisan bread flour (or regular bread flour if artisan is unavailable), ½ teaspoon of kosher salt, and ¼ teaspoon of active dry yeast.

-
Whisk to Combine: Use a whisk to thoroughly combine the dry ingredients. This ensures even distribution of the yeast and salt throughout the flour.
-
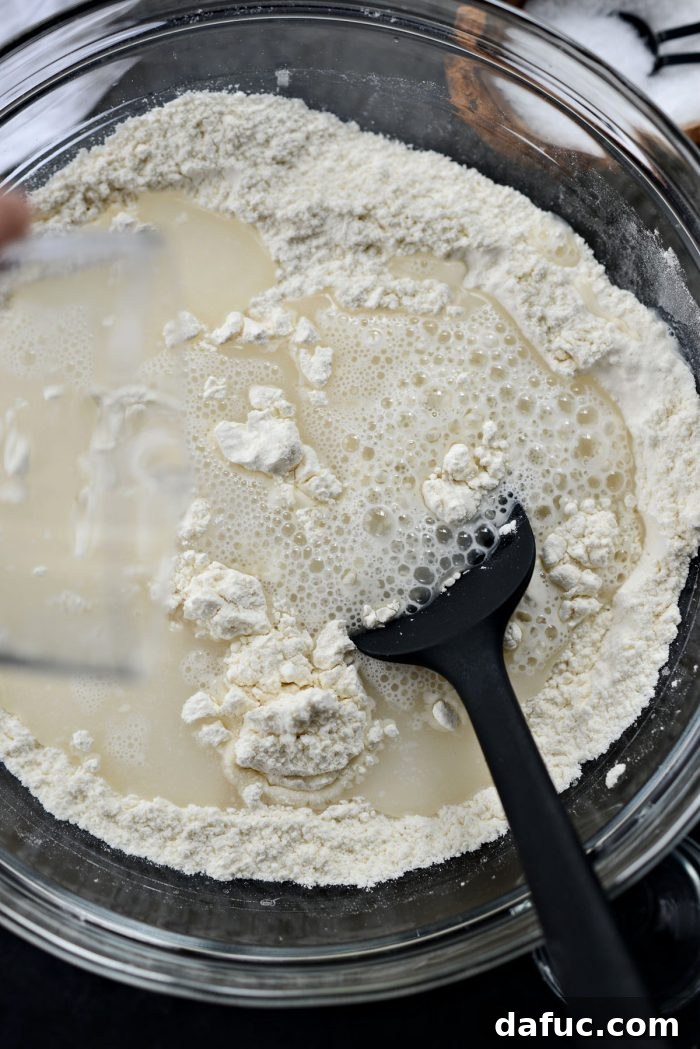
Add Water: Pour in 1 ⅝ cups of water. This precise measurement translates to 1 cup plus 10 tablespoons.
-
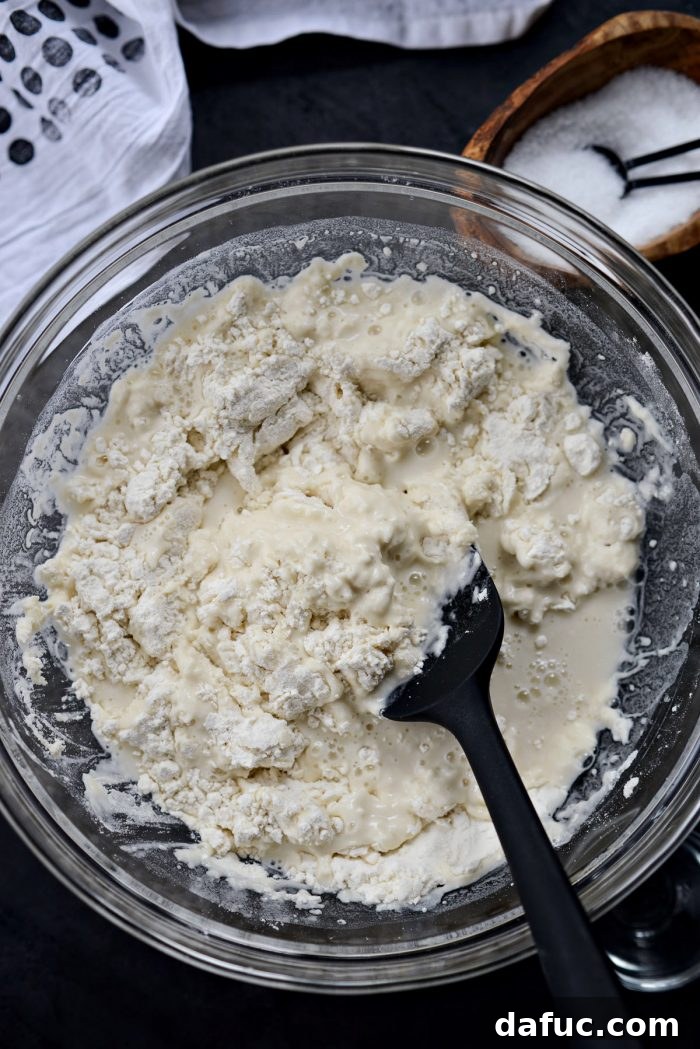
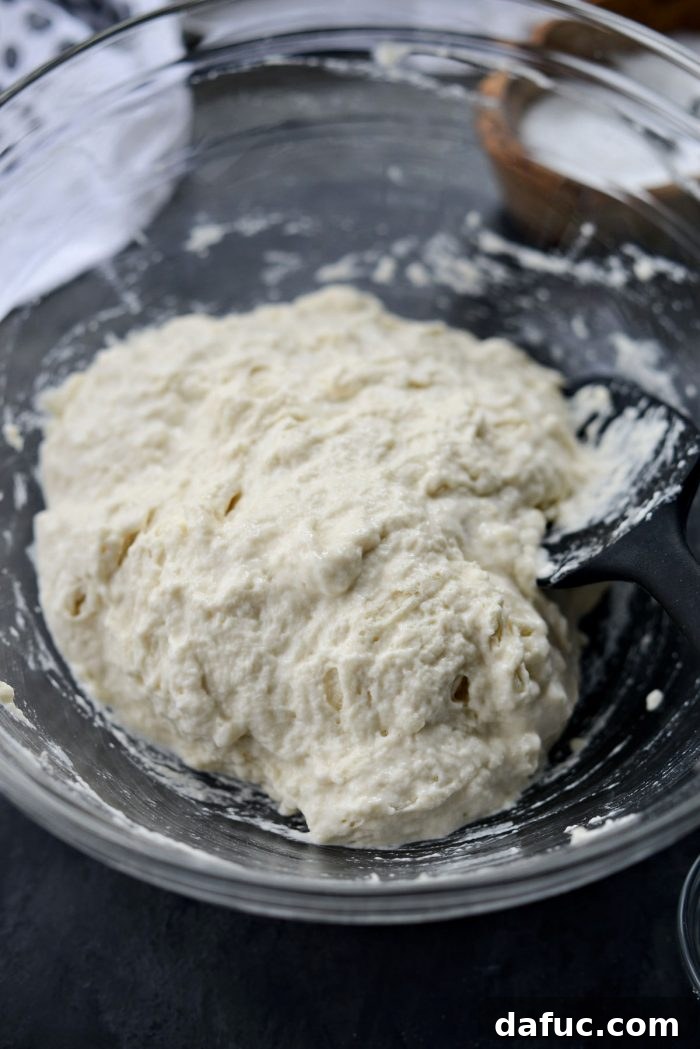
Stir Until Combined: Using a sturdy rubber spatula or a wooden spoon, stir the mixture until all the flour is fully hydrated and no dry streaks remain. The dough will be very wet and sticky – this is perfectly normal and desired for no-knead bread.
-
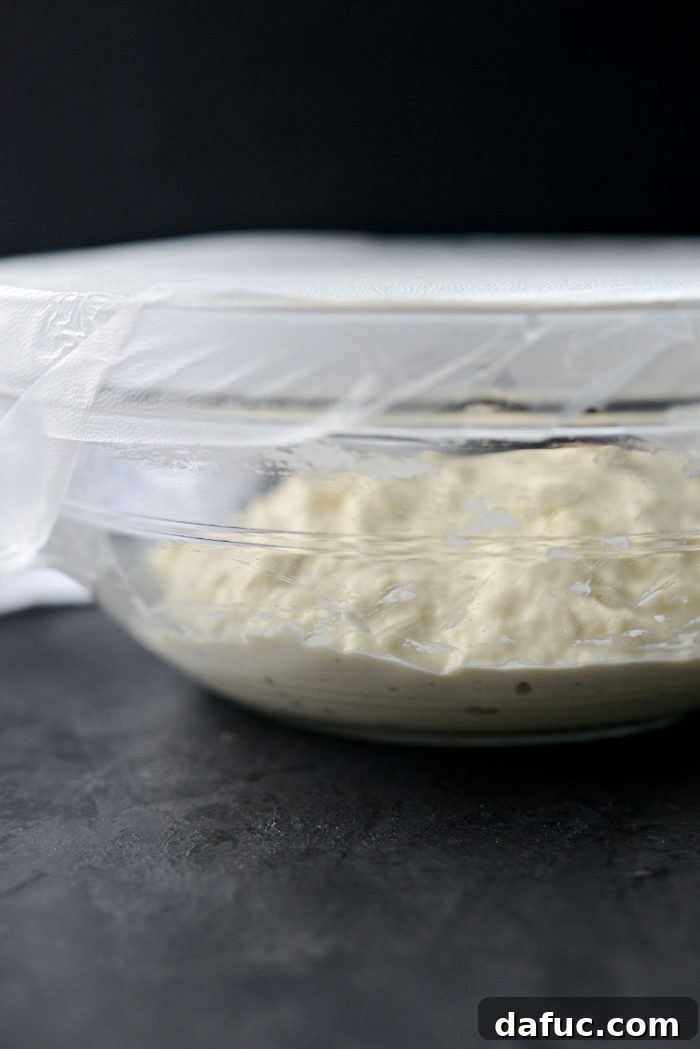
Cover and Rest: Cover the bowl tightly with plastic wrap. Place the bowl on your kitchen counter at room temperature. Allow the dough to ferment for 10 to 24 hours. This extended rest is where the magic happens – the yeast slowly works, developing complex flavors and a beautiful gluten structure.
-
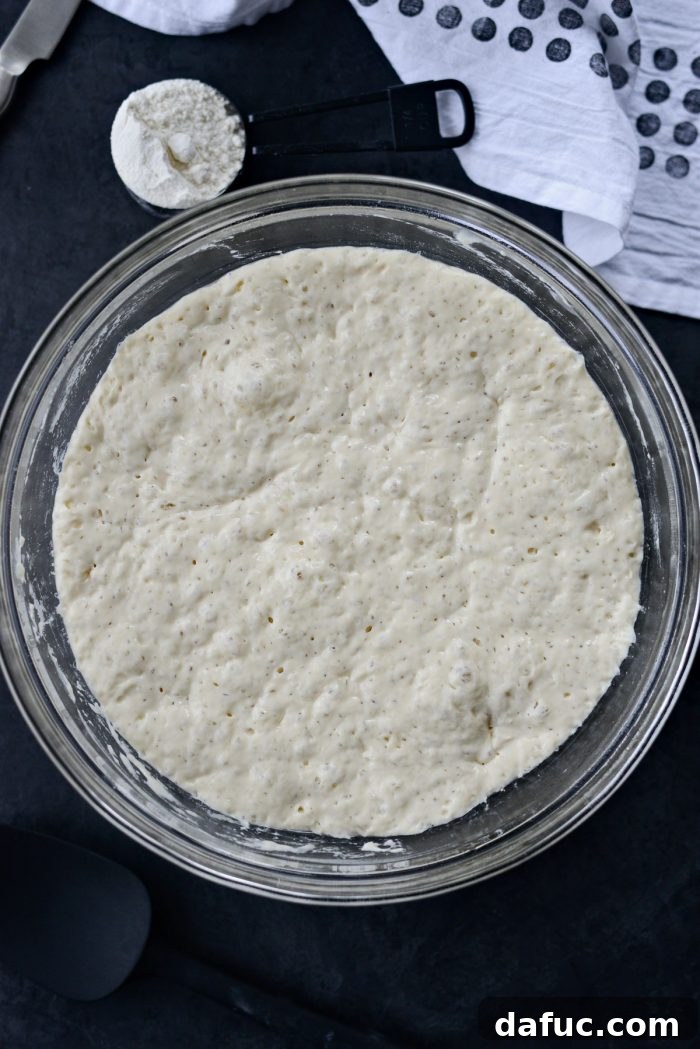
Observe the Rise: After the overnight rest, uncover your dough. It should have visibly doubled in size and be covered with numerous small bubbles on the surface, indicating successful fermentation.
Part 2: Shaping and Baking Your Baguettes
-
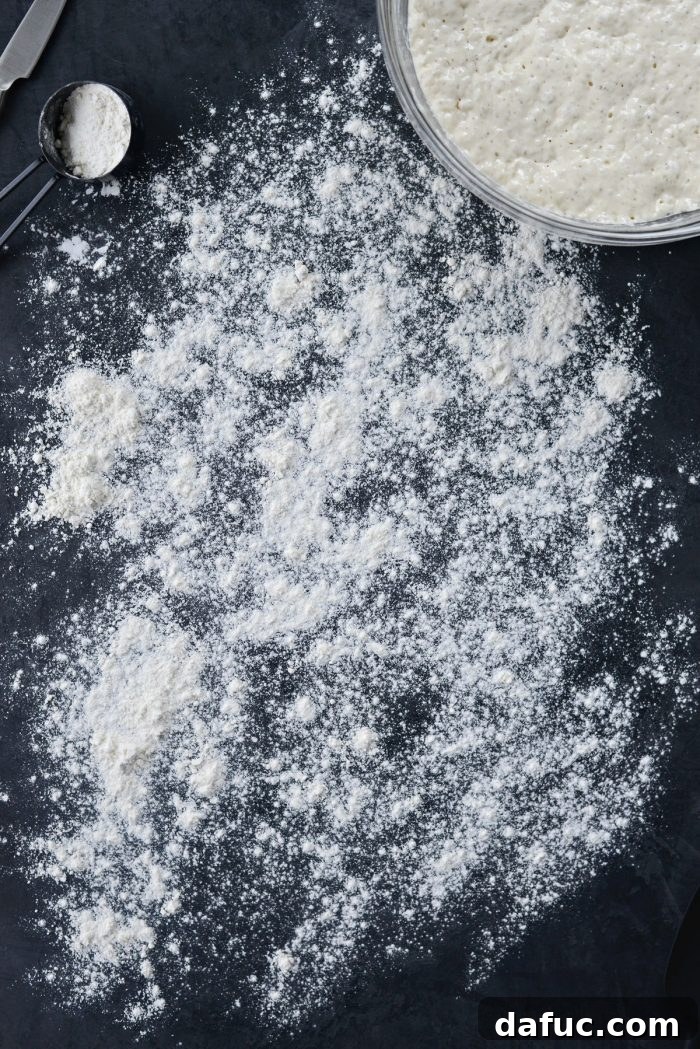
Prepare Work Surface: Generously flour a clean work surface. Do not be shy with the flour; this dough is indeed very sticky and a well-floured surface will prevent it from adhering.
-
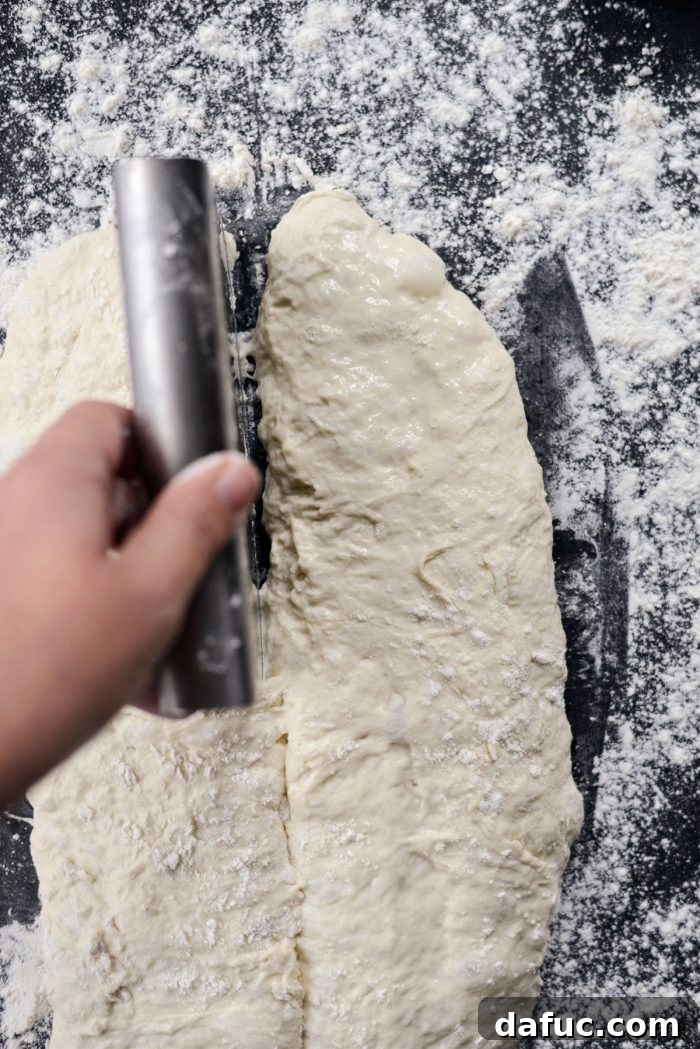
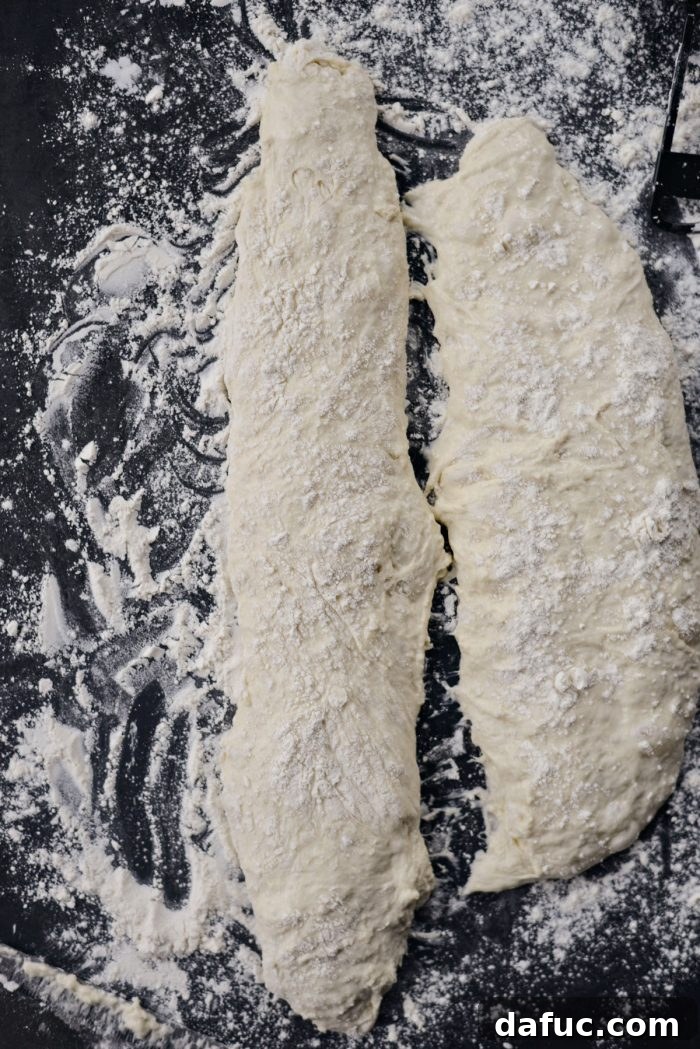
Transfer and Divide Dough: Use a rubber spatula to gently scrape the risen dough out of the bowl and onto your generously floured surface. Using a bench scraper or a sharp knife, divide the dough neatly into two equal halves.
-
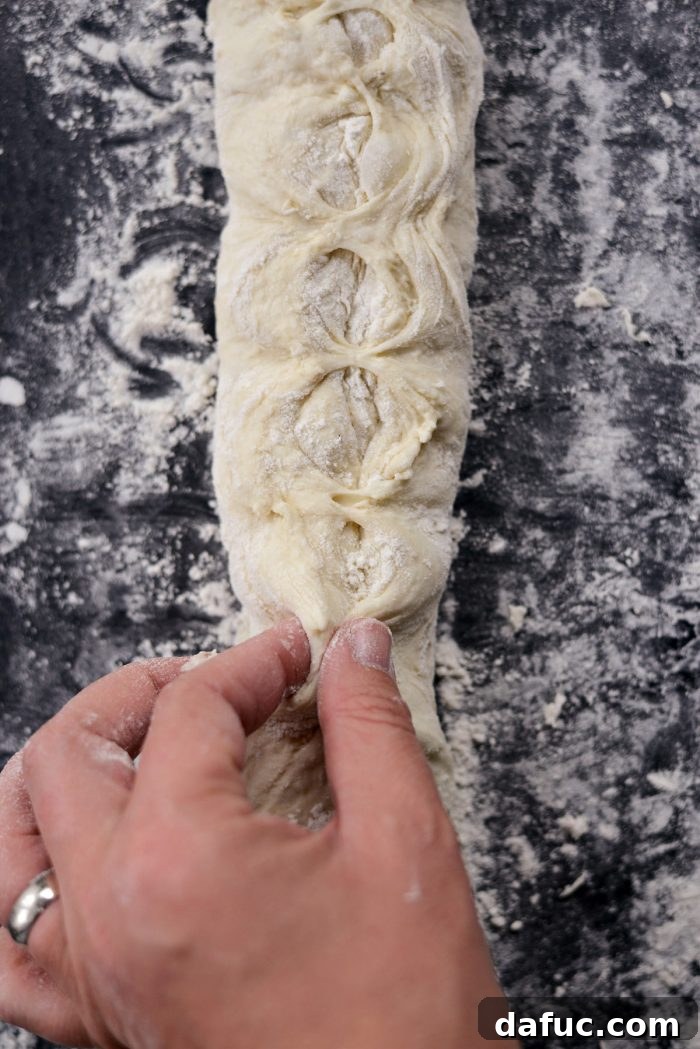
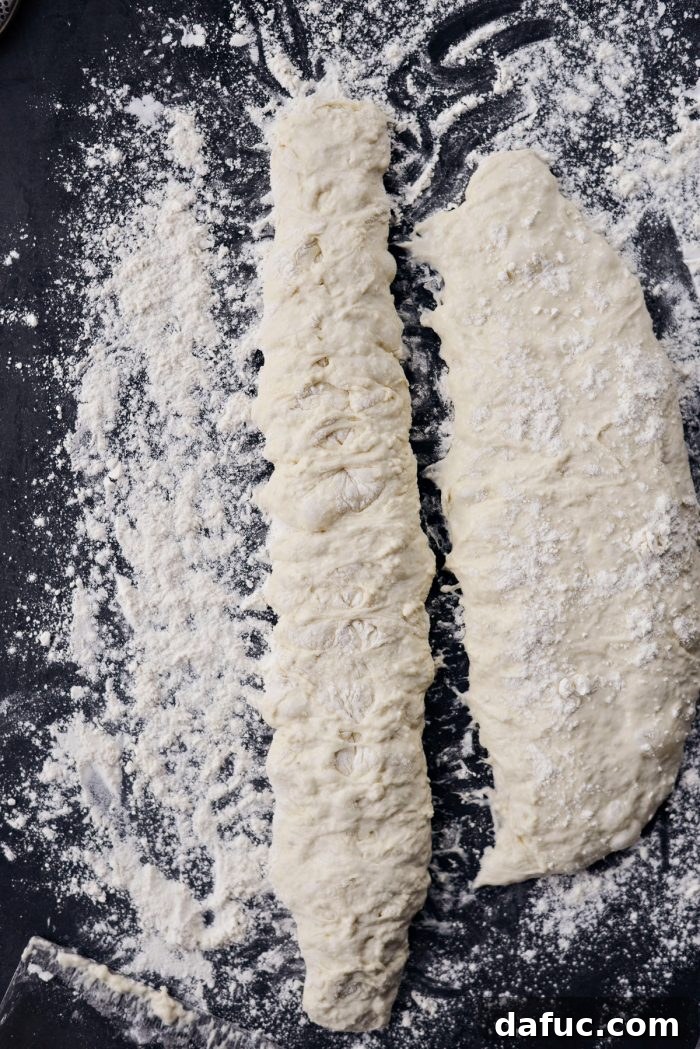
Shape the Baguettes (No Kneading!): Take one half of the dough. Gently stretch and fold it a few times to roughly form a baguette shape, being careful not to knead out all the precious air bubbles. With floured fingers, grab the dough from underneath, gently pull it upwards, and pinch it together along the seam. Work your way down the length of the loaf. Repeat this process 3 to 4 times for each baguette. This technique helps to build surface tension and create a tight, structured loaf without traditional kneading.
-
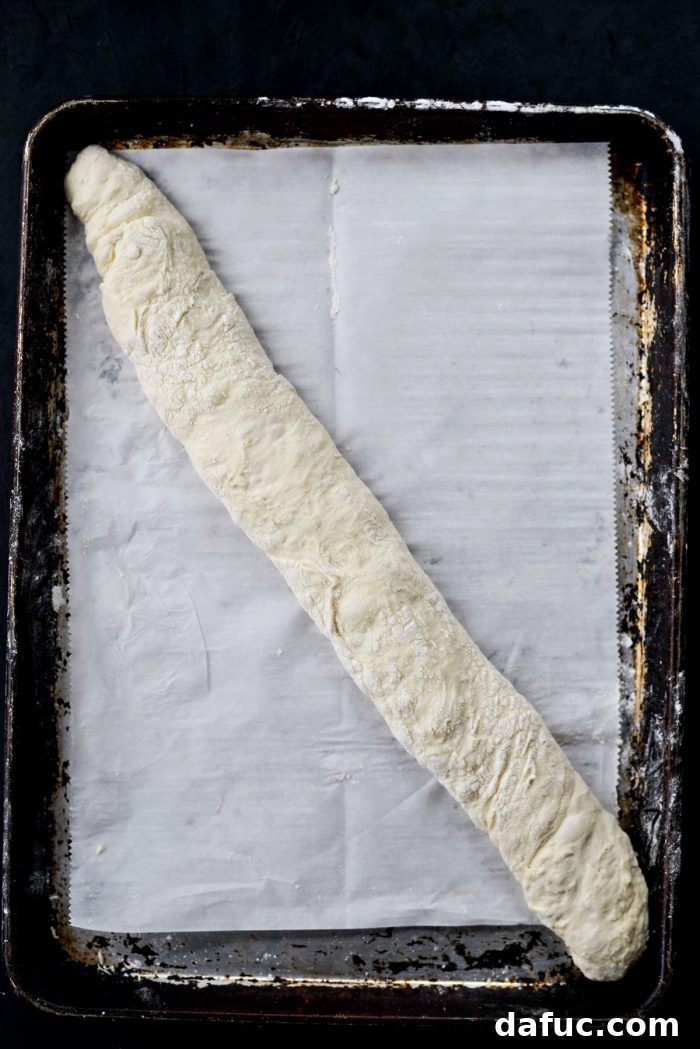
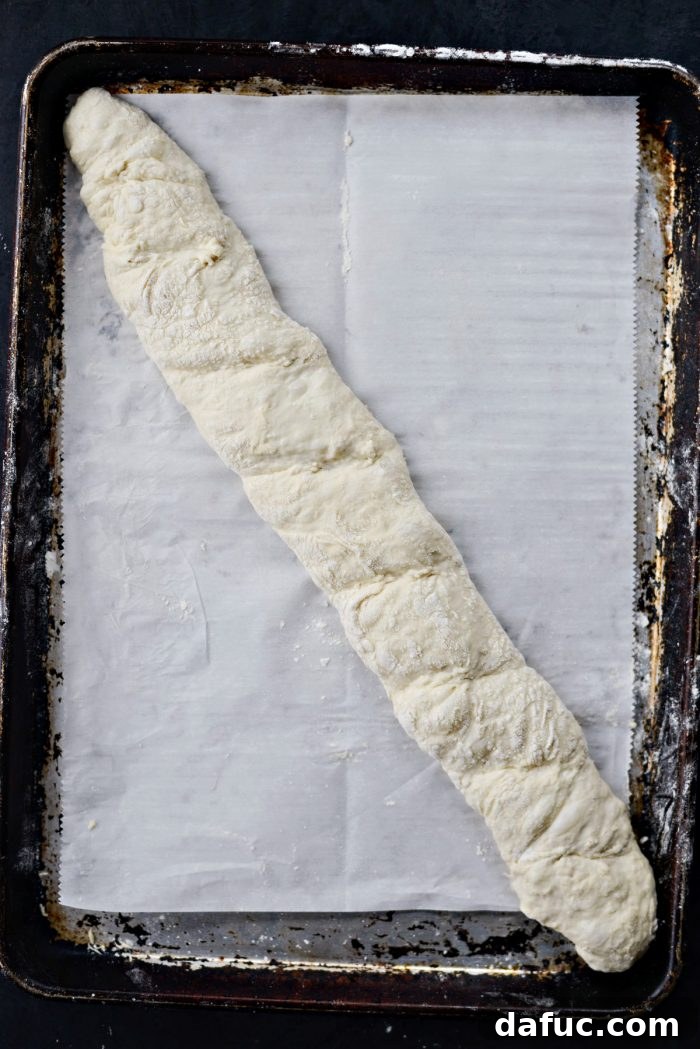
Transfer to Baking Surface: This can be the trickiest part due to the dough’s stickiness. Use your bench scraper to carefully turn each shaped dough piece over onto a sheet of parchment paper or a lightly greased baking sheet. If using parchment paper, slide it onto a rimmed metal baking sheet. Gently use your fingers to reshape and tuck the sides of the dough to create a firm, well-defined loaf.
-
Score and Second Rise: Repeat the shaping and transfer process with the second loaf. If desired, you can make a few shallow slits (scoring) on the top of each loaf. While a serrated or straight-edge knife can work, a razor blade or a dedicated bread lame (scorer) typically yields cleaner lines. However, this particular sticky dough can be challenging to score perfectly. Allow the shaped loaves to rest for a second brief rise of 20 to 30 minutes while your oven preheats.
-
Preheat Oven and Prepare for Steam: Preheat your oven to a high 425℉ (230℃). Crucially, place a sturdy stainless steel pan (like a cast iron skillet or a metal baking dish) on the bottom rack of your oven while it preheats. This pan will be used to create steam, which is vital for developing a wonderfully crisp crust on your French bread.
-
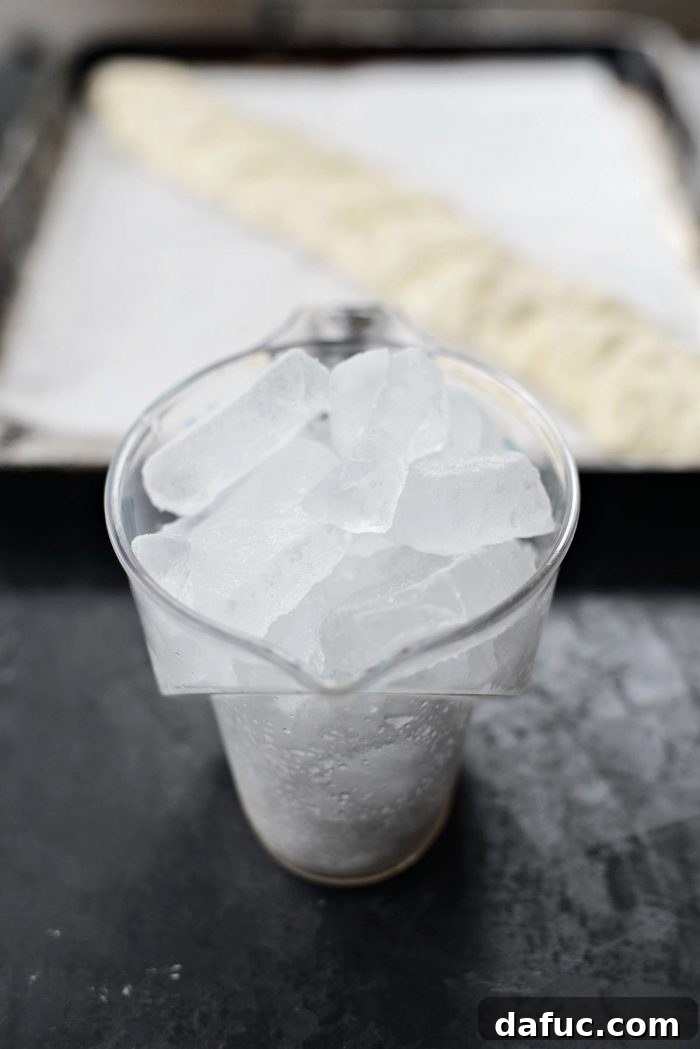
Bake with Steam: Once the oven is fully preheated and smoking hot, carefully open the oven door. Quickly add about 2 cups of ice cubes to the preheated stainless steel pan on the bottom rack (this creates a burst of steam). Immediately slide one pan of bread into the oven. Close the door swiftly to trap the steam. Bake for 18 to 22 minutes, or until the loaf achieves a deep, golden-brown color and sounds hollow when tapped on the bottom. Resist the urge to open the oven door during baking, as this will release the crucial steam and heat.
-
Bake Second Loaf: Once the first baguette is baked, carefully remove it from the oven. Allow the oven to come back up to temperature (this usually takes a few minutes after opening the door) before repeating the ice and baking process for the second loaf. This ensures consistent results for both baguettes.
-
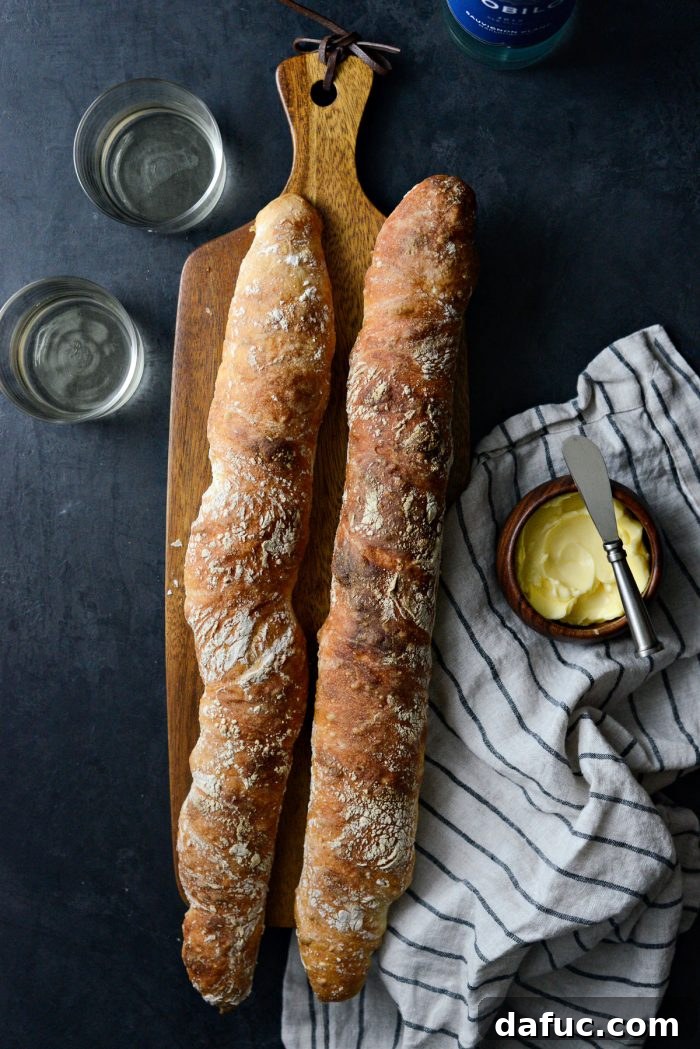
Cool and Serve: Let the baked baguettes cool slightly on a wire rack until they are safe to handle. While they may not always be perfectly uniform in shape, their flavor and texture will be nothing short of amazing! The delightful bubbles on the crust are a hallmark of this rustic bread. Slice or tear into the warm bread and serve immediately with salted butter or a good quality olive oil for an authentic French experience.
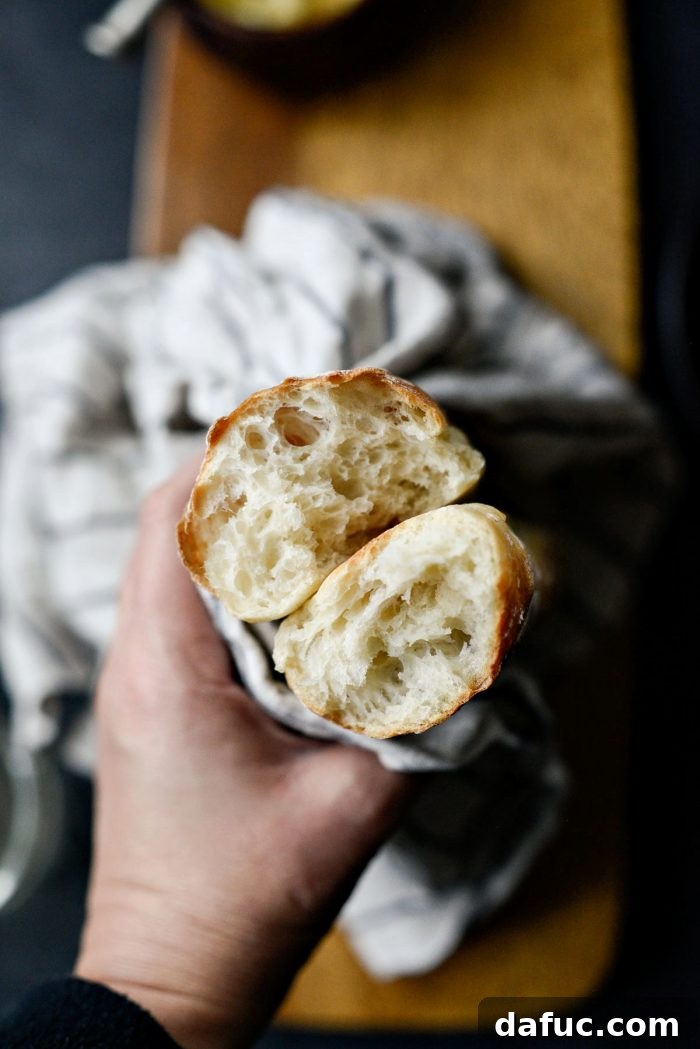
Just look at that incredible, open crumb inside! It’s the result of perfect fermentation and a well-executed bake.
My absolute favorite way to savor this bread is warm, torn into rustic pieces, and generously swiped with rich salted butter. Pure bliss!
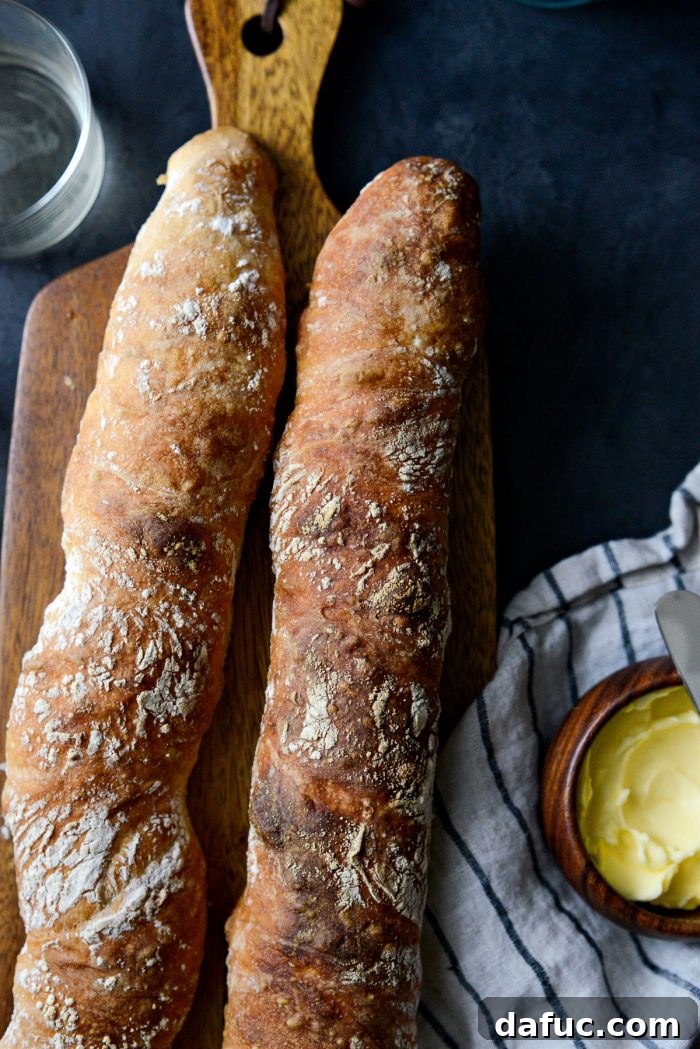
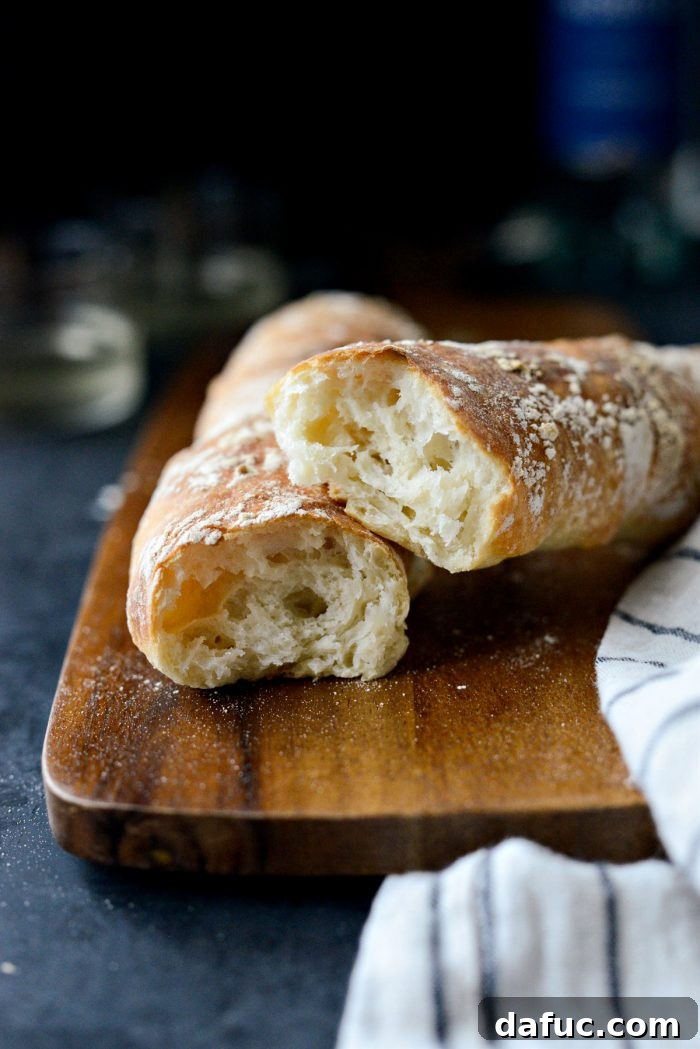
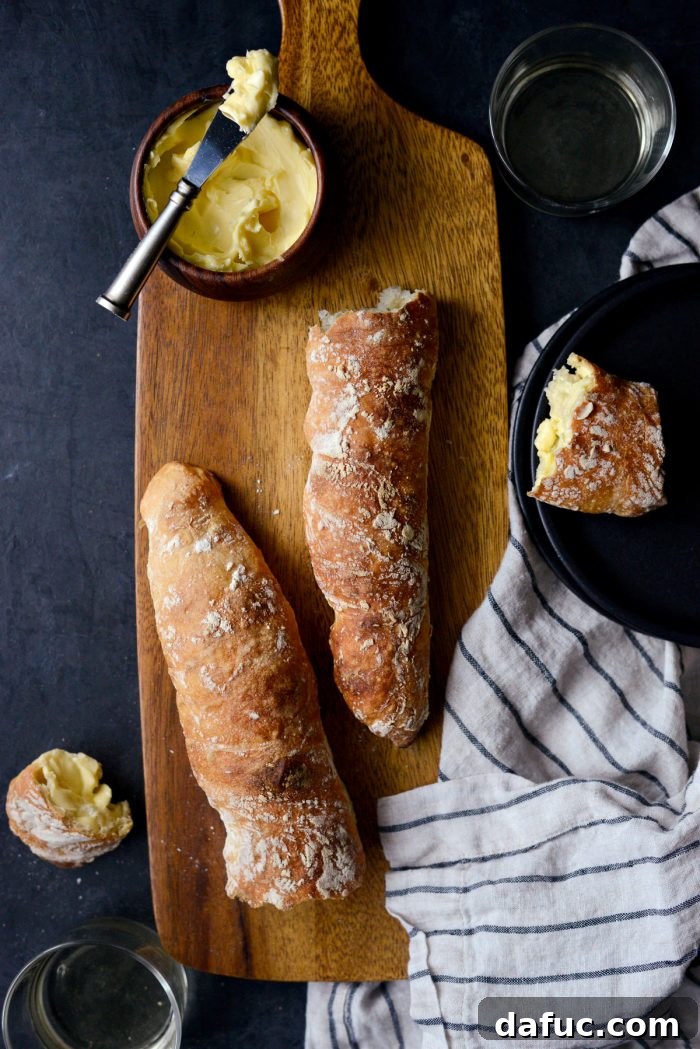
Tips for No-Knead French Bread Success
- Don’t Rush the Rise: The long fermentation is crucial for flavor. While 10 hours is the minimum, letting it go closer to 18-24 hours can develop even deeper, more complex flavors.
- Hydration is Key: This is a very wet dough, and its stickiness is normal. Don’t be tempted to add more flour to the initial mix, as this will result in a dry, dense loaf. Use generous flour on your work surface during shaping instead.
- Embrace the Stickiness: When shaping, work quickly and with floured hands. The less you handle the dough, the better. A bench scraper is your best friend here.
- Steam for Crust: The ice cube method creates steam, which keeps the crust pliable initially, allowing for maximum oven spring before it sets into a wonderfully crisp shell. Don’t skip it!
- High Heat, Short Bake: French bread thrives in a hot oven. The high temperature creates that characteristic dark, crackly crust.
- Cooling is Important: Allow the bread to cool for at least 15-20 minutes before slicing. This allows the internal structure to set and prevents a gummy texture.
- Storage: Freshly baked French bread is best enjoyed the day it’s made. To store, wrap cooled bread tightly in a clean kitchen towel or paper bag (not plastic, which will soften the crust) for a day. For longer storage, freeze sliced or whole loaves wrapped tightly in plastic wrap and then foil. Reheat frozen bread briefly in a hot oven for a near-fresh experience.

Print Recipe |
Pin Recipe
Rated 5 out of 5 stars by 2 ratings | Leave a Review »
Yield: 2 baguettes
No-Knead French Bread
This No-Knead French Bread is crusty, tender, and delicious! Combine the ingredients the day or evening before, and the next day, simply shape and bake! The key to delicious French bread is all in quality artisan flour.
Prep Time: 20 mins | Cook Time: 18 mins | Additional Time: 30 mins | Total Time: 1 hr 8 mins
Ingredients
- 3 cups artisan bread flour, plus more for dusting
- ½ teaspoon kosher salt
- ¼ teaspoon active dry yeast
- 1⅝ cup water, or 1 cup plus 10 tablespoons
Instructions
- In a large mixing bowl, combine flour, salt, and yeast. Stir to combine.
- Pour in the water and use a rubber spatula to combine thoroughly until no dry flour remains.
- Cover the bowl with plastic wrap and place on your counter overnight (for 10 to 24 hours).
- Generously flour your clean work surface. Use a rubber spatula to scrape the dough out of the bowl and onto the floured surface, then divide it in half with either a bench scraper or knife.
- Gently stretch and fold each dough half into a baguette shape. With floured fingers, grab from underneath, pull up, and pinch the dough to create a seam. Work your way down the loaf. Repeat this step 3 to 4 times for each loaf to build surface tension.
- Using a bench scraper, carefully turn the dough over onto parchment paper or a greased baking sheet. Slide the parchment paper (if using) onto a rimmed metal baking sheet. Then, use your fingers to gently reshape and tuck the sides to make a firm loaf.
- Repeat with the second loaf. Make slits in the top if you choose (optional) and let rise for 20 to 30 minutes while the oven preheats.
- Preheat your oven to 425℉ (230℃). Place a stainless steel pan (like a skillet) onto the bottom rack. Measure 2 cups of ice. Once the oven is hot, add the ice to the skillet and quickly slip one pan of bread into the oven.
- Bake for 18 to 22 minutes or until deeply golden brown. Once baked, remove the first loaf. Allow the oven to come back up in temperature before adding more ice and sliding in the second loaf for baking.
- Let cool slightly until safe to handle, then slice or tear and serve with salted butter or olive oil.
Nutrition Information
Serving: 1g, Calories: 186kcal, Carbohydrates: 37g, Protein: 6g, Fat: 1g, Sodium: 181mg, Fiber: 1g