
Mastering the Art of Blanching and Peeling Almonds at Home: Your Ultimate DIY Guide
There comes a moment for every home baker or culinary enthusiast when a recipe calls for blanched almonds. Perhaps it’s for a delicate marzipan, a light and airy almond flour cake, or a gourmet pastry that demands the refined texture of skinless nuts. More often than not, you glance into your pantry only to find a bag of raw, unblanched almonds staring back at you. The immediate thought might be to rush to the store, but what if we told you that blanching and peeling almonds at home is not only incredibly simple but also a fantastic way to save money and ensure the freshest results?
Forget the last-minute dash to the grocery store or the premium price tag on pre-blanched almonds. This comprehensive guide will walk you through a foolproof method to blanch and peel almonds in your own kitchen, transforming ordinary raw almonds into perfectly smooth, versatile culinary gems. You’ll soon wonder why you ever bought them any other way!
Why Blanch Almonds? Understanding the Benefits and Uses
Blanching is a culinary technique that involves briefly scalding food in boiling water, followed by an immediate plunge into cold water to stop the cooking process. For almonds, this quick hot water bath does wonders. It loosens their papery brown skins, making them incredibly easy to remove, and in doing so, unlocks a world of culinary possibilities that raw, unblanched almonds simply cannot offer.
Enhanced Texture and Flavor Profile
Removing the thin, fibrous skin from an almond significantly impacts its texture and flavor. The skin can sometimes impart a slightly bitter or astringent note, which, while acceptable in some robust dishes, can detract from more delicate flavors. Blanched almonds, on the other hand, offer a smoother, creamier mouthfeel and a cleaner, milder nutty taste. This allows the inherent sweetness and subtle notes of the almond to come through without interference, making them ideal for refined preparations.
Unleashing Culinary Versatility
The culinary applications for blanched almonds are vast and varied. They are an essential ingredient for crafting authentic homemade almond flour, a popular gluten-free alternative for baking that yields light and tender results. For confectioners, blanched almonds are indispensable for creating classic marzipan, nougat, and various sweets. They are also preferred for pastries like frangipane, financier, and macarons, where their smooth texture and light color contribute to both taste and aesthetic appeal. Blanched almonds toast beautifully to a golden perfection, providing a delicate crunch for garnishes on salads, desserts, or savory dishes, without the potentially darker appearance or more intense flavor of toasted skin-on almonds.
Improved Digestibility and Aesthetic Appeal
For individuals sensitive to the skin of nuts, blanched almonds can be easier to digest. The removal of the outer layer often makes them gentler on the digestive system. Beyond health considerations, blanched almonds possess a uniform, elegant off-white color that is highly valued for presentation. This pristine appearance is particularly desirable in lighter-colored baked goods, sophisticated garnishes, or when a visually consistent ingredient is paramount.
Significant Cost Savings for Your Kitchen Budget
One of the most practical and compelling reasons to blanch almonds at home is the substantial cost savings. Pre-blanched almonds are typically sold at a premium, often costing considerably more per pound than raw, unblanched almonds. By purchasing raw almonds in bulk, which are widely available and more economical, and then blanching them yourself, you can dramatically reduce your ingredient costs. This DIY approach makes it more affordable to incorporate blanched almonds into your everyday cooking and baking, transforming gourmet aspirations into accessible realities.
What You’ll Need: Simple Tools for a Simple Task
The beauty of blanching almonds lies in its accessible nature; you won’t need any specialized or expensive equipment. Just a few common kitchen items are all it takes to get started:
- Raw Almonds: Any quantity you need, from a small handful to several cups. If your almonds are salted, we’ll cover the necessary pre-treatment in the first step.
- A Large Pot: Sufficiently sized to boil enough water to cover your almonds.
- A Heat-Safe Bowl: A glass, ceramic, or metal bowl that can safely withstand the temperature of boiling water without cracking or warping.
- A Colander: Essential for quickly draining the almonds after their hot water bath.
- A Slotted Spoon (Optional): Useful for careful transfer of almonds, especially if you opt for an ice bath.
- A Clean Kitchen Towel: For drying the almonds and providing a surface for easy peeling.
- Ice and Cold Water (Optional): For creating an ice bath, which is particularly beneficial for larger batches to stop the cooking process quickly.
Step-by-Step Guide: How to Blanch and Peel Almonds Perfectly
This method is tried, tested, and truly foolproof. Follow these detailed steps, and you’ll have perfectly blanched almonds in your hands in no time, ready for your next culinary adventure.
Step 1: Prepare Your Almonds (Pre-Treatment for Salted Nuts)
The first crucial step is to prepare your almonds. If you’re starting with raw, unsalted almonds, you can move directly to placing them in your heat-safe bowl. However, if, like many home cooks, you find yourself with a bag of salted almonds that you need for a sweet application, a quick pre-treatment is necessary. Place the salted almonds into a small colander and rinse them thoroughly under cold running water. This washing action will remove any surface salt that could otherwise affect the flavor of your blanched almonds. After rinsing, give the colander a good shake to remove as much excess water as possible. This ensures the salt is gone and they are ready for the hot bath.
Once rinsed (or if starting with unsalted almonds), transfer your chosen quantity of almonds into a sturdy, heat-safe bowl. This bowl needs to be robust enough to hold the almonds and withstand the intense heat of boiling water without any risk of damage. Ensure it’s large enough to comfortably contain all the almonds and the boiling water you’ll soon add.
Step 2: Bring Water to a Rolling Boil
Next, take a medium to large pot and fill it with enough water to completely submerge your almonds. A good general guideline is to use about 2-3 cups of water for every cup of almonds you plan to blanch. Adjust this amount upwards if you’re working with a larger batch to ensure adequate coverage. Place the pot on a high heat setting and bring the water to a rapid, rolling boil. It’s crucial that the water is boiling vigorously, with large, active bubbles, as this intense heat is vital for effectively loosening the almond skins.
Step 3: Initiate the Blanching Process
Once your water has reached a full, vigorous boil, carefully and swiftly pour the hot water directly over the almonds you previously placed in the heat-safe bowl. It’s important to ensure that all the almonds are completely submerged in the boiling water. The sudden and intense heat shock is precisely what causes the almond skins to relax and begin separating from the nut kernel, preparing them for easy removal. Work carefully to avoid splashing the hot water.
Step 4: The Critical Short Soak Time
Now, allow the almonds to sit in the hot water for a very brief and critical period—no more than 1 to 2 minutes. This timing is paramount to the success of the blanching process. Leaving them in the hot water for too long risks the almonds absorbing too much moisture, which can lead to a soggy texture and compromise their natural crispness. You’re aiming for just enough time for the heat to loosen the papery skin without cooking the almond itself. You might even notice the skins starting to wrinkle, bubble, or slightly separate from the nut as they soak, indicating the process is working.
Step 5: Rapid Drain and Cool
Immediately after the precise 1-2 minute soak, promptly drain the almonds using a colander. To prevent any further cooking and ensure the almonds retain their desirable crisp texture, it’s important to cool them rapidly. For smaller batches, a quick rinse under cold tap water will suffice. For larger quantities, or if you desire extra crispness, transfer the drained almonds directly into an ice bath (a bowl of cold water generously filled with ice cubes). This “shocking” process halts any residual heat and helps to firm up the nuts. Once cooled, drain them thoroughly again to remove all excess water.
On a more eco-conscious note, some gardeners suggest saving the “almond water” from the blanching process, once cooled, to water plants, as it may contain beneficial trace nutrients. However, if your garden is currently dormant under a thick blanket of snow, as is often the case in colder climates, feel free to simply discard the water.
Step 6: The Peeling Revelation – Signs of Readiness
Once drained and cooled, spread the almonds in a single layer onto a clean, dry kitchen towel. The nuts will cool down quite rapidly, making them comfortable to handle almost immediately. As you examine them, you’ll notice the magic of the blanching process: the almond skins will appear visibly wrinkled, slightly bubbly, and loosened from the almond kernel underneath. This transformation is your clear indication that the skins are ready to be effortlessly removed. The heat has done its job, making the subsequent peeling step incredibly simple.
Step 7: Peel Away! The Satisfying Step
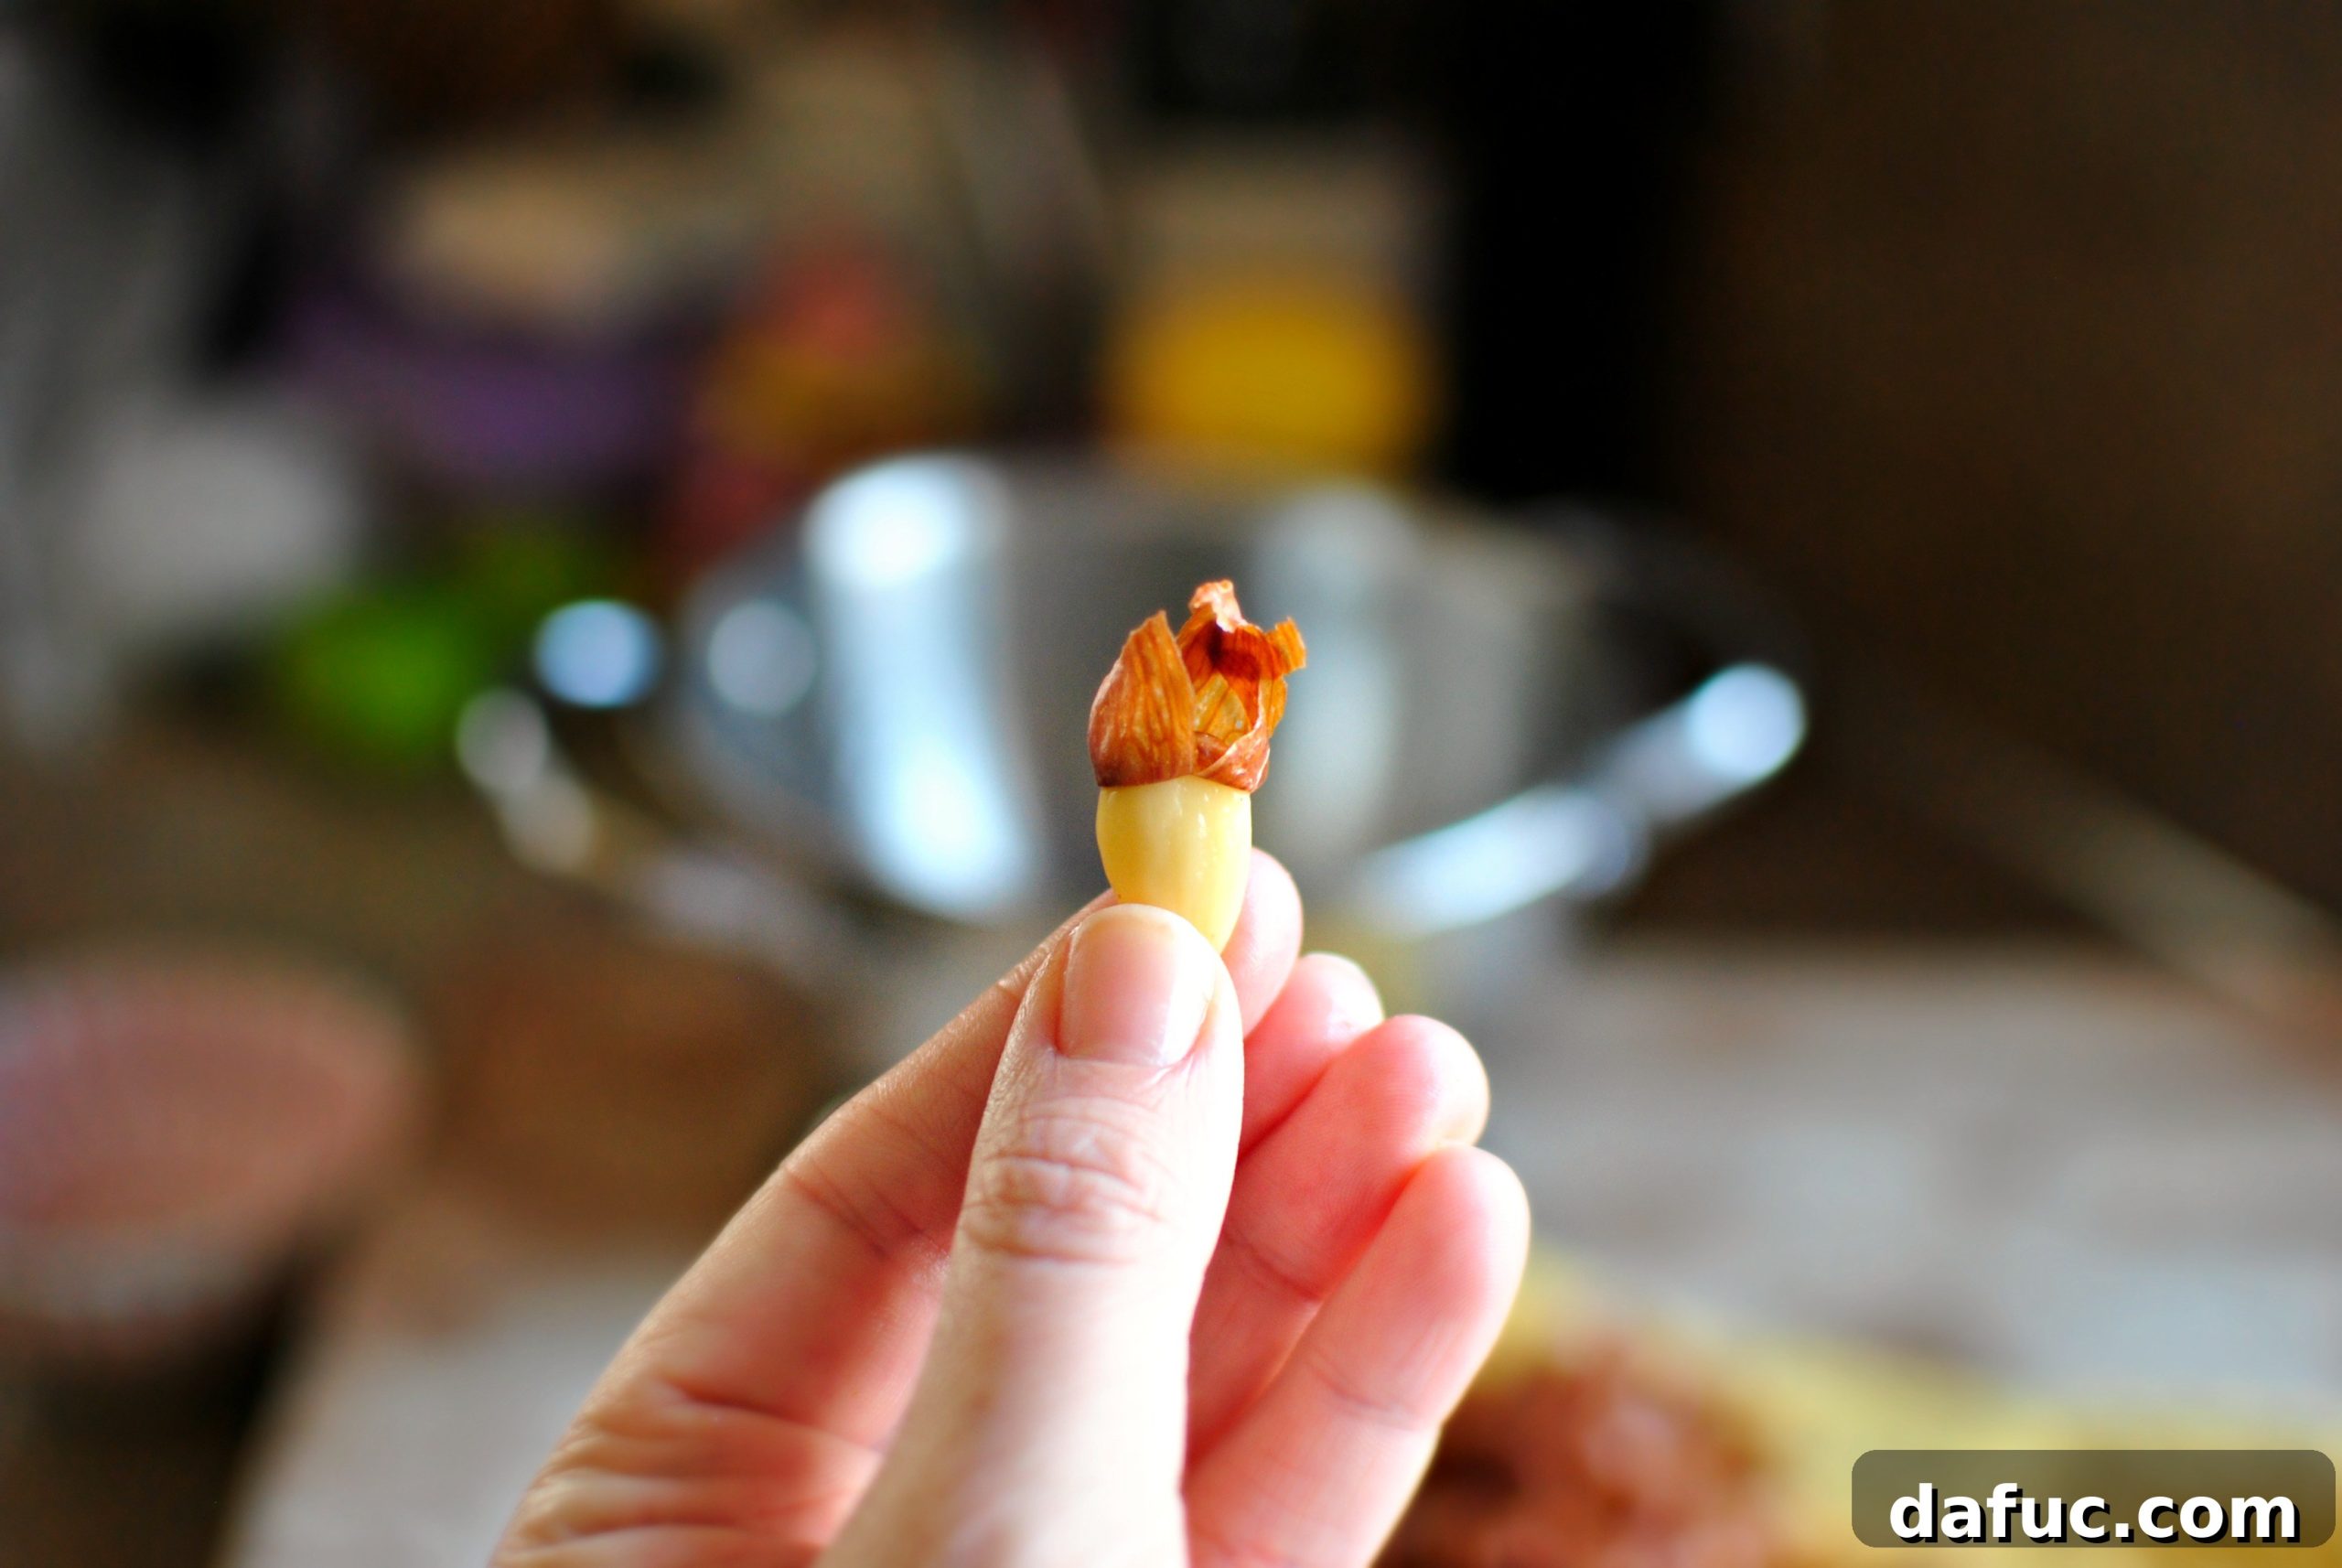
This is arguably the most satisfying part of the entire process. Pick up each almond individually and gently squeeze it between your thumb and forefinger. The skin should effortlessly slip right off, revealing a beautiful, smooth, pearly-white almond underneath. Some almonds might require a very slight nudge or a bit more pressure, but generally, they will pop out cleanly and easily. The skins will come off in one piece, making the process surprisingly quick once you get into a rhythm. It’s truly that simple, requiring minimal effort thanks to the blanching.
Step 8: Discard Skins and Enjoy Your Blanched Almonds
Once all your almonds are peeled, collect the discarded skins. These papery husks can be easily disposed of in your regular waste bin or, for the environmentally conscious, added to a compost heap. You are now left with a pristine batch of fresh, blanched almonds, perfectly prepared and ready for any culinary application your heart desires. While the peeling step can indeed be a little time-consuming, especially for larger quantities, the sheer ease of skin removal makes it a surprisingly meditative task, and the superior results are consistently worth every moment of effort.
Pro Tips for Perfect Blanched Almonds Every Time
To ensure your almond blanching and peeling experience is always successful, efficient, and yields the best possible results, keep these expert tips in mind:
- Consider Quantity for Efficiency: While blanching a small handful of almonds is a quick task, for larger batches (e.g., more than 2 cups), it can become quite time-consuming to peel each one individually. Consider working in smaller increments to manage the workload, or definitely utilize the ice bath method to cool them rapidly. Rapid cooling ensures the nuts don’t continue to soften and remain easy to handle.
- Thorough Drying is Key for Specific Uses: If your intention is to grind the blanched almonds into a fine almond flour or roast them for a crunchy snack, they must be absolutely and completely dry. Any residual moisture can lead to a gummy flour consistency or prevent them from crisping properly when roasted. You can achieve this by air-drying them spread in a single layer on a clean kitchen towel for several hours, or for a quicker method, spread them on a baking sheet and bake at a very low temperature (around 200°F or 95°C) for 15-20 minutes, stirring occasionally. A food dehydrator also works wonders. Ensure they are fully cooled before further processing or storage.
- Optimal Storage Solutions: Proper storage is crucial for maintaining the freshness and extending the shelf life of your homemade blanched almonds. Once they are thoroughly dry, transfer them to an airtight container. They can be stored in the refrigerator for up to one month. For longer-term preservation, up to six months or even more, freeze them in an airtight freezer-safe bag or container. Freezing is an excellent way to prevent the healthy oils in almonds from turning rancid, ensuring they remain fresh and delicious for future use.
- The “Almond Peeling Party” Strategy: If you find yourself facing a substantial amount of almonds to blanch and peel, don’t hesitate to make it a communal effort! Gather family members, friends, or even enthusiastic neighbors. Transform the task into a fun, collaborative activity. Many hands make incredibly light work, and you’ll be amazed at how quickly a large batch of almonds can be peeled when shared among a few people, making the process enjoyable rather than daunting.
Common Questions About Blanching Almonds (FAQ)
Can I blanch roasted almonds?
It is generally not recommended to blanch roasted almonds. The roasting process causes the almond’s skin to adhere more firmly to the nut, making it significantly harder to remove through blanching. Additionally, subjecting roasted almonds to boiling water could further cook them, potentially altering their desired flavor, texture, and crispness in an undesirable way. Blanching is always best performed on raw almonds.
How long do blanched almonds last, and what’s the best way to store them?
Once your almonds are blanched and completely dry, proper storage is key for longevity. In an airtight container, blanched almonds can last for approximately one month in the refrigerator. For extended freshness, particularly for larger batches, freezing is an excellent option. Stored in an airtight, freezer-safe bag or container, they can maintain their quality for up to six months or even longer. Always ensure they are thoroughly dry before storage to prevent mold or sogginess.
What can I do with blanched almonds? What are some recipe ideas?
The culinary possibilities with blanched almonds are incredibly diverse! They are perfect for making your own fresh almond flour, which is a fantastic base for gluten-free baking. They are essential for crafting classic marzipan, delicious almond butter, or adding to various pastries, cookies, and cakes for a smooth texture. Beyond baking, you can toast them lightly for a healthy snack, chop them and add to granola, yogurt, or oatmeal, or use them as a refined garnish for both sweet and savory dishes. Their mild flavor makes them incredibly versatile.
Is blanching necessary for all recipes that use almonds?
Absolutely not! The need for blanching depends entirely on the specific recipe and desired outcome. Many recipes, especially those aiming for a more rustic texture, a bolder almond flavor, or a distinct visual contrast, specifically call for unblanched, skin-on almonds. Examples include certain types of granola, mixed nut roasts, some savory Mediterranean dishes, or simple snacking where the fibrous skin’s slight bitterness is part of the appeal. However, for recipes that demand a smooth texture, a delicate flavor, a lighter color, or specific culinary applications like marzipan or almond flour, blanched almonds are indeed essential.
What’s the fundamental difference between blanched and unblanched almonds?
The fundamental difference lies in the presence or absence of the almond’s natural brown, papery skin. Unblanched almonds retain this skin, which contributes a slightly bitter taste and a chewier, more rustic texture. Blanched almonds, having had their skin removed, are smooth, possess a milder, sweeter flavor, and exhibit a creamy-white appearance. This distinction dictates their preferred use in various culinary applications, with blanched almonds typically favored for refined baking, delicate confectionery, and situations where visual uniformity is desired, while unblanched almonds offer a heartier, more robust profile.
Conclusion: Embrace the DIY Approach to Blanched Almonds
Gone are the days of scrambling for blanched almonds at the grocery store or paying a premium for pre-packaged varieties. With this simple, effective, and cost-saving method, you now possess the knowledge and skills to transform raw almonds into perfectly peeled, ready-to-use nuts right in the comfort of your own kitchen. Not only will you enjoy significant financial savings, but you’ll also gain the immense satisfaction of knowing you’ve prepared a key ingredient from scratch, with complete control over its freshness, quality, and appearance.
Whether you’re embarking on a complex baking project that demands the finest almond flour, crafting delicate marzipan, or simply prefer the elegant aesthetic and milder taste of skinless almonds, this comprehensive guide empowers you to tackle any recipe with newfound confidence. So, next time your recipe calls for blanched almonds, don’t fret. Gather your raw almonds, boil some water, and enjoy the surprisingly easy and rewarding process of blanching and peeling them yourself. Your culinary creations, and your wallet, will undoubtedly thank you!