
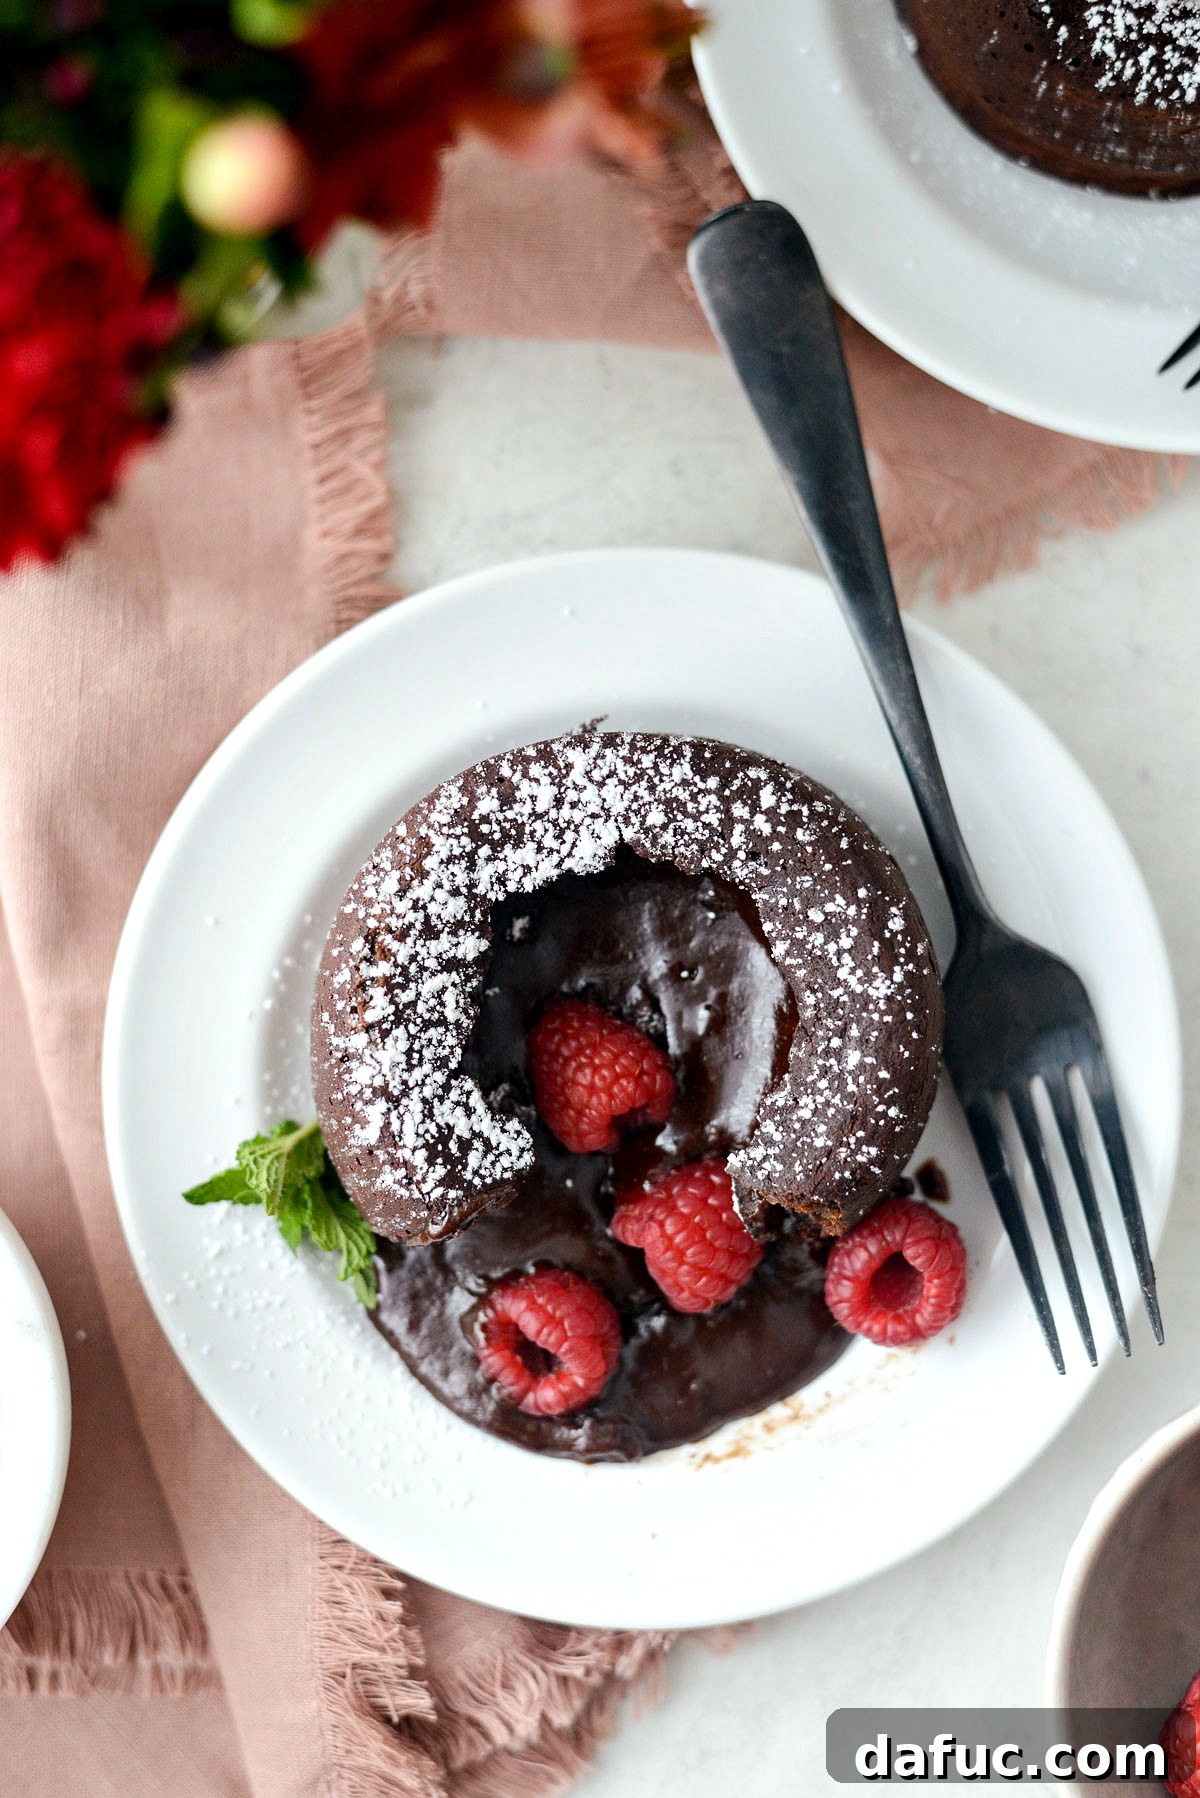
Molten Chocolate Lava Cakes are more than just a dessert; they are a culinary experience, a symphony of rich, deep chocolate flavors culminating in an astonishing molten center that spills out with the first spoon. Perfect for intimate gatherings, especially for two, they symbolize luxury and heartfelt indulgence, making them an ideal choice for romantic occasions like Valentine’s Day or any moment you wish to make extra special. This recipe guides you through creating two exquisitely moist chocolate cakes, each featuring a captivating warm, liquid chocolate core, all achievable in under an hour. Get ready to impress and delight with a dessert that looks sophisticated but is surprisingly simple to master.
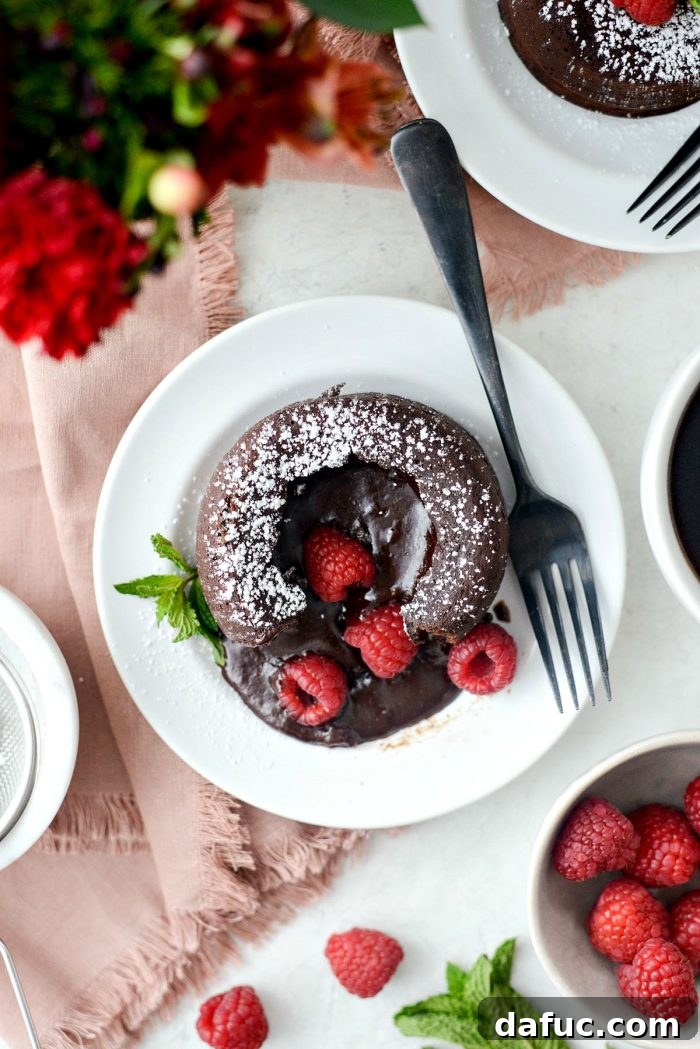
Molten Chocolate Lava Cakes: The Ultimate Expression of Chocolate Love
For many, the word “chocolate” evokes feelings of comfort, celebration, and pure joy. Valentine’s Day, in particular, has an almost synonymous relationship with this beloved confection. While heart-shaped boxes filled with an assortment of chocolates were a childhood dream, as adults, we seek something more profound, more engaging, and utterly unforgettable. Enter the Molten Chocolate Lava Cake, a dessert that transcends the ordinary and elevates the chocolate experience to an art form.
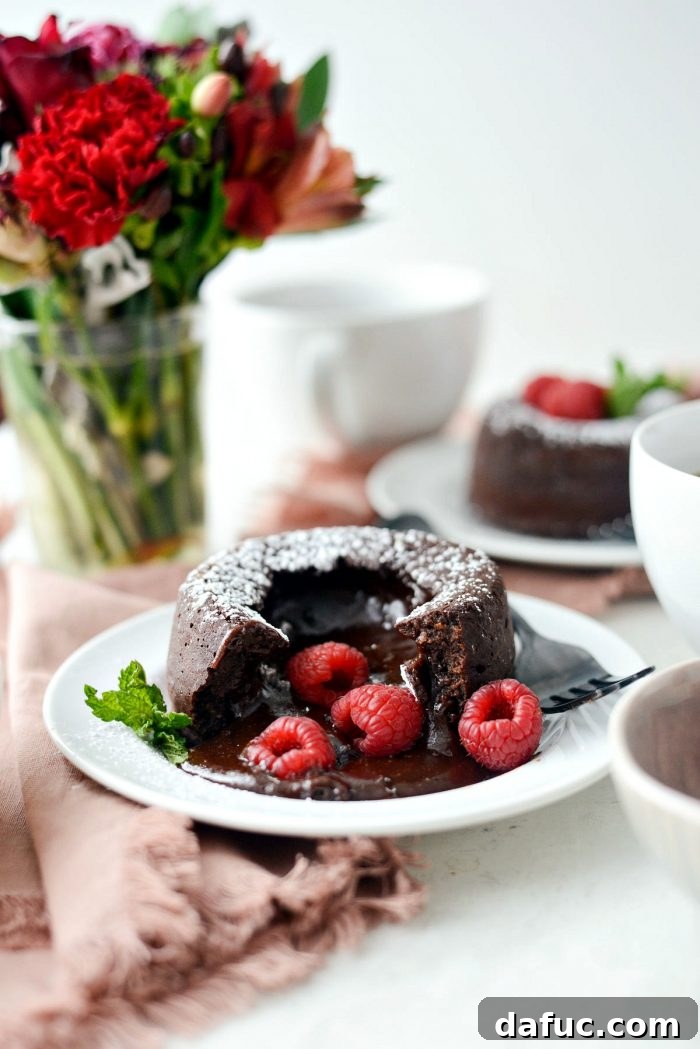
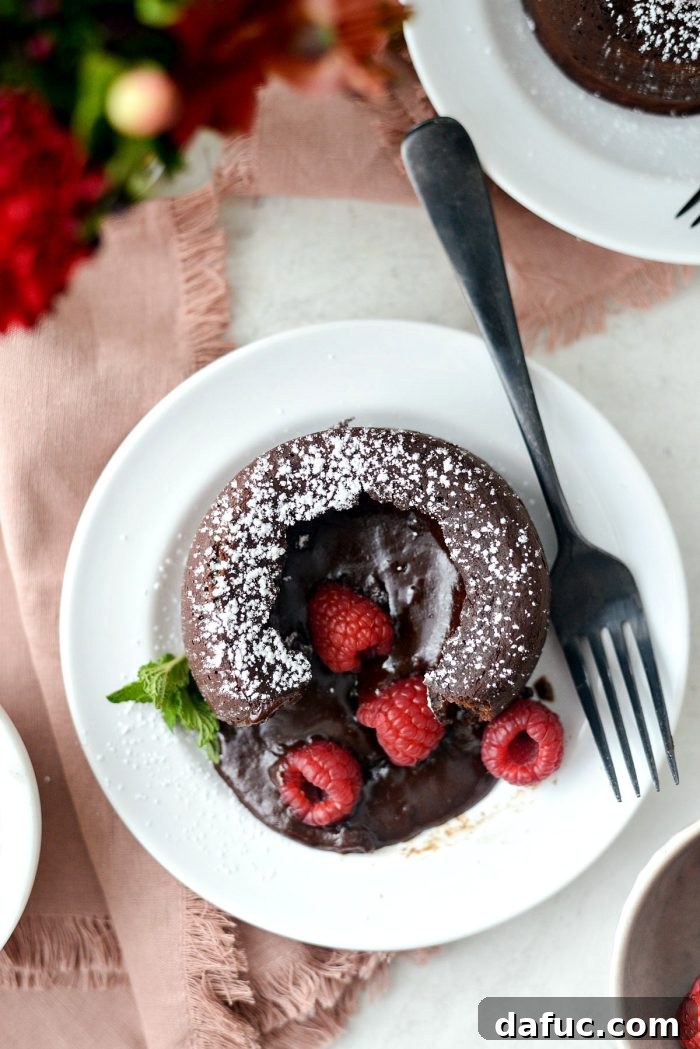
This recipe might seem daunting at first glance, but its simplicity belies the spectacularly decadent results. Imagine this: a perfectly baked exterior, a tender chocolate cake that holds its shape, yielding gently as your fork breaks through its surface. And then, the grand reveal – a luscious, warm, molten chocolate center, flowing like liquid velvet onto the plate. It’s not just impressive; it’s a sensory delight that appeals to sight, smell, and taste, making every bite an unforgettable journey. The best part? This culinary masterpiece can be whipped up in remarkably little time, proving that extraordinary desserts don’t always require hours in the kitchen.
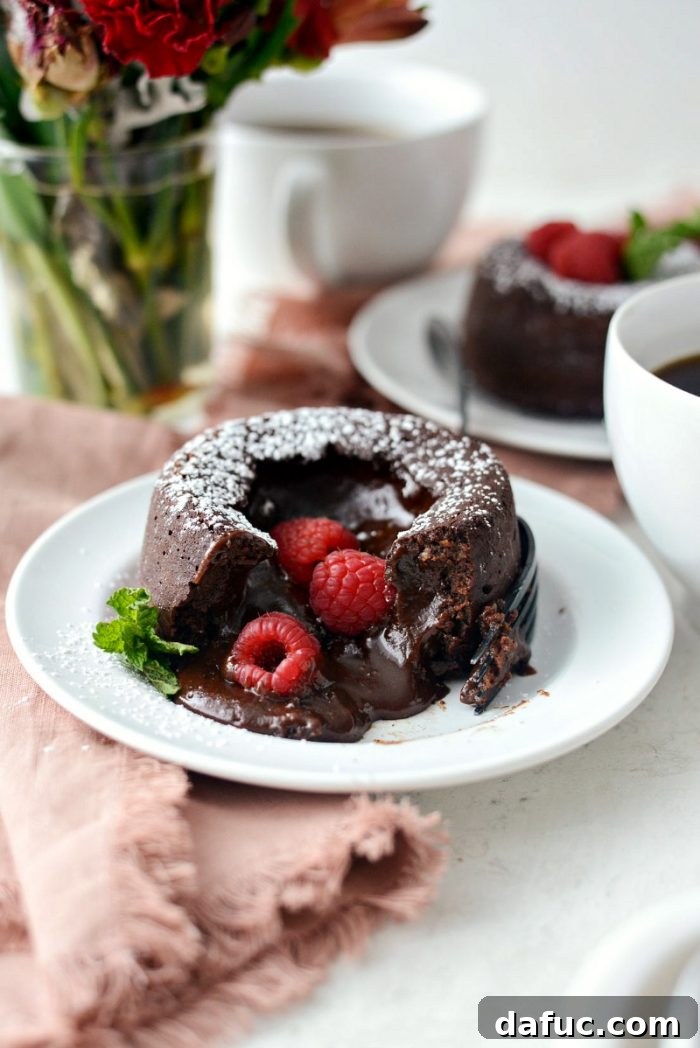
A common question that arises with desserts featuring a “molten” or “gooey” center, especially those with eggs, is about food safety. Rest assured, these Molten Chocolate Lava Cakes are perfectly safe to eat. The high baking temperature ensures that while the exterior cooks to a tender cake, the interior reaches a minimum safe temperature of 160°F (71°C). This temperature is sufficient to safely cook the eggs in the chocolatey center, leaving it gloriously runny and safe to enjoy without compromising on that coveted molten texture. So, indulge without a single worry!
To complete this luxurious dessert experience, consider how you’ll serve it. While spectacular on its own, a simple dusting of powdered sugar adds an elegant touch. For an extra layer of decadence, pair it with a scoop of premium vanilla bean ice cream, a dollop of freshly whipped cream, or a handful of vibrant fresh berries. A rich cup of freshly brewed coffee, a robust espresso, or a glass of your favorite red wine perfectly complements the deep chocolate notes, enhancing the flavors and turning a simple dessert into a sophisticated affair. These cakes are versatile and can be dressed up or down depending on your preference.
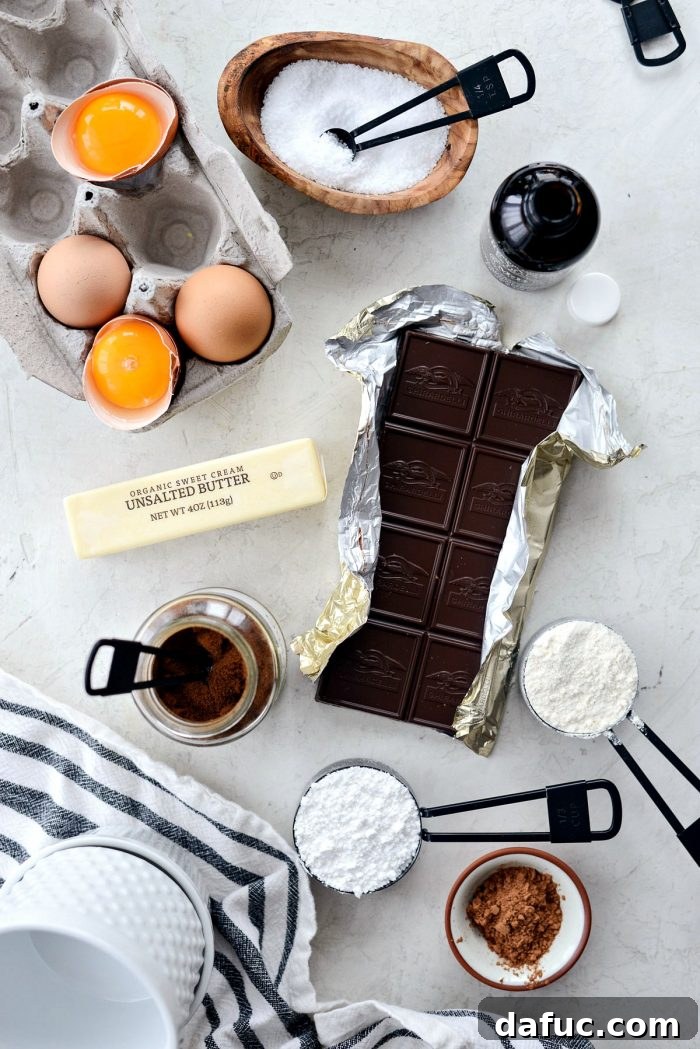
Mastering Molten Chocolate Lava Cakes: Essential Ingredients for Perfection
Creating the perfect molten chocolate lava cake starts with understanding the role of each ingredient. Quality ingredients make a noticeable difference in the final taste and texture of your dessert. Here’s a detailed look at what you’ll need and why:
- Melted Butter (for ramekins): Not just for greasing, brushing the ramekins generously with melted butter ensures your cakes release beautifully, creating that perfect presentation.
- Unsweetened Cocoa Powder (for ramekins): Dusting the buttered ramekins with cocoa powder not only prevents sticking but also provides an extra layer of chocolate flavor and a stunning dark finish to the cake’s exterior.
- 2 (8 ounce) Tall Ramekins: The choice of ramekin size is crucial. 8-ounce ramekins are ideal for a generous single serving, ensuring enough batter for that perfect molten core. Using two tall ramekins is perfect for a romantic dessert for two.
- Powdered Sugar: This fine sugar contributes to the delicate crumb of the cake and is sifted with flour for an even distribution. It also provides the elegant finishing dust.
- Unbleached All-Purpose Flour: A small amount of flour gives the cake structure, allowing it to hold its shape while maintaining that ultra-moist interior. Unbleached flour often has a slightly higher protein content, which can be beneficial.
- Semi-Sweet Chocolate (bar): The star of the show. Using high-quality semi-sweet chocolate, preferably in bar form for chopping, ensures a rich, complex chocolate flavor for both the cake and its molten center. Avoid chocolate chips as they contain stabilizers that can affect melting consistency.
- Unsalted Butter: Essential for a rich, moist cake. Using unsalted butter allows you to control the overall salt content of the recipe.
- Instant Espresso Powder (or strong coffee): A secret ingredient that doesn’t make the cake taste like coffee, but rather deepens and enhances the chocolate flavor, making it even more intense and luxurious.
- Vanilla Extract: A touch of pure vanilla extract brightens and rounds out the chocolate flavors, adding a layer of aromatic complexity.
- Kosher Salt: A pinch of salt is vital in baking; it balances the sweetness, amplifies the chocolate, and brings out the full depth of flavors.
- Eggs (whole) and Egg Yolks: The combination of whole eggs and extra yolks provides richness, moisture, and helps create the custard-like, molten consistency of the center. The yolks contribute significant fat, making the dessert incredibly tender.
Step-by-Step Guide to Crafting Perfect Molten Chocolate Lava Cakes
Follow these detailed instructions to create a truly spectacular dessert that will impress your loved ones.
1. Prepare Your Oven and Ramekins
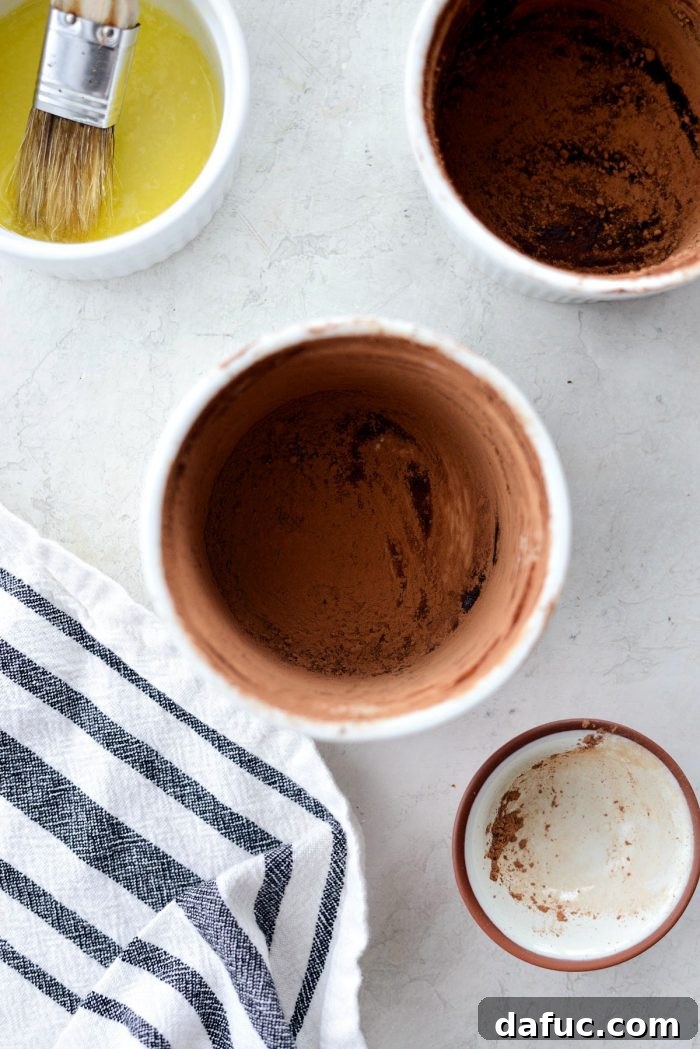
Preheat your oven to a high temperature of 450℉ (or 230℃). A hot oven is key to achieving that perfectly baked exterior with a molten interior. While the oven heats, take 1/2 to 1 tablespoon of melted butter and generously brush the entire inside surface of your two 8-ounce tall ramekins. Ensure every crevice is coated. Next, sprinkle a good amount of unsweetened cocoa powder into each buttered ramekin. Tilt and rotate the ramekin to ensure the cocoa powder thoroughly coats all buttered surfaces. Once coated, gently tap out any excess cocoa powder; you want a thin, even layer, not clumps. Place the prepared ramekins on a rimmed baking sheet and set them aside. This butter and cocoa coating is your secret weapon for preventing sticking and achieving an elegant finish.
2. Combine Dry Ingredients
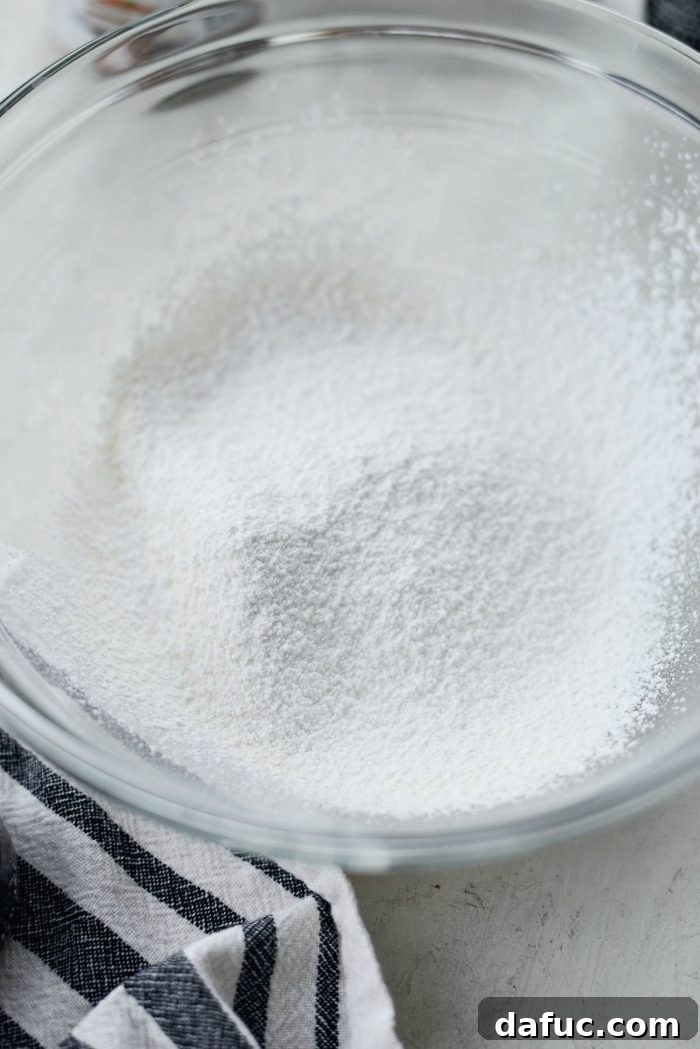
Into a medium mixing bowl, sift together 1/3 cup of powdered sugar and 1/4 cup of unbleached all-purpose flour. Sifting is an important step as it removes any lumps and aerates the dry ingredients, leading to a lighter, more uniform cake batter. Once sifted, gently whisk them together to ensure they are well combined, then set this bowl aside. This mixture forms the structural base of your lava cakes.
3. Melt Chocolate Mixture using a Double Boiler Method
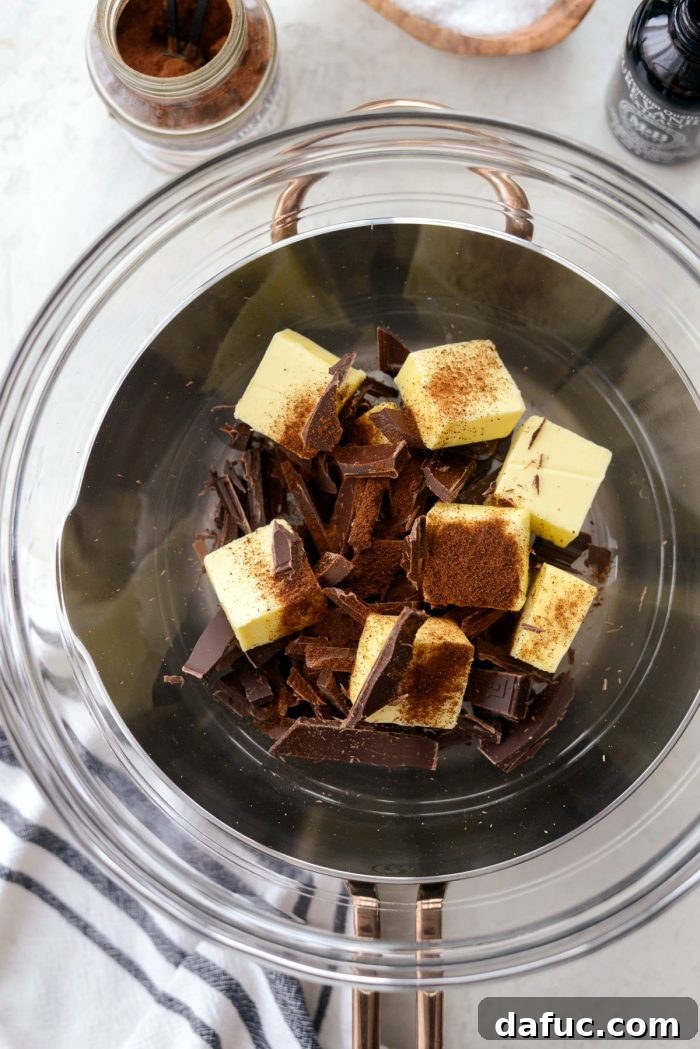
Prepare a double boiler by setting a large, heatproof bowl over a pot containing a small amount of simmering water. It’s crucial that the bottom of the bowl does NOT touch the surface of the simmering water; the steam is what gently melts the ingredients. Into this large bowl, add 4 ounces of finely chopped semi-sweet chocolate, 1 stick (which is equivalent to 8 tablespoons or 1/2 cup) of unsalted butter, and 1 teaspoon of instant espresso powder. Stir occasionally as the butter and chocolate begin to melt. The gentle heat of the double boiler prevents the chocolate from scorching, ensuring a smooth, luxurious base.
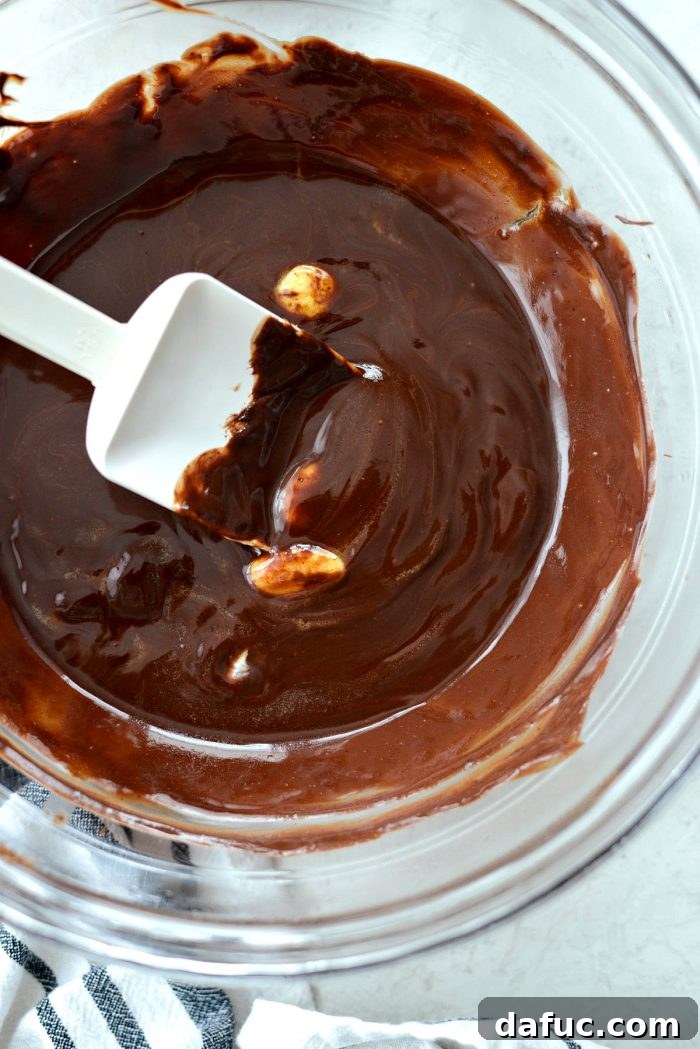
Once the butter is mostly melted and the chocolate is softened, carefully remove the bowl from over the simmering water using oven mitts, as it will be hot. Place the bowl on a trivet or a kitchen towel to protect your countertop. Continue whisking the mixture until it is completely smooth and glossy, with no lumps of chocolate remaining. This ensures a homogenous and luxurious chocolate base for your cakes.
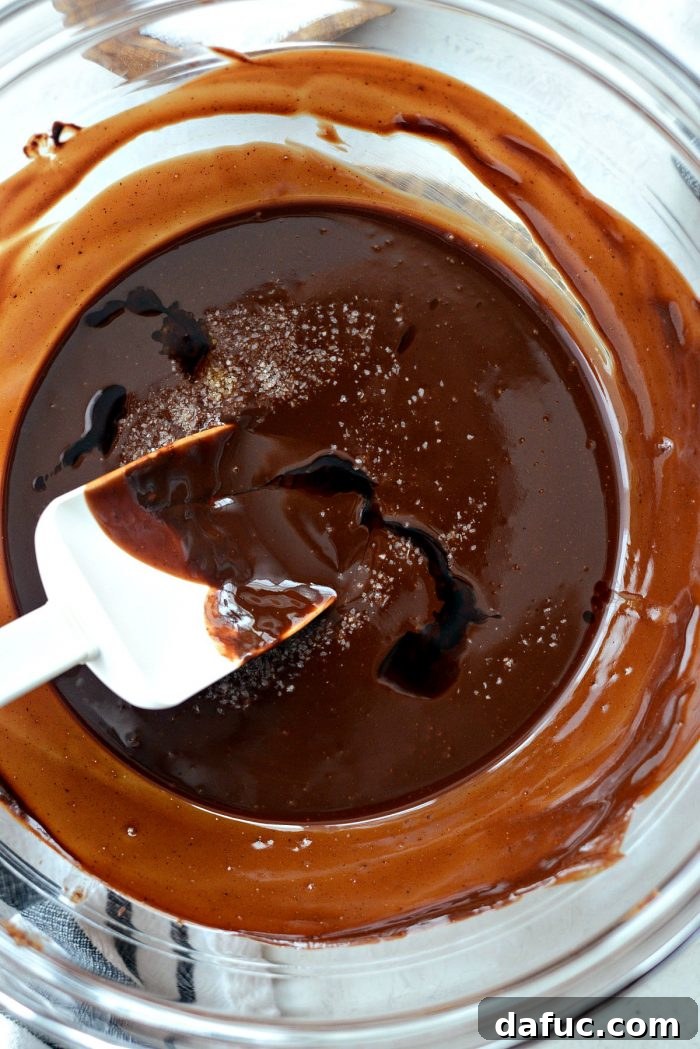
4. Infuse with Vanilla and Salt
To the beautifully melted chocolate mixture, add 1/2 teaspoon of pure vanilla extract and 1/4 teaspoon of kosher salt. Stir these in thoroughly. The vanilla enhances the chocolate’s natural aroma, while the salt balances the sweetness and deepens the overall flavor profile, truly making the chocolate sing. Set this aromatic chocolate mixture aside to cool slightly while you prepare the eggs.
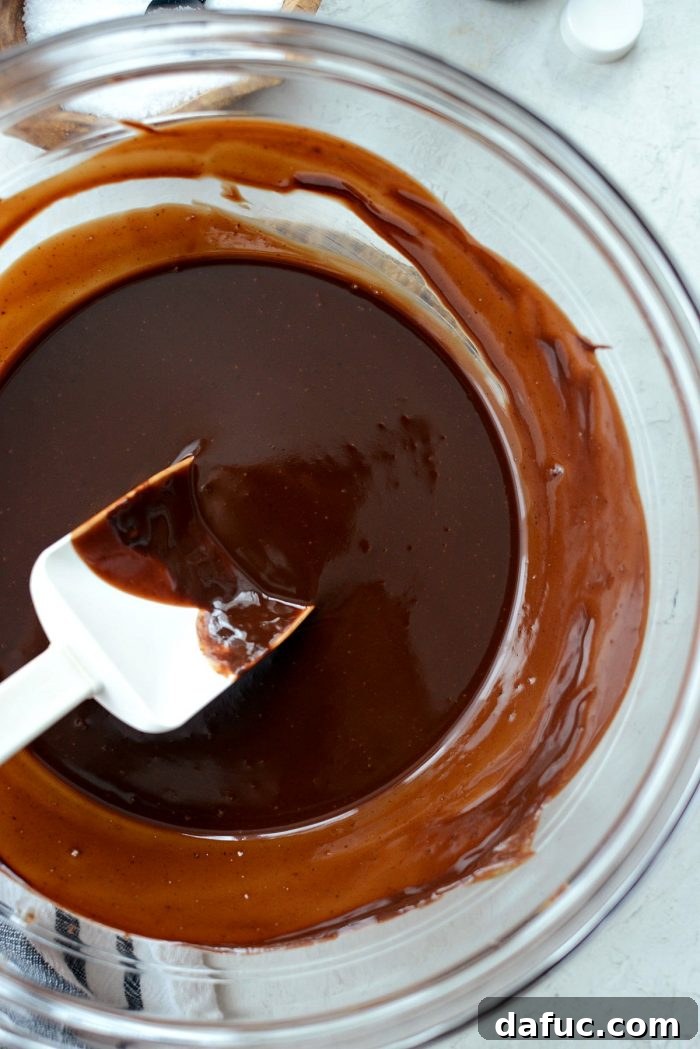
A Flavor Combination That’s Truly Unforgettable
At this stage, the aroma emanating from your chocolate mixture alone is enough to hint at the indulgence to come. The rich, deep scent of high-quality chocolate, enhanced by espresso and vanilla, creates a foundation that is, indeed, “to die for.”
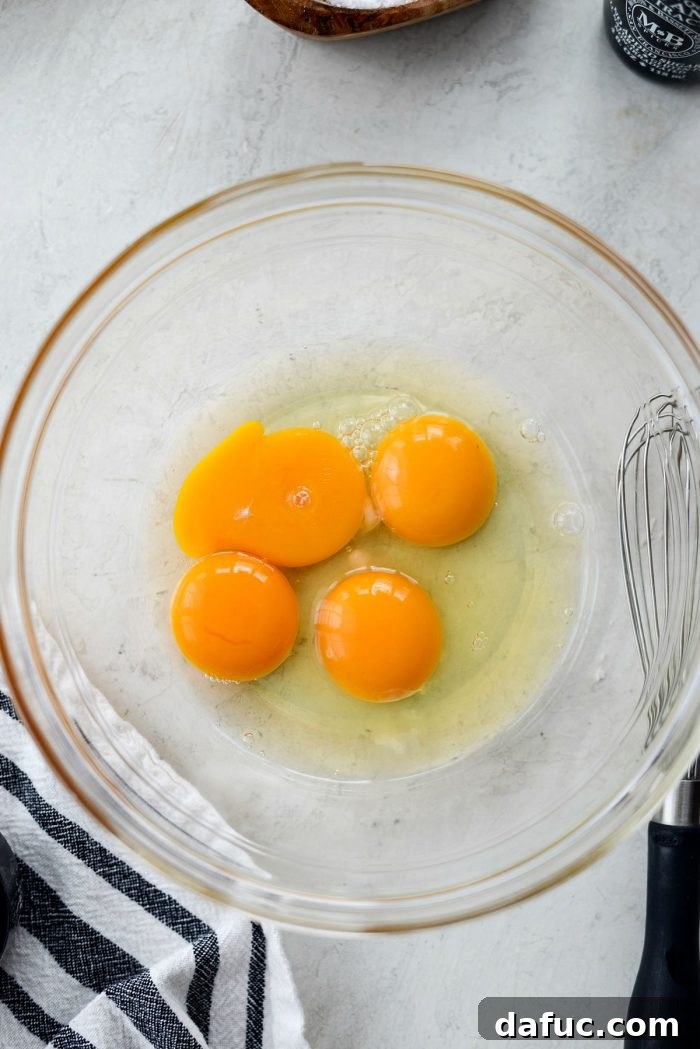
5. Prepare the Eggs
In a separate, clean mixing bowl, crack in 2 large whole eggs and add 2 additional egg yolks. The extra yolks are crucial for achieving that rich, gooey, molten consistency in the center of your lava cakes, contributing significantly to their luxurious texture.
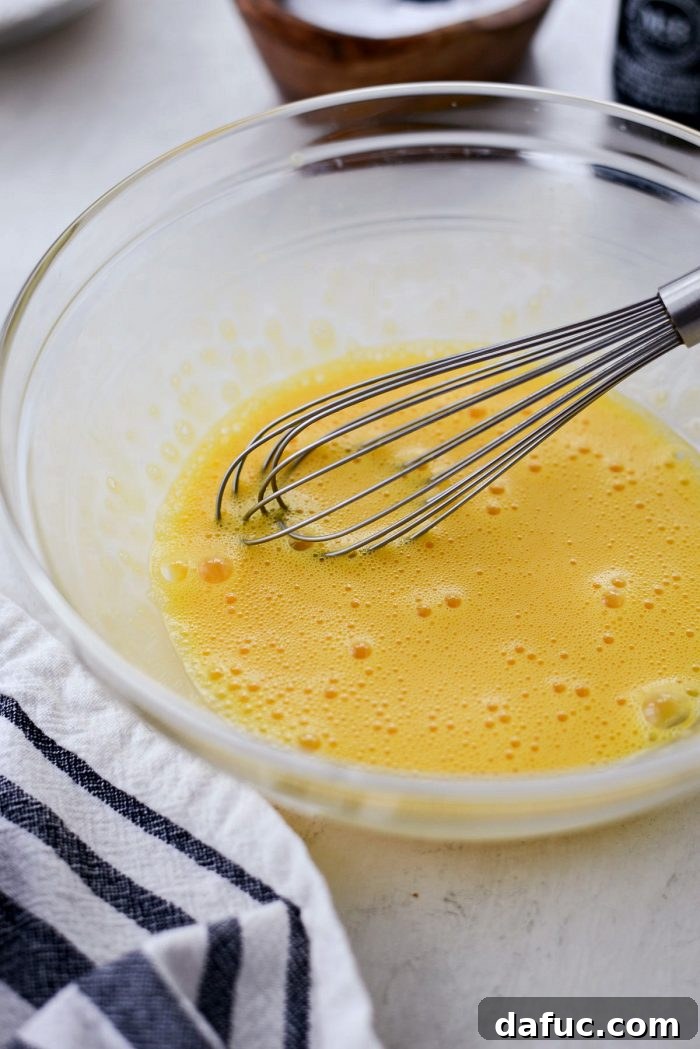
Using your whisk, vigorously beat the eggs and egg yolks until the mixture is slightly pale in color and frothy. This aeration is important for the cake’s texture and contributes to the overall lift and lightness, even with a dense, molten center, ensuring a beautifully tender result.
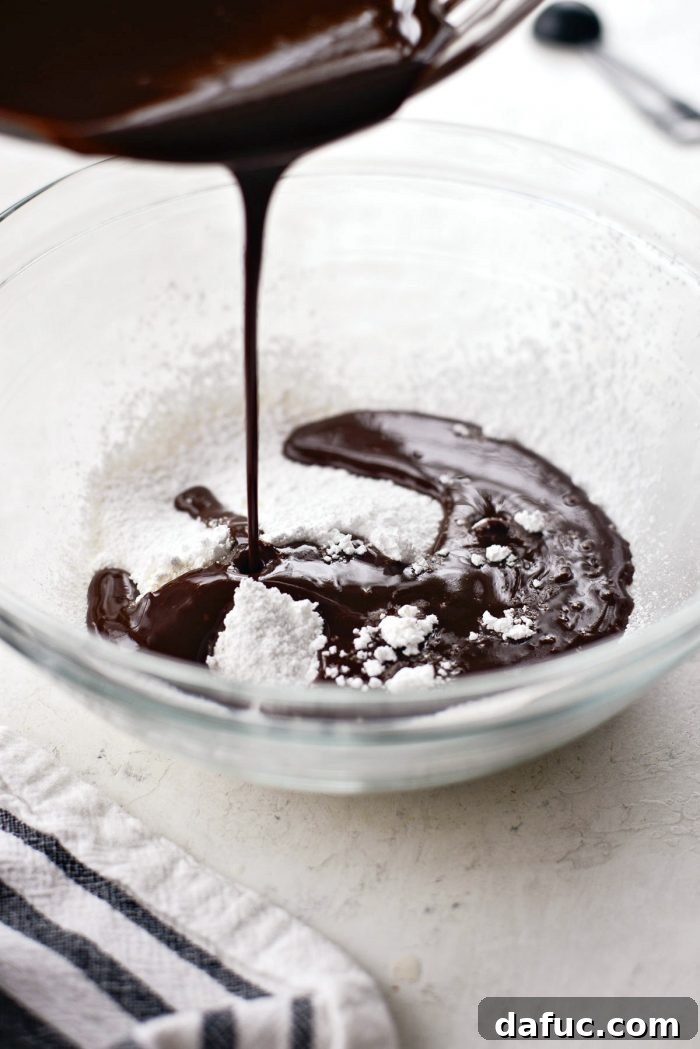
6. Combine All Batter Components
Now it’s time to bring all your prepared components together. Take the bowl containing your sifted powdered sugar and flour. Carefully pour the warm, melted chocolate mixture into the bowl with the dry ingredients. Ensure a steady pour for smooth incorporation.
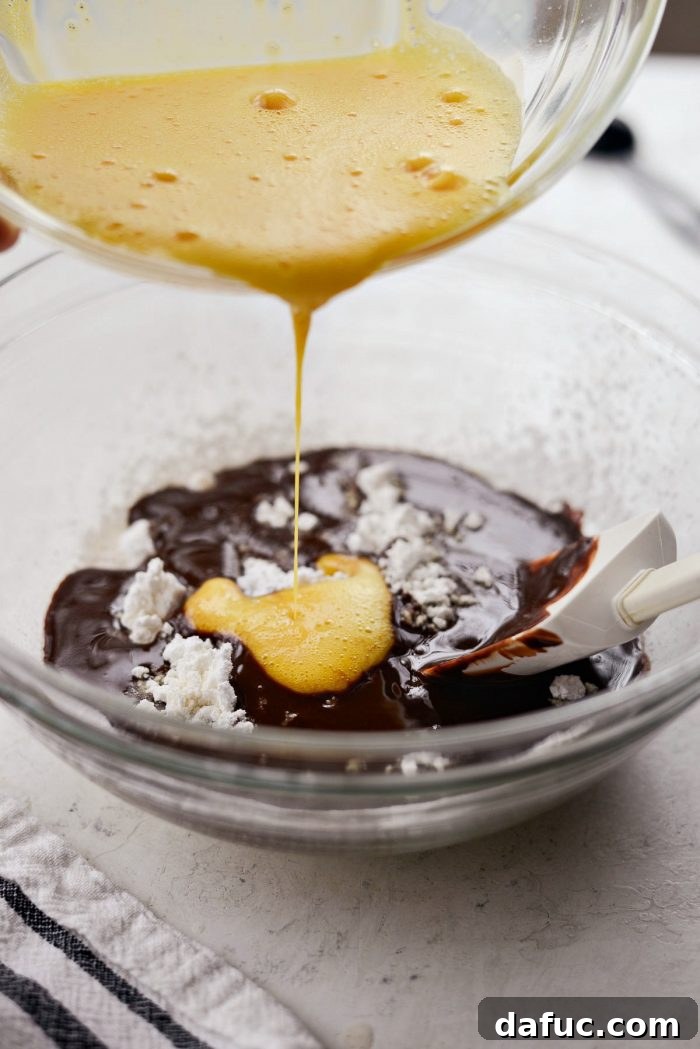
Immediately follow by pouring in the frothy, beaten eggs. This sequence helps in integrating all ingredients smoothly.
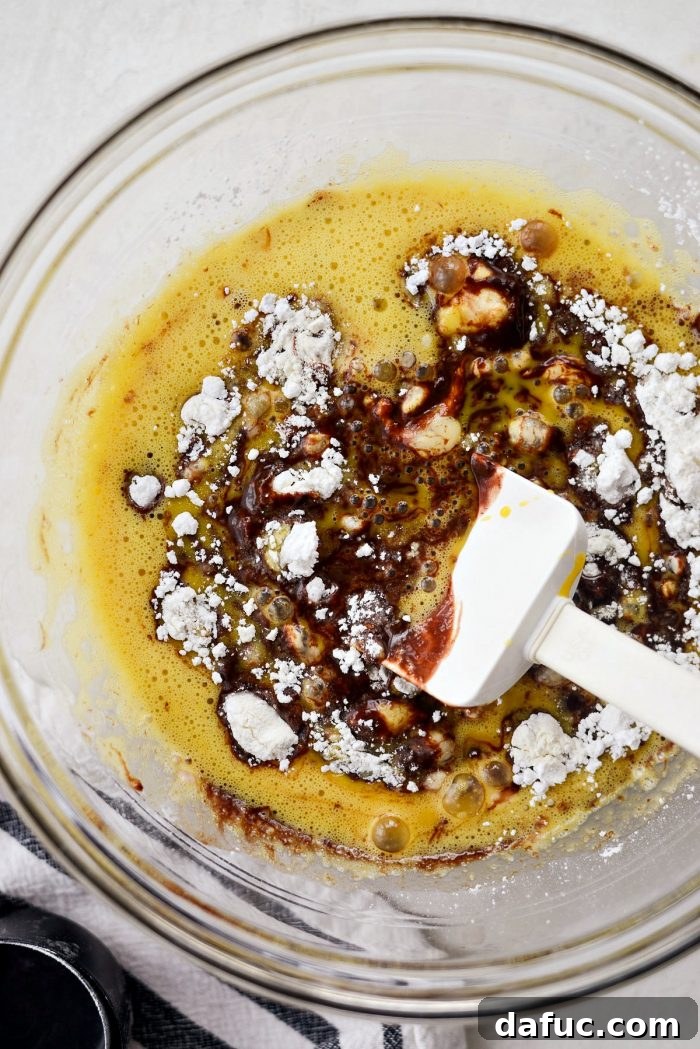
Using a rubber spatula, gently fold and stir all the ingredients together until they are just combined. Be careful not to overmix, as this can develop the gluten in the flour and lead to a tougher cake. Stir only until no streaks of flour or egg are visible. The batter should be thick, smooth, and gloriously chocolatey, a testament to the rich flavors within.
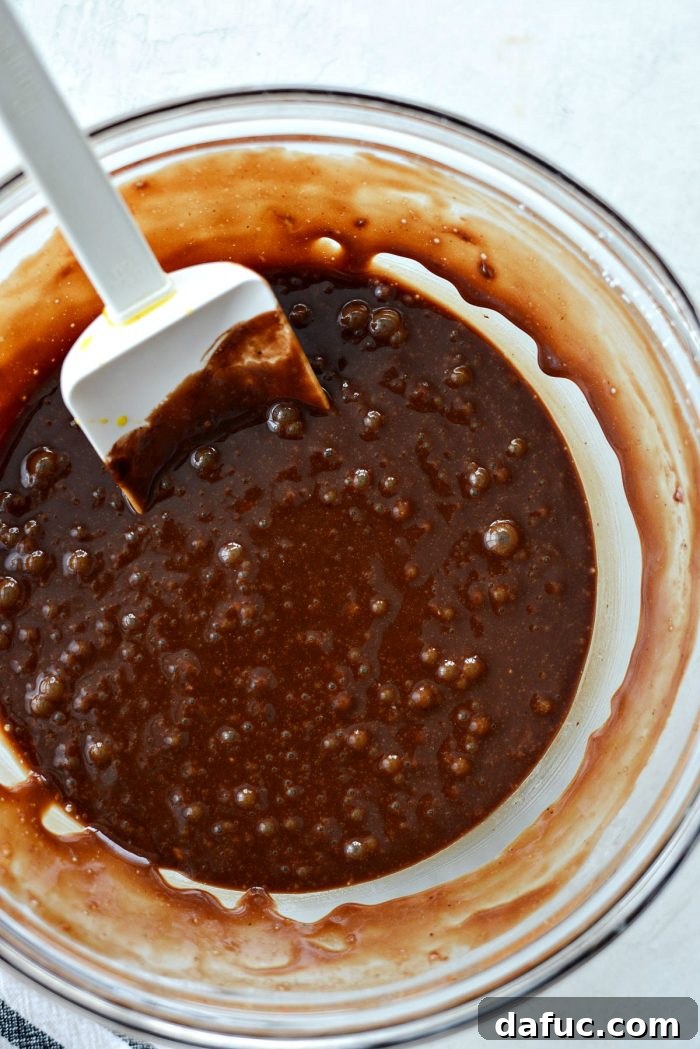
The Unmistakable Allure of Rich Chocolate Batter
The sight of this smooth, dark, and glossy batter alone is enough to evoke excitement. It’s truly a moment that makes you anticipate the final, delicious result! This beautiful batter is the heart of your molten lava cake experience.
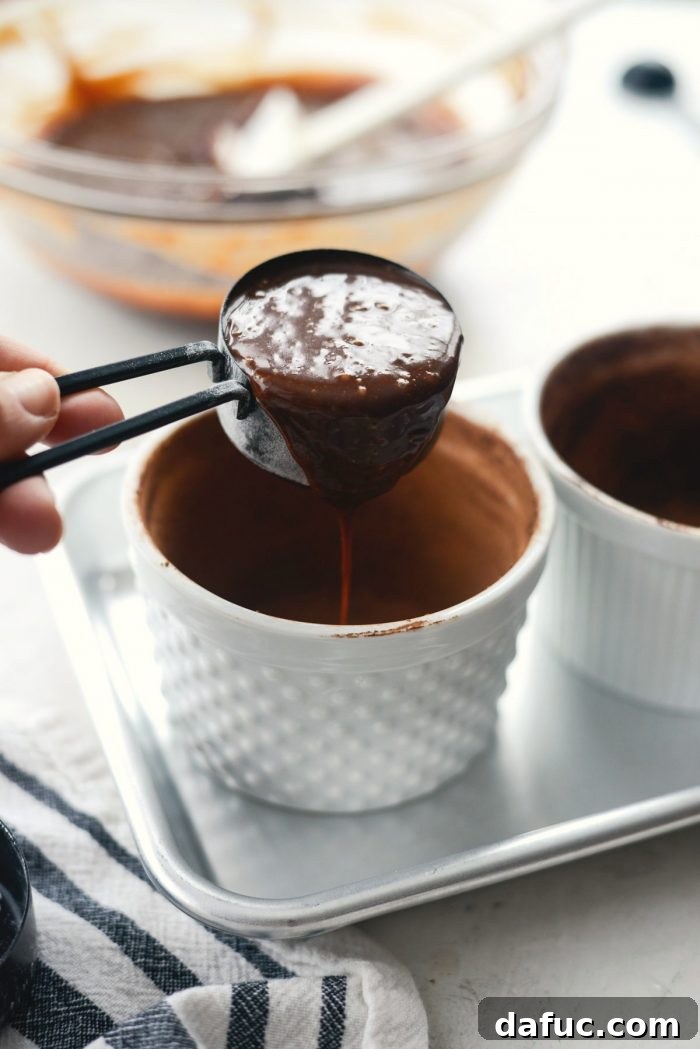
7. Bake to Molten Perfection
Carefully divide the rich chocolate batter evenly between the two prepared ramekins. Each ramekin should receive a little over 3/4 cup of batter. Once filled, gently tap the ramekins on your counter a few times to release any air bubbles and settle the batter. This ensures an even bake. Then, slide the baking sheet with the ramekins onto the middle rack of your preheated oven.
Baking time is crucial for achieving your desired molten center:
- For a truly runny, intensely molten center, bake for exactly 12 minutes.
- For a slightly less runny, but still delightfully gooey middle, bake for 14 minutes.
Keep a close eye on your cakes, as oven temperatures can vary. The edges should appear set and slightly puffed, while the very center might still look a bit soft. Do not overbake, as this will prevent the molten center from forming and you’ll end up with a fully cooked cake instead of a lava cake.
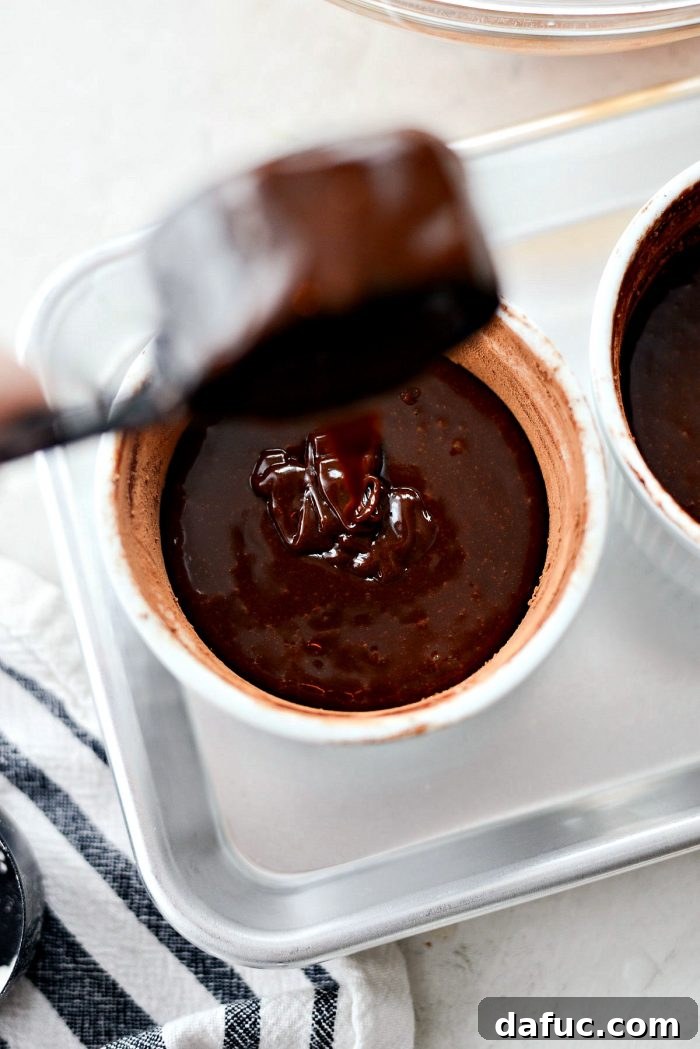
8. Cool and Unmold with Care
Once baked, carefully remove the baking sheet from the oven. Allow the lava cakes to cool in their ramekins for precisely 5 minutes. This cooling period is vital; it allows the cakes to set just enough around the edges, making them easier to unmold without breaking. Running a knife around the edge too soon or too late can lead to disaster, so timing is key to maintaining their perfect structure and molten interior.
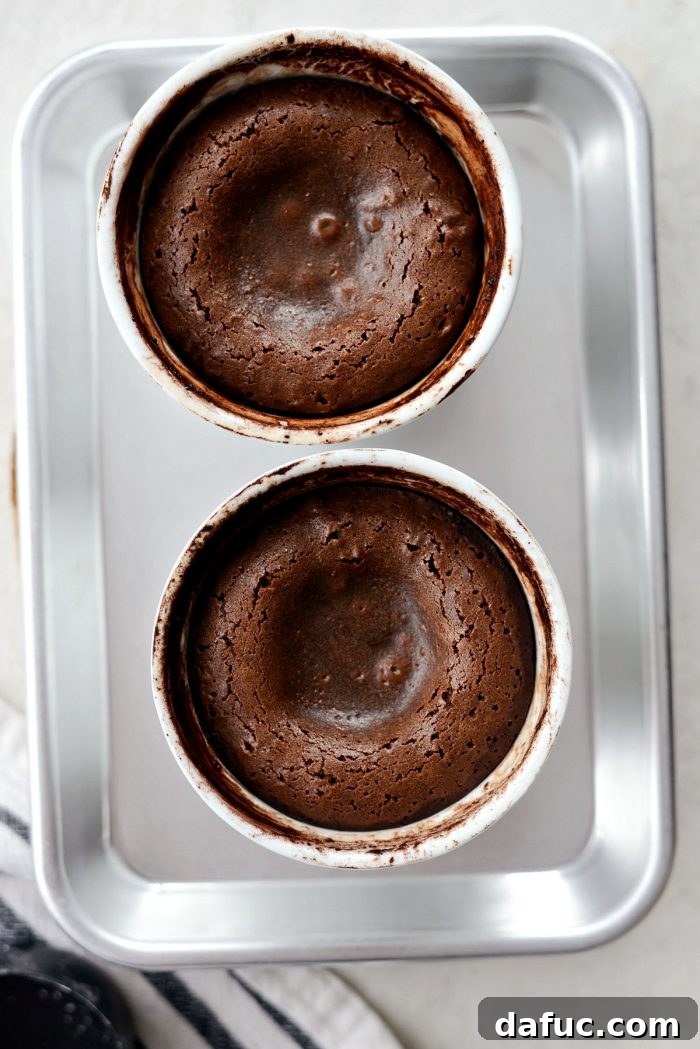
After 5 minutes, gently run a thin knife or a small offset spatula around the inner edge of each ramekin. This ensures that no part of the cake is stuck to the sides, facilitating a clean release and preventing any damage to the delicate cake.
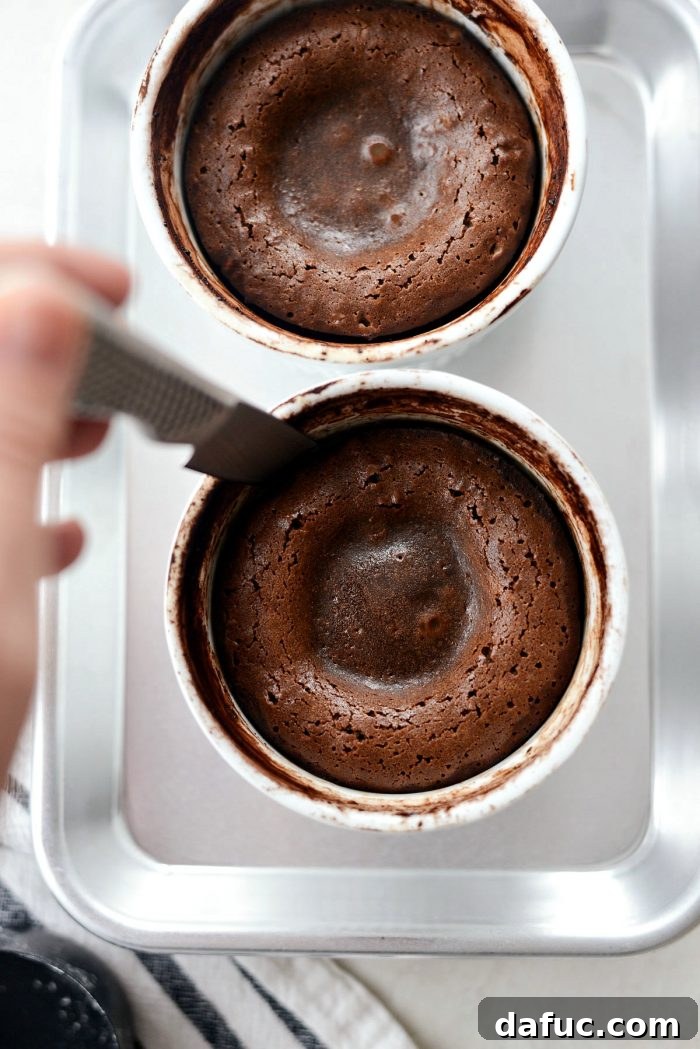
Now for the moment of truth! Place a dessert plate upside down on top of a ramekin. With a quick, confident motion, carefully flip the ramekin and plate together, so the ramekin is now upside down on the plate. You might want to use a kitchen towel to protect your hands from the residual heat. Give a gentle tap, and the molten chocolate lava cake should gracefully slide out onto the plate, revealing its beautifully baked exterior and promising that decadent molten core.
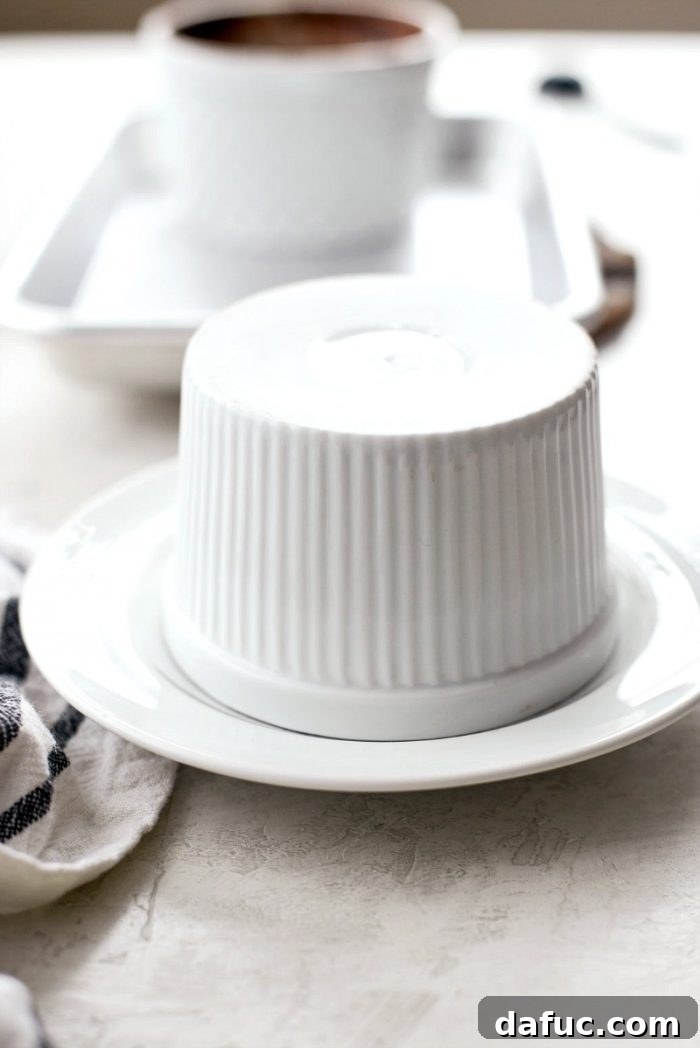
A Perfect Presentation Every Time
The sight of a perfectly unmolded lava cake, sitting proudly on its plate, is nothing short of gorgeous! It’s a testament to your baking prowess and attention to detail, promising an exceptional dessert experience that will surely impress.
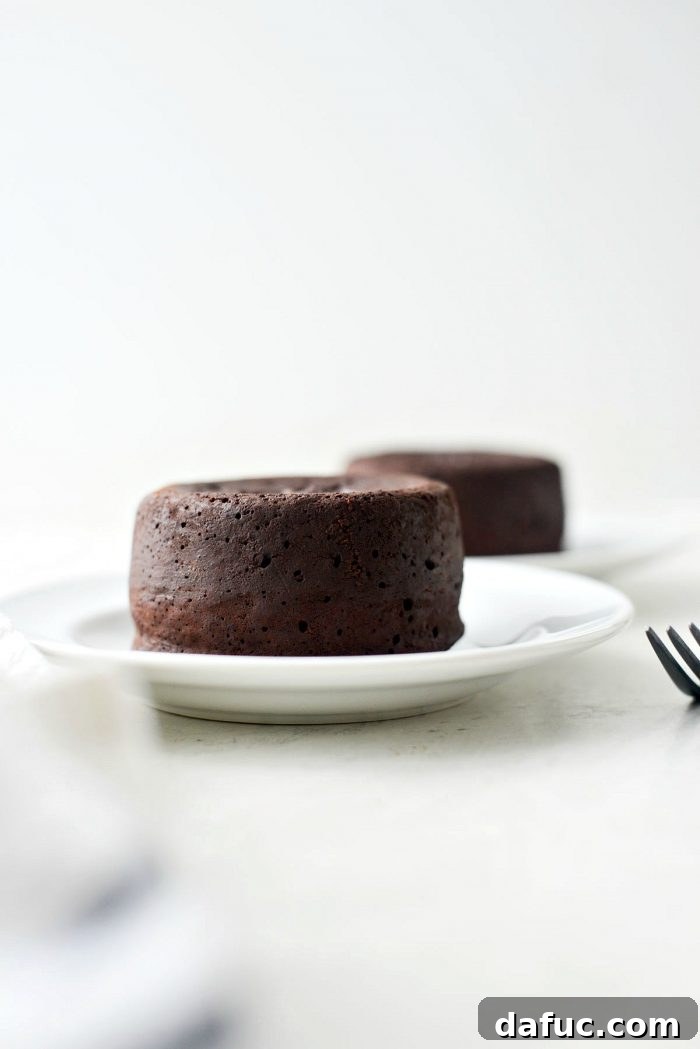
9. Garnish and Serve Immediately
For a final touch of elegance and a hint of contrasting flavor, generously dust each molten chocolate lava cake with a sprinkle of powdered sugar. You can use a small sieve for an even, delicate coating. To add freshness and a pop of color, garnish with an assortment of fresh berries, such as raspberries or strawberries. The slight tartness of the berries beautifully cuts through the richness of the chocolate, creating a balanced and utterly delightful mouthful. Serve immediately while the center is still wonderfully warm and molten for the ultimate enjoyment.
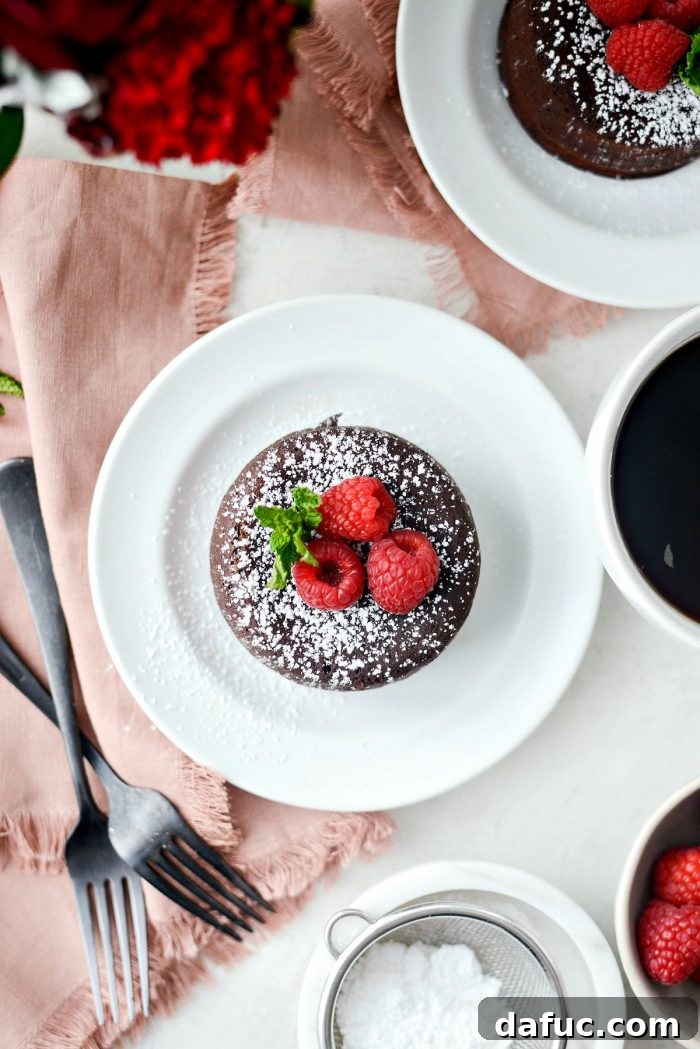
Why Choose This Molten Chocolate Lava Cake Recipe?
Beyond its undeniable charm and incredible taste, this recipe offers a unique blend of elegance and accessibility. It’s a dessert that feels luxurious and complex, yet is surprisingly straightforward to prepare, making it ideal for both novice and experienced bakers looking for an impressive yet quick treat. The sheer joy of watching that molten chocolate flow out is a reward in itself, a moment of pure culinary magic that makes every effort worthwhile.
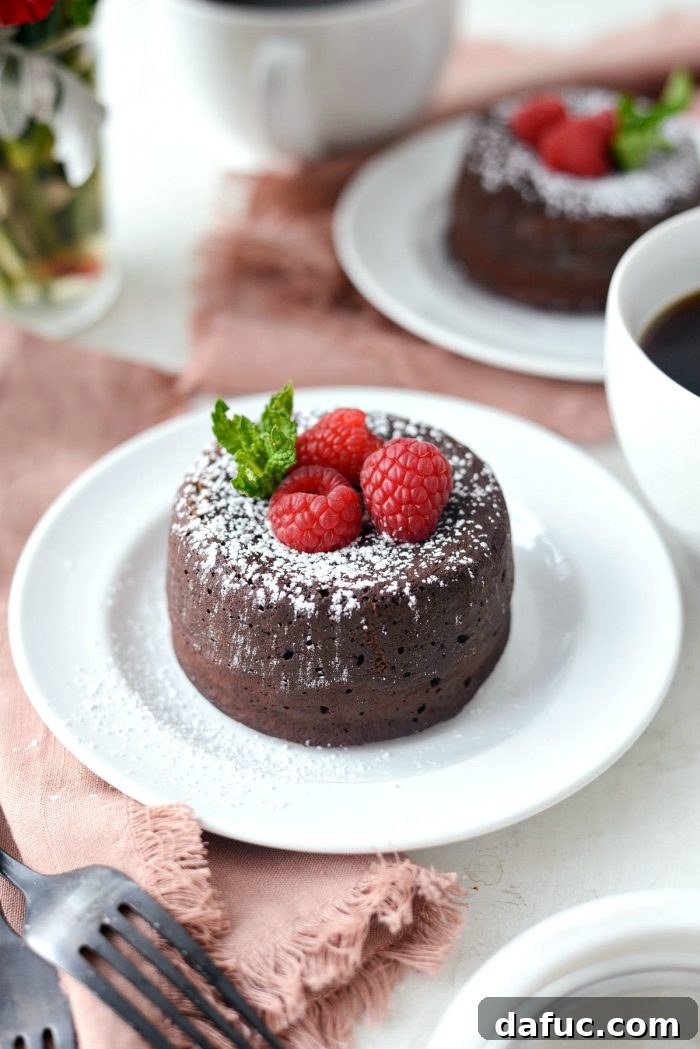
The Ultimate Romantic Gesture: Chocolate Oozing Love
Is there any sweeter declaration of affection than a homemade dessert, especially one as captivating as a Molten Chocolate Lava Cake? The act of breaking into its tender crust to reveal a warm, flowing chocolate heart is symbolic of love itself – rich, warm, and utterly delightful. It’s more than just a dessert; it’s an experience, a moment shared, a memory created. Make these molten chocolate lava cakes for your next special occasion and create an unforgettable moment.
We encourage you to embark on this delightful baking adventure. Enjoy the process of creating these exquisite Molten Chocolate Lava Cakes, and savor every indulgent bite. If you try this recipe, we’d love to see your creations! Share a photo on your social media and tag us – we celebrate every culinary success and love to see your molten masterpieces!
Print Recipe
Pin Recipe
Leave a Review »
Yield: 2 servings
Molten Chocolate Lava Cakes For Two
Molten Chocolate Lava Cakes are the perfect Valentine’s Day dessert. Rich and extremely moist chocolate cakes with a molten chocolate center are decadent and completely irresistible. Yields 2 (or 4 if you want to share) in under an hour.
Prep Time: 15 mins
Cook Time: 12 mins
Total Time: 27 mins
Ingredients
- 1/3 cup powdered sugar, plus more for dusting once baked
- 1/4 cup unbleached all-purpose flour
- 4 ounces semi-sweet chocolate
- 1/2 cup unsalted butter
- 1 teaspoon instant espresso powder
- 1/2 teaspoon vanilla extract
- 1/4 teaspoon kosher salt
- 2 large eggs
- 2 egg yolks
- 1/4 cup raspberries, for serving
Instructions
- Preheat your oven to 450℉ (or 230℃) and brush the inside of both ramekins with melted butter. Sprinkle cocoa powder in each one and shake to coat all the sides. Tap out and discard any excess cocoa powder.
- Into a mixing bowl, sift the powdered sugar and flour, set aside.
- Set a large bowl over a pot of simmering water (it should be shallow water and NOT touch the underside of the bowl) add in the chocolate, butter and espresso powder. Stir until just melted. Use oven mitts to remove the bowl off of the pot and finish stirring until smooth.
- To the chocolate, add the vanilla and kosher salt.
- Then, in a separate bowl, whisk the eggs and egg yolks until thoroughly beaten. Should be light yellow and frothy.
- To the bowl with the flour and sugar, pour in the melted chocolate and beaten eggs. Stir until incorporated.
- Divide the batter among the two prepared ramekins (a heaping 3/4 cup per ramekin) and place onto a small sheet pan.
- Tap gently on the counter before sliding the pan onto the middle rack of your preheated oven. Bake on the middle rack for 12 minutes (for a more runny center) or 14 minutes (for a less runny middle).
- Let cool for 5 minutes before running a knife around the inside of the ramekin. Flip a dessert plate and set it on top of the ramekin. Use a kitchen towel so you don’t burn your hands. Then quickly flip so the plate is right-side up and the cake slides out.
- Dust with powdered sugar and serve with fresh berries.
Nutrition Information
- Serving:
- 1g
- Calories:
- 519kcal
- Carbohydrates:
- 67g
- Protein:
- 10g
- Fat:
- 27g
- Saturated Fat:
- 14g
- Polyunsaturated Fat:
- 11g
- Cholesterol:
- 285mg
- Sodium:
- 338mg
- Fiber:
- 4g
- Sugar:
- 49g
Author: Laurie McNamara
Course: Desserts & Sweet Treats
Cuisine: American