
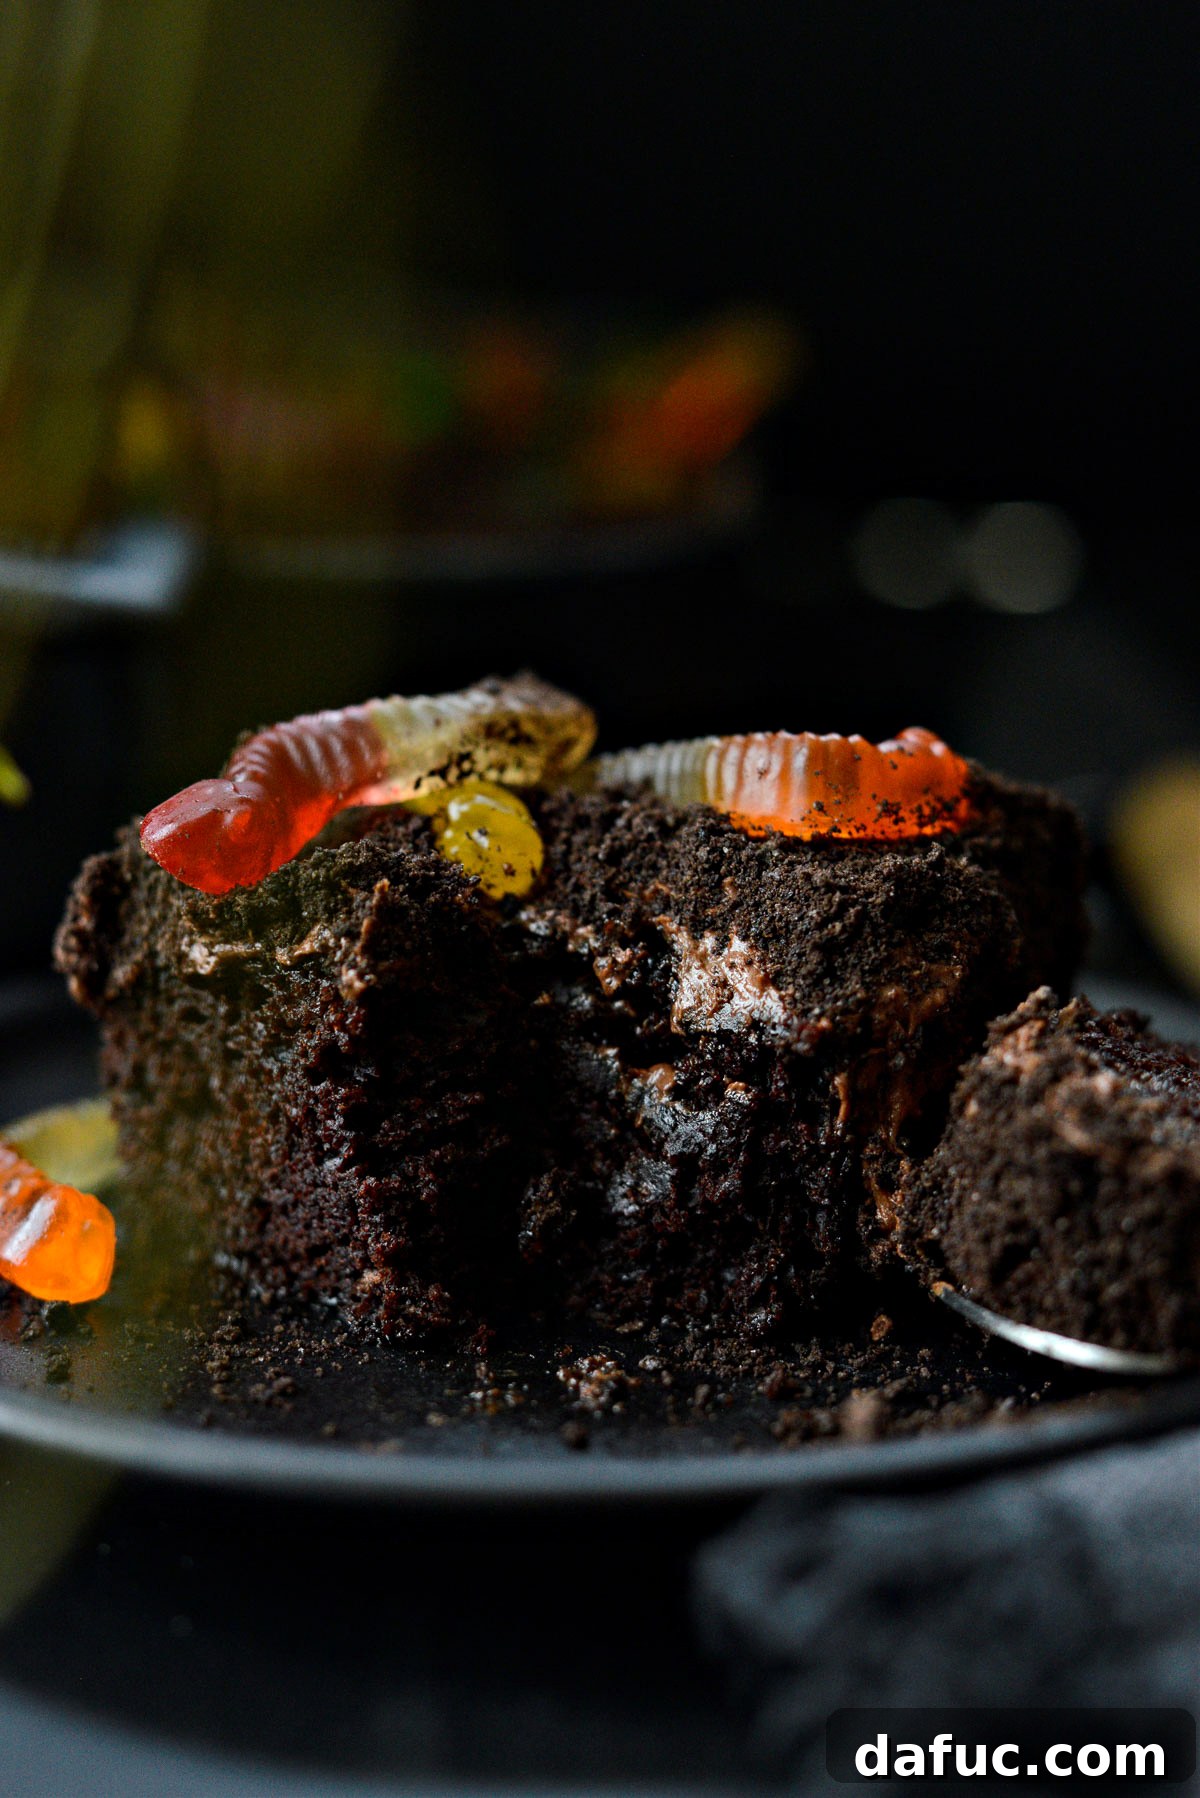
The Ultimate Chocolate Dirt Cake: A Decadent & Playful Dessert Experience
Prepare to delight your taste buds and spark a sense of nostalgic fun with this incredible Chocolate Dirt Cake! This isn’t just any cake; it’s a rich, incredibly moist buttermilk chocolate cake, generously layered with luscious homemade whipped chocolate buttercream, crumbled chocolate cookies resembling fresh earth, and adorned with whimsical gummy worms. It’s a dessert that promises pure joy and makes for a fantastic centerpiece at any gathering, from casual family dinners to elaborate themed parties. Yielding 12 to 16 generous servings, this cake is designed to be shared and savored by all.
A Classic Childhood Favorite Reimagined: The Dirt Cake Phenomenon
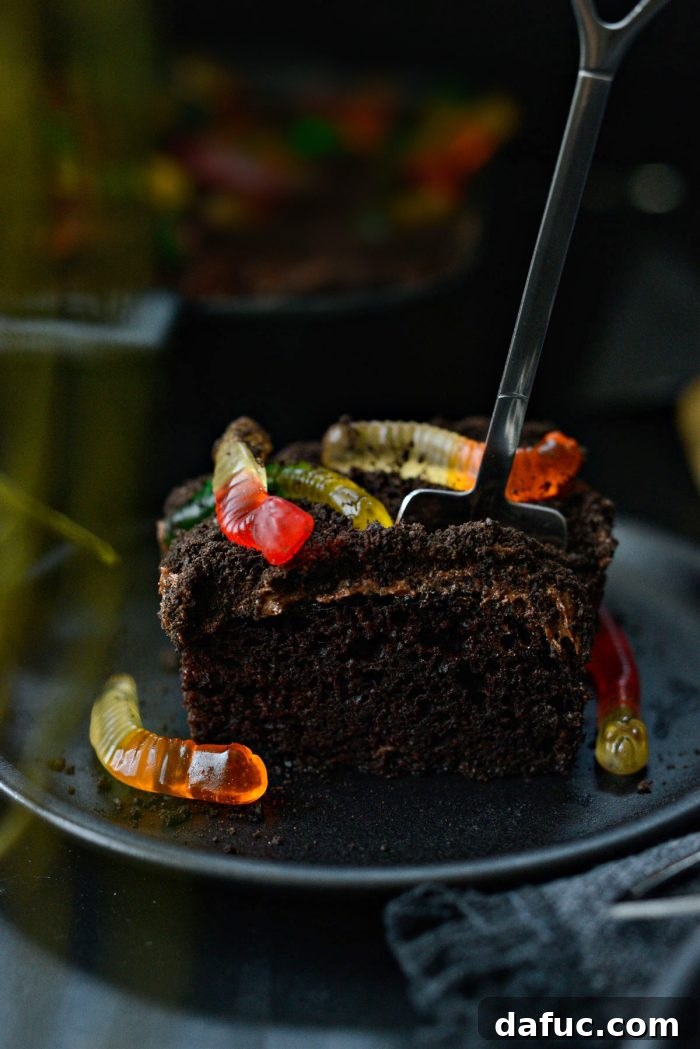
Who doesn’t remember the thrill of dirt pudding as a child? That beloved treat featuring layers of creamy chocolate pudding, crushed chocolate sandwich cookies (often Oreos!), and a playful scattering of gummy worms. Sometimes served in individual cups or even miniature buckets with tiny plastic shovels, it was a simple yet profoundly effective dessert that captivated both kids and adults with its fun presentation and irresistible chocolatey goodness. It evoked a sense of playful exploration, transforming a simple dessert into an imaginative adventure.
Today, we’re taking that cherished classic and elevating it into a truly magnificent, show-stopping cake! This recipe transforms the humble dirt pudding into an impressive dessert, built upon a foundation of my tried-and-true chocolate buttermilk cake. The result is a cake that’s not only wonderfully moist and intensely chocolaty but also incredibly fun and satisfying to assemble and decorate. Imagine gummy worms seemingly burrowing into the rich “soil” of the cake, or playfully slithering across its surface – it’s an edible masterpiece that will bring smiles and conversation to any table.
Why This Chocolate Dirt Cake Is a Must-Try
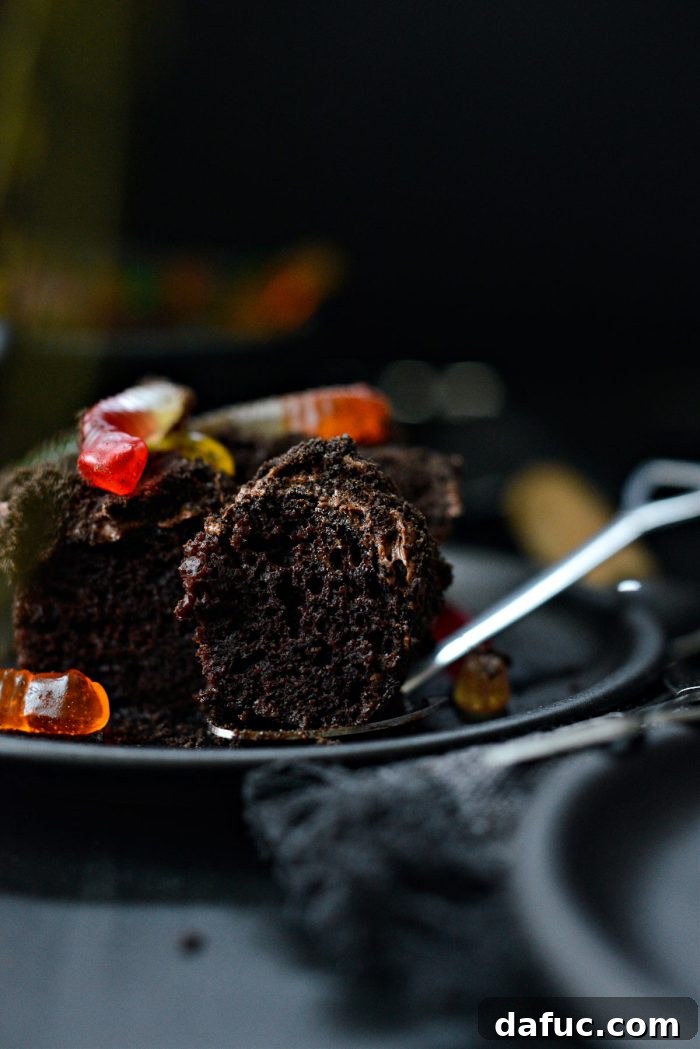
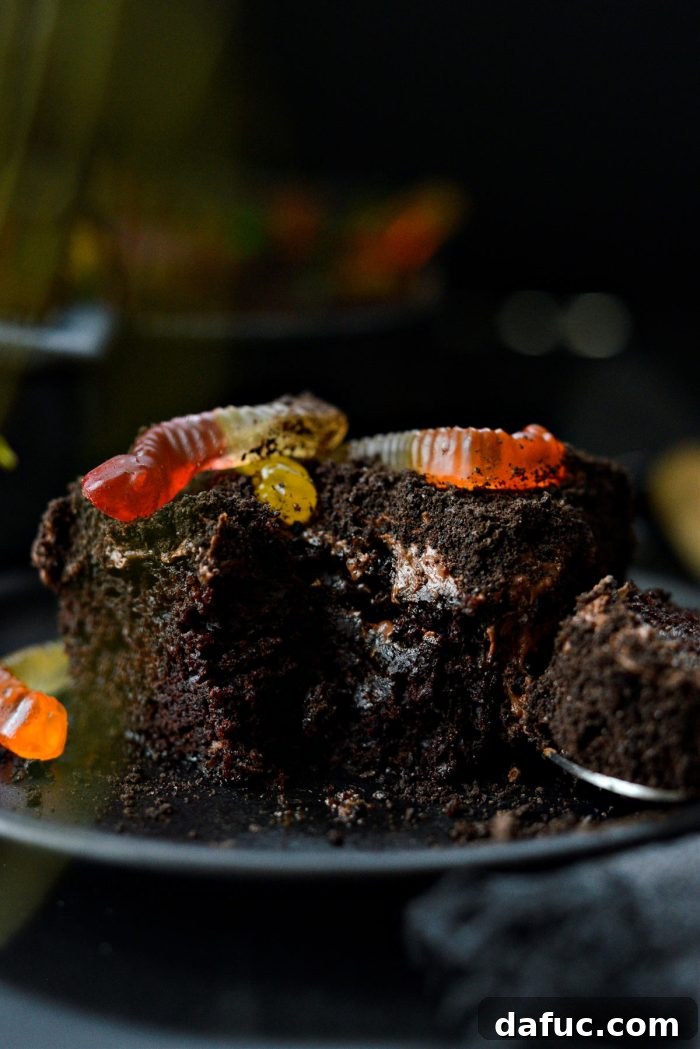
While the gummy worms add a delightful, whimsical touch that’s perfect for themed celebrations, they are entirely optional. This cake is so exceptionally moist and packed with deep, complex chocolate flavor that it can stand proudly on its own, even without the playful “dirt” theme. If you’re a pure chocolate enthusiast, feel free to skip the worms and simply revel in the triple chocolate experience – a rich, tender chocolate cake, generously smothered in velvety chocolate buttercream, and topped with crunchy chocolate cookie crumbs. It’s a symphony of chocolate in every bite!
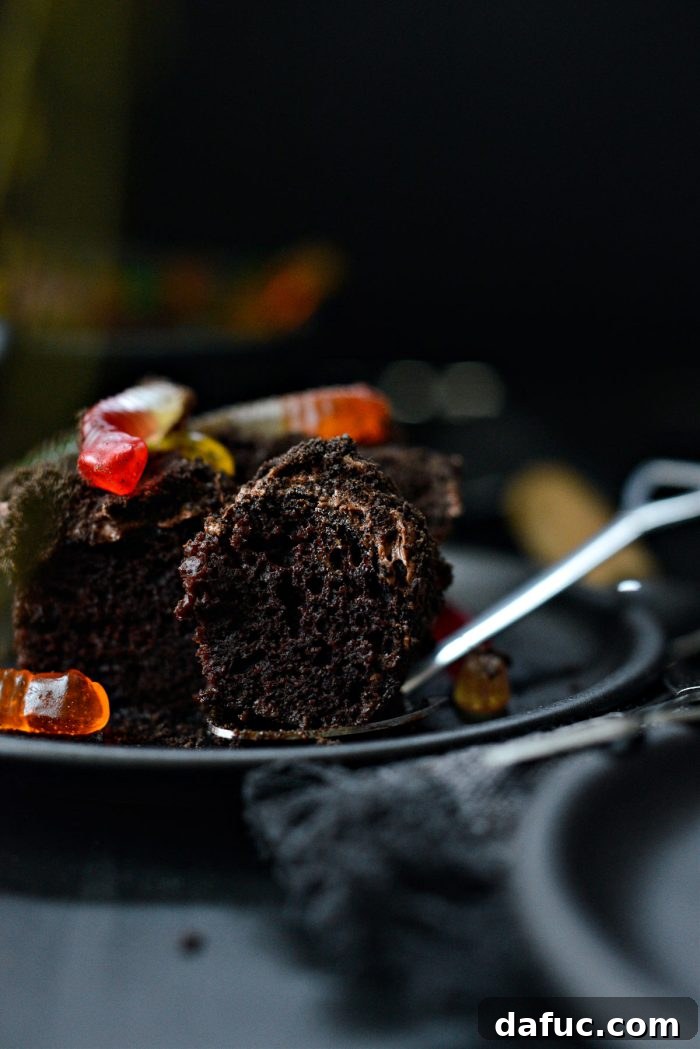
The secret to its unparalleled moisture and tender crumb lies in a thoughtful combination of key ingredients. Buttermilk lends a subtle tanginess and acidity that beautifully complements and brightens the chocolate flavor. Brewed coffee, another star ingredient, deepens the cocoa notes without imparting a distinct coffee taste, making the chocolate richer and more profound. Unsweetened applesauce adds significant moisture to the cake batter without contributing extra fat, ensuring a light yet incredibly tender and satisfying texture. This meticulous blend of components creates a cake that is unforgettable from the very first forkful, offering a perfect balance of sweetness, tang, and profound chocolate indulgence.
Essential Ingredients for The Perfect Chocolate Dirt Cake
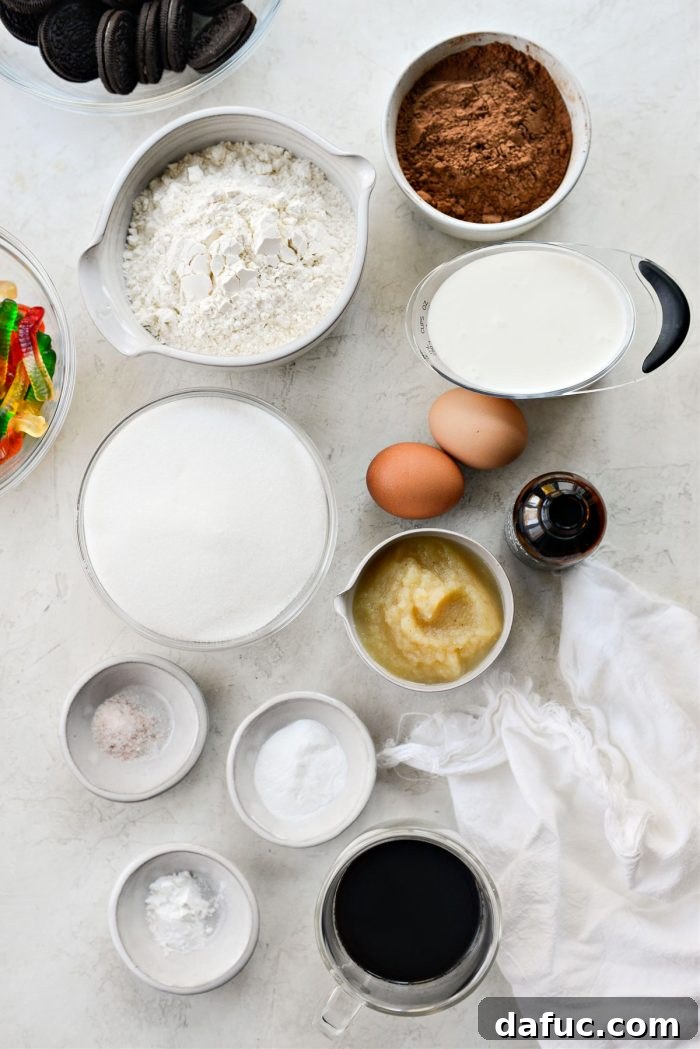
Crafting this magnificent Chocolate Dirt Cake requires a selection of fresh, quality ingredients. Each component plays a vital role in achieving the perfect texture, flavor, and the iconic “dirt” aesthetic. Here’s a detailed look at what you’ll need and why each element is crucial:
- Nonstick Baking Spray with Flour: This indispensable pantry item is your best friend for ensuring a flawless cake release from the pan. It effectively prevents sticking, preserving the cake’s beautiful structure and making cleanup a breeze.
- Unbleached All-Purpose Flour: Serving as the primary structural component of our cake batter, unbleached all-purpose flour provides a consistent, reliable texture and the necessary framework for a perfectly baked, tender cake.
- Unsweetened Cocoa Powder: This is where the rich, deep chocolatey flavor of the cake originates. It’s crucial to use natural unsweetened cocoa powder, not Dutch-processed cocoa. Natural cocoa is acidic and reacts specifically with baking soda to create lift, resulting in a lighter crumb and a more vibrant, authentic chocolate taste.
- Baking Soda: A powerful leavening agent that activates when it comes into contact with acidic ingredients like buttermilk and natural cocoa powder. This reaction produces carbon dioxide gas, which helps the cake rise, contributing to its wonderfully light and airy texture.
- Baking Powder: Working in tandem with baking soda, baking powder provides an additional boost of leavening. This creates extra lightness in the batter, ensuring the cake rises beautifully and achieves a delicate, tender crumb.
- Fine Salt (Sea Salt or Pink Himalayan): A small but incredibly significant ingredient. Salt doesn’t just add savoriness; it balances the sweetness of the sugar and intensely enhances all the other flavors in the cake, particularly deepening the chocolate notes.
- Granulated Sugar: Provides essential sweetness, of course, but also plays a critical role in the cake’s moisture content. It contributes to a tender, soft crumb and a delightful overall taste.
- Large Eggs (Room Temperature): Eggs are crucial binders that add structure, richness, and emulsification to the cake. Using them at room temperature is important as it helps them incorporate more evenly into the batter, leading to a smoother mixture and a more uniform, finer crumb in the final baked cake. Remember to set them out at least 30 minutes before baking or quickly warm them in a bowl of lukewarm water.
- Unsweetened Applesauce: A brilliant addition that introduces significant moisture to the cake batter without adding extra fat. This results in a deliciously tender, moist crumb while contributing to a slightly healthier profile.
- Brewed Coffee (Cooled): This is the secret weapon for any serious chocolate cake! Rest assured, your cake will not taste like coffee. Instead, the coffee deepens and intensifies the chocolate flavor, making it richer, more profound, and incredibly complex. Ensure it’s cooled to prevent it from prematurely cooking the eggs in the batter.
- Buttermilk: An indispensable ingredient for its acidity and unique flavor. Buttermilk imparts a pleasant tanginess and reacts with the baking soda to create an exceptionally moist, tender, and fine-crumbed cake with a wonderfully nuanced flavor profile.
- Pure Vanilla Extract: A universal flavor enhancer, pure vanilla extract adds warmth, depth, and a subtle aromatic complexity that brings out the best in the chocolate and all the other ingredients in the cake.
- Whipped Chocolate Buttercream: The glorious crowning layer of our cake! While you can certainly use your favorite chocolate frosting, a homemade whipped chocolate buttercream offers an unparalleled creamy, airy texture and a deeply rich flavor that perfectly complements the moist cake and crunchy “dirt.” For a truly sensational experience, consider making it from scratch. You can find a fantastic recipe for it here.
- Chocolate Sandwich Cookies (like Oreos): These are absolutely crucial for creating the authentic “dirt” effect. For the best texture, remember to twist them apart and scrape out the white cream filling before crushing them. The cookie wafers alone create the ideal crumbly texture.
- Gummy Worms: The iconic, fun, and playful decoration that truly brings the “dirt cake” theme to vivid life. They add a whimsical touch, a pop of color, and a chewy textural contrast to the soft cake and crunchy cookie crumbs.
Step-by-Step Guide to Baking Your Irresistible Chocolate Dirt Cake
Follow these detailed, easy-to-understand instructions to create your perfect chocolate dirt cake. Precision in measurement and patience are key ingredients for baking success!
1. Pan and Oven Preparation
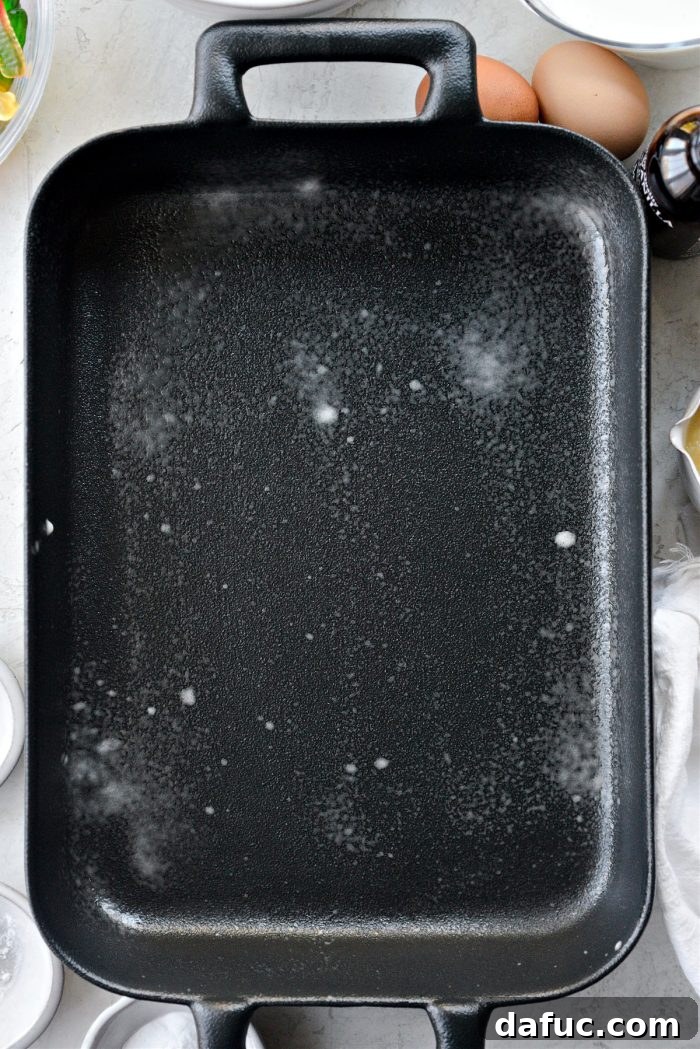
Before you even begin mixing, take a moment to prepare your workspace. Preheat your oven to 350°F (175°C). Then, generously grease a 9×13 inch baking pan with nonstick baking spray that contains flour. This crucial step ensures your cake releases cleanly and effortlessly from the pan after baking, preventing any frustrating sticking and preserving the cake’s beautiful, intact structure.
2. Crafting the Chocolate Buttermilk Cake
A. Combine Dry Ingredients:
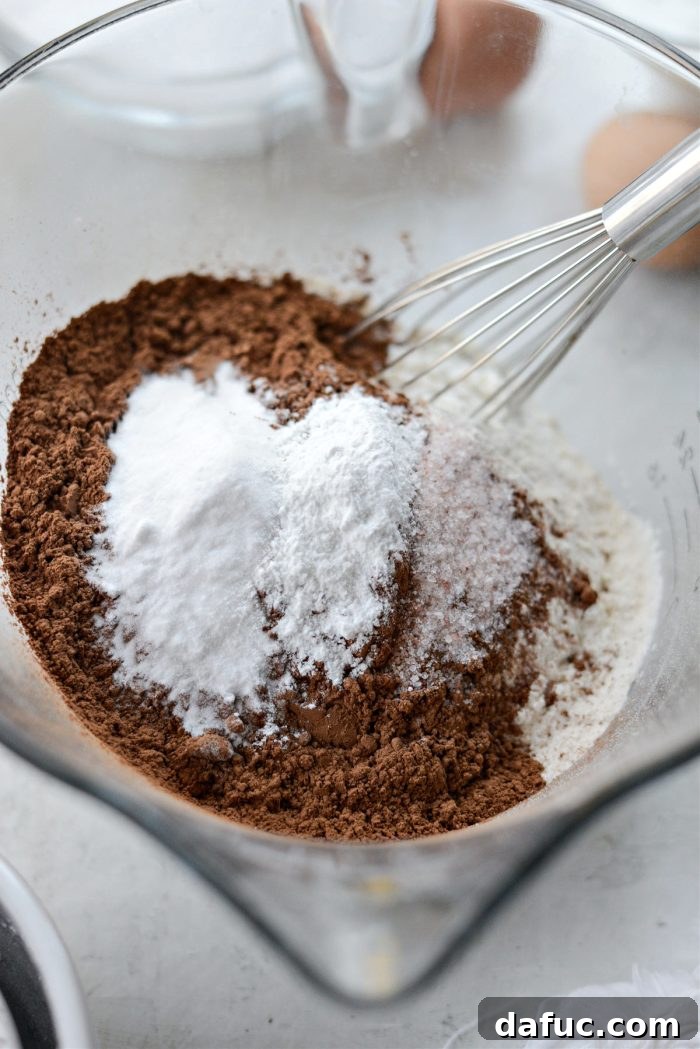
In a spacious mixing bowl, carefully measure and add the following dry ingredients: 1-3/4 cups unbleached all-purpose flour, 3/4 cup unsweetened cocoa powder, 2 teaspoons baking soda, 1 teaspoon baking powder, and 3/4 teaspoon fine salt. Using a whisk, thoroughly combine these dry ingredients, ensuring that all components are evenly distributed and no lumps remain. This step is crucial for consistent leavening and a uniform cake texture.
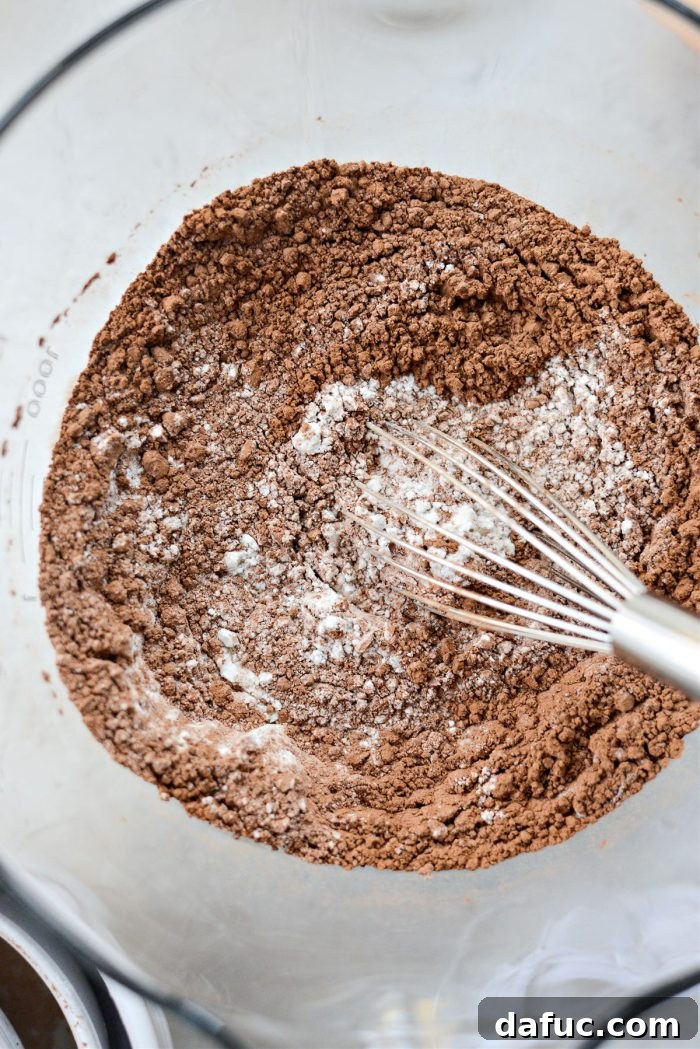
B. Combine Wet Ingredients:
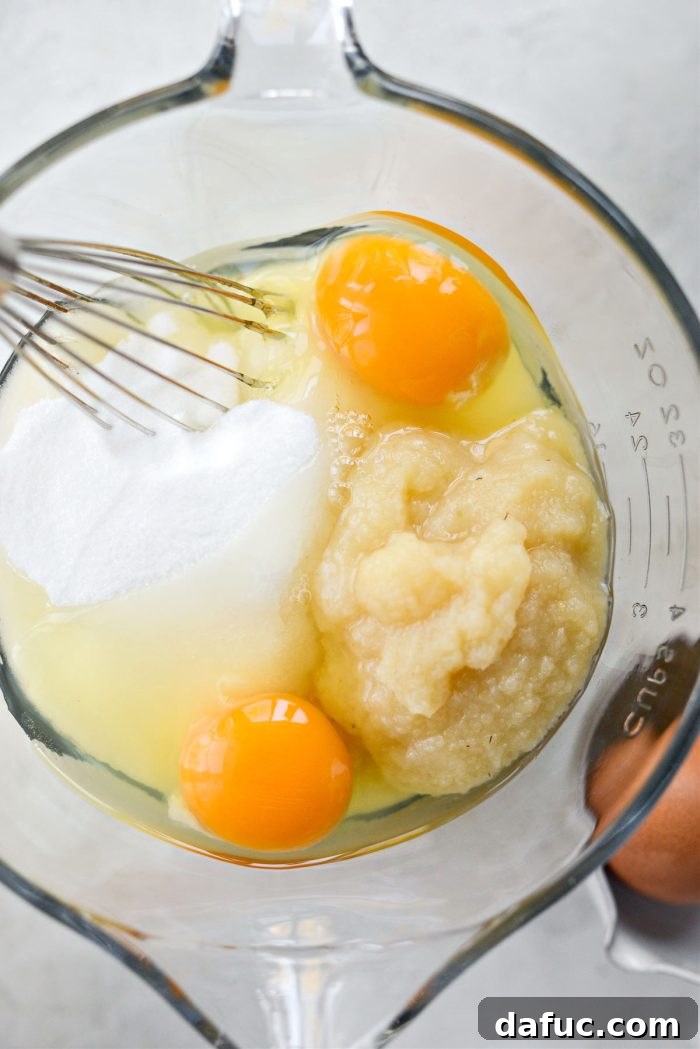
In a separate, medium-sized bowl, measure and add 2 cups of granulated sugar, 2 large room-temperature eggs, and 1/2 cup of unsweetened applesauce. Whisk these ingredients together until they are well combined and smooth. The mixture might appear thick at this initial stage.
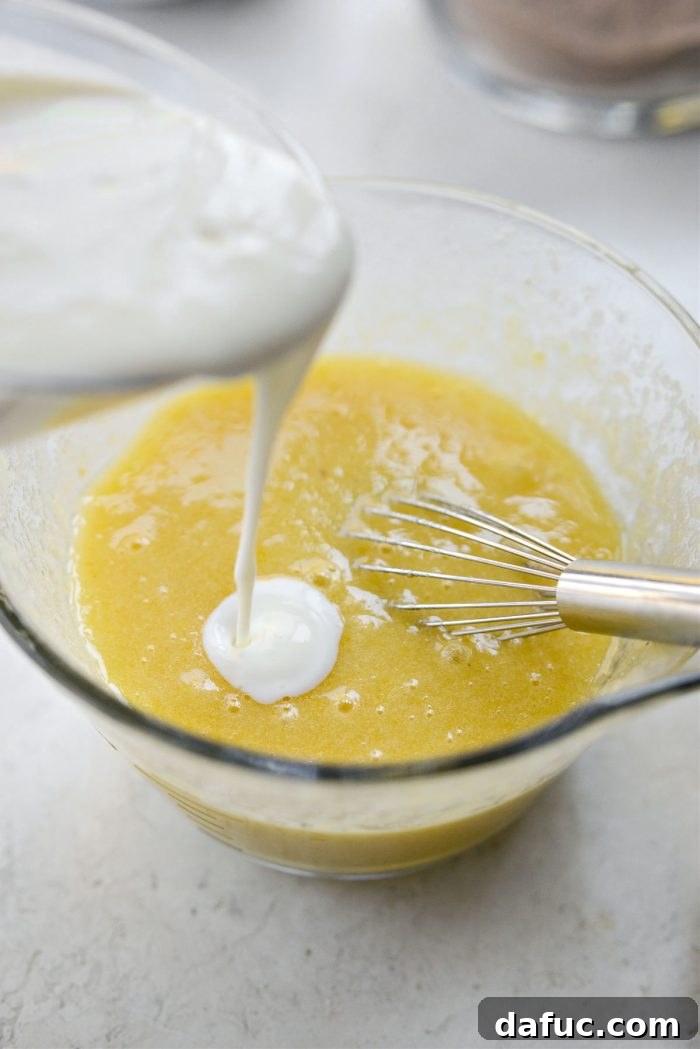
Next, gently pour in 1 cup of buttermilk and continue to whisk until it is fully incorporated into the mixture. The buttermilk will help thin out the batter slightly and add its characteristic tang.
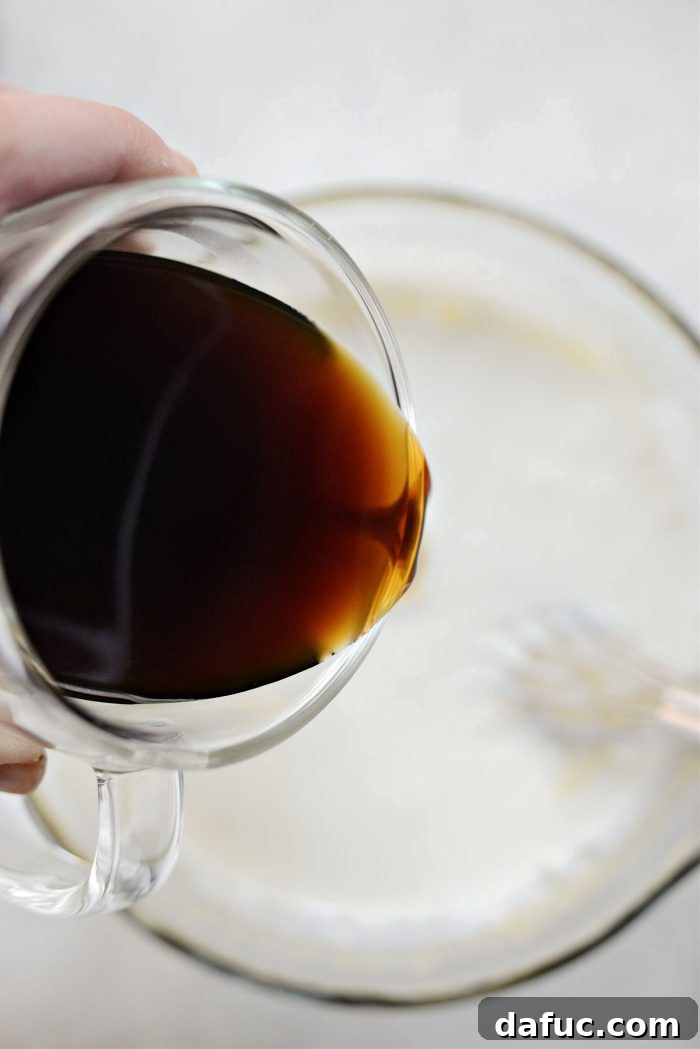
Following the buttermilk, add 1 cup of cooled brewed coffee. This crucial ingredient, as mentioned earlier, deepens and enhances the chocolate flavor without adding a coffee taste. Give the mixture another gentle whisk to ensure everything is well combined.
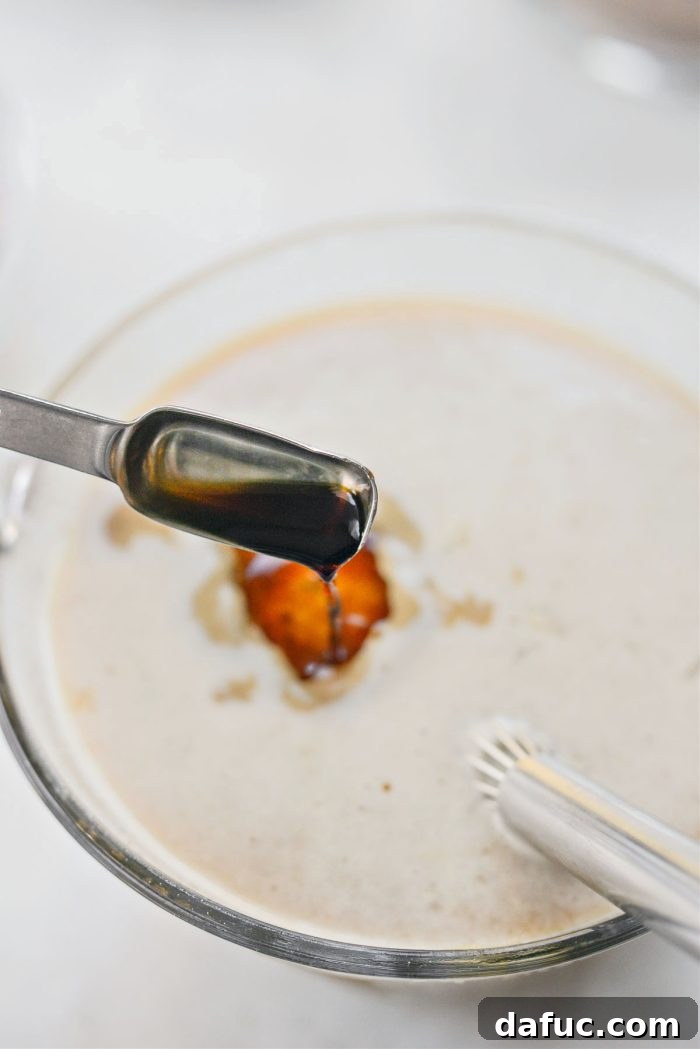
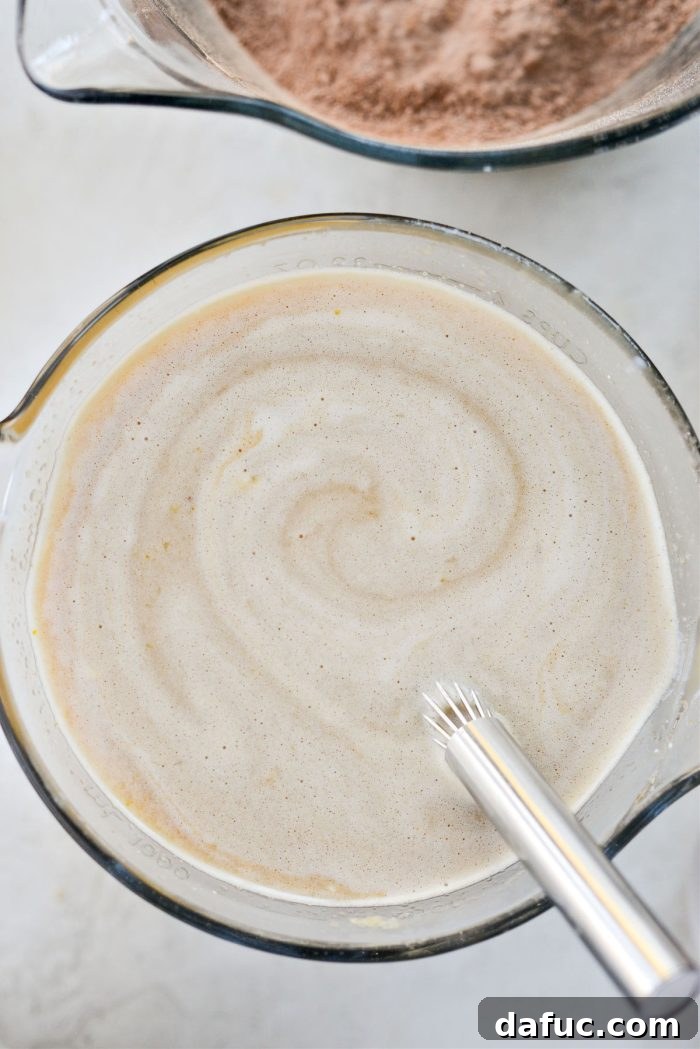
Finally, stir in 1 teaspoon of pure vanilla extract. Perform one last thorough whisk of all the wet ingredients to achieve a completely homogenous mixture, ready for the dry components.
C. Combine Wet and Dry Mixtures:
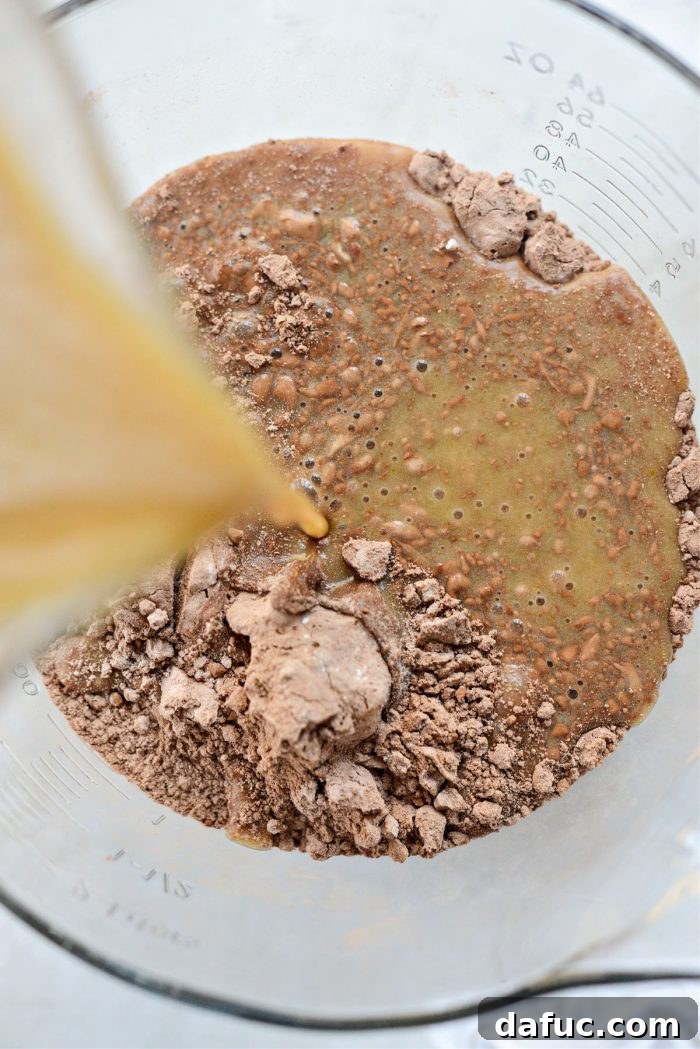
Now, pour the entire wet ingredient mixture directly into the bowl containing your whisked dry ingredients. Use your whisk to gently combine the two until they are just incorporated. Be extremely careful not to overmix at this stage, as overmixing can lead to the development of gluten, resulting in a tough and less tender cake.
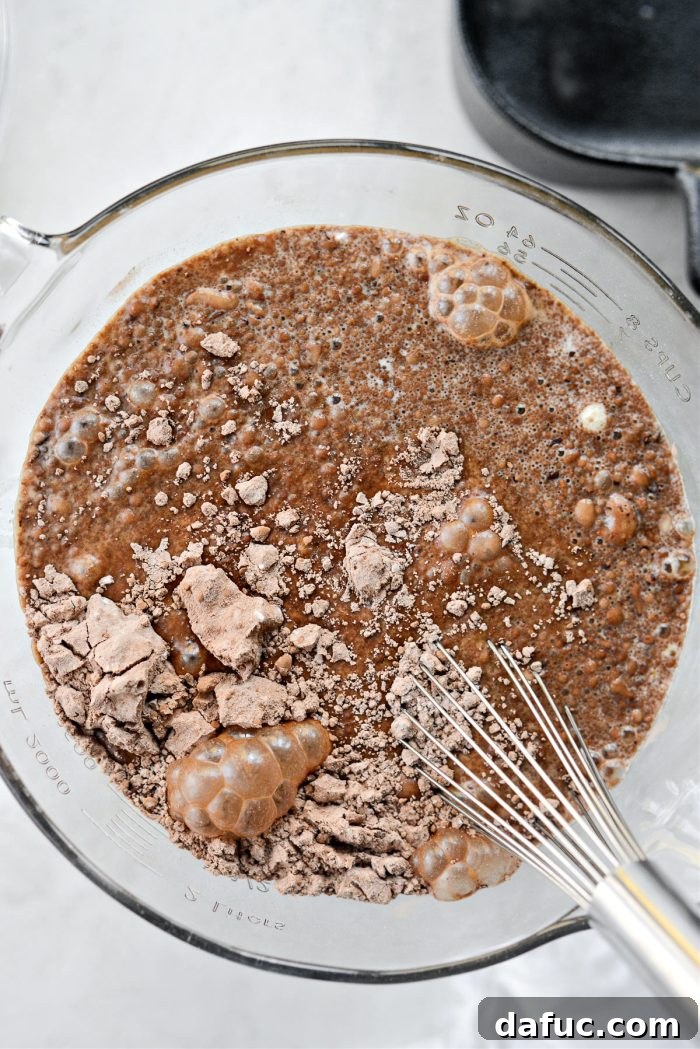
Once the ingredients are mostly combined, switch from the whisk to a rubber spatula. Use the spatula to carefully scrape down the sides and bottom of the bowl, ensuring all ingredients are fully integrated and that there are no hidden pockets of unmixed flour. The batter should be smooth and cohesive.
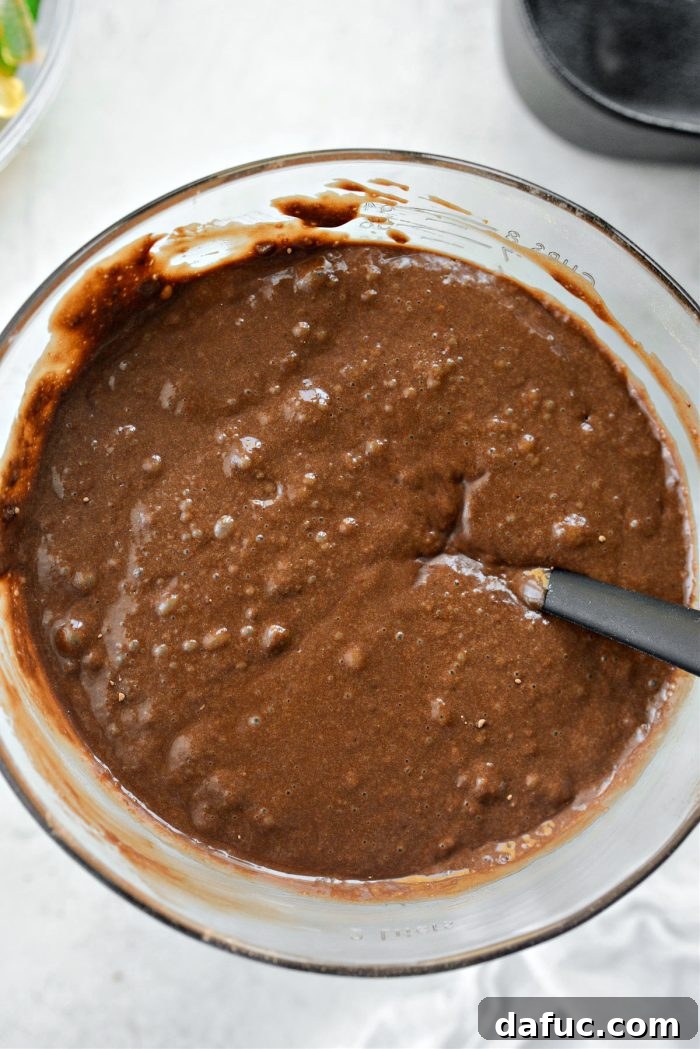
D. Bake the Cake:
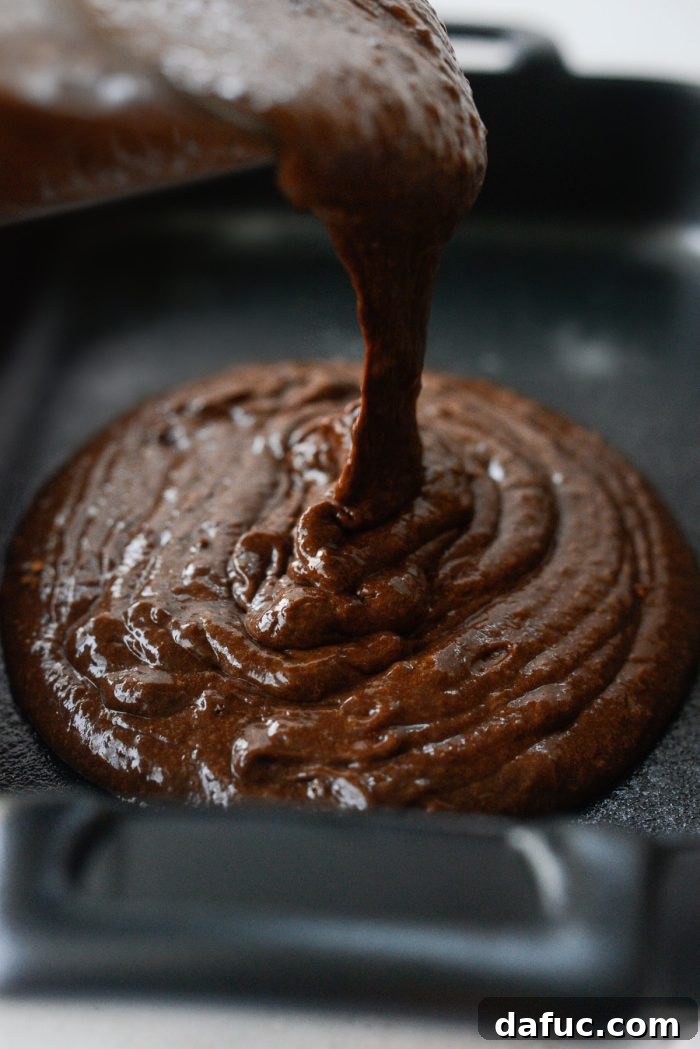
Pour the prepared chocolate cake batter evenly into your previously greased and floured 9×13 inch baking pan. Gently tap the pan on your counter a few times; this helps to release any large air bubbles trapped within the batter, ensuring a more even crumb.
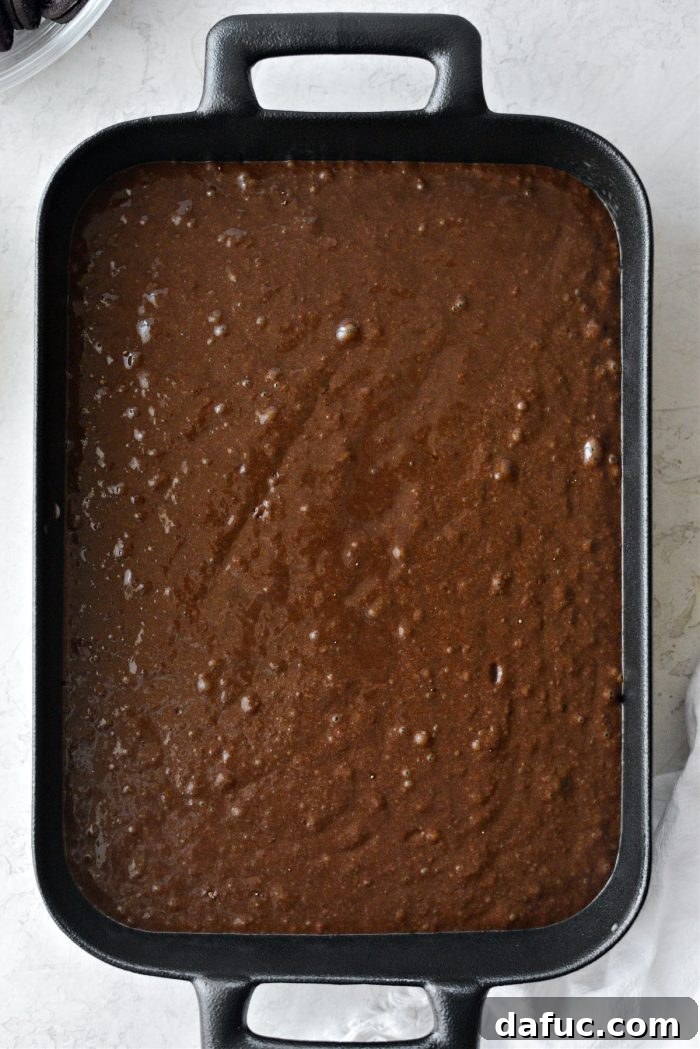
Place the pan on the middle rack of your preheated oven and bake for approximately 20 to 22 minutes. Begin checking for doneness around the 20-minute mark. The cake is ready when a wooden toothpick inserted into the very center comes out with only a few moist crumbs attached, but no wet batter.
Important Note on Baking Time: It’s essential to remember that oven temperatures can vary significantly from one appliance to another. My personal oven, being a smaller, older wall-mounted unit, tends to run hotter and typically bakes this cake in about 22 minutes. However, a standard 9×13 inch cake often requires closer to 30-35 minutes in larger, newer ovens. Always monitor your cake as it bakes and adjust the timing as needed based on your specific oven’s performance. The toothpick test is your most reliable indicator!
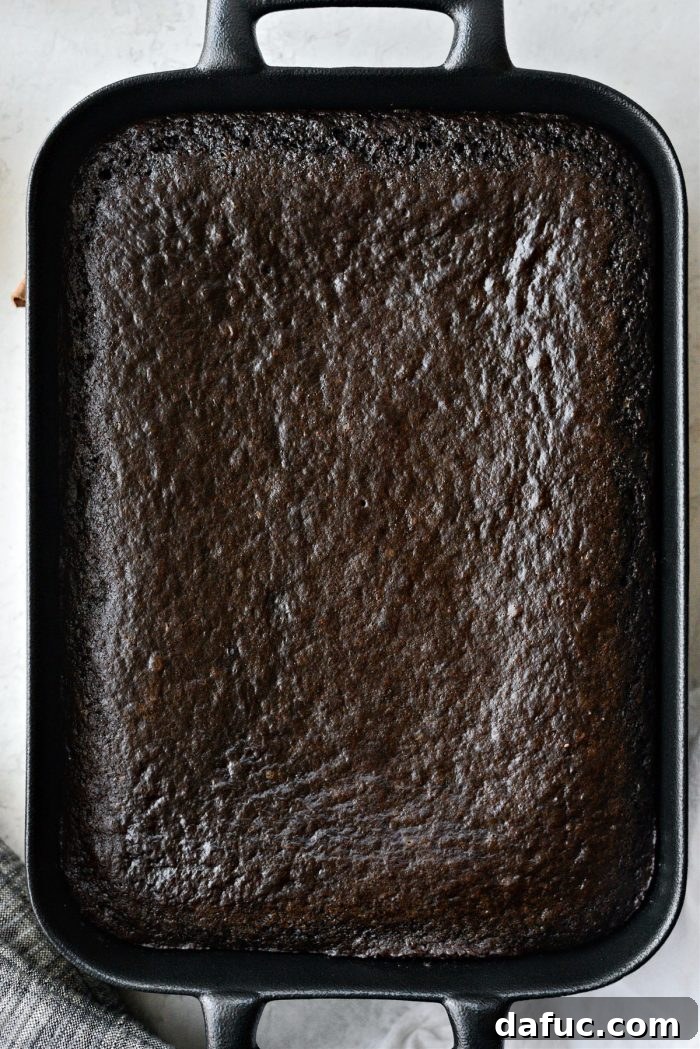
Once baked to perfection, carefully remove the cake from the oven and transfer it to a wire rack to cool completely. This is a critical step! Do not attempt to frost a warm cake, as the heat will cause the frosting to melt, slide off, and create a messy situation.
3. Prepare Your Cookie Crumbs (The “Dirt” Layer)
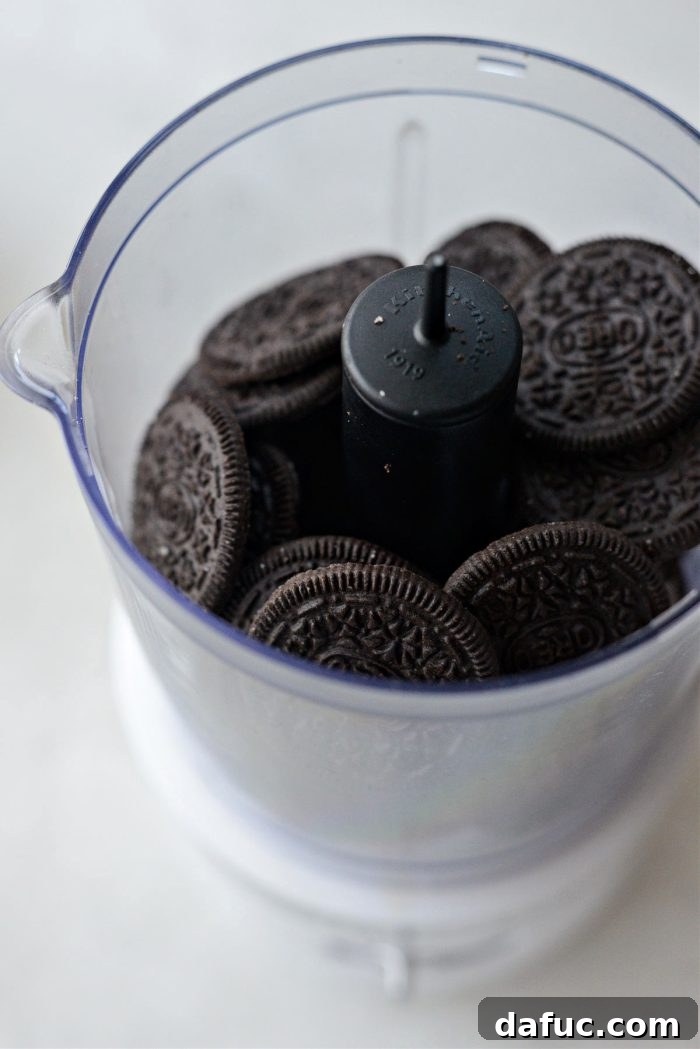
While your cake is diligently cooling, it’s the perfect time to prepare the crucial “dirt” topping. Take approximately 24 chocolate sandwich cookies (like Oreos). Twist each cookie open and carefully scrape out the white cream filling. You can discard the cream, or, if you’re feeling a little indulgent, save it for a quick, sweet snack! Place only the chocolate cookie wafers into a food processor.
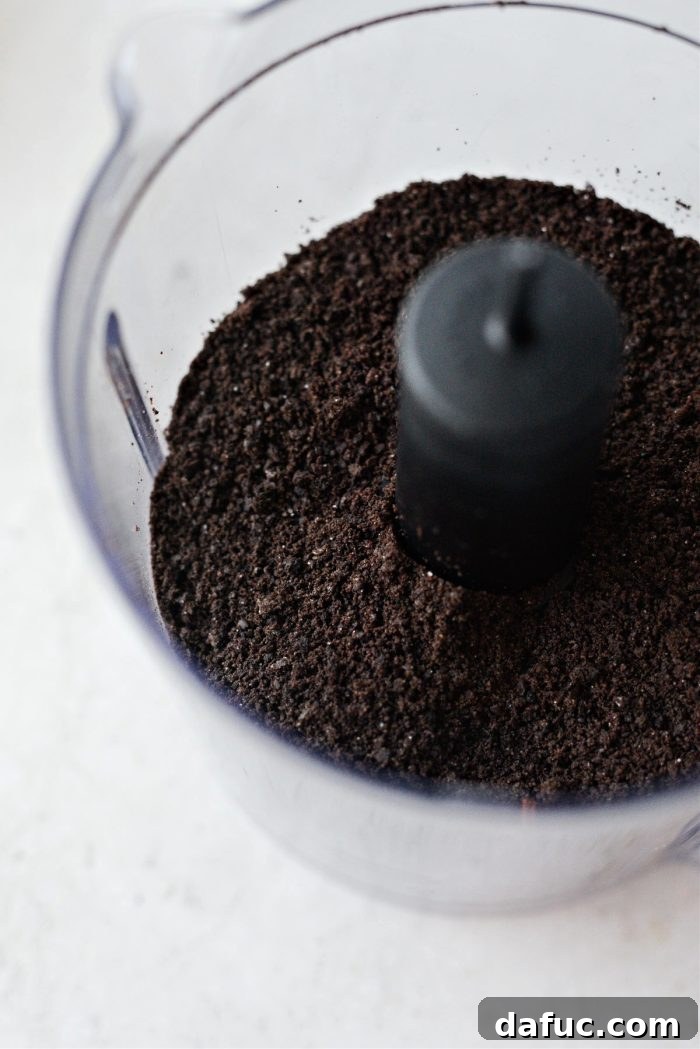
Pulse the cookies in the food processor until fine, consistent crumbs are formed. The goal is a texture that truly resembles rich, dark soil – uniform and without large chunks. Be careful not to over-process them into a paste. If you don’t have a food processor, a simple alternative is to place the cookie wafers in a sturdy Ziploc bag and crush them thoroughly with a rolling pin or the bottom of a heavy glass.
4. Make the Whipped Chocolate Buttercream Frosting
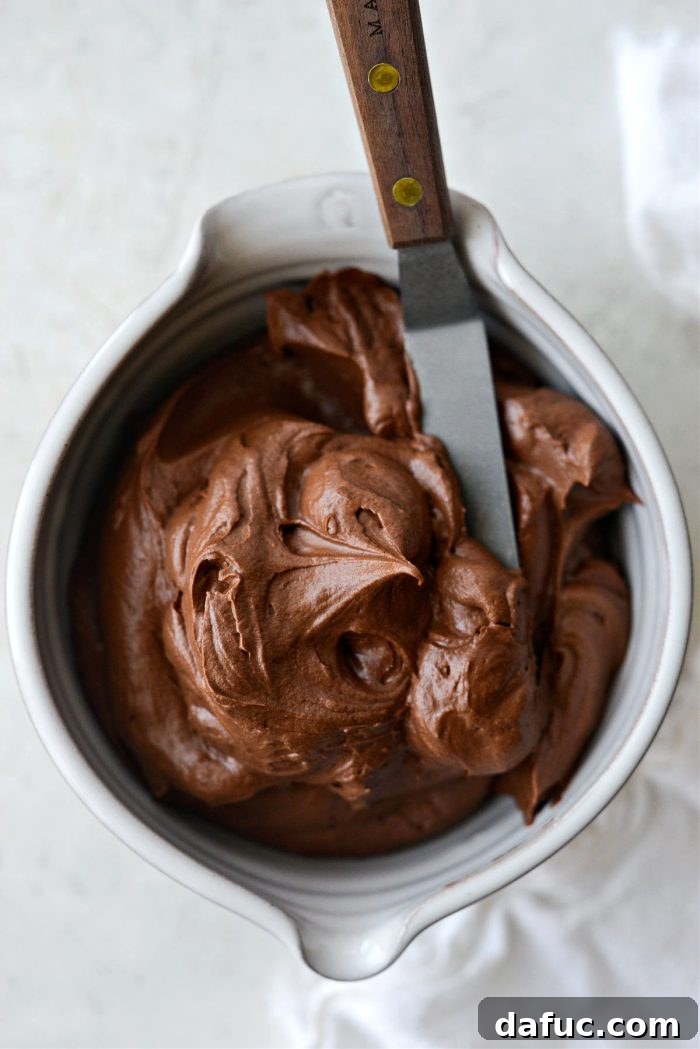
Once the cake has completely cooled to room temperature (this might take an hour or more), it’s finally time to prepare your luscious chocolate frosting. While any store-bought or homemade chocolate frosting will work in a pinch, a homemade whipped chocolate buttercream truly elevates this cake to new heights of deliciousness. Its light, airy texture and deep, rich chocolate flavor perfectly complement the moist cake and crunchy “dirt.” A detailed, step-by-step recipe for this decadent buttercream can be found here. Ensure your buttercream is smooth, creamy, and spreadable before moving on to assembly.
Assemble Your Magnificent Chocolate Dirt Cake
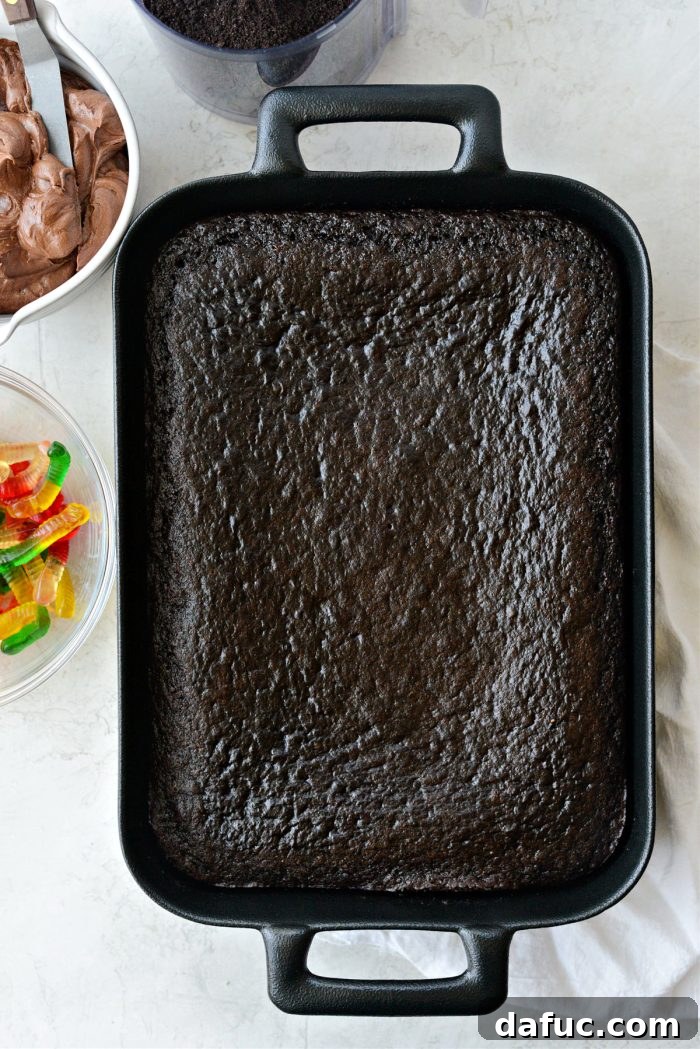
With your cake perfectly cooled, your cookie crumbs ready, and your frosting prepared, it’s time for the most exciting and creative part: assembling your delicious masterpiece!
A. Frost the Cake:
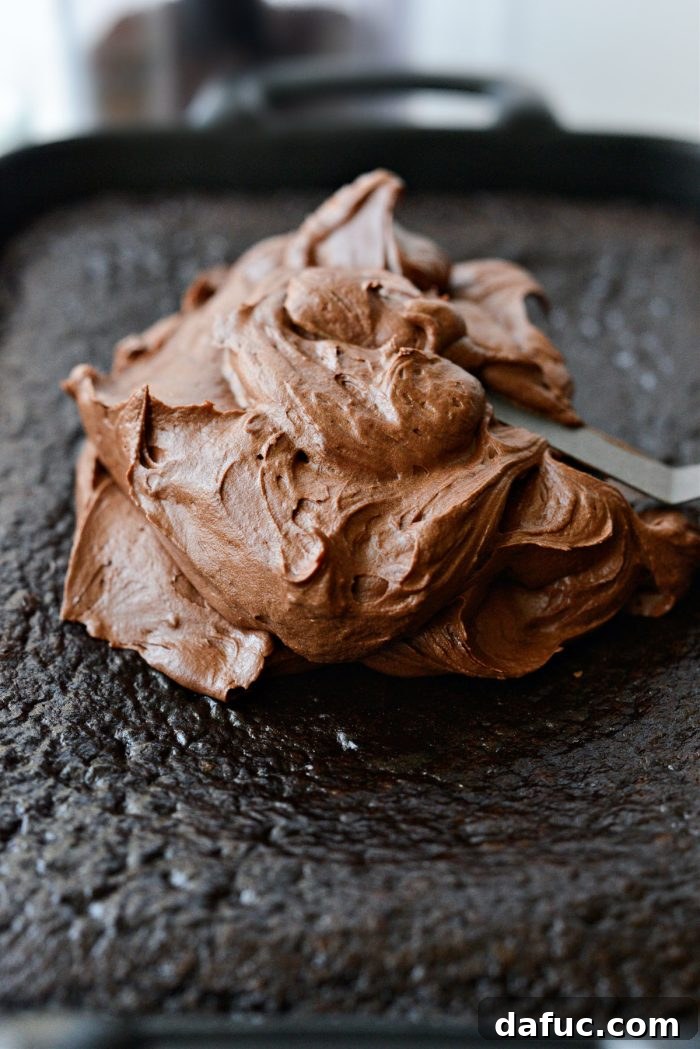
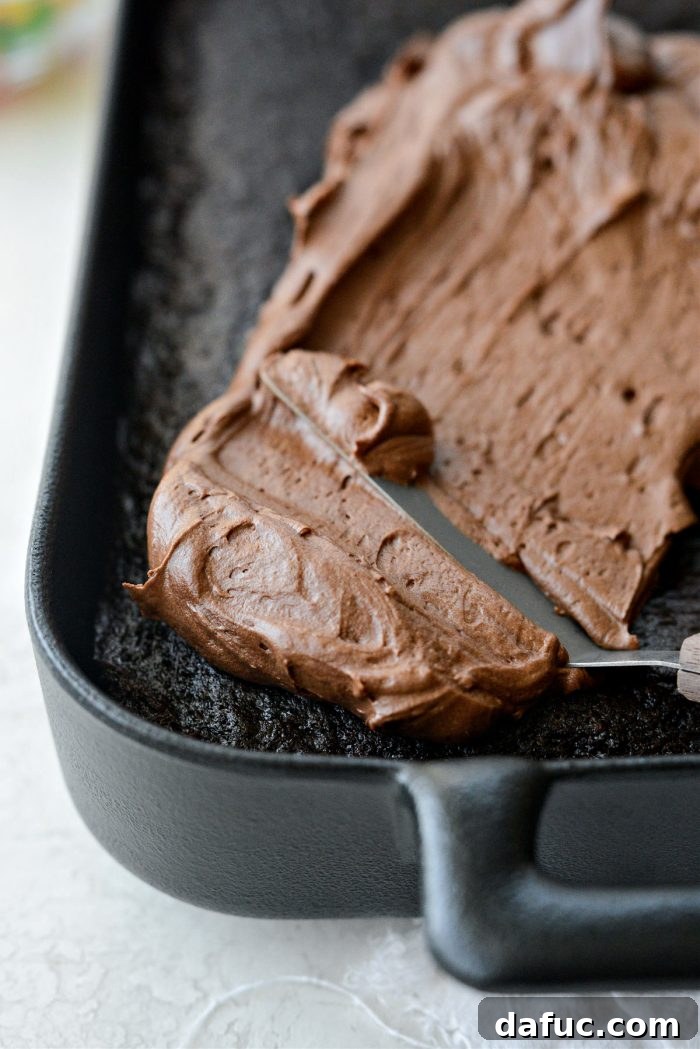
Spoon all of the prepared chocolate buttercream frosting onto the top of the completely cooled cake. Using an offset spatula or the back of a large spoon, gently and evenly spread the frosting from corner to corner. Aim for a smooth, inviting surface that will serve as the perfect creamy base for our “soil” layer. Ensure even coverage for the best aesthetic.
B. Add the “Dirt” Crumbs:
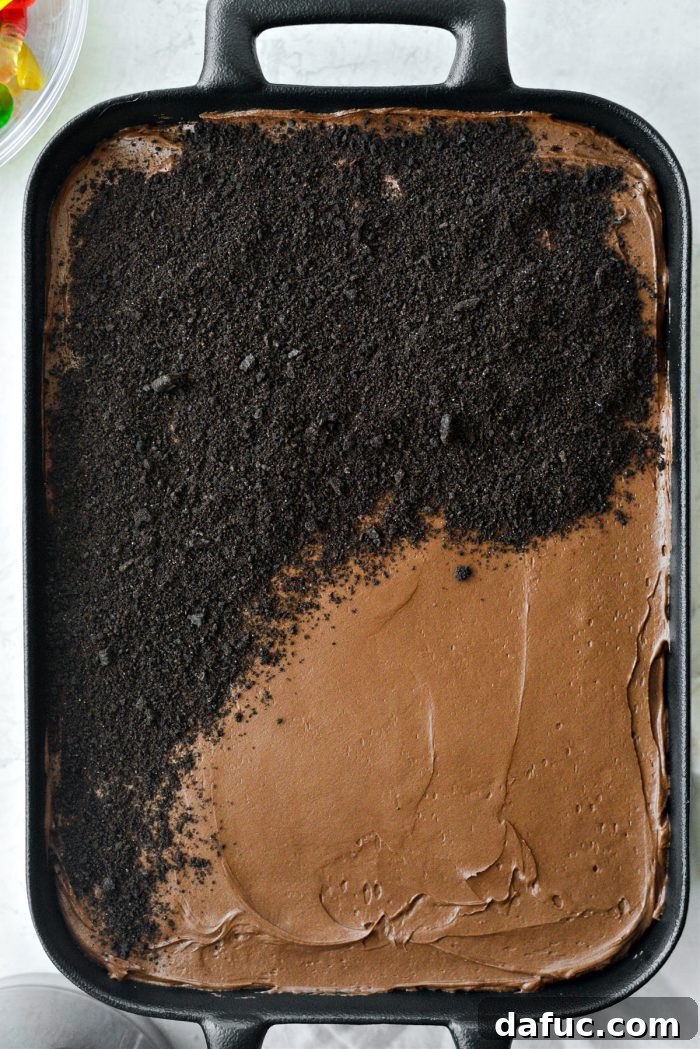
Generously sprinkle the finely crushed chocolate sandwich cookie crumbs over the entire frosted surface of the cake. Make sure to create an even, consistent layer, covering all the buttercream, to truly achieve that realistic, rich “dirt” appearance. You can gently press them down slightly with your hand or the back of a spatula to help them adhere to the frosting.
C. Decorate with Gummy Worms:
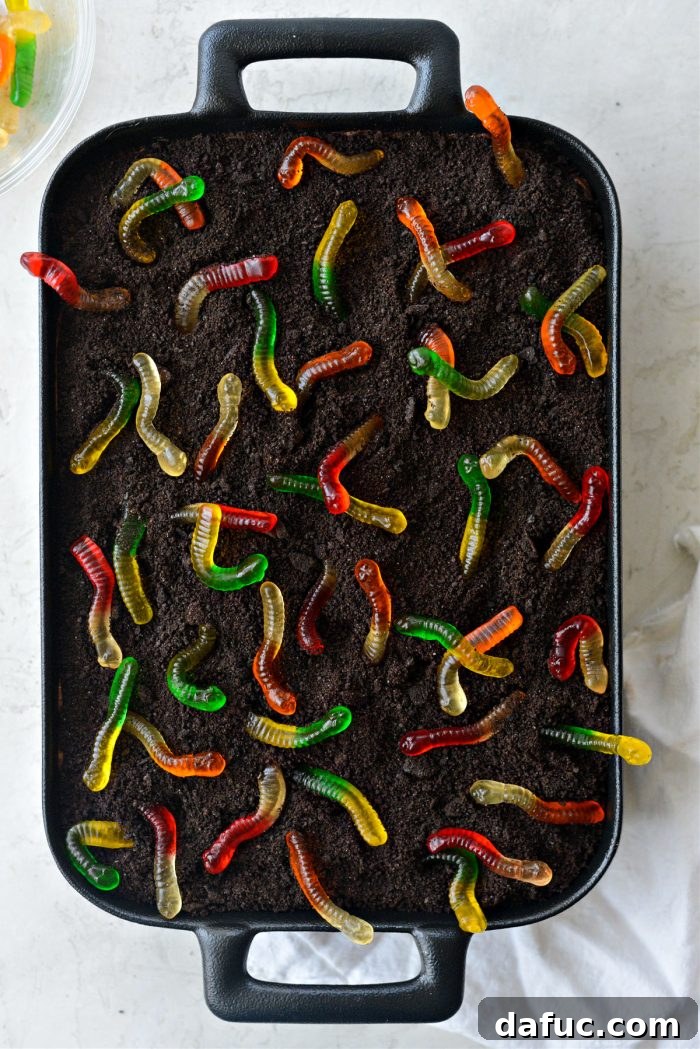
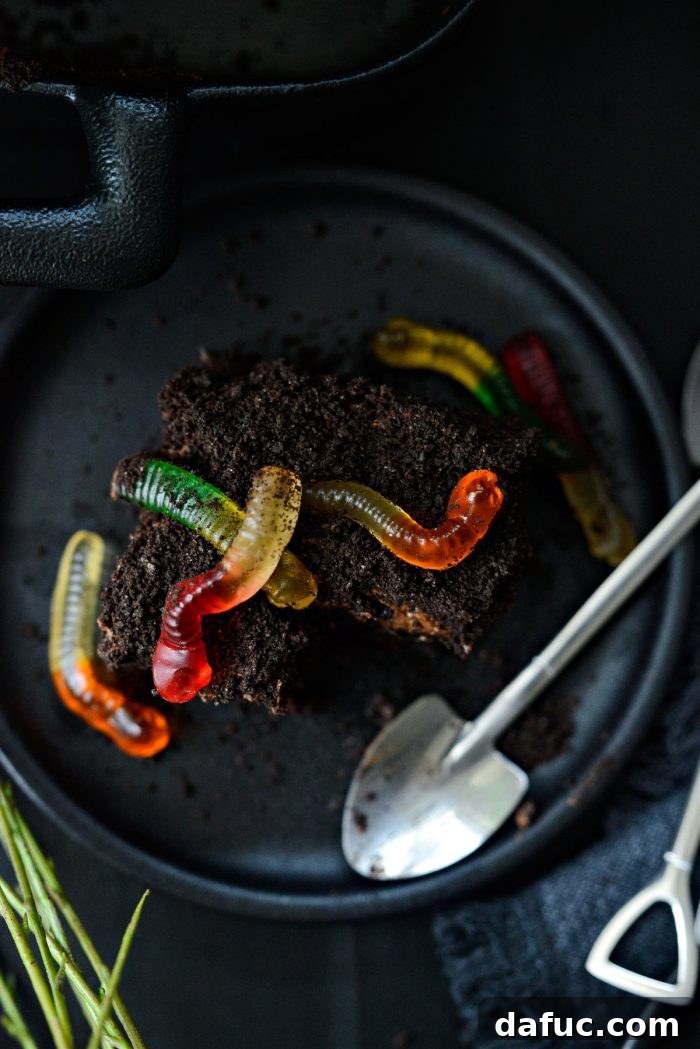
Now for the most creative and fun part! Artfully arrange your gummy worms on top of the cookie crumbs. You can make some appear as if they are actively burrowing into the “dirt,” with just their heads or tails peeking out. Others might be playfully slithering across the surface, or even crawling out of the edges of the pan, adding a dynamic, lively touch. Get imaginative and have fun with your arrangement!
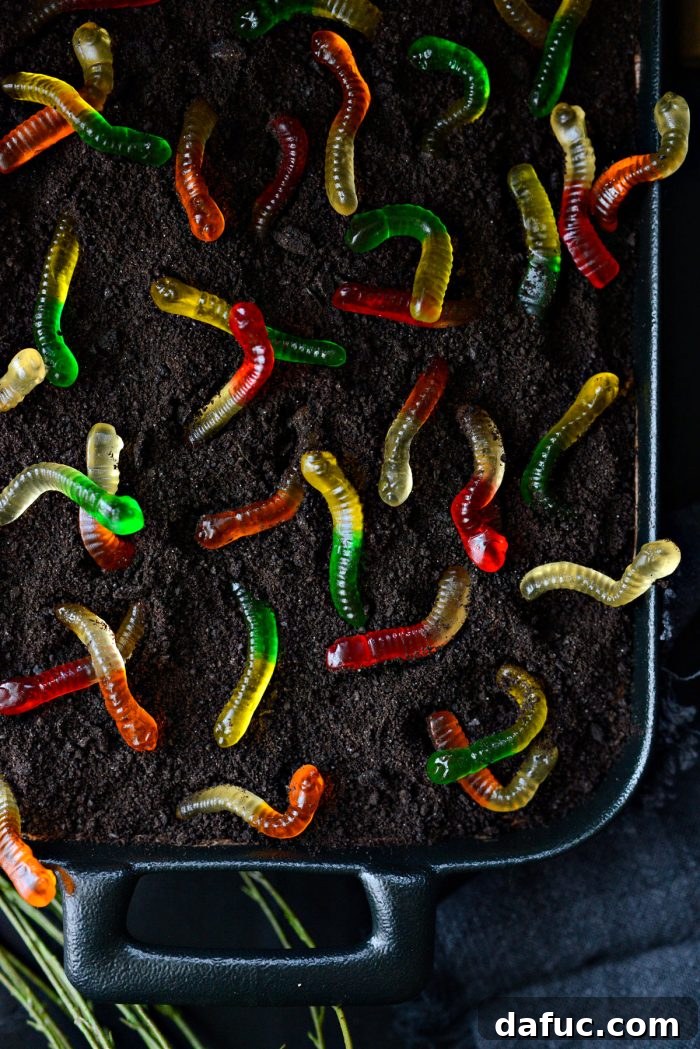
Creative Variations and Memorable Serving Suggestions
While the classic gummy worm decoration is universally adored, this Chocolate Dirt Cake offers an incredibly versatile canvas for your creativity. Feel free to tailor your decorations to suit any occasion, holiday, or personal preference!
- Spooky Halloween Theme: Transform your dirt cake into a spooky graveyard scene for a Halloween party! Use candy pumpkins, edible bone candies, or even create realistic “tombstones” from rectangular chocolate cookies or shortbread, writing “RIP” with icing. A few chocolate spiders, candy corn, or delicately piped cobweb designs can complete the eerie yet delicious look.
- Festive Christmas or Winter Wonderland: For a delightful holiday dessert, dust the entire cake with a generous layer of powdered sugar to beautifully mimic a fresh blanket of snow. Decorate with festive elements like mini candy canes, Christmas-themed chocolates (such as foil-wrapped Santas, elves, or ornaments), holiday sprinkles in red and green, or even edible glitter for a truly magical, sparkling touch.
- Charming Easter Garden: Create an enchanting springtime garden theme for Easter celebrations. Use green-tinted shredded coconut to mimic vibrant “grass” peeking through the dirt. Add colorful jelly beans, Cadbury Mini Eggs, or even chocolate-covered strawberries (tinted orange with food coloring to cleverly resemble carrots!) peeking out of the “soil.” You can also include marshmallow Peeps or small chocolate bunnies for an adorable, thematic touch.
This cake is generally best served at room temperature for optimal flavor and texture, as the frosting will be creamiest and the cake moistest. Slice generous pieces and serve to your eager guests, watching their faces light up with joy.
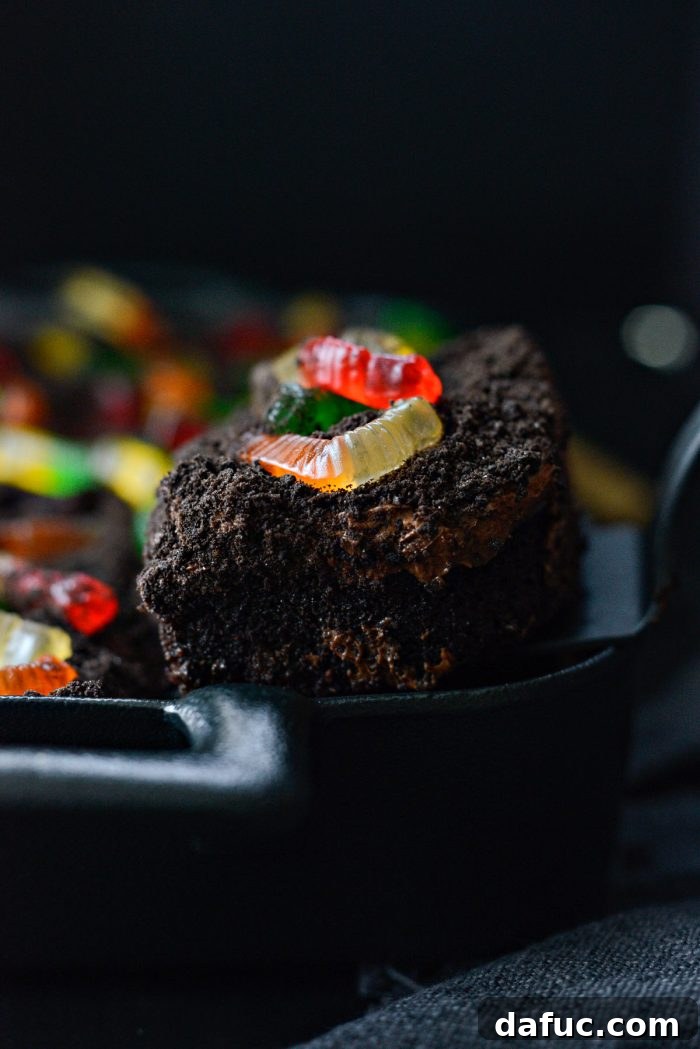
For an extra touch of fun and authentic presentation, especially appealing at kids’ parties or themed events, consider serving individual slices with miniature shovel spoons! These novelty utensils are not only charming but truly complete the immersive “dirt cake” experience.
Tips for Success and Storage Guidelines
- Room Temperature Ingredients are Key: For the best results with the cake, always ensure your eggs and buttermilk are at room temperature. This helps them emulsify more effectively with the other ingredients, leading to a smoother, more uniform batter and a finer, more tender crumb in the finished cake.
- Avoid Overmixing: When combining your wet and dry ingredients, mix only until they are just combined. Overmixing can lead to the overdevelopment of gluten, which will result in a tough, dense, and less moist cake.
- Cool Completely – Patience is a Virtue: This step cannot be emphasized enough! Frosting a warm cake is a surefire recipe for a melted, sliding mess. Allow the cake to cool fully on a wire rack for at least 1-2 hours before applying any frosting or toppings.
- Choose Quality Cocoa: The quality of your cocoa powder significantly impacts the cake’s flavor. Use a good quality natural unsweetened cocoa powder for the deepest, most authentic chocolate taste. Remember that Dutch-processed cocoa is chemically different and reacts differently with leavening agents, so it should not be substituted unless the recipe specifically calls for it.
- Proper Storage: To keep any leftover Chocolate Dirt Cake fresh and delicious, store it covered tightly with plastic wrap or in an airtight container in the refrigerator. It will remain fresh and tasty for 3-4 days. For the best texture and flavor, allow individual slices to come to room temperature for about 15-20 minutes before serving.
Chocolate Dirt Cake Recipe Summary
This section provides a concise overview of the recipe for quick reference. For detailed step-by-step instructions and helpful tips, please refer to the comprehensive sections above.
Recipe Details:
- Yield: 16 servings
- Prep Time: 25 minutes
- Cook Time: 20-35 minutes (varies by oven)
- Cooling Time: Approximately 1 hour 30 minutes
- Total Time: Approximately 2 hours 15 minutes
- Author: Laurie McNamara
- Course: Desserts & Sweet Treats
- Cuisine: American
Ingredients:
- 1¾ cup unbleached all-purpose flour
- ¾ cup unsweetened cocoa powder (natural, not Dutch process)
- 2 teaspoons baking soda
- 1 teaspoon baking powder
- ¾ teaspoon fine salt (sea salt or pink Himalayan)
- 2 cups granulated sugar
- 2 large eggs (room temperature)
- ½ cup unsweetened applesauce
- 1 cup brewed coffee (cooled)
- 1 cup buttermilk
- 1 teaspoon pure vanilla extract
- 1 recipe chocolate whipped buttercream (or your preferred chocolate frosting)
- 24 chocolate sandwich cookies (like Oreos), cream filling removed and crushed
- 45 gummy worms (for decoration, optional)
Equipment You’ll Need:
- 9×13 inch baking pan
- Large and medium mixing bowls
- Whisk
- Rubber spatula
- Food processor (for crushing cookies, or a large Ziploc bag and rolling pin)
- Offset spatula (for spreading frosting)
- Wire cooling rack
Instructions:
- Preheat your oven to 350℉ (180℃). Lightly grease and flour a 9×13 inch baking pan.
- In a large bowl, whisk together the flour, cocoa powder, baking soda, baking powder, and salt until thoroughly combined.
- In a separate medium bowl, whisk granulated sugar, eggs, and unsweetened applesauce. Then, whisk in the buttermilk, cooled brewed coffee, and vanilla extract until well combined.
- Pour the wet ingredients mixture into the bowl containing the dry ingredients. Stir gently with a whisk until just combined. Switch to a rubber spatula to scrape down the sides and bottom of the bowl, ensuring no dry pockets remain, being careful not to overmix.
- Pour the prepared batter evenly into your greased and floured baking pan. Bake on the middle rack for 20-35 minutes, or until a toothpick inserted into the center comes out with only a few moist crumbs attached. (Baking times can vary significantly by oven; see detailed notes above).
- Remove the cake from the oven and allow it to cool completely on a wire rack before proceeding.
- While the cake cools, prepare your cookie crumbs: Twist open approximately 24 chocolate sandwich cookies, scrape out the white cream filling, and pulse the cookie wafers in a food processor until fine crumbs are formed.
- Once the cake is fully cooled, prepare your homemade chocolate whipped buttercream frosting (or have your preferred frosting ready).
- To assemble: Evenly spread all of the chocolate buttercream over the top of the cooled cake using an offset spatula.
- Generously sprinkle the crushed cookie crumbs over the entire frosted surface, pressing them gently to adhere.
- Arrange the gummy worms playfully on top of the cookie crumbs to create a fun “dirt” effect.
- Store any leftover Chocolate Dirt Cake covered tightly in the refrigerator for up to 3-4 days.
Estimated Nutrition Information:
(Please note: This information is estimated per 1 serving, based on 16 servings of the recipe. Nutritional values can vary based on specific ingredients and brands used.)
- Calories: 421 kcal
- Carbohydrates: 84g
- Protein: 7g
- Fat: 8g
- Saturated Fat: 4g
- Polyunsaturated Fat: 1g
- Monounsaturated Fat: 3g
- Trans Fat: 0.1g
- Cholesterol: 33mg
- Sodium: 382mg
- Potassium: 187mg
- Fiber: 3g
- Sugar: 56g
- Vitamin A: 155 IU
- Vitamin C: 0.1mg
- Calcium: 54mg
- Iron: 4mg
Nutrition Disclaimer: All nutritional information presented on this site is intended for general informational purposes only and should not be considered professional dietary advice. I am not a certified nutritionist, and any nutritional information shared should only be used as a general guideline. For personalized dietary advice, please consult with a qualified health and nutrition professional.
We truly hope you enjoy baking and savoring this delightful Chocolate Dirt Cake as much as we do! It’s a recipe designed to bring joy and fun to your kitchen. If you give this recipe a try, please share your beautiful creations with us! We would love to see your unique designs and playful arrangements. Snap a photo of your finished cake and tag us on your favorite social media platforms, such as Twitter or Instagram!
This recipe for Chocolate Dirt Cake was originally posted on October 28th, 2022. It has since been comprehensively updated and revised to provide clearer, more concise instructions, enhanced with new, high-quality photography, and enriched with additional helpful information to ensure your baking experience is as successful and enjoyable as possible.